
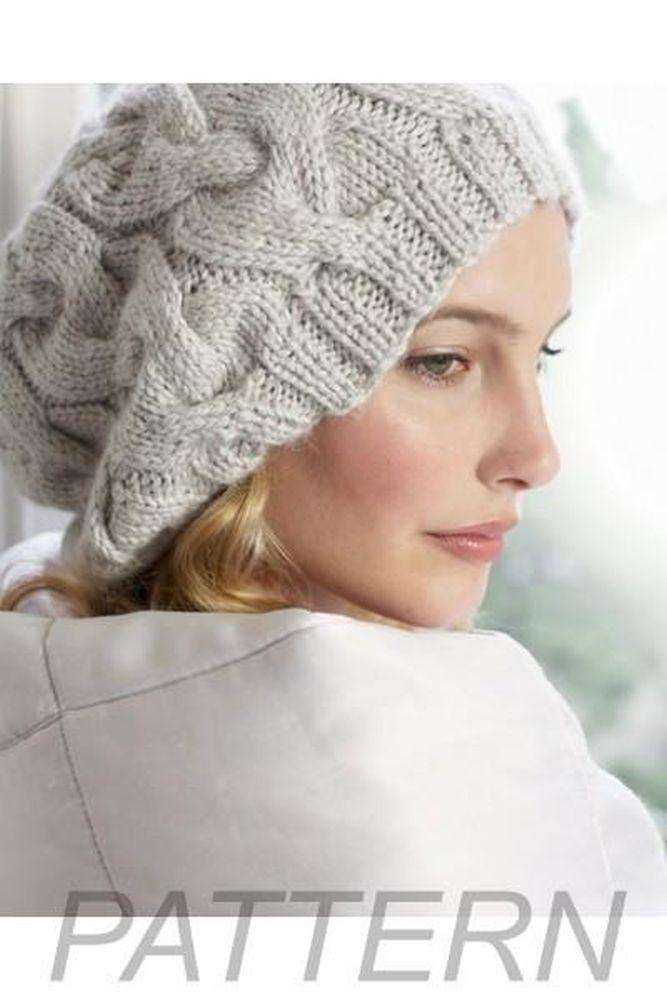
Looking for a new knitting project to work on? Why not try your hand at knitting a cable beret? A cable beret is a stylish and cozy accessory that can add a touch of charm to any outfit. Whether you’re a novice knitter or an experienced one, this pattern is perfect for you.
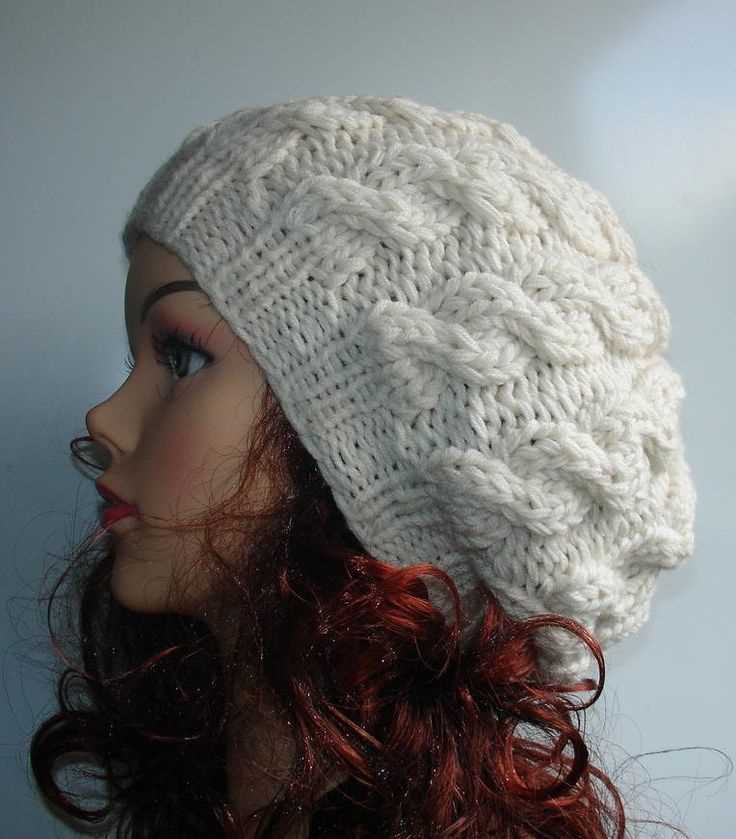
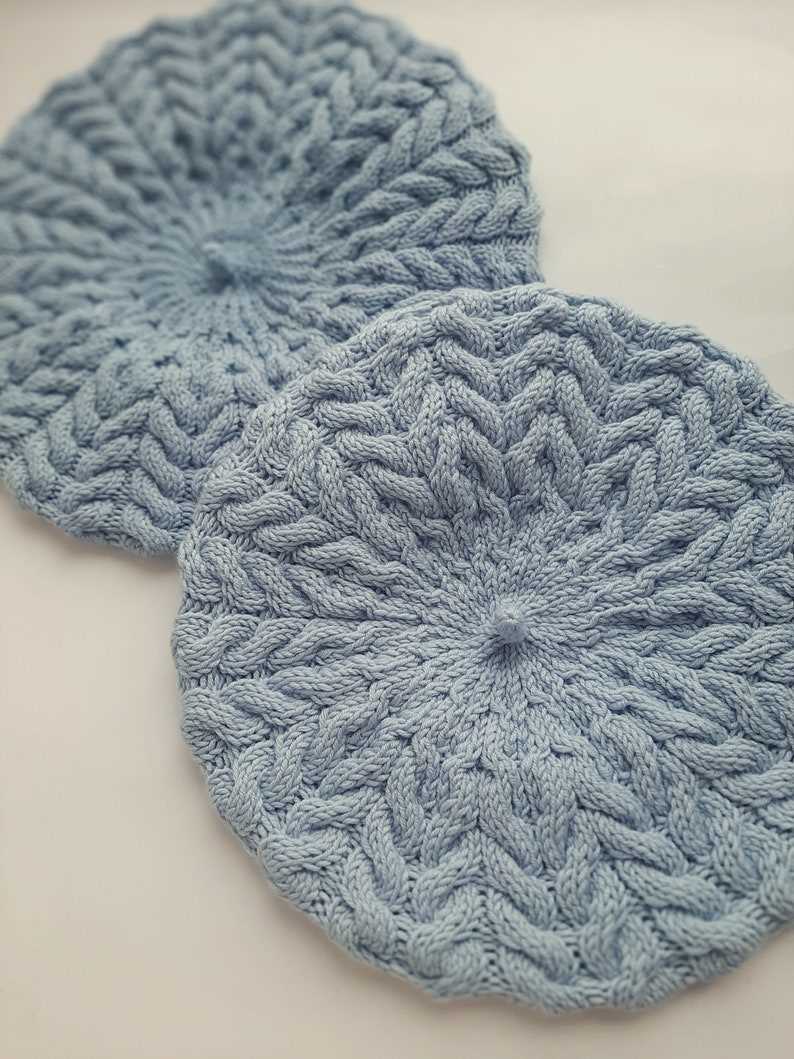
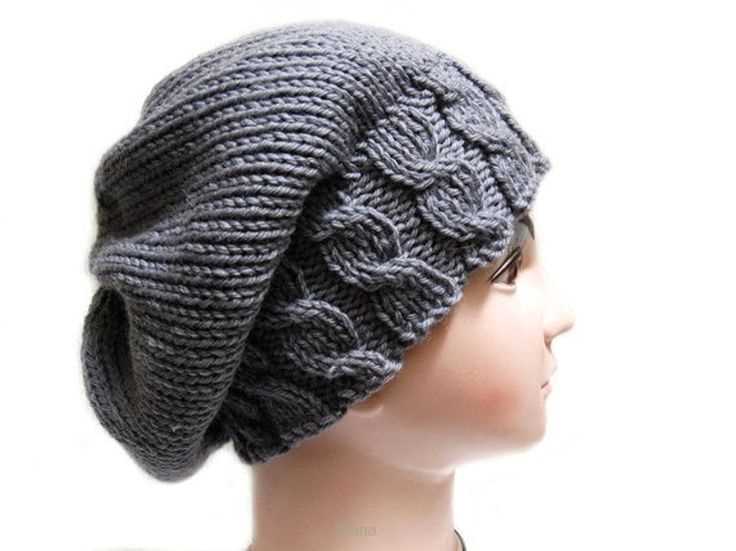
Cables are a popular knitting technique that create a beautiful interlocking pattern. In this beret pattern, the cables are on a background of reverse stockinette stitch, which creates a textured and interesting look. The brim of the beret is ribbed, giving it a snug and comfortable fit.
This cable beret knitting pattern is suitable for advanced beginners and beyond. It requires basic knitting skills such as casting on, knitting, purling, and decreasing. The pattern includes written instructions and a chart to guide you through the cable pattern. With a few skeins of your favorite yarn and some knitting needles, you’ll be able to create a stunning beret in no time.
Cable Beret Knitting Pattern
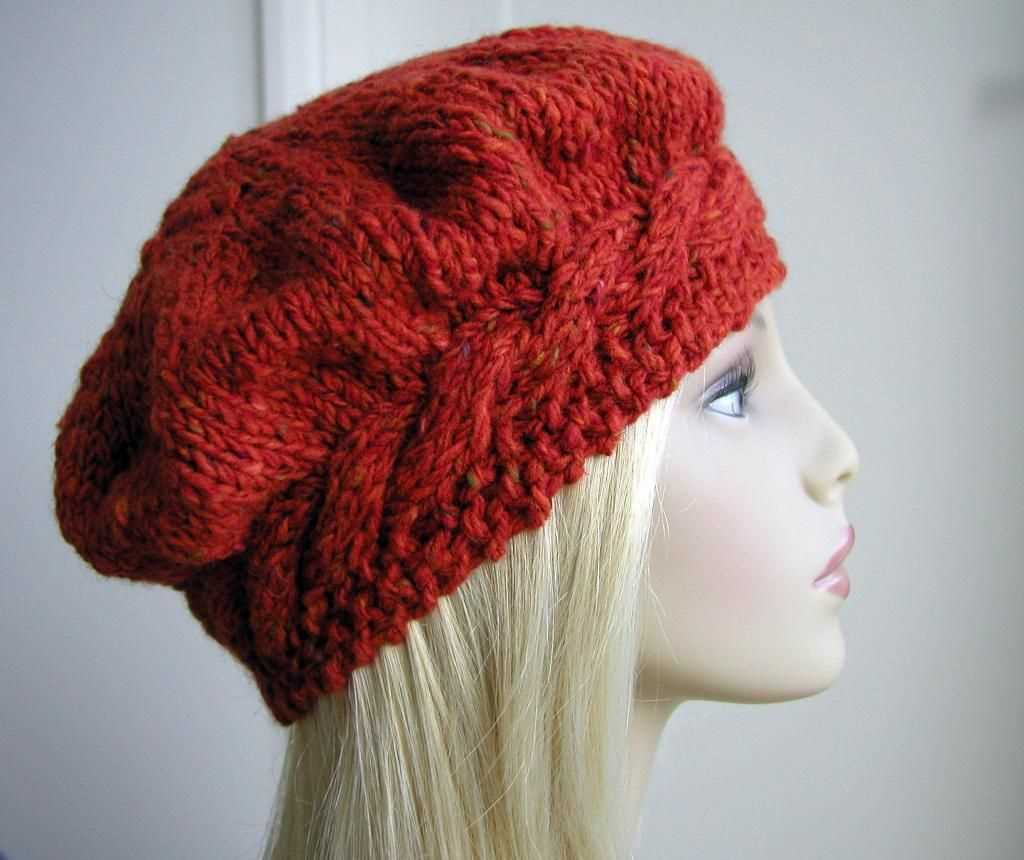
If you’re looking for a stylish and cozy accessory to knit, a cable beret is a perfect choice. The cable pattern adds texture and visual interest to an otherwise basic hat, making it a great statement piece. Whether you’re a beginner or an experienced knitter, this pattern is suitable for all skill levels.
To create this cable beret, you will need a set of double-pointed needles and a cable needle. The pattern calls for a worsted weight yarn, but you can easily adjust the size by using a different weight and adjusting the number of stitches accordingly.
Materials:
- Worsted weight yarn
- Double-pointed needles, size US 8 (5mm)
- Cable needle
- Tapestry needle
Instructions:
- Cast on 80 stitches.
- Work in a rib stitch (K2, P2) for 2 inches.
- Begin the cable pattern: Slip the first 2 stitches onto the cable needle and hold in front of the work. Knit the next 2 stitches, then knit the 2 stitches from the cable needle. Repeat this cable twist every 6th round.
- Continue knitting in stockinette stitch until the hat measures 8 inches from the cast on edge.
- Decrease rounds: *K8, K2tog* repeat to the end of the round.
- Continue decreasing in this manner until you have 8 stitches left.
- Thread the tapestry needle with the yarn and run it through the remaining stitches. Pull tight to close the top of the hat.
- Weave in any loose ends and your cable beret is ready to wear!
With this cable beret knitting pattern, you’ll have a unique and fashionable accessory that will keep you warm and stylish throughout the colder months. Experiment with different yarn colors and cable variations to create your own personalized beret. Happy knitting!
Benefits of Knitting a Cable Beret
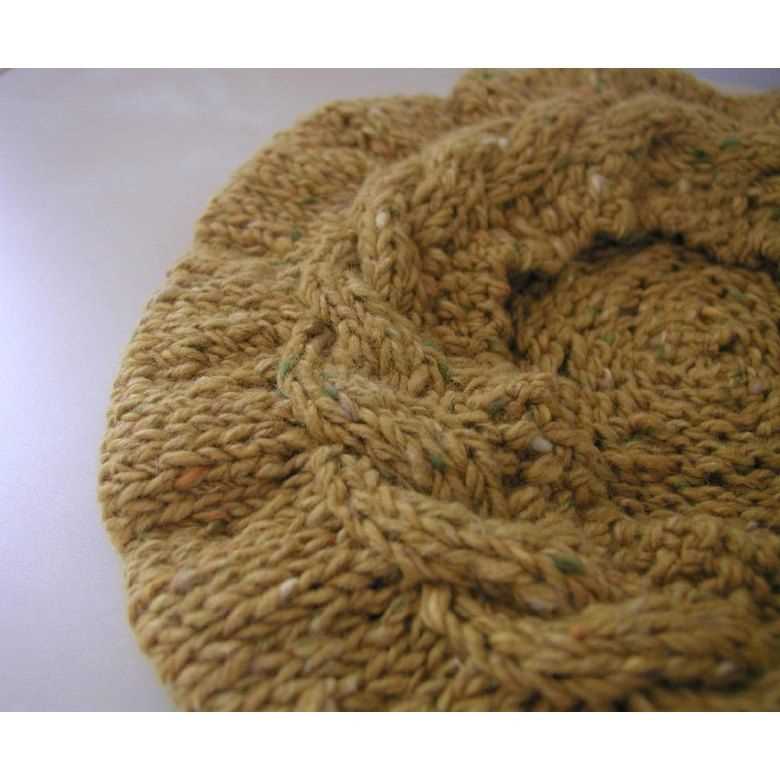
Knitting a cable beret is a popular project among knitting enthusiasts for many reasons. Firstly, it allows for the creation of a stylish and fashionable accessory that can be worn in various seasons. The cable pattern adds texture and depth to the beret, making it visually appealing and unique.
Another benefit of knitting a cable beret is the opportunity to improve knitting skills. Cable knitting requires using a cable needle to twist the stitches, creating the distinctive cable pattern. This technique helps knitters advance their skills and expand their repertoire of stitch patterns.
Additionally, knitting a cable beret provides a sense of accomplishment and satisfaction. Completing a project like a beret gives knitters the opportunity to showcase their creativity and skill. The final product can be a stunning addition to any wardrobe and can be customized to the knitter’s preference in terms of color and yarn choice.
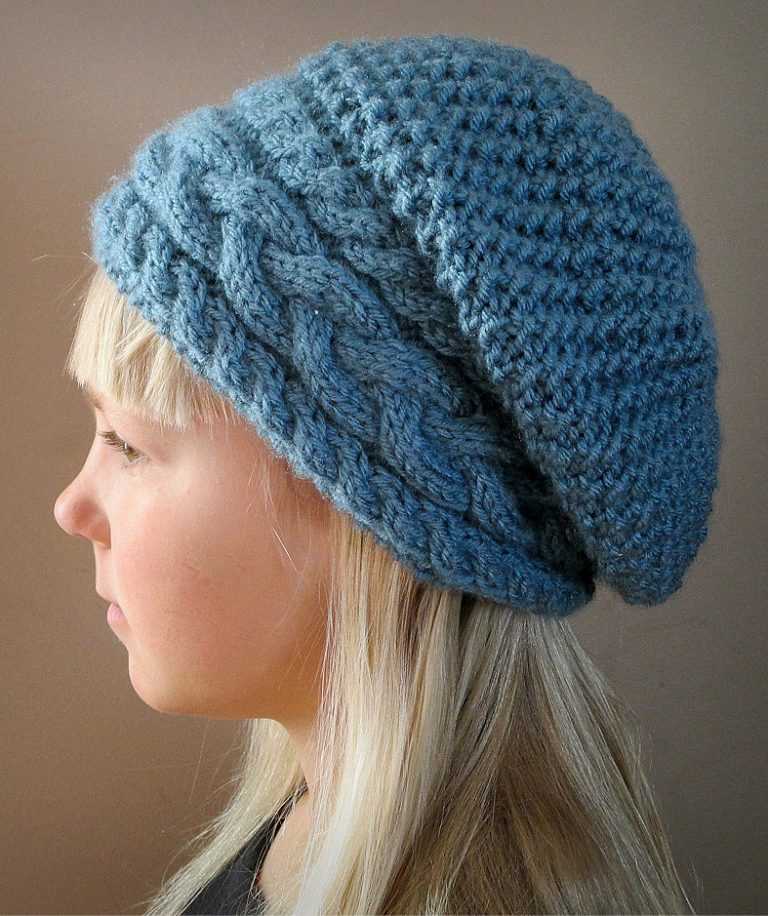
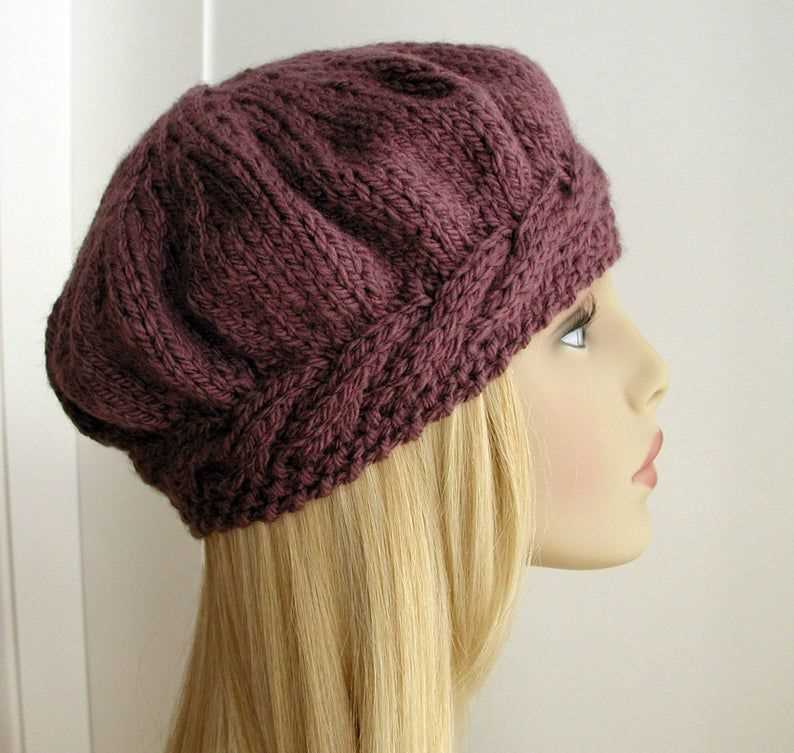
Furthermore, a cable beret is a versatile accessory. It can be worn in different ways, such as slouchy or snug, depending on the desired look. It adds a touch of elegance to any outfit, whether it’s a casual or sophisticated ensemble.
In conclusion, knitting a cable beret offers various benefits for knitting enthusiasts. It allows for the creation of a stylish accessory, improves knitting skills, provides a sense of accomplishment, and offers versatility in terms of wearability. Whether for personal use or as a thoughtful gift, a cable beret is a project worth undertaking for both experienced and novice knitters.
Choosing the Right Yarn for Your Cable Beret
When it comes to knitting a cable beret, choosing the right yarn is essential to achieve the desired look and feel of the finished hat. The yarn you select will determine the drape, texture, and warmth of the beret. Here are some factors to consider when choosing the perfect yarn for your cable beret project:
Fiber Content: The fiber content of the yarn greatly affects the characteristics of the beret. For a cozy and warm beret, consider using wool or alpaca yarn, which provide excellent insulation. If you prefer a lighter and more breathable beret, opt for cotton or linen yarn. Consider your personal preferences and the intended use of the beret when selecting the fiber content.
Weight: The weight of the yarn determines the thickness and heaviness of the beret. For a chunkier and more substantial beret, choose a bulky or super bulky weight yarn. If you prefer a more delicate and lightweight beret, go for a fingering or sport weight yarn.
Texture: The texture of the yarn can enhance the appearance of the cable stitches in your beret. Yarns with a smooth texture, such as merino wool or silk, will showcase the intricate cable patterns nicely. Alternatively, you can choose a yarn with a bit of halo or fuzziness to add an extra dimension to your beret.
Color: The color of the yarn is another important consideration for your cable beret. Solid, neutral colors like black, gray, or beige can give your beret a timeless and versatile look. On the other hand, choosing a variegated or multi-colored yarn can add a pop of personality and make your beret stand out.
Care Instructions: Don’t forget to check the care instructions of the yarn you’re considering. Some yarns may require special care, such as hand washing or dry cleaning, which can affect the longevity and practicality of your beret.
By considering these factors and experimenting with different yarns, you can find the perfect match for your cable beret project. Remember, each yarn has its own unique qualities, so don’t be afraid to play around and discover which one works best for your desired outcome.
Essential Knitting Tools for Making a Cable Beret
When it comes to knitting a cable beret, having the right tools can make all the difference in creating a beautiful and well-crafted finished product. Here are some essential knitting tools that you will need for making a cable beret:
1. Knitting Needles
The first and most important tool you will need is a set of knitting needles. For a cable beret, it is recommended to use circular needles with a length of at least 16 inches. Circular needles are ideal for working on larger projects like a beret, as they can hold more stitches and provide a more comfortable knitting experience.
2. Cable Needle

A cable needle is an essential tool for knitting cables. It is a short and thin needle, usually with a slightly curved or bent shape, that is used to hold stitches while you work the cable pattern. A cable needle helps to keep the cable stitches separate and prevents them from unraveling or getting mixed up with other stitches.
3. Stitch Markers
Stitch markers are small rings or clips that are used to mark specific points in your knitting, such as the beginning of a round or the placement of a cable. They come in different shapes and colors and can be easily attached to the knitting needles or slipped onto the knitting yarn. Stitch markers are especially useful when working on a cable beret pattern, as they can help you keep track of the cable repeats and ensure that your stitches are aligned correctly.
4. Yarn Needle
A yarn needle, also known as a tapestry needle or a darning needle, is used for weaving in loose ends and sewing up seams in your finished knitted project. It has a large eye and a blunt tip, which makes it easy to thread and navigate through the knitted fabric. A yarn needle is essential for completing your cable beret and giving it a polished and professional look.
5. Row Counter
A row counter is a handy tool that helps you keep track of the number of rows or rounds you have knitted. It can be a small mechanical device that you attach to your knitting needles or a digital counter that you can wear on your finger. A row counter is particularly useful when working on a cable beret pattern, as it allows you to easily repeat certain sections or keep track of complex cable patterns.
By having these essential knitting tools on hand, you will be well-equipped to tackle the cable beret knitting pattern with confidence and create a stylish and cozy accessory for your wardrobe.
Step-by-Step Instructions for Knitting a Cable Beret

Knitting a cable beret can be a fun and rewarding project for knitters of all skill levels. With its intricate and stylish design, a cable beret adds a touch of elegance to any outfit. Whether you are a beginner or an experienced knitter, following these step-by-step instructions will guide you through the process of creating your own cable beret.
Materials:
- Yarn (preferably a worsted weight yarn)
- Knitting needles (size will depend on the gauge of your yarn)
- Cable needle
- Tapestry needle
- Stitch markers
- Scissors
- Tape measure
Instructions:
- Start by casting on the required number of stitches using a long-tail cast on method. Make sure to leave a long tail for later use.
- Begin knitting the ribbing for the brim of the beret. You can use a 2×2 rib or any other ribbing pattern of your choice. Continue knitting until the ribbing measures your desired length.
- Next, switch to the main stitch pattern for the body of the beret. This will typically involve knitting multiple rounds of the cable pattern. Use stitch markers to divide the rounds and keep track of your progress.
- When you reach the crown of the beret, you will need to start decreasing stitches to create the tapered shape. This can be done by knitting two stitches together at regular intervals as specified in the pattern.
- Keep knitting and decreasing until you have a small number of stitches left. Cut the yarn, leaving a long tail, and thread it through a tapestry needle.
- Gently remove the stitches from the knitting needles, one by one, threading the yarn through each stitch as you go.
- Pull the yarn tight to gather the remaining stitches and secure them. Use the tapestry needle to weave in any loose ends and trim off excess yarn.
- To finish, shape the beret by lightly blocking it. Wet the beret and place it on a flat surface to dry, shaping it into the desired form. Use pins to hold the shape while it dries.
Congratulations! You have successfully completed your cable beret. Now you can enjoy wearing your stylish creation or gift it to someone special. With the skills you have learned, you can explore different cable patterns and variations to create unique berets for yourself and others.
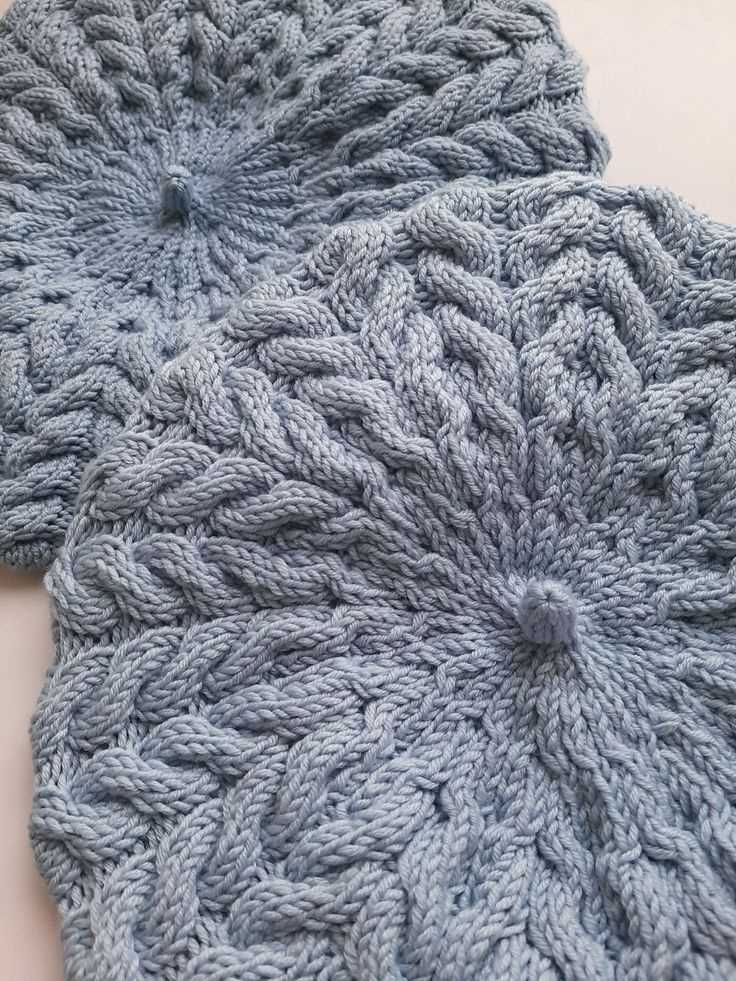
How to Create Beautiful Cable Patterns on Your Beret

If you want to add a touch of elegance and sophistication to your beret, adding cable patterns can be a great option. The intricate twists and turns of cable patterns can create beautiful textures and designs that make your beret stand out from the crowd.
To create cable patterns on your beret, you will need to have some basic knitting skills and knowledge. You will also need cable needles, which are specially designed for working with cable stitches. These needles have a U-shape or a hook at one end to hold the stitch in place while you work on the other stitches.
Step 1: Choose a cable pattern
There are countless cable patterns to choose from, ranging from simple to complex designs. You can find cable patterns in knitting pattern books, online resources, or even create your own. When choosing a pattern, consider the size of your beret and how many stitches the pattern requires. Some cable patterns require a multiple of a certain number of stitches, so make sure the pattern fits the size of your beret.
Step 2: Cast on and start your beret
Once you have chosen your cable pattern, cast on the required number of stitches for your beret. Follow the instructions for the beret pattern you are using, ensuring that you have enough stitches to accommodate the cable pattern.
Step 3: Begin working the cable pattern
When you reach the point in the beret where you would like to start the cable pattern, follow the instructions for the specific cables you are using. Cable patterns typically involve crossing stitches over each other to create the cable effect. Use your cable needles to hold the stitches in place while you cross them, following the pattern instructions.
Step 4: Continue knitting the beret with the cable pattern
As you work through the cable pattern, continue following the instructions for crossing stitches and creating the desired cable pattern. Pay attention to the row and stitch counts, ensuring that you are on track with the pattern.
Step 5: Finish off the beret
Once you have completed the cable pattern, continue knitting the rest of the beret according to the pattern instructions. When you have finished knitting, bind off your stitches and weave in any loose ends.
By adding cable patterns to your beret, you can create a unique and personalized accessory that showcases your knitting skills. Whether you choose a simple or complex cable pattern, the results will be beautiful and eye-catching.
Adding Finishing Touches to Your Cable Beret

After completing the knitting of your cable beret, it’s time to add the finishing touches to make it truly shine. These final steps will give your beret a polished look and ensure that it fits perfectly on your head.
Blocking: Before proceeding with any finishing touches, it is essential to block your beret. Blocking involves wetting the knitted piece, gently shaping it, and allowing it to dry flat. This process helps to even out your stitches and create a smooth and professional finish. Place your beret on a blocking mat or towel, and use rustproof pins to shape it into a round shape. Make sure to measure the diameter of your head and adjust the shape accordingly. Leave it to dry completely before moving on to the next step.
Sewing in Ends:

Take the time to sew in any loose ends from your knitting. Use a yarn needle to weave the ends through several stitches on the back of your work. This ensures that the ends are secure and won’t come undone during wear. Trim any excess yarn after weaving in the ends.
Adding a Pom Pom:
To add a playful and stylish touch to your cable beret, consider attaching a pom pom. You can purchase pre-made pom poms or make your own using yarn. Place the pom pom on top of your beret and sew it into place using a needle and thread. Make sure to securely attach the pom pom so that it doesn’t come off easily.
Lining the Beret (optional):

If you want to add an extra layer of warmth and comfort to your cable beret, you can choose to line it. Cut a piece of fabric that is slightly smaller than the circumference of your beret. Sew the edges of the fabric together using a sewing machine or by hand. Then, sew the fabric onto the inside of the beret, lining up the edges. This will create a cozy and stylish interior for your beret.
By following these finishing touches, you can elevate your cable beret from a simple knit to a stunning and fashionable accessory. Take your time and enjoy the process of adding these final details, knowing that the end result will be a one-of-a-kind beret that you can proudly wear.
Tips and Tricks for Knitting a Perfect Cable Beret
Knitting a cable beret can be a challenging but rewarding project. The cables add texture and interest to the hat, making it a stylish accessory for the colder months. However, it’s important to keep a few tips and tricks in mind to ensure that your cable beret turns out perfect.
Choose the right yarn and needles
When knitting a cable beret, it’s important to choose the right yarn and needles to achieve the desired texture and drape. Opt for a yarn that has some wool content, as this will provide warmth and elasticity to the hat. A worsted weight yarn is ideal for a cable beret, as it will allow the stitches and cables to stand out. Additionally, choose needles that are appropriate for the yarn weight to ensure an even tension and consistent gauge throughout the project.
Use cable needles and stitch markers
Cables are created by crossing stitches over each other, and using cable needles can help make this process easier and more precise. Cable needles have a slight curve and a point at either end, allowing you to hold the held stitches securely while you work the crossed stitches. Additionally, using stitch markers can help you keep track of the cable pattern and ensure that you don’t make any mistakes or skip any stitches. Place the stitch markers on the needles between the cable sections to visually separate them and make it easier to follow the pattern.
Take your time with the cable sections
Knitting cables can be a bit slower than knitting plain stockinette stitch, as you need to follow the cable pattern and manipulate the stitches to create the twists. Take your time with the cable sections, making sure to follow the pattern carefully and not rush through the crossings. This will help ensure that your cables are neat and tidy, and they will stand out beautifully on your finished beret.
By following these tips and tricks, you’ll be able to knit a perfect cable beret that is both stylish and cozy. Enjoy the process and embrace the challenge of knitting cables – the end result will be worth it!
Exploring Different Cable Styles for Your Beret
If you’re looking to add some texture and interest to your beret knitting project, incorporating cables is a great way to do it. There are so many different cable styles to choose from that can really elevate the overall look of your beret. Whether you’re a beginner or more experienced knitter, there’s a cable style out there that’s perfect for you.
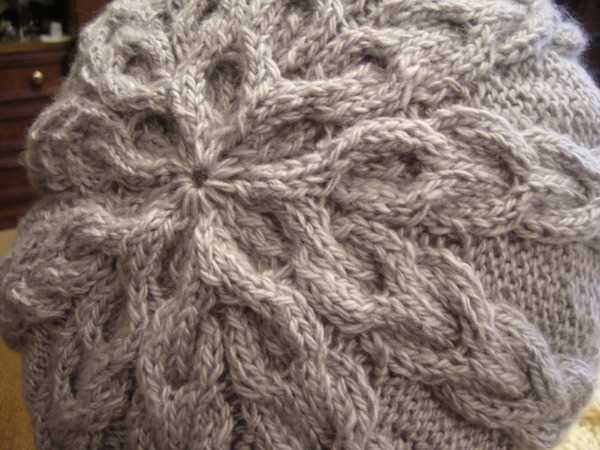
One popular cable style for a beret is the classic rope cable. This style features a twisting pattern that resembles a rope, adding a touch of elegance to your beret. The rope cable is achieved by crossing stitches over each other, creating a beautiful texture and depth.
Another cable style to consider is the honeycomb cable. This intricate pattern creates a unique geometric design, resembling a honeycomb. The honeycomb cable is achieved by using a combination of knit and purl stitches in a specific sequence, resulting in a visually stunning pattern.
If you’re feeling adventurous, you might want to try the horseshoe cable. This cable style is characterized by its curved shape, resembling a horseshoe. The horseshoe cable is achieved by crossing stitches over each other in a specific manner, creating a beautiful and intricate pattern.
Whether you choose the classic rope cable, the intricate honeycomb cable, or the bold horseshoe cable, incorporating cables into your beret knitting project will add a unique and luxurious touch. Don’t be afraid to experiment with different cable styles and techniques to find the perfect one for your beret. Happy knitting!
Customizing Your Cable Beret to Fit Your Style
The Cable Beret is a classic knitting pattern that never goes out of style. With its intricate cable design and cozy fit, it’s a perfect accessory for colder months. But why settle for the standard pattern when you can customize your Cable Beret to reflect your personal style? Here are a few ways to make your beret unique and truly yours.
1. Choose your yarn: The type of yarn you use can greatly impact the look and feel of your beret. Opt for a soft and luxurious yarn for a more elegant and sophisticated look, or go for a chunky and textured yarn for a more casual and cozy vibe. Consider the color as well – a neutral shade can complement any outfit, while a bold and vibrant color can add a pop of excitement.
2. Add embellishments: Spice up your Cable Beret by adding your favorite embellishments. You can sew on some cute buttons, attach a decorative patch, or even crochet some flowers to adorn your beret. These little details can make a big difference and showcase your unique personality.
3. Adjust the size: The original Cable Beret pattern may not fit your head perfectly, so why not customize it to ensure a snug and comfortable fit? You can easily adjust the size by adding or reducing the number of stitches in the brim or the body of the beret. Remember to make a gauge swatch before starting and follow the measurements to ensure a well-fitted beret.
4. Experiment with different cable patterns: The Cable Beret pattern typically features a specific cable design, but there’s no rule saying you can’t try different cable patterns. Browse through cable stitch dictionaries or look for inspiration online to find unique cable patterns that suit your style. By experimenting with different cables, you can create a truly one-of-a-kind beret.
5. Play with the brim style: The brim of the beret doesn’t have to be plain and simple. Consider adding a ribbed or twisted stitch pattern to give it a more interesting texture. You can also experiment with different widths and lengths to achieve the desired look. Don’t be afraid to get creative and make the beret truly yours.
By customizing your Cable Beret, you can create a unique and personalized accessory that reflects your style and personality. Whether it’s through the choice of yarn, embellishments, size adjustments, different cable patterns, or brim styles, let your creativity shine and make your Cable Beret a true reflection of you.
Showcasing Your Cable Beret with Stylish Outfits
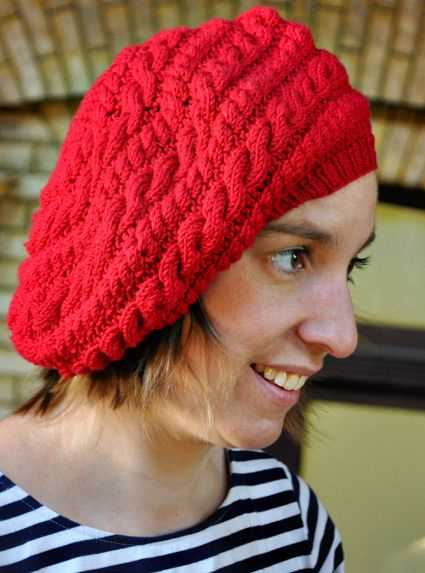
Now that you have finished knitting your beautiful cable beret, it’s time to show it off! This versatile accessory can be styled in numerous ways to create chic and fashionable outfits. Whether you’re going for a casual or a more dressed-up look, your cable beret will add a touch of elegance and sophistication to any ensemble.
Here are some ideas on how to incorporate your cable beret into your wardrobe:
- Classic and Cozy: Pair your cable beret with a chunky knit sweater, jeans, and ankle boots for a cozy and effortless look. This combination is perfect for running errands or meeting friends for coffee.
- Elegant and Chic: Combine your cable beret with a tailored blazer, a flowy blouse, and high-waisted trousers for a polished and sophisticated outfit. This ensemble is ideal for a date night or a special occasion.
- Boho and Relaxed: Style your cable beret with a floral maxi dress, ankle boots, and a denim jacket for a laid-back and bohemian look. This combination is great for a music festival or a leisurely weekend outing.
Remember to experiment with different colors and textures to create unique and eye-catching outfits. You can also accessorize your cable beret with a statement necklace, a scarf, or a brooch to add an extra touch of glamour.
Overall, the cable beret is a versatile and fashionable accessory that can elevate any outfit. Whether you prefer a casual, elegant, or boho style, your cable beret will make a statement and showcase your personal style. So, have fun exploring different outfit combinations and enjoy wearing your cable beret with confidence!