
If you’re looking for a quick and cozy hat to knit, look no further than this bulky weight yarn hat pattern. Chunky yarn is perfect for hats because it knits up quickly, making it a great project for beginners or those short on time. Plus, the thicker yarn creates a warm and snuggly hat that’s perfect for cold winter days.
This pattern is simple and easy to follow, making it a great choice for knitters of all skill levels. Whether you’re a seasoned pro or just starting out, you’ll be able to create a beautiful hat in no time. The pattern includes instructions for both a basic beanie style and a slouchy hat, so you can choose the style that suits you best.
One of the best things about this pattern is that it’s customizable. You can easily adjust the size of the hat by adding or subtracting stitches, so it can be made to fit anyone from a baby to an adult. Plus, you can choose from a wide range of colors and yarns to make your hat truly unique.
So grab your favorite bulky weight yarn, some knitting needles, and get ready to make a stylish and cozy hat that’s perfect for chilly weather. This pattern is sure to become a go-to in your knitting repertoire!
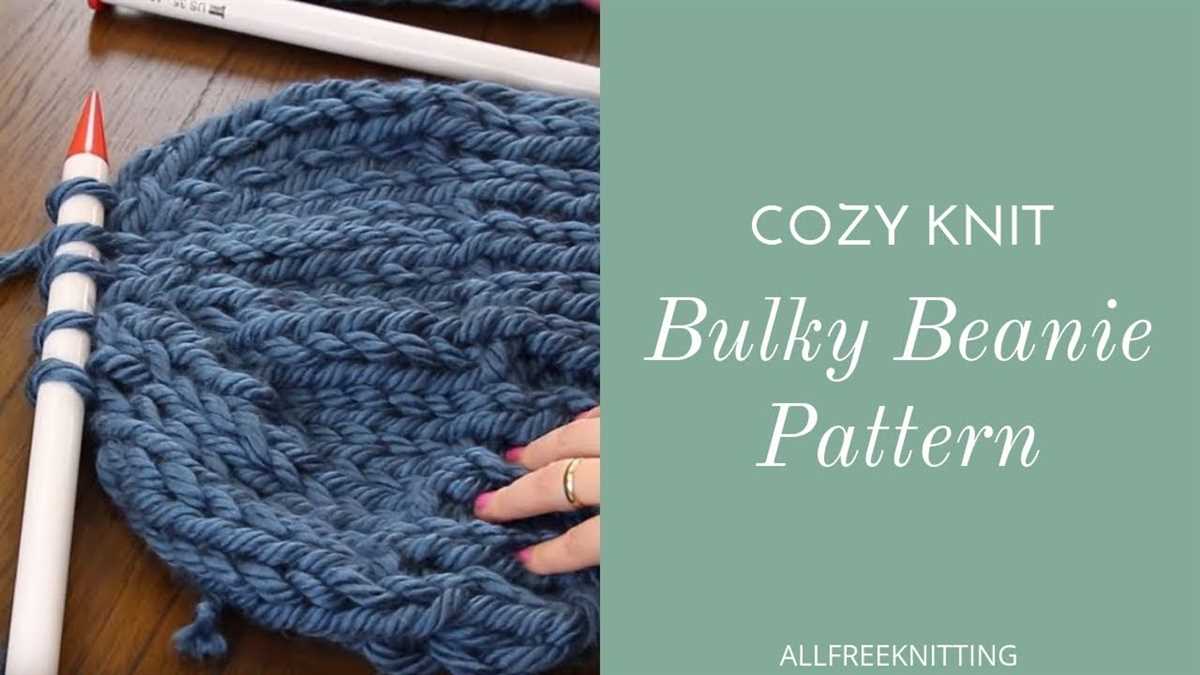
Bulky Weight Yarn Knit Hat Pattern
If you’re looking for a quick and cozy project to knit, this bulky weight yarn knit hat pattern is just what you need. This pattern is perfect for beginners and experienced knitters alike, and it’s a great way to use up any leftover bulky weight yarn you have in your stash.
To start, you’ll need a set of size US 10.5 (6.5mm) circular knitting needles and a set of US 10.5 (6.5mm) double-pointed needles. You’ll also need one skein of bulky weight yarn, approximately 120 yards. Choose a soft and warm yarn that will keep you snug throughout the colder months.
Begin by casting on 64 stitches using the circular needles. Join in the round, being careful not to twist the stitches. Place a marker to indicate the beginning of the round.
Next, you’ll work in a rib stitch pattern for the brim of the hat. *K2, P2* and repeat this pattern until the brim measures 2 inches in length. This ribbing will create a stretchy and comfortable fit.
Once the brim is complete, switch to the double-pointed needles. Knit every stitch in the round for the body of the hat until it measures approximately 6 inches from the brim. You can adjust the length to your preference for a slouchier or more fitted hat.
To decrease for the crown of the hat, switch to the double-pointed needles when there are too few stitches to comfortably fit on the circular needles. Divide the stitches evenly onto the double-pointed needles.
Begin the decrease rounds by *k6, k2tog* and repeat this pattern until the end of the round. On the next round, *k5, k2tog* and repeat. Continue decreasing in this manner, knitting one less stitch before the decrease each round until you have only a few stitches remaining.
Break the yarn, leaving a long tail. Thread the tail through a yarn needle and slip the needle through the remaining stitches, removing them from the needles. Pull tight to close the top of the hat and weave in any remaining ends.
This bulky weight yarn knit hat pattern is a versatile and cozy project that you can complete in just a few hours. Whether you’re knitting for yourself or making a handmade gift for a loved one, this hat is sure to keep you warm and stylish all winter long.
Beginners Guide to Knitting
Knitting is a popular craft that allows you to create beautiful, handmade items such as hats, scarves, and sweaters. If you’re new to knitting, this beginners guide will help you get started and learn the basics.
Getting Started
Before you begin knitting, you’ll need a few essential tools. These include knitting needles and yarn. There are different types of knitting needles, such as straight needles and circular needles. Straight needles are great for beginners as they are easy to handle. When choosing yarn, consider the weight and texture. Bulky weight yarn is a good choice for beginners as it is easier to work with and produces quick results.
Basic Knitting Stitches
- Knit Stitch: The knit stitch is one of the most basic stitches in knitting. To knit, insert the right needle into the first stitch on the left needle, from left to right. Wrap the working yarn around the right needle counterclockwise. Pull the right needle through the stitch, bringing the new stitch onto the right needle. Repeat this process for each stitch.
- Purl Stitch: The purl stitch is another fundamental stitch. To purl, insert the right needle into the first stitch on the left needle, from right to left. Wrap the working yarn around the right needle clockwise. Pull the right needle through the stitch, bringing the new stitch onto the right needle. Repeat this process for each stitch.
Knitting Tips for Beginners
- Start with simple projects: As a beginner, it is best to start with simple projects such as scarves or dishcloths. This will help you practice your basic stitches and build your confidence.
- Take your time: Knitting requires patience and practice. Take your time to understand each stitch and gradually increase your speed as you become more comfortable.
- Join a knitting community: Joining a knitting community or taking a knitting class can provide you with support, guidance, and inspiration. It’s a great way to learn from experienced knitters and connect with others who share your passion.
| Knitting Abbreviations | Meaning |
|---|---|
| CO | Cast On |
| K | Knit |
| P | Purl |
| BO | Bind Off |
Now that you have a basic understanding of knitting, it’s time to pick up your needles and start practicing. With time and practice, you’ll be able to tackle more complex patterns and create beautiful knitted items.
Choosing the Right Yarn
When it comes to knitting a hat, choosing the right yarn is essential. The yarn you select will determine the final look, feel, and warmth of your project. For a bulky weight yarn knit hat, it’s important to consider a few key factors before making your decision.
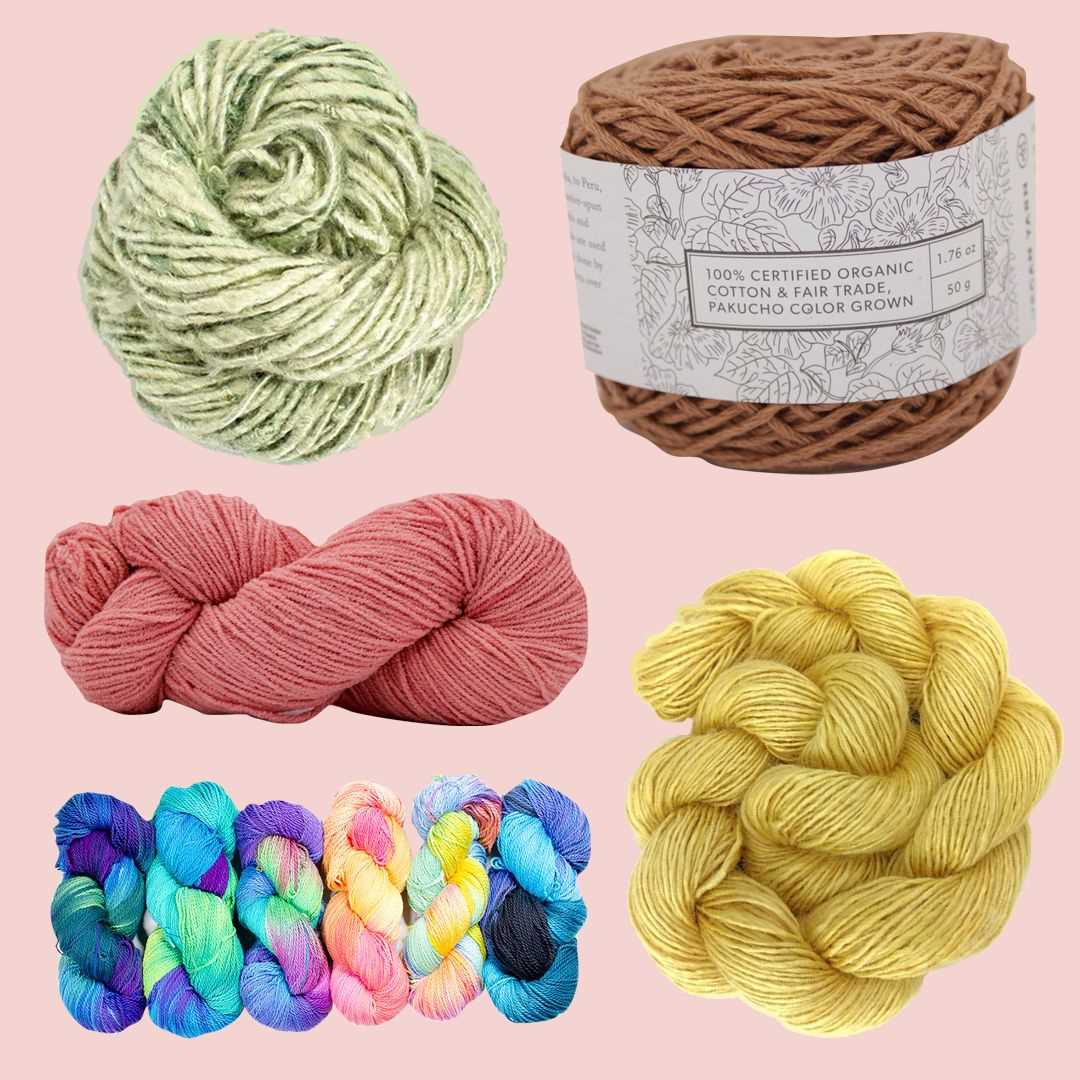
Yarn Weight: Bulky weight yarn is thicker and heavier than other yarn weights, making it perfect for knitting warm and cozy hats. When selecting your yarn, be sure to check the label for its weight category to ensure it matches the pattern requirements.
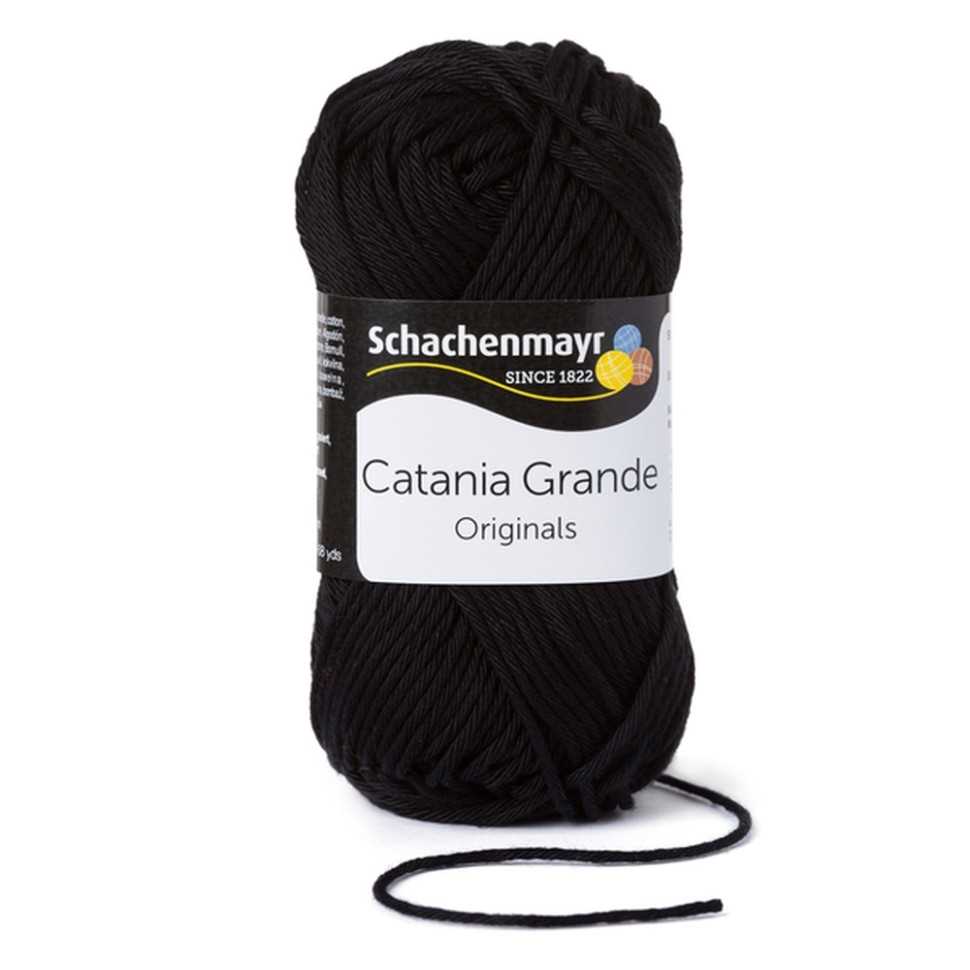
Fiber Content: The fiber content of the yarn will also impact the characteristics of your hat. Wool is a popular choice for bulky weight hats as it provides excellent insulation and is naturally moisture-wicking. However, if you have allergies or prefer a different feel, there are many other options available, such as acrylic, alpaca, or blends.
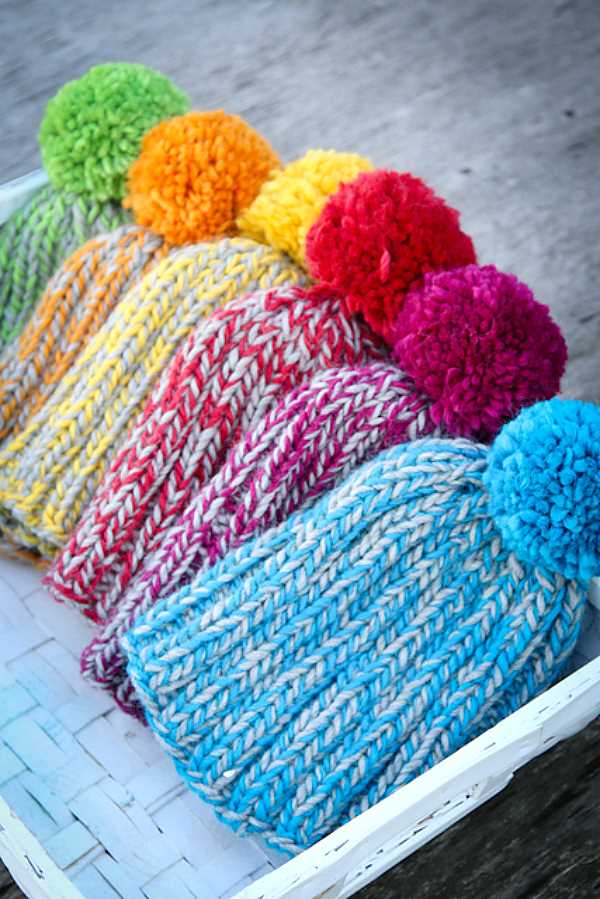
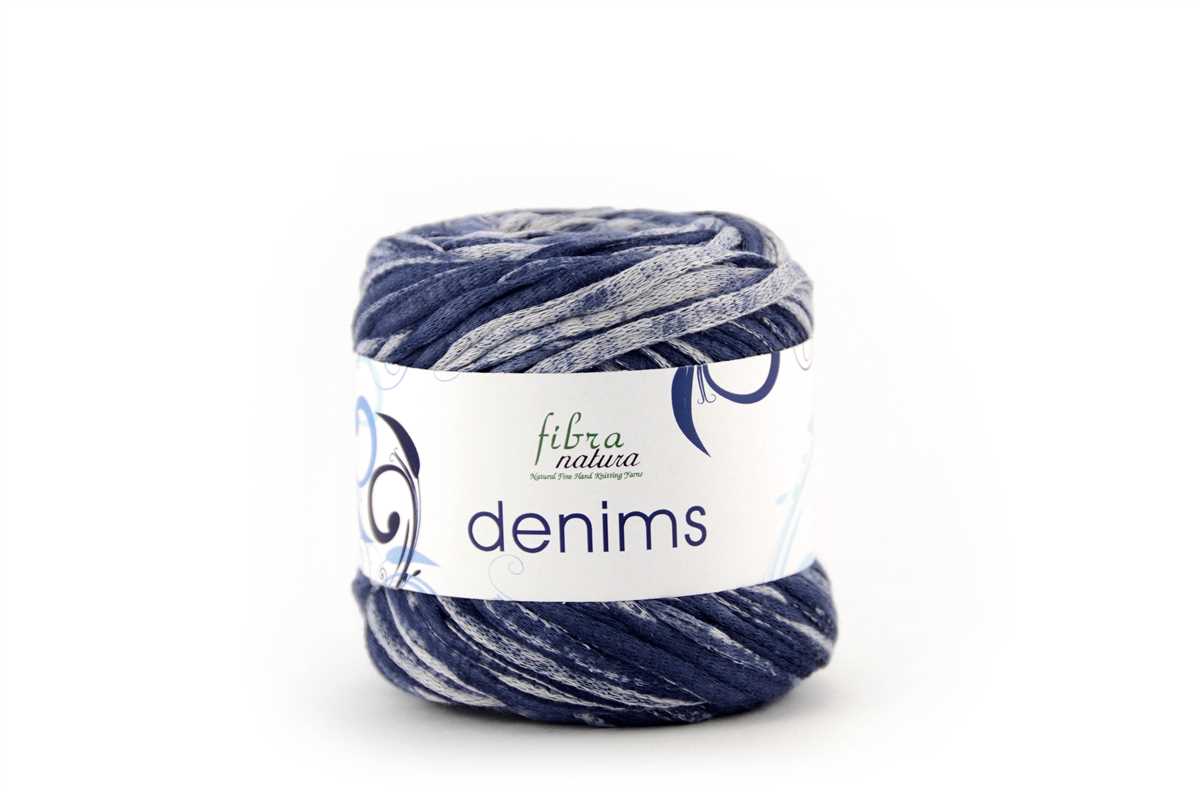
Color: Consider the color palette you want for your hat. Bulky weight yarns come in a wide range of colors, from neutrals to vibrant shades. Depending on your personal style and the intended recipient of the hat, you can choose a solid color, variegated, or even a self-striping yarn for added visual interest.
Understanding Bulky Weight Yarn
Bulky weight yarn is a type of yarn that is thicker and heavier than other types of yarn. It is often used to create warm and cozy knitted or crocheted items, such as hats, scarves, and blankets. The thickness of bulky weight yarn makes it perfect for quick and chunky projects, as it knits up faster than finer yarns.
One of the main characteristics of bulky weight yarn is its gauge. The gauge refers to the number of stitches per inch and rows per inch that are achieved when knitting or crocheting with a specific yarn and needle or hook size. Bulky weight yarn typically has a gauge of around 3-4 stitches per inch, which means that fewer stitches are needed to cover the same amount of space compared to thinner yarns.
When working with bulky weight yarn, it is important to choose the right needle or hook size to achieve the desired gauge and fabric properties. The recommended needle or hook size for bulky weight yarn is usually larger than those used for finer yarns, as the thicker yarn requires more space between stitches to create a fabric that is not too dense or stiff.
In terms of fiber content, bulky weight yarn can be made from various materials, including wool, acrylic, cotton, and blends of different fibers. Each type of fiber has its own unique qualities and characteristics, which can affect the final appearance and feel of the knitted or crocheted item.
When selecting a bulky weight yarn for your project, consider the specific qualities you are looking for, such as softness, warmth, durability, or washability. Some fibers, like wool, are known for their warmth and insulation properties, while others, like acrylic, are easy to care for and maintain.
In summary, bulky weight yarn is a versatile and popular choice for creating fast and cozy knitted or crocheted projects. Understanding its gauge, needle or hook size requirements, and fiber content will help you select the perfect yarn for your next bulky weight hat or other bulky weight project.
Essential Knitting Tools
When it comes to knitting, having the right tools is essential for a successful and enjoyable knitting experience. Here are some of the essential knitting tools that every knitter should have in their toolkit:
Knitting Needles:
Knitting needles are the primary tool used for creating knitted projects. They come in a variety of materials, including bamboo, aluminum, and plastic. It’s important to choose the right needle size for your project, as different sizes will produce different stitch sizes and tension. Circular needles are also great for knitting large projects or in the round.
Yarn:

Yarn is the most important material in knitting, and there is a wide variety of yarns available to choose from. Bulky weight yarn is a popular choice for knitting hats, as it knits up quickly and creates a warm and cozy fabric. When selecting yarn, consider the fiber content, color, and recommended gauge for your project.
Tape Measure:
A tape measure is an essential tool for measuring your knitting projects. It’s important to measure your gauge before starting a project to ensure that your finished item will be the correct size. A tape measure is also useful for measuring lengths, widths, and other dimensions of your project.
Stitch Markers:
Stitch markers are small rings or clips that are used to mark specific stitches or sections in your knitting. They can be helpful for keeping track of pattern repeats or for marking the beginning of a round in circular knitting. Stitch markers come in a variety of materials and designs, and some can even be opened and closed for easy placement.
Scissors:
A pair of sharp scissors is essential for any knitting project. They are used for cutting yarn, snipping off ends, and making small adjustments to your work. It’s important to have a dedicated pair of scissors for your knitting, as using dull or inappropriate scissors can damage your project.
Row Counter:
A row counter is a helpful tool for keeping track of the number of rows or repeats in your knitting. It can be a physical counter that you manually click each time you complete a row, or it can be a digital counter that you use on your smartphone or knitting app. A row counter is especially useful for complicated patterns or projects with multiple stitch counts.
In conclusion, having the right knitting tools is essential for a successful knitting project. Whether you’re a beginner or an experienced knitter, investing in quality knitting tools will make your knitting experience more enjoyable and help you create beautiful and well-finished projects.
Basic Knitting Stitches
Knitting is a versatile craft that allows you to create beautiful and functional items using just two basic stitches: knit and purl. These two stitches are the foundation of all knitting patterns and can be combined in countless ways to create different textures and patterns.
Knit stitch: The knit stitch is a simple and straightforward stitch that is used to create the majority of knitting projects. To knit, insert the right-hand needle into the first stitch on the left-hand needle, from left to right. Wrap the yarn around the right-hand needle, from back to front, and pull it through the stitch, creating a new stitch on the right-hand needle. Repeat this process for each stitch until you have completed the row.
Purl stitch: The purl stitch is the reverse of the knit stitch and creates a different texture. To purl, insert the right-hand needle into the first stitch on the left-hand needle, from right to left. Wrap the yarn around the right-hand needle, from front to back, and pull it through the stitch, creating a new stitch on the right-hand needle. Repeat this process for each stitch until you have completed the row.
- Stockinette stitch: The stockinette stitch is created by alternating rows of knit and purl stitches. This stitch creates a smooth and even fabric with a “v” pattern on the right side and a “bumpy” pattern on the wrong side.
- Garter stitch: The garter stitch is created by knitting every row. This stitch creates a fabric with a bumpy texture on both sides and is often used for scarves and blankets.
- Rib stitch: The rib stitch is created by alternating knit and purl stitches in a specific pattern, such as knit 2, purl 2. This stitch creates a stretchy and elastic fabric and is often used for cuffs, collars, and hems.
These are just a few examples of the many knitting stitches that you can learn and use to create unique and beautiful projects. With practice, you can master these basic stitches and explore more advanced techniques to expand your knitting skills.
Gauge and Tension
Gauge and tension are two important factors that need to be considered when knitting with bulky weight yarn. Gauge refers to the number of stitches and rows per inch that are produced with a specific size of knitting needles. Tension, on the other hand, refers to the tightness or looseness of your knitting stitches. Both gauge and tension can greatly affect the final size and fit of your knitted hat.
To achieve the correct gauge and tension for your bulky weight yarn knit hat, it is recommended to check and measure your gauge before starting the project. You can do this by knitting a swatch using the recommended needles and stitch pattern, and then measuring the number of stitches and rows per inch. Adjusting your tension may be necessary if your gauge does not match the pattern’s specified gauge.
It is important to remember that every knitter’s tension is unique, and slight differences in gauge can greatly affect the final size of the hat. Knitting a swatch and measuring your gauge will help ensure that your finished hat fits properly.
When knitting with bulky weight yarn, it is also important to note that the thickness and elasticity of the yarn can affect your gauge and tension. Bulky weight yarns are generally thicker and may require larger needles to achieve the desired gauge. Additionally, some bulky weight yarns may have less elasticity, resulting in a tighter tension and potentially smaller stitches. It is recommended to keep an eye on your tension and adjust as needed while knitting with bulky weight yarn.
In summary, achieving the correct gauge and tension is crucial for knitting a well-fitting hat with bulky weight yarn. By checking and measuring your gauge, adjusting your tension if needed, and being mindful of the yarn’s thickness and elasticity, you can ensure that your knitted hat turns out just the way you want it.
Starting the Hat
Before you start knitting your bulky weight yarn hat, make sure you have all the necessary supplies at hand. You will need size 11 (8mm) circular knitting needles with a 16-inch (40 cm) cable, as well as a set of size 11 (8mm) double-pointed needles or a longer cable for magic loop method. You will also need a stitch marker to mark the beginning of each round and a tapestry needle to weave in the loose ends.
To begin, cast on 64 stitches using the long-tail cast on method. Make sure to leave a long tail for later use in joining the seam. Place a stitch marker to mark the beginning of the round, and join in the round, being careful not to twist the stitches.
Next, you will start knitting the ribbing for the brim of the hat. Using a knit 2, purl 2 ribbing pattern, work in the round until the ribbing measures approximately 2 inches (5 cm) in length. The ribbing will provide a stretchy and comfortable fit around the head.
After completing the ribbing, it’s time to start working on the main body of the hat. Switch to stockinette stitch, which is knitting every round, until the hat measures approximately 7 inches (18 cm) from the cast on edge. The stockinette stitch will create a smooth and even texture for the body of the hat.
Continue knitting in stockinette stitch until you reach the desired length for your hat. Keep in mind that the hat will slightly stretch when worn, so it’s recommended to leave some extra length for a slouchy fit. Once you reach the desired length, you are ready to proceed to the decrease rounds to shape the crown of the hat.
Knitting in the Round
Knitting in the round is a technique that allows you to create seamless and circular projects, such as hats, socks, and cowls. It eliminates the need for seams and gives a professional finish to your knitted items. The most common method of knitting in the round is using circular needles, although double-pointed needles can also be used.
When knitting in the round, you will need to cast on your stitches onto the circular needles and join them together to form a continuous loop. This can be done by knitting the first stitch and then pulling the yarn tightly to close the gap between the first and last stitches. Alternatively, you can use a stitch marker to mark the beginning of each round.
Advantages of knitting in the round:
- Seamless finish: Knitting in the round eliminates the need for seams, making your finished project look more professional.
- Faster knitting: With no need to turn your work at the end of each row, knitting in the round can be faster than knitting flat.
- Endless possibilities: Knitting in the round opens up a world of possibilities for creating circular and tubular projects.
How to knit in the round:
- Cast on your desired number of stitches onto your circular needles.
- Join the stitches to form a circle by either knitting the first stitch and pulling the yarn to close the gap, or by using a stitch marker to mark the beginning of each round.
- Work the desired stitch pattern or follow the pattern instructions for your project, making sure to knit all stitches in a continuous spiral.
- When you reach the end of the round, simply continue working in the same direction and repeat the pattern until your project is complete.
Knitting in the round can be a bit tricky for beginners, but with practice and patience, it becomes an essential skill for creating seamless and circular projects. So grab your circular needles and start knitting in the round!
Shaping and Decreasing
When knitting a hat with bulky weight yarn, it is important to shape and decrease the stitches to create the desired fit and style. Shaping typically involves decreasing the number of stitches as you work towards the crown of the hat, while still maintaining the proper stitch pattern.
There are several ways to decrease stitches in knitting, depending on the pattern and desired effect. One common method is the knit two stitches together (k2tog) decrease, where you simply knit two stitches as if they were one. This creates a decrease that slants to the right. Another commonly used decrease is the slip, slip, knit (ssk), where you slip two stitches knitwise one at a time, then insert the left needle into the front loops of those slipped stitches and knit them together. This creates a decrease that slants to the left.
To achieve the desired shape and fit for your hat, it is important to follow the pattern’s instructions for shaping and decreasing. This may involve decreasing stitches evenly across the round or in specific sections to create a more tailored look. It is also important to pay attention to any stitch pattern changes that may occur as you decrease, so that the overall design is maintained.
When shaping the crown of the hat, you will typically be decreasing stitches more frequently in order to create a rounded or tapered shape. This may involve decreasing every other round or every few rounds, depending on the pattern. It is important to keep track of your decreases and make sure they are evenly spaced to achieve a symmetrical shape.
Overall, shaping and decreasing play a crucial role in creating a well-fitting and visually appealing hat. By following the pattern’s instructions and using the appropriate decrease techniques, you can create a hat that not only keeps you warm, but also showcases your knitting skills.
Finishing the Hat
Once you have finished knitting the hat, it’s time to finish it off and give it a polished look. Here are a few steps to take to complete your hat:
- Weave in the ends: Use a tapestry needle to weave in any loose yarn ends. Start at the top of the hat and carefully thread the needle through the stitches, making sure to pull the yarn firmly so it doesn’t come undone.
- Block the hat: Wet blocking is recommended for bulky weight yarn hats. Fill a basin with lukewarm water and add a small amount of gentle detergent. Immerse the hat in the water and gently squeeze to make sure it is fully saturated. Remove the hat from the water and press out the excess water, being careful not to wring or twist the hat. Place the hat on a towel, reshape it to the desired size and shape, and leave it to dry completely.
- Add any desired embellishments: If you want to personalize your hat, you can add embellishments such as buttons, pom-poms, or patches. Sew them onto the hat using a needle and thread or a hot glue gun, depending on the material.
- Give it a final inspection: Once your hat is dry and any embellishments are securely attached, give it a final inspection. Check for any loose stitches or uneven areas and fix them if necessary. Smooth out any wrinkles or puckering by gently stretching the fabric.
With these final steps, your bulky weight yarn hat is now complete and ready to be worn or gifted to the lucky recipient. Enjoy the warmth and style of your handmade creation!