
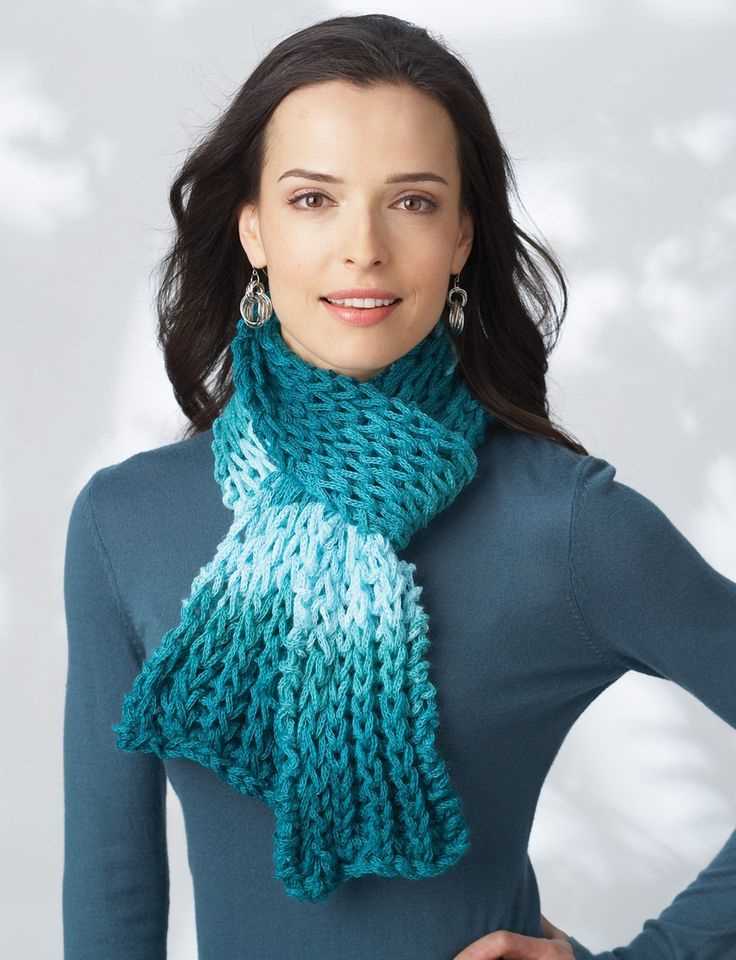
If you are new to knitting and looking for a simple yet stylish project to start with, a knitted scarf is a perfect choice. Scarves are versatile accessories that can be worn in any season and are an essential part of any wardrobe. With this beginner knitted scarf pattern, you will learn the basics of knitting and create a beautiful scarf that you can wear or give as a thoughtful handmade gift.
This pattern is designed for beginners and requires only basic knitting skills. You will need a pair of knitting needles and some yarn in your favorite color. The pattern uses a simple combination of knit and purl stitches, so even if you have never picked up knitting needles before, you will be able to follow along. The result is a classic, cozy scarf that will keep you warm and stylish throughout the colder months.
Knitting a scarf is a great way to relax and unwind after a long day. The repetitive motions of knitting can be therapeutic and calming, and the end result is always rewarding. Plus, making your own scarf allows you to express your creativity and add a personal touch to your accessories. So grab your knitting needles and get ready to create a beautiful knitted scarf that you can be proud of!
Materials needed for knitting a scarf
Before you start knitting a scarf, it’s important to gather all the necessary materials. Here are the essential items you’ll need:
Yarn:
A soft and chunky yarn is recommended for knitting a scarf, as it will provide warmth and comfort. Choose a yarn that is specifically labeled as suitable for knitting scarves or any worsted weight yarn will work well. The amount of yarn you need will depend on the desired length of your scarf, but a standard scarf typically requires around 200-400 grams of yarn.
Knitting Needles:
You’ll need a pair of knitting needles in a size that complements the thickness of your yarn. Generally, larger needle sizes are used for chunky yarns, while smaller needle sizes are used for finer yarns. For a chunky yarn, size 10-12 (6-7 millimeters) needles would work well. Make sure to choose needles that are comfortable for you to work with, as you’ll be spending a lot of time knitting.
Tape Measure:
To ensure that your scarf is the desired length, it’s helpful to have a tape measure or ruler on hand. This will allow you to check the progress of your knitting and make any necessary adjustments along the way.
Scissors:
A good pair of scissors is essential for cutting the yarn when needed. Make sure they are sharp and easily accessible while you work on your scarf.
Tapestry Needle:
A tapestry needle, also known as a yarn needle or darning needle, is necessary for sewing in loose ends and finishing your scarf. This needle has a large eye and a blunt tip, which makes it easier to weave the yarn through the stitches without splitting them.
Optional:
Depending on your knitting preferences, you may also want to have stitch markers, row counters, or a cable needle on hand. These tools can help you keep track of your progress and make certain knitting techniques easier to execute.
By having these materials prepared, you’ll be well-equipped to start your knitting project and create a beautiful scarf. Happy knitting!
Choosing the right yarn for a knitted scarf
When it comes to knitting a scarf, choosing the right yarn is crucial for the overall look and feel of the finished product. The type of yarn you select can impact not only the texture and warmth of the scarf, but also its durability and drape.
Weight: One of the first considerations when choosing a yarn for a scarf is its weight. Different weights of yarn will produce different results, so it’s important to match the weight of the yarn with the desired outcome. For a beginner knitted scarf, a medium or bulky weight yarn is often a good choice as it knits up quickly and creates a cozy and chunky texture.
Fiber composition: The fiber composition of the yarn will also influence the characteristics of the scarf. Common yarn fibers include wool, acrylic, cotton, and blends of different fibers. Wool yarns are known for their warmth and ability to hold shape, while acrylic yarns are often more affordable and machine washable. Cotton yarns are lightweight and perfect for warmer climates, while blends can offer a combination of desired qualities.
Color and pattern: The color and pattern of the yarn are also important factors to consider. Solid colors are versatile and timeless, while variegated or self-striping yarns can create more visual interest and texture in the scarf. It’s important to keep in mind that intricate patterns or intricate color changes may be more challenging for beginners, so sticking to simpler options might be a better choice.
Price: Lastly, the price of the yarn is an important consideration, especially for beginners. While premium yarns may offer superior quality and luxurious feel, they can also be quite expensive. As a beginner, it’s often a good idea to start with more affordable options to practice and gain experience before investing in more expensive yarns.
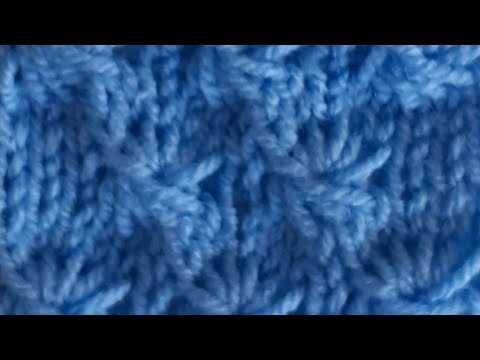
Basic knitting stitches for a scarf
When it comes to knitting a scarf, there are a few basic stitches that every beginner should know. These stitches are the foundation of many knitting projects, and once you master them, you’ll be able to create beautiful and intricate designs.
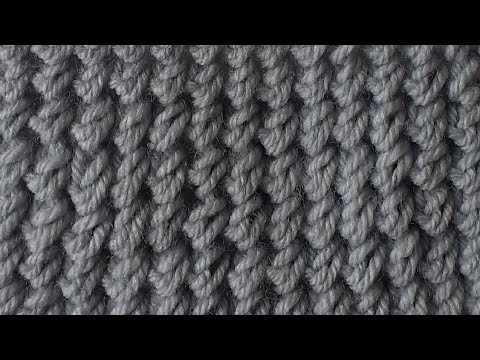
1. Knit stitch: The knit stitch is the most basic stitch in knitting. It creates a smooth and flat texture, perfect for creating cozy scarves. To knit, insert the right-hand needle into the first stitch on the left-hand needle from left to right. Wrap the yarn around the right-hand needle, and pull it through the stitch, slipping the stitch off the left-hand needle.
2. Purl stitch: The purl stitch is the reverse of the knit stitch and creates a bumpy texture. To purl, insert the right-hand needle into the first stitch on the left-hand needle from right to left. Wrap the yarn around the right-hand needle, and pull it through the stitch, slipping the stitch off the left-hand needle.
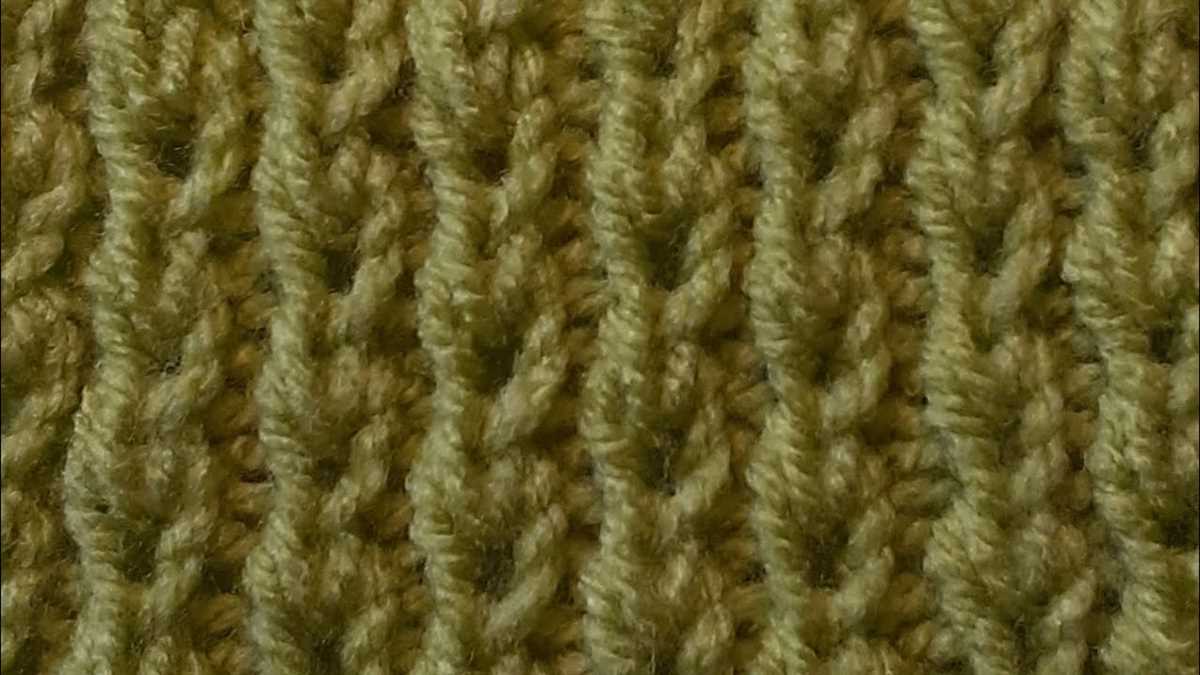
3. Rib stitch: The rib stitch is a combination of knit and purl stitches and creates a stretchy and textured fabric. It is perfect for making the edges of a scarf or adding a decorative element. To create a rib stitch, alternate between knit and purl stitches in each row.
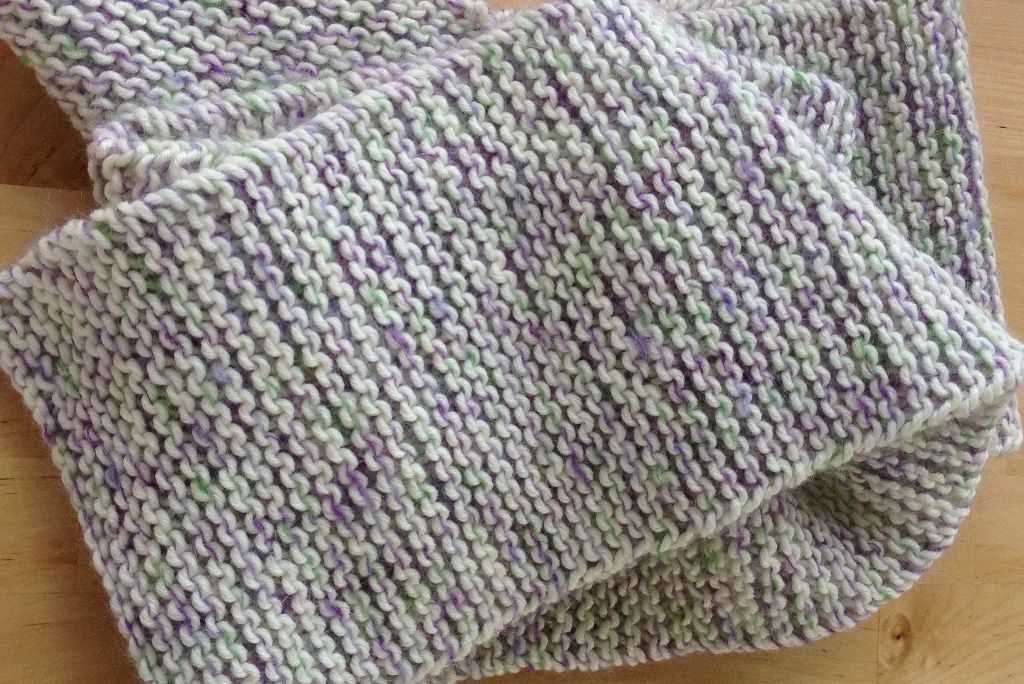
4. Garter stitch: The garter stitch is created by knitting every row. It creates a bumpy texture and is reversible, making it great for scarves that you want to wear on both sides. To create a garter stitch, simply knit every stitch in every row.
Creating a pattern for your knitted scarf
If you’re a beginner knitter and want to make your own scarf, creating a pattern can be a fun and rewarding process. A pattern serves as a guide for your knitting project, helping you keep track of stitches, rows, and any special techniques or designs you want to incorporate.
To start creating your pattern, consider the type of scarf you want to make. Will it be a simple garter stitch scarf or will you incorporate more complex stitch patterns? Determine the desired length and width of your scarf as well. These decisions will help you estimate the amount of yarn you’ll need.
1. Choosing the right stitch: Select a stitch pattern that suits your skill level and desired aesthetic. Garter stitch, stockinette stitch, and ribbing are popular choices for beginner scarves. Look up stitch patterns online or in knitting books, and experiment with different options to see what you like best.
2. Calculating the number of stitches: Decide on the width of your scarf and determine the gauge. The gauge is the number of stitches per inch in your chosen stitch pattern. Once you have the gauge, multiply it by the desired width of your scarf to calculate the number of stitches to cast on.
3. Establishing the pattern: Determine how many rows of each stitch pattern you want to incorporate in your scarf. For example, you might decide to have a section of garter stitch followed by a section of stockinette stitch. Write down the number of rows for each pattern and keep track of your progress as you knit.
4. Adding special details: If you want to add any design elements or embellishments to your scarf, make a note of them in your pattern. This could include adding a fringe, incorporating a color change, or using a different stitch pattern for a border.
5. Finishing touches: Once you’ve completed your scarf, review your pattern and make any necessary adjustments or notes. This will be helpful if you decide to make another scarf in the future or want to share your pattern with others.
Overall, creating a pattern for your knitted scarf allows you to personalize your project and make it truly your own. It’s a great way to learn and practice new knitting techniques while creating a stylish and functional accessory.
Casting on Stitches for a Knitted Scarf
When starting a knitting project, like a scarf, casting on stitches is the first step to create the foundation for your project. The casting-on process allows you to add loops onto your knitting needle, which will eventually form the first row of stitches on your scarf.
To cast on stitches for a knitted scarf, you will need a pair of knitting needles and your yarn of choice. A common method for casting on is the long-tail cast on. To start, make a slipknot with your yarn and place it on one of the knitting needles. Hold the needle with the slipknot in your right hand and the empty needle in your left hand.
Take the yarn tail and drape it over your left thumb, allowing it to fall between your thumb and index finger. Then, wrap the yarn around your left thumb, going over the top and under the bottom of your thumb. With your left hand, hold both the yarn end and the strand that’s wrapped around your thumb.
Next, insert the right-hand needle into the loop on your left thumb from front to back. Slip the left thumb out of the loop, pulling the yarn tight to create a new stitch on the right-hand needle. Repeat this process until you have cast on the desired number of stitches for your scarf.
Knitting the body of the scarf
Once you have completed the cast on and the first few rows of your scarf, it’s time to start knitting the body of the scarf. This is where the bulk of the knitting will take place, and where you will see your scarf begin to take shape.
Using the pattern and stitch design you have chosen, continue knitting row by row until you reach your desired length. This could be anywhere from 50 inches to 70 inches, depending on your preference and the style of scarf you are making.
- Take care to maintain an even tension as you knit, as this will help ensure that your scarf has a consistent and professional-looking finish.
- If you are using a stitch pattern with a repeating motif, make sure to follow the pattern carefully and keep track of your rows. A stitch marker can be helpful for this.
- Remember to periodically check your work for any mistakes or dropped stitches. It’s much easier to fix them as you go along rather than having to unravel a large section of knitting later on.
As you knit the body of the scarf, you will start to see the fabric grow and develop. Enjoy the process and take pride in each stitch you create. This is the part where your patience and dedication will pay off, as you work towards completing a beautiful and cozy scarf that you can be proud to wear or gift to someone special.
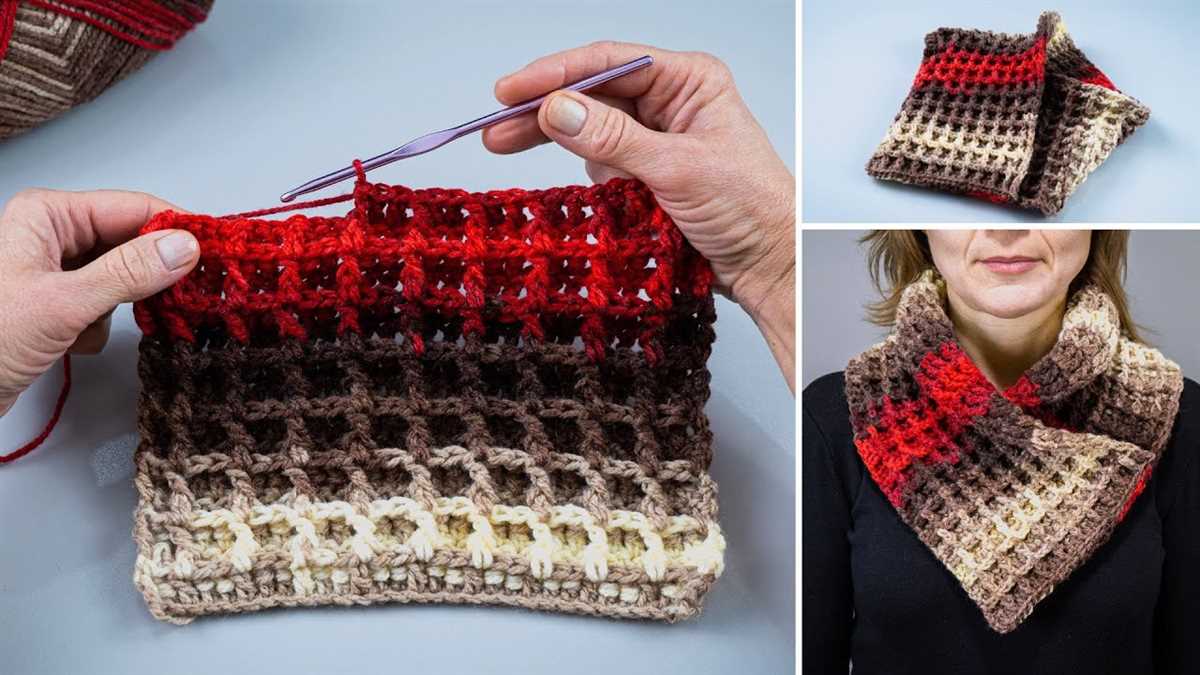
Adding Stripes or Color Patterns to Your Knitted Scarf
Once you have mastered the basic knit stitch and have completed a simple beginner knitted scarf, you may be ready to add some stripes or color patterns to your next project. Adding stripes or color patterns can create visual interest and make your scarf more unique and personalized.
Choosing Colors: When adding stripes or color patterns to your knitted scarf, you will need to choose the colors you want to use. Consider selecting colors that complement each other or create a contrast. You can choose a monochromatic color scheme for a more subtle effect or opt for bold and contrasting colors for a bolder look.
Alternating Colors: One simple way to add stripes to your scarf is to alternate between two or more colors. You can create wide or narrow stripes depending on the number of rows you knit with each color. To create a neat color change, carry the unused yarn up the side of your work rather than cutting and rejoining it with each color change.
Fair Isle or Stranded Knitting: Another technique to add color patterns to your knitted scarf is Fair Isle or stranded knitting. This technique involves working with two or more colors in each row to create intricate and decorative patterns. It’s important to keep a loose tension when working with multiple strands of yarn to ensure that your scarf doesn’t become too tight or stiff.
Intarsia: Intarsia is a method where you can create larger color blocks or shapes within your knitted scarf. Instead of carrying the yarn across the entire row like in Fair Isle knitting, you will use separate bobbins or bobbins to knit with each color. This technique is great for creating geometric patterns or adding larger motif designs to your scarf.
Using a Chart or Pattern: If you’re not confident in creating your own color pattern, you can find many knitting charts or patterns online or in knitting books. These charts provide a visual representation of the color changes so you can easily follow along and create the desired pattern. Be sure to read and understand the instructions before starting and keep track of your progress to ensure accuracy.
Experiment and Have Fun: Adding stripes or color patterns to your knitted scarf is a great opportunity to experiment and have fun with your knitting. Don’t be afraid to try different color combinations or techniques and see what works best for you. With practice, you’ll become more skilled at adding stripes or color patterns to your projects and create beautiful and unique scarves.
How to switch yarn colors in a knitted scarf
Making a knitted scarf is a great project for beginners, and once you’ve mastered the basic knitting techniques, you may want to add some color to your scarf by switching yarn colors. Switching yarn colors can create beautiful patterns and designs in your scarf.
To switch yarn colors in a knitted scarf, follow these steps:
Step 1: Choose your yarn colors
Before you start knitting, decide on the colors you want to use in your scarf. Consider using complementary or contrasting colors to make your scarf stand out.
Step 2: Prepare your knitting
When you reach the end of a row where you want to switch colors, prepare your knitting by cutting the yarn of the old color, leaving a tail of about 6 inches. Take the new color of yarn and leave a tail of about 6 inches as well.
Step 3: Join the new color
To join the new color, insert the right needle into the next stitch as if you were going to knit it, but instead of using the old color yarn, use the tail of the new color yarn. Hold both tails of yarn together and knit the stitch with the new color yarn.
Step 4: Knit with the new color
Continue knitting with the new color until you reach the desired length or until you want to switch colors again. Make sure to leave a tail of about 6 inches when cutting the new color yarn.
Step 5: Switching back to the old color
If you want to switch back to the old color, simply repeat steps 2 and 3, but use the old color yarn instead of the new color. Make sure to leave a tail of about 6 inches when cutting the new color yarn.
By following these steps, you can easily switch yarn colors in your knitted scarf and create beautiful color patterns. Don’t be afraid to experiment with different color combinations to make your scarf truly unique!
Finishing off the knitted scarf
Once you have completed knitting your scarf, it’s time to finish it off and make it ready to wear. There are a few steps involved in finishing off your scarf, but don’t worry, they are relatively easy and straightforward.
First, you will need to carefully bind off your stitches. To do this, simply knit the first two stitches and then use your left needle to pass the first stitch over the second stitch and off the needle. Continue this process until you only have one stitch left on your right needle. Cut the yarn, leaving a tail that is long enough to weave in later.
Next, you will need to weave in the loose ends of your yarn. Thread the tail of your yarn onto a tapestry needle and carefully weave it in and out of your knitted fabric. Make sure to secure the end of the yarn by weaving it back and forth a few times. Trim off any excess yarn.
Once all the loose ends are woven in, it’s time to block your scarf. Blocking helps to even out the stitches and gives your scarf a more polished look. You can block your scarf by either wet blocking or steam blocking. Wet blocking involves soaking your scarf in water, gently squeezing out the excess, and then shaping it on a flat surface to dry. Steam blocking, on the other hand, involves using steam from an iron or steamer to shape and relax the fibers.
Finishing touches
After your scarf has been blocked and is completely dry, you can add any final touches or embellishments. You may choose to add fringe to the ends of your scarf or sew on a decorative trim. Get creative and personalize your scarf to make it truly unique!
Now that you have finished off your knitted scarf, it’s time to proudly wear it or gift it to someone special. Enjoy the warmth and comfort that your handmade scarf brings, and don’t forget to share your accomplishment with others!
Blocking and Caring for Your Knitted Scarf
Congratulations on completing your knitted scarf! Now that you have finished knitting it, it is important to properly block and care for your scarf to ensure it maintains its shape and stays in good condition for years to come.
Blocking: Blocking is a crucial step in finishing your knitted scarf. It refers to the process of shaping and stretching the fabric to achieve the desired measurements and even stitches. To block your scarf, you will need to gently wet it with cold water and lay it flat on a clean towel or blocking mats. Use rustproof pins to pin the ends and sides of the scarf in place, stretching it slightly to achieve the desired length and width. Leave it to dry completely before unpinning the scarf.
Caring for Your Scarf: To keep your knitted scarf in pristine condition, it is important to follow a few care instructions. Hand washing is generally recommended for knitted items like scarves. Fill a basin with lukewarm water and add a gentle wool wash or mild detergent. Gently submerge the scarf in the water, pressing it down to let the soap penetrate. Avoid rubbing or wringing the scarf to prevent stretching or damaging the fibers. Rinse the scarf thoroughly with clean water and gently squeeze out any excess water. Do not twist or wring the scarf. Instead, roll it in a towel to remove excess water and then lay it flat on a clean towel to dry.
It is also important to store your knitted scarf properly when you are not wearing it. Folding it neatly and placing it in a drawer or on a shelf will help prevent it from getting tangled or snagged. Avoid hanging your scarf on hooks or hangers, as this may cause it to lose its shape.
By following these simple blocking and care instructions, you can ensure that your knitted scarf will look beautiful and last for a long time. Enjoy wearing your cozy, handmade scarf and stay warm during the colder months!
Simple Variations to Try with Your Knitted Scarf Pattern
Once you have mastered the basic scarf pattern, you can start experimenting with different variations to add more interest and personal touch to your scarf. Here are a few simple ideas to get you started:
1. Change the stitch pattern
Instead of sticking to the basic garter stitch, try experimenting with different stitch patterns such as ribbing, moss stitch, or seed stitch. This will add texture and visual appeal to your scarf.
2. Use multiple colors
Instead of using a single color throughout the entire scarf, try incorporating multiple colors by using stripes or color blocking. This will give your scarf a more vibrant and dynamic look.
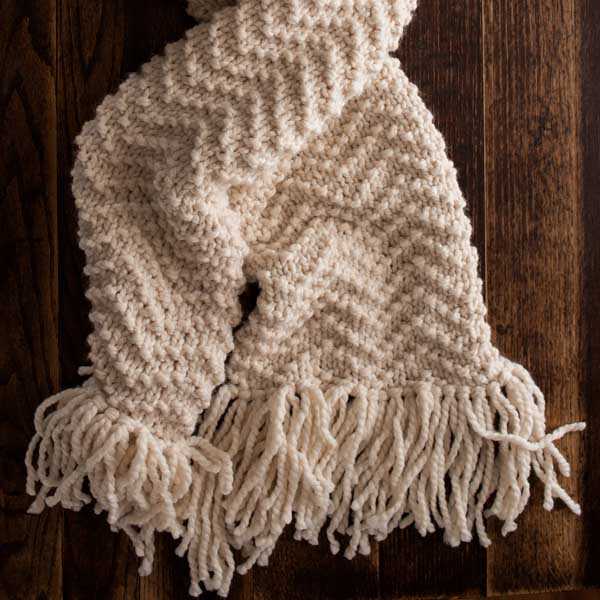
3. Add fringe
If you want to add a fun and playful touch to your scarf, consider adding fringe to the ends. You can use the same yarn as your scarf or choose a contrasting color for added visual interest.
4. Experiment with different yarn weights
Depending on the type of yarn you use, your scarf can have a different look and feel. Try knitting the same pattern with a different yarn weight, such as bulky or lace weight, to see how it changes the overall appearance of your scarf.
Remember, these are just a few ideas to get you started. Feel free to get creative and try out different variations to make your knitted scarf truly unique!
Q&A:
What is a beginner knitted scarf pattern?
A beginner knitted scarf pattern is a simple and easy knitting pattern designed for those who are new to knitting. It usually involves basic knitting stitches and techniques, such as the knit stitch and the purl stitch, and is a great project for beginners to practice and improve their knitting skills.
What materials do I need for a beginner knitted scarf pattern?
For a beginner knitted scarf pattern, you will need a pair of knitting needles, usually in size 8 or 9, and a skein of yarn, preferably a medium-weight yarn. You may also need a yarn needle for finishing the scarf and scissors for cutting the yarn. The specific materials and sizes may vary depending on the pattern you choose.
Can you recommend a beginner knitted scarf pattern?
There are many beginner knitted scarf patterns available online and in knitting books. Some popular options include the garter stitch scarf, the ribbed scarf, and the seed stitch scarf. You can search for these patterns on knitting websites or join a knitting community to get recommendations from other knitters.
How long does it take to knit a beginner scarf?
The time it takes to knit a beginner scarf depends on several factors, such as the length of the scarf, the complexity of the pattern, and the skill level of the knitter. Generally, a simple beginner scarf can be completed in a few evenings or over the course of a weekend. However, it may take longer if you are new to knitting and still learning the basic techniques.
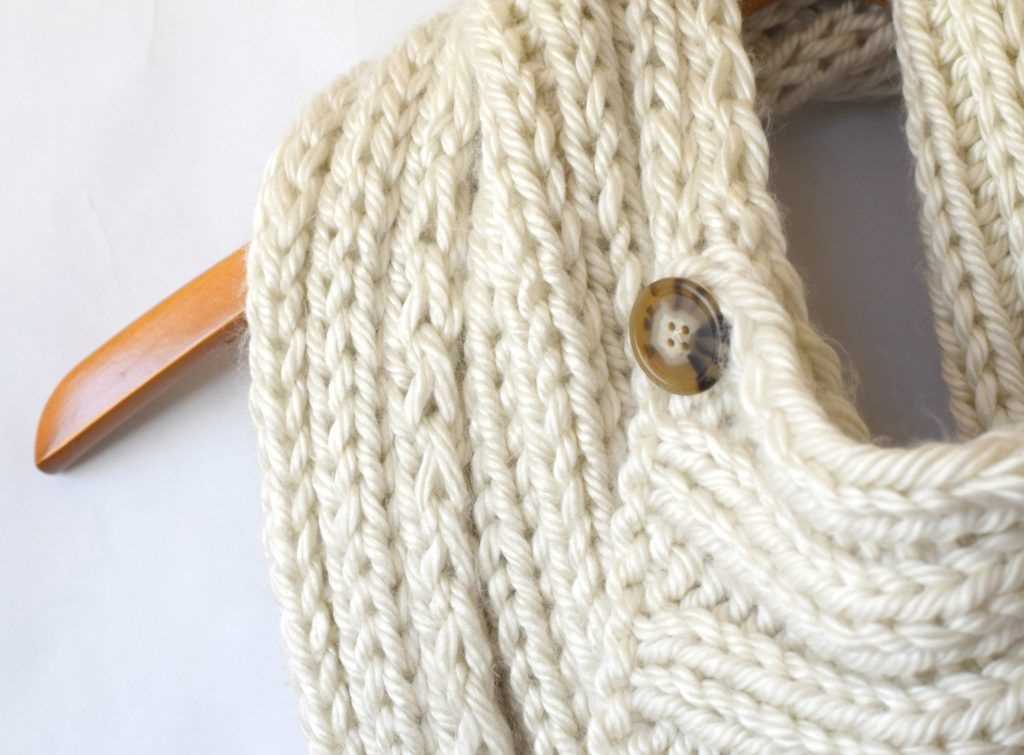
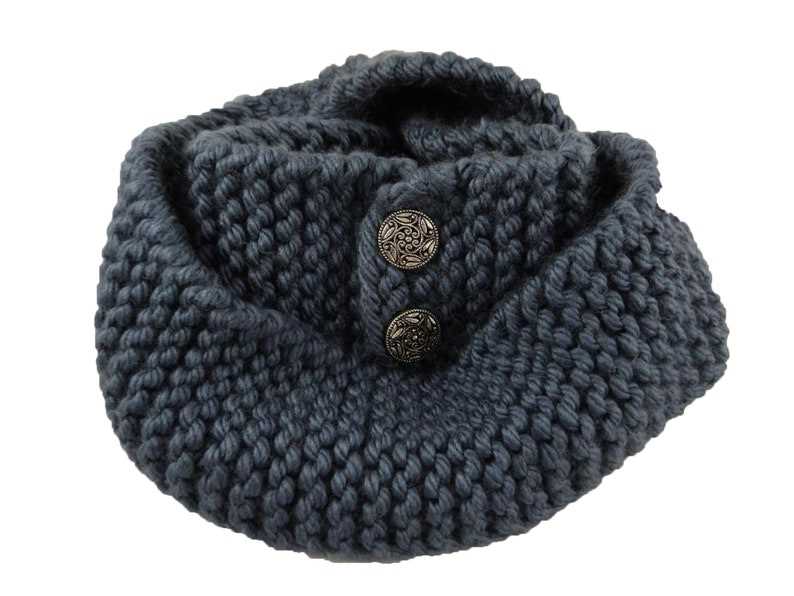
Can I customize a beginner knitted scarf pattern?
Yes, you can definitely customize a beginner knitted scarf pattern to suit your preferences. You can choose different colors of yarn, change the width or length of the scarf, or add embellishments, such as fringe or buttons. Knitting is a creative craft, and you have the freedom to make your scarf unique and personalized.