
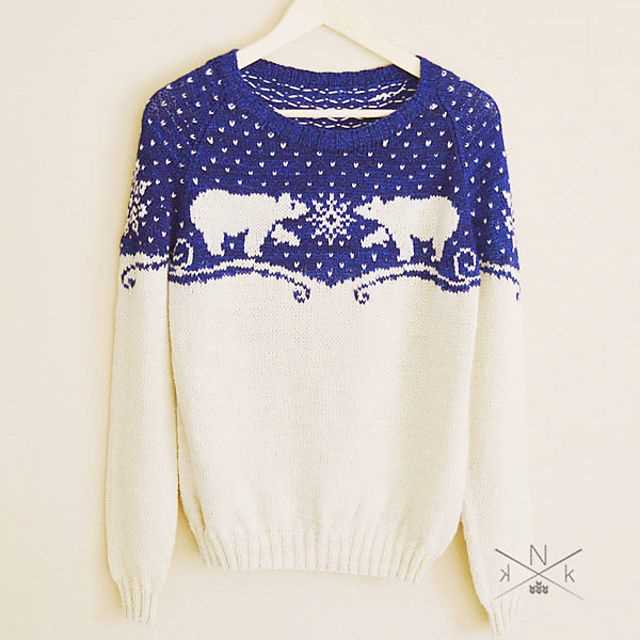
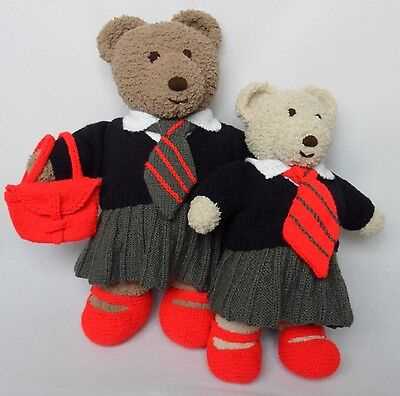
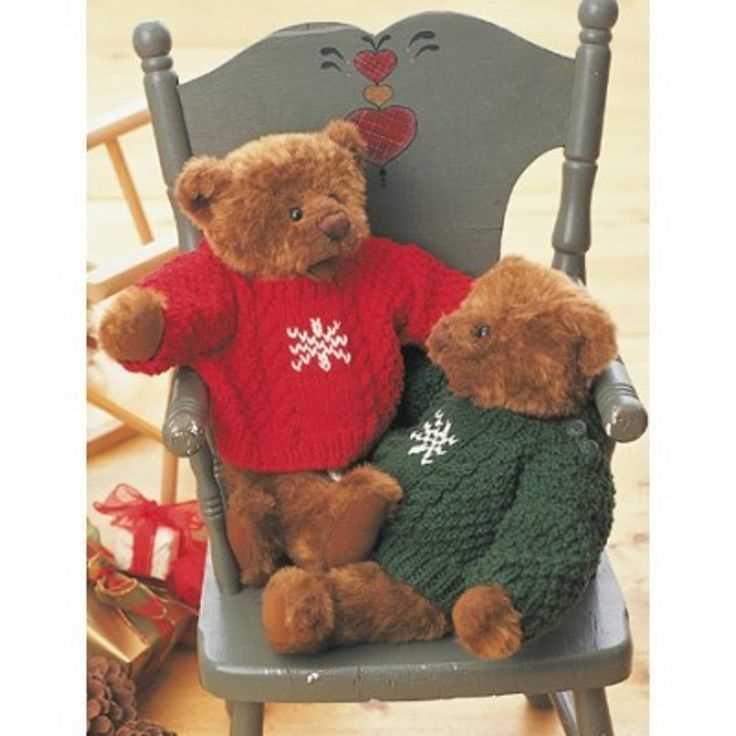
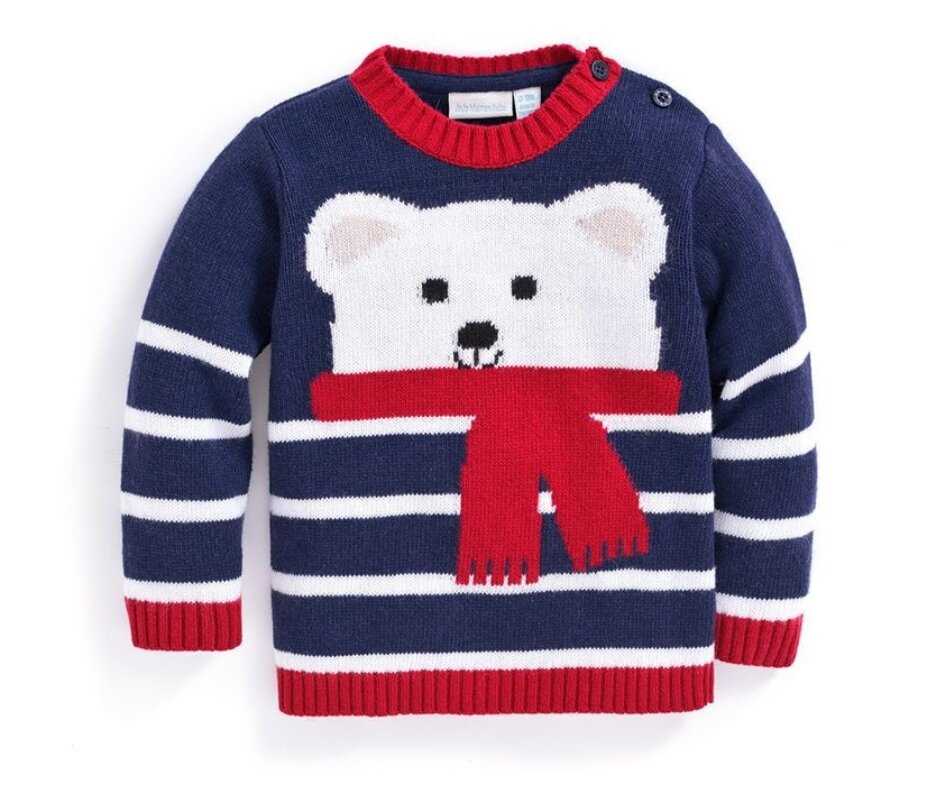
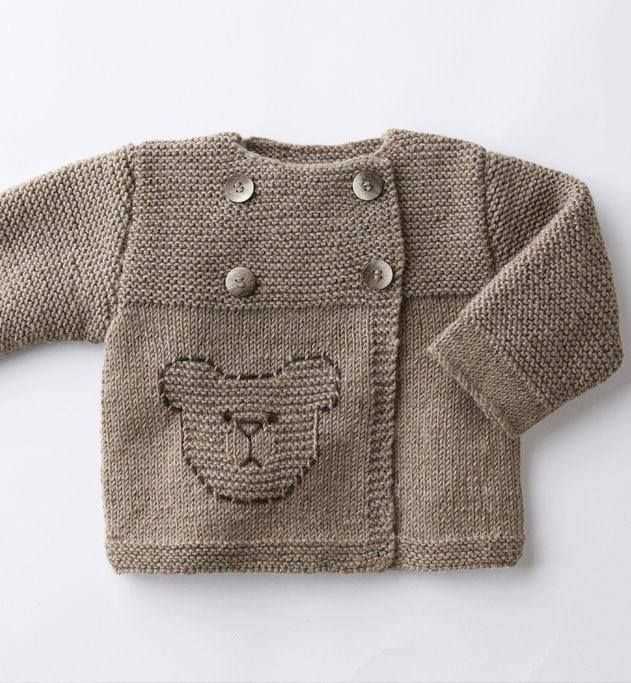
If you’re looking to create a cozy and cute sweater for yourself or a loved one, consider trying out a bear sweater knitting pattern. This adorable design features a bear face and ears on the front, making it a standout piece in any wardrobe. Whether you’re an experienced knitter or a beginner looking for a new project, this pattern is sure to inspire creativity and provide a fun challenge.
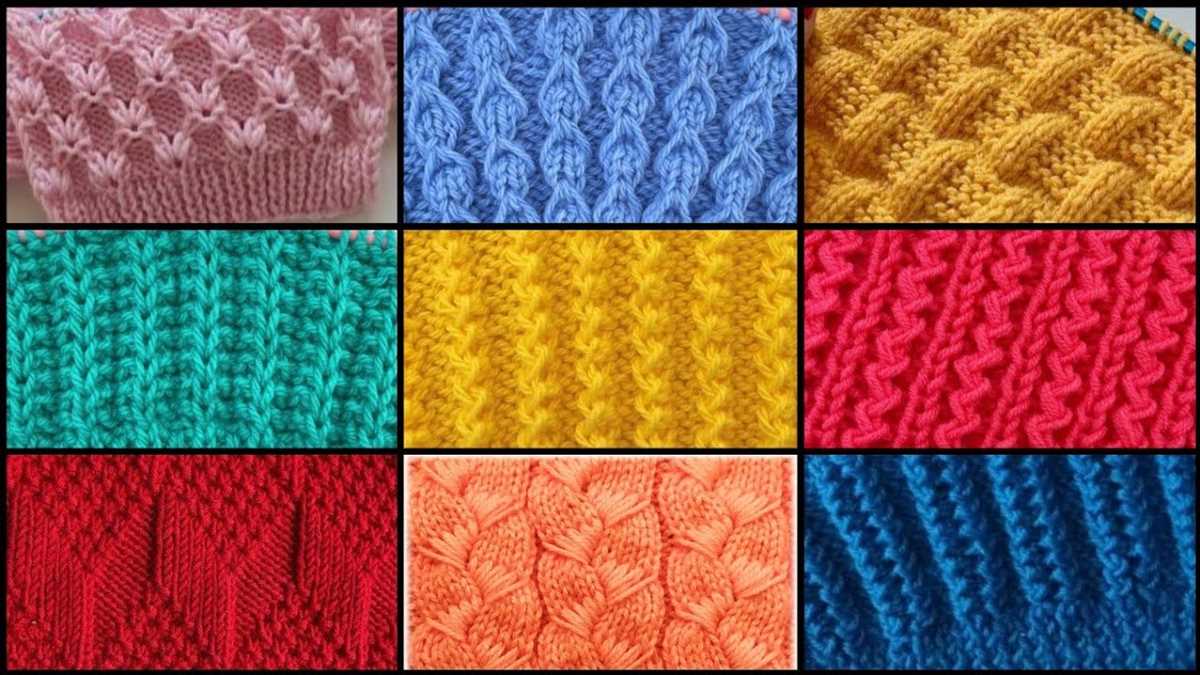
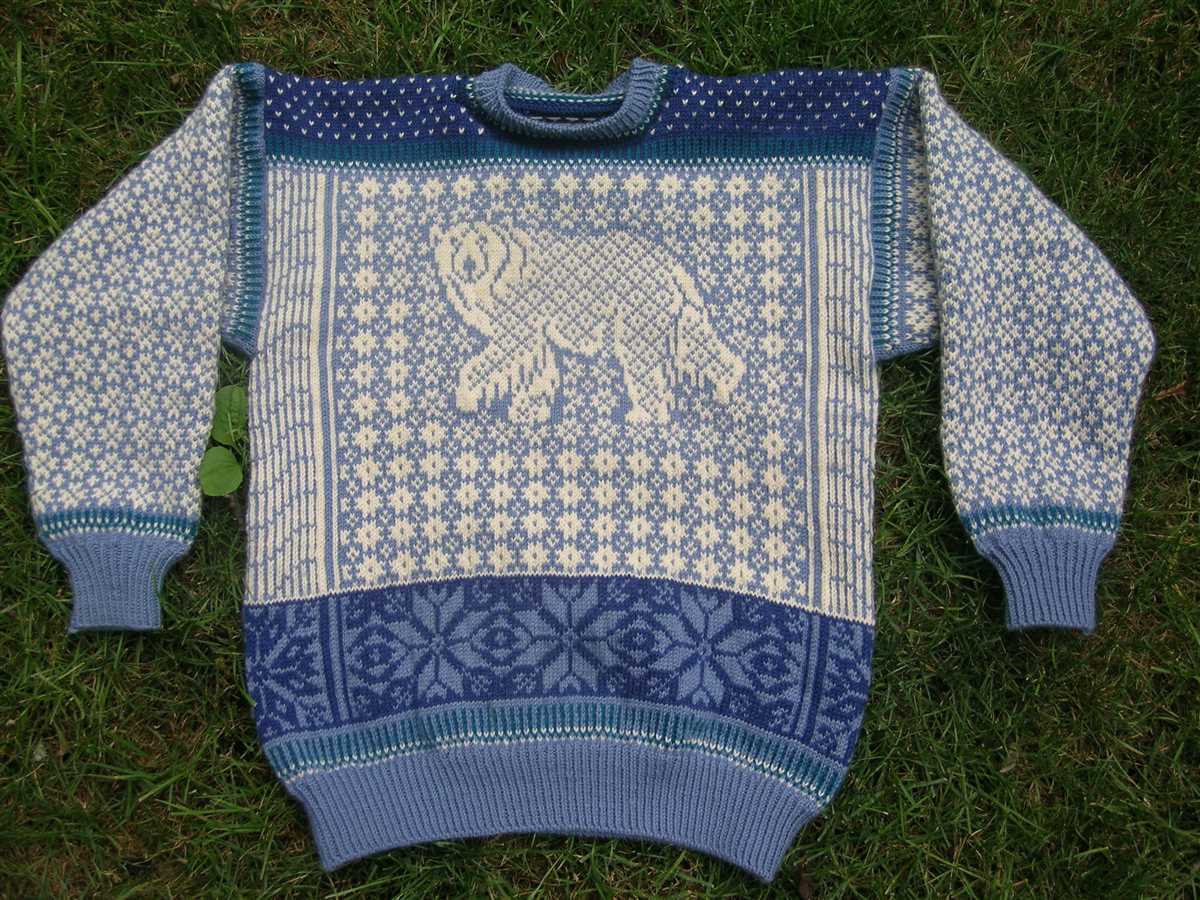
The bear sweater knitting pattern typically involves using a combination of knit and purl stitches, as well as some basic shaping techniques. It may also incorporate intarsia or stranded colorwork to create the bear face and ears. With careful attention to detail and a little patience, you can create a unique and personalized sweater that you’ll be proud to wear or gift.
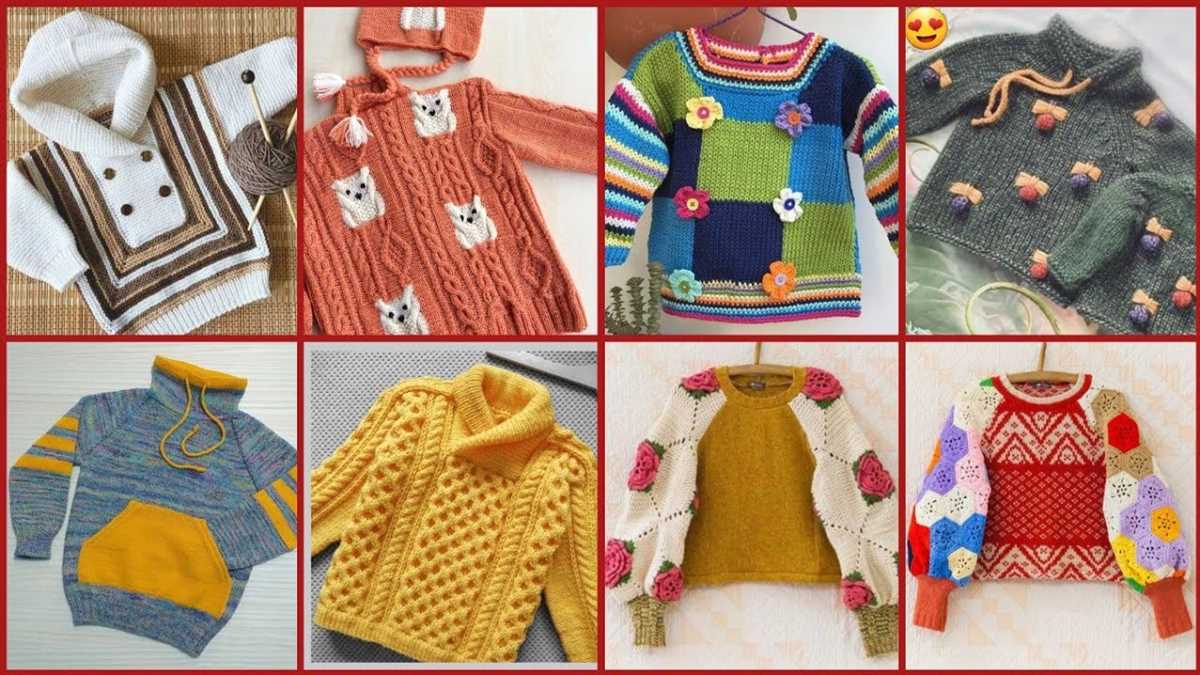
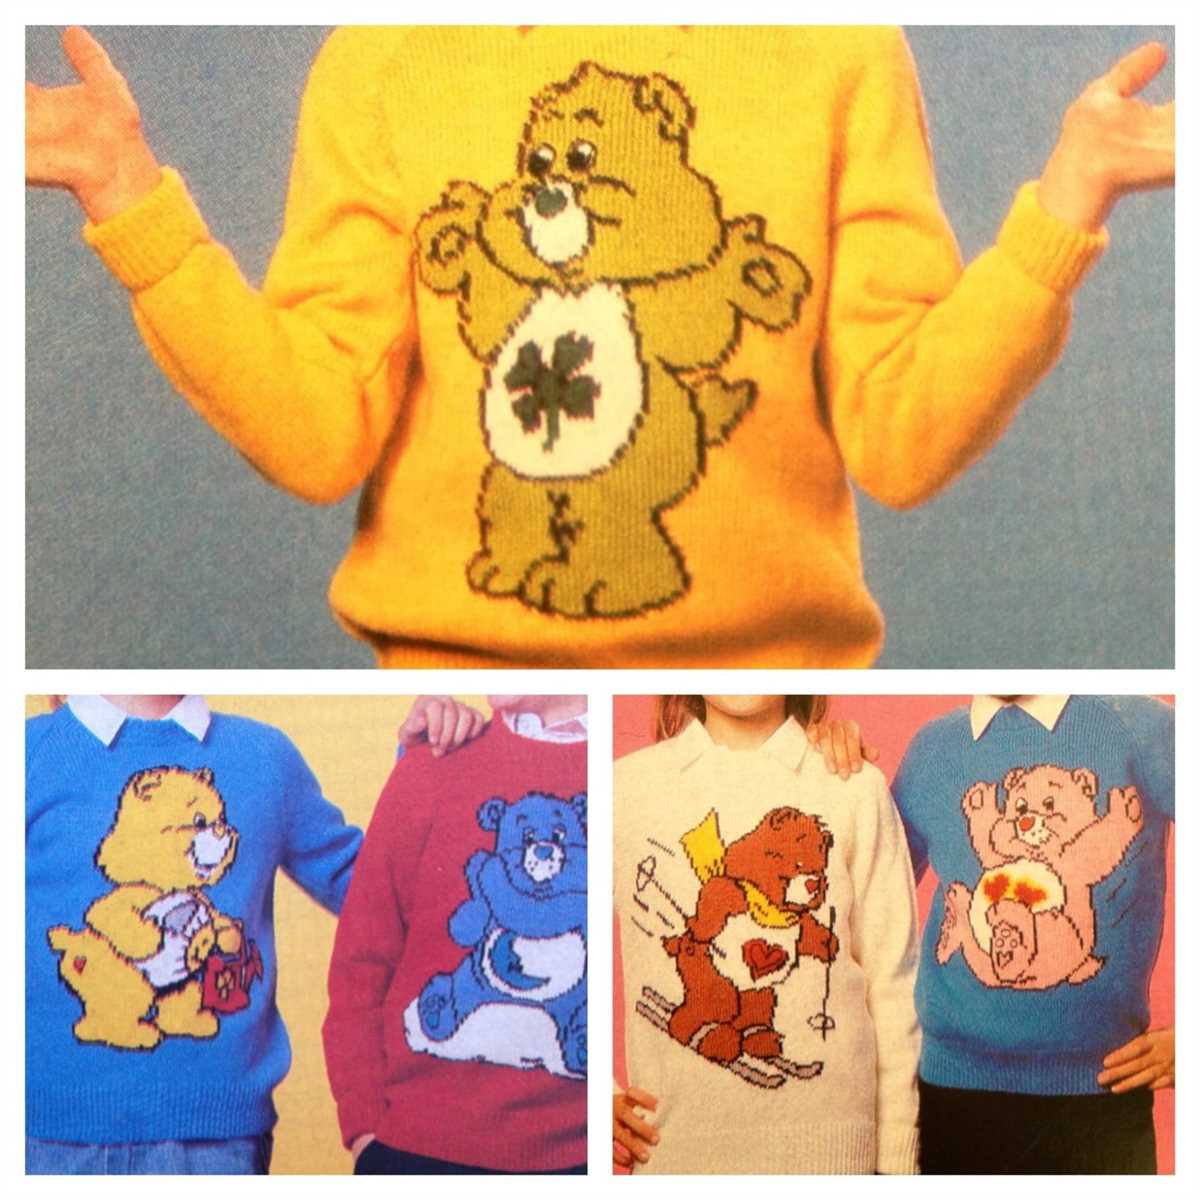
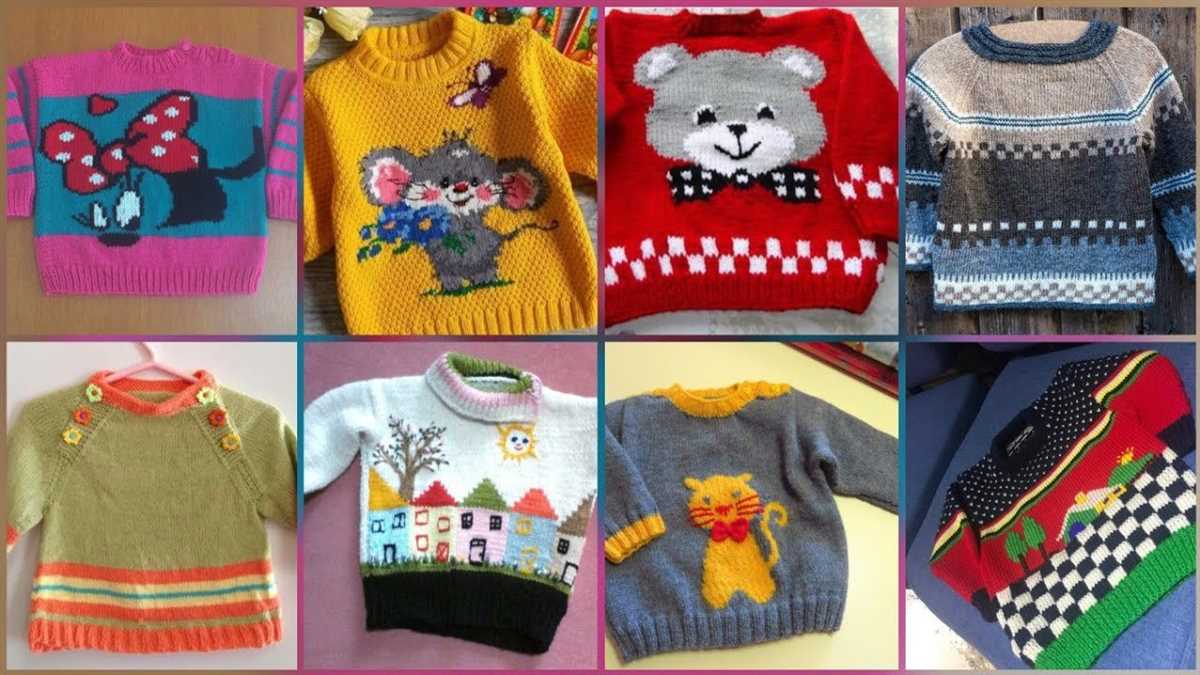
One of the great things about the bear sweater knitting pattern is its versatility. You can choose to use any color combination you like, making it easy to customize the sweater to your taste. Additionally, you can adjust the pattern to fit different sizes and styles, ensuring the perfect fit for anyone who wears it. Whether you prefer a loose and oversized sweater or a more fitted design, the choice is yours.
Bear Sweater Knitting Pattern
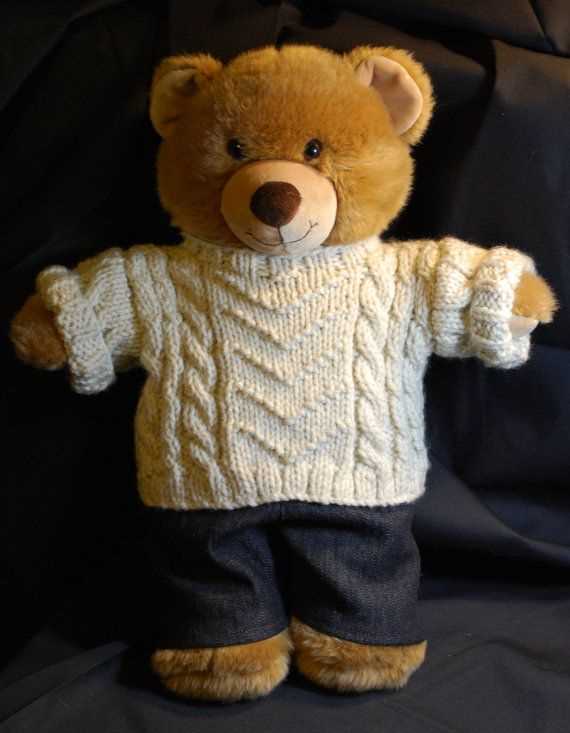
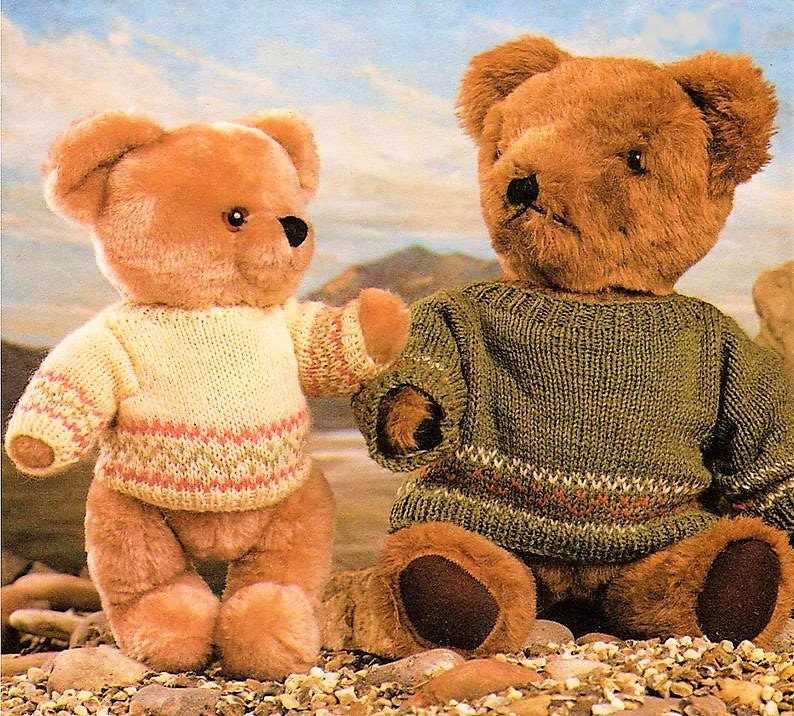
Knitting has always been a popular craft, and one of the most adorable and fun patterns to knit is the bear sweater. This cute and cozy garment is perfect for keeping little ones warm during the colder months, and it also makes a great handmade gift.
To create the bear sweater, you will need some basic knitting skills and a few supplies. The pattern typically calls for medium-weight yarn and knitting needles in the appropriate size. You will also need a tapestry needle for sewing the pieces together and adding any finishing touches.
The first step in knitting the bear sweater is to create the body. This is usually done by casting on the required number of stitches and knitting in the round to create a seamless tube. The pattern will specify the number of stitches and the desired length for the body.
Once the body is complete, the next step is to knit the sleeves. These are typically knit flat and then sewn onto the body. The pattern will provide instructions on how to shape the sleeves and how to attach them to the body.
After the body and sleeves are finished, it’s time to add the bear details. This can include knitting the bear’s face, ears, and paws separately and then sewing them onto the sweater. The pattern will guide you on how to create these details and where to position them on the sweater.
Finally, the last step is to add any finishing touches, such as buttons or other embellishments. These are optional but can add an extra touch of cuteness to the sweater. Once everything is complete, give the sweater a gentle wash and block it to ensure it maintains its shape.
The bear sweater knitting pattern is a great way to practice your knitting skills and create a unique and adorable garment. Whether you’re knitting it for your own child or as a gift, this cozy sweater is sure to be cherished for years to come.
Choosing the Right Yarn and Needles
When it comes to knitting a bear sweater, choosing the right yarn and needles is crucial. The type and weight of the yarn will greatly affect the final look and feel of the sweater, while the size of the needles will determine the overall gauge and size of the finished piece.
When selecting the yarn for your bear sweater, consider the desired texture and warmth. A soft and fluffy yarn, such as an alpaca or mohair blend, would create a cozy and cuddly sweater. On the other hand, a smoother and tighter spun yarn, like a merino wool or cotton blend, would give a more structured and sleek appearance to the sweater.
Additionally, the weight of the yarn should match the pattern requirements. Most bear sweater patterns will suggest a specific yarn weight, such as bulky or worsted. It’s important to follow these guidelines to ensure that the finished sweater will have the intended fit and drape.
When it comes to needles, the size will determine the gauge and overall size of the sweater. The pattern will typically provide a recommended needle size, such as US size 8 or 5mm. However, it’s important to check your gauge before starting the project to ensure that your stitch count matches the pattern instructions. If your gauge doesn’t match, you may need to adjust your needle size accordingly.
Furthermore, the type of needle can also affect the knitting experience. Straight needles are commonly used for flat knitting, while circular needles are great for knitting in the round. Depending on the pattern and your personal preference, you may need to choose between these two options.
In summary, selecting the right yarn and needles is essential for knitting a successful bear sweater. Consider the desired texture, warmth, and weight of the yarn, as well as the recommended needle size and type for the pattern. By making informed choices, you’ll be able to create a beautiful and well-fitting sweater for your bear.
Cast On and Knitting the Ribbing
Before starting to knit the bear sweater, you will need to cast on your stitches and knit the ribbing. The ribbing is the band of stitches at the bottom of the sweater that gives it a stretchy and textured look. It is usually knitted in a different stitch pattern than the rest of the sweater to add visual interest.
To cast on, you will need to create a foundation row of stitches on your knitting needle. This can be done using different methods such as the long-tail cast on or the knit cast on. Choose the method that you are most comfortable with. Make sure to cast on the required number of stitches specified in the knitting pattern.
The ribbing is usually knitted in a combination of knit and purl stitches to create the ribbed effect. For example, the pattern may instruct you to knit two stitches, then purl two stitches, and repeat this sequence until the end of the row. The number of stitches in each sequence may vary depending on the pattern.
As you knit the ribbing, make sure to keep an even tension and not pull too tightly on the yarn. This will ensure that the ribbing is stretchy and not too tight. You can use stitch markers to help keep track of your stitches, especially if the pattern has different stitch sequences or requires shaping.
Once you have completed the ribbing, you can continue knitting the rest of the bear sweater following the instructions in the pattern. The ribbing adds a professional touch to the sweater and also helps to keep the bottom edge from rolling up. It can be a bit time-consuming, but the finished result is well worth the effort!
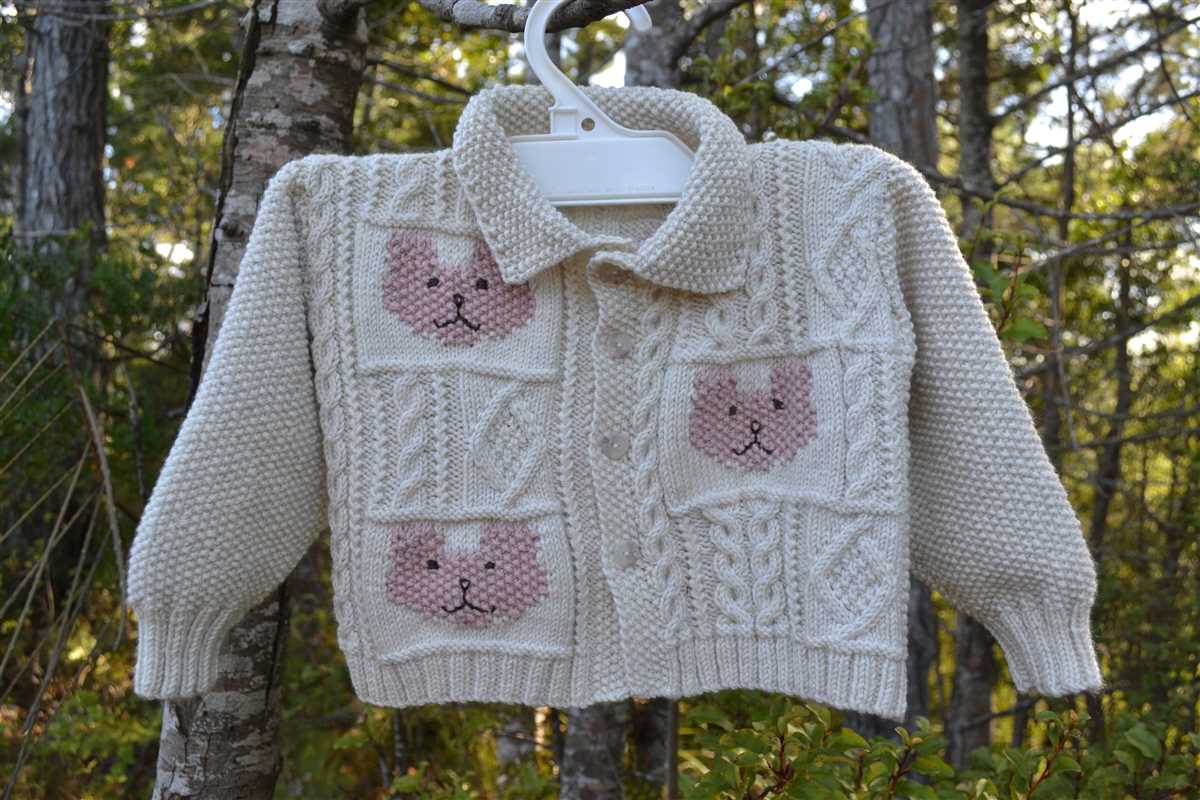
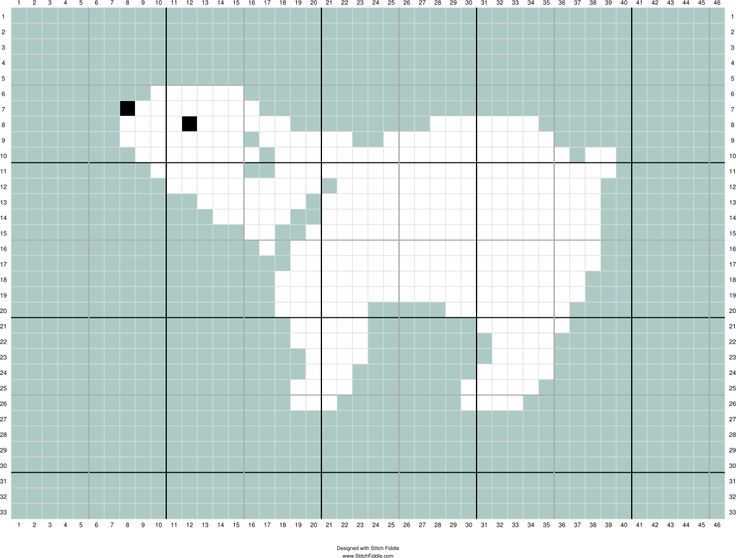
Making the Bear Face Design
When knitting a bear sweater, one of the most important and adorable design elements is the bear face. The bear face adds a playful and cute touch to the overall look of the sweater. In this section, we will discuss how to create the bear face design using simple knitting techniques.
To begin with, you will need to gather the necessary materials for the bear face design. This includes different colored yarns for the eyes, nose, and mouth, as well as a tapestry needle for sewing the pieces onto the sweater. It is important to choose contrasting colors that will make the bear face stand out against the background of the sweater.
To create the eyes, you can use some black yarn or embroidery thread. Start by making two small French knots for each eye. These can be made by taking the needle up through the fabric and then wrapping the yarn around the needle two or three times before inserting it back into the fabric close to where you started. Gently pull the thread taut to create a tiny knot. Repeat this process to make the second eye.
Next, you will need to create the bear’s nose. You can use a small piece of black yarn to make a horizontal stitch in the shape of a triangle. Start at the bottom center of the triangle and work your way up to the tip, then down to the other side, and finally back up to the bottom center. This will create a simple, triangular-shaped nose.
To complete the bear face, you can use a length of black yarn or embroidery thread to create a mouth. Start by making a small vertical stitch in the center of the bear’s face, then make a curved stitch on each side to create a smiling mouth. You can adjust the size and shape of the mouth to give your bear a happy or serious expression.
Once you have finished creating the individual elements of the bear face, you can use a tapestry needle to sew them onto the sweater. Take care to position the eyes, nose, and mouth in the desired location and secure them tightly to ensure they stay in place. With a little bit of patience and attention to detail, you can create a charming bear face design that will make your sweater truly stand out.
Knitting the Body of the Sweater
Once you have finished knitting the sleeves of your bear sweater, it’s time to move on to the body. You will start by joining the sleeves and the front and back panels together, creating a seamless transition.
To do this, you will need to place the panels and sleeves on your knitting needles, making sure to line up the stitches correctly. You can use stitch markers to help keep track of where each panel begins and ends. Once everything is in place, you will begin knitting in the round, working your way up from the bottom to the shoulders.
When knitting the body, you will continue using the main stitch pattern established in the sleeves. This could be anything from stockinette stitch to a cable or lace pattern, depending on the design of your bear sweater. Make sure to follow the instructions in your knitting pattern to maintain the correct stitch pattern and gauge.
As you knit the body, it’s important to periodically try on the sweater to check the fit. This will allow you to make any necessary adjustments, such as adding or reducing stitches, to ensure the sweater fits your desired measurements. Additionally, you should also measure the length of the body as you go to ensure you are on track.
Once you have completed the body, you will move on to the neckline and finishing touches of your bear sweater. This may include knitting a ribbed collar, adding buttons or other closures, and weaving in any loose ends. Following the pattern instructions and using your own creativity, you will be able to bring your bear sweater to life and enjoy the satisfaction of completing a handmade garment. Good luck!
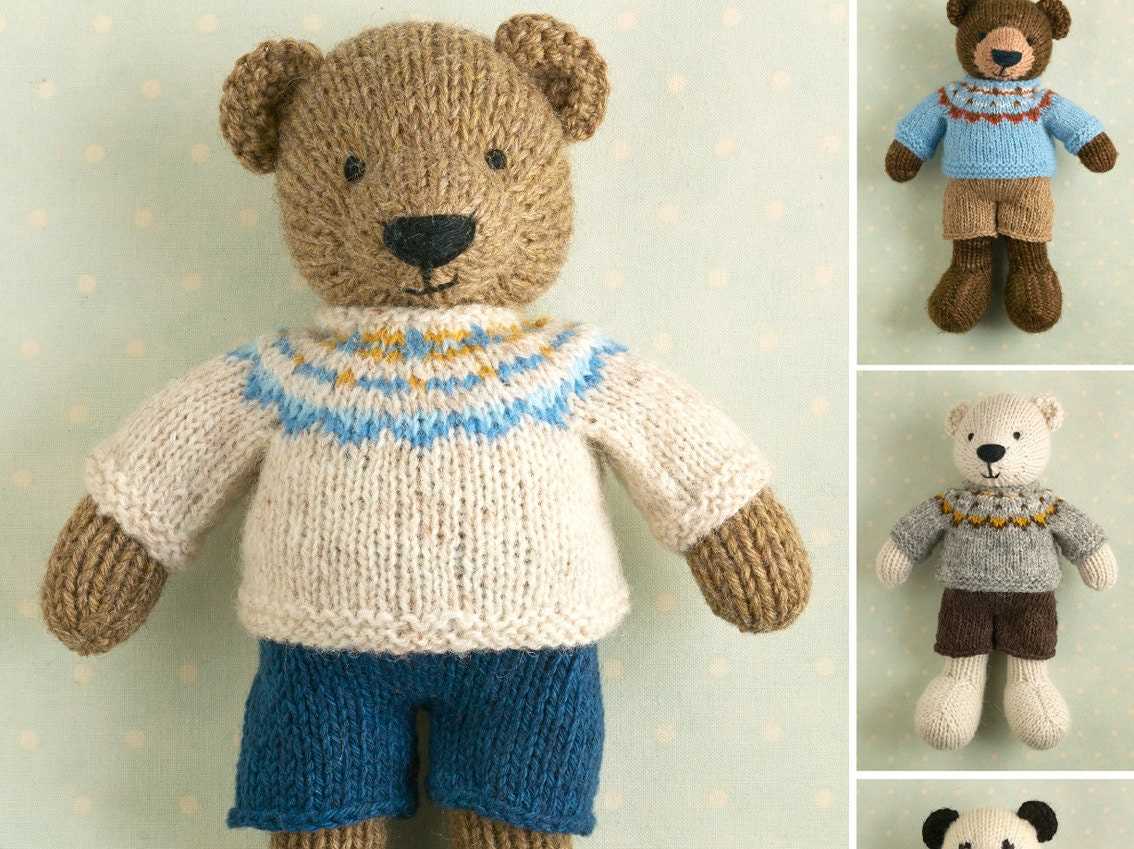
Creating the Bear Ears
When knitting a bear sweater, one of the most adorable and fun elements to include is the bear ears. These cute and fuzzy ears will add a playful touch to the finished garment, making it even more appealing for kids and animal lovers. Here is a step-by-step guide on how to create the bear ears for your knitted sweater.
Materials Needed:
To create the bear ears, you’ll need the following materials:
- Yarn in your desired color for the ears
- Knitting needles of appropriate size
- Tapestry needle for sewing
- Scissors
Step 1: Cast On Stitches
To start creating the bear ears, cast on the required number of stitches onto your knitting needles. This will depend on the pattern you’re following and the size of the bear ears you want to achieve. Make sure to leave a long tail of yarn for sewing later.
Step 2: Knit the Ear Shaping
Once you have cast on the stitches, follow the pattern instructions to shape the bear ears. This will typically involve working a combination of knit and purl stitches, as well as increases and decreases, to achieve the desired ear shape. Take your time and refer to the pattern for any specific techniques or stitches to use.
Step 3: Finishing the Ears
After completing the ear shaping, you’ll need to finish off the ears. This may involve binding off the stitches or cutting the yarn and weaving it through the last row to secure the ear. Make sure to leave a long tail of yarn for sewing the ears onto the sweater later.
Step 4: Sewing the Ears onto the Sweater
Now that you have completed the bear ears, it’s time to attach them to your knitted sweater. Use a tapestry needle and the long tails of yarn left from casting on and finishing off the ears to sew them onto the desired positions on the sweater. Make sure to secure the ears tightly to prevent them from loosening or falling off.
Shaping the Shoulders and Neckline
When knitting a bear sweater, shaping the shoulders and neckline is an important step to ensure a comfortable fit. To achieve a neat finish and a well-fitted garment, it is crucial to follow the pattern instructions precisely.
Shoulder Shaping: To shape the shoulders, the pattern will typically instruct you to bind off a certain number of stitches at each end of the row. This creates a slope that follows the natural contours of the shoulder, providing a more tailored look. With this technique, the sweater will fit better and drape more gracefully on the wearer.
Neckline Shaping: The neckline shaping of a bear sweater pattern can vary depending on the design. There are several techniques commonly used, such as decreases, short rows, or incorporating a separate neckband. These shaping methods help create a neckline that sits nicely on the shoulders and frames the face while providing a comfortable fit.
Before starting the shaping process, it is important to carefully read and understand the pattern instructions. Take note of any stitch counts, measurements, or specific techniques mentioned. Additionally, make sure to work any required stitch patterns or stitch combinations accurately to maintain the integrity of the design.
- Ensure that your stitch gauge matches the pattern’s gauge to achieve the intended size and fit.
- Always work with the recommended needle size or adjust as necessary to obtain the correct tension.
- Use stitch markers to mark the beginning and end points of the shoulder shaping or any other specific shaping areas. This will help you keep track of your progress and ensure accurate shaping.
- If the pattern calls for any additional techniques or stitches for the shoulders and neckline, carefully read the instructions and practice the techniques before working them on the actual sweater.
Remember to take your time while shaping the shoulders and neckline of your bear sweater. It is a crucial step that can greatly affect the overall fit and appearance of the finished garment. By following the pattern instructions, working accurately, and paying attention to detail, you can create a beautifully shaped sweater that will be a joy to wear.
Knitting the Sleeves
When knitting the sleeves for your bear sweater, there are a few key steps to follow to ensure a perfect fit and finish. First, you will need to cast on the required number of stitches for the sleeve. This will typically be specified in your knitting pattern. Make sure to use the appropriate size needles to achieve the correct gauge and tension.
Once you have cast on the stitches, you will begin working in the specified stitch pattern for the sleeves. This could be a simple stockinette stitch, ribbing, or a more intricate design depending on your pattern. Pay close attention to any stitch variations or shaping instructions provided in the pattern to ensure accuracy.
- Increase or decrease stitches as necessary
- Continue knitting in the specified stitch pattern until the sleeve reaches the desired length
- Follow any shaping instructions for the sleeve cuff
- Bind off stitches to finish the sleeve
During the knitting process, it is important to periodically try on the sleeve to check the fit and length. Adjustments can be made by adding or removing rows as needed. Once you are satisfied with the length, follow any shaping instructions for the cuff, such as ribbing or a decorative edge.
After binding off the final row, weave in any loose ends of yarn to ensure a clean finish. Repeat these steps for the second sleeve of the bear sweater. With both sleeves completed, you will be ready to continue knitting the body of the sweater and eventually join the sleeves to the body using the specified joining technique in your pattern.
Attaching the Sleeves to the Body
Once you have completed knitting the body of the bear sweater, it’s time to attach the sleeves. Following these steps will ensure a seamless finish and a comfortable fit for the wearer.
Step 1: Prepare the Sleeves
Before attaching the sleeves, make sure they are properly blocked and flattened to ensure an even and tidy appearance. Lay them flat and smooth out any wrinkles or creases.
Step 2: Pin the Sleeves in Place
Start by aligning the top of the sleeve with the shoulder seam of the body. Use pins to secure the sleeve to the body, placing them at regular intervals along the seam. Make sure the stitches are evenly distributed and the sleeve is centered on the shoulder.
Step 3: Seam the Sleeves
Thread a tapestry needle with yarn that matches the color of the sweater and begin seaming the sleeve to the body. Use a mattress stitch or a whip stitch to join the two pieces together, working from the shoulder down to the cuff. Take care to catch both the front and back loops of the stitches to ensure a strong and secure seam.
Step 4: Repeat for Second Sleeve
Once the first sleeve is attached, repeat the process for the second sleeve, making sure to match the length and positioning of the first sleeve. Check that the sleeves are symmetrical and the stitches are aligned before securing and seam them in the same manner as the first sleeve.
Step 5: Weave in Loose Ends
Finally, weave in any loose ends and trim off any excess yarn. Take care to hide the ends within the seam for a neat and tidy finish. Once all the ends are secured, give the sweater a final check for any loose stitches or uneven seams before blocking it for its final shape.
Finishing Touches: Adding the Bear Eyes and Snout
Once you have completed knitting your bear sweater, it is time to add the finishing touches to bring your adorable bear to life. The eyes and snout are key features that will give your bear its cute and lovable appearance. Here’s how to add them:
1. Eyes: Choose two small black buttons or beads to use as the bear’s eyes. Position them on the front of the sweater, approximately 1 inch below the neckline. Sew them securely in place using a needle and thread, making sure they are evenly spaced and symmetrical.
2. Snout: For the bear’s snout, you will need a small circular piece of fabric in a color that complements the sweater. Cut out a circle with a diameter of approximately 2 inches. Fold the edges of the circle inward to create a smaller circle, then sew along the folded edge to secure the shape.
3. Attaching the Snout:
- Place the snout on the front of the sweater, positioning it just below the eyes.
- Using a needle and thread, sew the snout onto the sweater by stitching around the outer edge of the snout, making sure to securely attach it to the fabric.
- If desired, you can also sew a small black button or bead onto the snout to create a cute nose.
With the eyes and snout now added, your bear sweater is complete! The finishing touches of the eyes and snout give the sweater a charming and playful look that is sure to delight anyone who sees it.
Blocking and Seaming the Sweater
After completing the knitting of your bear sweater, the next important step is blocking. Blocking is the process of shaping and smoothing the knitted fabric to ensure that it retains its shape and size. To block your bear sweater, you will need a flat surface such as a blocking board or an ironing board, rustproof T-pins, and a spray bottle filled with water. Gently lay the sweater on the flat surface and use the T-pins to pin it down, making sure the edges are straight and the measurements match the desired dimensions. Mist the sweater with water using the spray bottle, taking care not to soak it. Allow the sweater to dry completely before removing the pins.
Once the sweater is blocked and dry, it is time to seam the pieces together. By seaming, we mean joining the individual parts of the sweater, such as the front and back panels, and the sleeves. You can use a technique called mattress stitch, which creates an invisible seam on the right side of the fabric. Start by lining up the edges of the pieces to be seamed and thread a yarn needle with the same yarn used for knitting. Insert the needle under the horizontal yarn bars of the first stitch on one side, then do the same on the other side. Continue in this manner, working from the bottom to the top, making sure to keep the tension even. Once you reach the top, secure the yarn and weave in the loose ends.
Remember to take your time and be patient when blocking and seaming the sweater. These steps are crucial for achieving a polished and professional finish. With the right techniques and attention to detail, your bear sweater will be ready to wear and showcase your knitting skills!
Final Thoughts: Styling and Caring for Your Bear Sweater
Knitting your own bear sweater can be a rewarding and fun project. The unique and playful design is sure to make a statement and bring joy to those who wear it or see it. To ensure that your bear sweater looks its best and lasts a long time, there are a few styling and caring tips to keep in mind.
Styling:
- Pair your bear sweater with neutral bottoms to let the design stand out.
- Add fun accessories like a beanie or scarf to complete the bear-themed look.
- For a more casual outfit, wear the bear sweater with jeans and sneakers.
- Dress it up by layering the sweater over a collared shirt and pairing it with dress pants or a skirt.
Caring:
- Always follow the care instructions provided with your chosen yarn.
- Hand wash the bear sweater in cold water using a gentle detergent. Avoid wringing or twisting to prevent stretching.
- Lay the sweater flat to dry to maintain its shape.
- Store the sweater folded or rolled to prevent stretching or distortion.
- Regularly inspect the sweater for any loose threads or pulled stitches and repair them promptly to prevent further damage.
With proper care and styling, your bear sweater can become a beloved wardrobe staple or a cherished gift. So grab your knitting needles and start creating your very own cozy and adorable bear sweater!