
Knitting your own teddy bear is a great way to create a unique and personalized toy that can become a cherished companion or a special gift for a loved one. Whether you’re a beginner or an experienced knitter, this basic teddy bear knitting pattern is perfect for you.
With this pattern, you can create a classic and timeless teddy bear that will never go out of style. The pattern features simple instructions and uses basic knitting stitches, making it suitable for knitters of all skill levels. Even if you’re new to knitting, you’ll be able to follow along and create a beautiful teddy bear.
To knit the bear, you’ll need some basic knitting supplies, including a pair of knitting needles, yarn, stuffing, and some small notions like safety eyes and a sewing needle. The pattern provides details on the specific materials needed and offers alternative options if you prefer to use different colors or textures.
How to Knit a Basic Teddy Bear: Easy Step-by-Step Guide
Knitting a teddy bear is a fun and rewarding project that allows you to create a special toy for yourself or someone you love. Whether you’re an experienced knitter or just starting out, this easy step-by-step guide will help you create a basic teddy bear.
Materials You Will Need:
- Yarn in the color of your choice
- Knitting needles appropriate for your yarn
- Yarn needle
- Scissors
- Stuffing
Step 1: Cast On
To begin, cast on the desired number of stitches for the teddy bear’s body. This will depend on the size you want to create. It’s recommended to use a larger needle size to give the bear a looser, more cuddly texture.
Step 2: Knit the Body
Continue knitting in the round or back and forth, following the pattern of your choice, until the body of the teddy bear reaches the desired length. You can make the body as long or as short as you like.
Step 3: Shape the Head
Next, it’s time to shape the head of the teddy bear. Begin by decreasing stitches evenly across each row or round. This will create a spherical shape for the head. Repeat this process until you’ve achieved the desired roundness.
Step 4: Knit the Arms and Legs
Now that you have the body and head of the teddy bear, it’s time to knit the arms and legs. Cast on the desired number of stitches for each limb and knit in the round or back and forth, depending on your preference. Once the limbs reach the desired length, you can shape the hands and feet by decreasing stitches.
Step 5: Sew and Stuff the Bear
Once you’ve completed all the knitting, it’s time to sew the different parts of the teddy bear together. Use the yarn needle and yarn to sew the head, arms, and legs onto the body. Leave a small opening in the top of the head to stuff the bear. Use the stuffing of your choice to fill the bear, making sure to evenly distribute it for a plush and cuddly feel.
Step 6: Finish and Embellish
To finish your teddy bear, sew up the opening at the top of the head and any other remaining openings. You can also add details such as eyes, nose, and mouth using embroidery thread or buttons. Get creative and customize your bear with accessories like a hat or scarf if desired.
With this easy step-by-step guide, you can knit a basic teddy bear in no time. Enjoy the process and let your creativity shine as you create a special toy that will be cherished for years to come.
Choosing the Right Yarn for Your Teddy Bear
When it comes to knitting a teddy bear, choosing the right yarn is essential to ensure a successful outcome. The yarn you use not only affects the overall look and feel of the finished toy, but it also impacts its durability and washability. Here are a few factors to consider when selecting yarn for your teddy bear.
1. Fiber: The type of fiber used in the yarn will determine the softness, warmth, and stitch definition of your teddy bear. Common options include cotton, acrylic, wool, and blends. Cotton yarn is great for a soft and breathable teddy bear, while acrylic is durable and easy to care for. Wool provides warmth and natural elasticity, but keep in mind that it may require special care.
2. Weight: The weight of the yarn refers to its thickness and determines the size of the stitches and the finished size of the teddy bear. Typically, a medium or worsted weight yarn is a good choice for a teddy bear, as it provides a balance between stitch definition and softness. However, you can experiment with different weights to achieve different effects.
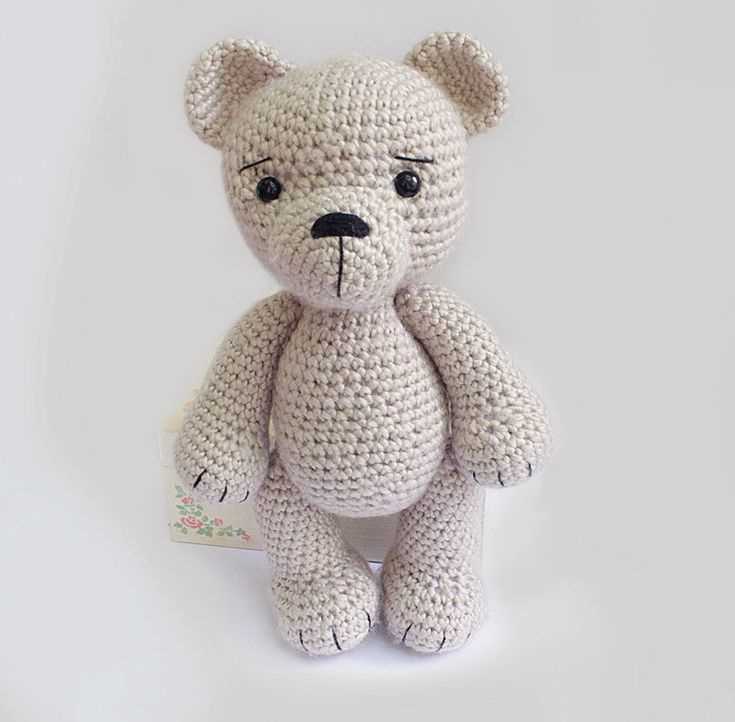
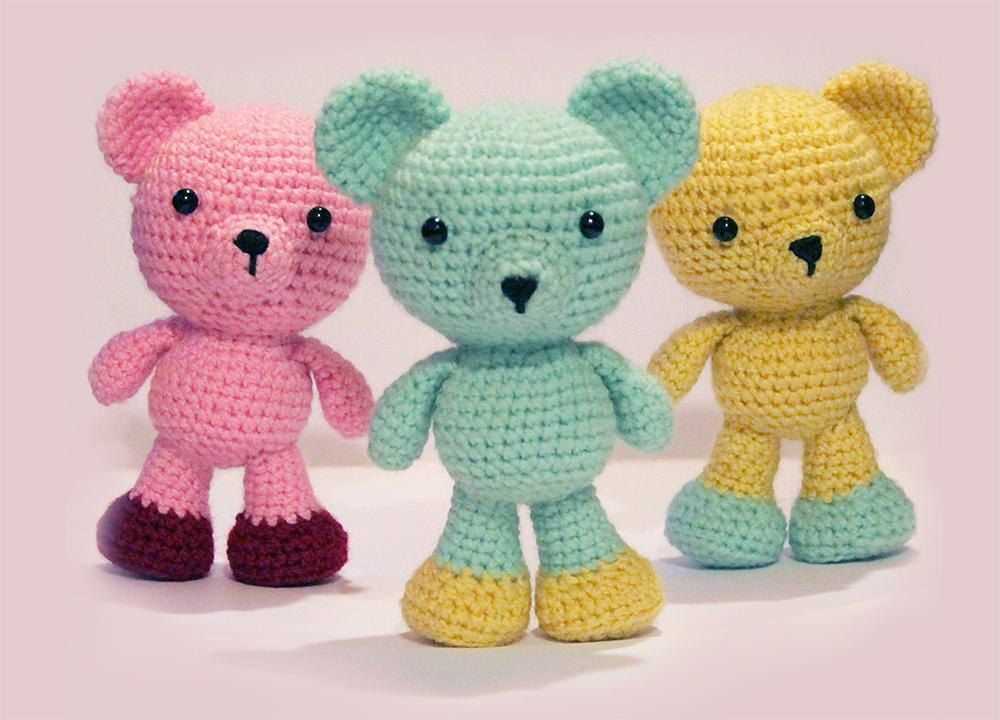
3. Color: The color of the yarn is a personal preference and depends on the theme or style you want for your teddy bear. Classic teddy bears are often made with neutral colors like brown, beige, or gray, but you can also choose vibrant colors for a fun and playful look. Consider the recipient’s preferences and the overall aesthetic you want to achieve.
4. Texture: The texture of the yarn can add an extra dimension to your teddy bear. Some yarns have a smooth and even texture, while others have a fuzzy or fluffy appearance. Consider the desired look and feel of your teddy bear and choose a yarn that complements it. Keep in mind that textured yarns may require additional care during washing.
5. Safety: If the teddy bear is intended for a child, it’s important to choose a yarn that is safe and free from potential hazards. Look for yarns that are labeled as non-toxic and meet safety standards. Avoid yarns with long fibers or loose threads that can be easily plucked out and pose a choking hazard.
By considering these factors and selecting the right yarn for your teddy bear, you can create a delightful companion that is not only aesthetically pleasing but also durable and safe to enjoy for years to come.
Selecting the Correct Needles for Knitting a Teddy Bear
When it comes to knitting a teddy bear, selecting the correct needles is essential for achieving the desired results. The right needles will ensure that your stitches are consistent and the final product is of high quality.
1. Needle Size: The size of the needles you choose will depend on the type of yarn you are using and the desired finished size of your teddy bear. Thicker yarns will require larger needles, while thinner yarns will need smaller needles. It is important to check the yarn label for the recommended needle size and gauge. This will help you determine the appropriate needle size for your project.
2. Needle Material: Needles can be made from various materials, such as metal, wood, or plastic. Each material has its own advantages and disadvantages. Metal needles are durable and smooth, allowing the stitches to glide easily. Wooden needles provide warmth and are gentle on the hands. Plastic needles are lightweight and affordable. Consider your personal preference and the characteristics of the material when selecting your needles.
3. Needle Type: There are different types of knitting needles, including straight needles, double-pointed needles, and circular needles. Straight needles are commonly used for flat knitting, while double-pointed needles are used for knitting in the round, such as for making the arms and legs of a teddy bear. Circular needles can be used for both flat and circular knitting, offering versatility. Choose the needle type that best suits your knitting technique and the pattern instructions.
By taking into account the needle size, material, and type, you can ensure that your teddy bear knitting project goes smoothly. Experiment with different needle options to find the ones that feel comfortable and produce the best results for you.
Casting On Stitches for the Teddy Bear Body
If you’re ready to start knitting your own teddy bear, the first step is to cast on the stitches for the body. This is the foundation of your project, so it’s important to take your time and ensure that you have the correct number of stitches.
To cast on, you’ll first need to choose your yarn and needles. For this pattern, a medium weight yarn and size 8 needles are recommended. Once you have your materials ready, you can begin casting on.
- Hold one knitting needle in your right hand and the yarn in your left hand.
- Make a slip knot by crossing the yarn over itself and pulling the end through the loop.
- Slip this loop onto the knitting needle and tighten it to secure.
- Hold the knitting needle with the slip knot in your right hand and the other knitting needle in your left hand.
- With the yarn in your left hand, bring it between the two needles from back to front.
- Using your right hand, insert the right needle under the left needle and through the loop of yarn on the left needle.
- With the yarn in your left hand, bring it over the right needle and towards the back.
- Using your right hand, pull the right needle through the loop on the left needle to create a new stitch.
- Slide this new stitch onto the right needle and tighten it to secure.
- Repeat steps 5-9 until you have cast on the desired number of stitches for your teddy bear body.
Now that you have successfully cast on the stitches, you’re ready to start knitting the body of your teddy bear. Remember to follow the pattern instructions carefully and take your time with each stitch. With a little patience and practice, you’ll have a cuddly teddy bear in no time!
Knitting the Teddy Bear Body
When it comes to knitting the body of a teddy bear, there are a few key steps to follow. First, you will need to cast on the required number of stitches using your chosen yarn and needle size. It is important to ensure that you have the correct number of stitches to achieve the desired size for your teddy bear.
Once the stitches are cast on, you will begin knitting the body in the round. This means that you will be knitting every round without turning your work. For beginners, it may be helpful to use circular needles or double-pointed needles to make this process easier. Knitting in the round will create a seamless body for your teddy bear.
As you continue knitting, you will need to follow the pattern instructions for shaping the teddy bear’s body. This may involve increasing or decreasing stitches at certain points to achieve the desired shape. It is important to pay attention to the pattern instructions and make any necessary adjustments to ensure an even and well-shaped body for your teddy bear.
Once the body is complete, you can stuff it with fiberfill or another suitable filling material to give it a soft and cuddly feel. Be sure to stuff the body firmly, but not too tightly, to give it the right shape. After stuffing, you can sew up the bottom of the body using a yarn needle to close any gaps and secure the stuffing inside.
Knitting the body of a teddy bear can be a fun and rewarding project. With the right materials and techniques, you can create a beautiful and huggable teddy bear that will be cherished for years to come.
Shaping the Head and Arms of the Teddy Bear
When knitting a teddy bear, one of the most important steps is shaping the head and arms. These are the features that bring the bear to life and give it its cute and cuddly appearance. To achieve the desired shape, it is crucial to follow the knitting pattern carefully and pay attention to the instructions for increasing and decreasing stitches.
First, start by knitting the head of the bear. This is often done by creating a round shape using a combination of knit and purl stitches. The pattern may specify the number of stitches to cast on and the number of rows to knit before starting the shaping process. Pay close attention to any specific instructions for shaping the muzzle, eyes, and ears, as these details will give the bear its unique character.
To shape the arms, the pattern usually instructs you to pick up stitches along the sides of the body. This involves inserting the knitting needle into the existing stitches and knitting new stitches onto it. The number of stitches to be picked up and the distance between them will vary depending on the desired size and proportion of the bear’s arms. Following the pattern’s guidance is crucial to achieve symmetrical and well-proportioned arms.
For both the head and arms, the pattern may include instructions for decreasing stitches. This is usually done by knitting two stitches together to create a decrease in the number of stitches. Decreasing is often used to shape the tops of the bear’s head and the ends of its arms, giving them a rounded and tapered appearance. Again, it is important to carefully follow the pattern’s instructions to achieve the desired shape.
Once the head and arms are shaped, it is time to move on to the next steps of the knitting pattern, such as attaching the limbs to the body and adding any additional details like a nose, mouth, or clothing. Following the pattern step by step will ensure that your teddy bear turns out just the way you envision it, ready to be cherished and loved.
Adding Features to the Teddy Bear’s Face
When knitting a teddy bear, one of the most important steps is adding the features to its face. The face is what gives the bear its personality and charm, so it’s essential to get it just right. There are a few key features that you can add to bring your teddy bear to life.
Eyes: The eyes are perhaps the most important feature of the teddy bear’s face. You have a few different options when it comes to adding eyes. You can use small beads or buttons, or you can embroider the eyes using embroidery floss. If you choose to embroider the eyes, make sure to place them evenly and securely.
Nose: The nose is another important feature that can really bring the teddy bear to life. You can use a small button or bead for the nose, or you can embroider it using a different color of yarn. If you choose to embroider the nose, start by making a small cross shape and then fill it in with vertical stitches.
- Mouth: The mouth can be created using a simple embroidery stitch. You can use a pink or red embroidery floss to create a small line for the mouth. Start by making a straight stitch for the bottom lip and then add a small curve for the top lip.
- Eyebrows and cheeks: Adding eyebrows and cheeks can give your teddy bear an extra touch of personality. You can use small horizontal stitches for the eyebrows and small circular stitches for the cheeks. Use a different color of yarn or embroidery floss to make these features stand out.
- Whiskers: If you want to give your teddy bear a playful look, you can add whiskers using a thin piece of thread or yarn. Simply thread the whiskers through the sides of the nose and tie them securely. Trim them to the desired length.
Overall, adding features to the teddy bear’s face is a fun and creative step in the knitting process. It allows you to customize your bear and give it a unique personality. Whether you choose to use beads, buttons, or embroidery, make sure to take your time and pay attention to detail. Your finished teddy bear will be all the more special because of it.
Knitting the Teddy Bear’s Legs and Feet
In order to begin knitting the legs and feet of your teddy bear, you will first need to gather the necessary materials. It is recommended that you use a pair of double-pointed needles in a size appropriate for your chosen yarn. Additionally, you will need a small amount of stuffing to fill the bear’s feet, as well as a tapestry needle for seaming.
To start, cast on the required number of stitches for the leg using the long-tail cast on method. It is important to keep your tension tight to ensure that the stuffing does not show through. Once you have cast on, distribute the stitches evenly across three double-pointed needles.
Next, you will begin working in the round to create the leg. Knit every round until the leg reaches your desired length, making sure to maintain an even tension throughout. To add some shaping, you may choose to decrease stitches at regular intervals. This can be achieved by knitting two stitches together, also known as a knit two together (k2tog) decrease.
After completing the leg, you can move on to knitting the foot. Simply continue knitting in the round, taking care to decrease stitches at the toe to create the desired shape. Once the foot is complete, stuff it lightly with your preferred stuffing material. Be careful not to overstuff, as this will make seaming difficult.
To finish the leg and foot, you will need to seam the opening closed. Thread a tapestry needle with a length of yarn and insert it through the live stitches on the needles, removing the needles as you go. Pull the yarn tight to close the opening, then secure the end of the yarn on the inside of the leg or foot. Repeat these instructions to complete the second leg and foot of your teddy bear.
Assembling the Teddy Bear: Sewing the Pieces Together
Once you have knitted all the pieces for your teddy bear, it’s time to assemble them and bring your cuddly companion to life. The process may seem daunting, but with a little patience and some basic sewing skills, you’ll have a finished teddy bear in no time.
1. Attach the Arms and Legs
- Begin by pinning one arm to the side of the bear’s body, aligning the edges.
- Using a whip stitch or a backstitch, sew the arm securely to the body, making sure to catch the stitches of both the arm and the body.
- Repeat this process to attach the other arm and both legs.
2. Join the Head to the Body
- Place the head on top of the neck opening, aligning the edges.
- Pin the head in place, making sure it is centered and evenly positioned.
- Using the same sewing technique as before, sew the head to the body, making sure to catch the stitches of both pieces.
3. Secure the Ears and Muzzle
- Pin the ears to the sides of the head, placing them in the desired position.
- Sew the ears to the head using small, neat stitches.
- Next, pin the muzzle to the front of the head, aligning the edges.
- Sew the muzzle in place, making sure to catch the stitches of both the muzzle and the head.
4. Stuff and Sew the Body
- Before fully closing the body, stuff it with polyester fiberfill or your preferred stuffing material.
- Make sure to distribute the stuffing evenly to create a soft and cuddly bear.
- To close the body, sew the remaining opening using a slip stitch or a ladder stitch, securing the stuffing inside.
5. Finish with Facial Features
- Using embroidery floss or thread, sew on the eyes, nose, and any other facial features you desire.
- Be creative in giving your teddy bear a unique expression and personality.
- Make sure to securely attach the facial features, ensuring they withstand play and cuddling.
Congratulations! You’ve successfully assembled your teddy bear. Take a moment to admire your handiwork and give your new friend a warm hug. Your finished teddy bear is now ready to be cherished and loved for years to come.
Stuffing the Teddy Bear: Tips and Techniques
When it comes to knitting a teddy bear, one of the most important steps is stuffing it to give it the perfect shape and cuddliness. Here are some tips and techniques to help you achieve the best results:
1. Choose the right material:
The type of stuffing material you use can make a big difference in the final result. Polyester fiberfill is a popular choice as it is lightweight, soft, and easy to work with. It can be easily manipulated to fill in all the nooks and crannies of the bear’s body. Make sure to choose a high-quality fiberfill that won’t clump or flatten over time.
2. Start with small amounts:
Instead of stuffing the entire bear at once, it’s best to start with small amounts of stuffing and gradually add more as needed. This allows you to control the firmness and shape of the bear. Begin by stuffing the limbs and head first, using small tufts of fiberfill to ensure they are evenly filled. Then move on to the body, working in small sections and distributing the stuffing evenly.
3. Use a stuffing tool:
A stuffing tool can be incredibly helpful in shaping the teddy bear and reaching difficult areas. You can use a knitting needle, chopstick, or even a specialized stuffing tool with a rounded end. It helps push the stuffing into tight corners and makes sure there are no empty spaces. Just be careful not to overstuff or stretch the knitting fabric.
4. Test for firmness:
Before closing up the bear, it’s essential to test its firmness. Gently squeeze the stuffed areas to make sure they are evenly filled and have the desired firmness. If necessary, add or remove stuffing accordingly. Keep in mind that a slightly under-stuffed bear might be softer and more huggable, while a well-stuffed one will have a more defined shape.
5. Secure the opening:
Once you are happy with the stuffing, it’s time to secure the opening. Use a yarn needle to stitch the opening closed using a ladder stitch or an invisible stitch. Make sure the stitches are tight enough to prevent any stuffing from peeking out. Take your time to ensure a neat and tidy finish.
Following these tips and techniques will help you achieve a beautifully stuffed teddy bear that is ready to be loved and cherished for years to come.
Finishing Touches: Embroidering Details and Adding Accessories

After completing the knitting of your basic teddy bear, it’s time to give it some personality by adding the finishing touches. This includes embroidering details to enhance the bear’s facial features, as well as adding accessories to give it a unique and personalized look.
Embroidering Details
Embroidering the facial features is an important step in bringing your teddy bear to life. Using a needle and thread in the appropriate color, carefully stitch on the bear’s eyes, nose, and mouth. You can choose to make the eyes and nose using small buttons, beads, or even safety eyes for a more realistic look. Take your time to ensure that the features are neatly and securely attached, as they contribute greatly to the overall appearance of your teddy bear.
- Eyes: Stitch on two small buttons or beads for the eyes, making sure they are evenly spaced and centered on the bear’s face.
- Nose: Use a triangular stitch or a small embroidered circle to create the bear’s nose. You can experiment with different colors and sizes to match your desired style.
- Mouth: Depending on the expression you want to achieve, you can use a simple straight stitch or create a smiling or frowning expression with a curved stitch. Be creative and give your teddy bear a unique personality!
Adding Accessories
Accessories can take your basic teddy bear to the next level. Here are some ideas to consider:
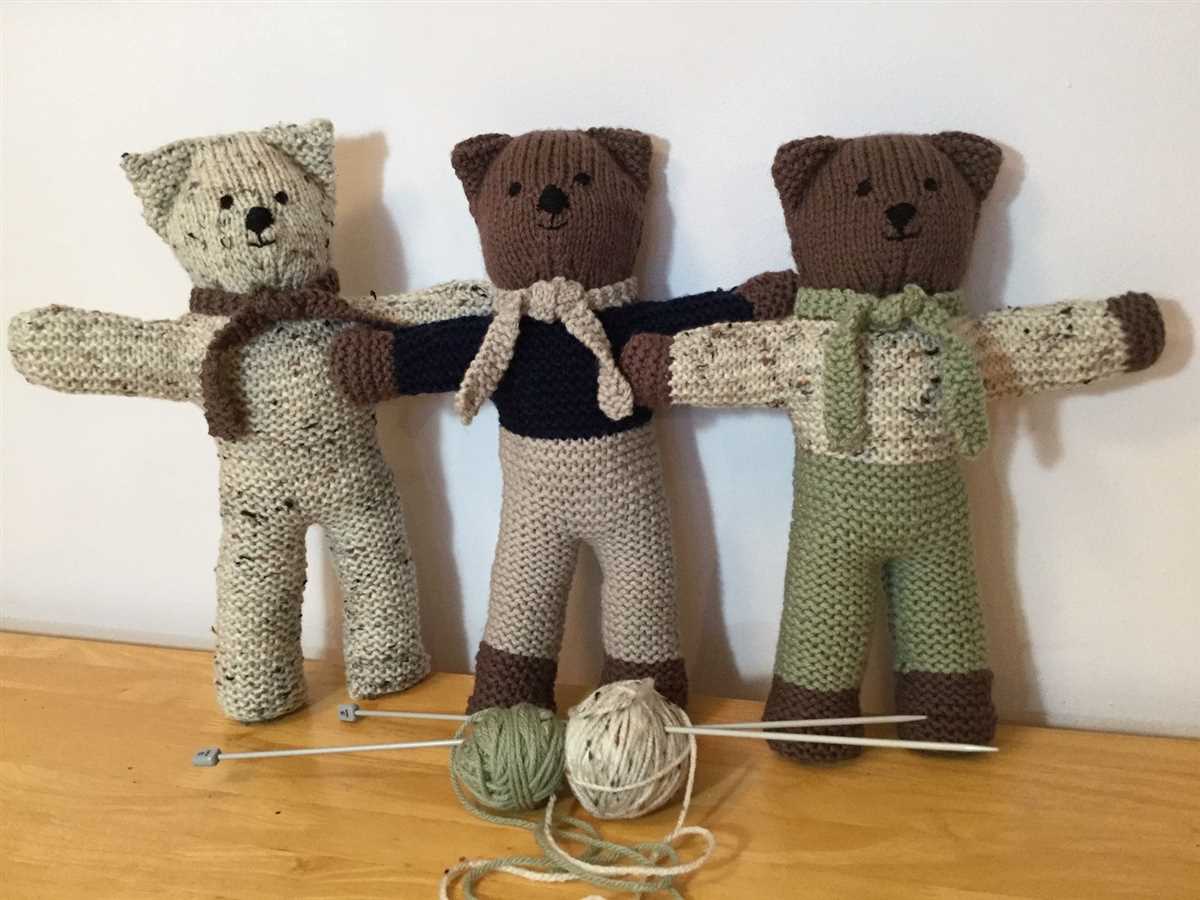
- Bow or Bowtie: Attach a small fabric or ribbon bow around the bear’s neck or attach a bowtie to its collar for a cute and stylish touch.
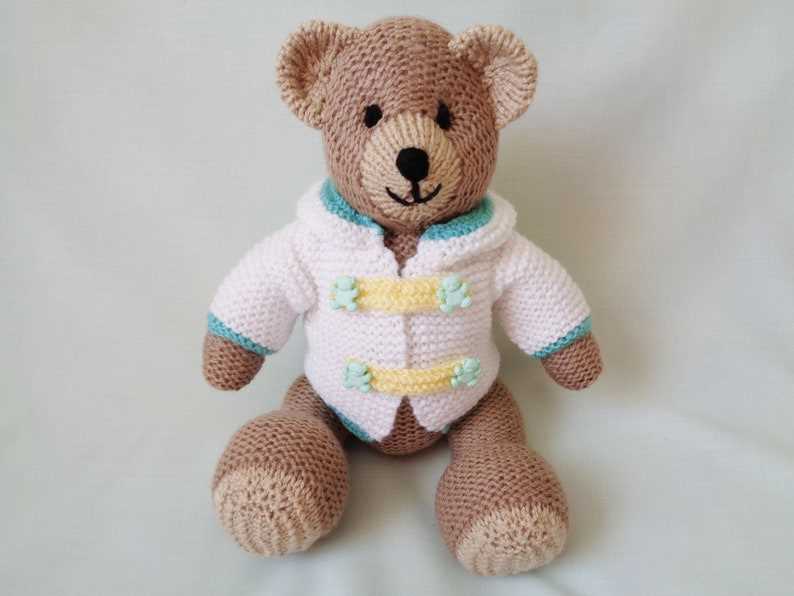
- Hat: Knit or sew a tiny hat for your teddy bear to wear. You can use a contrasting color or match it with the bear’s fur for a coordinated look.
- Scarf: Wrap a knitted or crocheted scarf around the bear’s neck to keep it warm and add a cozy charm.
- Accessories for Special Occasions: Dress up your teddy bear for holidays or special occasions by adding accessories like a tiny Santa hat for Christmas or a small bowtie for a formal event.
Remember to securely attach any accessories to your teddy bear to prevent them from being a choking hazard, especially if the bear is intended for young children. With these finishing touches, your basic teddy bear will become a cherished companion or a thoughtful gift for someone special.
Caring for Your Knitted Teddy Bear: Washing and Maintenance Tips
Once you have completed knitting your teddy bear, it is important to take proper care of it to ensure its longevity. Here are some washing and maintenance tips to keep your knitted teddy bear looking its best:
Washing Your Knitted Teddy Bear
When it comes to washing your knitted teddy bear, it is best to do it by hand. Fill a basin or sink with lukewarm water and add a mild detergent. Gently submerge your teddy bear in the water and use your hands to swish it around. Avoid twisting or wringing the bear, as this can cause damage to the knitting. Rinse the bear thoroughly with clean water to remove any soap residue.
After washing, carefully squeeze out excess water from the bear by gently pressing it against the side of the basin or sink. Do not twist or wring the bear again. Once most of the water is removed, lay the teddy bear on a clean towel and shape it back into its original form. Allow the bear to air dry completely before handling or storing it.
Maintenance Tips
To keep your knitted teddy bear looking its best, avoid exposing it to excessive sunlight, as this can cause fading or damage to the yarn. Additionally, keep the bear away from pets or young children who may tug or pull on it, as this can also cause damage to the knitting.
If your teddy bear gets dirty or soiled, spot clean it with a damp cloth and mild soap. Avoid fully immersing the bear in water unless necessary, as this can cause the stuffing to become wet and potentially damage the knitting.
To prevent any accidental snags or pulls, store your knitted teddy bear in a protective bag or box when not in use. This will also help to keep it clean and free from dust. Make sure to avoid storing the bear in a damp or humid environment, as this can promote the growth of mold or mildew.
By following these washing and maintenance tips, you can ensure that your knitted teddy bear remains in excellent condition for years to come. With proper care, your teddy bear can become a cherished keepsake or a beloved gift for someone special.