
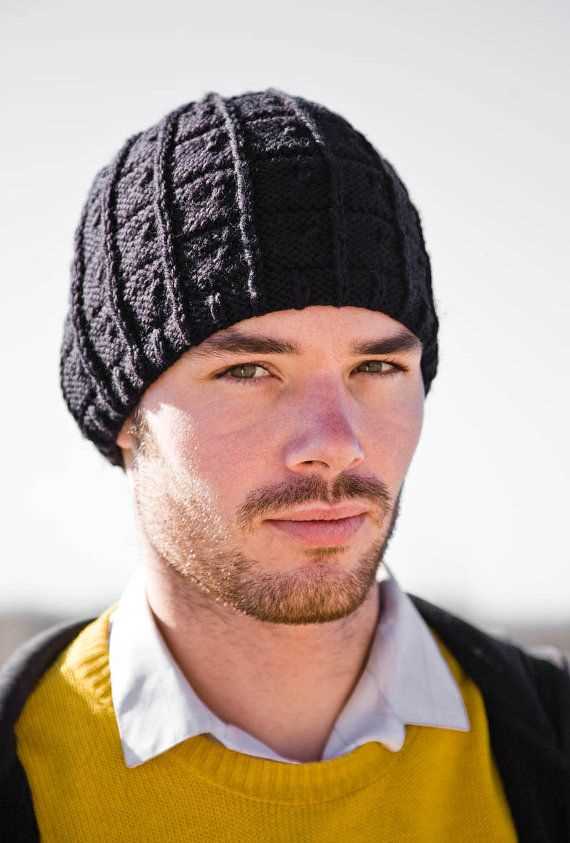
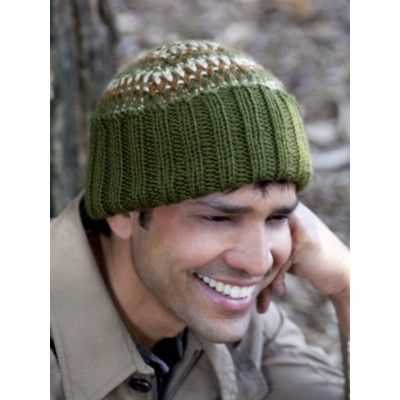
If you’re a fan of knitting and looking for a new project, look no further! We have a fantastic men’s hat free knitting pattern that you’ll love. Knitting is a wonderful hobby that allows you to create beautiful and functional items, and this hat is no exception. Whether you’re knitting for yourself or a loved one, this pattern is sure to please.
This men’s hat free knitting pattern is perfect for beginners and experienced knitters alike. The pattern is easy to follow and includes detailed instructions that will guide you through each step. The finished hat is cozy, warm, and stylish, making it the perfect accessory for chilly winter days or cool fall evenings.
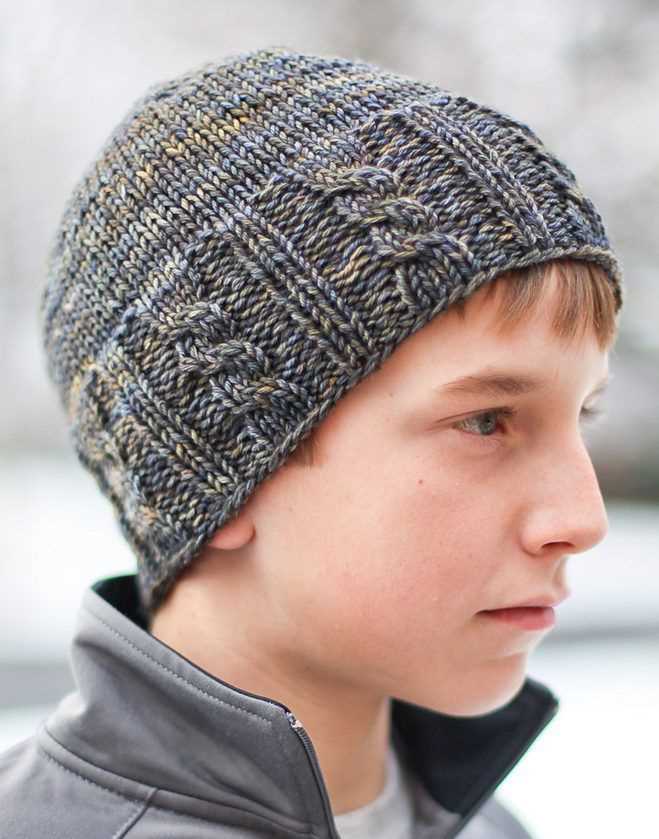
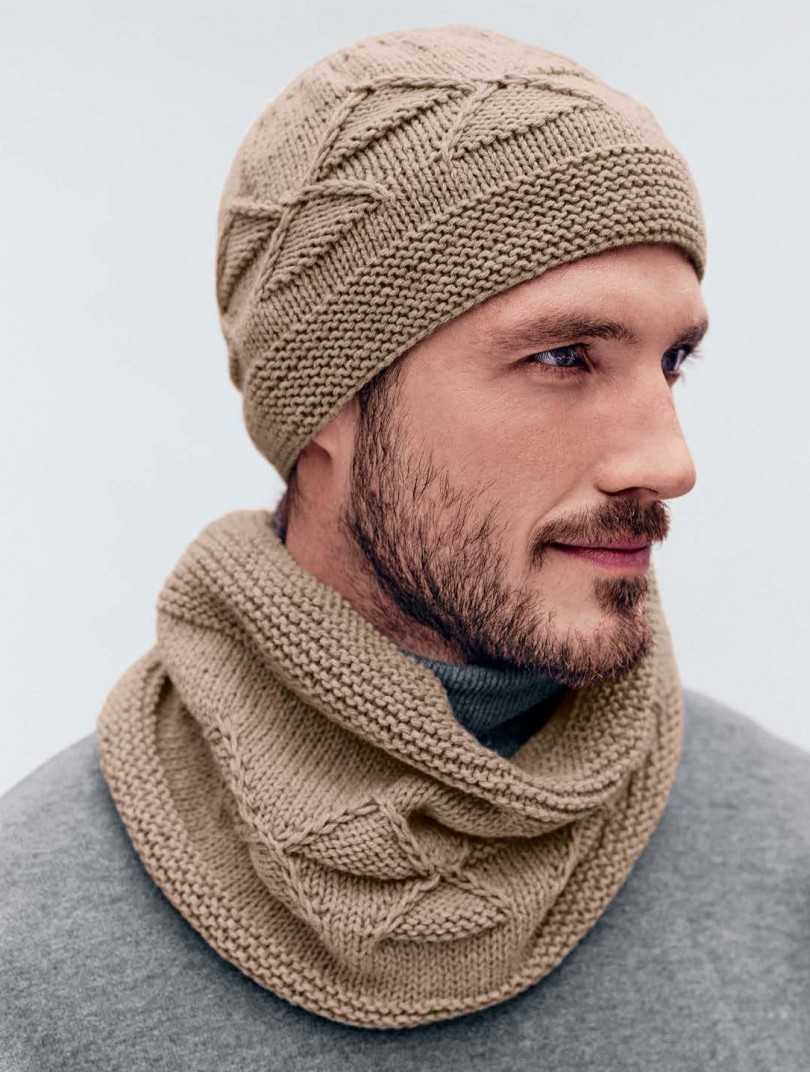
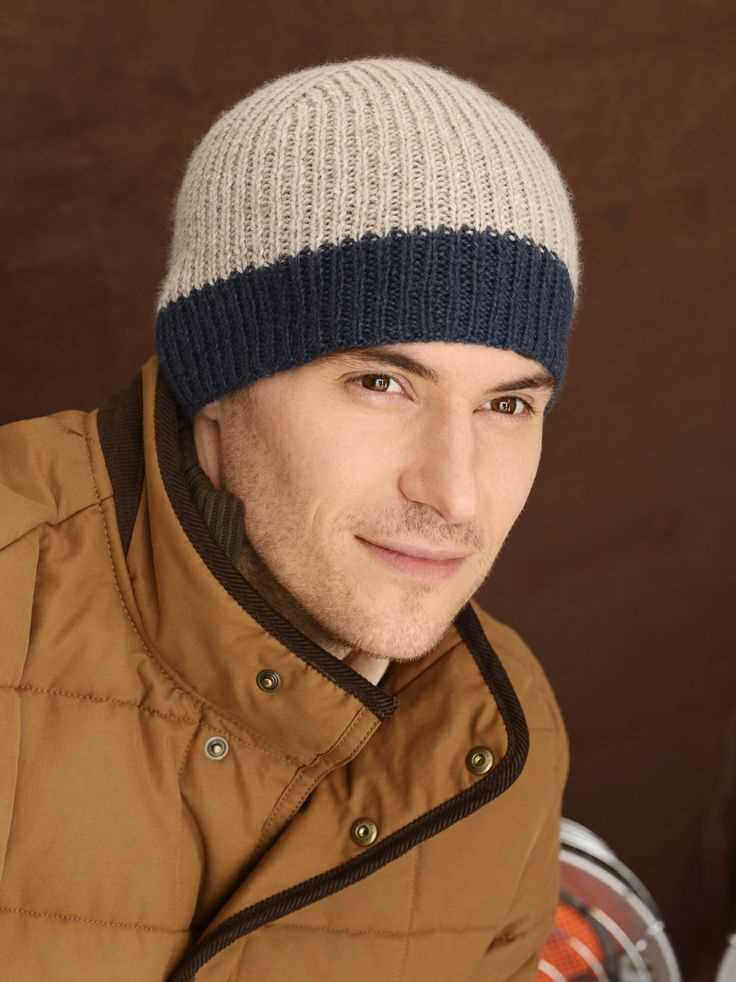
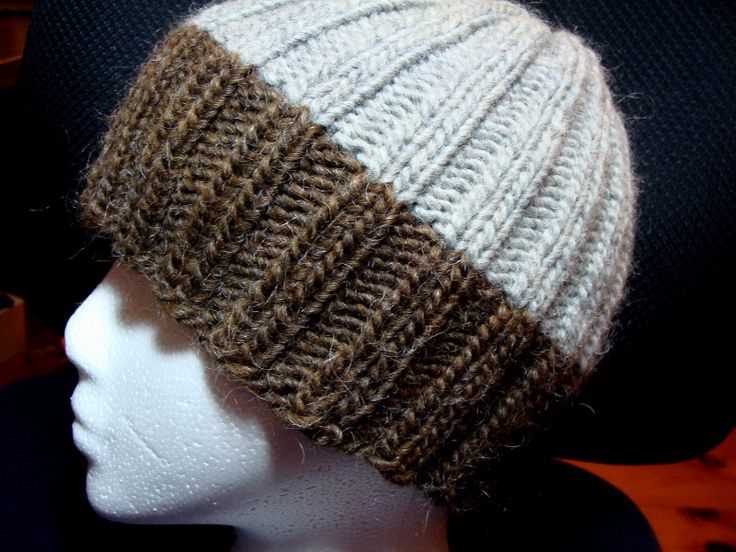
With this men’s hat free knitting pattern, you can customize your hat to fit your personal style. Choose from a variety of yarn colors and textures to create a hat that is uniquely your own. You can also experiment with different stitch patterns and embellishments to make your hat truly one-of-a-kind. No matter what your skill level or preferences, this pattern is sure to inspire your creativity.
Mens Hat Free Knitting Pattern
If you’re looking for a free knitting pattern for a men’s hat, you’re in luck! We have a great pattern that is perfect for keeping your head warm and stylish during the colder months. Whether you’re an experienced knitter or just starting out, this pattern is suitable for all skill levels.
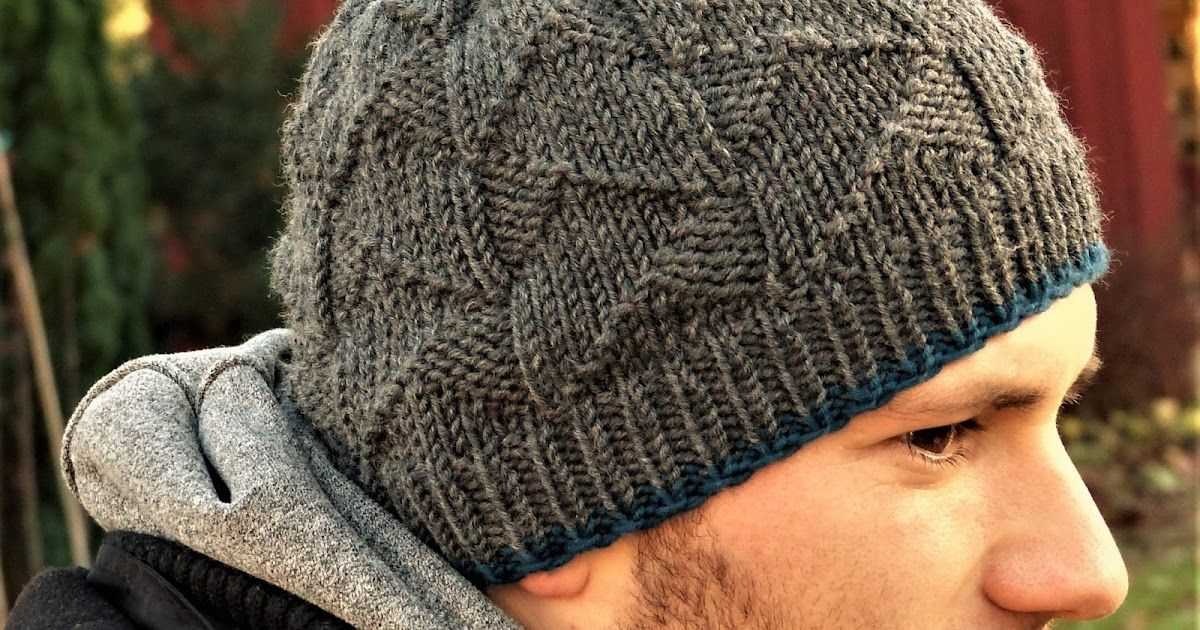
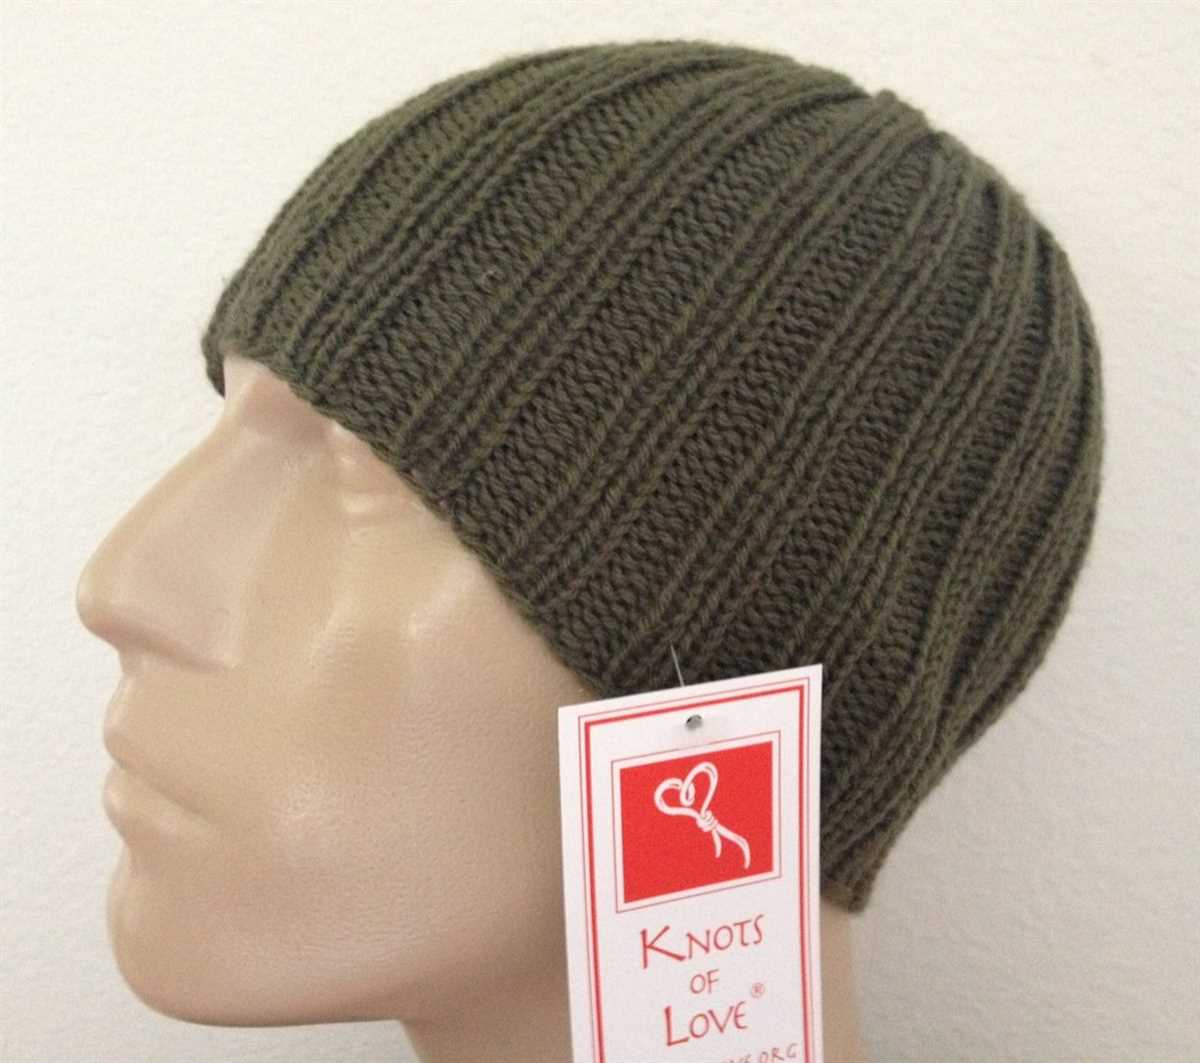
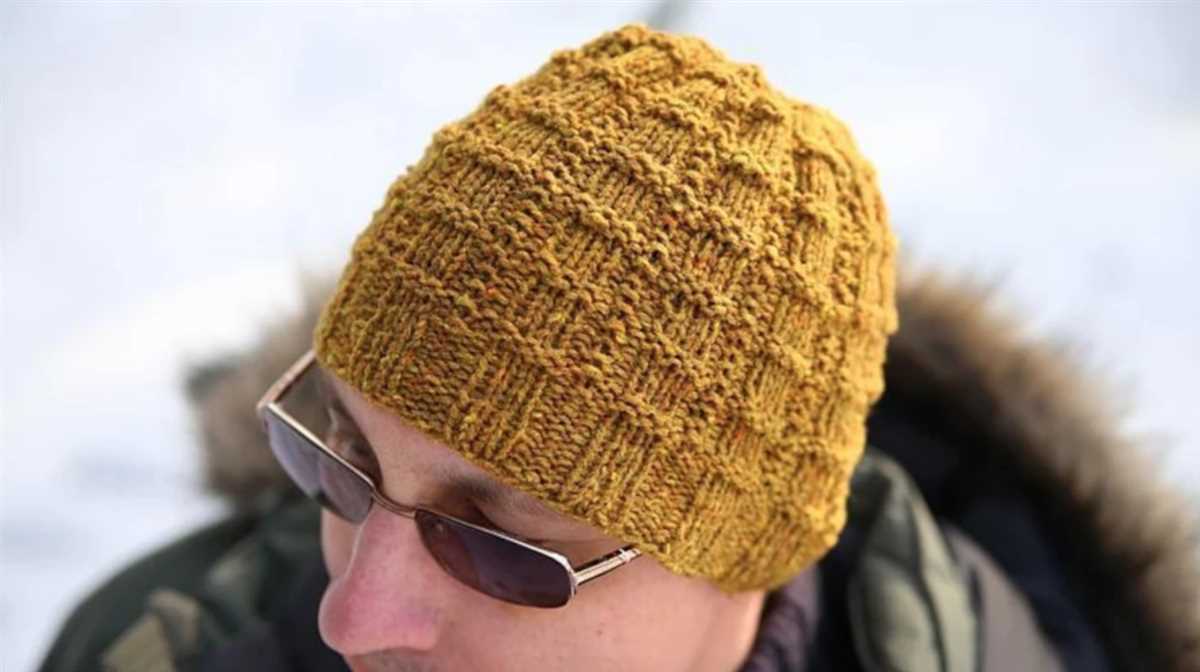
The pattern uses a basic rib stitch, which gives the hat a stretchy and snug fit. The rib stitch also adds a nice texture to the hat, making it visually appealing. The pattern calls for medium weight yarn and size 8 knitting needles, but you can easily adjust the size by using a different weight yarn and needle size.
Materials:
- Medium weight yarn (about 200 yards)
- Size 8 (5mm) knitting needles
- Yarn needle
- Scissors
Instructions:
- Cast on 88 stitches.
- Knit 2, purl 2 for 2 inches to create the rib stitch.
- Continue knitting in the rib stitch until the hat measures 8 inches from the cast-on edge.
- Decrease round: Knit 2 together, purl 2 together across the round.
- Next round: Knit all stitches.
- Next round: Knit 2 together across the round.
- Cut the yarn, leaving a long tail. Thread the tail through a yarn needle and weave it through the remaining stitches. Pull tight to close the top of the hat.
- Weave in any remaining ends and trim excess yarn.
This men’s hat free knitting pattern is a great project for anyone looking to make a practical and stylish gift. You can easily customize the hat by changing the yarn color or adding a pom-pom on top. With this pattern, you’ll have a cozy and fashionable hat in no time!
Materials and Tools
In order to knit a mens hat, you will need a few essential materials and tools. Here is a list of what you will need:
- Yarn: Choose a yarn that is suitable for knitting hats. Look for a yarn that is soft and warm, and has good stretch and recovery.
- Knitting Needles: You will need a set of double-pointed knitting needles in the size recommended for the yarn you are using. These needles will allow you to knit in the round.
- Stitch Marker: A stitch marker is useful for marking the beginning of the round and for keeping track of your progress.
- Tapestry Needle: A tapestry needle is needed for weaving in ends and finishing your hat.
- Scissors: A pair of scissors is necessary for cutting your yarn.
These are the basic materials and tools you will need to get started on your mens hat knitting project. Once you have gathered all of these items, you will be ready to cast on and begin knitting!
Gauge and Size
In order to achieve the correct size for your men’s hat, it is important to pay attention to the gauge of your knitting. This means that you need to match the number of stitches and rows per inch that are specified in the pattern. Gauge is crucial for ensuring that your hat will fit properly and have the right proportions.
The gauge for this men’s hat pattern is typically 20 stitches and 24 rows = 4 inches in stockinette stitch. However, it is always recommended to make a gauge swatch before starting the project to ensure accuracy. To make a swatch, cast on at least 24 stitches and work in stockinette stitch for a few inches. Measure the gauge and adjust your needle size if necessary. Remember, a larger needle will result in a looser gauge while a smaller needle will result in a tighter gauge.
Size:
- This men’s hat pattern is designed to fit an average adult head circumference of approximately 22 to 24 inches.
- If you want a larger or smaller size, you can easily adjust the circumference by either adding or subtracting stitches from the cast-on.
- Keep in mind that adding or subtracting stitches may also affect the overall length of the hat, so make sure to adjust the length accordingly as well.
Cast On
When starting a knitting project, one of the first steps is to cast on. Casting on is the process of creating the first row of stitches on the knitting needles. This foundation row sets the stage for the rest of the project and determines the number of stitches you will have on your needles. There are several methods for casting on, each with its own advantages and uses.
One common method of casting on is the long-tail cast on, which creates a neat and elastic edge. To start, estimate the amount of yarn you will need for the number of stitches required and leave a long tail. Make a slipknot at the end of the tail, leaving a loop big enough for the needle to fit through. Insert the needle into the loop and pull the yarn snugly to secure it. Then, using the tail and the working yarn, make a yarn-over with both strands and insert the needle into the loop, repeating this process until the desired number of stitches is reached.
Another method is the knitted cast on, which creates a more structured and sturdy edge. To start, make a slipknot at the end of the yarn and insert the needle into the loop, holding it in your right hand. With the working yarn in your left hand and the needle in your right hand, knit the first stitch by inserting the needle into the slipknot loop, wrapping the yarn around the needle from right to left, and pulling the new stitch through the loop. Repeat this process until the desired number of stitches is reached.
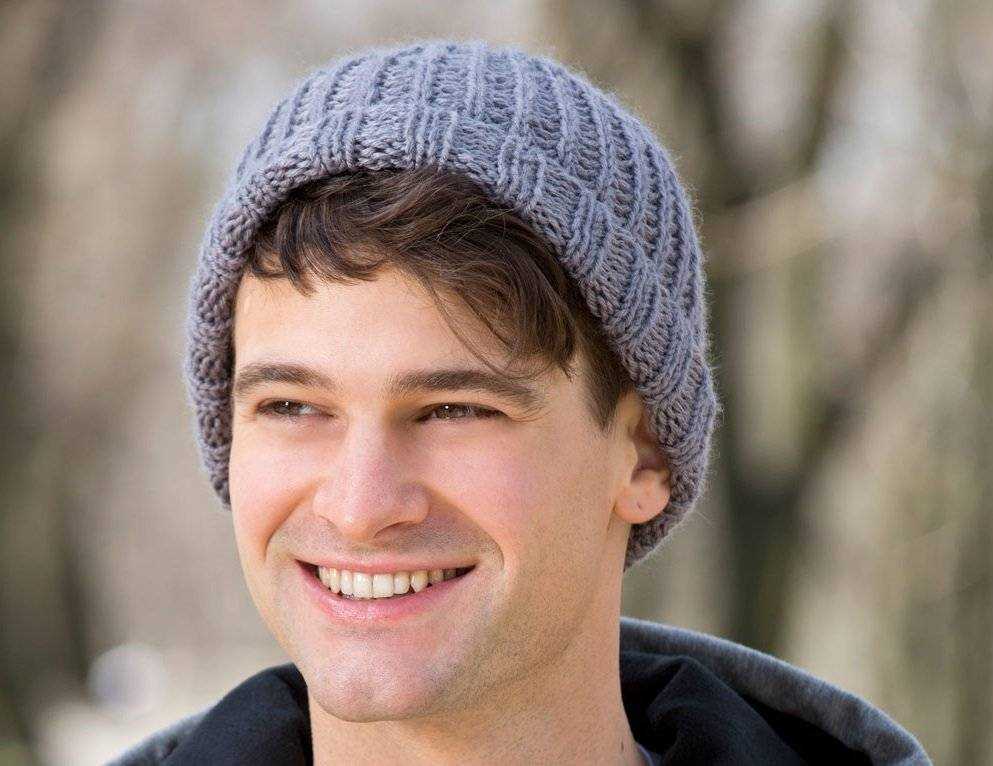
Ribbing
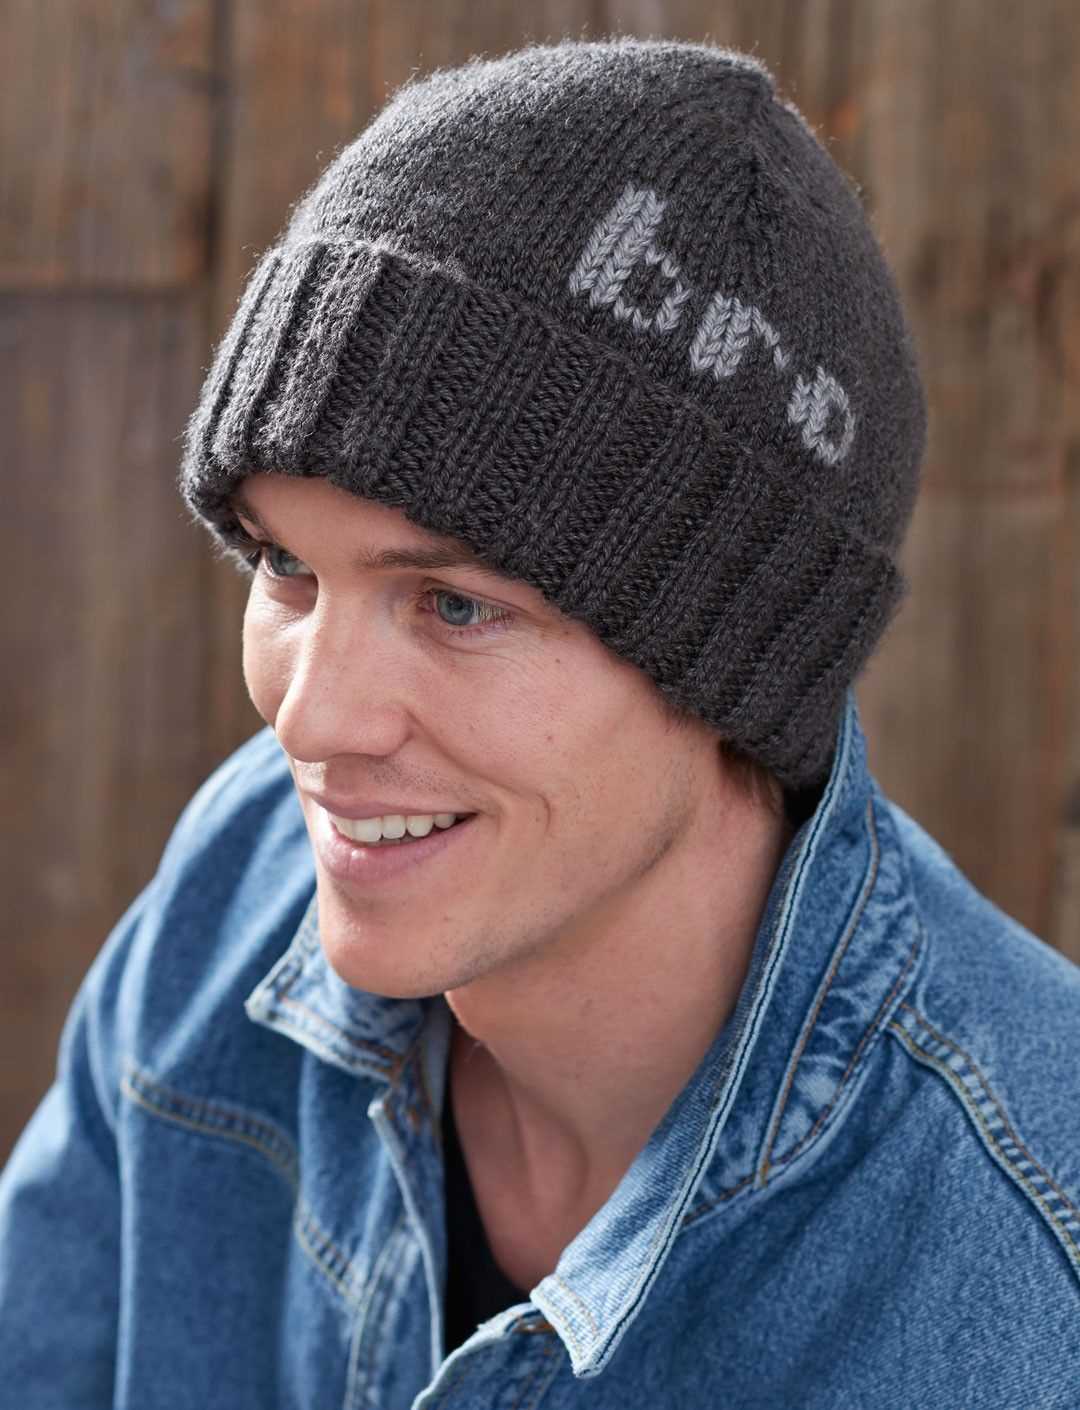
Ribbing is a knitting technique that creates a stretchy and elastic fabric. It is commonly used in hats, cuffs, and waistbands to provide a snug fit and prevent the edges from rolling. The ribbing pattern is achieved by alternating knit stitches and purl stitches, creating raised columns and recessed valleys.
The most common ribbing patterns are 1×1 ribbing, 2×2 ribbing, and 3×3 ribbing. In 1×1 ribbing, the pattern is created by knitting one stitch and purling one stitch alternately. This results in a simple and classic ribbing pattern. 2×2 ribbing is created by knitting two stitches and purling two stitches alternately. This pattern is often used for its thicker and more textured appearance. 3×3 ribbing follows the same principle, with three knit stitches and three purl stitches alternately.
Ribbing can be used as a decorative element in knitting patterns, but its main purpose is to provide structure and elasticity to the garment. It creates a fabric that can stretch to fit comfortably while still retaining its shape. Ribbing is also often used as an edging for cuffs and waistbands, as it helps to keep the garment in place and prevent it from slipping or rolling up.
When working ribbing, it is important to keep a consistent tension between knit and purl stitches to ensure an even and balanced fabric. Some knitters prefer to use a smaller needle size for ribbing to create a tighter and more defined pattern, while others prefer to use the same needle size as the main body of the garment for a more subtle effect.
Body of the Hat
In order to start knitting the body of the hat, you will need to begin by working in the round. This will create a seamless and continuous fabric, perfect for keeping your head warm. To do this, you can use either double-pointed needles or a circular needle, depending on your preference.
Once you have your chosen needles ready, cast on the required number of stitches as specified in the pattern. It’s important to make sure your cast on stitches are not too tight, as this can affect the fit of the hat. You can use a larger needle size if needed to achieve a looser cast on.
From there, you will continue knitting in the round, following the pattern instructions. This may involve various stitch patterns, such as ribbing, cables, or colorwork, depending on the design. Make sure to carefully read and follow the pattern directions, as each hat design may have different requirements for the body section.
As you progress, keep an eye on your stitch count, especially if there are any decreases or increases specified in the pattern. It’s important to maintain the correct stitch count in order to ensure the hat fits properly. If needed, you can use stitch markers to help keep track of your stitches.
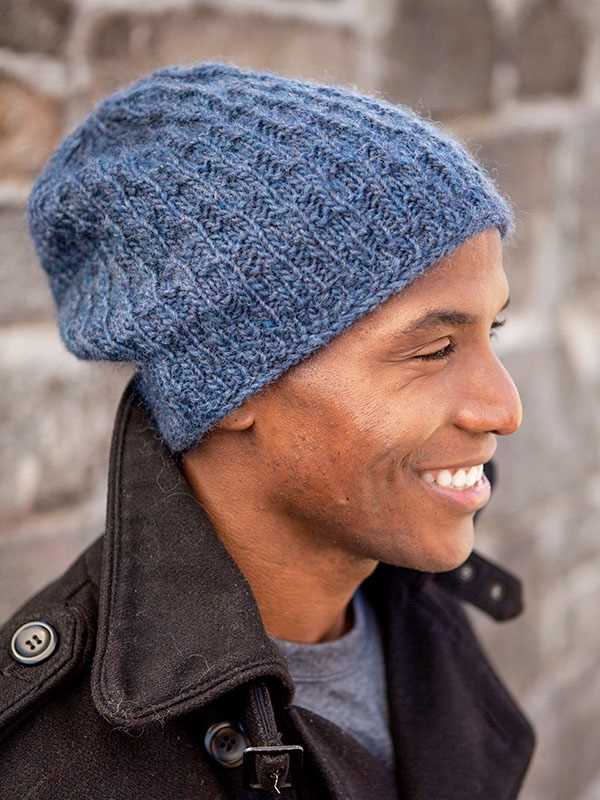
Continue knitting the body of the hat until you reach the desired length, as specified in the pattern. This length will vary depending on the style of hat you are making, such as a slouchy beanie or a close-fitting beanie. Once you have reached the desired length, you can proceed to the next section of the pattern, whether it’s shaping the crown or adding any finishing details.
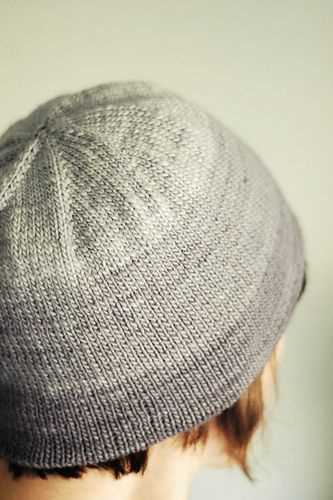
Decreasing is an important technique when knitting a mens hat. It is used to shape the crown of the hat and create a tapered top. There are several methods of decreasing that can be used, depending on the desired effect.
Common Decrease Methods
One common method of decreasing is the k2tog (knit two together) decrease. This is done by knitting two stitches together as if they were one stitch. This creates a single stitch decrease. Another common decrease method is the ssk (slip, slip, knit) decrease. This is done by slipping two stitches knitwise, one at a time, onto the right needle. Then, the left needle is inserted into the front of these two slipped stitches and they are knit together. The ssk decrease also creates a single stitch decrease. These two decrease methods can be alternated to create a symmetrical decrease pattern.
Another common decrease method is the k3tog (knit three together) decrease. This is done by knitting three stitches together as if they were one stitch. This creates a double decrease and is often used for creating a more pronounced, centered decrease pattern. The k2togtbl (knit two together through back loop) decrease is another option. This decrease is done by knitting two stitches together through the back loop, which creates a twisted stitch. The k2togtbl decrease is often used to create a decorative effect in the hat.
Tips for Decreasing
- When decreasing, it is important to maintain an even tension to avoid creating gaps or puckering in the fabric.
- Counting stitches is essential to ensure that the correct number of decreases are made.
- Following the pattern instructions closely and marking decreases with stitch markers can help to keep track of the decreases.
The Final Rows and Bind Off
In order to complete your knitted men’s hat, you will need to work the final rows and bind off the stitches. This will give your hat a finished edge and secure all the stitches in place.
For the final rows, continue working the established stitch pattern or ribbing until your hat reaches the desired length. Pay attention to the pattern instructions for any specific details on the final rows.
Once you have reached the desired length, it is time to bind off the stitches. To do this, knit the first two stitches as usual. Then, insert the left-hand needle into the first stitch on the right-hand needle and pass it over the second stitch and off the needle. You should now have one stitch on your right-hand needle.
Continue knitting one stitch and then passing the previous stitch over it until you have only one stitch left. Cut the yarn, leaving a tail of a few inches, and pull the tail through the remaining stitch to secure it.
To make sure the bind off edge is not too tight, you can use a larger needle size or loosen your tension slightly while binding off. This will help the edge to have some stretch and prevent it from puckering.
Once you have bound off all the stitches, weave in any remaining yarn tails into the fabric using a tapestry needle. This will give your hat a neat and finished appearance.
Your men’s hat is now complete! Give it a final inspection to make sure all the stitches are secure and trim any excess yarn. Your new hat is ready to be worn or gifted to someone special.
Finishing Touches
Once you have completed knitting your men’s hat, it’s time to add some finishing touches to make it look even more professional and polished. Here are a few suggestions to consider:
Blocking
Blocking is an essential step in knitting that helps to shape and even out the stitches. To block your hat, wet it gently with lukewarm water and lay it flat on a towel or blocking mats. Gently stretch and shape the hat to the desired size and let it dry completely before wearing or storing.
Seaming

If your hat was knit in separate pieces, such as a brim and crown, you will need to seam them together. Use a yarn needle to carefully sew the pieces together, aligning the stitches as you go. This will give your hat a seamless and professional finish.
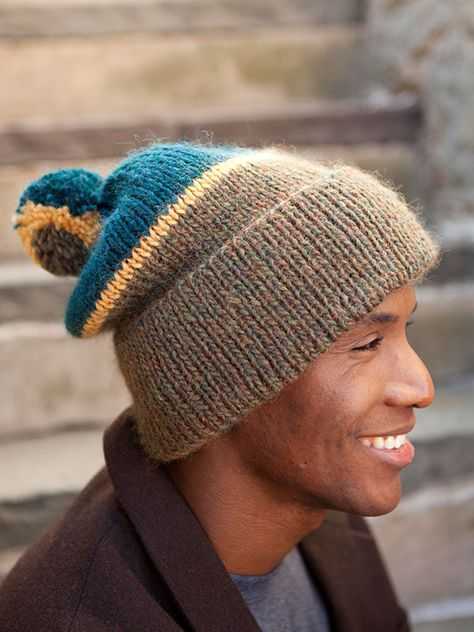
Adding a Pom Pom
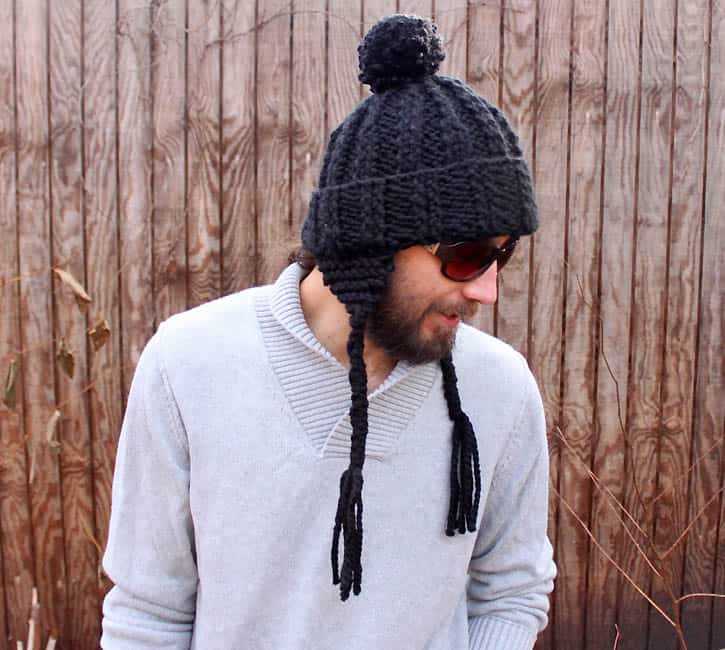
A pom pom is a fun and playful addition to any hat. You can purchase a pre-made pom pom or make one yourself using yarn. Attach the pom pom securely to the top of the hat using a yarn needle. Be sure to trim the pom pom evenly for a clean and polished look.
Embroidery or Applique
If you’re feeling creative, you can add some personalization to your hat by embroidering a design or adding an applique. Use contrasting yarn or fabric to create a unique and eye-catching detail. Be sure to secure any loose ends to prevent unraveling.
These finishing touches will not only enhance the overall look of your men’s hat but also add durability and longevity to your knitwear. Make sure to follow the care instructions provided with your yarn to keep your hat looking its best for years to come.
Q&A:
Where can I find free knitting patterns for men’s hats?
You can find free knitting patterns for men’s hats on websites such as Ravelry, KnittingPatternCentral, and LoveCrafts. These websites offer a wide variety of patterns for different skill levels and styles.
What are some popular men’s hat knitting patterns?
Some popular men’s hat knitting patterns include the “Watch Cap” pattern, the “Ribbed Hat” pattern, the “Cable Hat” pattern, and the “Beanie” pattern. These patterns are versatile and can be customized to suit personal preferences.
What kind of yarn is best for knitting men’s hats?
When knitting men’s hats, it is best to use yarn that is warm, soft, and durable. Wool and wool blends, such as merino wool or alpaca wool, are popular choices as they provide insulation and are comfortable to wear. Acrylic and cotton yarns can also be used for lightweight hats.
Are there any knitting patterns specifically for beginners?
Yes, there are knitting patterns specifically designed for beginners. These patterns typically use basic stitches and simple construction techniques, making them easy to follow. Look for patterns labeled as “beginner-friendly” or “easy” to start with.