
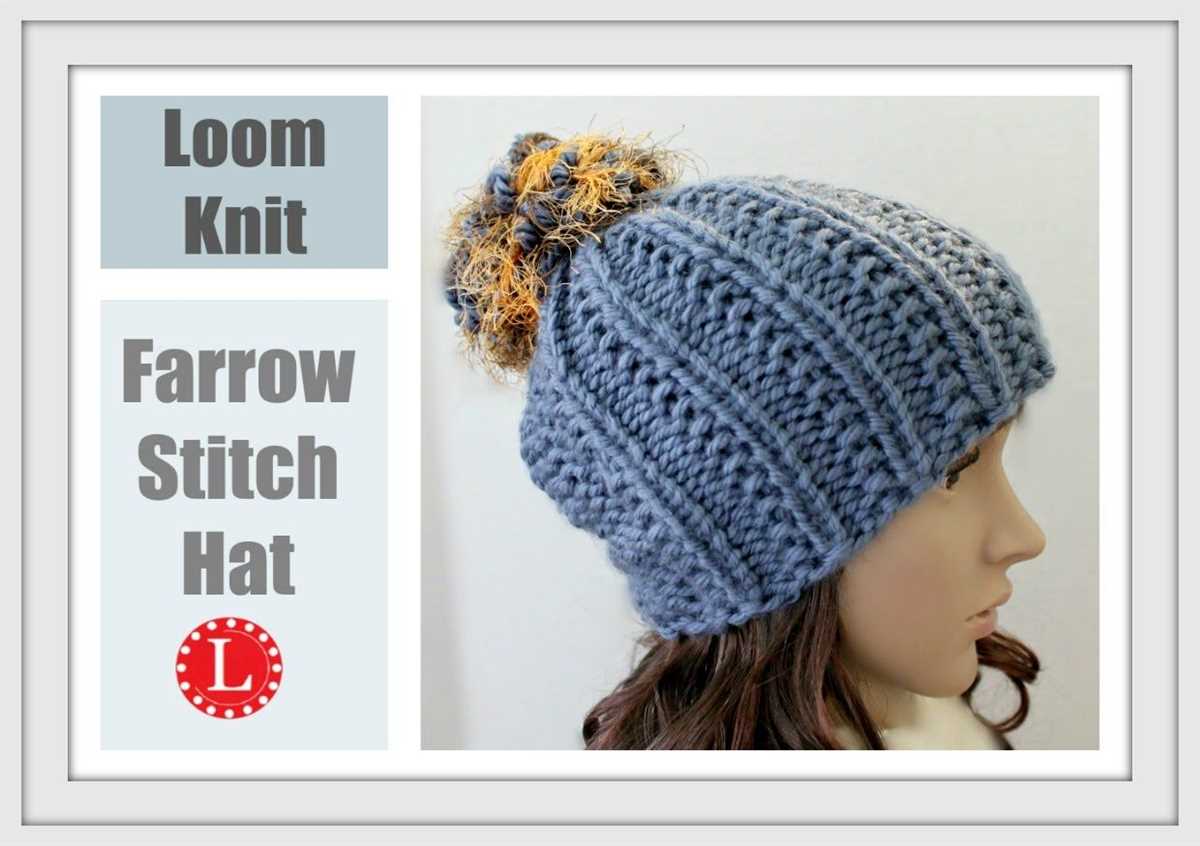
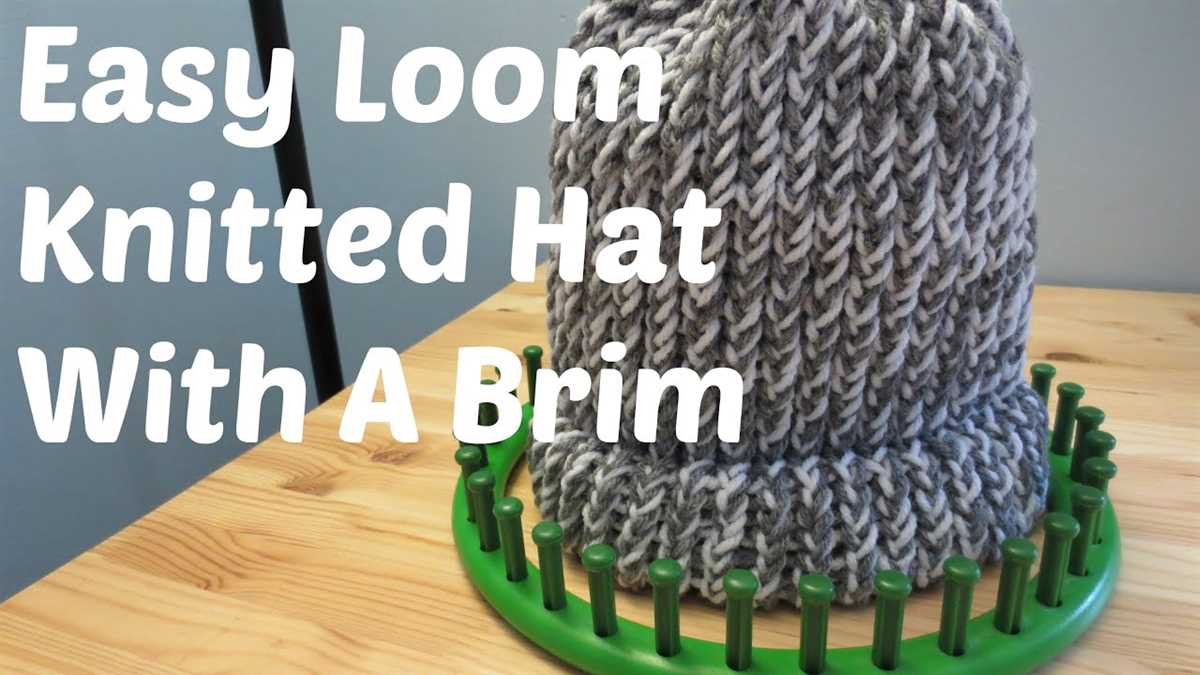
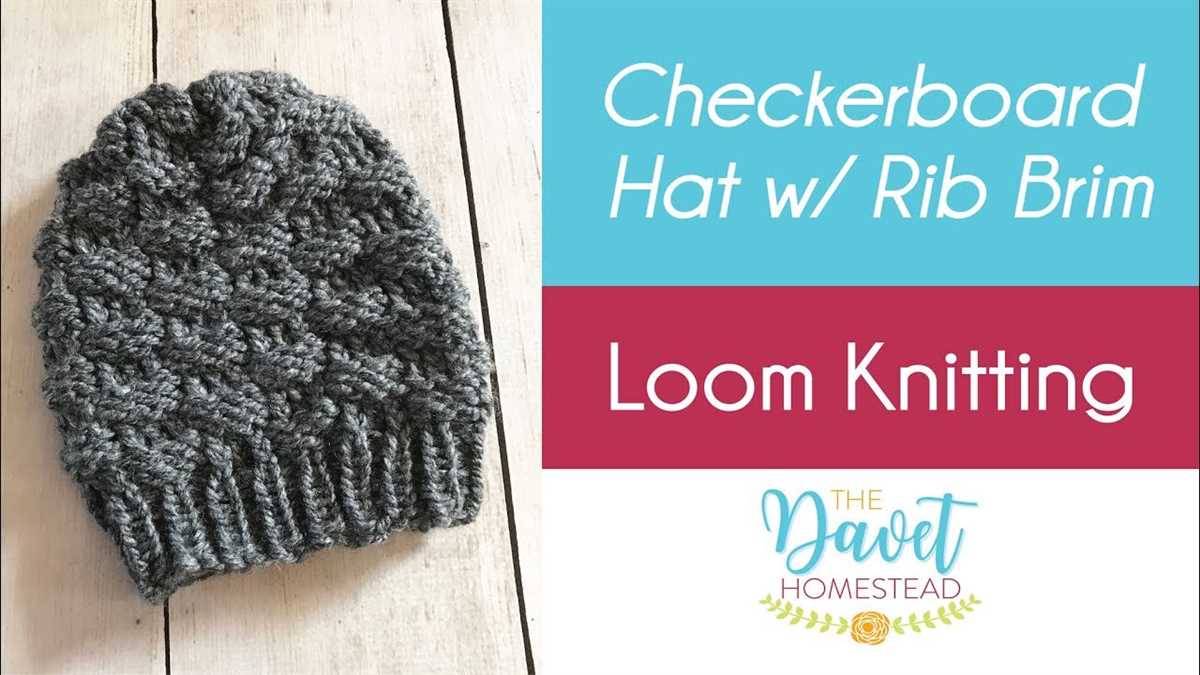
If you’re looking for a stylish and cozy hat to knit on your loom, look no further than a loom knit hat with a brim pattern. This pattern is perfect for both beginners and experienced loom knitters, and it results in a hat that is not only fashionable but also functional.
With this pattern, you can create a hat that has a brim, giving it a unique and stylish look. The brim adds a touch of sophistication to the hat, making it perfect for wearing on chilly days or as a fashion statement. Plus, the brim also helps to keep your forehead and eyes protected from the sun or wind.
The loom knit hat with a brim pattern is easy to follow, making it ideal for beginners who may be new to loom knitting. The pattern provides step-by-step instructions, complete with a detailed list of materials needed and video tutorials to guide you through every stitch. Whether you prefer a simple and classic design or want to add your own personal touch with different colors or embellishments, this pattern allows you to customize the hat to suit your own style.
Loom Knit Hat with Brim Pattern
A loom knit hat with brim is a stylish and versatile accessory that can be easily made using a knitting loom. It is a great project for beginners and experienced knitters alike. With a few simple steps and the right materials, you can create a hat with a brim that is both comfortable and fashionable.
To start, you will need a round knitting loom with pegs, yarn, a loom hook, and a yarn needle. Choose a yarn that is suitable for the loom size and the desired brim width. The brim can be made in different lengths, depending on your preference.
Begin by casting on the desired number of stitches on the loom. Follow the pattern instructions to create the ribbed brim. The ribbed brim gives the hat a stretchy and snug fit. Once the brim is complete, continue knitting the body of the hat using the desired stitch pattern. You can choose to make a plain hat or incorporate different stitch patterns to add texture and interest.
After completing the body of the hat, finish it off by binding off the stitches and securing the yarn. Use the yarn needle to weave in any loose ends. If desired, you can add a pom-pom or other embellishments to personalize your hat.
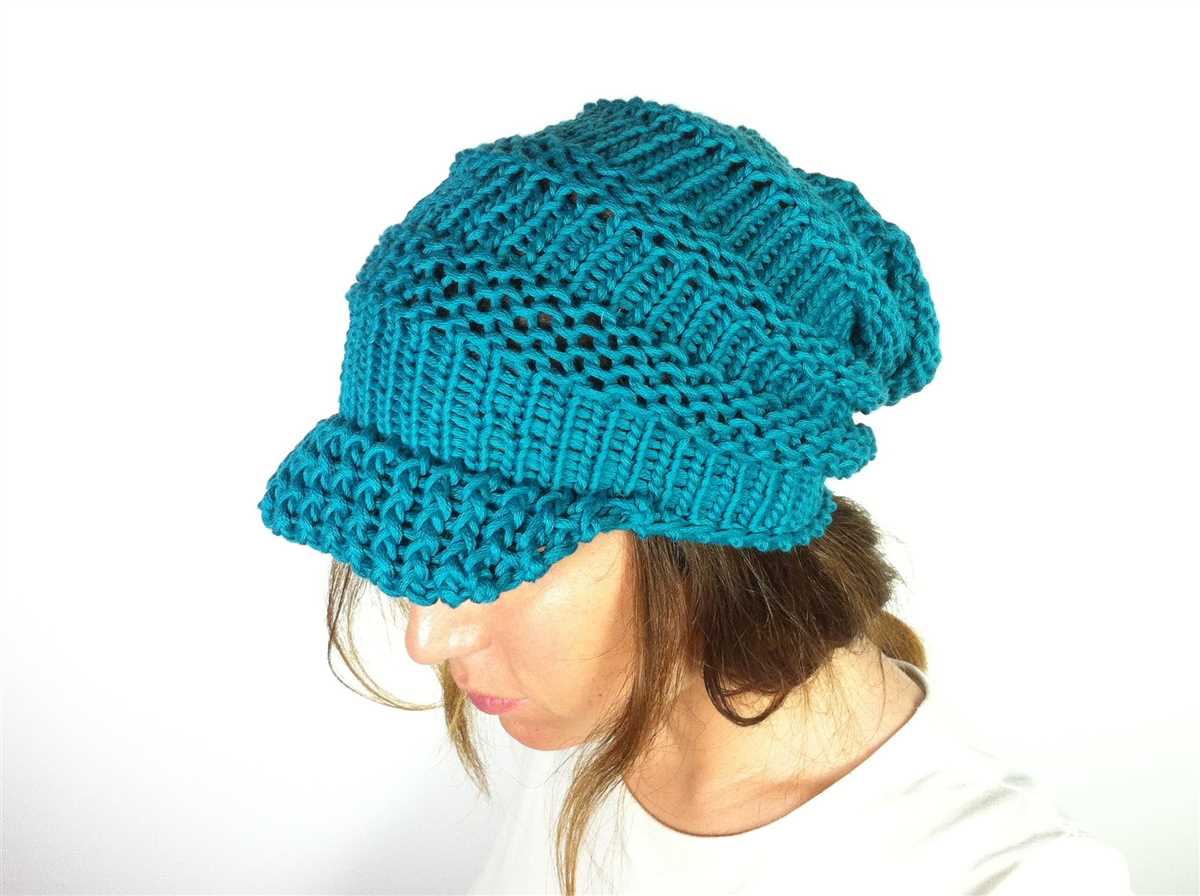
A loom knit hat with a brim is a versatile accessory that can be worn in any season. It can be paired with a casual or dressy outfit, making it a must-have in your wardrobe. Whether you are an experienced knitter or just starting out, this pattern is a great way to create a stylish and functional hat.
Materials needed for loom knitting
Loom knitting is a popular crafting technique that allows you to create hats, scarves, and other items using a circular loom. To get started with loom knitting, you will need a few key materials:
- Loom: The most important tool for loom knitting is, of course, the loom itself. There are many different types and sizes of looms available, so choose one that is suitable for the project you have in mind. Looms can be made of plastic or wood and come in various shapes, such as round or rectangular.
- Yarn: Yarn is the main material used in loom knitting. Look for yarn that is specifically designed for loom knitting, as it will be easier to work with and produce better results. Choose a yarn in the color and thickness of your choice.
- Knitting tool: Loom knitting usually requires a knitting tool, also known as a loom hook or knitting hook. This tool is used to pull the yarn through the loops on the loom and create the stitches. It is important to have a tool that is comfortable to hold and has a smooth, rounded end.
- Scissors: You will need a pair of scissors to cut the yarn and finish off your project. Make sure the scissors are sharp and easy to handle.
- Tape measure: A tape measure is useful for measuring the length of your project and ensuring that it is the right size. This is especially important if you are knitting something that needs to fit a specific person or object.
With these materials on hand, you will be well-equipped to start loom knitting. Whether you are a beginner or an experienced loom knitter, having the right tools and materials can make the process easier and more enjoyable. So gather your supplies and get ready to create beautiful knitted items on the loom!
Choosing the right loom and yarn
When it comes to loom knitting hats with brims, choosing the right loom and yarn is crucial for achieving the desired result. A well-suited loom will provide the perfect size and shape for the hat, while the right yarn will ensure a comfortable and durable finished product.
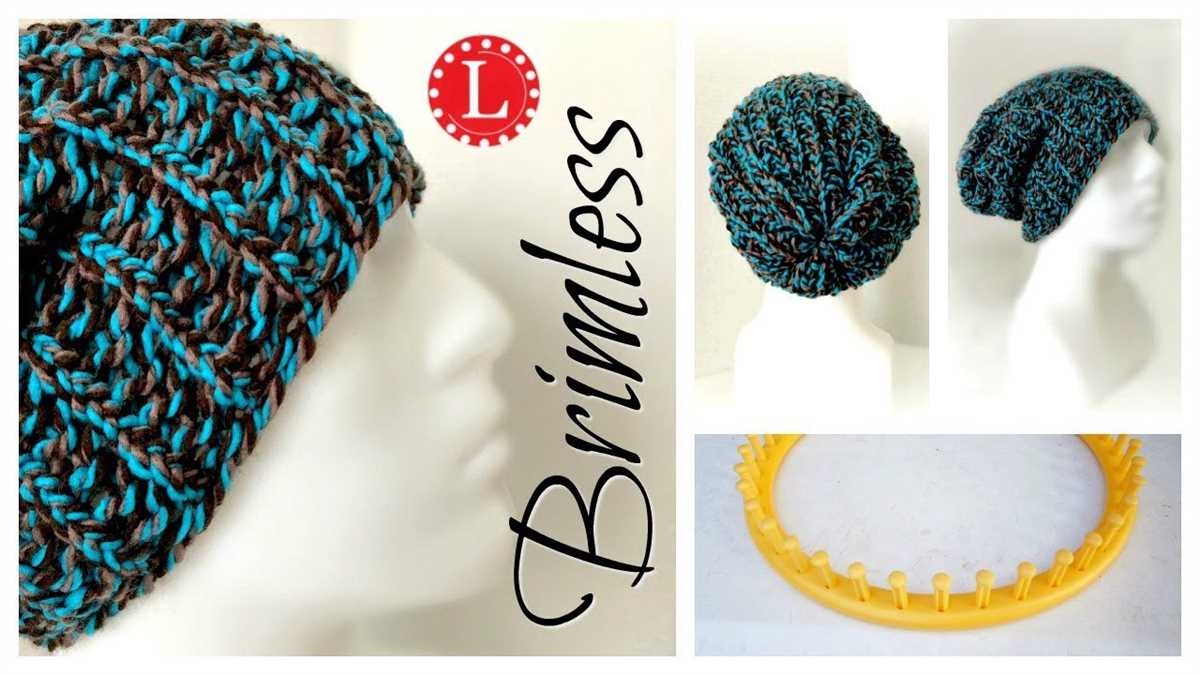
Loom selection: There are various types of looms available for hat knitting, such as round looms, long looms, and adjustable looms. Round looms are ideal for knitting hats in a circular shape, while long looms allow for the creation of both circular and flat panels. Adjustable looms offer versatility, allowing the knitter to customize the size of the hat. The choice of loom depends on personal preference and the specific design of the hat.
Yarn selection: The type of yarn used for knitting the hat will greatly impact its overall look, comfort, and durability. Smooth and soft yarns, such as acrylic or merino wool, are often preferred for hats, as they provide warmth and a nice drape. It’s important to consider the weight and thickness of the yarn, as this will affect the gauge of the finished hat. Thicker yarns will create a more chunky and cozy hat, while thinner yarns will result in a lighter and more delicate hat.
It’s recommended to check the pattern instructions for the specific loom and yarn requirements before starting the project. This will ensure that the chosen loom and yarn are suitable for the desired design and size of the hat with a brim.
- Tips for loom and yarn selection:
- Choose a loom that matches the desired size and shape of the hat.
- Consider the flexibility and adjustability of the loom if customization is desired.
- Opt for soft and smooth yarns for comfort and drape.
- Keep in mind the weight and thickness of the yarn for the desired gauge.
- Read the pattern instructions for any specific loom and yarn requirements.
Basic loom knitting techniques
When it comes to loom knitting, there are a few basic techniques that you’ll need to master. These techniques will form the foundation for your knitting projects and allow you to create a variety of different stitches and patterns. Whether you’re a beginner or an experienced loom knitter, it’s important to understand and practice these techniques in order to achieve successful results.
Casting on: Casting on is the first step in any knitting project. To cast on with a loom, you’ll need to wrap the yarn around each peg on the loom, creating a row of loops. This process forms the foundation of your project and allows you to begin knitting.
Knitting: Once you have cast on, you’re ready to start knitting. To knit on a loom, you’ll use a knitting hook to lift the bottom loop on each peg up and over the top loop, creating a new loop. This process is repeated across all the pegs on the loom, creating a row of knitted loops.
Purling: Purling is the opposite of knitting and creates a different texture on your project. To purl on a loom, you’ll simply wrap the yarn around the peg in the opposite direction before using the knitting hook to lift the bottom loop up and over the top.
Increasing and decreasing: Increasing and decreasing are techniques that allow you to shape your knitted projects. To increase, you’ll add extra loops to your loom by wrapping the yarn twice around a peg. To decrease, you’ll remove loops from the loom by knitting two loops together as one.
By mastering these basic loom knitting techniques, you’ll be able to create a wide range of projects, including hats with brims. Experiment with different yarns, stitches, and patterns to unleash your creativity and make beautiful knitted items.
Loom Knit Hat with Brim Pattern: Casting on and Starting the Hat
When starting a loom knit hat with a brim, the first step is to choose the appropriate loom size based on the desired hat size. Typically, a loom with a 36-peg, 40-peg, or 44-peg circumference is suitable for adult-sized hats. For children or smaller sizes, a loom with fewer pegs can be used.
To begin the casting on process, attach the yarn to the anchor peg on the loom. This can be done by creating a slip knot with the yarn and placing it over the anchor peg. Pull the tail of the slip knot to tighten it securely around the peg.
With the yarn attached to the anchor peg, move in a clockwise direction around the loom, wrapping the yarn around each peg. This process is called e-wrap and helps create the foundation for the hat. Care should be taken to ensure that each peg has only one wrap of yarn. Wrapping the yarn too tightly can make the stitches difficult to work with, while wrapping too loosely can result in loose stitches.
Continue wrapping each peg until you have made a full loop around the loom. At this point, you should have completed one round of wrapping. Repeat this wrapping process for the desired number of rounds, depending on the desired length of the brim of the hat.
Once the desired number of rounds for the brim have been completed, you can begin working on the body of the hat. This typically involves a different stitch pattern, such as the knit stitch or the purl stitch. Follow the instructions for the specific pattern you are using to continue knitting the hat. The brim will create a structured and snug fit, while the body of the hat will provide warmth and style.
Knitting the body of the hat
Once you have finished knitting the brim of the hat, it’s time to start knitting the body. The body of the hat will determine the overall size and length of the hat, and you can customize it based on your preferences.
To begin knitting the body, continue using the same loom and yarn that you used for the brim. Insert the needle into the first stitch of the brim and start knitting in a circular motion. Work your way around the loom, knitting each stitch, until you reach the end of the round.
Tip: It’s important to maintain a consistent tension while knitting the body of the hat. Make sure not to pull too tightly or leave the stitches too loose, as this can affect the fit and appearance of the hat.
You can choose to knit the body in a single color or use multiple colors to create stripes or patterns. To change colors, simply cut the yarn of the previous color and tie on the new color, leaving a small tail to weave in later. Continue knitting with the new color, keeping the tension consistent.
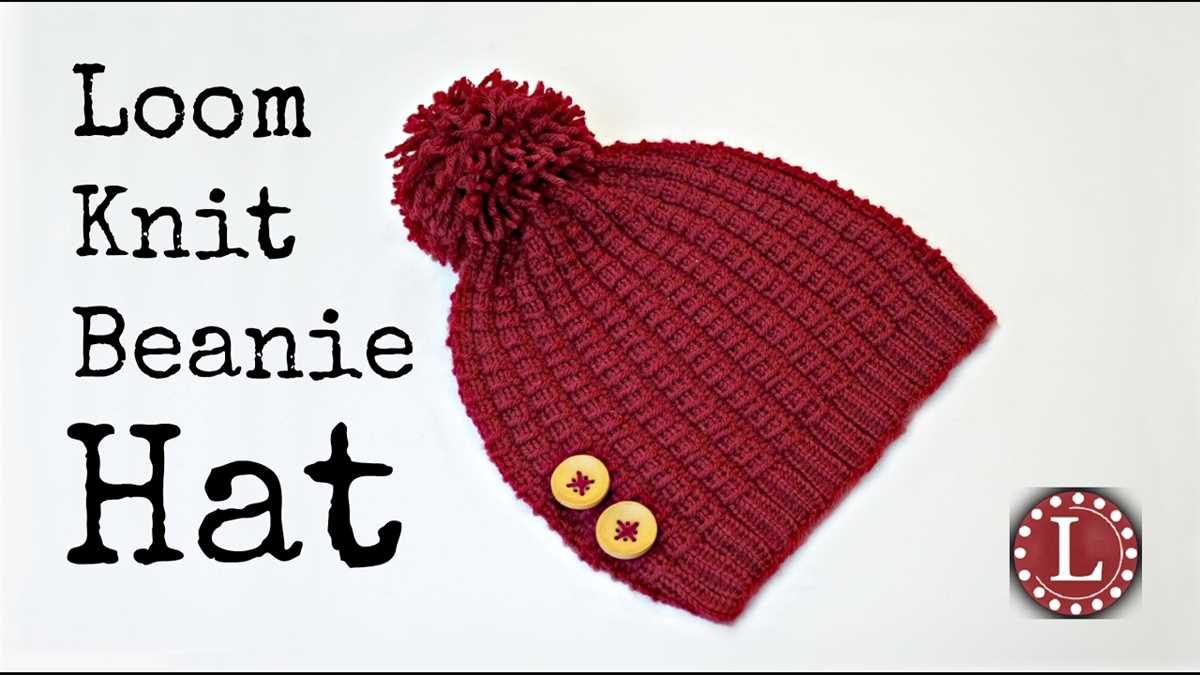
Tip: If you want to create a slouchy hat, you can add extra rows to the body to increase the length. Alternatively, if you prefer a beanie-style hat, you can work fewer rows for a shorter length.
Continue knitting the body of the hat until you reach the desired length. Remember to periodically try the hat on to ensure it fits properly. Once you are satisfied with the length, you can proceed to the next step, which is shaping the crown of the hat.
Creating the brim
Once you have completed the main body of the hat, it’s time to add a brim for added style and structure. The brim will give your hat a more finished look and help it hold its shape.
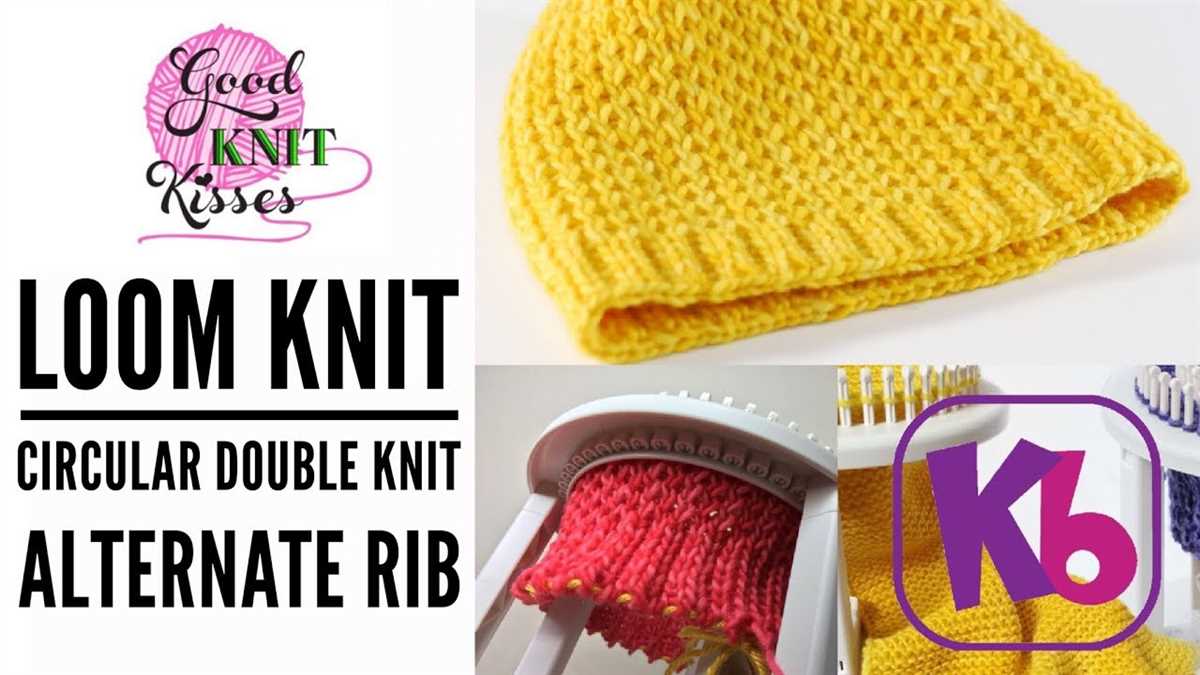
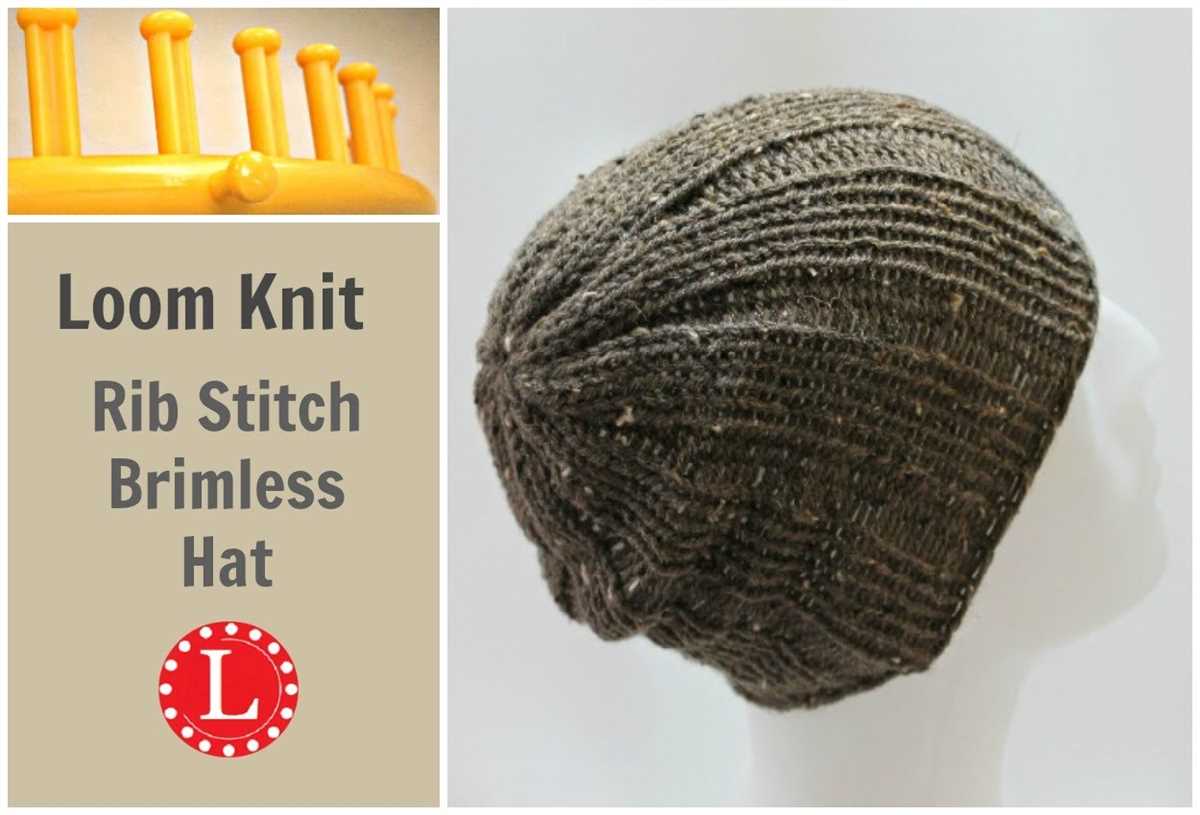
To create the brim, you will need to continue knitting with the same loom but switch to a different stitch pattern. The most common stitch pattern for a brim is the rib stitch, which involves alternating knits and purls. This creates a stretchy and textured fabric that is perfect for a hat brim.
Start by casting on the required number of stitches for your brim. You can refer to the pattern for the specific number of stitches or use your own preferred width. Once you have cast on, begin knitting in the rib stitch pattern. This involves knitting the knit stitches and purling the purl stitches in each row. Repeat this pattern until your brim reaches the desired length.
Once you have completed the brim, you can bind off your stitches and finish off any loose ends. You can then try on your hat and adjust the brim if necessary. Adding a brim to your loom-knit hat is a simple way to give it a unique and stylish look while also adding structure and stability.
Adding Embellishments or Decorations
When it comes to loom knit hats with brims, adding embellishments or decorations can really take your project to the next level. There are many different ways to embellish a hat, from simple to more intricate designs. Here are a few ideas to get you started:
- Pom-poms: Pom-poms are a classic and easy way to add a fun and playful touch to your hat. You can make pom-poms using yarn in coordinating or contrasting colors, and then attach them to the top or sides of the hat.
- Buttons: Buttons can add a touch of elegance or whimsy to your hat, depending on the style you choose. Sew buttons onto the brim or around the base of the hat for a decorative accent.
- Flowers: Knit or crochet flowers can be a beautiful addition to your hat. You can make them using the same yarn as your hat or use a different color for contrast. Attach the flowers to the brim or place them off-center for a unique look.
If you want to get even more creative, you can incorporate other types of embellishments such as beads, ribbons, or even embroidery. The possibilities are endless and only limited by your imagination. Just make sure to choose embellishments that are securely attached and won’t easily come off during wear.
Remember, adding embellishments or decorations is a great way to personalize your loom knit hat and make it truly one-of-a-kind. Have fun experimenting with different ideas and techniques to create a hat that reflects your unique style!
Finishing the Hat
Once you have completed knitting the hat, it’s time to finish it off and give it a polished look. One important step is to bind off the stitches, securing them and preventing them from unraveling. To do this, simply knit two stitches, then use the first stitch to pull the second stitch over it and off the needle. Continue binding off in this manner until all stitches are off the needle.
Next, you will need to close the top of the hat. Cut the yarn, leaving a long tail. Thread the tail through a tapestry needle and pass it through the remaining stitches on the loom. Once all the stitches are on the yarn tail, pull it tight to close the top of the hat. Knot the yarn securely and weave in the end to hide it.
Now it’s time to add the brim to the hat. Using a crochet hook, pick up and knit stitches along the bottom edge of the hat. Make sure to space the stitches evenly and keep them tight. Once you have picked up all the stitches, work in a knit stitch pattern for a few rounds to create the brim. You can make the brim as narrow or as wide as you like, depending on your preference.
To give the brim a finished look, you can add a decorative edge. This can be done by working a row of slip stitches or adding a picot edge. Alternatively, you can leave the brim as is for a simpler look.
Finally, you can personalize the hat by adding embellishments such as buttons, flowers, or pom-poms. Sew them securely onto the hat using a tapestry needle and matching yarn. Be creative and have fun with your design!
Tips and Troubleshooting
Here are some helpful tips and troubleshooting advice to ensure your loom knit hat with brim turns out beautifully:
1. Use the Right Yarn
Choosing the right yarn for your project is important. Opt for a medium to bulky weight yarn to ensure your hat has enough structure and warmth. Avoid using thin yarns as they may result in a floppy and less sturdy brim.
2. Check Your Gauge

Before starting your hat, make sure to check your gauge using the specified loom and yarn. This will help ensure that your hat fits properly and matches the pattern’s measurements. Adjust your loom or yarn if necessary to achieve the correct gauge.
3. Tension Matters
Pay attention to your tension while knitting. If you knit too loosely, your hat may turn out too large and loose, while knitting too tightly can result in a stiff and small hat. Practice maintaining a consistent tension to create a well-fitting and comfortable hat.
4. Secure the Brim
To ensure that your brim stays in place and maintains its shape, consider adding an extra row of stitches along the brim’s edge. This will help prevent the brim from curling up or losing its structure over time.
5. Finishing Touches
Once you have completed your hat, take the time to weave in any loose ends and give it a thorough blocking. Blocking will help even out your stitches and give your hat a polished look.
6. Troubleshooting
If you encounter any issues while loom knitting your hat, here are some common troubleshooting tips:
- If your hat is too small, try using a larger loom or increasing the number of stitches in each round.
- If your hat is too large, consider using a smaller loom or decreasing the number of stitches in each round.
- If your hat comes out uneven or lumpy, make sure you are knitting each row with the same tension and that your stitches are not twisted.
- If your brim is curling up, you may need to add an extra row of stitches or adjust your tension to create a tighter brim.
- If you are having trouble with a specific stitch or technique, try watching online tutorials or joining loom knitting communities to seek advice and guidance.
By following these tips and troubleshooting advice, you’ll be able to create a beautiful loom knit hat with a brim. Enjoy the process and the cozy hat you’ll end up with!