
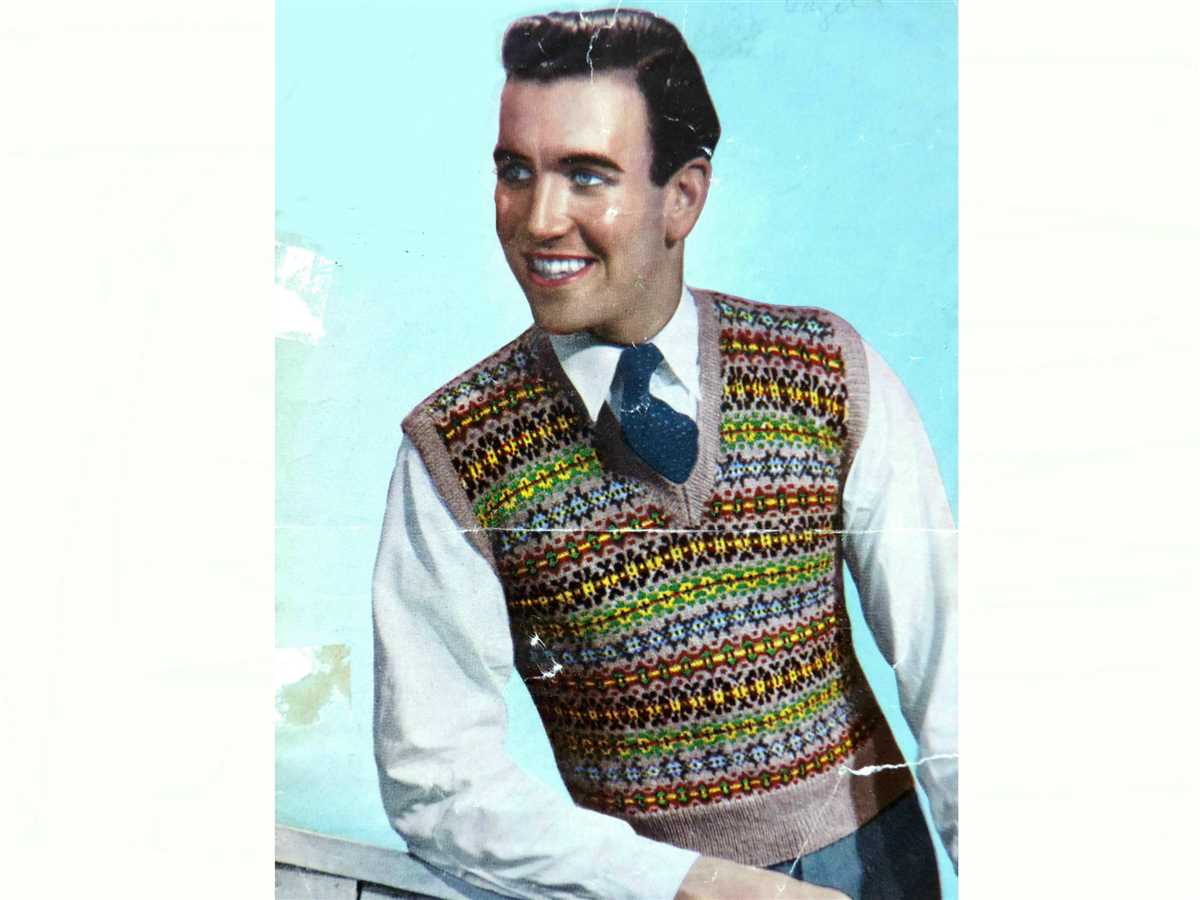
Knitting is a wonderful hobby that allows you to create beautiful and unique pieces of clothing. If you’re looking for a project that is both stylish and practical, a mens sleeveless jumper may be just what you need. Sleeveless jumpers, also known as vests or tank tops, are versatile garments that can be worn on their own or layered over a shirt or t-shirt. They are perfect for adding an extra layer of warmth during the cooler months or for creating a fashionable and modern look. In this article, we will provide you with a knitting pattern for a mens sleeveless jumper, so you can create your own stunning piece.
When it comes to knitting a mens sleeveless jumper, it’s important to choose the right yarn and needles. Thicker yarns, such as aran or chunky, are ideal for creating a warm and cozy garment. The size of the needles will depend on the thickness of the yarn, so be sure to check the recommended needle size on the yarn label. Additionally, you will need to know the basic knitting stitches, such as knit and purl, as well as how to increase and decrease stitches to shape the jumper.
The knitting pattern for the mens sleeveless jumper will typically include instructions for the size, gauge, materials needed, and step-by-step instructions for knitting the jumper. It is important to carefully read through the pattern before starting the project to ensure you understand the instructions and have all the necessary materials. Once you have chosen your yarn and needles, and familiarized yourself with the pattern, you can begin knitting your sleeveless jumper.
Knitting a mens sleeveless jumper can be a rewarding and enjoyable project. With a little time and effort, you can create a stylish and practical garment that can be worn year-round. Whether you’re knitting for yourself or as a gift for someone else, the mens sleeveless jumper is a versatile and timeless piece that is sure to be appreciated.
Mens Sleeveless Jumper Knitting Pattern
If you’re a fan of knitting and looking to create a stylish and warm jumper for yourself or a loved one, a mens sleeveless jumper is a great option. With a knitting pattern, you can easily create your own unique design and customize it to fit your desired style and size.
Materials Needed:
- Yarn: Choose a high-quality yarn in your preferred color and thickness.
- Knitting Needles: Opt for a pair of needles that match the recommended needle size for the yarn you have chosen.
- Tape Measure: This will help you accurately measure your progress and ensure proper sizing.
- Stitch Markers: These will come in handy for keeping track of stitch patterns or increases/decreases.
- Darning Needle: You’ll need this for weaving in any loose ends and finishing off your project.
Step 1: Choosing the Pattern
Start by finding a mens sleeveless jumper knitting pattern that suits your taste and skill level. There are countless patterns available online, in knitting books, and from other knitters. Look for a pattern that provides detailed instructions, stitch counts, and a clear diagram or photo of the finished product.
Step 2: Gathering the Supplies
Once you’ve chosen your pattern, gather all the necessary supplies mentioned earlier. Make sure you have enough yarn to complete the project and that it matches the recommended weight and yardage mentioned in the pattern instructions.
Step 3: Casting On
Follow the pattern instructions to cast on the required number of stitches using the recommended cast-on method. This is usually the starting point for any knitting project and lays the foundation for your jumper.
Step 4: Knitting the Body
Continue following the pattern instructions to work your way through the body of the jumper. This may involve knitting in the round or knitting flat and seaming later on. Pay careful attention to any stitch patterns, increases, or decreases mentioned in the pattern to ensure your jumper turns out as expected.
Step 5: Finishing the Jumper
Once you have completed the body of the jumper, follow the pattern instructions to finish off any remaining details such as the neckline, armholes, and hem. This may involve binding off stitches, picking up stitches for ribbing, or seaming pieces together.
Step 6: Blocking and Finishing Touches
Once your jumper is complete, it’s a good idea to block it to even out any stitches and give it a polished look. Follow the yarn’s washing and blocking instructions to ensure the best results. Finally, weave in any loose ends and add any desired embellishments to give your sleeveless jumper a personal touch.
With this mens sleeveless jumper knitting pattern and a little patience and creativity, you can create a cozy and stylish garment that will keep you warm throughout the colder months. Happy knitting!
Understanding the Sleeveless Jumper
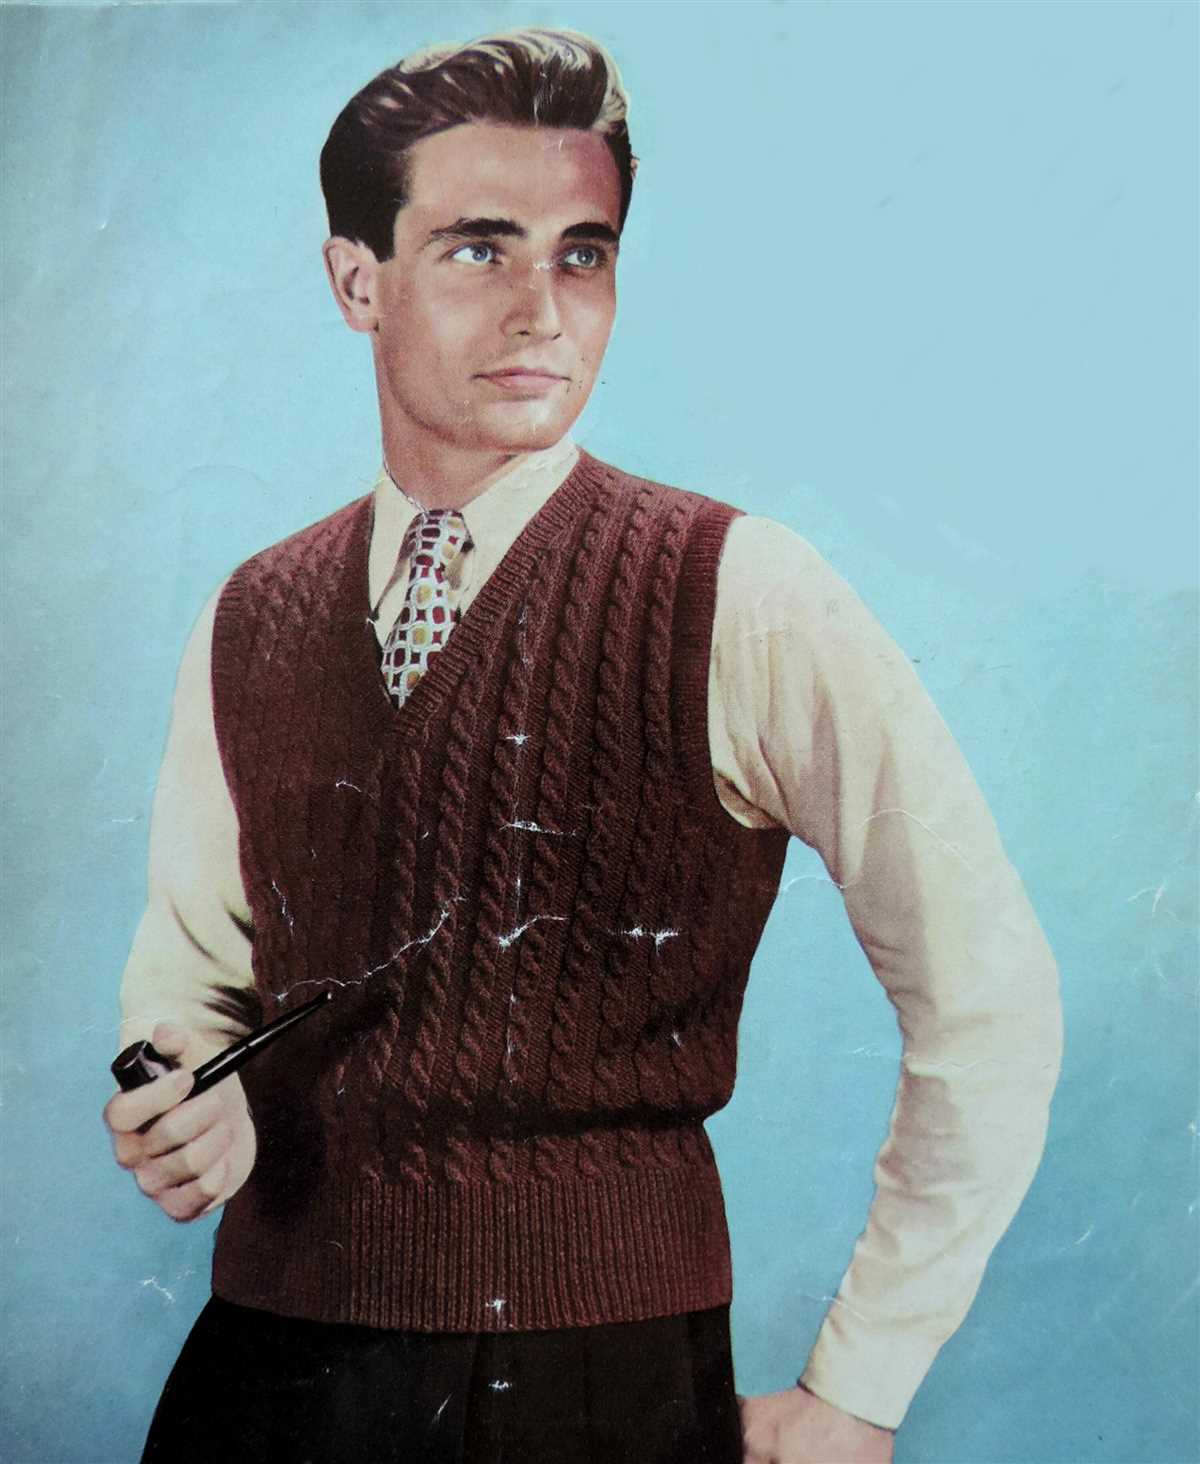
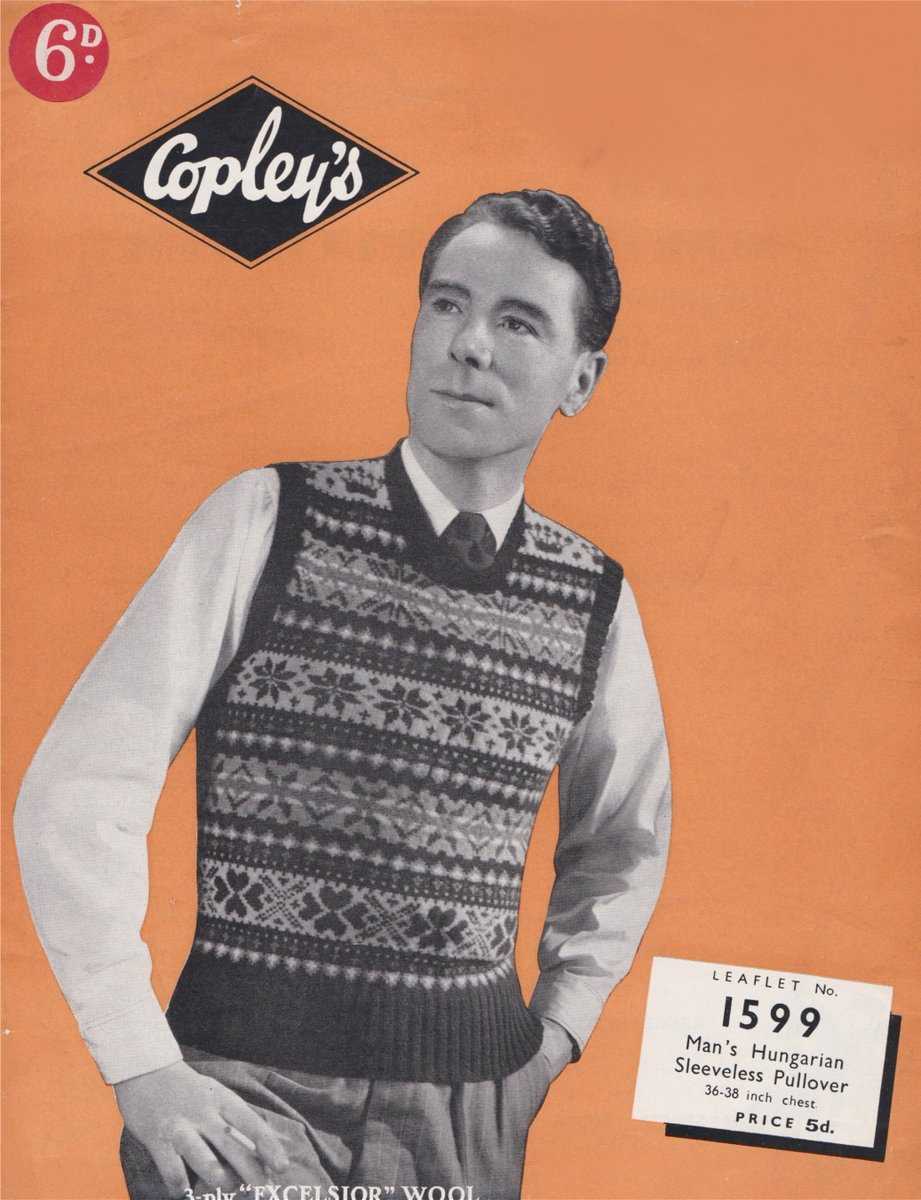
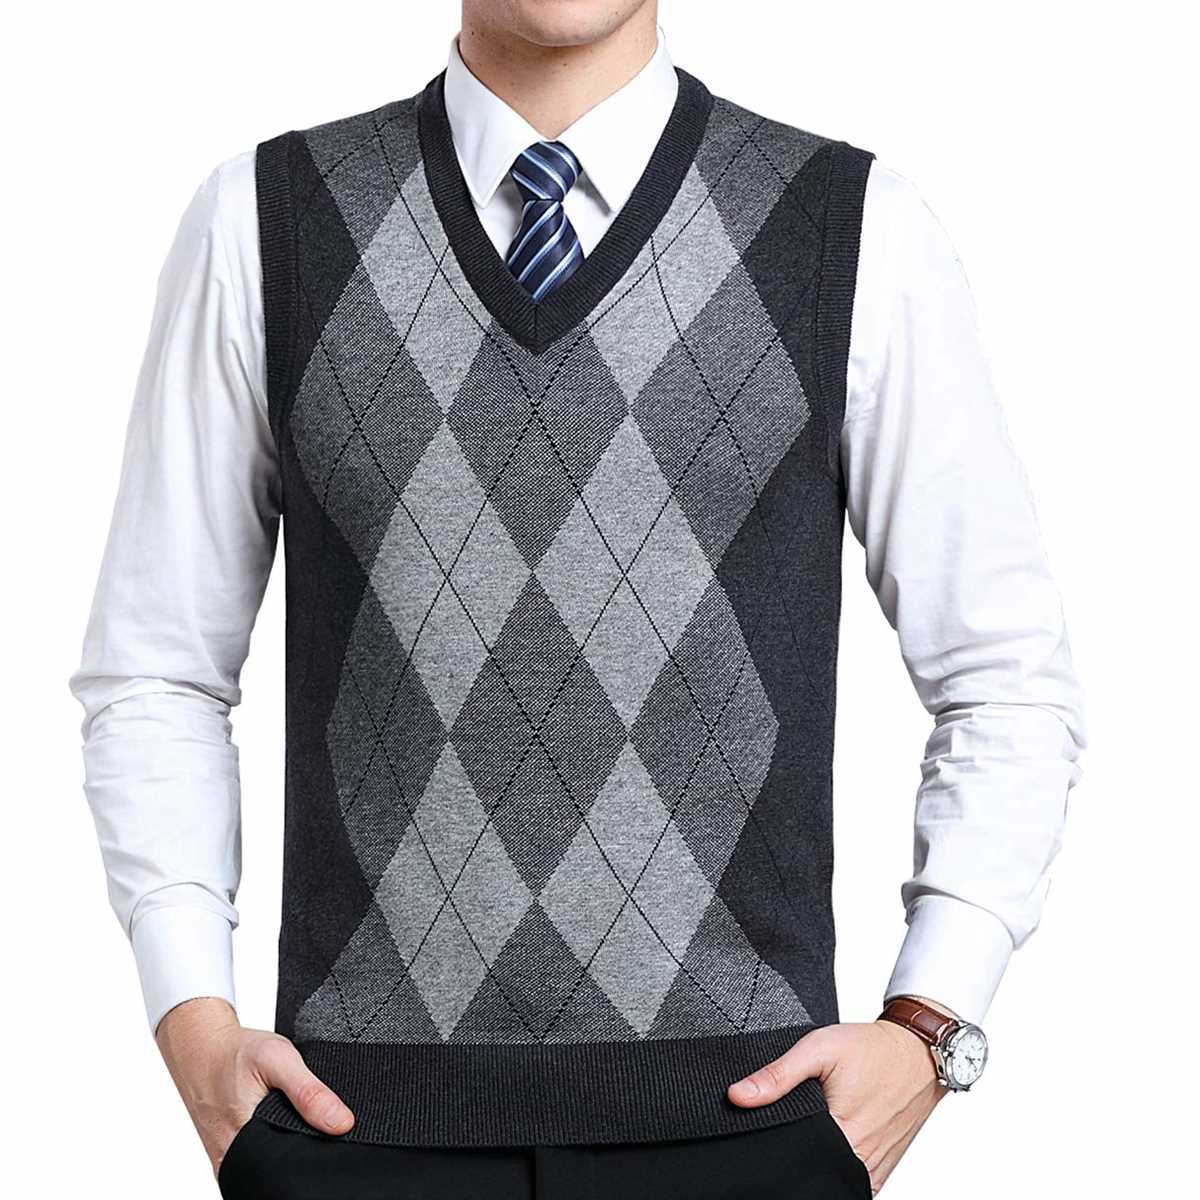
The sleeveless jumper, also known as a sleeveless sweater or vest, is a versatile and stylish garment that can be worn in various ways and for different occasions. It is a popular choice for both men and women, providing warmth and comfort while allowing for freedom of movement.
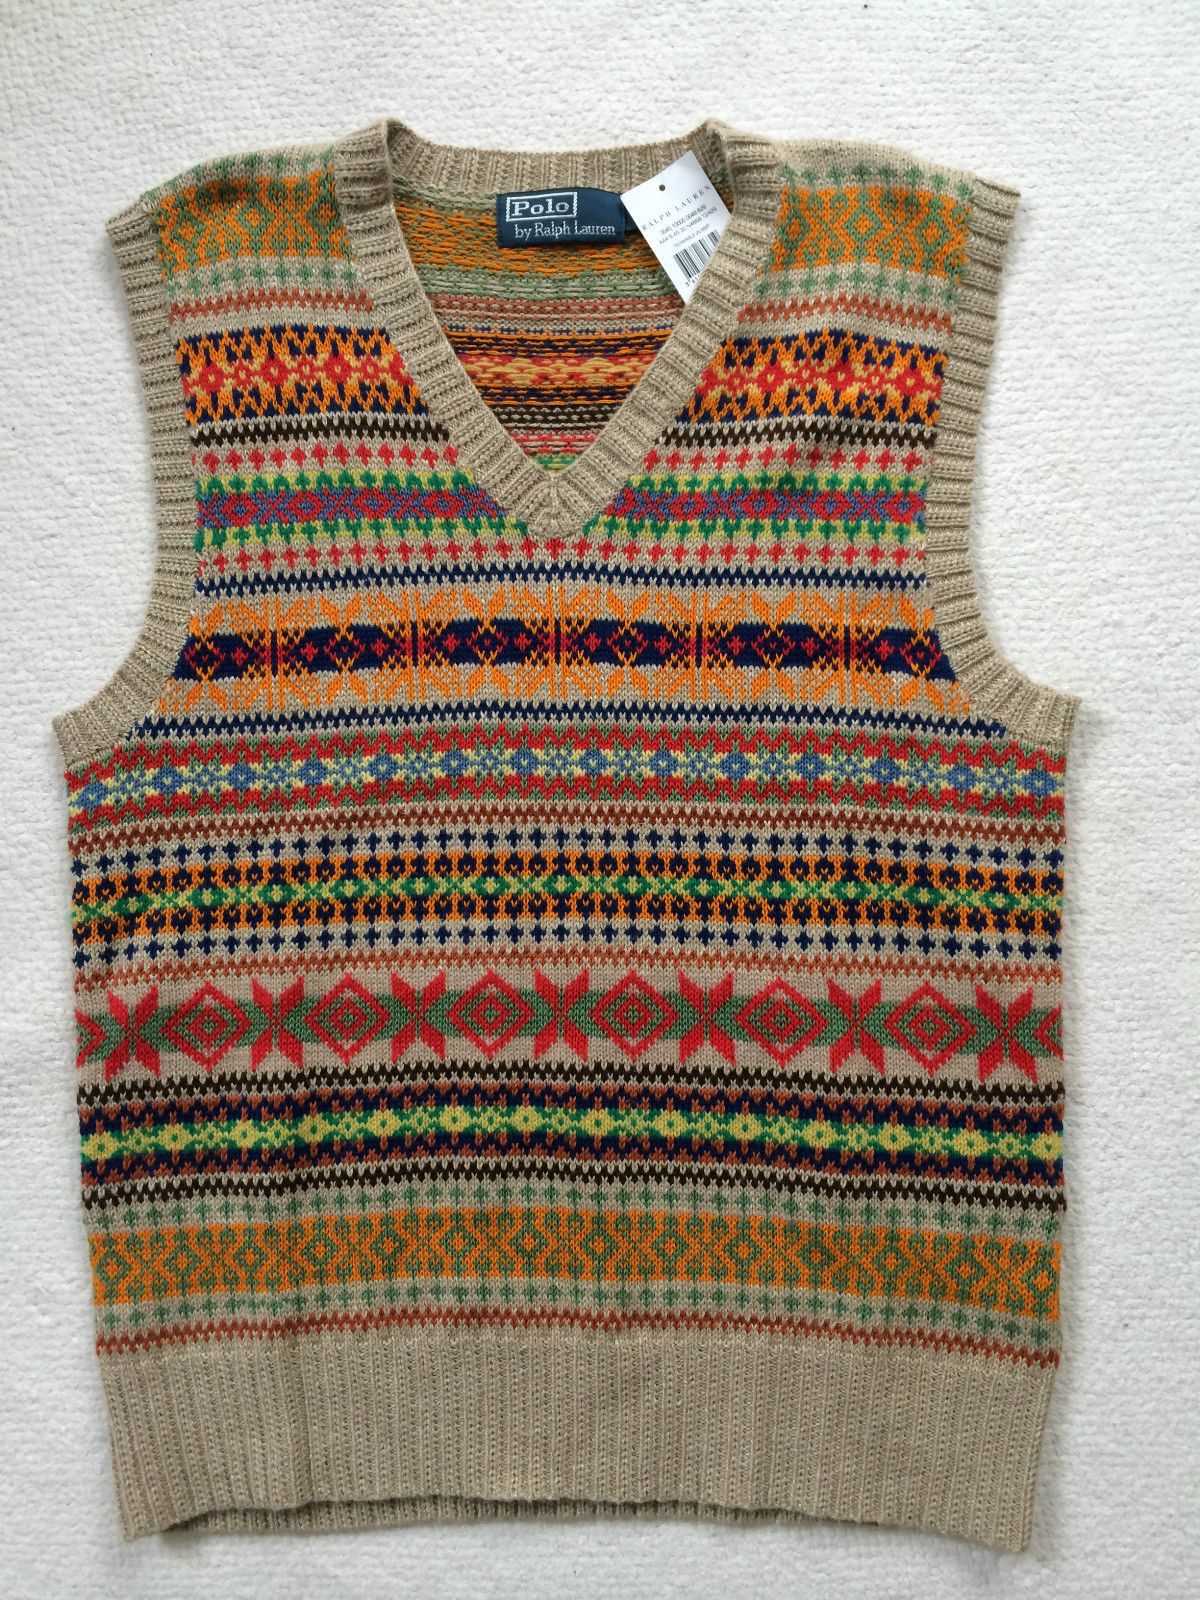
A sleeveless jumper typically features a high neckline and a loose, relaxed fit. It can be made from a variety of materials, including wool, cotton, and acrylic. The choice of material and pattern can greatly affect the look and feel of the garment, making it suitable for both casual and formal occasions.
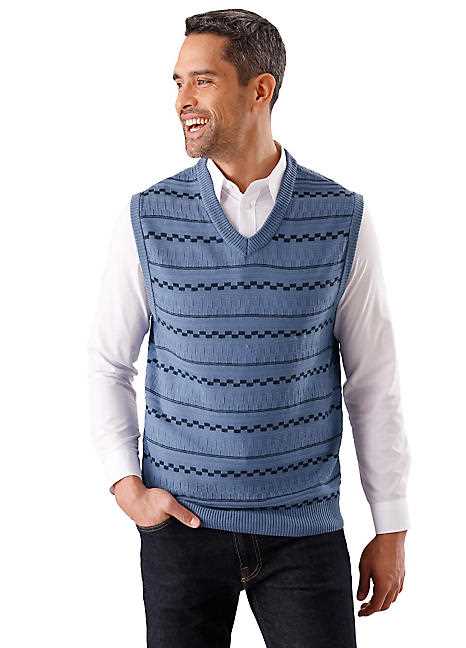
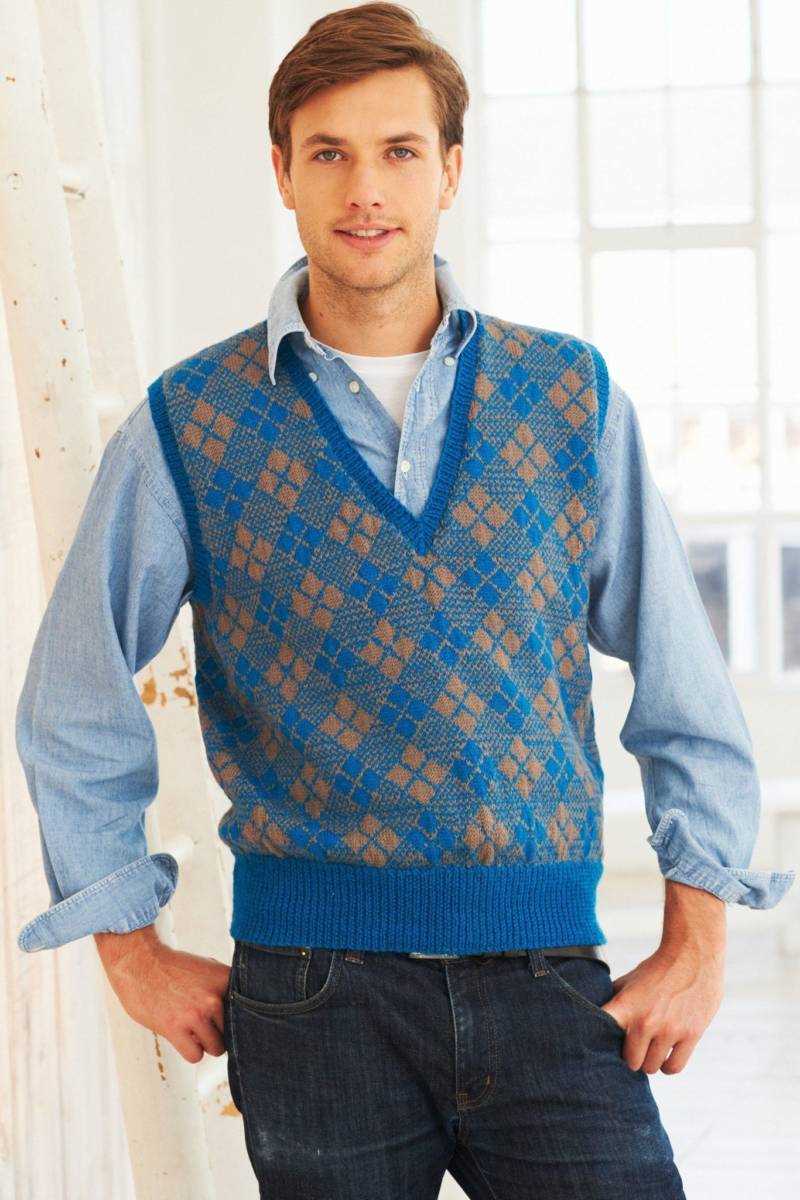
Styling and Layering
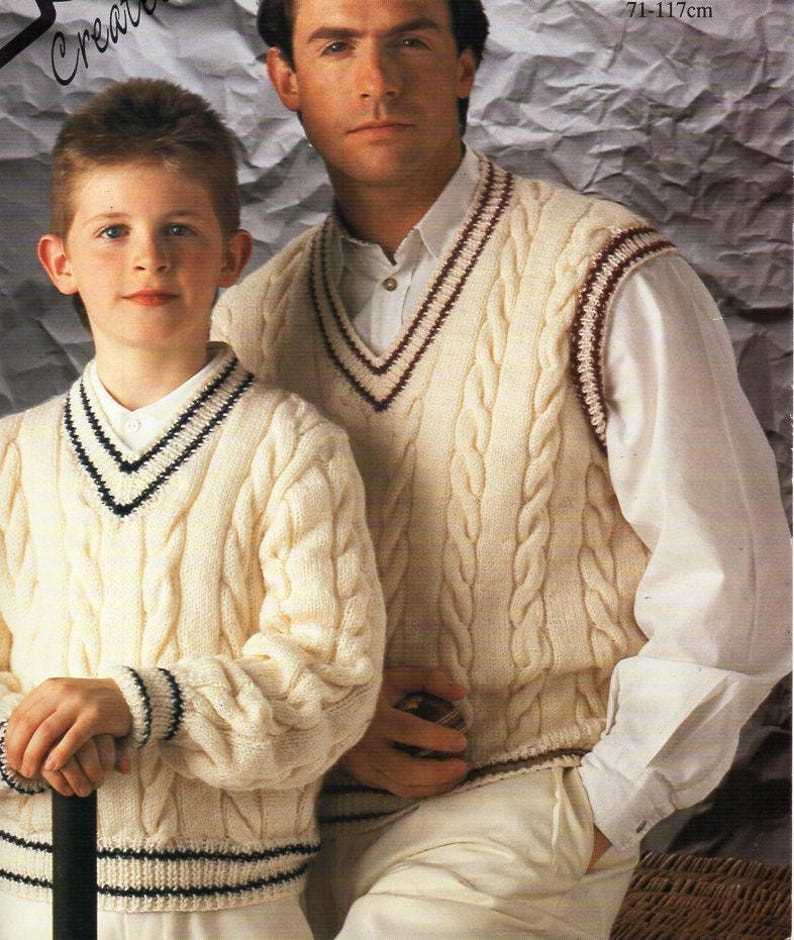
One of the benefits of a sleeveless jumper is its versatility in styling and layering. It can be worn as a standalone piece, paired with a shirt or blouse underneath, or layered with a jacket or cardigan on top. This allows for endless possibilities when it comes to creating different looks and outfits.
Knitting Pattern
To create a sleeveless jumper, one can use a knitting pattern specifically designed for this type of garment. Knitting patterns provide step-by-step instructions on how to create the garment, including the type of yarn, needles, and stitch patterns to use. They also provide measurements and sizing guides to ensure a proper fit.
Customization and Adjustments
Knitting patterns for sleeveless jumpers often allow for customization and adjustments to fit individual preferences. This can include altering the length, neckline, or stitch patterns, as well as adding embellishments such as pockets or buttons. Knitting allows for a high degree of personalization, making each sleeveless jumper a unique and one-of-a-kind piece.
Conclusion
The sleeveless jumper is a versatile and timeless garment that can be a valuable addition to any wardrobe. Whether worn on its own or layered with other pieces, it provides warmth, style, and the opportunity for personal expression through customization. With the right knitting pattern and a bit of creativity, anyone can create their own sleeveless jumper to enjoy and showcase their knitting skills.
Choosing the Right Yarn and Needles
When it comes to knitting a sleeveless jumper, choosing the right yarn and needles is essential to achieve the desired result. The right yarn can make a big difference in the finished product, both in terms of its appearance and its comfort. Similarly, the right needles can ensure that the knitting process goes smoothly and that the stitches are even and consistent.
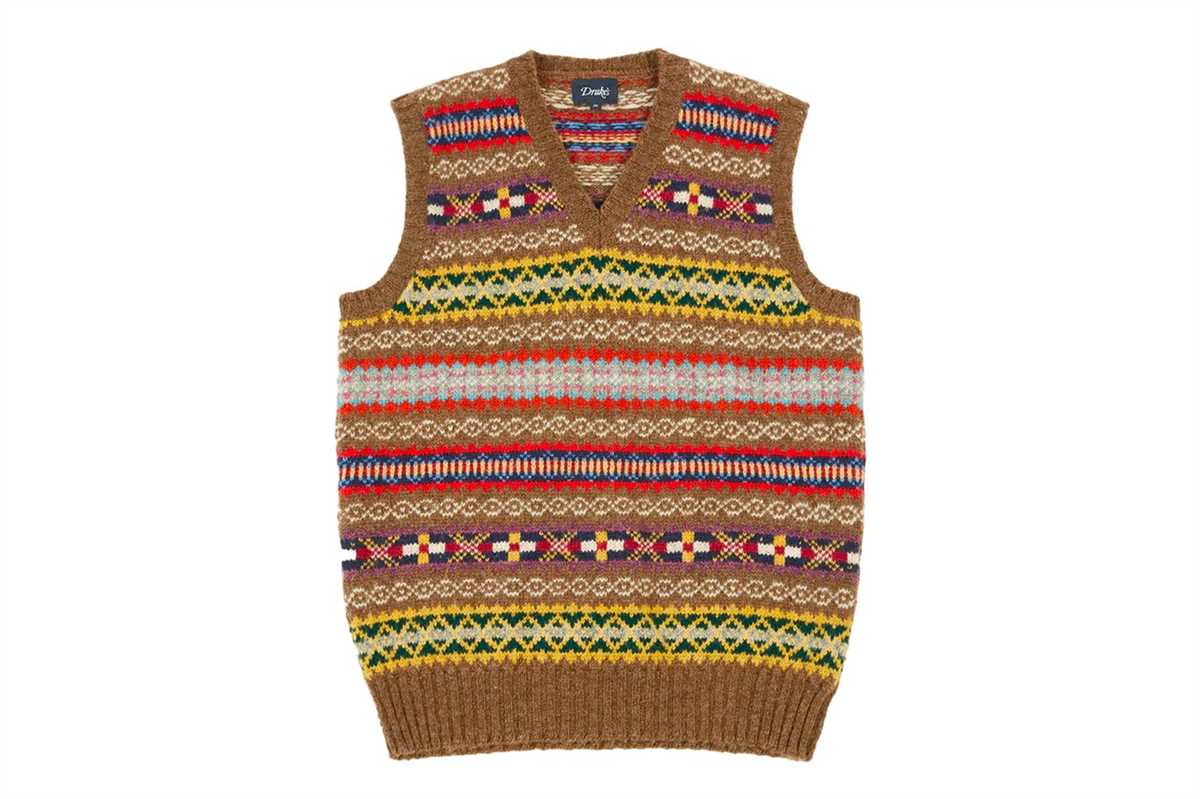
Yarn: When selecting the yarn for a sleeveless jumper, consider the fiber content, weight, and texture. The fiber content will determine how warm and breathable the jumper will be. Natural fibers such as wool or cotton are often preferred for their breathability and comfort. The weight of the yarn will affect the drape and shape of the finished garment, with lighter weights producing a more delicate and flowy look. The texture of the yarn, whether it’s smooth, fluffy, or textured, will also influence the overall appearance of the jumper.
Needles: The choice of needles can greatly impact the knitting process and the final look of the sleeveless jumper. The size of the needles will determine the gauge and thickness of the knitted fabric. It’s important to use the recommended needle size in the knitting pattern to ensure that the finished garment matches the intended measurements. Additionally, different needle materials can affect the tension and smoothness of the stitches. Metal needles often create a slick knitting surface, while wooden or bamboo needles can provide more grip for those who prefer it.
Overall, choosing the right yarn and needles for a sleeveless jumper involves considering the fiber content, weight, and texture of the yarn, as well as the size and material of the needles. By selecting materials that align with the desired outcome, knitters can create a sleeveless jumper that is both visually appealing and comfortable to wear.
Taking Measurements
Taking accurate measurements is crucial when knitting a men’s sleeveless jumper. It ensures that the finished garment fits properly and looks great. Here’s a step-by-step guide to help you take the necessary measurements before you start knitting.
1. Chest Measurement
First, measure the circumference of the chest using a flexible measuring tape. Make sure the tape is snug, but not too tight, around the fullest part of the chest. This measurement will determine the overall size of the jumper.
2. Shoulder to Underarm Measurement
Next, measure from the top of the shoulder down to the point where you want the armhole to start. This measurement will determine the length of the shoulder and the depth of the armhole.
3. Back Length Measurement
Measure from the base of the neck down to the desired length of the jumper. This measurement will determine how long the back of the jumper will be.
4. Neckline Measurement
Measure the circumference of the neck where the collar of the jumper will sit. Make sure the tape is snug but not too tight. This measurement will help you determine the size of the neckline.
5. Armhole Circumference Measurement
Finally, measure around the armhole at the point where the jumper will sit on the shoulder. This measurement will determine the size of the armhole and how snug or loose it will be.
Once you have all the measurements, you can refer to the knitting pattern to determine the appropriate size and make any necessary adjustments. Taking accurate measurements will ensure that your men’s sleeveless jumper fits well and is comfortable to wear.
Casting On Stitches

When starting to knit a sleeveless jumper, one of the first steps is to cast on the required number of stitches. Casting on stitches creates the foundation row of your project and determines the width of the garment. There are several methods you can use to cast on stitches, depending on the desired outcome and your personal preference.
One popular method is the long-tail cast on. To begin, you need to estimate the length of yarn needed for the desired number of stitches plus a little extra for the tail. Make a slipknot at this point and hold the tail with your index finger and thumb. Insert the needle into the slipknot and bring it under the working yarn, then loop the yarn over the needle, pulling it through the slipknot. Continue this process until you have cast on the required number of stitches.
If you prefer a more stretchy cast on, you may opt for the knitted cast on method. Starting with a slipknot, insert the needle into the slipknot and pull the working yarn through. Then, insert the right needle into the stitch from left to right, wrap the yarn around the needle, and pull it through to create a new stitch. Repeat this process until you have cast on the desired number of stitches.
Extra: Provisional Cast On
When working on a sleeveless jumper, you may also encounter the need for a provisional cast on. This method allows you to create a temporary cast on that can easily be undone later, providing a seamless join when needed. There are different techniques for a provisional cast on, but one common method involves using waste yarn and a crochet hook. First, crochet a chain using the waste yarn, and then carefully pick up and knit the stitches from the back bump of each chain stitch using the main yarn. This creates a row of live stitches that can be easily unraveled later to create a seamless join with another piece of knitting.
Knitting the Body
When knitting the body of a sleeveless jumper, it is important to follow the knitting pattern precisely to ensure a well-fitted and visually appealing result. The body is typically knit in one piece from the bottom up and requires attention to detail to create the desired shape and texture.
Start by casting on the required number of stitches specified in the pattern. It is crucial to ensure that the correct gauge is achieved, as this will determine the size and fit of the finished garment. Once the stitches are cast on, work the ribbing section as indicated, typically in a 1×1 or 2×2 rib pattern, to create a neat and elastic bottom edge.
Continuing with the main body section, follow the pattern’s instructions for any stitch or color changes. This may involve working in stockinette stitch or incorporating different stitch patterns to create texture or visual interest. Pay careful attention to any shaping instructions, such as increases or decreases, to achieve the desired fit and silhouette.
As you progress, regularly check your work against the pattern’s measurements to ensure that the length and width are on track. This will help prevent any surprises when trying on the finished jumper. If necessary, make adjustments along the way, following the pattern’s guidelines for adding or subtracting stitches.
Once the desired length is reached, follow the pattern’s instructions for any finishing details, such as binding off or working a decorative border. In some cases, you may need to seam the sides of the body together if it was knit in separate pieces. Take care to sew neatly and securely to achieve a polished and professional finish.
Knitting the body of a sleeveless jumper requires patience, attention to detail, and a familiarity with the chosen knitting pattern. By following the instructions closely and checking your work against the pattern’s measurements, you can create a beautifully knitted garment that fits well and showcases your knitting skills.
Shaping the Neckline
When knitting a sleeveless jumper, shaping the neckline is an important step in creating a comfortable and flattering fit. The neckline can be shaped in a variety of ways, depending on the desired style and design. Here are a few techniques to consider:
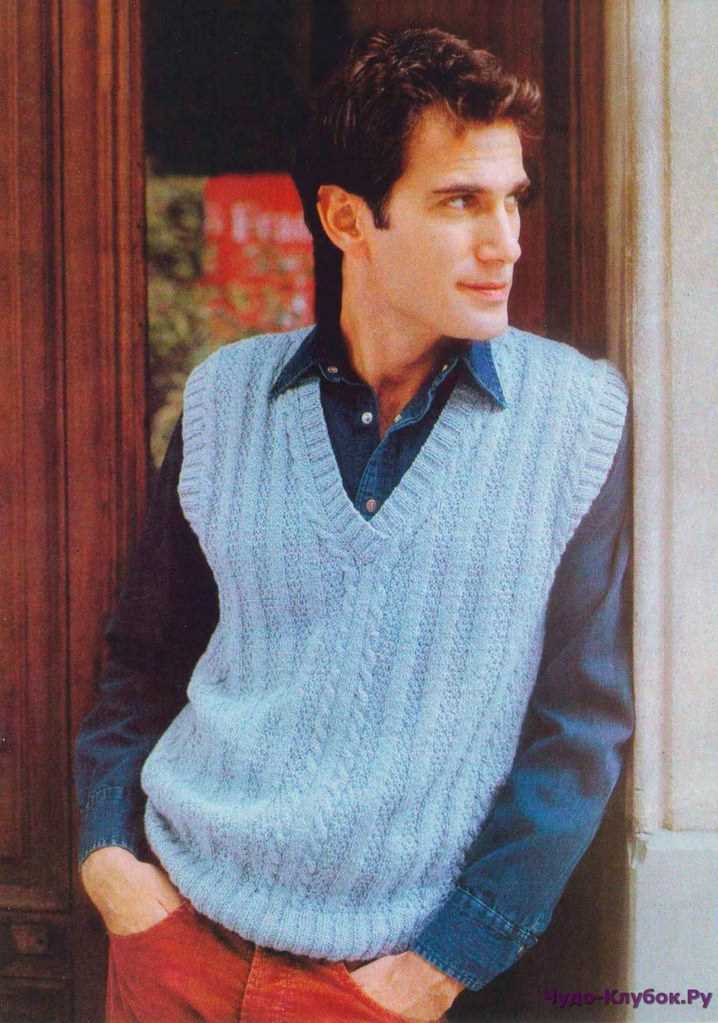
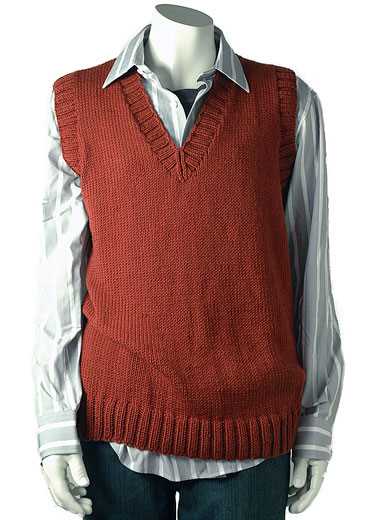
1. V-Neck
The V-neck is a classic and versatile neckline that flatters many body types. To shape a V-neckline, you will start by decreasing stitches along the center front of the jumper. This can be done by knitting two stitches together or using a more intricate decrease pattern, such as a centered double decrease. The number of decreases will depend on the desired depth of the V-neck.
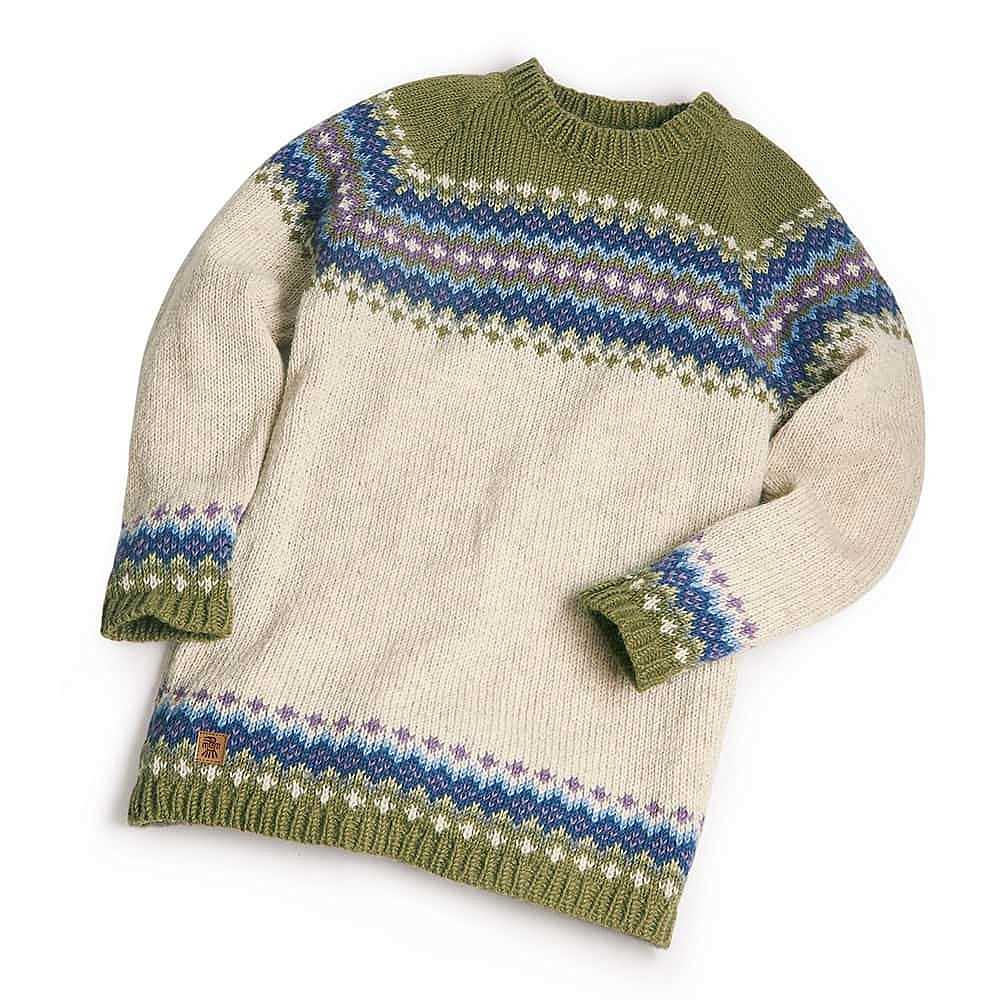
2. Crew Neck
A crew neck is a simple and timeless neckline that sits close to the neck. To shape a crew neckline, you will typically knit straight across the front and back of the jumper without any decreases or increases. The neckline can be finished with a ribbed or rolled edge for a clean and polished look.
3. Scoop Neck
A scoop neck is a feminine and flattering neckline that has a curved, gentle dip at the front. To shape a scoop neckline, you will start by increasing stitches along the center front of the jumper. This can be done by working yarn overs or using a more intricate increase pattern, such as a make one. The number of increases will depend on the desired depth of the scoop neck.
When shaping the neckline, it is important to consider the overall design of the sleeveless jumper and how it will be worn. The neckline should complement the style and enhance the wearer’s features. By experimenting with different neckline shapes and techniques, you can create a unique and fashionable sleeveless jumper that is both comfortable and stylish.
Knitting the Armholes
When you reach the desired length for the body of your sleeveless jumper, it’s time to start working on the armholes. The armholes are the openings where your arms will go through, and they need to be carefully shaped to ensure a comfortable fit.
To begin, you will need to divide your stitches for the front and back sections of the jumper. You can do this by slipping half of the stitches onto a stitch holder or a separate needle. Make sure to keep the remaining stitches on your working needle.
Next, you will start shaping the armholes. This is typically done by decreasing a certain number of stitches on both sides of the armhole. You can use markers to indicate where the decreases will be made.
For example, you could start by knitting a few rows straight, without any decreases. Then, on the next row, you could knit to the marker, slip it, knit two stitches together (decrease), knit to the second marker, slip it, and knit two stitches together again. This will create a decrease on both sides of the armhole.
Continue working the armhole decreases for the desired number of rows, following the pattern instructions. Once you have completed the armhole decreases, you can continue knitting the rest of the jumper according to the pattern.
Creating the Ribbing
Before you start knitting the sleeveless jumper, it’s important to create the ribbing at the bottom of the garment. The ribbing adds stretch and shape to the jumper, making it more comfortable to wear and helping it to retain its shape over time.
To create the ribbing, you will need to cast on the required number of stitches using your chosen yarn and needles. It’s best to use a smaller needle size for the ribbing to ensure that it is tight and stretches properly. You can adjust the number of stitches based on the desired width of the ribbing, but typically around 2-3 inches should suffice.
Once you have cast on the stitches, you will then begin working the ribbing pattern. This can be done using a combination of knit and purl stitches. The most common ribbing pattern is a 1×1 rib, which consists of alternating knit and purl stitches. Simply knit one stitch, then purl one stitch, and continue this pattern until you reach the end of the row.
Continue working the ribbing pattern for the specified number of rows, making sure to maintain the correct stitch pattern throughout. It’s important to keep your tension consistent to ensure an even and professional-looking ribbing. Remember to take breaks and stretch your hands and fingers to prevent any discomfort or strain.
Once the ribbing is complete, you can proceed to the main body of the sleeveless jumper. The ribbing creates a neat and tidy edge for the jumper and lays the foundation for the rest of the knitting project. With the ribbing in place, you can now move on to the next steps of the knitting pattern, confident that your sleeveless jumper will have a polished and professional finish.
Finishing Touches
Once you have completed knitting your sleeveless jumper, it’s time to add the finishing touches. These details will give your garment a polished and professional look.
Blocking: Before adding any finishing touches, it’s important to block your knitted piece. This involves wetting or steaming your jumper to help even out the stitches and shape the garment. Blocking will give your sleeveless jumper a neat and tidy appearance.
- Seaming: If your sleeveless jumper is knit in separate pieces, you will need to seam them together. Use a yarn needle and matching yarn to hand stitch the side seams, shoulder seams, and any other necessary seams. Make sure to align the stitches properly and sew with an invisible seam for a seamless finish.
- Hemming: To create a clean hem on your sleeveless jumper, fold the bottom edge of the garment inward and stitch it in place. You can use a simple whip stitch or a slip stitch to secure the hem. This will give the garment a finished edge and prevent it from unraveling.
- Neckline and Armhole Edging: To finish the neck and armhole edges, you can add a ribbed or garter stitch edging. Pick up stitches along the edges and work in the desired stitch pattern for a neat and stretchy edge.
- Buttons or Fastenings: If your sleeveless jumper has a front opening, you can add buttons or other fastenings to secure it. Sew the buttons onto one edge of the opening and make corresponding buttonholes on the other edge. This will give your jumper a functional and stylish closure.
Once you have completed these finishing touches, your sleeveless jumper will be complete and ready to wear! These details add a professional and polished look to your handmade garment, making it a true work of art.
Blocking and Seaming
Once you have finished knitting your sleeveless jumper, it is important to block it before seaming. Blocking helps to even out the stitches and give your garment a professional finish. To block your jumper, follow these steps:
- Fill a basin or sink with lukewarm water and add a small amount of wool wash or mild detergent.
- Gently submerge the jumper in the water, making sure it is completely saturated.
- Let the jumper soak for about 10-15 minutes.
- Remove the jumper from the water and gently squeeze out the excess water. Do not wring or twist the garment.
- Lay the jumper flat on a clean towel and carefully shape it to the correct measurements. Use pins to secure the edges if necessary.
- Allow the jumper to dry completely. This may take a day or two, depending on the temperature and humidity level.
Once your jumper is blocked and dry, it is time to seam the pieces together. Use a tapestry needle and matching yarn to sew the shoulder and side seams. Make sure to align the stitches and sew with even tension for a clean and polished look.
After seaming, weave in any loose ends and give your jumper a final blocking if needed. Press it gently with a steam iron on a low setting, being careful not to stretch the fabric.
Blocking and seaming are crucial steps in creating a well-finished sleeveless jumper. By taking the time to block your garment and carefully seam the pieces together, you can ensure that your jumper will fit nicely and have a professional appearance.
Q&A:
Where can I find a mens sleeveless jumper knitting pattern?
You can find mens sleeveless jumper knitting patterns in knitting magazines, online knitting forums, or on knitting pattern websites.
Are there any free mens sleeveless jumper knitting patterns available online?
Yes, there are many websites that offer free mens sleeveless jumper knitting patterns. You can search for them on knitting pattern websites or by using a search engine.
What materials do I need to knit a mens sleeveless jumper?
To knit a mens sleeveless jumper, you will need yarn, knitting needles, stitch markers, a tapestry needle for weaving in ends, and a set of knitting instructions or a pattern.
Can I modify the sleeveless jumper knitting pattern to fit my measurements?
Yes, you can modify the sleeveless jumper knitting pattern to fit your measurements. To do this, you will need to adjust the number of stitches and rows according to your desired size. You can also modify the length of the jumper by adding or subtracting rows.