
Knitting is a popular craft that allows for the creation of beautiful and functional garments. One of the most rewarding projects for knitters is creating baby items, such as hats. A newborn hat is a simple and quick project that can be made using straight needles, making it accessible to knitters of all skill levels.
This article will provide a step-by-step guide to creating a newborn hat using straight needles. We will discuss the materials needed, the basic knitting techniques required, and explore a simple pattern to follow. Whether you are an experienced knitter looking for a quick and satisfying project, or a beginner looking to improve your skills, this article will provide you with all the information needed to create a precious and cozy hat for a newborn.
The pattern outlined in this article requires basic knitting skills such as casting on, knitting, purling, and decreasing stitches. If you are new to knitting or need a refresher, don’t worry! We will provide clear and concise instructions for each step, making this pattern accessible to knitters of all skill levels. So grab your straight needles and let’s get started on creating a beautiful and warm hat for a precious little one!
Why choose a newborn hat knitting pattern?
Choosing a newborn hat knitting pattern can be a great option for several reasons.
Firstly, knitting a newborn hat allows you to create a personalized and unique accessory for your little one. With a knitting pattern, you have the freedom to choose the yarn, colors, and design that best suits your baby’s style and personality. You can create a hat that matches their outfits or showcases their favorite colors.
Furthermore, knitting a newborn hat can be a meaningful and special gift. If you have a friend or family member who is expecting a baby, a handmade hat can show how much you care and can become a cherished keepsake. By choosing a knitting pattern, you can select a design that is both cute and practical, ensuring that the baby stays warm and cozy.
Knitting a newborn hat using a pattern also allows you to improve your knitting skills. Following a pattern can be a fun and educational experience, especially if you are new to knitting or want to expand your repertoire of techniques. You can learn new stitches, practice your tension, and become more confident in your knitting abilities.
Finally, knitting a newborn hat with straight needles is a convenient option. Straight needles are easy to handle and can be used by beginners and experienced knitters alike. They are also portable, meaning you can take your knitting project with you wherever you go. Whether you are waiting for a doctor’s appointment or enjoying a quiet afternoon at home, knitting a newborn hat can be a relaxing and fulfilling activity.
The advantages of using straight needles
When it comes to knitting, straight needles have several advantages over other types of knitting needles. One of the main benefits of using straight needles is their simplicity and ease of use. Straight needles are the most basic and traditional type of knitting needles, consisting of two long, straight sticks with tapered ends. They are easy to hold and manipulate, making them ideal for beginners or those who prefer a more traditional knitting experience.
Another advantage of using straight needles is their versatility. Since they come in various lengths and sizes, you can easily find the right pair of straight needles for any project you are working on. Whether you are knitting a small newborn hat or a large blanket, straight needles can accommodate different yarn weights and stitch patterns, providing you with flexibility and control over your knitting projects.
Straight needles also have the advantage of being more affordable compared to other types of knitting needles. They are widely available and come in a range of materials, such as wood, bamboo, and metal, allowing you to choose the option that best suits your preferences and budget. Additionally, straight needles can be easily replaced if lost or damaged, making them a cost-effective choice for knitters.
Overall, the use of straight needles in knitting offers simplicity, versatility, and affordability. Whether you are a beginner or an experienced knitter, straight needles can provide you with a satisfying and enjoyable knitting experience, allowing you to create beautiful and personalized knitted items.
Materials needed for the pattern
When it comes to knitting a newborn hat using straight needles, you will need a few materials to get started. These materials include:
- Straight needles: You will need a pair of straight knitting needles in the appropriate size for the pattern. Typically, a size US 7 or 8 needle is recommended for newborn hats.
- Yarn: Choose a soft and comfortable yarn suitable for a newborn baby. Look for a baby-friendly yarn that is easy to care for and gentle on delicate skin.
- Tapestry needle: A tapestry needle will be needed for weaving in ends and finishing touches.
- Scissors: A pair of scissors is necessary for cutting the yarn after completing the project.
These basic materials are essential for knitting a newborn hat using straight needles. Make sure you gather all the necessary supplies before you start the project to ensure a smooth and enjoyable knitting experience. With these materials at your disposal, you’ll be ready to create a beautiful and cozy hat for a precious newborn.
How to choose the right yarn for a newborn hat knitting pattern
Choosing the right yarn for a newborn hat is an important decision to ensure both comfort and functionality. There are several factors to consider when making this choice.
1. Fiber content:
The first thing to consider is the fiber content of the yarn. It is important to choose a soft and gentle yarn that will be comfortable against the delicate skin of a newborn. Natural fibers such as cotton or bamboo are great options as they are soft, breathable, and hypoallergenic. Avoid yarns with synthetic fibers that may cause irritation or discomfort.
2. Weight and thickness:
Next, you need to consider the weight and thickness of the yarn. In general, a lightweight yarn is recommended for newborn hats as it will provide warmth without being too heavy or bulky. Look for yarns labeled as “baby” or “sport” weight, as they are typically suitable for newborn projects. Avoid chunky or thick yarns that may be too warm or overwhelming for a baby’s head.
3. Ease of care:

It is also important to consider the ease of care for the yarn. Newborn hats are likely to get dirty and need frequent washing, so it is essential to choose a yarn that is machine washable and can withstand regular cleaning without losing its shape or softness. Check the yarn label for care instructions to ensure you choose a yarn that is practical for a baby’s hat.
4. Safety:
Lastly, consider the safety of the yarn. Make sure the yarn you choose does not have any small or loose fibers that could pose a choking hazard to the baby. Opt for yarns with a tight twist and minimal shedding to keep the hat safe for the newborn to wear.
By considering these factors, you can choose the right yarn for your newborn hat knitting pattern that will provide both comfort and style for the little one.
Getting started: casting on stitches
Before you can start knitting your newborn hat, you need to cast on the required number of stitches onto your straight needles. This is the first step in any knitting project, and it’s important to get it right to ensure that your hat turns out the correct size and shape.
There are several different methods for casting on stitches, but for this pattern, we will use the long-tail cast on method. To begin, measure out a length of yarn that is about three times the width of the hat you want to make. This will leave you with a tail of yarn that you will use to create your first row of stitches.
Step 1: Make a slip knot at the end of the yarn, leaving a short tail.
Step 2: Hold one needle in your right hand and the slip knot in your left hand.
Step 3: Insert the needle into the slip knot from left to right, with the point of the needle facing upwards.
Step 4: Using your right hand, bring the yarn over the needle from right to left, creating a loop.
Step 5: Insert the needle into the loop from left to right, with the point of the needle facing downwards.
Step 6: Use your right hand to pull the yarn to tighten the stitch onto the needle.
Repeat steps 3-6 until you have cast on the required number of stitches. Make sure to keep the stitches evenly spaced along the length of the needle.
Once you have completed the cast on, you are ready to start knitting your newborn hat!
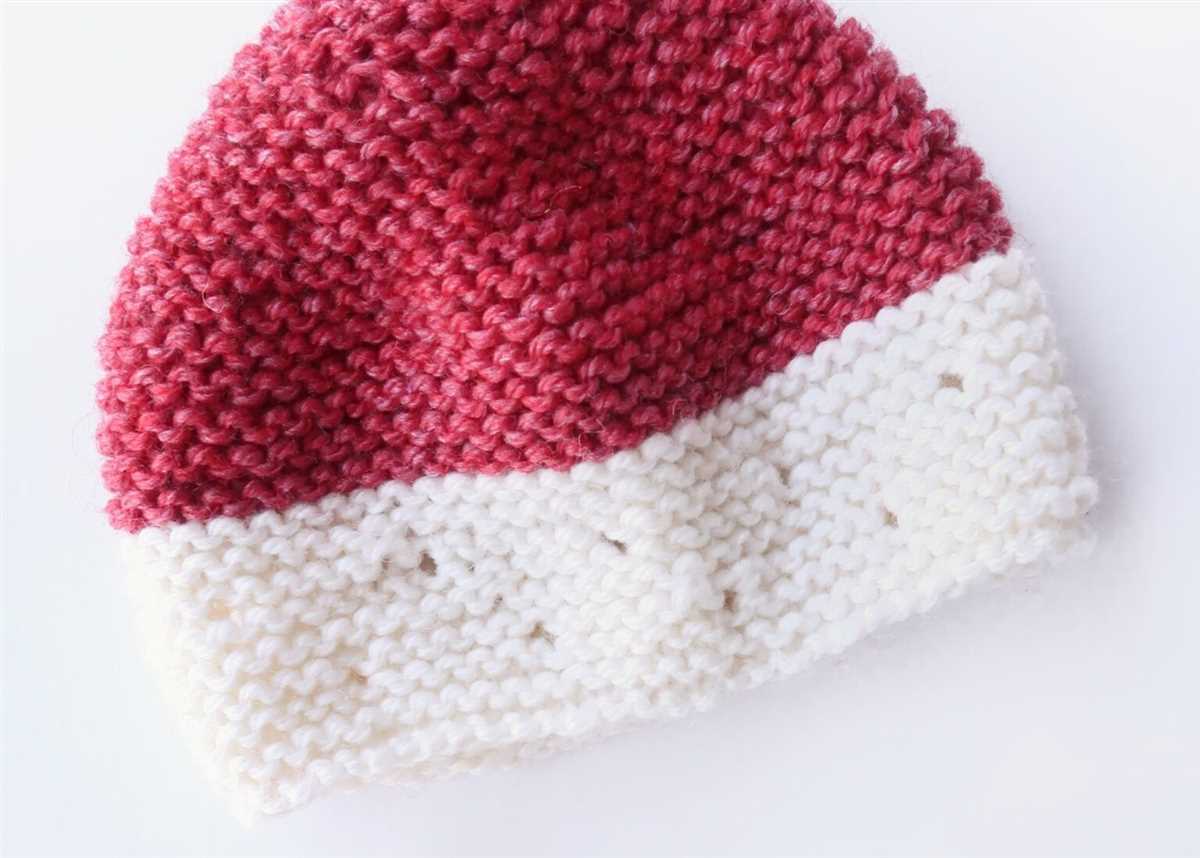
Knitting the Body of the Hat

After completing the ribbing, it’s time to move on to knitting the body of the hat. Using straight needles, continue with the main color yarn and begin working in the desired stitch pattern.
If you are following a specific pattern, make sure to carefully read the instructions and follow the given stitch chart. If you are creating your own pattern, you have the freedom to choose any stitch pattern that you prefer, such as stockinette stitch, garter stitch, or a combination of knit and purl stitches.
Continue knitting in the chosen stitch pattern until the body of the hat reaches the desired length. This length may vary depending on whether you want a slouchy hat or a more fitted one. Remember to take into account the additional length that will be added by the decrease rounds at the top of the hat.
As you work through the body of the hat, it’s a good idea to measure it occasionally to ensure that you are achieving the desired length. You can do this by gently laying the knitting flat and using a tape measure or ruler to measure from the cast-on edge to the desired point.
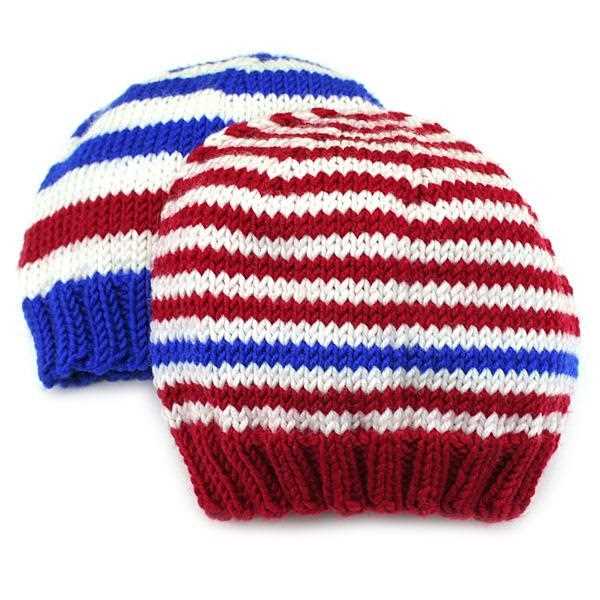
To add some visual interest or personalization to the hat, you can also incorporate color changes, stripes, or simple colorwork patterns. These can be achieved by adding in a new yarn color or by carrying the alternate color along with the main color as you knit.
Remember to always keep your tension consistent and your stitches neat and even as you work on the body of the hat. This will ensure a polished and professional-looking finished product.
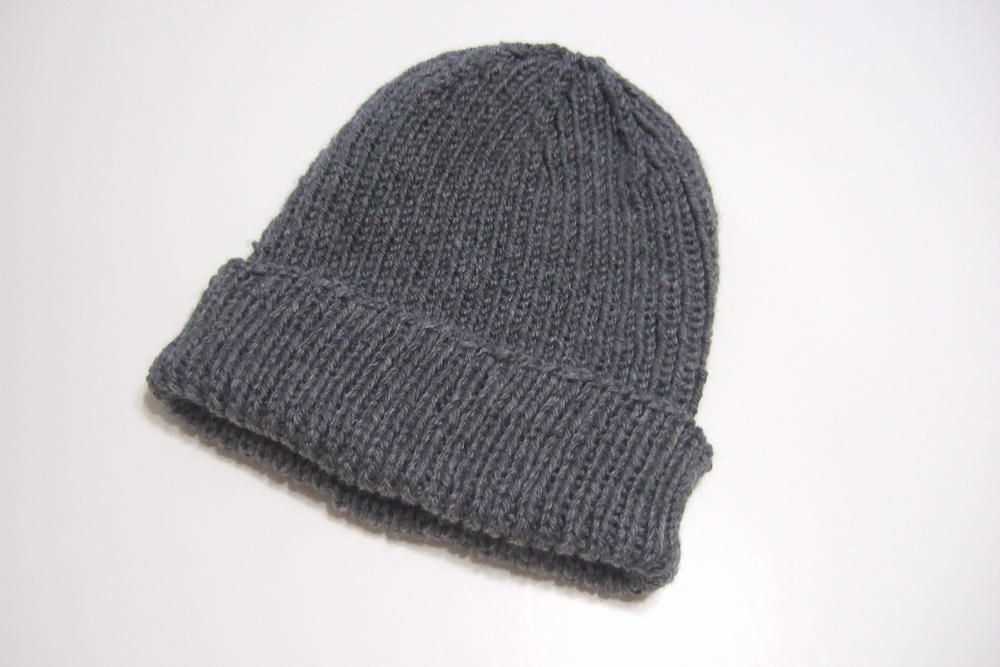
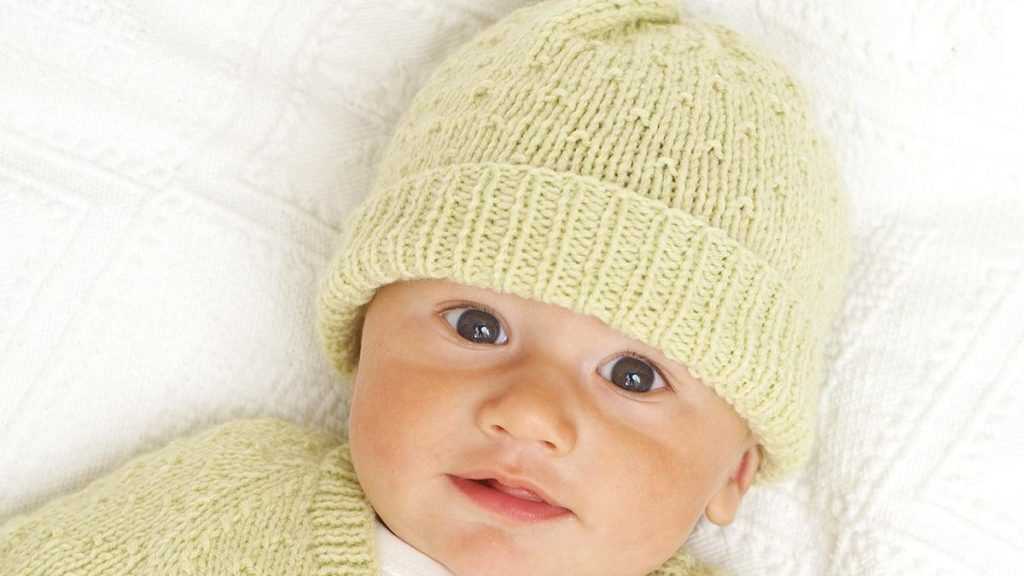
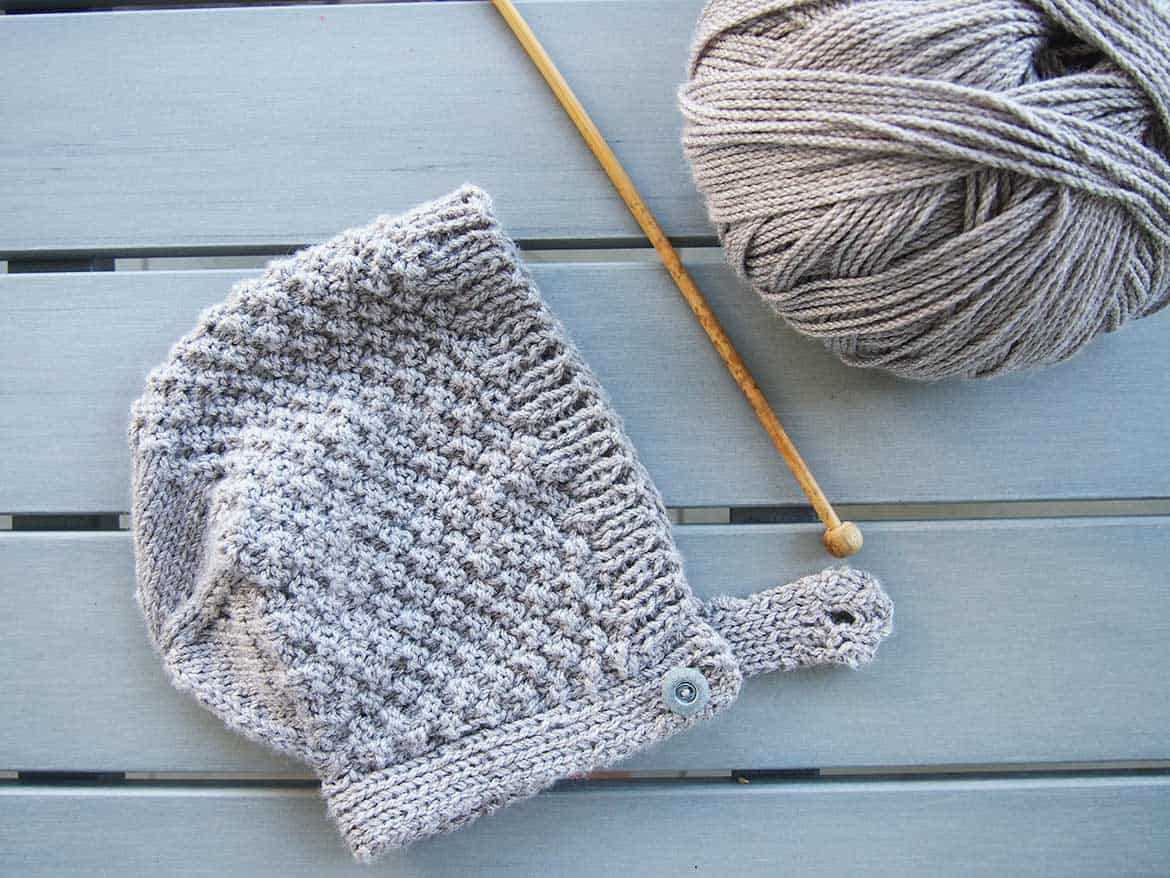
Adding ribbing for a snug fit
When knitting a newborn hat, it is important to ensure a snug fit to keep the baby’s head warm and comfortable. One way to achieve this is by adding ribbing to the brim of the hat. Ribbing refers to a specific knitting pattern that creates a stretchy and flexible fabric, making it perfect for a hat that needs to fit snugly.
To add ribbing to your newborn hat, you will need to use a smaller needle size than the one you used for the rest of the hat. This will create a tighter fabric that will help the hat stay in place and provide a better fit. A common needle size to use for ribbing is two sizes smaller than the main needle size.
For example, if you used size 8 needles for the body of the hat, you would use size 6 needles for the ribbing. It is essential to knit the ribbing with a smaller needle size to ensure it is elastic enough to stretch and fit comfortably on the baby’s head.
When knitting ribbing, a commonly used pattern is the 1×1 rib stitch. It is called so because it consists of alternating knit and purl stitches. The pattern is straightforward and creates an attractive texture. To knit the 1×1 rib stitch, you will simply knit one stitch, then purl one stitch, and repeat this pattern until you reach the desired length for the ribbing.
Adding ribbing to your newborn hat will not only help improve the fit but also add a decorative element to the design. By using a smaller needle size and knitting the ribbing with the 1×1 rib stitch, you can create a snug and stylish hat that will keep the baby cozy and comfortable during those precious first weeks.
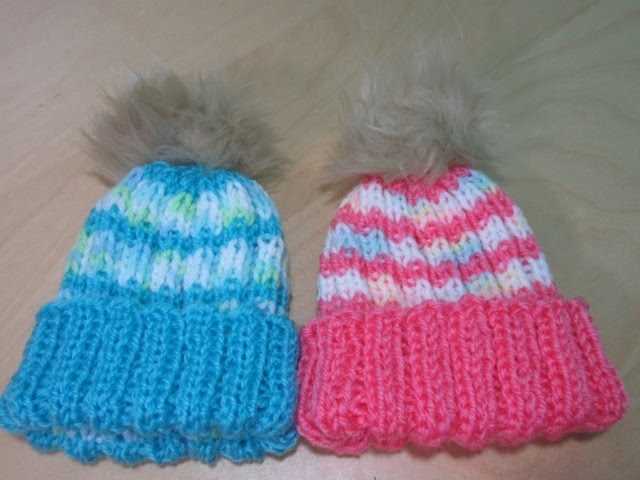
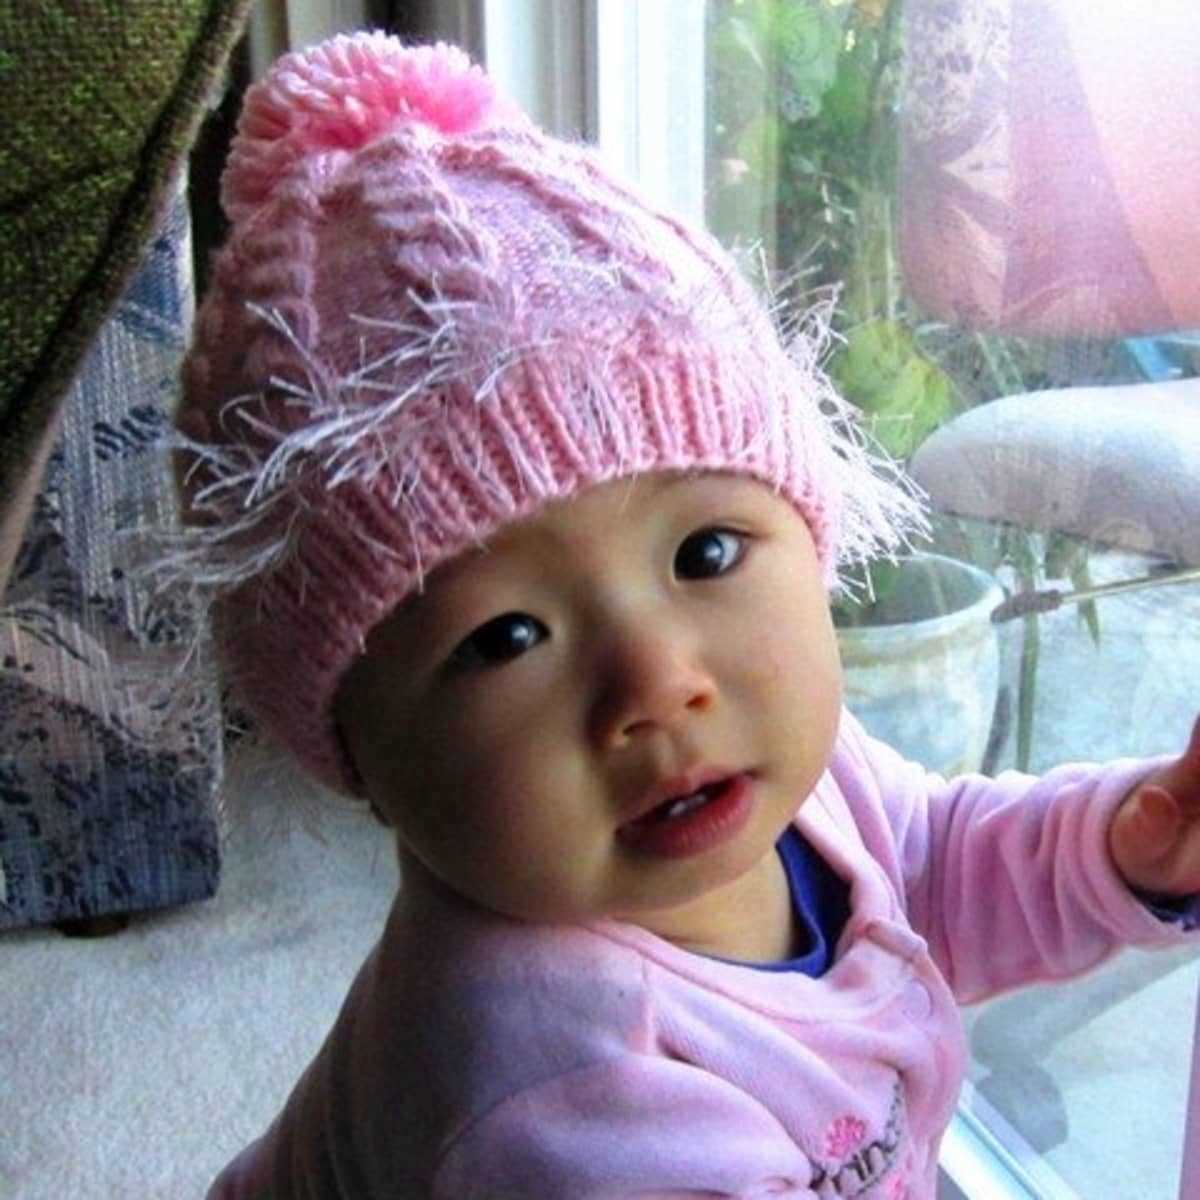
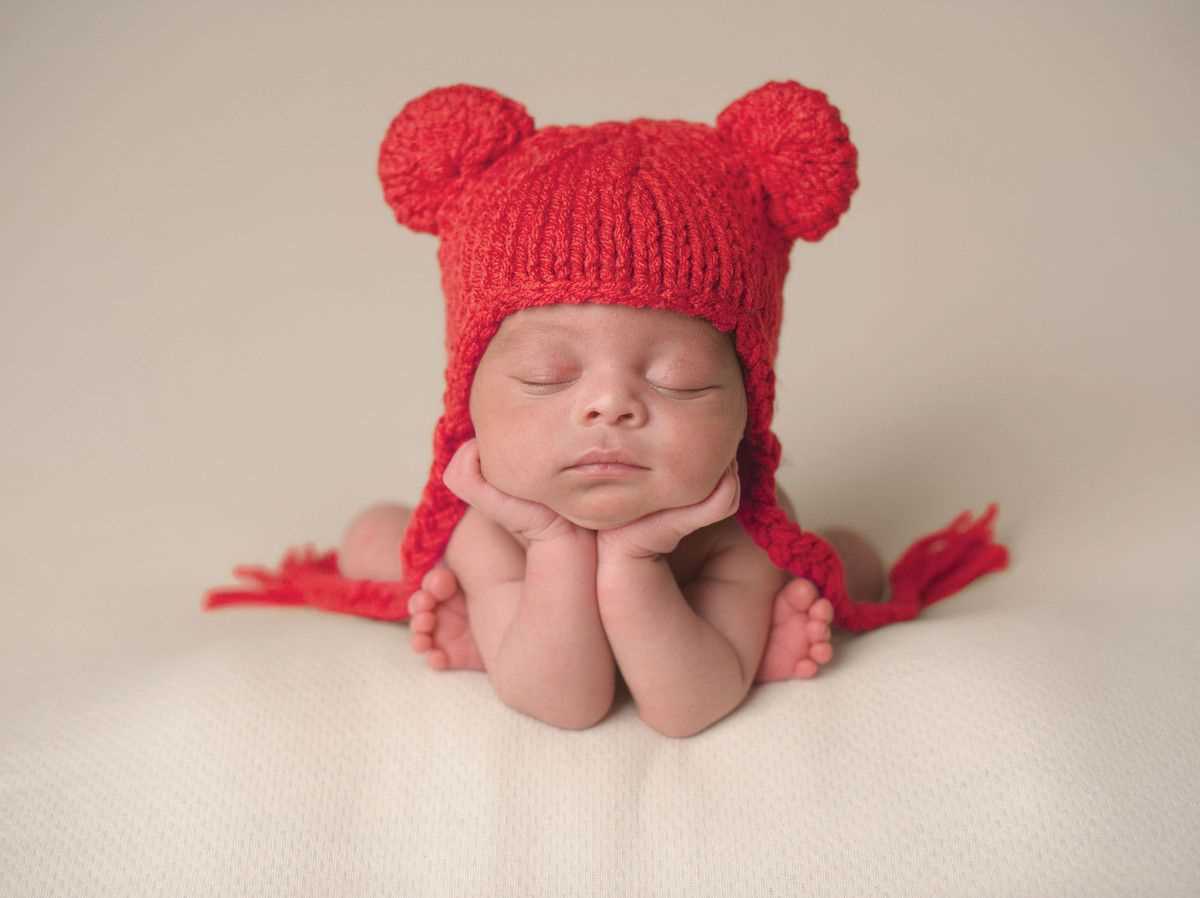
Creating a cute pom pom
Adding a pom pom to a newborn hat is an adorable way to make it even more charming. With just a few simple steps, you can create a cute and fluffy pom pom to attach to the top of the hat.
To make a pom pom, you will need yarn in a color that matches or complements the hat, a pom pom maker or a piece of cardboard, scissors, and a yarn needle. Start by choosing the size of pom pom you want. The larger the pom pom maker or cardboard circle, the bigger the pom pom will be.
Step 1: Making the pom pom
- Begin by wrapping the yarn around the pom pom maker or cardboard. The more times you wrap the yarn, the denser the pom pom will be.
- Once you have wrapped the yarn to your desired thickness, carefully cut the yarn, leaving a long tail.
- Gently slide the yarn off the pom pom maker or cardboard.
- Take the long tail of yarn and tie it tightly around the wrapped yarn in the center.
- Trim the ends of the pom pom to make them even and neat. You can trim them shorter for a tidy look or leave them longer for a more playful appearance.
Step 2: Attaching the pom pom to the hat
- Thread the yarn needle with a length of yarn that matches the hat.
- Position the pom pom on top of the hat where you want it to be attached.
- Insert the yarn needle through the top of the hat and through the center of the pom pom.
- Secure the pom pom to the hat by stitching through the pom pom and the hat a few times. Make sure it is firmly attached.
- Once the pom pom is securely attached, weave in any loose ends of yarn on the inside of the hat so they are not visible.
With these simple steps, you can easily create a cute pom pom to add a touch of whimsy to any newborn hat. Whether you choose a matching or contrasting color, the pom pom is sure to make the hat even more irresistible.
Finishing touches: binding off stitches and weaving in ends
Once you have completed knitting your newborn hat, it’s time to finish it off with some important final touches. The first step is to bind off your stitches, which means to secure them in place and prevent them from unraveling. To bind off, simply knit the first two stitches as usual, then use your left needle to lift the first stitch over the second stitch and off the right needle. Continue this process until you have bound off all the stitches.
After binding off, you will have a few loose ends of yarn that need to be woven in to make the hat neat and tidy. Thread one end of the yarn onto a tapestry needle and insert it through the stitches on the wrong side of the fabric. Weave the yarn in a zigzag pattern along the inside of the hat, making sure to go through several stitches to secure it. Then, trim any excess yarn.
If you prefer a neater finish, you can also use the duplicate stitch method to weave in your ends. Thread the needle with the yarn end and follow the path of the stitch using the duplicate stitch technique. This will create a seamless appearance and further secure the ends of the yarn.
Finally, make sure to give your hat a gentle blocking to help it retain its shape. You can do this by wetting the hat with lukewarm water, shaping it to the desired size, and laying it flat to dry. Once it is completely dry, your newborn hat is ready to be worn or gifted to a lucky baby!
Tips for personalizing your newborn hat
Creating a unique and personalized newborn hat can be a fun and rewarding experience. Whether you are knitting for your own baby or as a gift, here are some tips to help you add special touches to your hat:
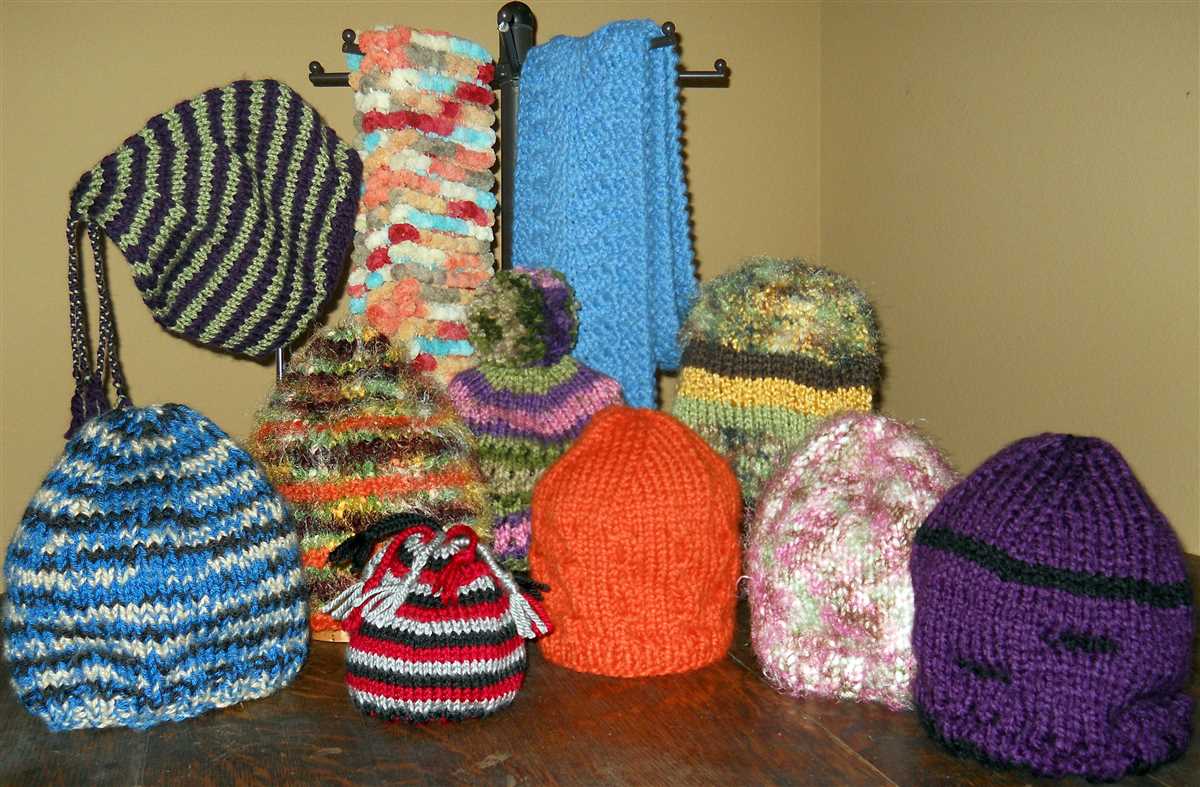
1. Color and yarn selection
Choose colors that reflect the baby’s personality or the theme of the nursery. Experiment with different yarn textures and patterns to add interest and visual appeal to the hat.
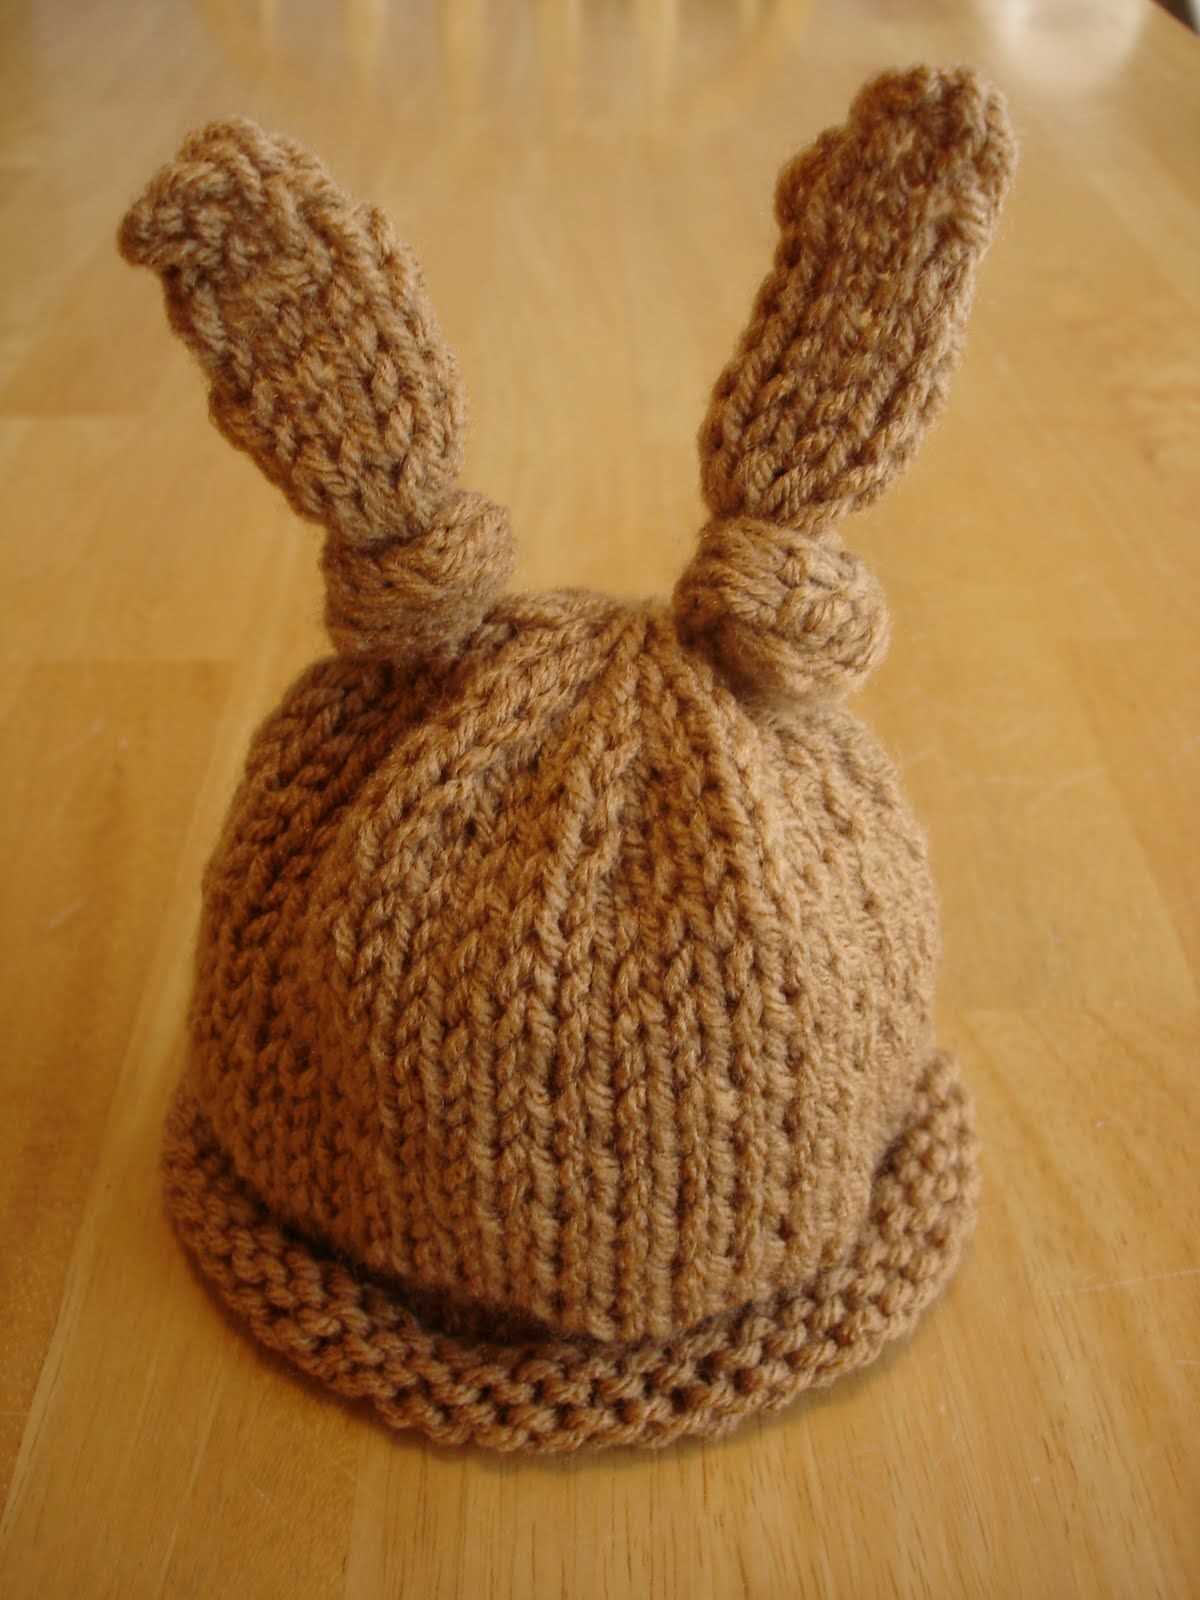
2. Embellishments

Add embellishments like buttons, bows, ribbons, or appliques to make the hat more unique and eye-catching. Be mindful of safety when using any embellishments; make sure they are securely attached and cannot be easily pulled off by a curious baby.
3. Personalized embroidery
Consider adding the baby’s initials, name, or birthdate with embroidered letters or numbers. This personal touch adds sentimental value to the hat and makes it a cherished keepsake.
4. Texture and patterns
Experiment with different knitting stitches or patterns to create texture on the hat. Cable stitches, ribbing, or lace patterns can add depth and visual interest to the design.
5. Matching accessories
Create matching accessories such as booties, mittens, or a blanket to complete the set. Coordinating colors and patterns will tie the look together and make the hat even more special.
6. Customizable measurements
Adjust the hat pattern to fit the baby’s head perfectly. Measure the baby’s head circumference and add or reduce stitches to ensure a snug and comfortable fit.