
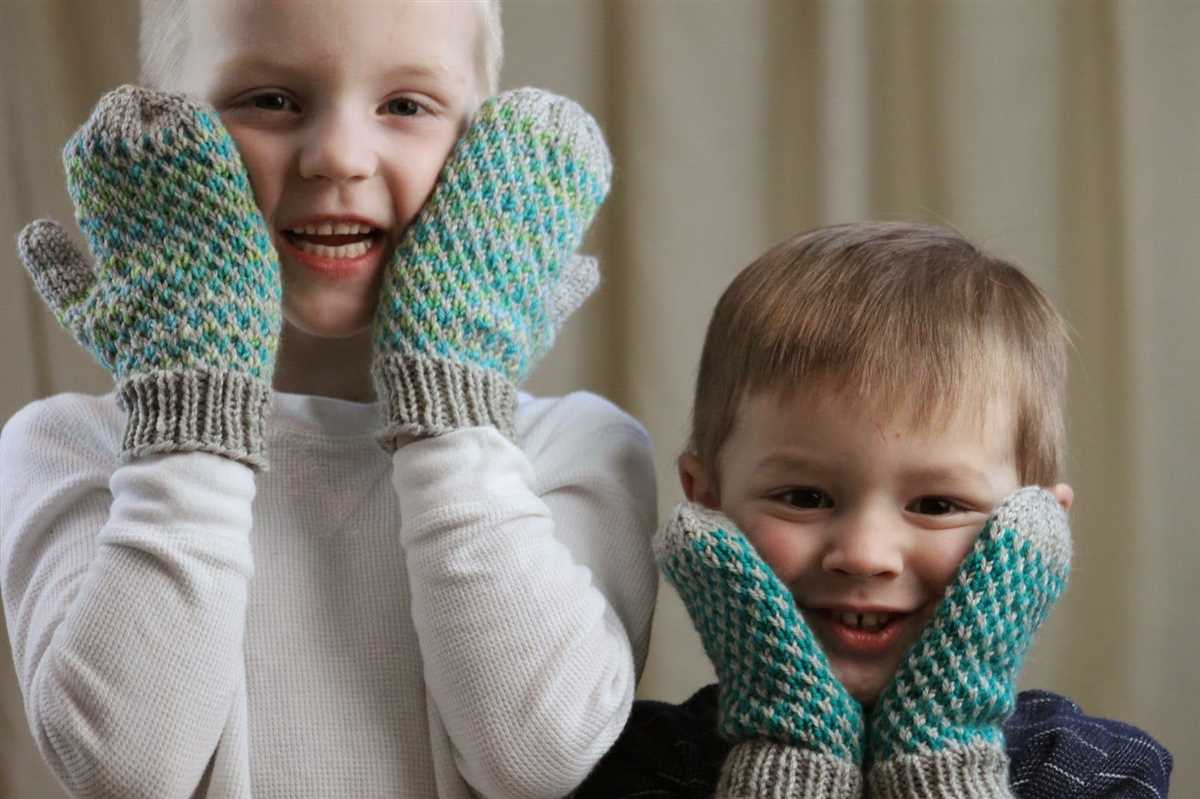
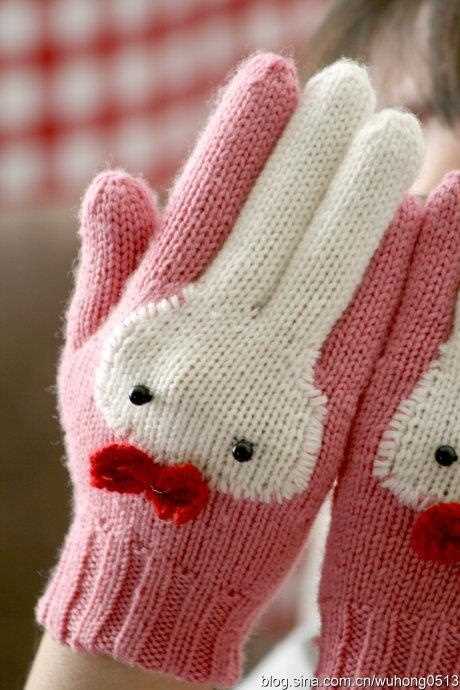
Cold winter days call for warm and cozy accessories, and what could be better than a pair of knitted gloves for your little ones? Knitting gloves for children is not only a practical way to keep their hands warm, but it also allows you to add a personal touch by choosing different colors and patterns.
In this article, we will provide you with a free pattern to knit children’s gloves. Knitting gloves can seem intimidating, especially if you are a beginner, but with this easy-to-follow pattern, you’ll be able to create a pair of adorable gloves in no time.
The pattern we will be using is suitable for children ages 4 to 8 and can be easily adjusted for different sizes. It uses basic knitting stitches and techniques, making it perfect for both beginners and more experienced knitters. Let’s get started and create a pair of cozy and stylish gloves that your child will love!
Children’s Knitted Gloves Free Pattern
If you’re looking for a fun and practical knitting project for your little ones, why not try making a pair of children’s knitted gloves? Not only are they adorable, but they will also keep your child’s hands warm during the cold winter months. Plus, with this free pattern, you can easily create a pair of gloves that are customized to your child’s size and style.
To get started, you’ll need a few basic supplies, including knitting needles, yarn, and a tape measure. Once you have everything ready, you can begin casting on and creating the ribbing for the cuffs. The pattern will guide you through each step, including knitting the fingers and finishing off the gloves with a neat bind-off. Don’t worry if this is your first time knitting gloves – the instructions are easy to follow, and you’ll soon have a pair of cozy gloves ready for your little one.
Materials:
- Size 6 (4.0 mm) knitting needles
- Worsted weight yarn
- Tape measure
- Tapestry needle
- Stitch markers
Instructions:
- Using the long-tail cast-on method, cast on 32 stitches.
- Join in the round, being careful not to twist the stitches.
- Knit 2×2 ribbing for 1.5 inches.
- Switch to stockinette stitch and knit until the glove measures 4 inches from the cuff.
- Divide the stitches evenly onto three double-pointed needles.
- Knit in the round for the desired length, decreasing at the fingertips.
- Use the Kitchener stitch to sew the tips of the fingers together.
- Weave in any loose ends and trim excess yarn.
- Repeat steps 1-8 for the second glove.
This pattern is a great way to practice your knitting skills while creating a practical accessory for your child. Feel free to customize the pattern by adding stripes, colorwork, or other embellishments. Your child will love their new knitted gloves, and you’ll enjoy the satisfaction of creating something beautiful and functional with your own two hands.
Choose your yarn and needles
When it comes to knitting children’s gloves, choosing the right yarn and needles is essential for a successful outcome. The yarn you pick should be soft and gentle against the delicate skin of a child’s hands. Look for yarns that are labeled as “baby” or “soft” to ensure maximum comfort. Opt for natural fibers such as cotton or bamboo for their breathability and hypoallergenic properties.
As for the needles, it’s best to use a pair of circular needles in a size that matches the gauge listed in the pattern. Circular needles are great for knitting in the round, which is typically how children’s gloves are made. They allow you to easily knit small circumferences without the need for double-pointed needles. Make sure the needle length is appropriate for the size of the gloves you’re making.
Here are some key factors to consider when choosing your yarn and needles:
- Yarn weight: The pattern may specify a certain yarn weight, such as DK or worsted. Make sure to choose a yarn that matches the recommended weight to achieve the correct gauge.
- Gauge: Check the pattern for the recommended gauge and use needles that will help you achieve it. Swatch beforehand to ensure your gauge matches the pattern’s.
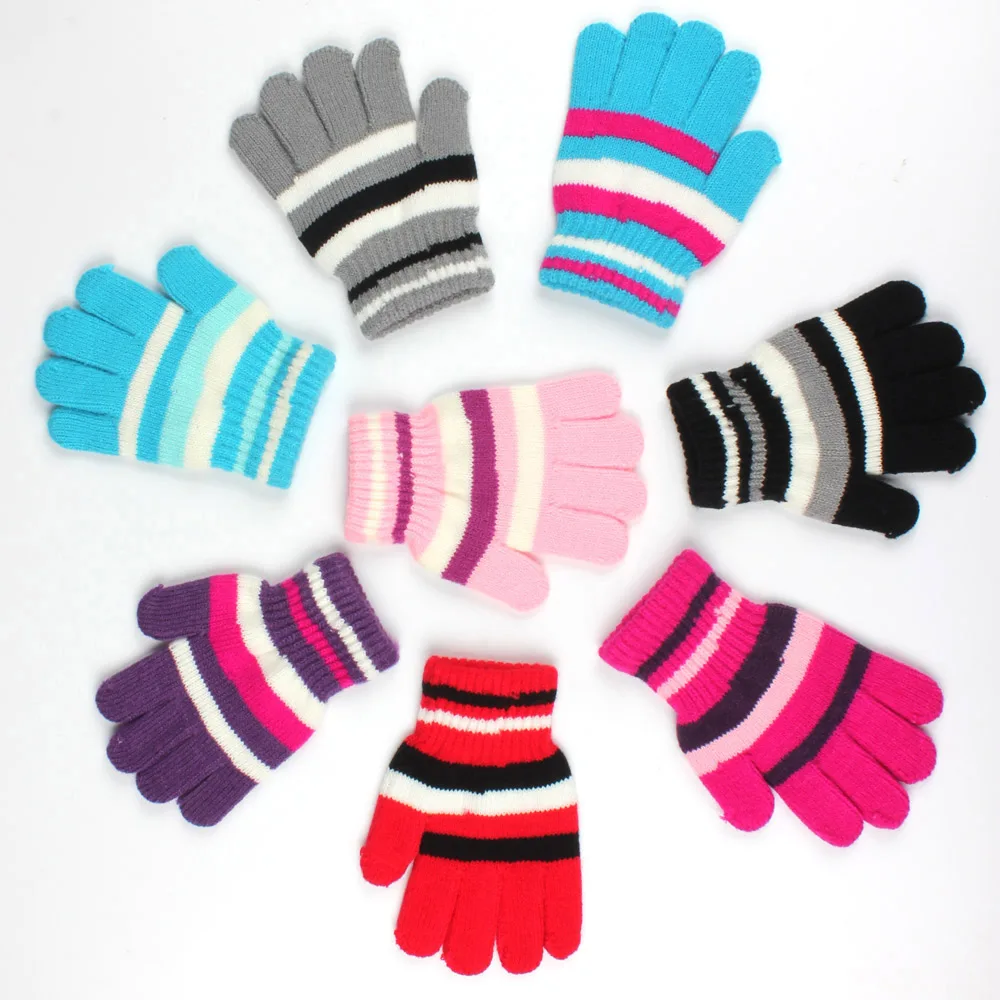
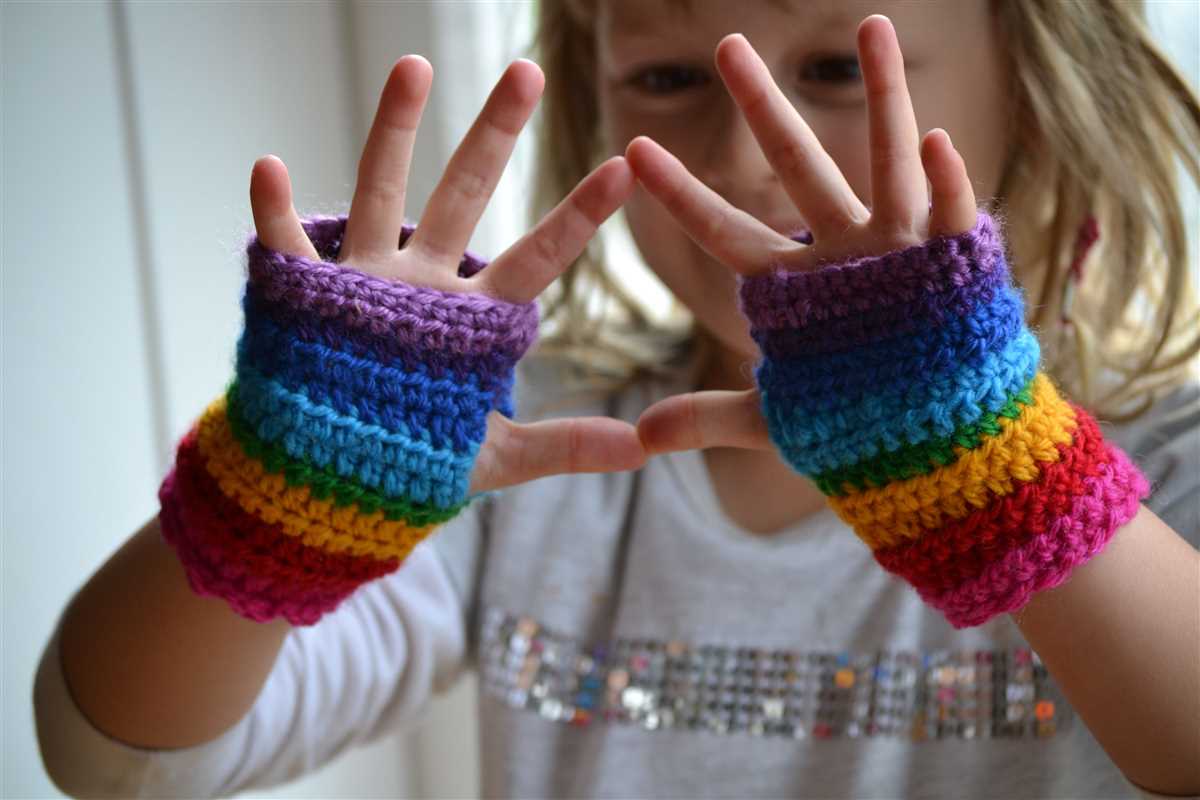
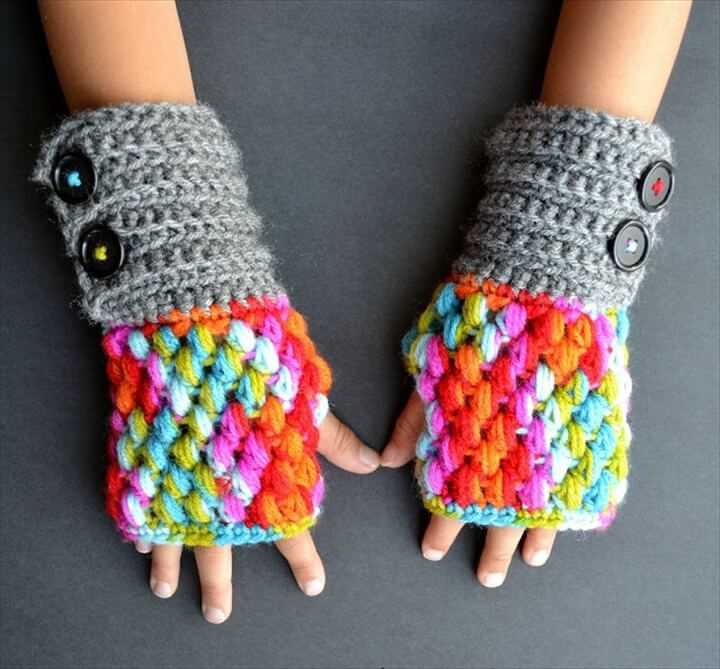
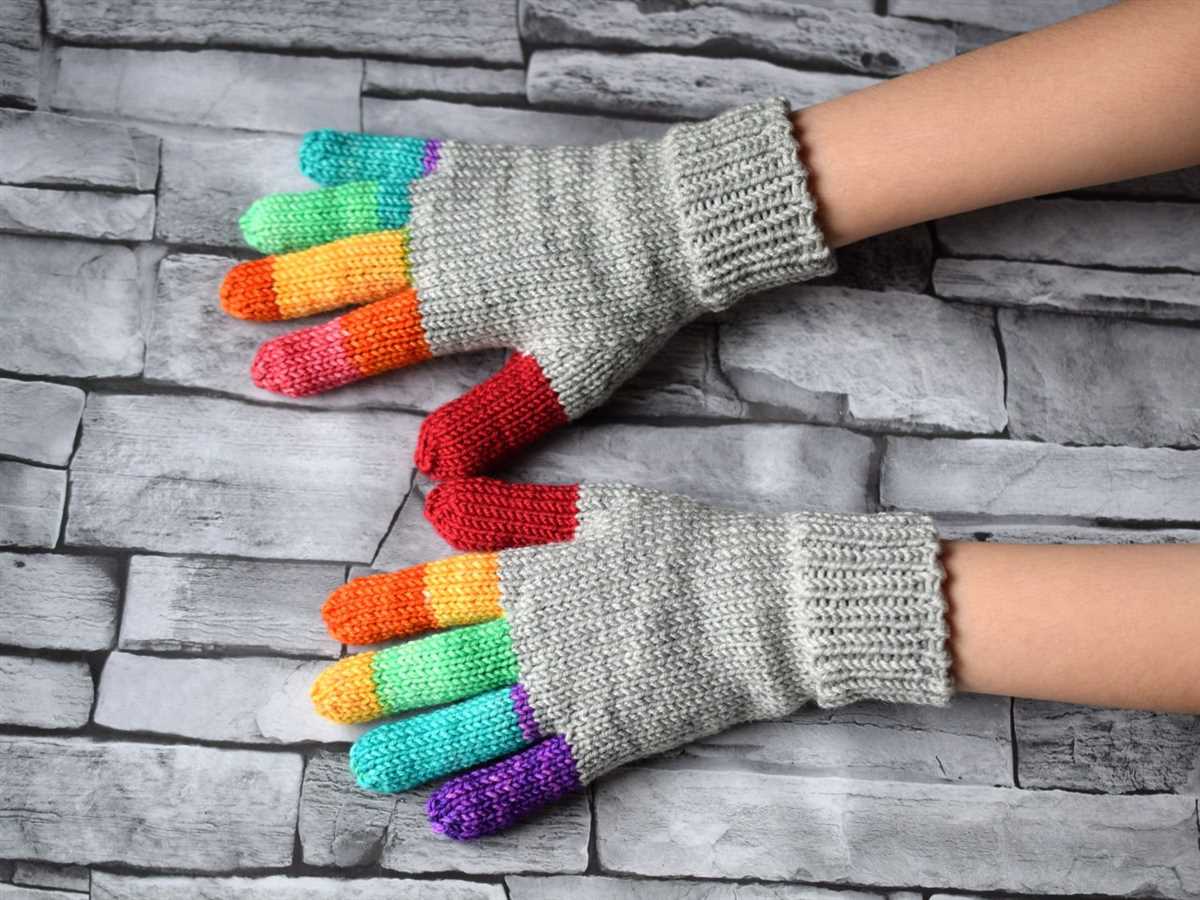
- Color: Children love bright and vibrant colors, so choose yarn in fun and playful shades to create eye-catching gloves that kids will love to wear.
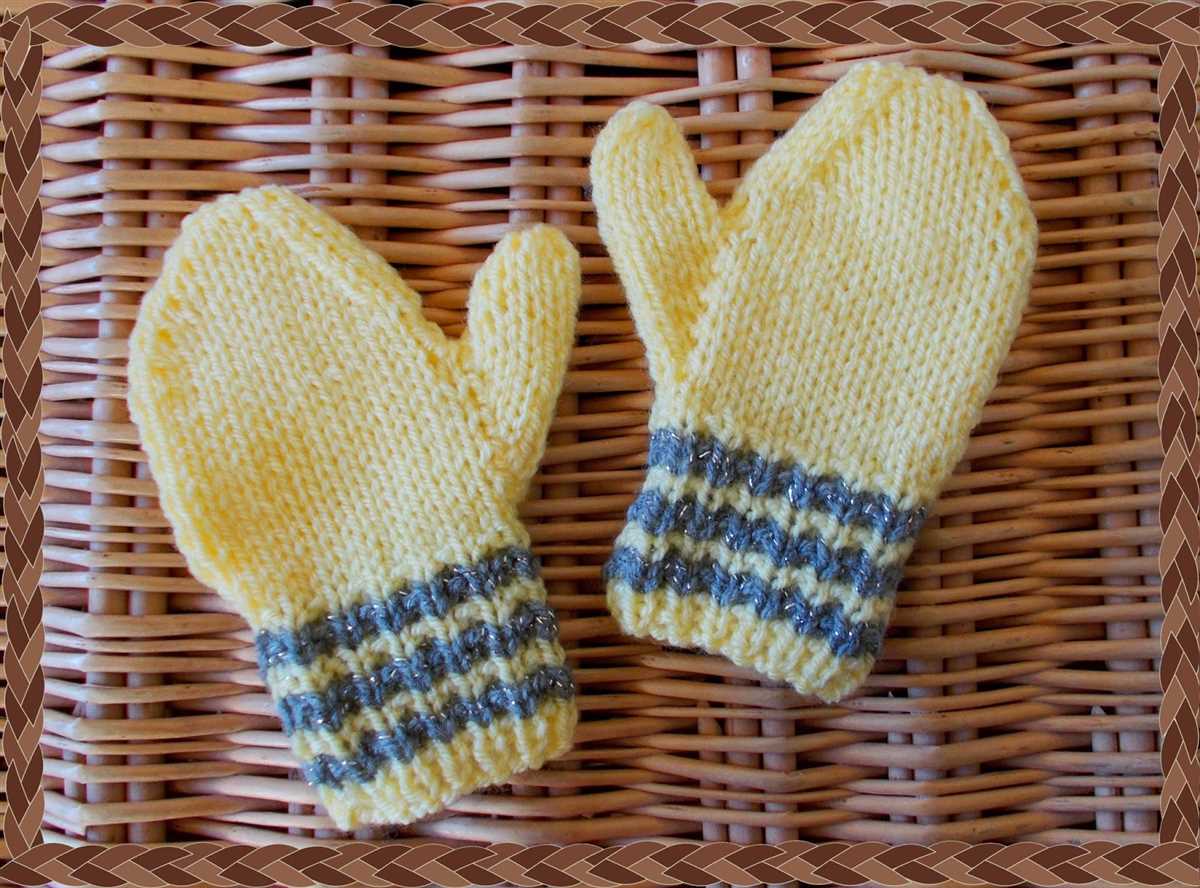
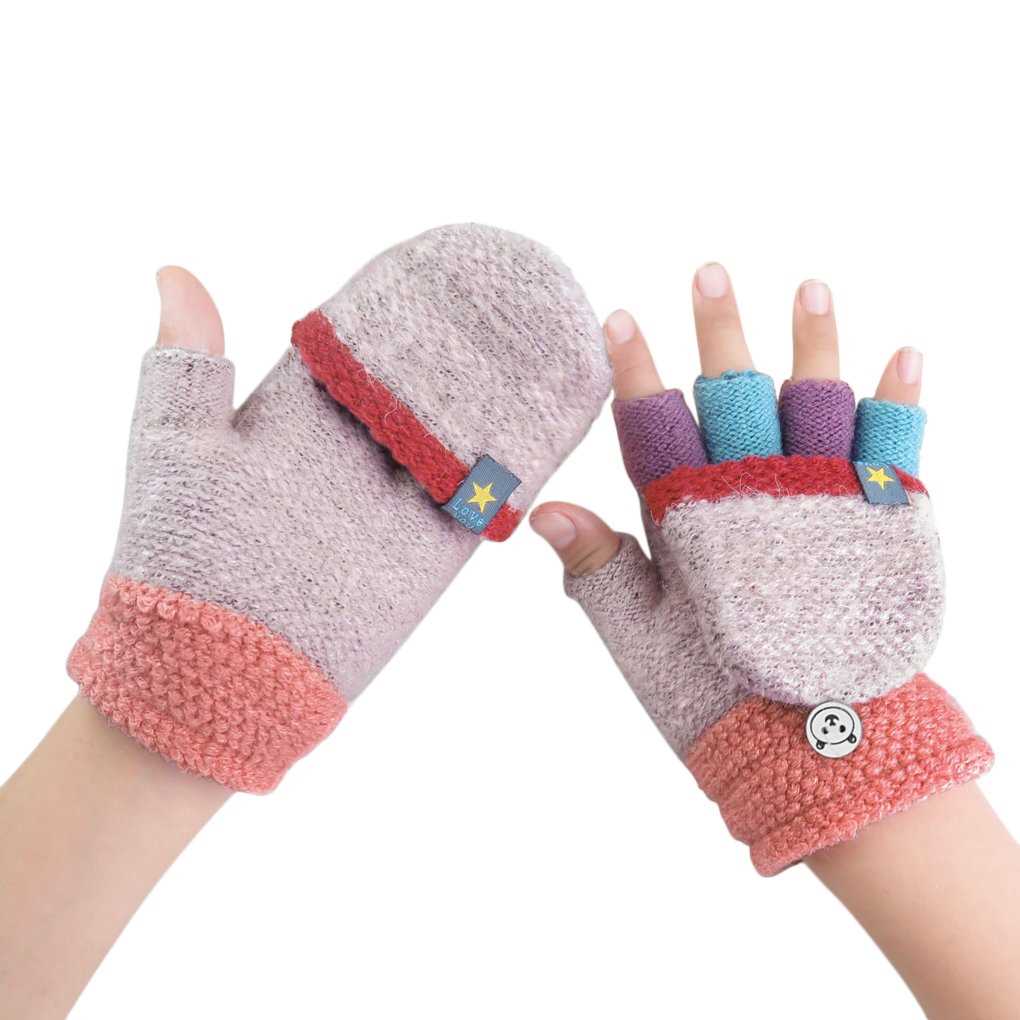
- Add-ons: Consider adding some special touches to the gloves, such as a contrasting color for the cuffs or decorative buttons for extra flair.
By carefully selecting your yarn and needles, you can ensure that the gloves you knit will be comfortable, durable, and loved by the little ones who wear them.
Gauge swatch
The gauge swatch is an important step in knitting any project, including children’s knitted gloves. It allows you to determine the number of stitches and rows needed to create a certain measurement, ensuring that your finished gloves will fit properly. To make a gauge swatch, you will need the same yarn and needles that you plan to use for the gloves.
To start, cast on a few more stitches than the pattern calls for to create a square-shaped swatch. For example, if the pattern requires 10 stitches, cast on 15 or 20 stitches. Knit the swatch in the chosen stitch pattern, making sure to knit all the rows. Be mindful of your tension and try to knit the swatch with the same level of tension that you will use for the gloves.
Once the swatch is complete, take a tape measure or ruler and measure the number of stitches and rows within a 4-inch square. This will give you your gauge. For example, if your swatch measures 20 stitches and 25 rows within 4 inches, your gauge is 5 stitches and 6.25 rows per inch.
Compare your gauge to the gauge listed in the pattern. If your gauge does not match, you will need to adjust your needle size accordingly. If you have too few stitches per inch, try using smaller needles. If you have too many stitches per inch, try using larger needles. Repeat the gauge swatch process with the adjusted needle size until your gauge matches the pattern.
By taking the time to knit a gauge swatch, you can ensure that your children’s knitted gloves will fit correctly and look as beautiful as expected. It may seem like an extra step, but it’s well worth the effort to achieve the desired results.
Measure the child’s hand
Before you start knitting a pair of gloves for your child, it is important to accurately measure their hand size. This will ensure a proper fit and maximum comfort for the little one. Here are the steps to measure the child’s hand:
- Gather the materials: You will need a flexible measuring tape and a pen or marker to make markings on the tape.
- Start measuring: Have your child extend their dominant hand with fingers slightly spread apart. Place the measuring tape at the base of the child’s palm, just below the knuckles.
- Measure the width: Wrap the measuring tape around the widest part of the child’s hand, usually around the knuckles. Make sure the tape is snug but not too tight. Take note of the measurement in inches or centimeters.
- Measure the length: From the base of the child’s palm, measure the length of their hand up to the tip of the middle finger. Again, make sure the tape is snug but not constricting. Note down this measurement as well.
- Take additional measurements: To ensure a better fit, you can also measure the circumference of the child’s thumb and the length of their individual fingers if desired. This will help you adjust the pattern more accurately.
Once you have all the measurements, you can refer to the glove pattern and choose the appropriate size based on the child’s hand measurements. Remember to knit with a slightly stretchy yarn or incorporate some ribbing to ensure a comfortable fit and ease of movement.
Cast on stitches
When starting a knitting project, the first step is to cast on stitches. Casting on is the process of creating the first row of stitches on the knitting needle. There are several different methods for casting on, and the choice depends on the desired outcome of the project.
Long-tail cast on: This is a commonly used method that creates a neat and stretchy edge. To do the long-tail cast on, make a slipknot and place it on the needle. Hold the working yarn in your right hand, and use your left hand to create a loop with the yarn over your thumb. Insert the needle into the loop from front to back, then bring the yarn under the needle and back through the loop. Slide the loop onto the needle, and repeat until the desired number of stitches is cast on.
Cable cast on: This method is often used when a sturdy and firm edge is required. To do the cable cast on, make a slipknot and place it on the needle. Insert the needle into the slipknot, bringing the yarn behind and over the needle. With your right hand, insert the needle into the stitch just created from left to right. Bring the yarn over the needle again, insert it into the stitch just created from left to right, and then bring the yarn over the needle once more. Repeat this process until the desired number of stitches is cast on.
There are many other methods for casting on stitches, each with its own unique properties and uses. It’s important to choose the right method for your project to ensure the best result. Take your time to practice and experiment with different techniques to find the one that works best for you.
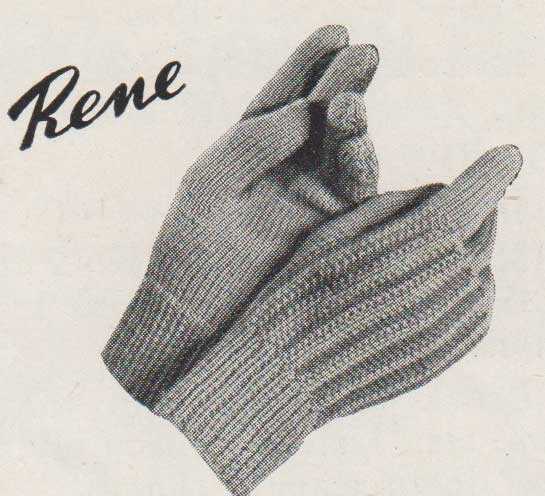
Knit the ribbed cuff
One of the key elements in knitting children’s gloves is the ribbed cuff. The ribbed cuff adds elasticity and helps the gloves stay in place on the child’s wrists. To knit the ribbed cuff, you will need to use a smaller needle size than the rest of the glove. This will create a tight and stretchy ribbing.
To start, cast on the desired number of stitches using the smaller needle size. The number of stitches will depend on the size of the gloves and the desired width of the cuff. It is recommended to cast on an even number of stitches for a ribbed pattern.
Next, you will need to work the ribbed pattern. The most common ribbed pattern is the 1×1 rib, which consists of alternating knit and purl stitches. To work the 1×1 rib, knit the first stitch, then purl the next stitch. Repeat this pattern until the end of the row.
Continue working the ribbed pattern in rows until the desired length of the cuff is reached. It is recommended to knit the cuff for about 1-2 inches, but this can be adjusted based on personal preference.
Once the desired length is reached, you can switch to the larger needle size and begin knitting the main part of the gloves. The ribbed cuff will provide a nice finished edge and ensure a snug fit around the child’s wrists.
Knit the hand section
Once you have finished knitting the cuff of the gloves, it is time to move on to the hand section. Here are the steps to follow:
1. Place the stitches on double-pointed needles: Transfer the stitches from the cuff onto three double-pointed needles. Make sure to distribute the stitches evenly so that each needle has an equal number of stitches.
2. Continue knitting in the round: With the double-pointed needles, join the yarn and continue knitting in the round. This will form the body of the glove.
- For a basic knit pattern, simply continue knitting every stitch in each round.
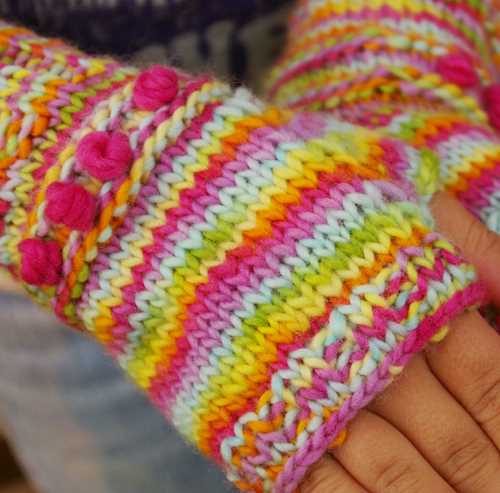
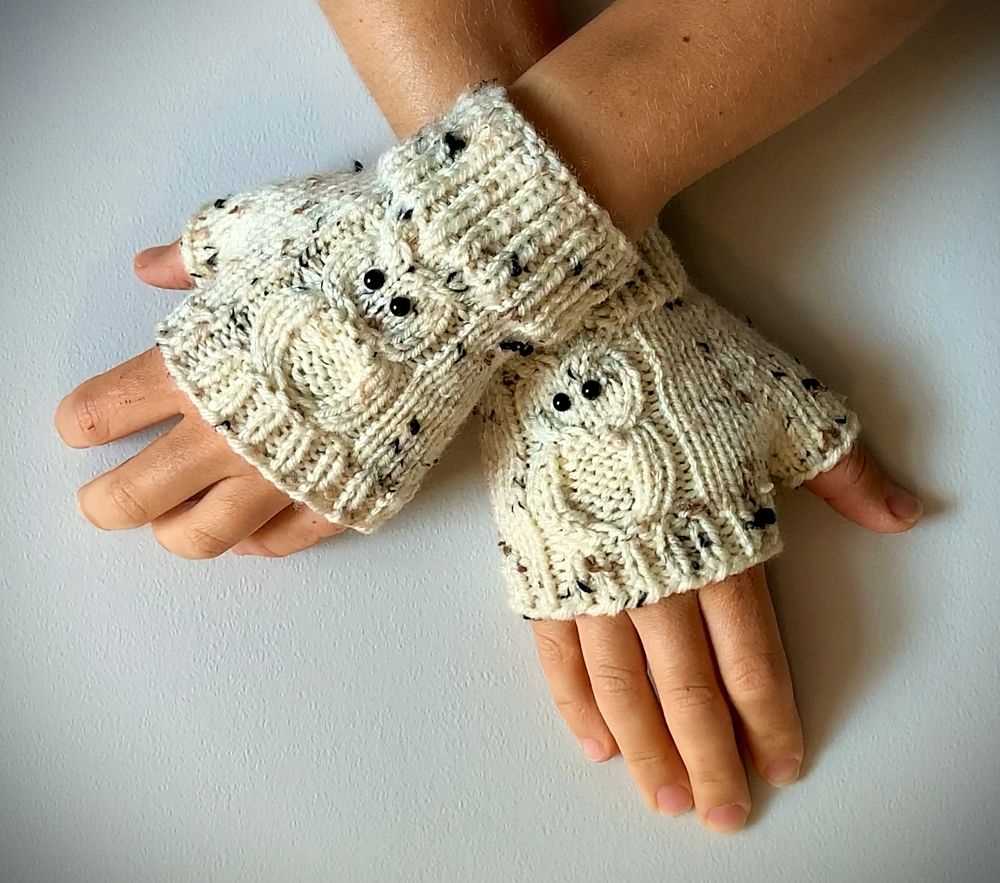
- If you want to add some texture or design to the hand section, you can incorporate different stitch patterns. Some popular options include ribbing, cables, or colorwork.
3. Keep knitting until you reach the desired length: Knit the hand section until it reaches the desired length, keeping in mind that you will need to leave enough room for the fingers and thumb. You can measure this by trying on the glove periodically.
4. Create the thumb opening: When you have reached the desired length, it is time to create the thumb opening. To do this, you will need to place some stitches on hold or use stitch markers to mark the thumb placement. Then, you can continue knitting around the hand section, leaving the designated stitches unworked.
By following these steps, you will be able to knit the hand section of the gloves and create a comfortable and well-fitting pair for children.
Shape the thumb gusset
After completing the ribbing and working a few rounds of the hand, it’s time to shape the thumb gusset. This is an important step in creating a comfortable and well-fitting pair of gloves for children.
Begin by knitting to the first marker that was placed earlier to indicate the beginning of the thumb gusset. Before reaching the marker, slip the next stitch onto a stitch holder or a length of waste yarn. This stitch will be used later to create the thumb opening.
Next, continue working in the established pattern until reaching the second marker. Here, it’s time to increase stitches to create the gusset. This can be done by knitting into the front and back of the next stitch. Repeat this increase on every round, just before the marker, until the desired number of gusset stitches is reached.
Increase stitches evenly on subsequent rounds by evenly distributing the increases across the round. This will ensure that the gusset is shaped properly and doesn’t create any gaps or tightness. Keep in mind that the exact number of increases will depend on the size of the gloves and the desired width of the thumb gusset.
Once the desired number of gusset stitches is reached, continue working in the established pattern until the desired length of the thumb gusset is achieved. This length can vary depending on the pattern and the child’s hand size, so refer to the instructions to determine the appropriate length.
After shaping the thumb gusset, continue knitting the remaining rounds of the glove until the desired length is reached. The thumb gusset adds flexibility and comfort to the gloves, allowing the child to move their fingers and hand freely while keeping them warm.
Knit the thumb
To begin knitting the thumb, you will need to pick up stitches along the edge of the thumb opening. Start by folding the glove in half vertically with the right side facing out. On the side where you want the thumb to be, insert your needle into the first stitch of the thumb opening.
1. Pick up stitches: Insert your needle into the first stitch of the thumb opening, from front to back. Yarn over and pull the loop through, creating a new stitch. Repeat this process along the entire edge of the thumb opening, picking up an equal number of stitches on each side.
2. Knit the thumb gusset: Once you have picked up the desired number of stitches, you will begin to knit the thumb gusset. Knit across the first row of picked up stitches, working the stitches in the same pattern as the rest of the glove.
3. Shape the thumb: As you continue knitting the thumb, you will need to shape it to fit the hand. Follow the pattern instructions for decreasing or increasing stitches at certain intervals to create the desired shape. This will typically involve knitting two stitches together or making a yarn over to increase.
4. Knit the thumb length: Continue knitting the thumb until it reaches the desired length, as specified in the pattern. This may involve knitting a certain number of rows or measuring the thumb against the child’s hand. Remember to periodically try the glove on to ensure the thumb fits comfortably.
5. Bind off: Once the thumb reaches the desired length, bind off the stitches in the same manner as the rest of the glove. Cut the yarn, leaving a tail, and weave in any loose ends.
Knitting the thumb of the children’s gloves is an important step in completing the garment. By following the pattern instructions and shaping the thumb to fit the hand, you can create a comfortable and functional pair of gloves for a child.
Bind off and finish the glove
Once you have completed all the rows of the glove and have reached the desired length, it is time to bind off. Binding off will give your glove a finished edge and prevent it from unraveling. To bind off, you will need your working yarn and a crochet hook.
Step 1: Cut your yarn, leaving a long tail. Thread the tail through a tapestry needle to avoid losing it.
Step 2: Insert your crochet hook into the first stitch on your left needle. Wrap the working yarn around the crochet hook from back to front.
Step 3: Pull the yarn through the stitch on your left needle, creating a new loop on your crochet hook. Slip the new loop onto your right needle.
Step 4: Repeat steps 2 and 3 until you have bound off all the stitches on your left needle. Cut the yarn, leaving a tail.
Step 5: To finish the glove, weave in any loose ends using the tapestry needle. Insert the needle into the stitches on the wrong side of the glove, following the direction of the stitches. Repeat this process for each loose end, making sure to secure the yarn and prevent unraveling.
Congratulations! You have successfully bound off and finished your knitted glove. Your little one will love wearing their cozy new accessory!
Block and enjoy!
Once you have finished knitting the gloves, it’s time to block them. Blocking is an important step in the knitting process as it helps to even out stitches and give the final product a professional and polished look.
To block your gloves, gently wash them in lukewarm water using a mild detergent. Make sure to squeeze out any excess water and lay the gloves flat on a clean towel. Gently reshape the gloves to ensure they maintain their proper size and shape, and allow them to dry completely before removing them from the towel.
Once your gloves are dry, you can enjoy the fruits of your labor! These cozy hand warmers will keep your little one’s hands toasty warm during the cold winter months. Whether they’re building a snowman or playing in the park, these knitted gloves will be a stylish and functional addition to any outfit.
So grab your needles and get started on these adorable children’s knitted gloves. With the free pattern provided, you’ll have a pair of cozy hand warmers in no time. Happy knitting!