
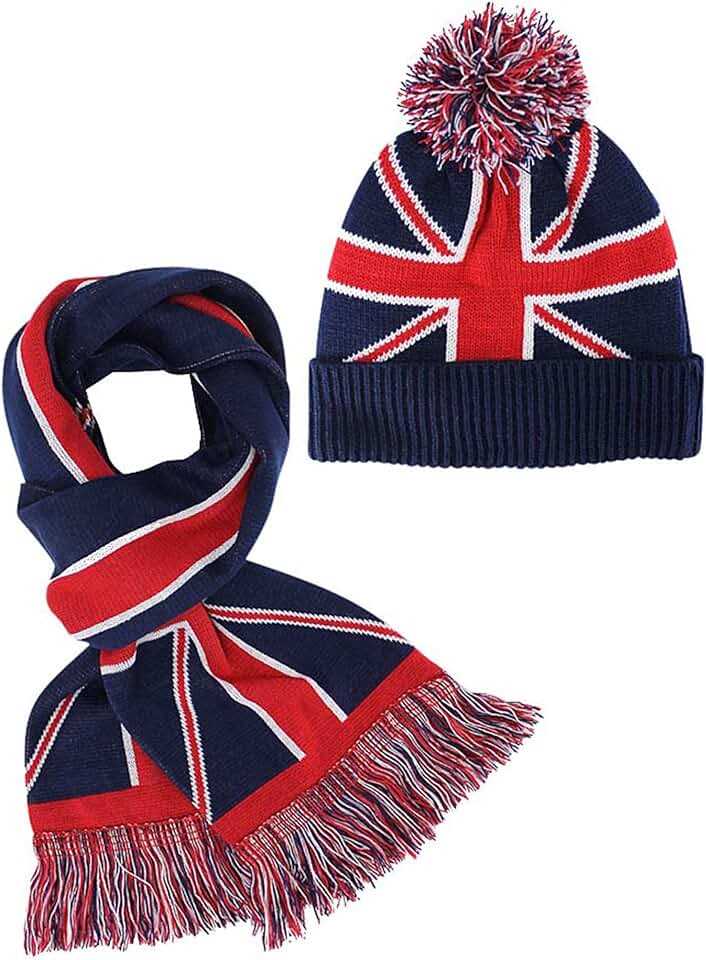
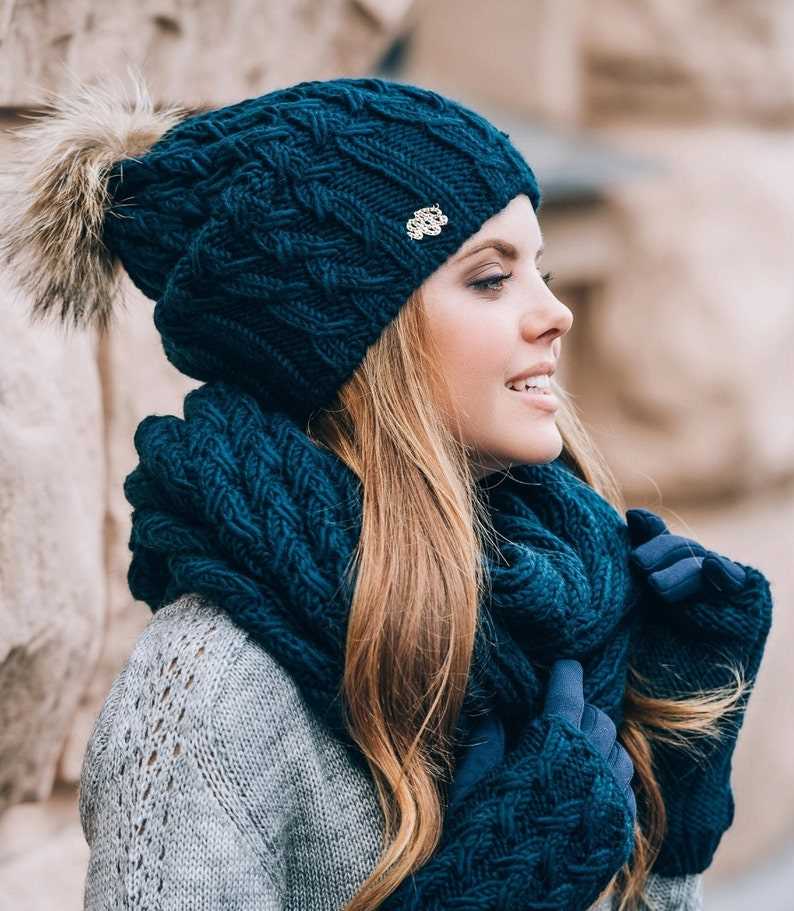
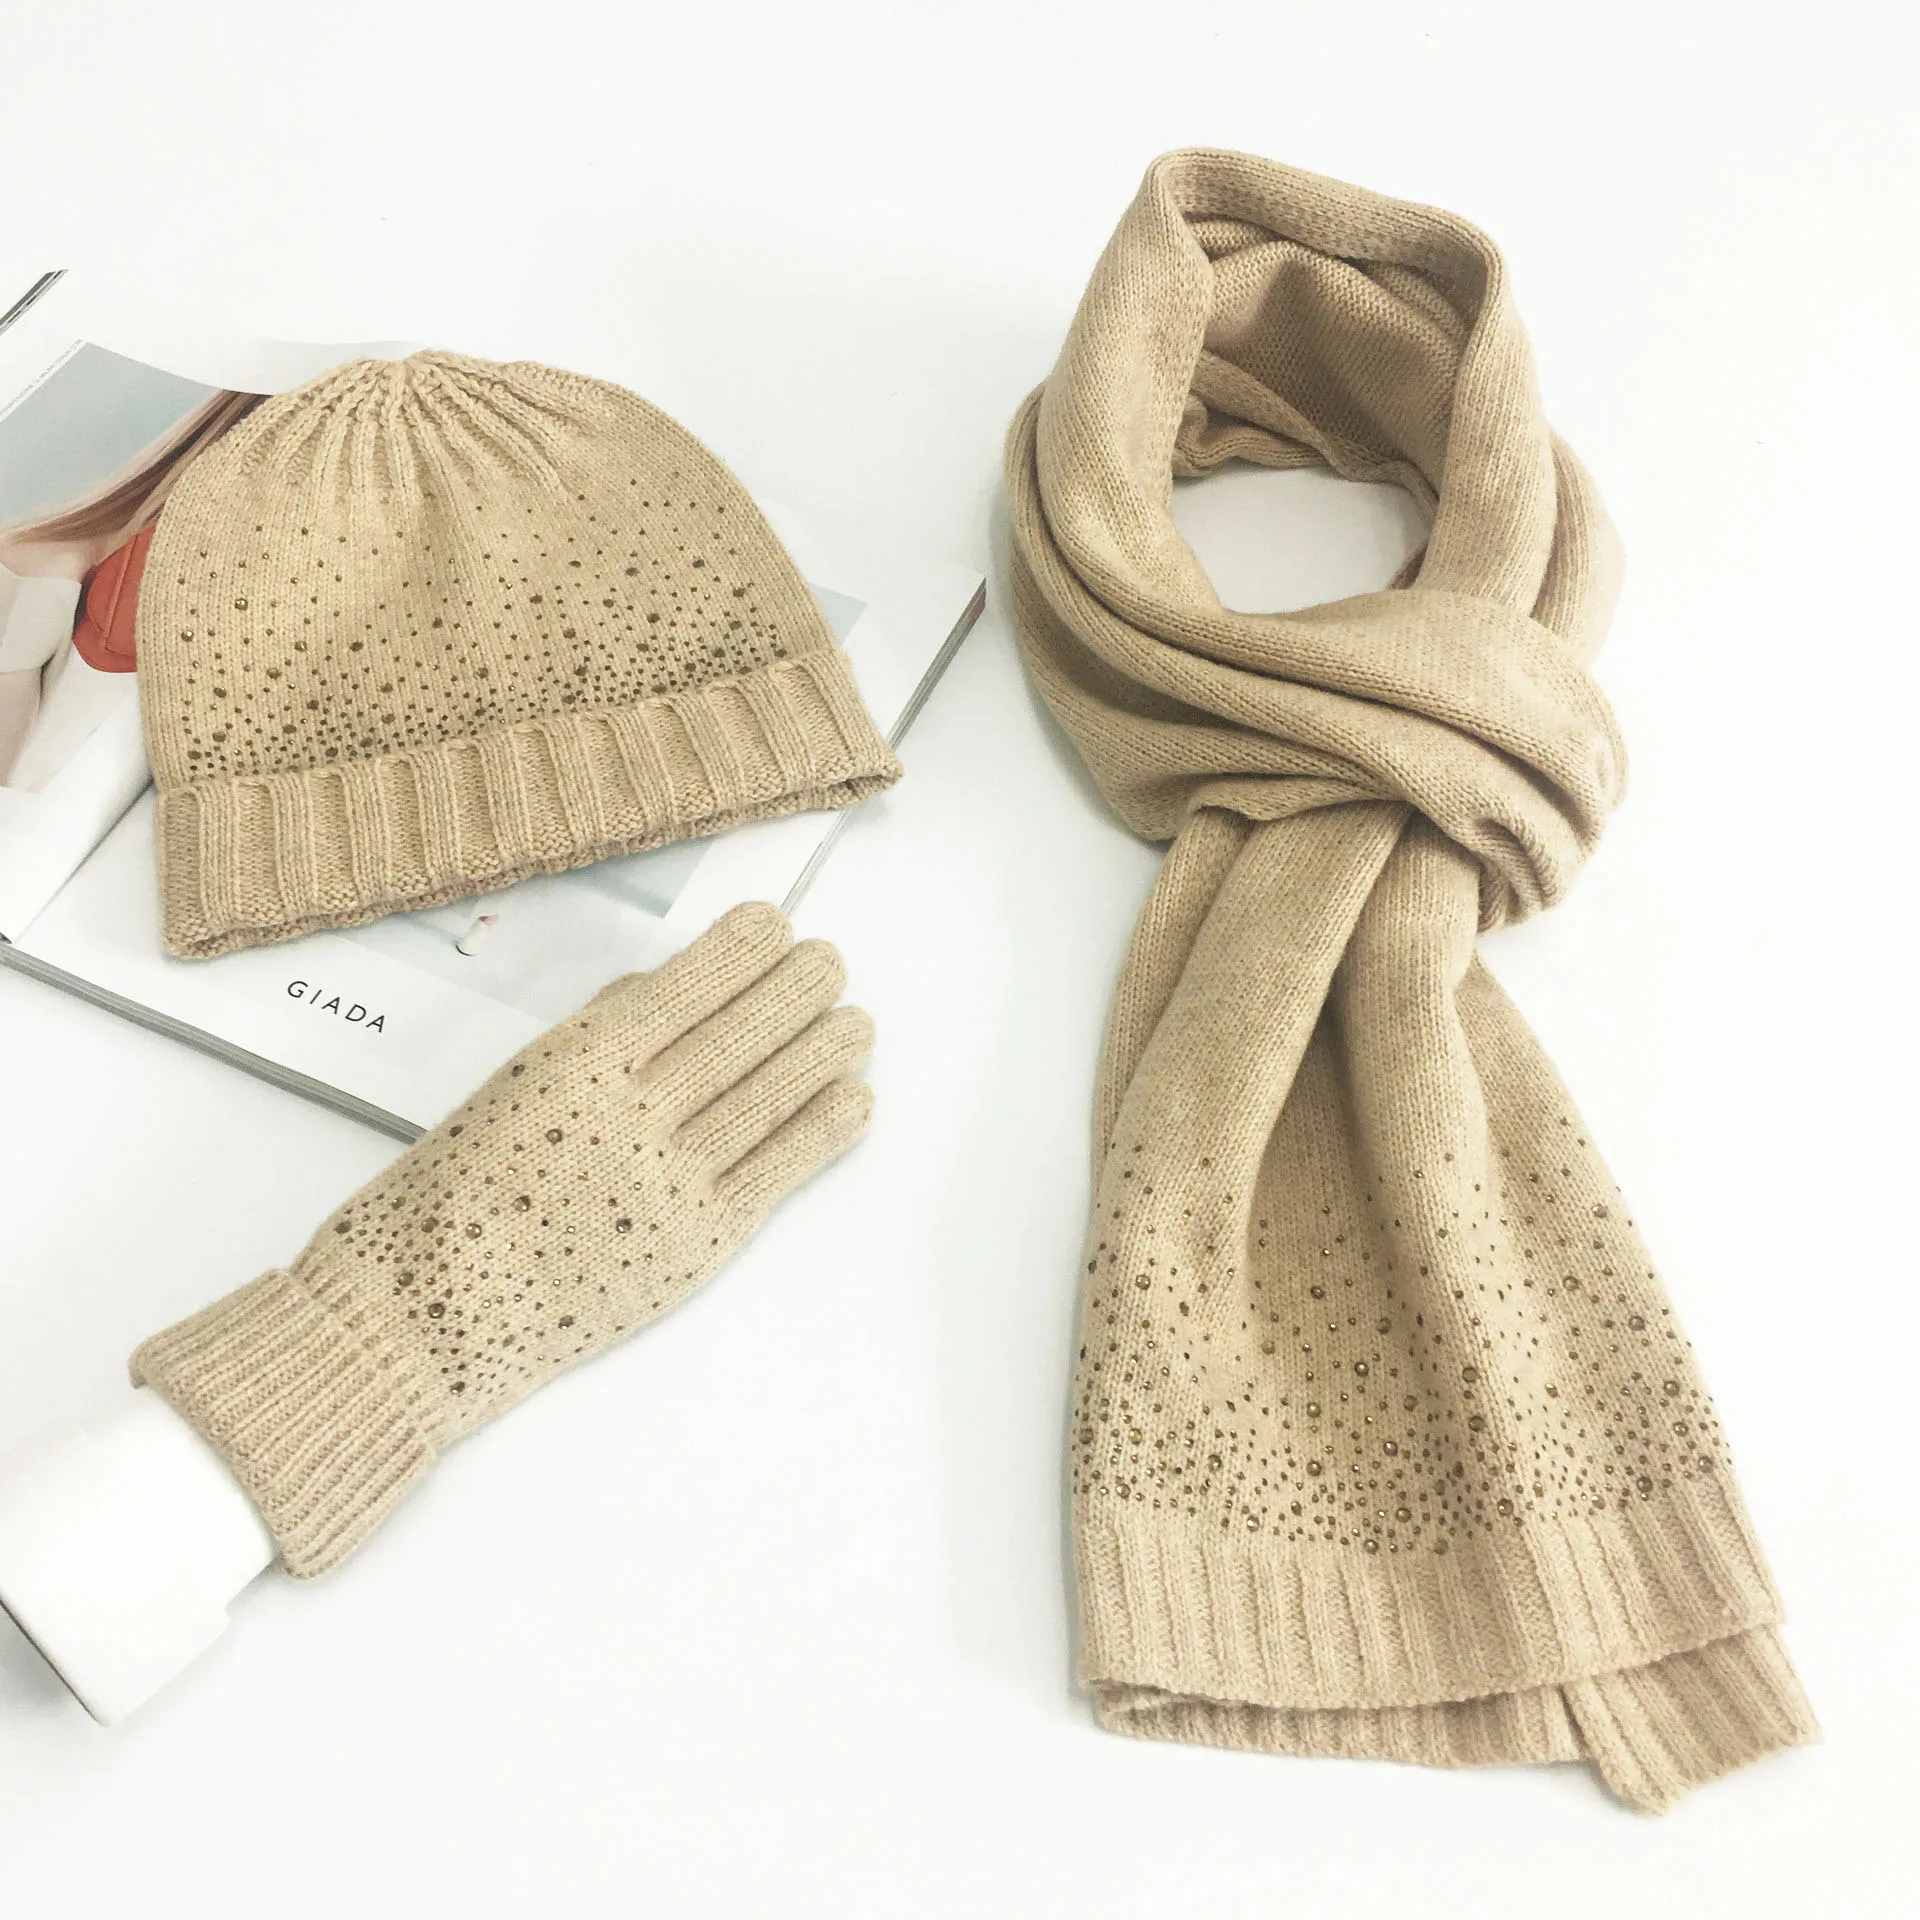
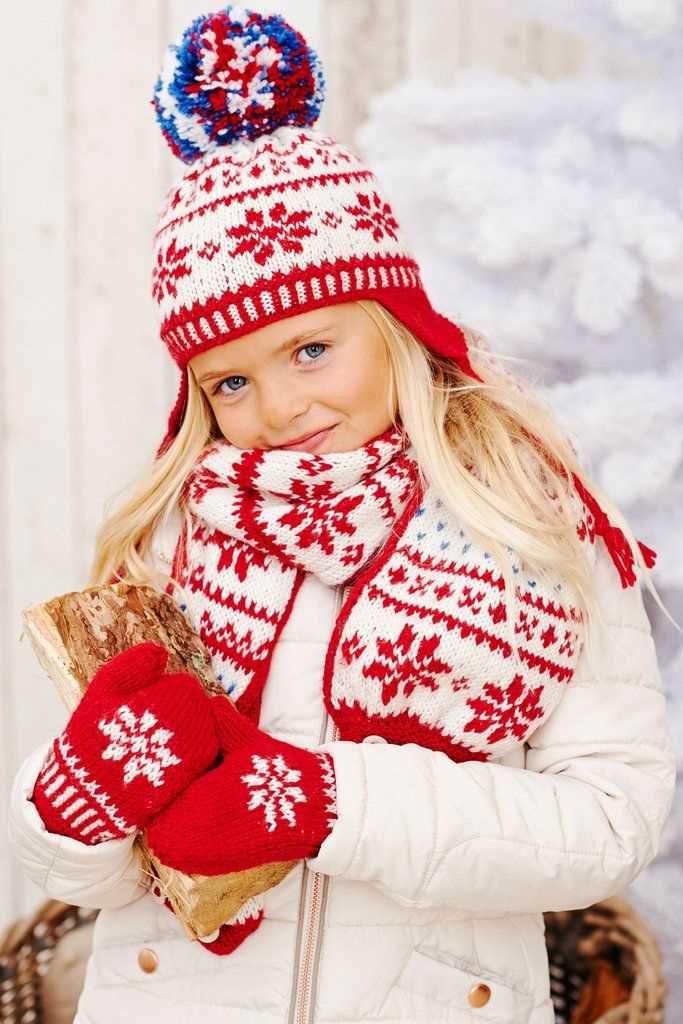
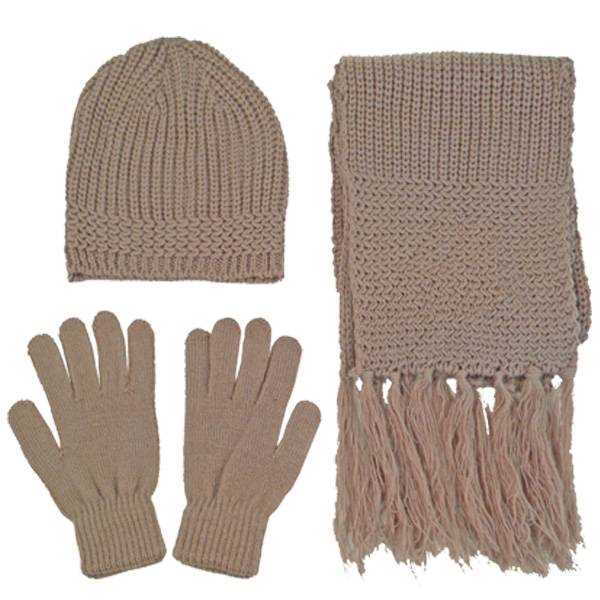
Knitting is a popular crafting hobby that allows you to create beautiful and functional items with just a set of needles and some yarn. One of the most sought-after items to knit during the winter months is a hat, scarf, and glove set. Not only do these items provide warmth and comfort, but they can also be customized to match your personal style. Whether you’re a beginner knitter or an experienced one, this knitting pattern is perfect for creating a cozy and fashionable set.
This hat, scarf, and glove set knitting pattern is suitable for knitters of all skill levels. The pattern features a simple yet eye-catching design that incorporates ribbing and cables to add texture and visual interest. The set is knit with worsted weight yarn, making it both warm and durable. With detailed instructions and clear stitch diagrams, this pattern is easy to follow and will give you the confidence to create a professional-looking set.
Knitting your own hat, scarf, and glove set allows you to choose the colors and materials that suit your personal taste. You can experiment with different color combinations and yarn types to create a set that is truly unique. Additionally, knitting is a relaxing and therapeutic activity that can help reduce stress and increase mindfulness. So, not only will you end up with a stylish set of winter accessories, but you’ll also enjoy the process of creating them.
Hat Scarf and Glove Set Knitting Pattern

A hat, scarf, and glove set is a must-have for the winter season. Not only does it keep you warm and cozy, but it also adds a touch of style to your winter wardrobe. Knitting your own set allows you to personalize the colors and designs to match your taste and preference. Whether you’re a beginner or an experienced knitter, there are patterns available for every skill level.
To start knitting your hat, scarf, and gloves, you will need the appropriate yarn and knitting needles. The pattern will provide you with the specific yarn weight and needle size required. It’s important to choose a soft and warm yarn that will ensure maximum comfort during the cold winter months.
Hat Pattern: Begin by casting on the required number of stitches, typically around 80-100, depending on the desired size. Follow the pattern instructions for ribbing, main body, and decreasing to form the crown. Finish off by sewing the seams and attaching a pompom or other decorative element if desired.
Scarf Pattern: Start by casting on the desired width, typically around 40-60 stitches, and work in your chosen stitch pattern, such as garter stitch or ribbing. Continue knitting until the scarf reaches the desired length. Bind off and weave in any loose ends.
Note: Be sure to check the pattern for specific stitch instructions and measurements.
Gloves Pattern: Gloves are typically knit in the round using double-pointed needles or on a set of circular needles using the magic loop method. Begin by casting on the required number of stitches and work the cuff in ribbing or another stretchy stitch pattern. Continue knitting in the round for the hand section, forming the thumb gusset as instructed in the pattern. Finally, complete the finger sections and bind off. Sew any remaining seams if necessary.
Remember to measure your work as you go and compare it to the pattern instructions to ensure the proper fit. Feel free to experiment with different colors, yarn weights, and stitch patterns to create a unique and personalized hat, scarf, and glove set that you’ll love to wear all winter long!
Choosing the Right Yarn
When embarking on a knitting project, one of the first and most important decisions to make is choosing the right yarn. The type of yarn you use can greatly affect the outcome and quality of your finished piece. It is crucial to consider factors such as fiber content, yarn weight, and color when selecting yarn for your hat, scarf, and glove set.
Fiber Content: Different fibers have distinct characteristics, each with its own advantages and disadvantages. Wool, for example, is known for its warmth and elasticity, making it an excellent choice for winter accessories. Cotton, on the other hand, is breathable and suitable for warmer climates. Consider the season and purpose of your project when choosing the fiber content of your yarn.
Yarn Weight: The weight of the yarn determines the thickness and drape of the finished piece. Lighter weights, such as lace or fingering yarns, are suitable for delicate, lacy designs. Bulky or super bulky yarns, on the other hand, knit up quickly and create coziness. Consider the desired look and feel of your hat, scarf, and glove set when selecting the weight of your yarn.
Color: The color of the yarn can greatly impact the overall appearance of your project. Solid-colored yarns create a classic and versatile look, while variegated or self-striping yarns add visual interest and drama. Consider your personal style, as well as the intended recipient’s preferences, when choosing the color of your yarn.
By carefully considering fiber content, yarn weight, and color, you can ensure that the yarn you choose is well-suited to your hat, scarf, and glove set knitting project. Happy knitting!
Getting the Right Gauge
When knitting a hat scarf and glove set, it is crucial to achieve the correct gauge. The gauge refers to the number of stitches and rows per inch in the knitted fabric. This measurement is essential because it determines the size of the finished pieces and ensures that they fit properly.
Achieving the right gauge begins with selecting the appropriate yarn and needles for your project. The pattern should indicate the recommended yarn weight and needle size to achieve the desired gauge. It is important to follow these recommendations closely to ensure the best results.
Before starting your project, it is recommended to make a gauge swatch. A gauge swatch is a small sample of knitting that allows you to measure your stitch and row counts. By knitting a swatch and measuring it against the pattern’s stated gauge, you can determine if you need to adjust your needle size or yarn tension to achieve the desired gauge.
If your swatch does not match the pattern gauge, you may need to try a different needle size. If your stitches are too loose and your swatch has fewer stitches per inch than the pattern, switch to a smaller needle. If your stitches are too tight and your swatch has more stitches per inch, switch to a larger needle. Additionally, adjusting your tension while knitting can also help achieve the correct gauge.
Remember, achieving the right gauge is crucial for the overall fit and appearance of your hat scarf and glove set. Take the time to make a gauge swatch and adjust your knitting as needed to ensure a successful outcome.
Knitting the Hat
Knitting the hat is a fun and rewarding project that allows you to create a stylish accessory while using your knitting skills. Whether you are a beginner or an experienced knitter, this hat pattern is suitable for all levels of expertise.
The first step in knitting the hat is to gather all the necessary materials. You will need a set of knitting needles (size will depend on your desired gauge), a skein of yarn in your chosen color, a tapestry needle for sewing, and a pair of scissors. Once you have all your materials, you can start casting on stitches to begin your project.
Casting on: To cast on, you will need to make a slipknot and place it onto one of the knitting needles. Then, using the other knitting needle, insert it into the slipknot and wrap the yarn around it. Pull the yarn through the slipknot, creating a new stitch on the needle. Repeat this process until you have the desired number of stitches on your needle.
Now that you have cast on your stitches, you can start knitting the hat. The pattern may specify a certain stitch pattern or design, so make sure to follow the instructions carefully. As you knit each row, remember to keep track of your stitch count and check for any mistakes or dropped stitches.
Decreasing: Once you have reached the desired length of your hat, it is time to start decreasing the stitches to shape the crown. This is done by knitting two stitches together at designated intervals. Decrease rows are usually spaced evenly to create a symmetrical crown shape.
After completing all the decrease rows, you should have a small number of stitches left on your needle. Cut the yarn, leaving a long tail, and thread it through the tapestry needle. Insert the needle through the remaining stitches, removing them from the knitting needle. Pull the yarn tight to close the top of the hat and secure it by weaving in the loose ends.
Congratulations! You have successfully knitted a hat using the hat scarf and glove set knitting pattern. Now you can move on to knitting the scarf and gloves to complete your matching set.
Knitting the Scarf
When knitting the scarf in the hat scarf and glove set, it is important to choose the right yarn and needle size for the desired pattern and texture. The scarf can be knitted using various knitting techniques such as garter stitch, stockinette stitch, or even lace patterns. Each technique will create a different look and feel to the scarf, allowing for personalization and creativity.
Before starting to knit the scarf, it is essential to determine the desired length and width of the finished product. This can be done by measuring a favorite scarf or by following the pattern instructions provided. Once the measurements are decided, it is time to cast on the required number of stitches. This can be done using a long-tail cast on or any other preferred method.
When knitting the scarf, it is important to pay attention to the tension and gauge to ensure an even and consistent fabric. Using a gauge swatch before starting the main project can help determine the correct needle size and adjust the tension if needed.
As the knitting progresses, it is important to periodically check the width and length of the scarf to ensure it matches the desired measurements. Blocking the scarf once it is finished can also help achieve a more professional and polished look.
When the knitting is complete, it is time to bind off the stitches and weave in any loose ends. This can be done using a basic bind off or any decorative bind off technique for added flair. Finally, the scarf can be washed and blocked once more to ensure the stitches are set and the fabric is smooth and soft.
Knitting the Gloves
When knitting gloves, it is important to first choose the appropriate yarn and needle size. The yarn should be soft and warm, preferably a blend of wool and acrylic. The needle size will depend on the gauge of the pattern you are working with, but generally, a size 4 or 5 needle is suitable for gloves.
Before starting the gloves, it is helpful to measure your hand to ensure a proper fit. Measure around the widest part of your palm and also the length of your hand from the base of your palm to the tip of your longest finger. This will help you determine the size of gloves to knit and make any necessary adjustments to the pattern.
Casting on and knitting the cuff
To begin knitting the gloves, start by casting on the required number of stitches for the cuff. This is usually a multiple of four. Knit the cuff in a rib stitch pattern, alternating between knit and purl stitches. This will create a stretchy and comfortable cuff that hugs the wrist.
Continue knitting the cuff until it reaches the desired length, usually around two to three inches. Once the cuff is complete, you can switch to a stockinette stitch or any other stitch pattern you prefer for the rest of the glove. It is important to take accurate measurements of your hand and refer to the pattern’s instructions to determine when to begin shaping the glove for the fingers and thumb.
Shaping the fingers and thumb
When shaping the fingers and thumb, follow the pattern’s instructions carefully. This will usually involve decreasing stitches at certain intervals to create the shape of the fingers. Use stitch markers to keep track of the different sections of the glove, especially when working on multiple fingers at the same time. Take your time and pay attention to the pattern to ensure that each finger is shaped correctly.
Once the fingers are complete, you can move on to knitting the thumb. This will involve picking up stitches along the thumb opening and knitting in the round or flat, depending on the pattern. Follow the pattern’s instructions to shape the thumb and finish knitting the glove.
Finally, bind off all the stitches and weave in any loose ends. Try on the gloves to ensure they fit properly and make any necessary adjustments. Knitting gloves can be a rewarding project, as they provide both warmth and style during the colder months. Have fun experimenting with different yarns and stitch patterns to create unique and personalized gloves!
Adding Embellishments
Adding embellishments to your hat, scarf, and glove set can give it a unique and personalized touch. There are several ways to add embellishments, such as pom-poms, tassels, buttons, and embroidery. These additions can make your set stand out and showcase your creativity.
Pom-poms: Pom-poms are a fun and playful way to add some texture and flair to your accessories. You can make pom-poms using yarn of the same or contrasting color and attach them to the top of your hat or the ends of your scarf and gloves. They can be small or large, depending on your preference.
Tassels: Tassels can add a boho or chic touch to your set. You can make tassels using yarn or embroidery thread and attach them to the ends of your scarf or gloves. They can be long or short, and you can experiment with different colors to create a unique look.
Buttons: Buttons can be both functional and decorative. You can sew buttons along the edge of your scarf or use them as closures for your gloves. Choose buttons in different sizes, shapes, and colors to add visual interest to your set.
Embroidery: Embroidery is a great way to add intricate designs and patterns to your accessories. You can embroider flowers, animals, or geometric patterns on your hat, scarf, or gloves. Use colorful embroidery floss and different stitches to create beautiful and eye-catching designs.
Remember to add embellishments in moderation and consider the overall style and theme of your set. Whether you choose pom-poms, tassels, buttons, or embroidery, these additions can enhance the look of your hat, scarf, and glove set and make it truly one-of-a-kind.
Blocking and Finishing
Once you have completed knitting your hat, scarf, and glove set, it is important to give them a final touch by blocking and finishing them. This process helps to shape and smooth out your knitted items, ensuring that they have the desired size and appearance.
Blocking involves wetting your knitted pieces and then shaping them to the correct measurements. To do this, fill a basin with lukewarm water and add a small amount of wool wash. Gently submerge your knitted items and let them soak for 15-20 minutes. After soaking, remove the excess water by gently pressing the items between towels.
Next, lay your knitted pieces on blocking mats or towels, using T-pins to secure them in place. Stretch and shape the items to the desired measurements, making sure that the edges are straight and the stitches are even. Allow the items to dry completely, which may take 24-48 hours depending on the humidity and air circulation.
Once the items are dry, it’s time to finish them. This involves weaving in any loose ends, such as yarn tails from joining new balls of yarn or cast-on and bind-off edges. Use a tapestry needle to carefully thread the ends through several stitches, ensuring that they are secure and hidden within the fabric.
If desired, you can also add additional finishing touches, such as attaching pom poms or tassels to the hat, or adding fringe to the ends of the scarf. These details can add a decorative element to your knitted set and give it a personalized touch.
Finally, give your finished items one last inspection to make sure everything is in order. Check for any missed stitches or errors, and make any necessary repairs. Once you are satisfied with the quality and appearance of your hat, scarf, and glove set, they are ready to be worn or gifted with pride!
Storing and Caring for the Set
Once you’ve finished knitting your hat, scarf, and glove set, it’s important to store and care for them properly to ensure they last for many seasons to come. Here are some tips on how to do just that:
1. Store in a Cool, Dry Place: Avoid storing your knitted set in damp or humid areas, as this can cause mold and mildew to develop. Instead, choose a cool, dry place to store them, such as a closet or dresser drawer.
2. Clean as Needed: It’s important to keep your knitted set clean, especially if you wear them frequently. Hand wash them with a gentle detergent, and lay them flat to dry. Avoid subjecting them to excessive heat or agitation, as this can lead to shrinkage or distortion of the knit.
3. Avoid Hanging: When storing your knitted set, avoid hanging them on hangers or hooks. This can cause the pieces to stretch out of shape. Instead, fold them neatly and place them in a drawer or box.
4. Use Moth Repellent: To prevent moths from infesting your knitted set, use moth repellent or cedar blocks in the area where you store them. Moths are attracted to natural fibers and can cause damage if left unchecked.
5. Repair and Replace: Over time, your knitted set may develop small holes or wear in certain areas. It’s important to repair these as soon as possible to prevent further damage. Keep extra yarn on hand for repairs, and consider replacing any pieces that are beyond repair.
By following these tips, you can ensure that your hat, scarf, and glove set stays in great condition and provides warmth and style for many winters ahead.
Q&A:
What is a hat, scarf, and glove set knitting pattern?
A hat, scarf, and glove set knitting pattern is a set of instructions that guides knitters on how to create a matching set of hat, scarf, and gloves. It includes detailed instructions on the required materials, stitch patterns, and techniques needed to complete the set.
How do I find a hat, scarf, and glove set knitting pattern?
You can find hat, scarf, and glove set knitting patterns in various places. You can search for patterns online on websites dedicated to knitting and crafting, such as Ravelry or Etsy. You can also find patterns in knitting books or magazines, or even get them from fellow knitters or knitting groups.
Are hat, scarf, and glove set knitting patterns suitable for beginners?
Some hat, scarf, and glove set knitting patterns can be suitable for beginners, especially if they are labeled as beginner-friendly or include detailed instructions and tutorials. However, it is generally recommended for beginners to start with simpler projects and gradually build up their skills before attempting a set of accessories.
What materials do I need for a hat, scarf, and glove set knitting pattern?
The materials required for a hat, scarf, and glove set knitting pattern can vary depending on the specific pattern. However, common materials include knitting needles (usually in various sizes), yarn (often in different colors or weights), stitch markers, and a yarn needle for weaving in ends. The pattern itself will usually specify the exact materials needed.
Can I modify a hat, scarf, and glove set knitting pattern to suit my preferences?
Yes, you can modify a hat, scarf, and glove set knitting pattern to suit your preferences. Knitting patterns are often seen as a starting point for creativity, and many knitters like to add their own personal touch to their projects. You can change the colors, stitch patterns, or even the shape and size of the accessories to make them unique.
What materials do I need to knit a hat, scarf, and glove set?
To knit a hat, scarf, and glove set, you will need a set of knitting needles, yarn suitable for the project, a tape measure, a yarn needle, and stitch markers.