
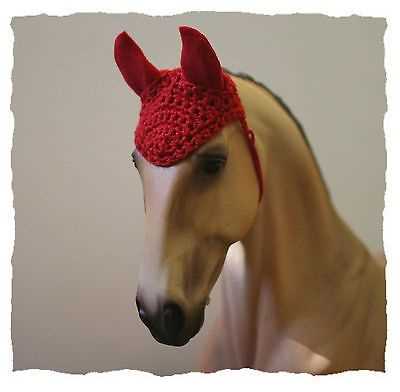
Do you love knitting and have a horse in your life? If so, we have the perfect project for you – a knit horse bonnet! Not only will this bonnet keep your horse’s ears warm and protected during colder weather, but it will also look adorable on them. Plus, it’s a great way to showcase your knitting skills and add a personal touch to your horse’s wardrobe.
This knit horse bonnet pattern is suitable for both beginners and experienced knitters. It uses basic stitch techniques and requires only a few supplies, making it an ideal project for those who want to try something new or take a break from more complex patterns. With step-by-step instructions and helpful tips, you’ll have your horse’s bonnet ready in no time.
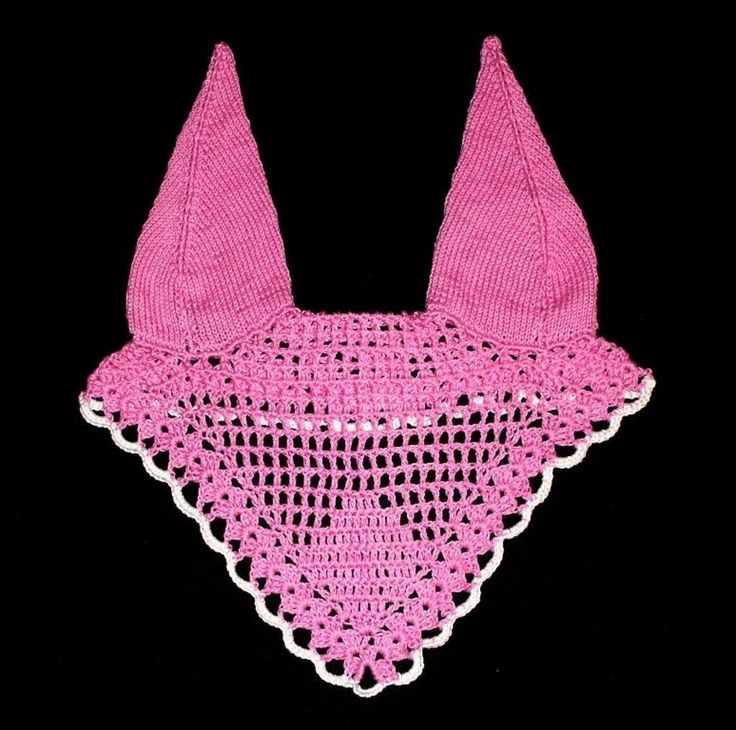
Not only is this pattern practical, but it also allows you to get creative with colors and designs. You can choose from a wide variety of yarns to match your horse’s coat or go for a bold contrasting color to make them stand out. And if you’re feeling adventurous, you can even add embellishments like braids or buttons.
Knit Horse Bonnet Pattern: A Step-by-Step Guide
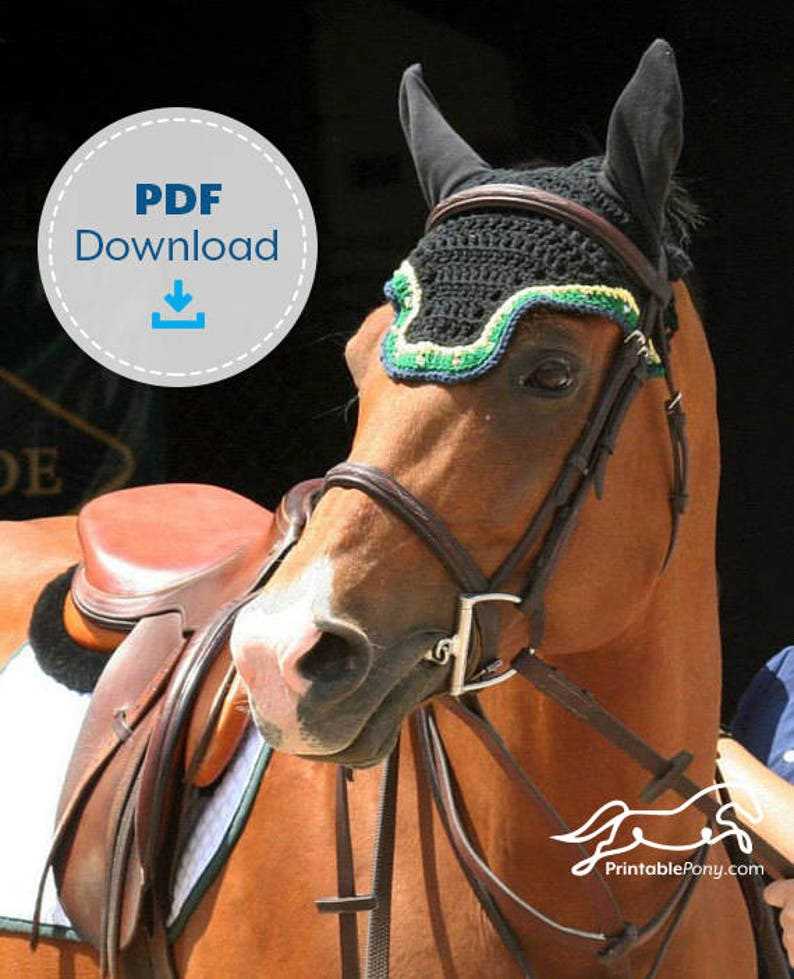
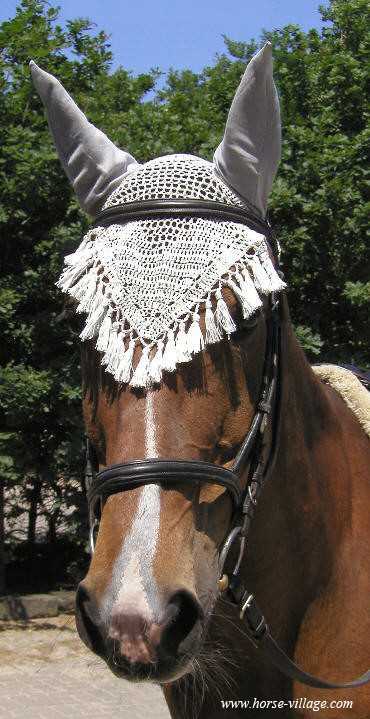
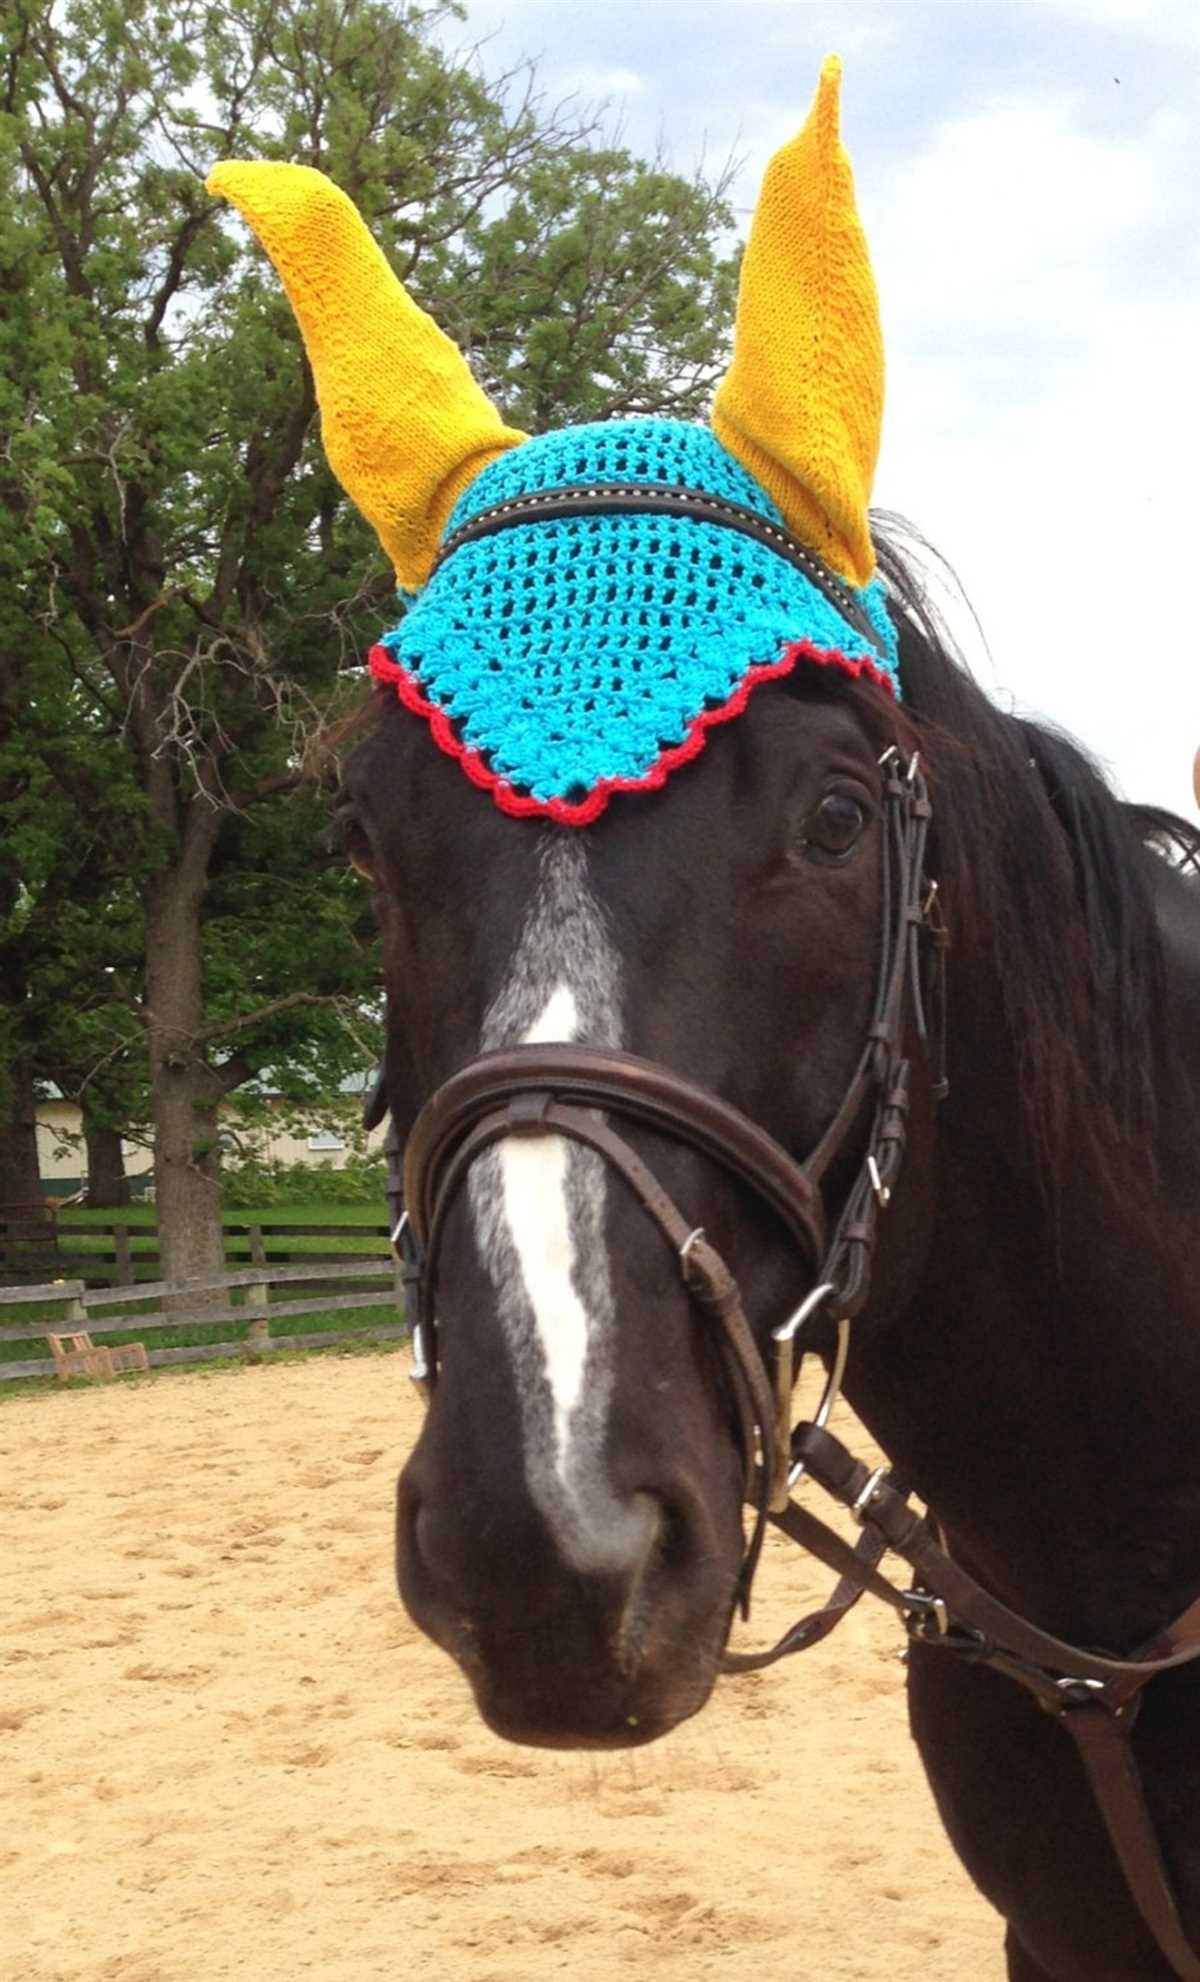
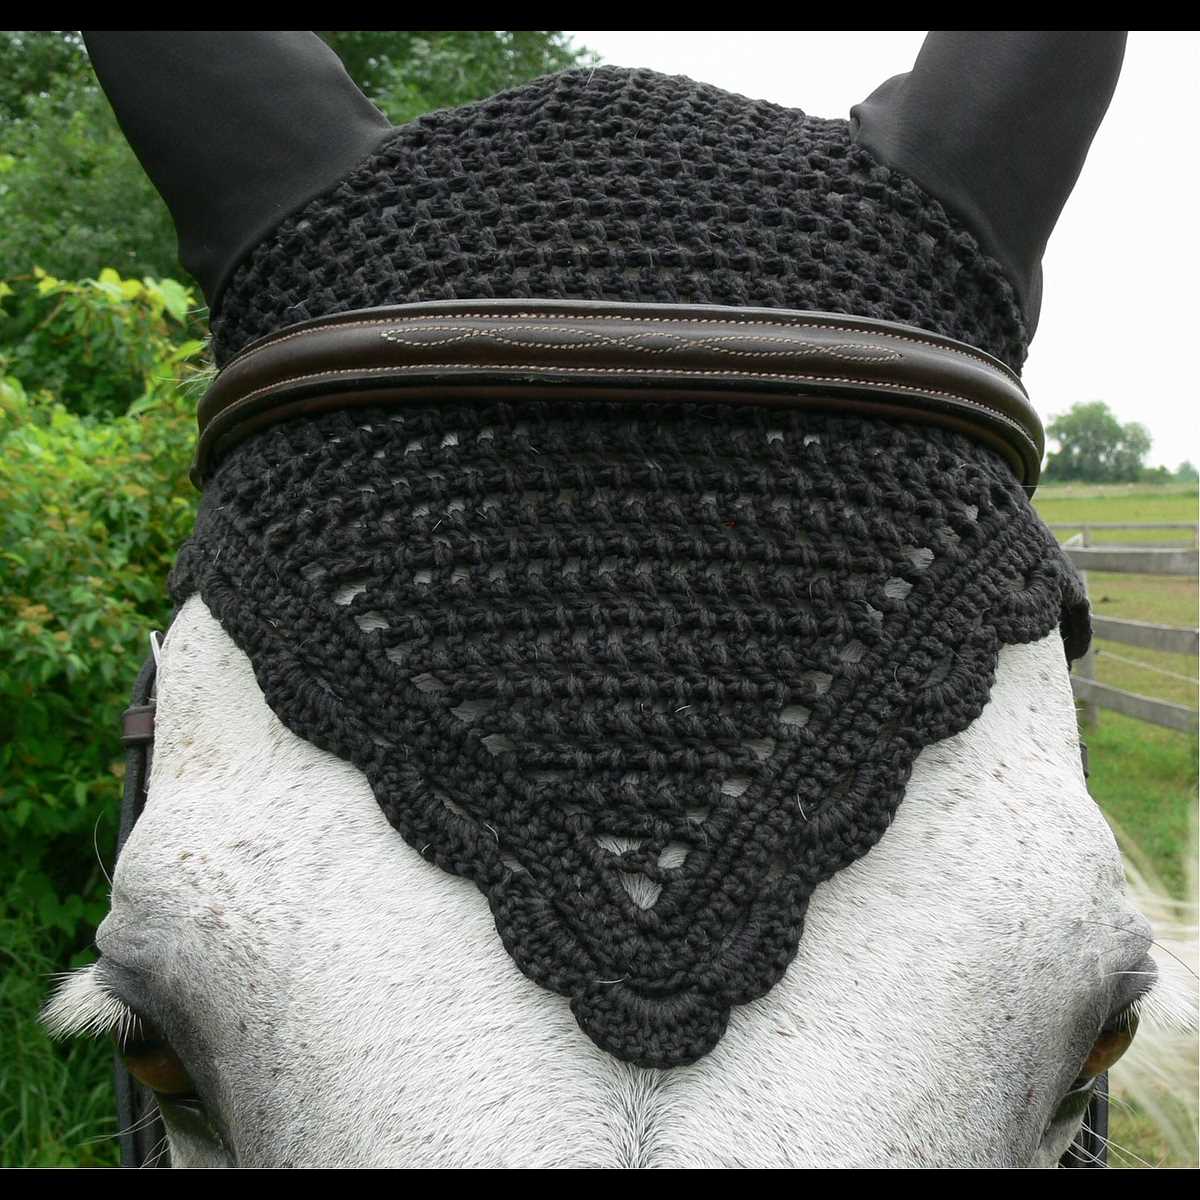
Are you a horse lover and a knitting enthusiast? If so, you’ll love creating your very own knit horse bonnet! This stylish and functional accessory not only adds a trendy touch to your horse’s attire, but it also helps protect their ears and head from flies and other annoying insects. In this step-by-step guide, we’ll walk you through the process of knitting a horse bonnet from start to finish.
Materials:
- Knitting needles (size may vary depending on your desired gauge)
- Worsted weight yarn in your chosen color
- Crochet hook (size G or H)
- Tapestry needle
- Scissors
Step 1: Casting on
Using your knitting needles and yarn, cast on the desired number of stitches. This will depend on the size of your horse’s head. For an average-sized horse, you may start with around 80 stitches.
Tip: If you’re unsure of the exact number of stitches to cast on, you can measure your horse’s head using a soft measuring tape or a piece of yarn.
Step 2: Knitting the main body
Continue knitting in your chosen stitch pattern until the bonnet reaches the desired length. You can experiment with different stitch patterns, such as ribbing or a simple garter stitch, to create a unique design.
Tip: If you want to add ear covers to the bonnet, you can start shaping them by decreasing the number of stitches on each side of the bonnet.
Step 3: Adding the ear holes
Once you’ve reached the desired length, it’s time to add the ear holes. Using your crochet hook, create a chain of stitches on each side of the bonnet where the horse’s ears will go. Make sure the chain is long enough to accommodate the horse’s ears comfortably.
Step 4: Finishing touches
Once the ear holes are complete, bind off all the stitches and weave in any loose ends using a tapestry needle. Trim off any excess yarn with scissors, being careful not to cut the main body of the bonnet.
And there you have it – your very own knitted horse bonnet! Dress up your horse in style while keeping them protected and comfortable. Experiment with different colors and stitch patterns to create a unique look that matches your horse’s personality. Happy knitting!
Materials you’ll need to start knitting
Before you begin knitting your horse bonnet, it’s important to gather all the necessary materials. Here are the items you’ll need:
- Knitting needles: You’ll need a set of knitting needles in the appropriate size for your chosen yarn. Typically, a size 8 or 9 needle works well for most horse bonnet patterns.
- Yarn: Choose a soft, durable yarn in your desired color. Acrylic or wool yarns are commonly used for horse bonnets. Make sure to check the pattern for specific yarn requirements.
- Tape measure: A tape measure will help you ensure that your bonnet is the correct size. It’s important to measure your horse’s head circumference accurately to ensure a proper fit.
- Stitch markers: These small, removable markers will help you keep track of your stitches and pattern repeats. They can be especially useful when working with complex stitch patterns.
- Yarn needle: A yarn needle will be used to weave in loose ends and seam the edges of your bonnet. Make sure to choose a needle with a large enough eye to accommodate your yarn.
- Scissors: A pair of sharp scissors will be needed to cut your yarn and trim any excess.
Once you have gathered these materials, you’ll be ready to start knitting your horse bonnet. It’s always a good idea to double-check the pattern instructions to ensure you have everything you need before you begin.
Choosing the right yarn for your horse bonnet
When it comes to knitting a horse bonnet, choosing the right yarn is crucial for both functionality and style. The yarn you select should be suitable for the purpose of the bonnet and comfortable for your horse. Here are some key factors to consider when choosing the yarn for your horse bonnet.
Durability
Since horse bonnets are designed to be worn during outdoor activities, it is important to choose a yarn that is durable and can withstand the rigors of the environment. Opt for yarns made from natural fibers such as wool or acrylic blends that offer durability and can handle the wear and tear.
Comfort
Comfort is paramount when it comes to horse wear. Look for soft and non-irritating yarns that won’t cause discomfort to your horse. Cotton or bamboo yarns are excellent options as they are soft, breathable, and hypoallergenic. Keep in mind any sensitivities or allergies your horse may have when selecting the yarn.
Functionality
The functionality of the horse bonnet should be taken into consideration when choosing the yarn. If you’re looking for a bonnet that provides warmth during colder months, opt for a yarn with a higher wool content. For bonnets to be used during hot weather or for fly protection, choose a lightweight yarn that allows for breathability.
Style
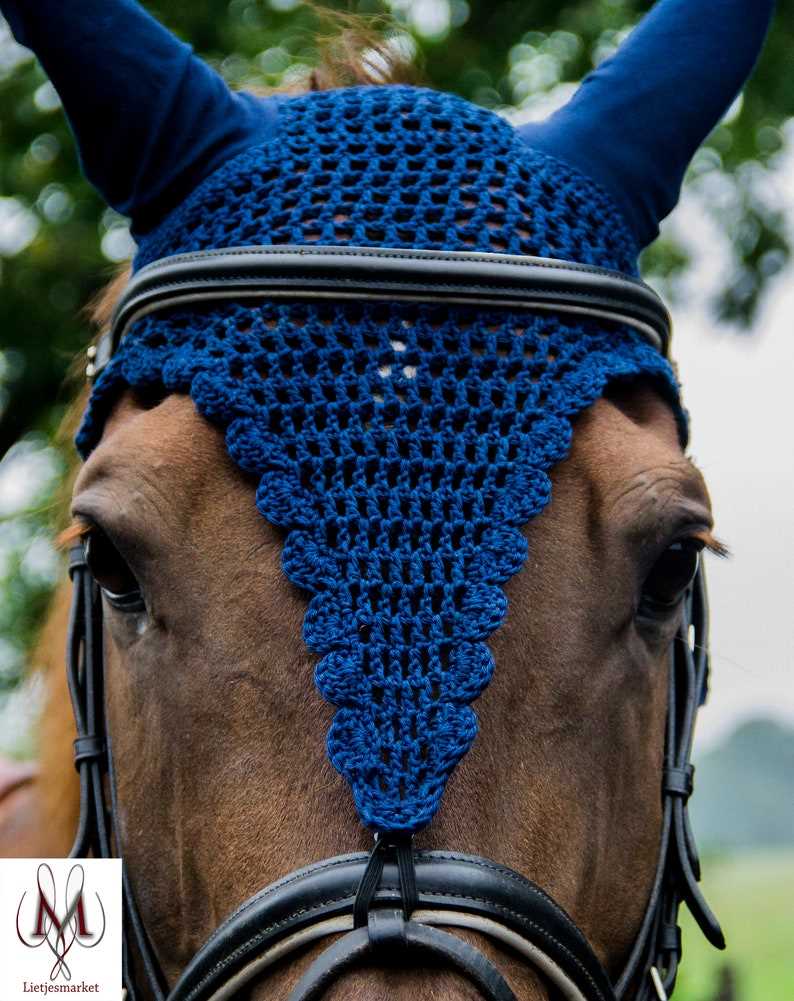
The yarn you choose will also dictate the style of your horse bonnet. Consider the color, texture, and pattern of the yarn to achieve the desired look. Vibrant colors can add a pop of personality, while a subtle variegated yarn can create an elegant and sophisticated appearance. Remember to select a yarn that complements your horse’s coat color and overall aesthetic.
By considering the durability, comfort, functionality, and style of the yarn, you can choose the perfect yarn for your horse bonnet. Take the time to find the right yarn that suits your horse’s needs and reflects their unique personality. With the right yarn, you can knit a horse bonnet that not only looks good but also serves its purpose effectively.
Selecting the correct needle size
When it comes to knitting, selecting the correct needle size is crucial for achieving the right tension and gauge for your project. The needle size you choose will determine the size and density of your stitches, as well as the overall finished size of your knitting.
There are several factors to consider when selecting the needle size for your knitting project. Firstly, you need to determine the recommended needle size provided in the pattern you are using. This information is usually indicated in the pattern instructions and is based on the desired tension and gauge.
Factors to consider:
- Tension and gauge: The pattern will specify the desired tension and gauge, which refers to the number of stitches and rows per inch or centimeter. You will need to use a needle size that allows you to achieve the correct tension and gauge specified in the pattern. Using a larger needle size will result in a looser tension and larger stitches, while using a smaller needle size will result in a tighter tension and smaller stitches.
- Yarn weight: The weight of the yarn you are using will also affect the needle size you should use. Thicker yarns typically require larger needles, while thinner yarns require smaller needles. It’s important to refer to the yarn label and use the recommended needle size provided by the yarn manufacturer as a starting point.
- Personal tension: Every knitter has their own unique tension, which can be influenced by factors such as knitting style, hand tension, and fiber content. It’s important to consider your personal tension when selecting the needle size. If you tend to knit tightly, you may need to use a larger needle size to achieve the desired tension and gauge.
- Texture and stitch pattern: Certain stitch patterns may require a specific needle size to achieve the desired effect. For example, lace patterns often require smaller needle sizes to create a more intricate and defined pattern. It’s important to consider the texture and stitch pattern of your project when selecting the needle size.
Overall, selecting the correct needle size is a crucial step in knitting. It requires considering factors such as tension and gauge, yarn weight, personal tension, and the stitch pattern. By choosing the right needle size, you can ensure that your knitting project turns out as intended, with the desired size, tension, and stitch definition.
Understanding the basic knitting stitches
When it comes to knitting, understanding the basic stitches is essential. Whether you are a beginner or an experienced knitter, having a solid foundation of knitting stitches allows you to create a wide variety of projects.
Knit Stitch: The knit stitch is the most basic and commonly used knitting stitch. It is created by inserting the needle into the loop on the left needle, wrapping the yarn around the right needle, and pulling it through to form a new loop. This stitch creates a smooth, “v” shape on the right side of the fabric.
Purl Stitch: The purl stitch is another fundamental knitting stitch. It is the reverse of the knit stitch and creates a textured, bumpy appearance on the fabric. To purl, the needle is inserted from right to left into the loop on the left needle and the yarn is wrapped around the right needle, creating a new loop.
- Garter Stitch: The garter stitch is a simple pattern achieved by knitting every row. It creates a fabric with rows of ridges, making it reversible and suitable for scarves, blankets, and dishcloths.
- Stockinette Stitch: The stockinette stitch is achieved by alternating between knitting and purling rows. The right side of the fabric has smooth, “v” shapes created by the knit stitches, while the wrong side has bumps created by the purl stitches. It is commonly used for sweaters, hats, and socks.
- Rib Stitch: The rib stitch is created by alternating between knit and purl stitches within the same row. It produces a fabric that has vertical columns of knits and purls, creating a stretchy and textured pattern. Rib stitches are often used for cuffs, collars, and edges of garments.
These are just a few examples of the basic knitting stitches that form the foundation of many knitting projects. By mastering these stitches and understanding their variations, you can expand your knitting skills and create beautiful and intricate designs.
Casting on stitches for the bonnet
When starting to knit a horse bonnet, it is important to cast on the correct number of stitches to ensure the right size and fit. The number of stitches will vary depending on the pattern you are using and the size of the bonnet you want to create.
To cast on stitches, start by making a slipknot. This can be done by creating a loop with the yarn and pulling the working end through the loop. Place the slipknot on one of the knitting needles and hold the needle in your dominant hand.
Step 1: Hold the needle with the slipknot in your dominant hand and the empty needle in your other hand.
Step 2: Insert the empty needle into the slipknot from front to back, making sure the yarn is behind the needle.
Step 3: With the tip of the empty needle, scoop the yarn that is behind the needle and bring it through the slipknot, creating a new loop on the empty needle.
Step 4: Slip the new loop onto the dominant hand needle, making sure to keep the tension of the yarn consistent.
Step 5: Repeat steps 2-4 until you have cast on the required number of stitches for your bonnet pattern. Keep in mind that certain patterns may require specific cast on techniques, so make sure to follow the instructions provided.
Once you have cast on all the stitches, you are ready to begin knitting the horse bonnet according to the pattern instructions. Casting on stitches correctly is an important first step in creating a well-fitting and comfortable bonnet for your horse.
Knitting the body of the horse bonnet
Once you have completed the earflap section of the horse bonnet, it’s time to move on to knitting the body. Start by picking up stitches along the edge of the earflap, making sure to evenly distribute them around the curve. This will create a seamless transition between the earflap and the body of the bonnet.
Next, work in a combination of stockinette stitch and ribbing to create the body of the horse bonnet. The stockinette stitch will give the bonnet a smooth and polished look, while the ribbing will ensure a snug fit. Alternating between these two stitch patterns will also add visual interest to the bonnet.
It is important to keep track of your stitch count as you work through the body of the bonnet. This will ensure that your bonnet turns out the correct size and shape. You can use stitch markers to mark the beginning and end of each round, making it easier to keep track of your progress.
As you continue knitting the body of the bonnet, you can also incorporate color changes or other decorative techniques to personalize your design. This could include knitting a stripe pattern, adding an embroidered motif, or even attaching small embellishments like beads or buttons.
Once you have finished knitting the body of the horse bonnet, you can move on to the final steps of the pattern, which may include shaping the crown, adding a tie or closure, and weaving in any loose ends. With a little bit of time and patience, you’ll have a beautiful and functional horse bonnet ready to use or gift to a fellow equestrian!
Adding decorative patterns or colorwork
One way to make a knit horse bonnet more visually appealing is by adding decorative patterns or colorwork. These elements can enhance the overall design and make the bonnet stand out.
One popular pattern to consider is the Fair Isle technique. This involves knitting with two different colored yarns to create intricate patterns. You can incorporate Fair Isle motifs, such as geometric shapes or animal silhouettes, into the bonnet. This technique adds depth and texture to the piece, making it visually interesting.
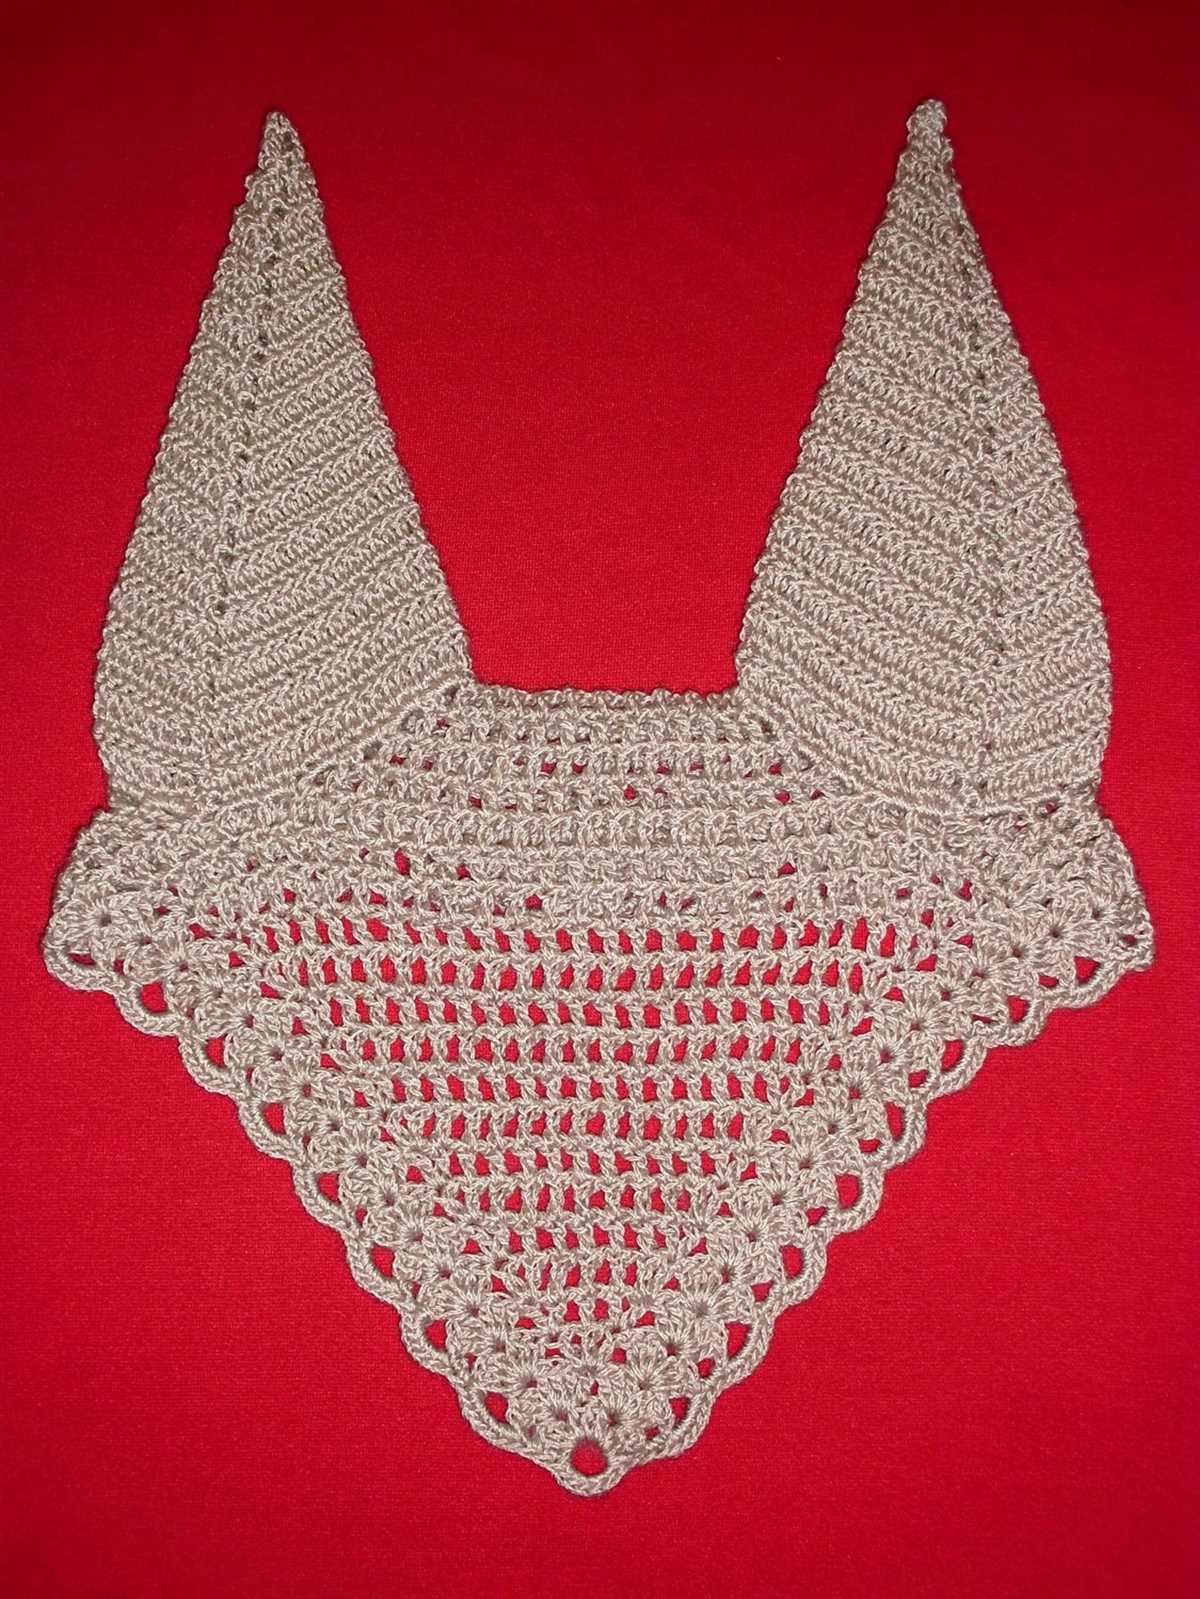
Another option is to experiment with different stitch patterns. Cable knitting, for example, can create beautiful raised patterns that add a touch of elegance and sophistication to the bonnet. You can also try lace knitting, which creates delicate and feminine patterns. These stitch patterns can be incorporated into specific sections of the bonnet, such as the edge or the ear coverings, to create focal points.
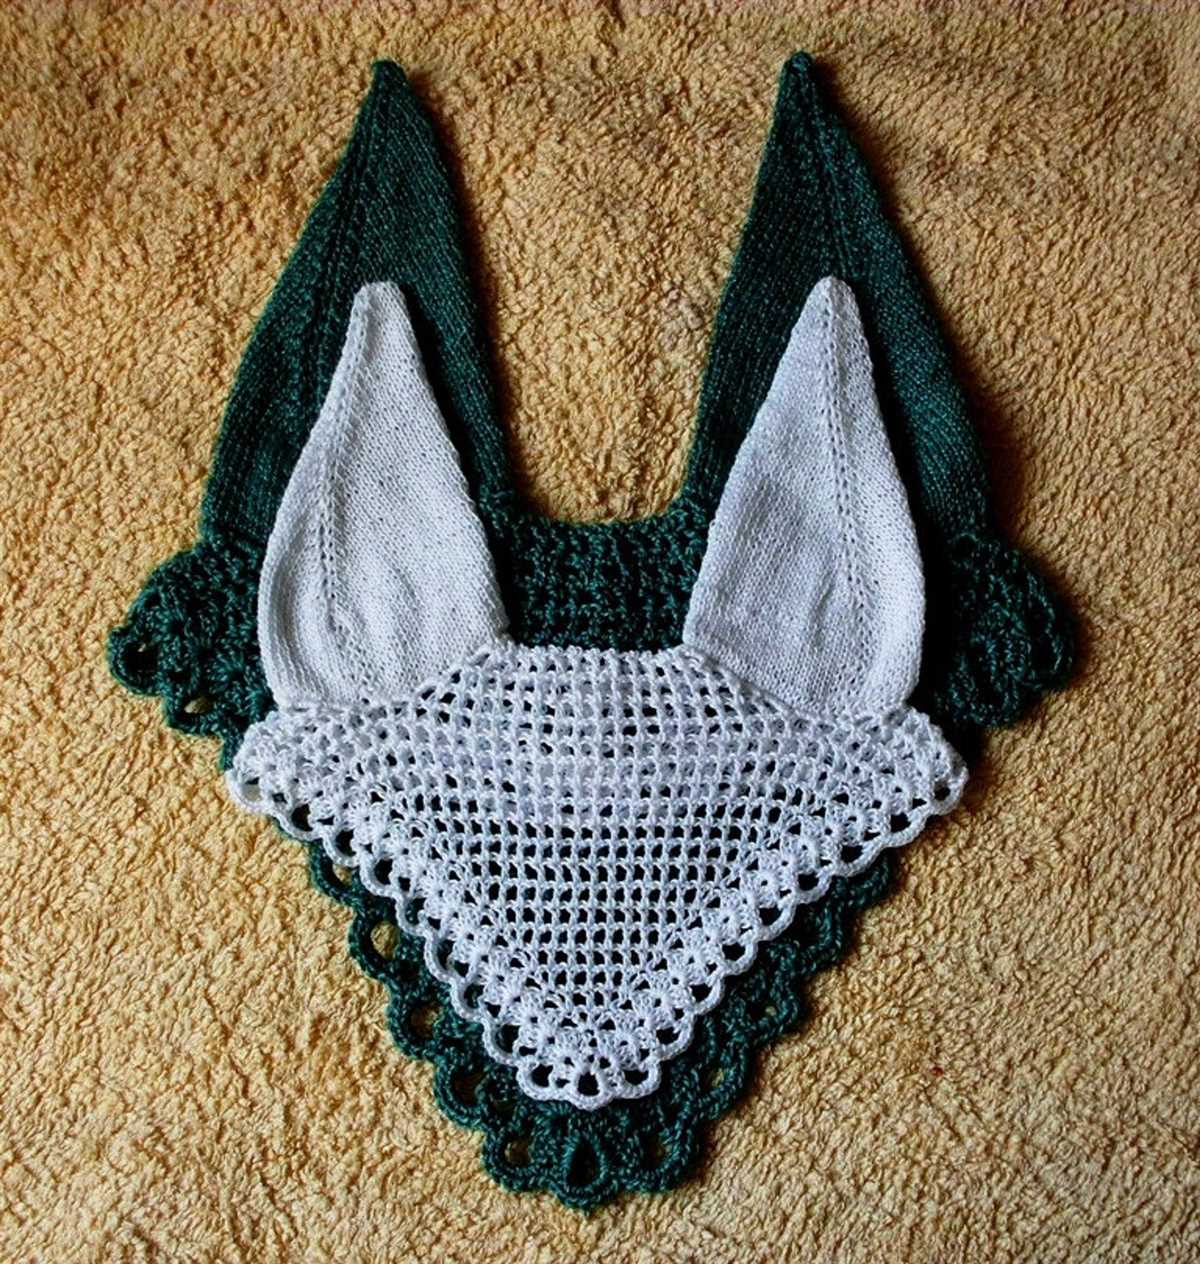
In addition to patterns, colorwork can also be used to add visual interest to a knit horse bonnet. You can choose contrasting colors or a gradient effect to create a striking design. Stripes, chevron patterns, or even intarsia can be incorporated to create unique and eye-catching bonnets.
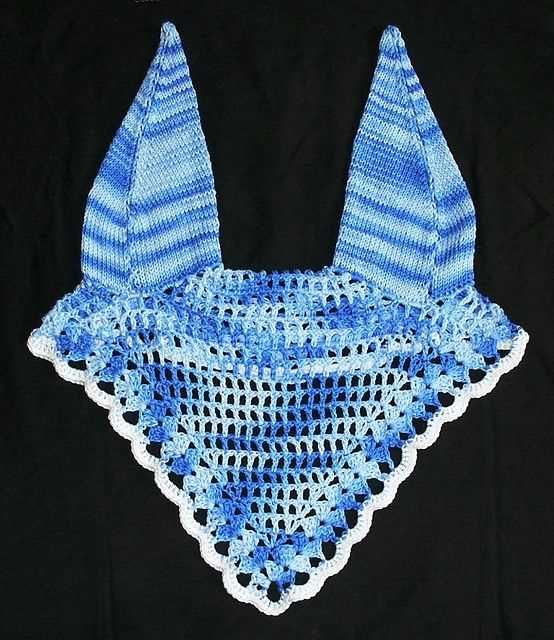
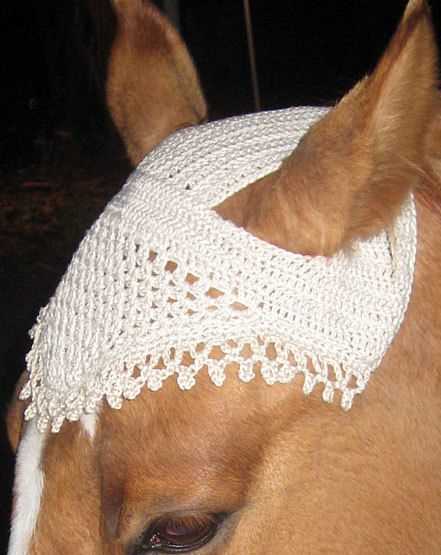
Shaping the ear holes
When knitting a horse bonnet, it is important to shape the ear holes correctly to ensure a comfortable fit for the horse. The ear holes are the openings in the bonnet that allow the horse’s ears to poke through.
To shape the ear holes, you will need to decrease stitches in the appropriate areas. This can be done by following a specific pattern or by decreasing stitches evenly across the row. You may also need to use markers to indicate where the ear holes will be located.
Pattern method:
- Follow the instructions provided in the pattern for shaping the ear holes.
- This may involve decreasing stitches on specific rows or using specific stitch patterns.
- Ensure that you are decreasing the correct number of stitches to create the desired size and shape of the ear holes.
Even decrease method:
- Decide on the number of stitches you want to decrease for each ear hole.
- Divide the total number of stitches on your needle by half to determine the number of stitches for each ear hole.
- Place markers at the midpoint of each ear hole.
- Decrease evenly on either side of the markers until you reach the desired number of stitches for each ear hole.
Remember to try the bonnet on the horse as you work to ensure a proper fit. Adjustments can be made by adding or decreasing stitches as needed. Once the ear holes are shaped, you can continue knitting the rest of the bonnet according to the pattern instructions.
Knitting the straps for securing the bonnet
When knitting a horse bonnet, it is important to have straps that securely hold the bonnet in place on the horse’s head. The straps provide the necessary tension to keep the bonnet from slipping or falling off during movement. This ensures that the bonnet stays in position and effectively protects the horse’s ears and head.
To knit the straps, you will need to choose a suitable yarn that matches the bonnet and is durable enough to withstand the pulling and tugging that may occur during use. A strong yarn made from natural fibers such as cotton or nylon is recommended for this purpose. It is also important to choose the right size knitting needles to ensure a tight and secure stitch.
Begin by casting on the desired number of stitches for the strap. This can vary depending on the size of the bonnet and the desired width of the strap. It is best to start with a few extra stitches and adjust as needed to achieve the desired width. Knit the first row in a basic stitch such as garter stitch or stockinette stitch to create a smooth and even appearance. Continue knitting rows until the strap reaches the desired length, keeping in mind that it needs to be long enough to wrap around the horse’s head and secure the bonnet.
Once the strap is the desired length, bind off the stitches to secure the end. You can then sew the strap to the bonnet using a sturdy and matching thread, making sure to securely attach it to the desired location on the bonnet. Alternatively, you can create buttonholes or loops on the bonnet and attach the strap using buttons or hooks for added versatility.
Remember to create two straps, one for each side of the bonnet, to ensure an even and secure fit. With properly knitted and attached straps, your horse bonnet will stay in place and provide the necessary protection for your horse’s sensitive ears and head.
Blocking and finishing the horse bonnet
After completing the knitting process for the horse bonnet, it is important to block and finish the piece to achieve the desired shape, fit, and appearance. Blocking involves the process of gently shaping and stretching the knitted fabric to even out the stitches and make them more defined. This step is especially crucial for lace or intricate patterns.
To begin the blocking process, fill a sink or basin with lukewarm water and add a small amount of wool wash or gentle detergent. Submerge the horse bonnet in the water and gently agitate it to ensure the entire piece is soaked. Let it soak for about 15-20 minutes, then drain the water and gently press out the excess moisture. Avoid wringing or twisting the bonnet, as this can stretch and distort the fabric.
Next, lay the bonnet flat on a clean towel, ensuring it is in the desired shape and size. Use rust-resistant pins to secure the edges and corners, gently pulling and stretching the fabric to achieve the desired fit. Pay close attention to any lace or decorative details, making sure they are properly aligned and positioned. Allow the bonnet to air dry on the towel, away from direct sunlight or heat sources.
Once the bonnet is completely dry, remove the pins and check the shaping and fit. If necessary, make any adjustments by lightly steaming the fabric with a garment steamer or iron on a low setting. Be careful not to apply too much heat or pressure, as this can damage the delicate fibers. Finally, weave in any loose ends, and the horse bonnet is ready to be used or gifted.
Tips and tricks for customizing your horse bonnet pattern
Now that you have a basic understanding of how to knit a horse bonnet using a pattern, you may want to explore ways to customize and personalize your creation. Here are some tips and tricks to help you make your horse bonnet truly unique.
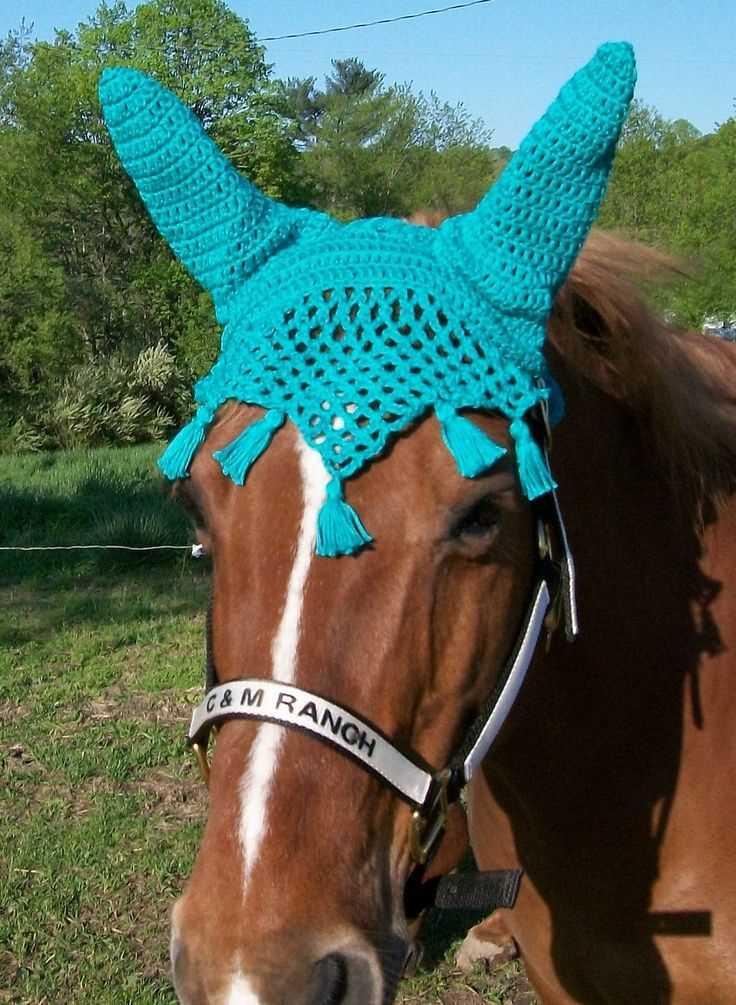
1. Experiment with different colors: One of the easiest ways to customize your horse bonnet is by using different colors of yarn. You can choose colors that match your horse’s tack, stable colors, or even your favorite sports team’s colors. Don’t be afraid to mix and match different shades and create a unique pattern.
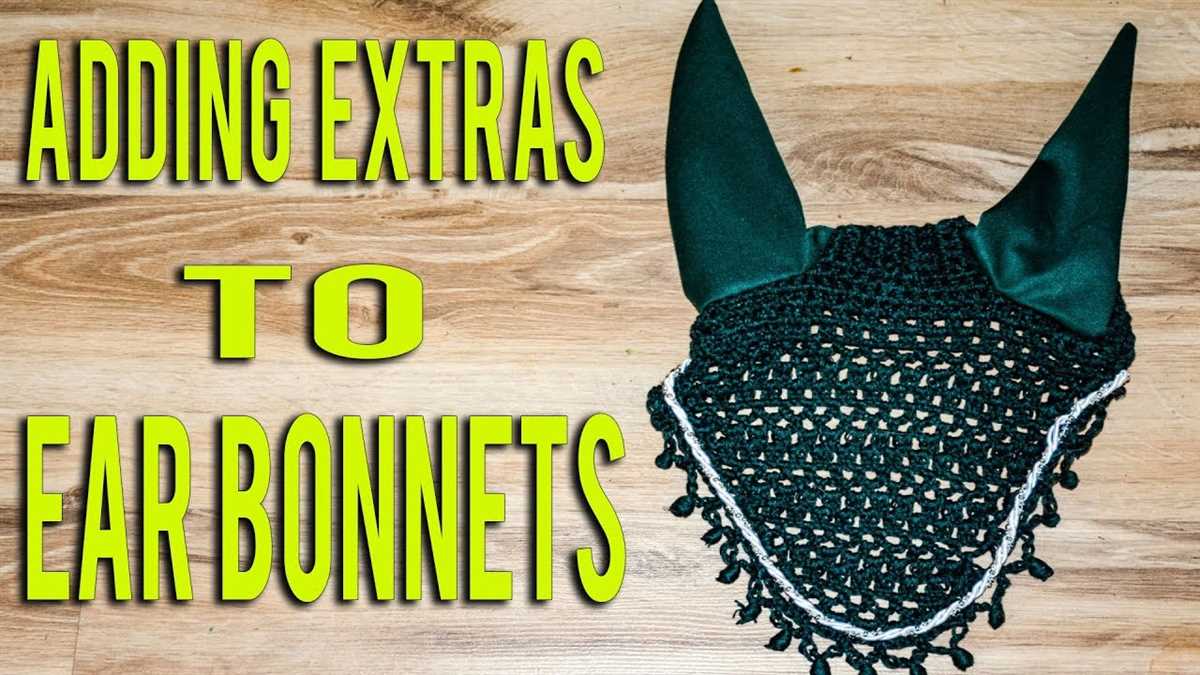
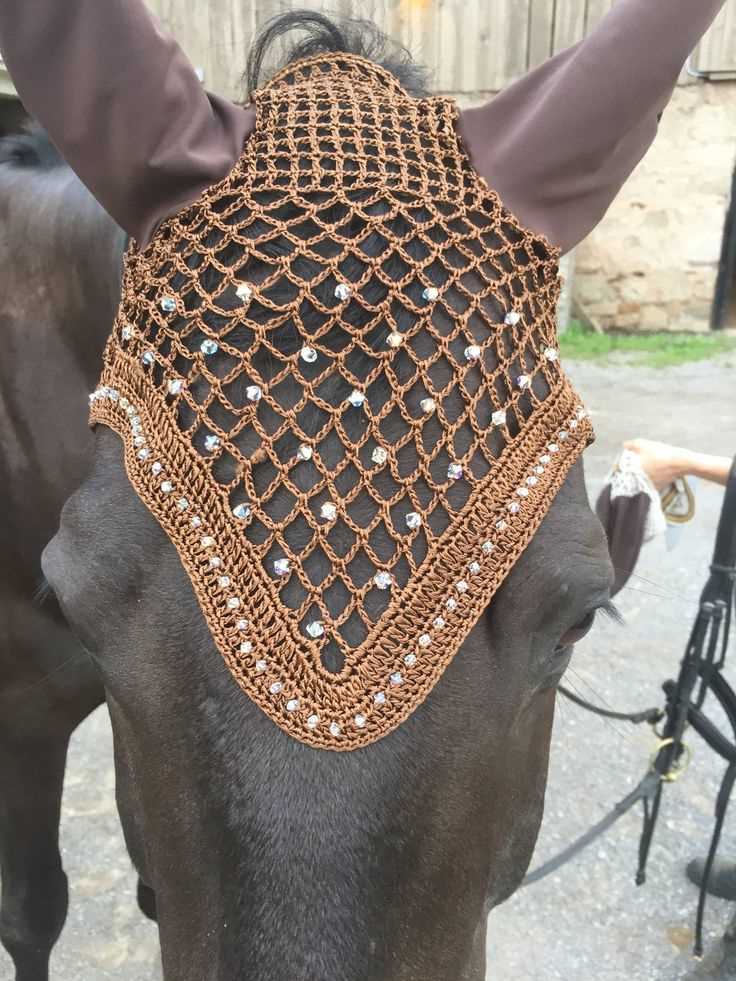
2. Add embellishments: If you want to add some extra flair to your horse bonnet, consider adding embellishments such as beads, sequins, or ribbons. These can be sewn or glued onto the bonnet for a personalized touch. Just make sure to use materials that are safe for your horse and won’t cause any discomfort.
3. Customize the size: Not all horses have the same head size, so it’s important to make sure your bonnet fits well. You can easily customize the size of your bonnet by adjusting the number of stitches you cast on or using a smaller or larger needle size. Make sure to measure your horse’s head accurately before making any adjustments.
4. Explore different stitch patterns: While the basic stockinette stitch is commonly used in horse bonnets, don’t be afraid to experiment with different stitch patterns. You can create a textured look by using ribbing, cables, or lace stitches. Just keep in mind that more intricate stitch patterns may require additional skills and patience.
5. Personalize with initials: If you want to add a personal touch to your horse bonnet, consider incorporating your horse’s initials or name into the design. You can do this by knitting or embroidering the initials onto the bonnet. This not only adds a personalized touch but also helps you identify your bonnet among others in the stable.
Remember, customizing your horse bonnet pattern is all about having fun and expressing your creativity. Don’t be afraid to try new things and make your bonnet truly one-of-a-kind. Whether you choose to experiment with colors, add embellishments, or personalize with initials, your custom horse bonnet is sure to stand out and make a statement.