
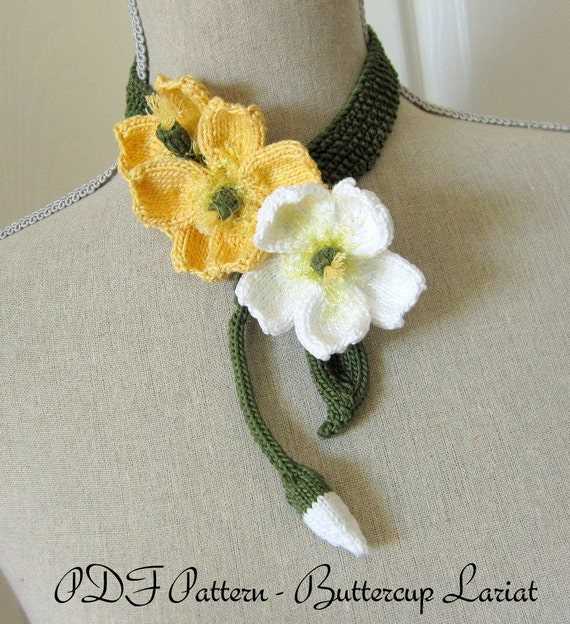
If you’re a fan of knitting and are looking for a fun and versatile project, then the buttercup knitting pattern is perfect for you. This pattern is known for its beautiful texture and delicate details, and can be used to create a range of items, from scarves and blankets to hats and gloves.
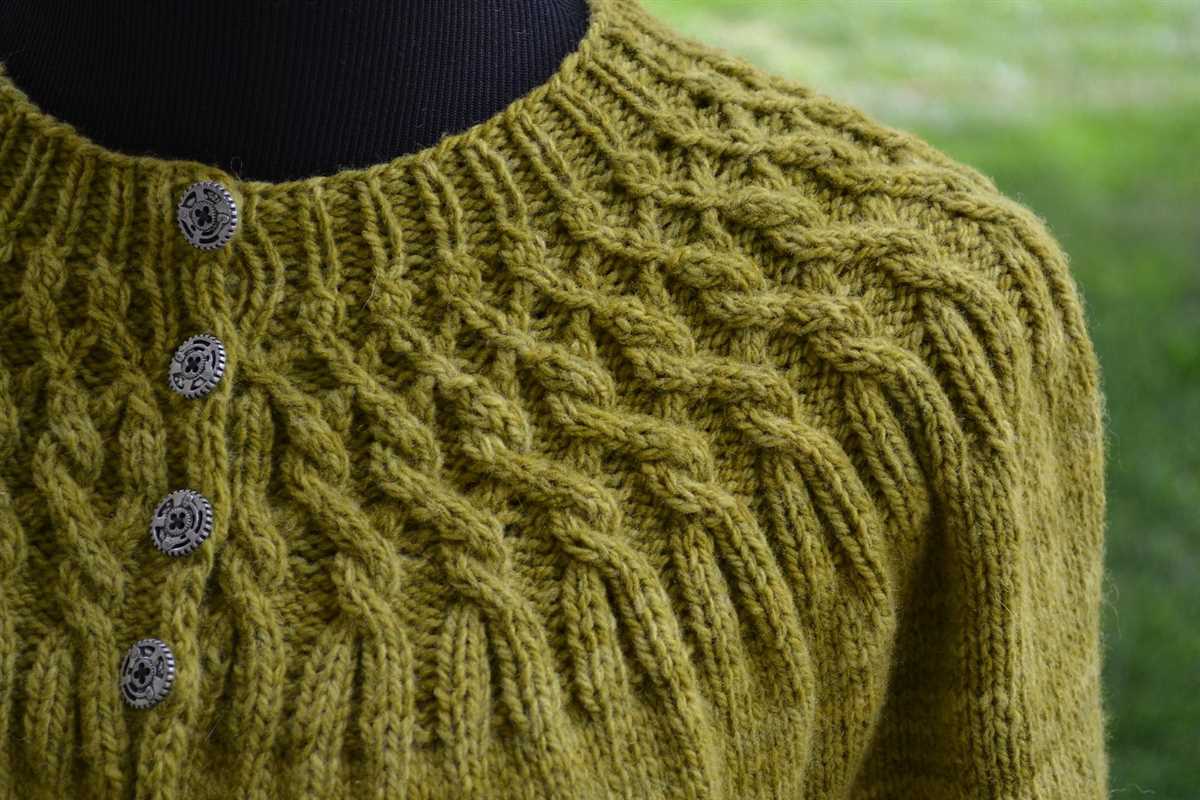
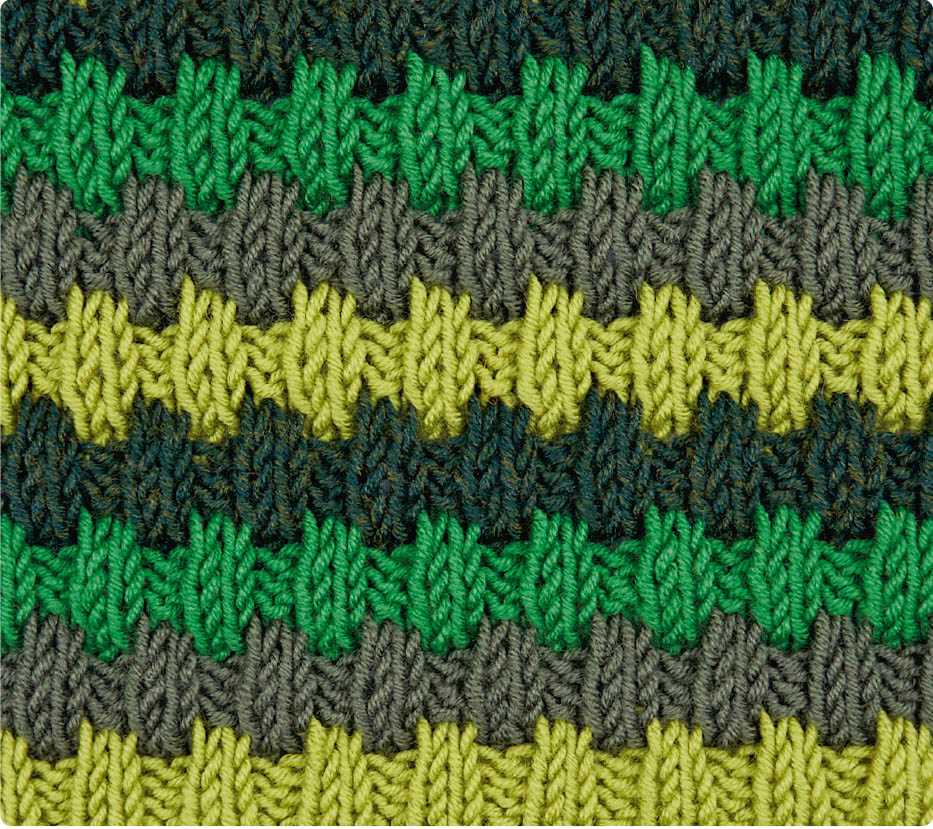
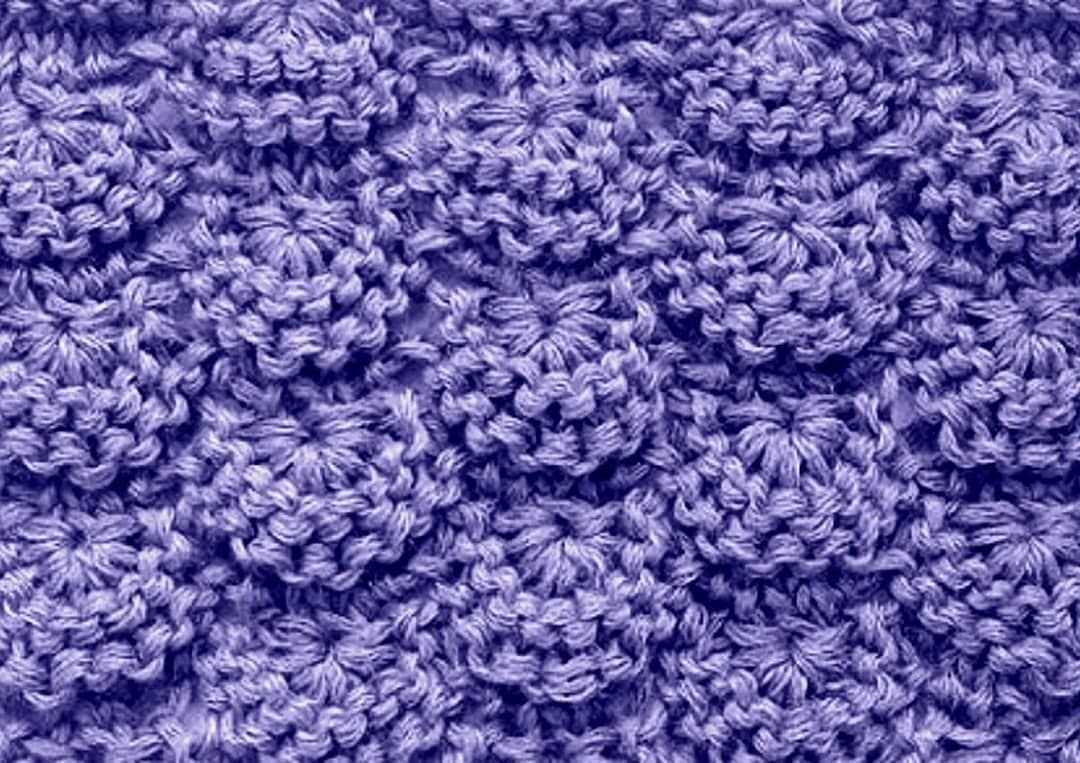
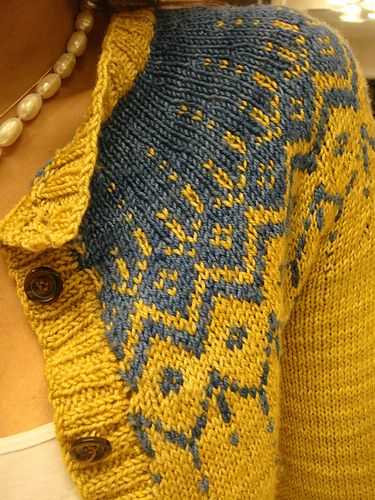
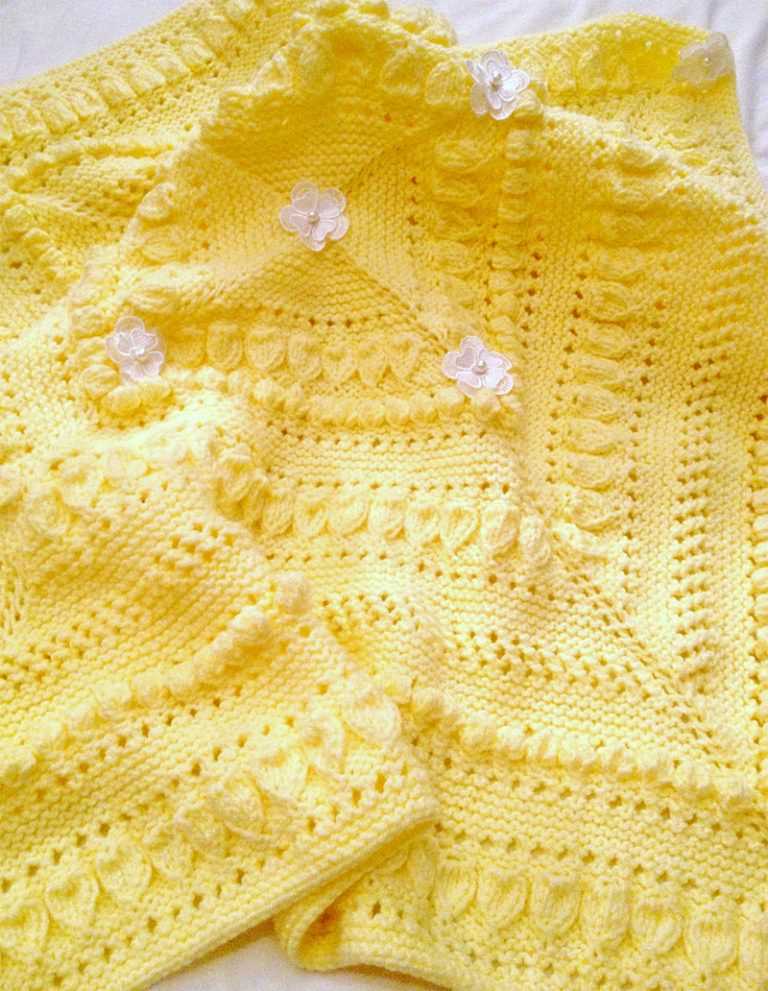
The buttercup knitting pattern gets its name from the unique stitch used, which resembles tiny buttercups blooming across the surface of the fabric. This stitch creates a beautiful and intricate design that adds a touch of elegance to any knitted piece. The pattern is not too complicated, making it suitable for knitters of all levels, from beginners to experts.
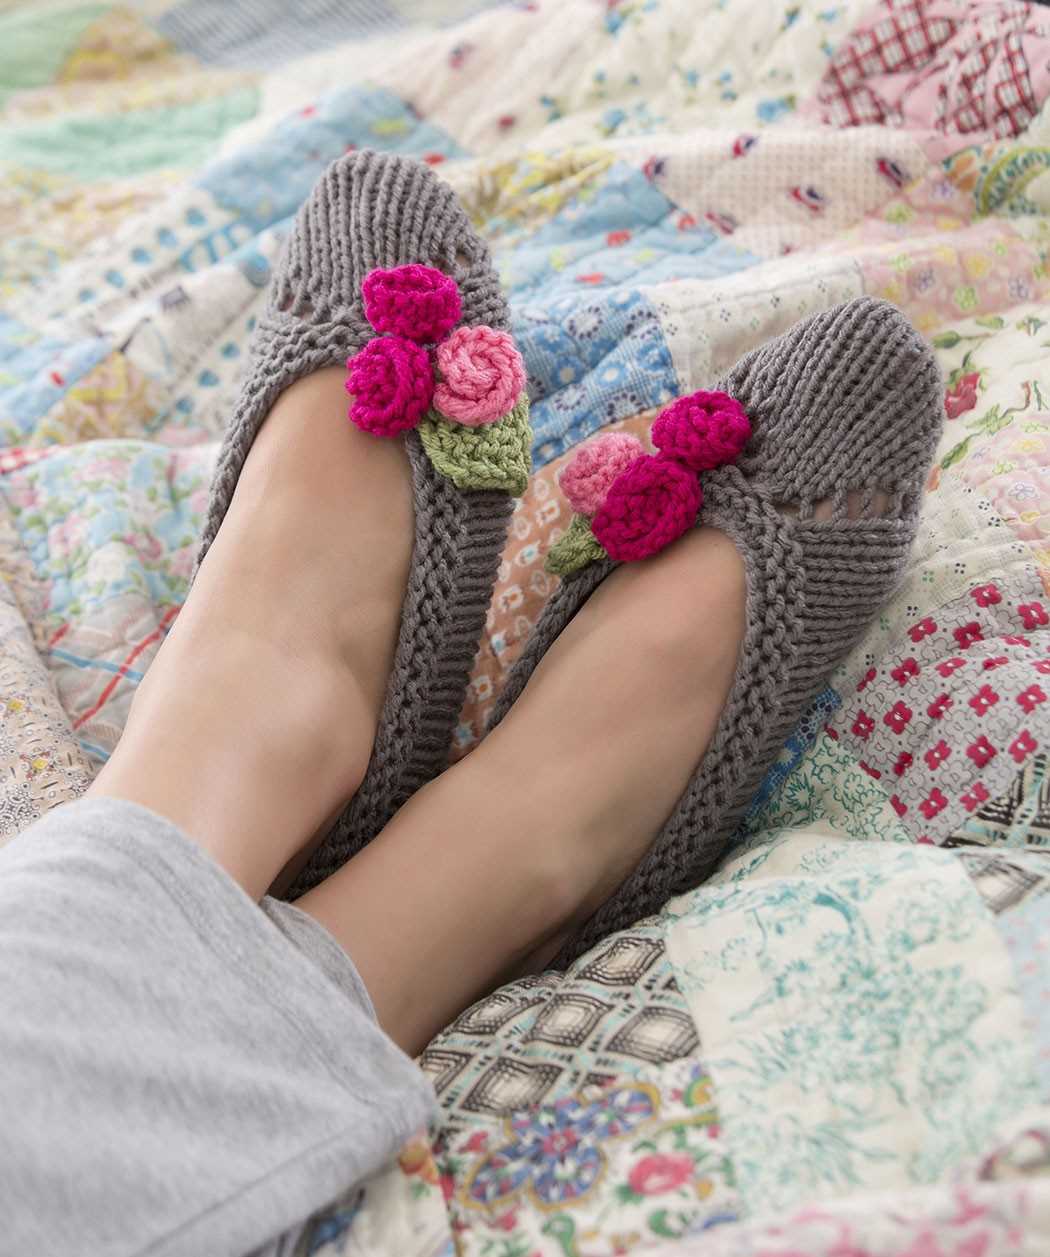
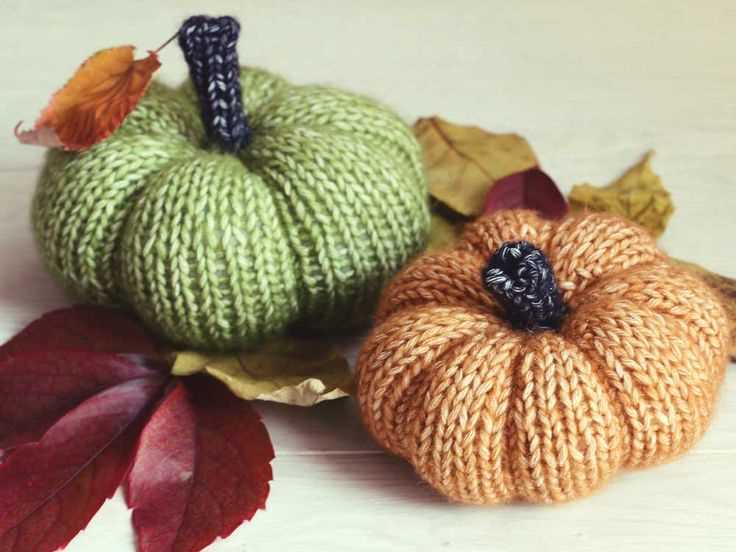
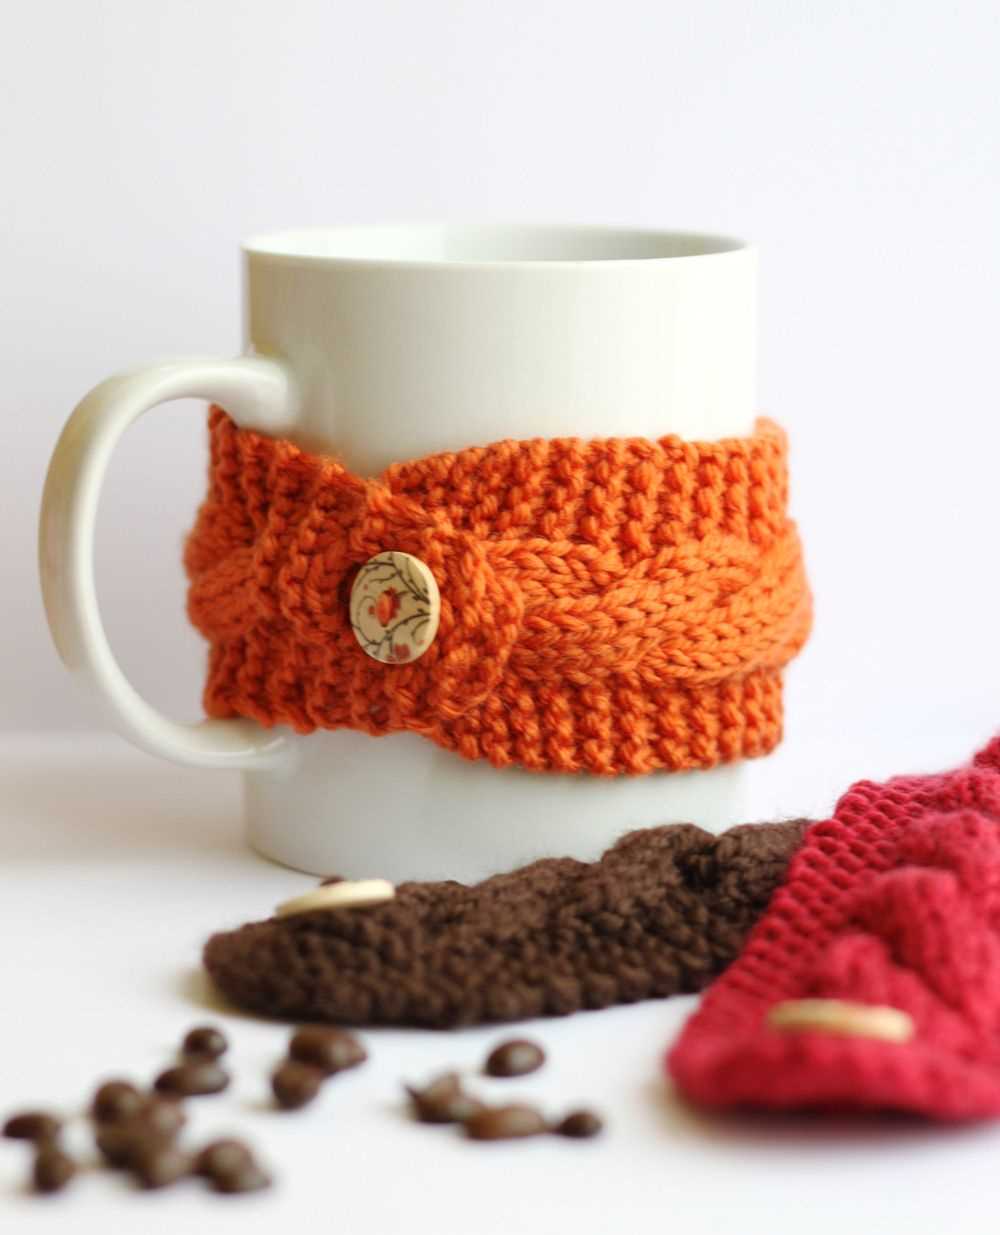
One of the great things about the buttercup knitting pattern is its versatility. You can use it to create a variety of items, and it can be easily customized to suit your preferences. Whether you prefer a chunky and cozy scarf or a lightweight and delicate baby blanket, this pattern can be adapted to meet your needs.
Step-by-step guide on how to knit a Buttercup pattern
Knitting the Buttercup pattern is a delightful and intricate process that results in a beautiful and textured design. With this step-by-step guide, you will be able to create your own Buttercup knitted piece.
To begin, gather all the materials you’ll need for the project. This includes yarn in the desired color, knitting needles that are appropriate for the yarn weight, scissors, and a tapestry needle for finishing touches.
Step 1: Casting on

Start by casting on the required number of stitches for your Buttercup pattern. The pattern will specify the stitch count, which may vary depending on the size and type of item you are knitting.
Step 2: Knit the base rows
Work the base rows of the Buttercup pattern according to the instructions. This may involve knitting the specified number of rows in a specific stitch pattern, such as garter stitch or stockinette stitch.
Step 3: Begin the Buttercup pattern
Once the base rows are complete, it’s time to start the Buttercup pattern. Follow the instructions carefully, as the pattern may involve a combination of different stitches and techniques.
- For example, you may be instructed to knit, purl, yarn over, knit two together, or slip stitches.
- Pay attention to any special symbols or abbreviations used in the pattern, as they may indicate specific stitches or techniques.
Step 4: Continue knitting the Buttercup pattern
Continue following the pattern instructions to create the Buttercup design. Take your time and ensure each stitch is executed correctly to maintain the desired texture and shape.
Step 5: Finishing
Once you have completed all the required rows and stitches for the Buttercup pattern, it’s time to finish your knitting. Bind off the stitches as instructed and weave in any loose ends using a tapestry needle.
With these step-by-step instructions, you can now confidently knit your own Buttercup pattern. Enjoy the process and admire the intricate design you have created!
Gathering the necessary knitting supplies
Before you can start knitting the Buttercup pattern, you’ll need to gather all the necessary supplies. Here is a list of items you will need to complete this project:
- Yarn: You will need a specific type and color of yarn to achieve the desired effect. The pattern usually specifies the weight and yardage required. Make sure to get the recommended yarn to ensure your project turns out the way you want it.
- Knitting needles: Different patterns call for different needle sizes, so check the pattern to find out the appropriate size. Circular or double-pointed needles may also be required depending on the project.
- Stitch markers: These little looped markers help you keep track of specific stitches or sections as you work through the pattern. They can be especially useful for complex patterns or when shaping the garment.
- Tapestry needle: This large-eyed needle is used for weaving in loose ends and finishing your project. It’s important to have a tapestry needle that is appropriate for the weight of your yarn.
- Scissors: A good pair of sharp scissors is essential for cutting yarn and trimming any excess.
- Measuring tape: To ensure your project ends up the correct size, you’ll need a measuring tape to check your gauge and measure different sections of your work as needed.
- Blocking tools: Depending on the project, you might need blocking mats, pins, and/or a steam iron to block and shape your finished piece.
Once you have gathered all the necessary supplies, you will be ready to start knitting the Buttercup pattern. Having everything organized and readily available will make the knitting process smoother and more enjoyable.
Casting on and creating the ribbing
Before you can start knitting the Buttercup pattern, you will need to cast on your stitches and create the ribbing. The ribbing is an important part of the pattern as it creates a stretchy and snug fit around the edge of the garment.
To cast on, you can use the long-tail cast-on method, which is a popular and versatile method. Measure out a length of yarn that is approximately four times the width of your knitting project. Then, make a slipknot and place it on one of your knitting needles. Insert the other needle into the slipknot, forming an ‘X’. Using your thumb and forefinger, hold onto the tail end of the yarn and the working end of the yarn. Then, bring the working end of the yarn under the needle and over the thumb, creating a loop. Insert the needle into the loop and pull the working end of the yarn tight, securing the loop on the needle. Repeat this process until you have cast on the required number of stitches for your pattern.
After casting on, you will begin working the ribbing. The pattern may specify a specific ribbing pattern, such as k2, p2 or k1, p1. This means that you will knit two stitches and then purl two stitches (or knit one stitch and then purl one stitch) in a repeating pattern. The ribbing is usually worked for a certain number of rows to create the desired length. Knitting the ribbing not only adds a decorative touch to your garment but also provides elasticity for a better fit. Once you have completed the ribbing, you can then proceed to the main body of the Buttercup pattern.
Here are the key steps for casting on and creating the ribbing:
- Measure out a length of yarn for casting on.
- Create a slipknot and place it on a knitting needle.
- Insert the other needle into the slipknot.
- Hold onto the tail end and working end of the yarn.
- Create a loop by bringing the working end of the yarn under the needle and over the thumb.
- Insert the needle into the loop and pull the yarn tight to secure.
- Continue casting on until you have the required number of stitches.
- Start working the ribbing according to the pattern instructions.
- Repeat the ribbing pattern for the specified number of rows.
- Complete the ribbing and move on to the next part of the pattern.
Knitting the body of the Buttercup
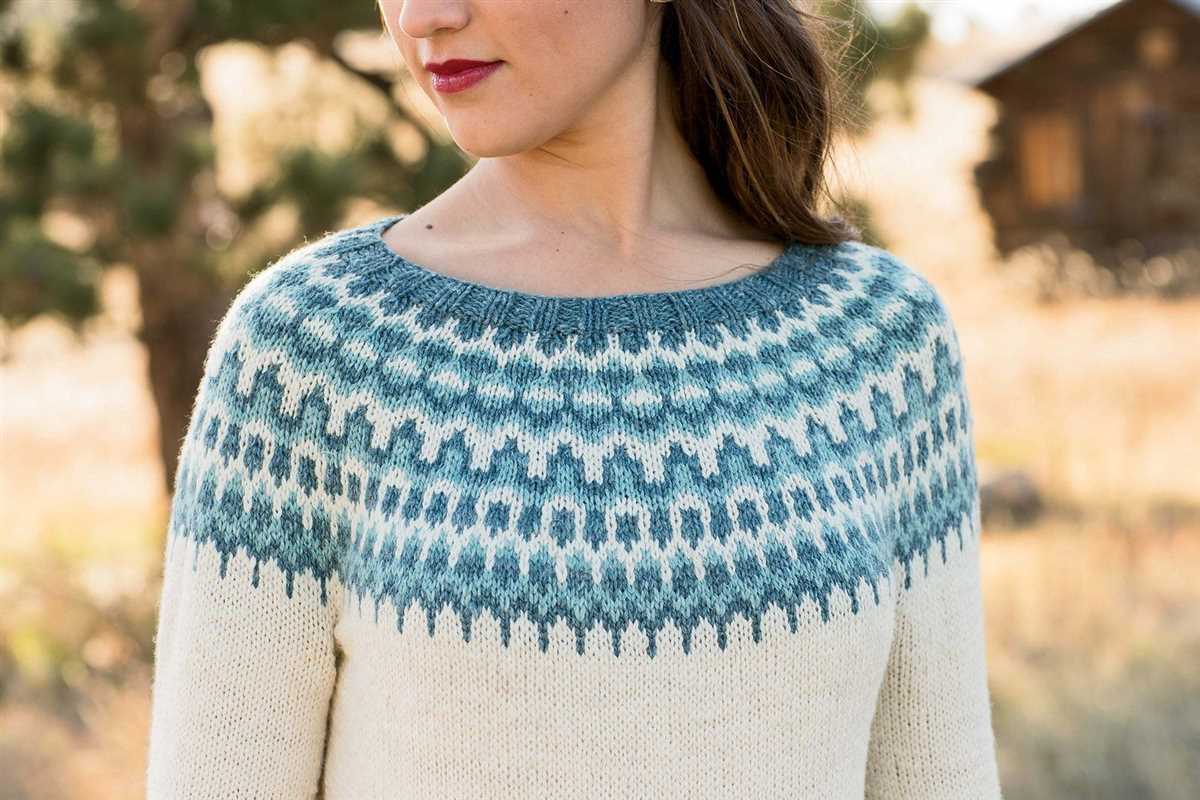
Once you have finished knitting the yoke of the Buttercup sweater, it’s time to move on to the body. The body is worked in the round and is a simple stockinette stitch. You will continue using your circular needles, making sure to switch to the larger size if needed.
To begin, place a stitch marker to indicate the start of the round. This will help you keep track of your progress. Then, knit the first round in the round, making sure to keep your tension even. You will continue knitting in the round until the body reaches the desired length.
Remember to periodically try on the sweater to check the length and make any necessary adjustments. You want the sweater to hit at your desired length, whether that be at the waist or hip. Also, keep in mind that the sweater will grow slightly in length once it is blocked.
As you knit, be careful not to twist your stitches. This can easily happen when knitting in the round, especially if you are new to this technique. Take a moment to ensure that your stitches are all facing the same way before continuing.
Continue knitting the body in stockinette stitch until you reach the desired length. You can refer to the pattern for the recommended length, but feel free to customize it to your own preferences. Once you are satisfied with the length, you can move on to the hem and finishing details.
Shaping the neckline and sleeves
The Buttercup knitting pattern includes instructions for shaping the neckline and sleeves to give the finished garment a professional and flattering fit. By following these instructions, you can achieve a polished look that highlights the natural curves of the body.
Neckline shaping
To shape the neckline, the pattern includes decreases that are strategically placed to create a gentle curve that frames the face. By decreasing at regular intervals along the neck edge, the neckline is narrowed, giving it a more feminine and elegant appearance.
The decreases are typically worked on the right side of the fabric and can be done using various techniques, such as knit two together (K2tog) or slip, knit, pass (SKP). These techniques create a seamless transition from the body of the garment to the neckline, ensuring a clean and professional finish.
Sleeve shaping
The Buttercup pattern also includes instructions for shaping the sleeves, which helps to achieve a tailored and customized fit. The shaping is usually done through increases and decreases worked on both sides of the sleeve, creating a gently tapered shape that follows the natural contours of the arm.
The increases are typically worked at the underarm edge to add width and create a comfortable fit, while the decreases are done towards the cuff to taper the sleeve and give it a more streamlined appearance. By following the pattern’s instructions for sleeve shaping, you can ensure that the sleeves fit snugly and flatteringly.
Overall, the careful shaping of both the neckline and sleeves in the Buttercup knitting pattern allows you to create a garment that not only looks beautiful, but also fits well. Whether you’re an experienced knitter or just starting out, following these shaping instructions will help you achieve a professional and polished finish for your Buttercup sweater.
Finishing touches: binding off and blocking
Once you have completed knitting the Buttercup pattern, it is time to give your project some finishing touches. The final steps in the knitting process are binding off and blocking. These two steps are essential for achieving a professional and polished look for your knitted item.
Binding off
Binding off, also known as casting off, is the process of securing the stitches on your knitting needle and creating a finished edge. To bind off, knit the first two stitches as usual, then insert the left needle into the first stitch on the right needle, pull it over the second stitch, and off the needle. Repeat this process until you have one stitch left on the right needle, then cut the yarn leaving a tail. Thread the tail through the last stitch and pull tight to secure it. Binding off ensures that your stitches won’t unravel and gives your project a neat edge.
Blocking
Blocking is the final step in finishing your knitted item. It involves shaping and smoothing the fabric to give it its final form. To block your Buttercup pattern, you will need to soak it in lukewarm water for about 20 minutes. Gently squeeze out the excess water and lay the project flat on a clean towel. Carefully shape the garment to the desired measurements and use rustproof pins to hold it in place. Leave it to dry completely before removing the pins. Blocking helps to even out your stitches, relax the fibers, and give your project a professional finish.
By binding off and blocking your Buttercup pattern, you are ensuring that your hard work and effort pay off with a beautiful and polished end result. Take the time to complete these finishing touches, and you will be rewarded with a knitted item that looks and feels amazing!
Tips and Tricks for Knitting a Perfect Buttercup Pattern
When knitting the Buttercup pattern, there are some tips and tricks that can help you achieve the best results. Whether you are a beginner or an experienced knitter, these suggestions will guide you through the process and ensure that your Buttercup turns out beautifully.
Here are some key points to keep in mind:
- Choose the right yarn: Selecting the proper yarn is crucial for achieving the desired result. Make sure to choose a yarn that has the recommended gauge and provides the right drape for the pattern.
- Swatch to check gauge: Knitting a gauge swatch is vital to ensure that your finished Buttercup will have the correct measurements and fit. Take the time to knit a swatch, measure it, and adjust your needle size if necessary.
- Read the pattern carefully: Before starting the project, thoroughly read through the Buttercup pattern to familiarize yourself with the instructions. Pay attention to any abbreviations, special techniques, or shaping details.
- Take notes as you go: It can be helpful to jot down any modifications, adjustments, or changes you make to the pattern as you knit. This will make it easier to recreate the project or troubleshoot any issues in the future.
- Use stitch markers: Marking key points in your pattern can help keep you on track and ensure that you don’t miss any crucial steps. Utilize stitch markers to highlight decreases, increases, or any other significant elements in the Buttercup pattern.
- Block your finished project: Blocking is an essential step in knitting that helps shape and enhance the appearance of your finished piece. Follow the blocking instructions provided in the Buttercup pattern to give your project a professional and polished look.
In conclusion, knitting a perfect Buttercup pattern requires attention to detail and careful execution. By following these tips and tricks, you can create a beautiful and well-fitting Buttercup that you’ll be proud to wear or gift to someone special.