
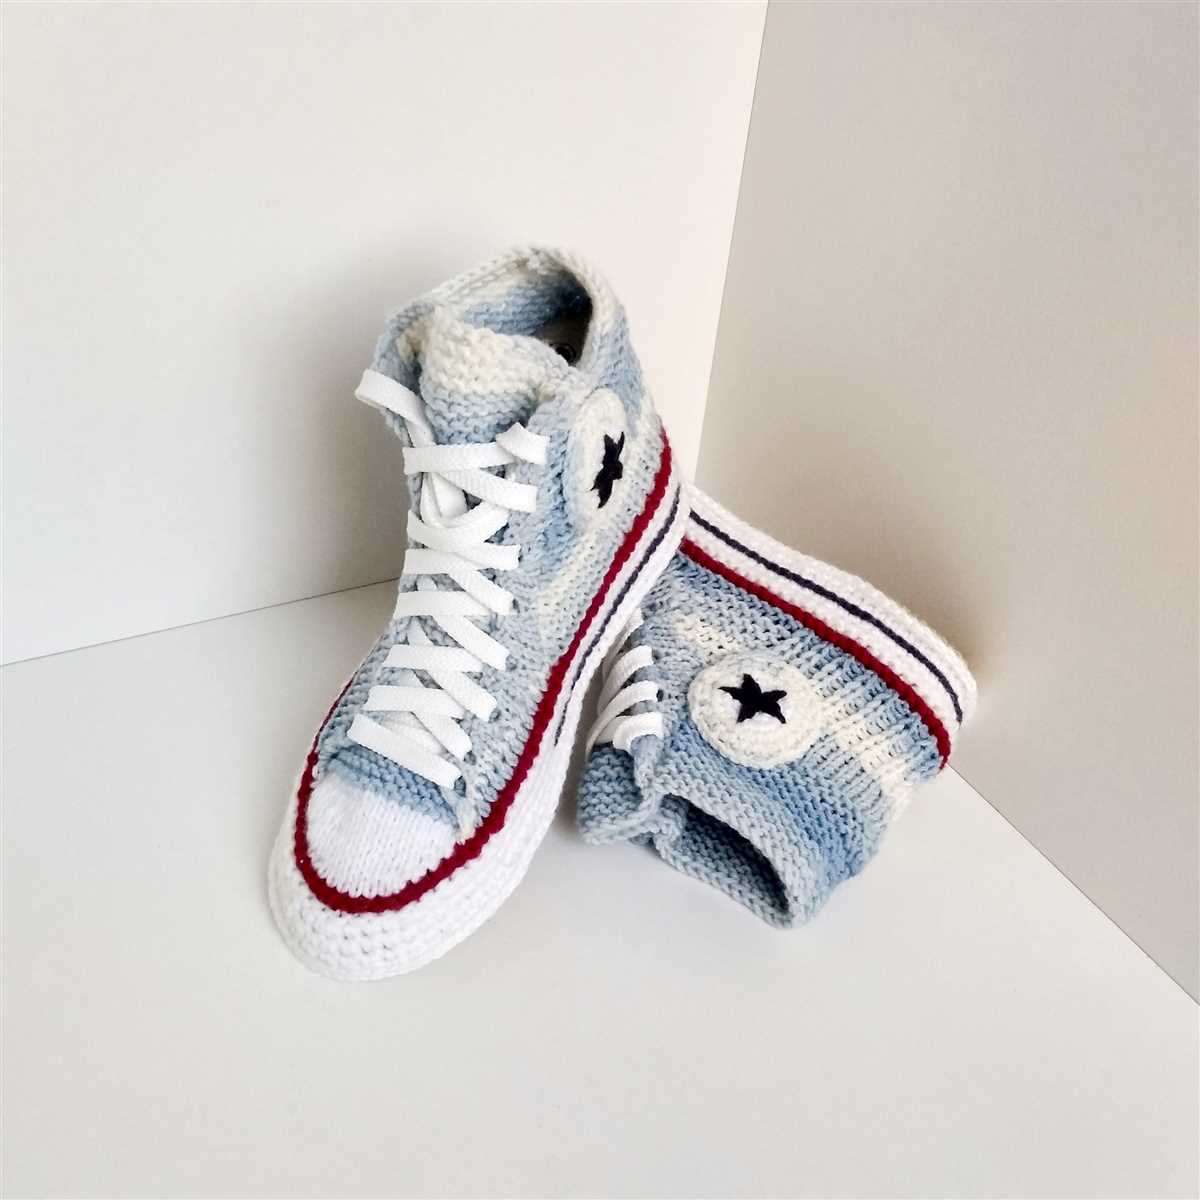
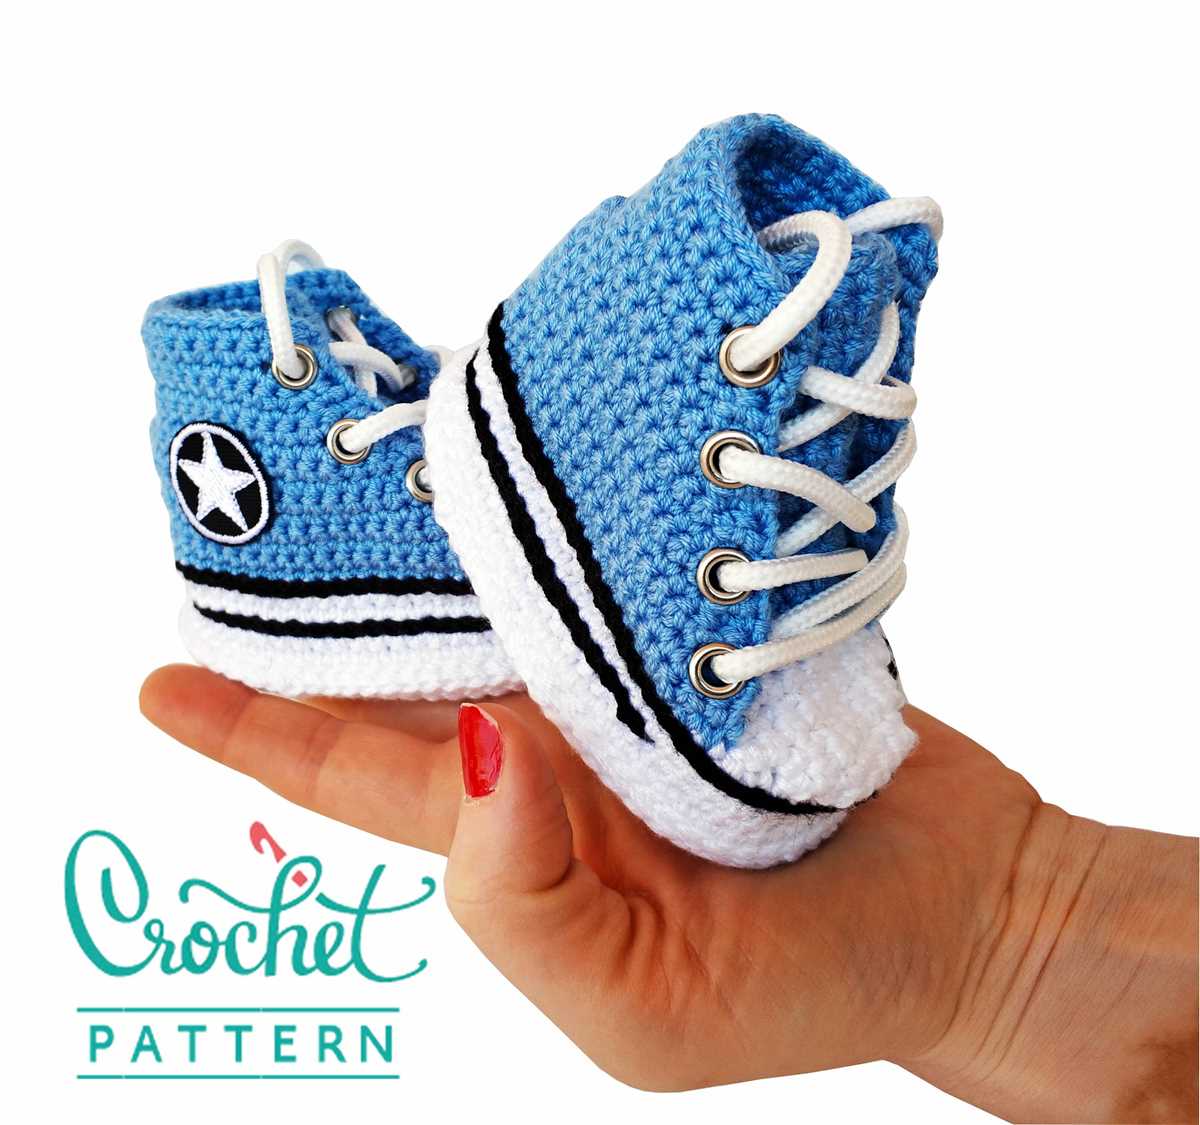
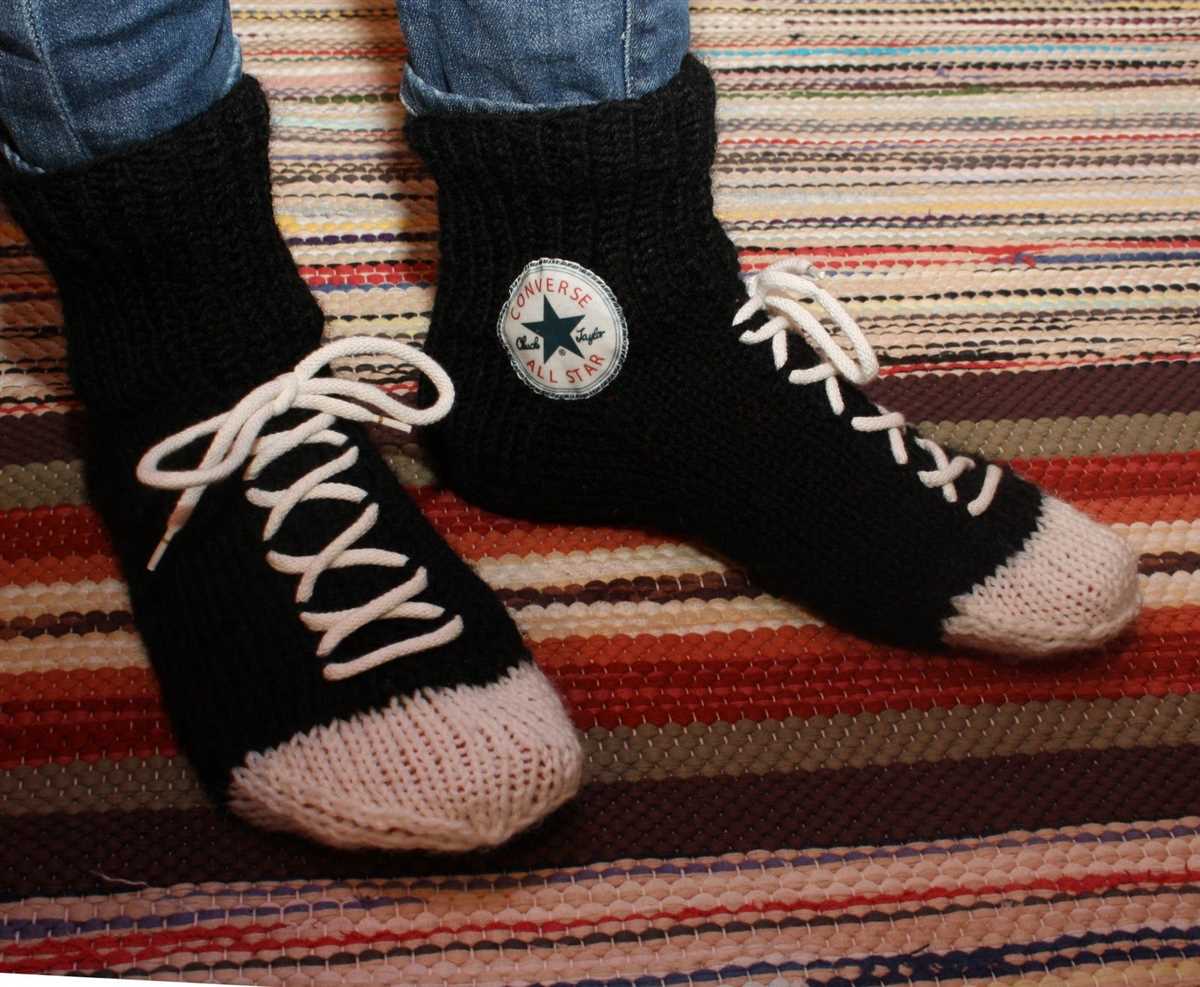
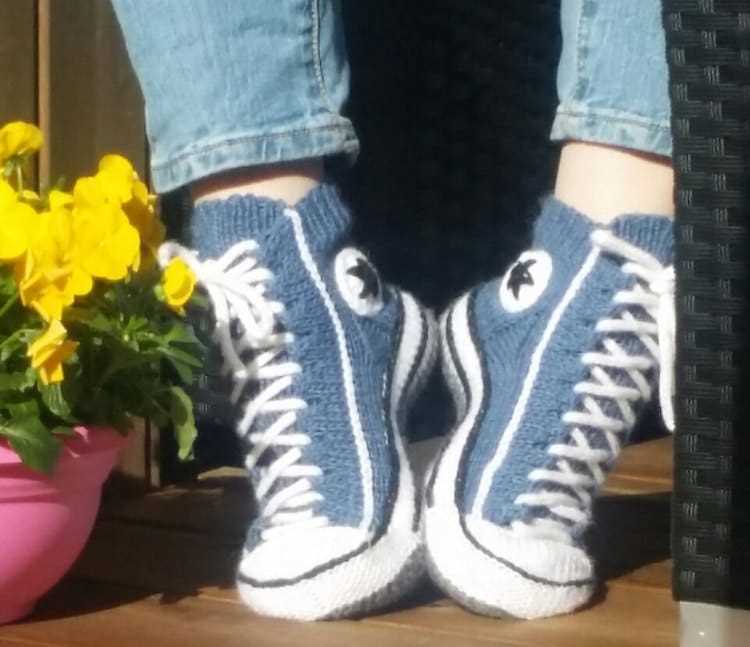
If you love knitting and have always wanted to make your own Converse-style shoes, you’re in luck! With this knitted Converse shoes pattern, you can create your very own pair of cozy and stylish shoes. Whether you’re a beginner knitter or an experienced one, this pattern is suitable for all skill levels.
Knitted shoes have become increasingly popular in recent years, as they offer a unique combination of comfort and style. Converse shoes, with their iconic design and timeless appeal, are a favorite among many fashion enthusiasts. Now, you can put your knitting skills to the test and create your own version of these classic shoes.
This pattern provides detailed instructions and a step-by-step guide on how to knit Converse-style shoes from scratch. It includes information on the materials you will need, as well as helpful tips and techniques to ensure your shoes turn out just right. You can choose your own color scheme and add personalized touches to make the shoes truly your own.
Knitted Converse Shoes Pattern
Knitting your own pair of Converse shoes can be a fun and rewarding project for knitters of all skill levels. With a few simple techniques and some basic materials, you can create a unique and stylish pair of shoes that are sure to be a conversation starter. Whether you’re looking to make a pair for yourself or as a gift for a loved one, this knitted Converse shoes pattern is a great place to start.
To begin, you’ll need to gather your materials. You’ll need a set of knitting needles in the appropriate size for your chosen yarn, as well as a ball or skein of the yarn color of your choice. Additionally, you’ll need a tapestry needle for finishing and a set of eyelets for the shoe laces. Once you have everything you need, you can get started on the pattern.
The pattern:
- Cast on the required number of stitches for the size shoe you want to make.
- Knit the first few rows in a rib stitch pattern to create a snug and stretchy cuff.
- Switch to stockinette stitch for the body of the shoe, working in the round to create a seamless finish.
- Continue knitting until the shoe measures the desired length from the cuff to the toe.
- Shape the toe by decreasing stitches evenly around the circumference of the shoe.
- Finish off the shoe by sewing up any remaining seams and attaching the eyelets for the laces.
Once you’ve completed your knitted Converse shoes, you can customize them with your own personal touches. Add a contrasting color for the laces, or even embroider a design onto the shoes for added flair. The possibilities are endless, and the end result will be a truly unique pair of knitted shoes that you can be proud of.
Materials Needed
In order to make knitted converse shoes, you will need the following materials:
- Yarn: Choose a medium weight yarn in the color of your choice. It is recommended to use a cotton or acrylic blend yarn for durability and comfort.
- Knitting Needles: You will need a pair of US size 6 (4 mm) knitting needles for the main body of the shoe, and a pair of US size 5 (3.75 mm) knitting needles for the ribbing.
- Stitch Markers: These will be used to mark the beginning and end of rounds.
- Tapestry Needle: This needle will be used for weaving in ends and sewing up the finished shoe.
- Buttons: Choose two buttons for each shoe for added decoration.
- Scissors: You will need a pair of scissors for cutting the yarn.
- Measuring Tape: This will be useful for measuring your gauge and the size of your foot.
These materials should be easily accessible at your local craft store or online. Make sure to choose materials that are suitable for the level of comfort and durability you desire for your knitted converse shoes.
Getting Started
Knitting your own Converse shoes can be a fun and rewarding project. With a few essential supplies and a pattern, you’ll be on your way to creating your own unique pair of knitted Converse shoes. Follow these steps to get started:
Gather Supplies
- Yarn: Choose a soft and durable yarn in the color of your choice. Select a yarn that is suitable for your knitting needles.
- Knitting Needles: Use the recommended size of knitting needles for your chosen yarn. Double-pointed needles may be preferred for knitting small circumference items like shoes.
- Pattern: Find a pattern for knitted Converse shoes. You can search online or find a book or magazine with knitting patterns.
- Scissors: A pair of sharp scissors will be needed for cutting yarn.
- Tapestry Needle: This needle will be used for weaving in ends and sewing seams.
- Stitch Markers: Use stitch markers to help keep track of your stitches and to mark important sections of the pattern.
Understand the Pattern
Before diving in, take some time to familiarize yourself with the pattern. Read through the instructions, making note of any special stitches or techniques that may be required. It’s important to understand the construction of the shoes and how the different sections come together. If the pattern includes a gauge, make sure to knit a gauge swatch to ensure your finished shoes will be the correct size.
Knitting the Sole
When knitting a pair of Converse shoes, one of the key components is the sole. This is the part that provides cushioning and support for the foot, making it an important element to get right.
To begin knitting the sole, you will need to cast on the desired number of stitches. This can vary depending on the size of the shoe and the thickness of the yarn. It is important to choose a suitable yarn that will provide the right amount of thickness and durability for the sole.
Once you have cast on, you can begin working the sole in a knit stitch. This will create a sturdy and flexible fabric that will be comfortable to wear. You will likely need to use a circular needle to accommodate the number of stitches, as the sole can be quite wide.
As you knit the sole, pay attention to the size and shape of the shoe. This will help you determine when to start shaping the toe and heel. Typically, the toe will be narrowed gradually with decreases, while the heel will be shaped to provide a curve that fits the foot snugly.
Once you have completed the shaping, continue knitting the sole until it reaches the desired length. This will vary depending on the length of the foot and the style of the shoe. Finish off the sole by binding off the stitches and weaving in any loose ends.
Knitting the Upper Part
The upper part of the knitted converse shoes is the section that covers the foot and provides support and comfort. It is an essential component of the shoe design and requires careful attention to detail during the knitting process. Here are the steps to knit the upper part:
1. Cast on stitches
To start knitting the upper part, you need to cast on the required number of stitches. You can use the long-tail cast-on method or any other suitable method of your choice. Make sure to leave a long tail to weave in later.
2. Knit the ribbing
After casting on, knit the ribbing section for the upper part. The ribbing adds stretch and helps keep the shoe snug on the foot. You can use a 2×2 ribbing pattern, alternating knit and purl stitches, for a classic look. Continue knitting in the ribbing pattern for the desired length.
3. Begin the main body
Once the ribbing is complete, transition to knitting the main body of the upper part. You can use a stockinette stitch or any other pattern of your choice. The main body should cover the top of the foot and extend to the desired height. Make sure to keep track of your stitch count and any shaping required, such as decreases for the toe area.
4. Add any desired design elements
If you want to add design elements to the upper part, such as stripes, colorwork, or textured stitches, this is the time to incorporate them. Follow your chosen pattern or experiment with your own ideas to create a unique look for your knitted converse shoes.
5. Bind off
Once you have completed the upper part, bind off your stitches to secure the edges. Make sure to leave a long tail for weaving in later. Double-check that the upper part fits comfortably on your foot before proceeding to the next steps in assembling the shoes.
By following these steps, you can successfully knit the upper part of your converse shoes and create a customized and comfortable fit. Enjoy the process of knitting and get ready to showcase your stylish handmade footwear!
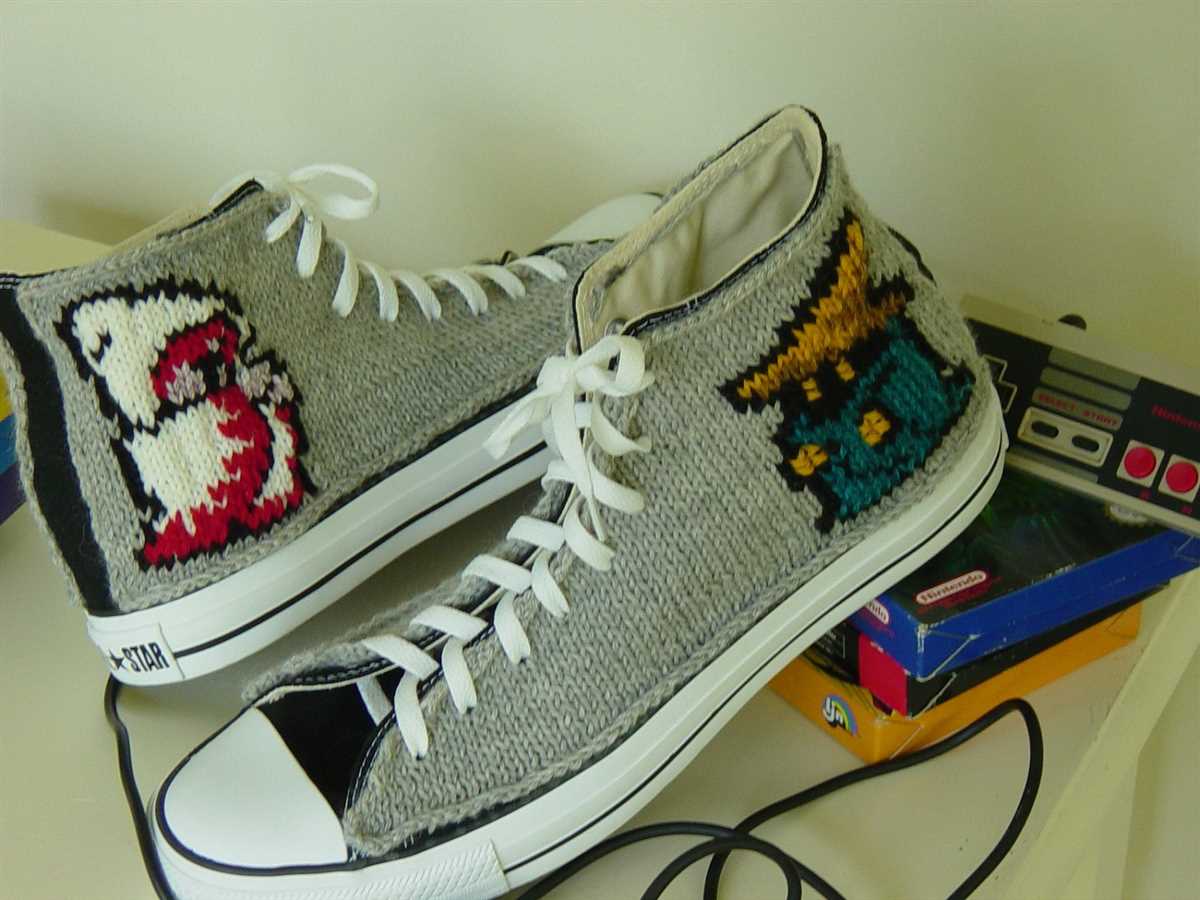
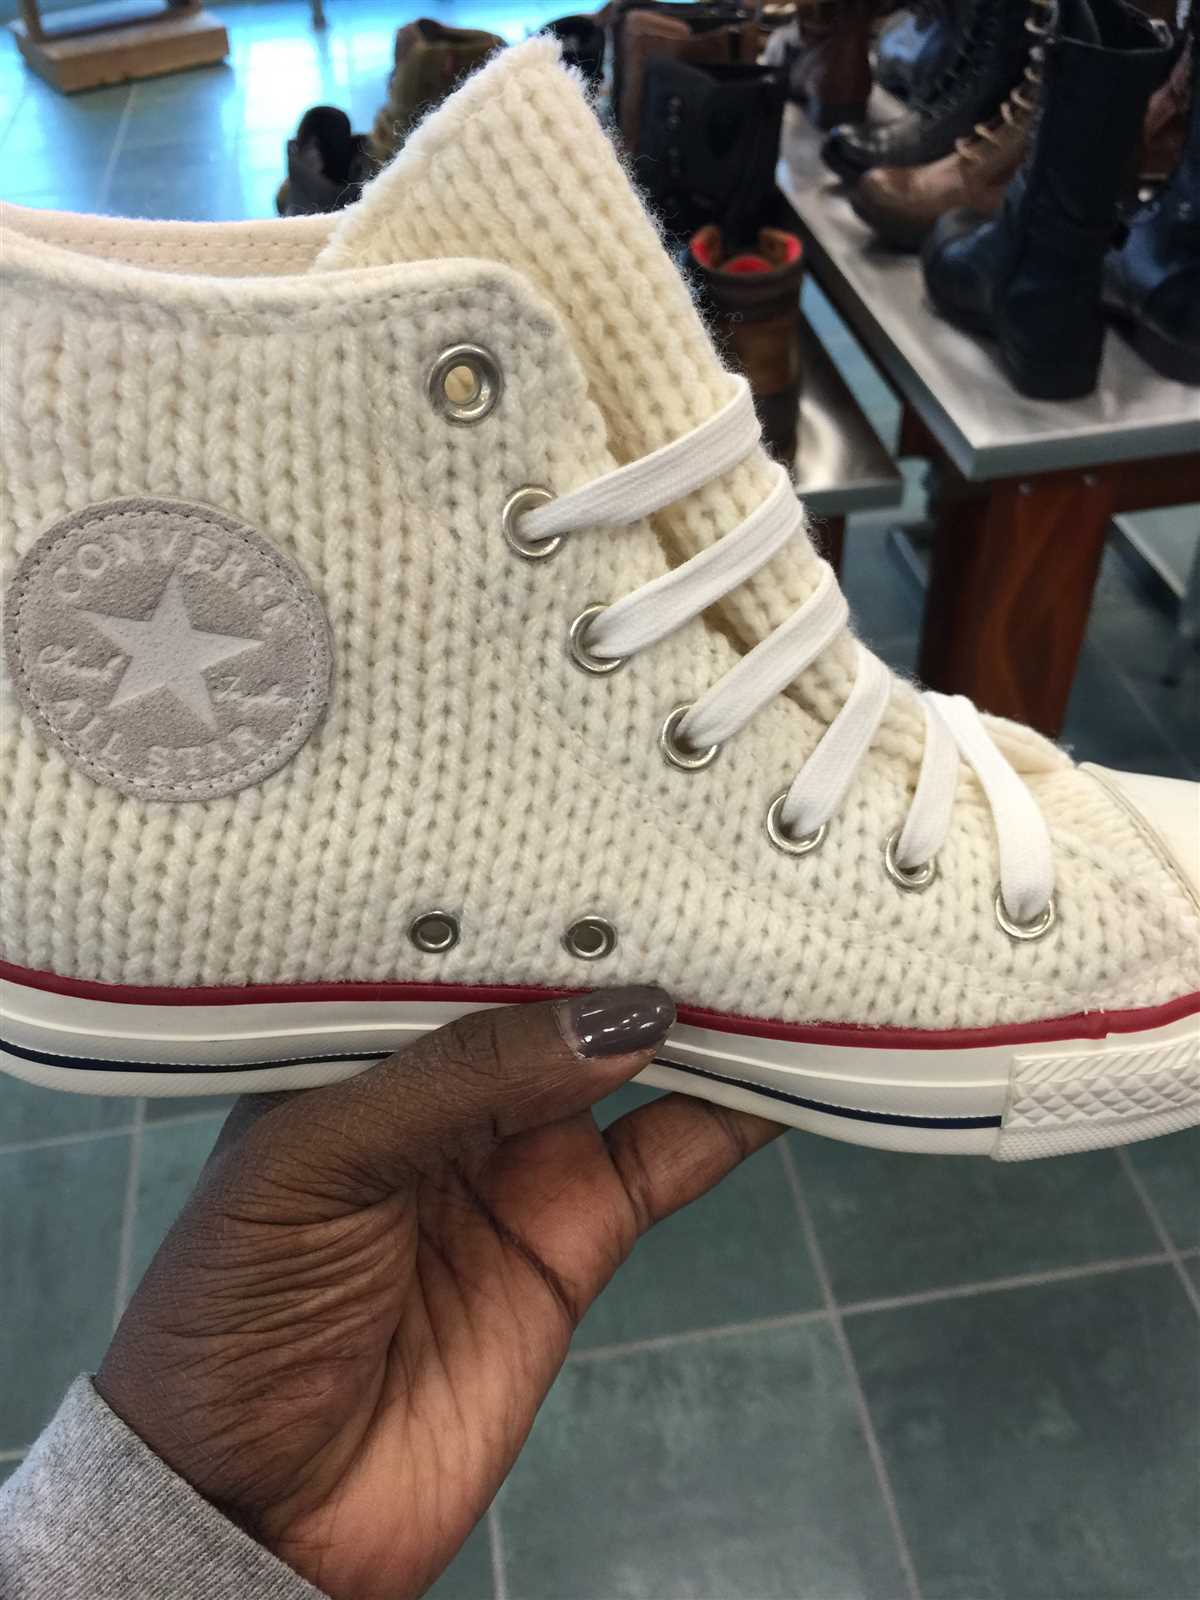
Adding the Logo
One of the key elements that make the knitted converse shoes pattern unique is the logo. The logo is an important part of the design, as it adds a touch of authenticity to the finished product. It is usually placed on the side of the shoe, near the ankle area.
To add the logo, you will need to use a contrasting color of yarn. This color should complement the rest of the shoe and stand out against the main color. You will also need a small crochet hook or tapestry needle to sew the logo onto the knitted fabric.
- Start by creating a small swatch of fabric using the contrasting yarn. This will serve as the base for the logo.
- Using a chart or stencil, carefully knit or purl the logo onto the swatch. Pay attention to the details and make sure the logo is clear and recognizable.
- Once the logo is complete, cut the swatch to the desired size, leaving a small border around the logo.
- Using the crochet hook or tapestry needle, carefully sew the logo onto the knitted fabric of the shoe. Take care to align the logo properly and secure it firmly in place.
Adding the logo not only enhances the overall look of the knitted converse shoes, but also adds a personalized touch. It shows attention to detail and craftsmanship, making the final product truly one-of-a-kind. Whether you choose to use the official converse logo or create your own design, the logo is an essential component of the knitted converse shoes pattern.
Assembling the Shoes
Once you have completed knitting all the pieces for your converse shoes, it’s time to assemble them. Here are the steps to follow:
1. Sew the Back Seam
Sew the back seam of the shoes using a yarn needle. Start from the bottom and work your way up, making sure to secure the stitches tightly. This will ensure that the shoes hold their shape properly.
2. Attach the Sole
Attach the sole of the shoes to the knitted upper. Line up the edges carefully and use a whip stitch to sew them together. Make sure to stitch through both layers of the fabric to ensure a strong bond.
3. Add the Eyelets
Add eyelets to the sides of the shoes. You can either sew them on using a yarn needle or use eyelet pliers for a more secure attachment. The eyelets will allow you to lace up the shoes later on.
4. Sew the Tongue
Sew the tongue onto the shoes. Align it with the opening at the front and use a whip stitch to attach it. Make sure to sew it firmly to ensure that it stays in place while wearing the shoes.
5. Lace up the Shoes
Lace up the shoes using a pair of laces. Start from the bottom and work your way up, crossing the laces over each other as you go. Make sure to tighten them evenly on both sides for a snug fit.
And there you have it! Your knitted converse shoes are now assembled and ready to be worn. Enjoy the cozy comfort and stylish look of your handmade footwear.
Finishing Touches
Once you have completed knitting your converse shoes, it’s time to add the finishing touches to make them look polished and professional. Here are a few steps to follow:
1. Sewing the Sole
Start by sewing the sole to the knitted upper part of the shoe using a tapestry needle and yarn of the same color. Make sure to align the edges and secure the stitches tightly to ensure the sole stays in place.
2. Adding Eyelets
Next, it’s time to add the eyelets to the front of the shoe. Use an eyelet punch tool to create small holes evenly spaced along the edges. Then, insert metal eyelets into each hole and use a hammer to secure them in place. This will not only add a decorative touch but also allow for laces to be threaded through.
3. Attaching the Tongue
Attach the knitted tongue to the upper part of the shoe by sewing it in place. Make sure to align it properly and secure the stitches tightly. This will give the shoes a more complete and structured look.
4. Finishing Stitches
To add some final touches, weave in any loose ends of yarn and trim them neatly. This will give the shoes a polished appearance and prevent any unraveled threads. Additionally, you can add any desired embellishments or decorations, such as buttons or bows, to personalize your knitted converse shoes.
With these finishing touches, your knitted converse shoes will be ready to wear and show off your knitting skills. Enjoy your comfortable and stylish handmade footwear!
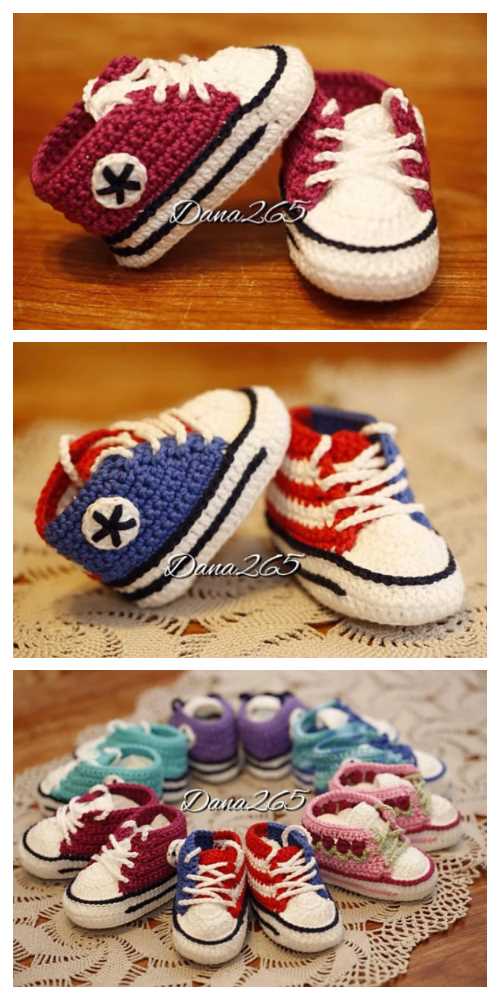
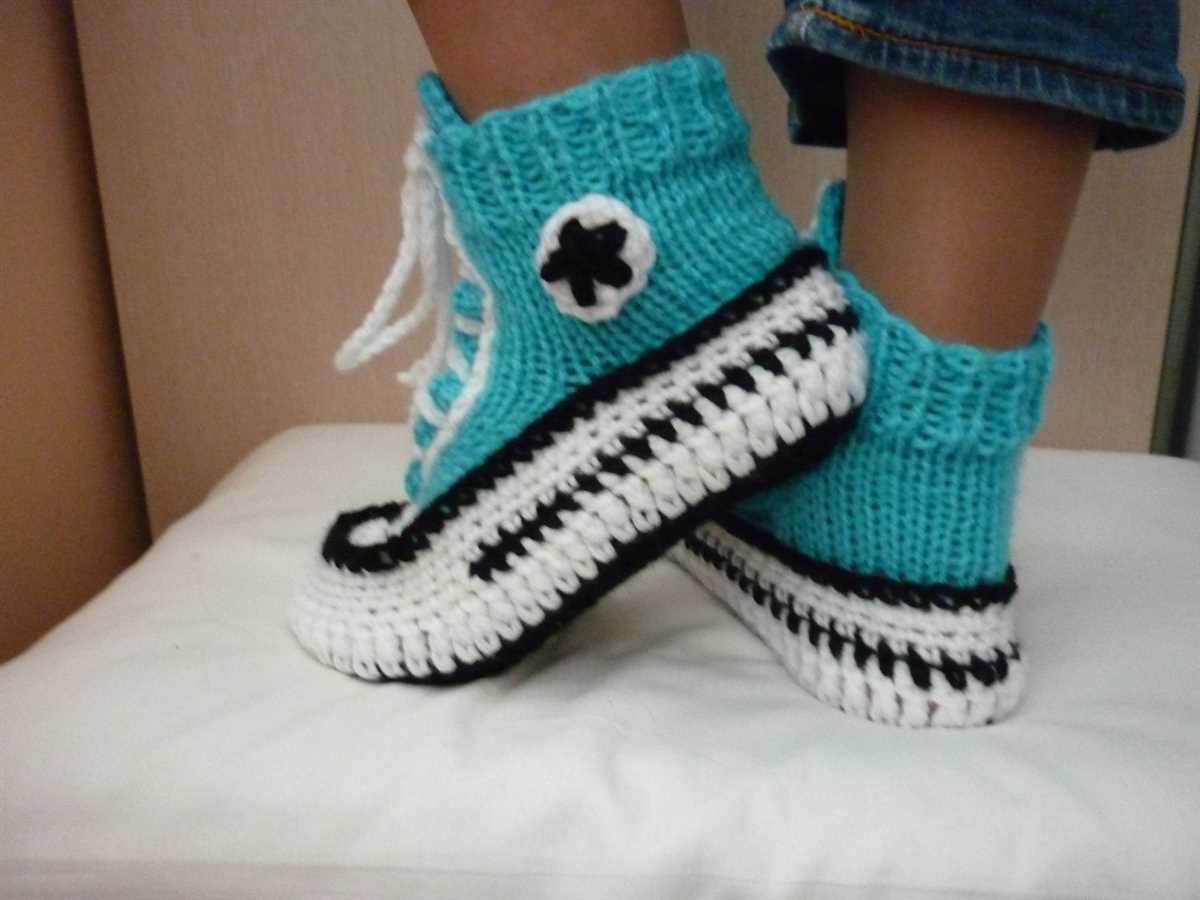
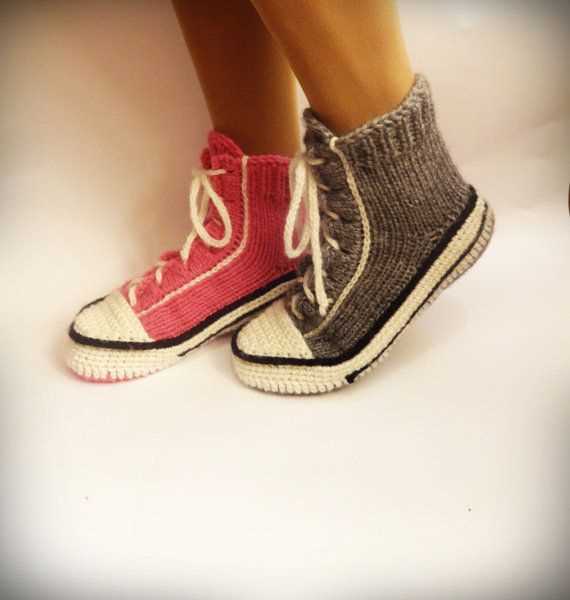
Styling and Customization
When it comes to knitted converse shoes, there are endless possibilities for styling and customization. Whether you want to add a personal touch or match them to a specific outfit, you can easily customize your knitted shoes to fit your style.
One option for customization is to choose the color of your yarn. With a wide array of colors available, you can create a pair of knitted shoes that perfectly matches your wardrobe. From vibrant hues to subtle neutrals, the choice is yours.
Another way to customize your knitted converse shoes is by adding embellishments. You can sew on buttons, beads, or sequins to give your shoes a unique and eye-catching look. Additionally, you can experiment with different knitting stitches to create intricate patterns and textures.
If you’re feeling particularly creative, you can even embroider designs onto your knitted shoes. Whether it’s a simple monogram or a detailed floral motif, embroidery adds a personal touch and can turn your shoes into a work of art.
To take your customization to the next level, consider adding accessories such as charms or ribbons. These small details can make a big impact and allow you to truly make your knitted converse shoes your own.
Here are some ideas for customizing your knitted converse shoes:
- Experiment with different yarn colors to match your personal style
- Add embellishments like buttons, beads, or sequins for a unique look
- Create intricate patterns and textures with different knitting stitches
- Embroider designs onto your shoes for a personalized touch
- Accessorize with charms or ribbons to make your shoes stand out
Tips and Tricks
Once you have the pattern for knitted converse shoes, there are a few tips and tricks that can help you create a beautiful finished product. Here are some useful tips to keep in mind:
1. Use the right yarn
Choosing the right yarn is essential for the success of your knitted shoes. Look for a yarn that is durable and can withstand regular wear. Opt for a yarn that is soft and comfortable to wear, as well as easy to clean.
2. Check your gauge
To ensure that your shoes have the perfect fit, it’s important to check your gauge before starting. Follow the gauge instructions in the pattern and knit a swatch to determine if you need to adjust your needle size. This will help you achieve the correct size and shape of the shoes.
3. Use stitch markers
Stitch markers can be incredibly helpful when working on complex patterns or shaping. They can help you keep track of important points, such as the beginning of a round or decreases. By using stitch markers, you can save time and avoid mistakes.
4. Blocking is key
After completing your knitted shoes, it’s important to block them to ensure a professional finish. Blocking helps to even out the stitches and shape the shoes. Follow the blocking instructions in the pattern and allow the shoes to dry completely before wearing or gifting.
5. Customization is an option
Feel free to customize the pattern to make the knitted shoes truly your own. You can experiment with different colors, add embellishments, or modify the design to match your personal style. Get creative and have fun with the process!
By following these tips and tricks, you’ll be well on your way to creating a beautiful pair of knitted converse shoes. Enjoy the knitting process and admire your handiwork once the shoes are complete!
Frequently Asked Questions:
Here are some commonly asked questions about knitting converse shoes pattern:
1. How long does it take to knit a pair of converse shoes?
The time it takes to knit a pair of converse shoes depends on your knitting speed and experience. On average, it can take anywhere from a few days to a few weeks to complete a pair of shoes. It also depends on the complexity of the pattern and the amount of time you can dedicate to knitting each day.
2. Can I customize the size of the shoes?
Yes, you can customize the size of the shoes by adjusting the number of stitches and rows in the pattern. You will need to measure your foot and follow the instructions provided in the pattern to make the necessary modifications. Keep in mind that altering the pattern may affect the fit and shape of the shoes, so it’s important to make a gauge swatch and test the fit before committing to the entire project.
3. What materials do I need to knit converse shoes?
To knit converse shoes, you will need a set of double-pointed knitting needles, a tapestry needle for seaming, a stitch marker, and the appropriate weight of yarn specified in the pattern. You may also need additional materials such as buttons or shoelaces for embellishment, depending on the design you choose. Make sure to check the pattern for the specific materials required before starting the project.
4. Can I sell the knitted converse shoes I make?
Yes, you can sell the knitted converse shoes you make, but it’s important to note that selling items made from copyrighted patterns may infringe on the designer’s rights. Some patterns may have specific instructions regarding selling finished products, so it’s best to check the pattern’s terms and conditions before selling the shoes. If in doubt, it’s always a good idea to reach out to the designer for clarification.
5. Are there any video tutorials available for knitting converse shoes?
Yes, there are several video tutorials available online that can guide you through the process of knitting converse shoes. These tutorials can be helpful, especially if you are a visual learner or are new to knitting. You can search for tutorials on video sharing platforms like YouTube or on knitting websites and forums. Additionally, some patterns may include links to video tutorials as a supplemental resource.
In conclusion, knitting converse shoes can be a fun and rewarding project for knitters of all skill levels. By following a pattern and making adjustments as needed, you can create a unique and stylish pair of shoes that perfectly fit your feet. Don’t be afraid to experiment with different colors and embellishments to make your shoes truly one-of-a-kind. Happy knitting!