
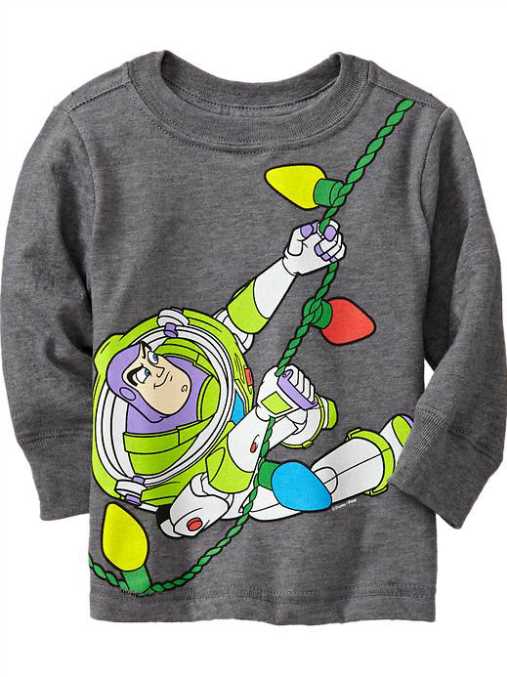
If you’re a fan of Toy Story and want to show off your love for Buzz Lightyear, why not create your own jumper with this knitting pattern? This pattern is perfect for knitters of all levels and will result in a fun and quirky garment that is sure to turn heads.
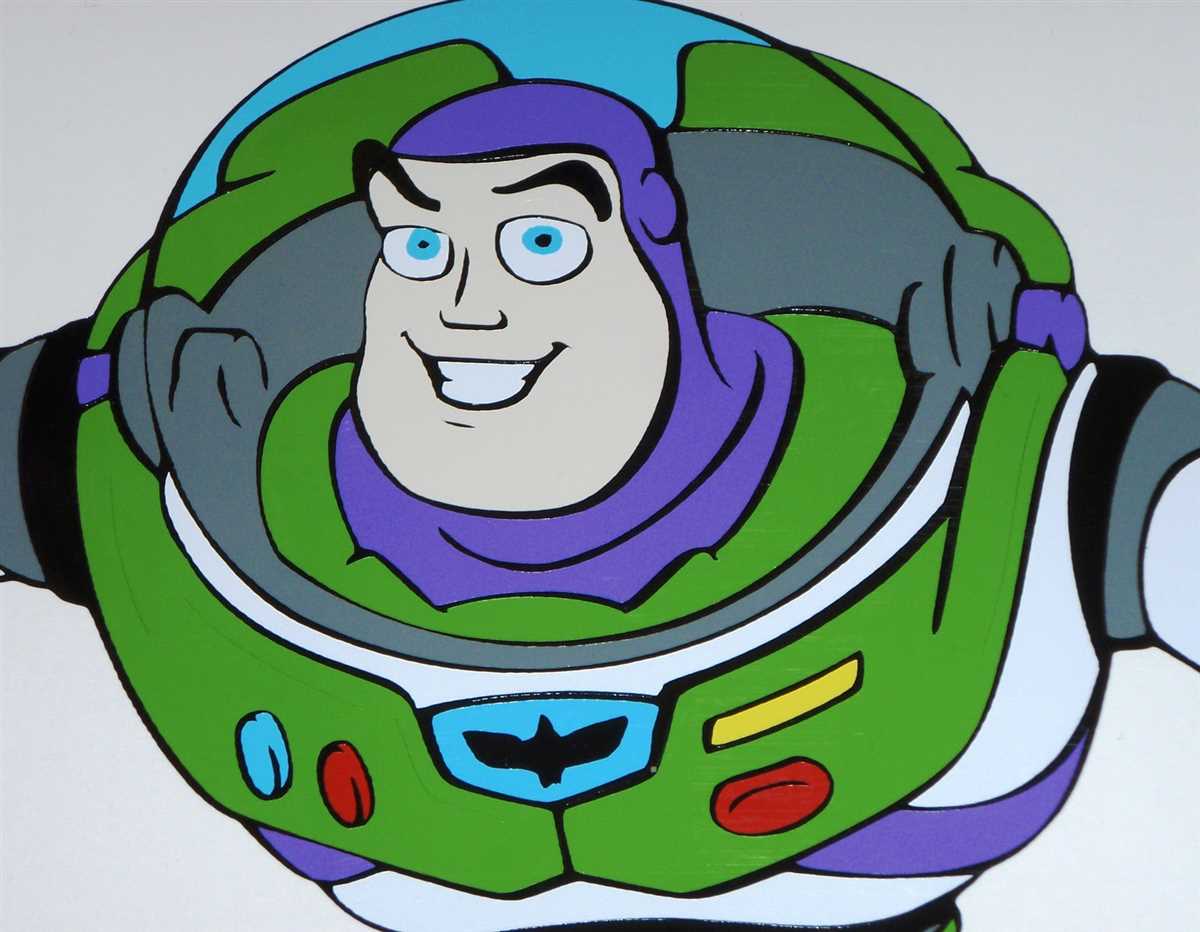
The pattern features a design inspired by Buzz Lightyear’s iconic spacesuit, complete with the signature green and purple colors, as well as the astronaut’s buttons and badges. The jumper is knit using a combination of basic stitches, making it a great project for beginners looking to take on a slightly more challenging pattern.
Not only is this jumper great for showing off your love for Buzz Lightyear, but it’s also a cozy and warm addition to your wardrobe. Knit with a soft and comfortable yarn, you’ll love wearing this jumper on chilly days or when you just want to feel a little extra magical.
Buzz Lightyear Jumper Knitting Pattern
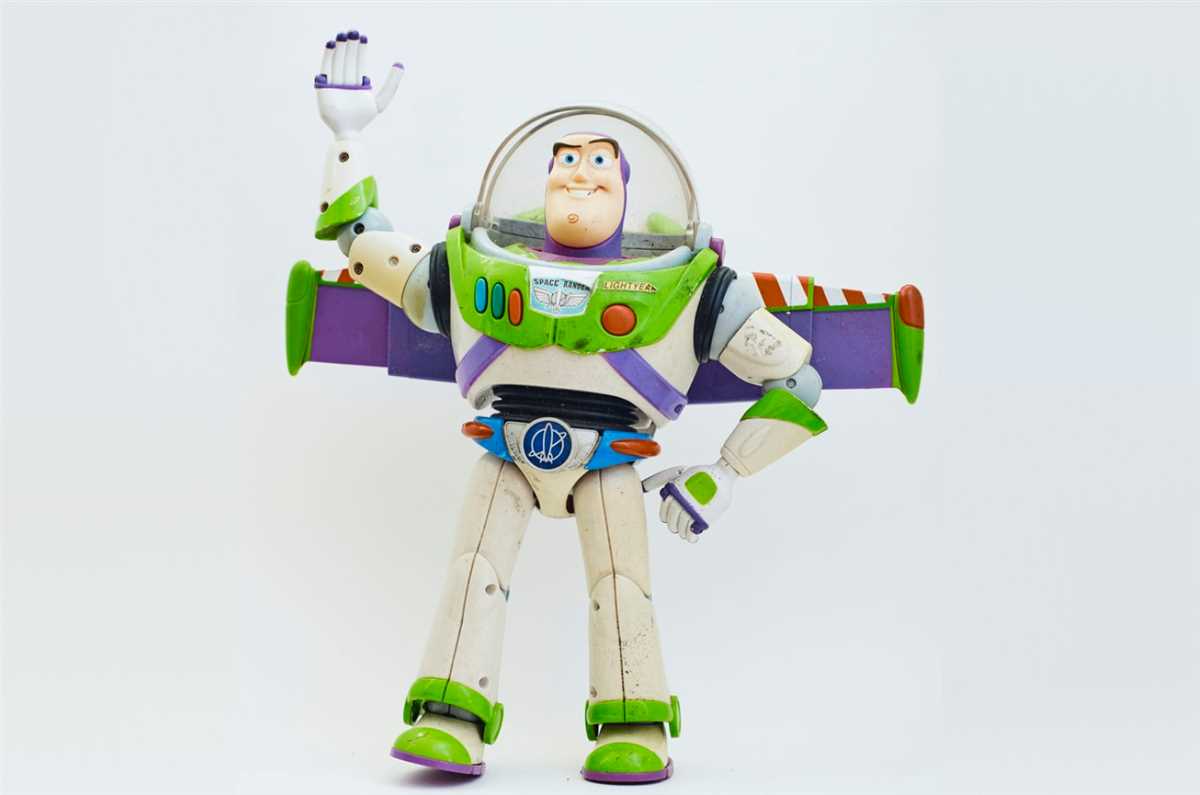
If you are a fan of Buzz Lightyear, the heroic space ranger from “Toy Story”, and enjoy knitting, you can create your very own Buzz Lightyear jumper using a knitting pattern. This pattern will allow you to craft a unique and personalized jumper that showcases your love for this iconic character.
The Buzz Lightyear jumper knitting pattern provides step-by-step instructions on how to create the design. It typically includes details on the required materials, such as the specific yarn and needle size needed for the project. Additionally, the pattern will outline the various knitting techniques and stitches required to complete the jumper accurately.
To start, gather all the necessary materials, such as yarn in the appropriate colors, knitting needles, and any additional accessories required for the design, such as buttons or patches. The pattern will specify the exact colors needed to recreate Buzz Lightyear’s distinctive outfit.
Once you have all the materials ready, begin following the pattern’s instructions. This may include casting on stitches, knitting in different stitch patterns, and shaping the jumper to create the desired fit and style. Be sure to pay attention to any specific instructions or measurements provided in the pattern to ensure an accurate result.
As you progress through the pattern, you will start to see the Buzz Lightyear design take shape. You may need to switch between different colors of yarn to create the various elements of the character’s outfit, such as his space ranger suit, insignia, and wings.
Finishing touches, such as sewing on buttons or attaching patches, can be added at the end to complete the jumper. Once finished, you will have a one-of-a-kind Buzz Lightyear jumper that you can proudly wear or gift to another Buzz Lightyear fan.
Materials Needed

To complete the Buzz Lightyear jumper knitting pattern, you will need the following materials:
- Yarn: Choose a suitable yarn for knitting a jumper in the desired size. The pattern may recommend a specific yarn weight or type, so be sure to check the instructions.
- Knitting Needles: Select a pair of knitting needles that are appropriate for the yarn weight and the knitting tension required by the pattern. The pattern will typically specify the recommended needle size.
- Tapestry Needle: This needle is used for weaving in loose ends and finishing touches.
- Stitch Markers: These small plastic or metal rings are helpful for marking specific stitches or sections of your knitting. They can be especially useful for keeping track of pattern repeats.
- Scissors: A pair of sharp scissors is essential for cutting yarn and snipping excess ends.
- Row Counter: If you like to keep track of your knitting progress, a row counter can be a handy tool. It helps you count the number of rows completed and ensures accuracy.
- Optional Extras: Depending on the pattern, you may need additional items such as buttons, zippers, or other embellishments for the finishing touches.
It’s important to gather all the necessary materials before starting your knitting project. Having everything at hand will make the knitting process more enjoyable and efficient.
Size and Gauge
When knitting a Buzz Lightyear jumper, it is important to consider the size and gauge of your project. The size refers to the final dimensions of the jumper, while the gauge refers to how many stitches and rows there are in a given measurement.
Before you begin knitting, it is recommended to check your gauge by knitting a swatch. This will help ensure that your jumper will fit correctly. To measure your gauge, use the recommended needle size and yarn specified in the knitting pattern. Knit a square that is at least 4 inches by 4 inches, using the stitch pattern indicated in the pattern. Measure the number of stitches and rows in the swatch, and compare it to the gauge specified in the pattern. If your gauge is different, you may need to adjust your needle size to obtain the correct gauge.
Choosing the Right Size
The Buzz Lightyear jumper knitting pattern will usually include instructions for multiple sizes, often ranging from child sizes to adult sizes. To determine the correct size for your jumper, you will need to consider the desired fit and the individual measurements of the person who will be wearing the jumper. These measurements typically include the chest circumference, arm length, and body length. Carefully read the pattern and refer to the size chart provided to select the appropriate size.
Note: It is important to keep in mind that the finished measurements of the jumper may vary depending on your gauge and knitting tension. Therefore, it is recommended to take accurate measurements and adjust your knitting accordingly to achieve the desired fit.
Modifying the Size
If the knitting pattern does not include the desired size or if you need to adjust the size to fit your specific measurements, you may need to make modifications to the pattern. Typically, this involves adjusting the number of stitches or rows worked, or changing the needle size. It is important to carefully calculate and plan these modifications to ensure the proper proportions and fit of the jumper.
Keep in mind that modifying the size of a knitting pattern may require additional calculations and adjustments to the shaping, stitch pattern, and placement of motifs or designs. Make sure to consult the pattern instructions and consider seeking guidance from experienced knitters or pattern designers if you are unsure about making modifications.
Getting Started
Before you start knitting a Buzz Lightyear jumper, you will need to gather all the necessary materials.
Materials:
- Knitting needles (size will depend on the gauge you want to achieve)
- Yarn in the colors of Buzz Lightyear’s uniform (purple, green, white, and black)
- Tapestry needle
- Scissors
- Stitch markers
- Row counter (optional, but helpful)
Once you have all the materials ready, make sure to check the knitting pattern for any specific instructions or gauge requirements.
Gauge:
- It is important to check your gauge before starting the jumper to ensure the correct fit.
- The pattern should specify how many stitches and rows should be achieved in a 4-inch square using the recommended needle size.
- If your gauge does not match the pattern, you may need to adjust your needle size or tension to achieve the correct measurements.
Now that you have everything prepared and your gauge is checked, you are ready to begin knitting your Buzz Lightyear jumper!
Knitting the Body
When knitting the body of a Buzz Lightyear jumper, it is important to first determine the size and gauge needed for the project. This can be done by swatching and measuring the gauge, and adjusting needle size if necessary. Once the gauge is determined, the body can be knitted with confidence that it will fit properly.
Starting at the bottom edge, the body is typically worked in the round using circular needles. This allows for seamless construction and makes it easier to try on the jumper as it progresses. The body can be worked in a simple stockinette stitch or a pattern stitch, depending on the desired design. It is important to keep track of any pattern repeats to ensure consistency throughout the body.
When shaping the body, it may be necessary to increase or decrease stitches to create a more fitted or relaxed fit. This can be achieved through various methods such as yarn overs or decreases. It is important to follow the pattern instructions carefully to achieve the desired shape and fit.
Materials Needed
- Pattern instructions
- Appropriate yarn for the project (in Buzz Lightyear colors if desired)
- Circular knitting needles
- Stitch markers
- Tapestry needle
- Scissors
Before starting the body, it is recommended to gather all the necessary materials. This ensures that everything is ready and within reach while knitting. It is also helpful to read through the pattern instructions thoroughly before beginning to understand the construction and any specific techniques that may be required.
Knitting the body of a Buzz Lightyear jumper can be an enjoyable and rewarding project. With careful attention to gauge, pattern instructions, and shaping, the end result will be a fun and cozy jumper that is sure to be loved by any Buzz Lightyear fan.
Adding the Sleeves
Once you have finished knitting the body of the Buzz Lightyear jumper, it’s time to add the sleeves. The sleeves will give the jumper its full shape and make it look complete. Here are the steps to follow:
1. Attaching the yarn
Start by attaching the yarn to one of the armholes. You can use a different color of yarn for the sleeves to add a fun contrast or stick with the same color as the body. Make sure to leave a long tail of yarn so that you can weave it in later.
2. Knitting the sleeves
Using the same knitting needles and stitch pattern as the body, begin knitting the first sleeve. You can either knit the sleeves in the round using double-pointed needles or use circular needles for a seamless look. Follow the instructions in the pattern for the number of stitches to cast on and the desired length of the sleeves.
Note: If you are new to knitting sleeves, it’s a good idea to try them on as you go to ensure they fit properly. You can put the body of the jumper on waste yarn or a stitch holder and slide your arm through the sleeve to check the size.
3. Shaping the sleeves
To shape the sleeves, you’ll need to decrease stitches gradually as you approach the cuff. The pattern should include instructions on how many stitches to decrease and when to do so. This shaping will create a tapered sleeve that fits snugly around the arm.
Note: Make sure to keep track of your decreases and follow the pattern carefully to maintain the proper shape of the sleeves.
4. Finishing the sleeves
Once you have reached the desired length of the sleeves, it’s time to bind off. Use a stretchy bind-off method to ensure the cuffs are not too tight. Cut the yarn, leaving a long tail, and weave the tail in using a yarn needle to secure the ends.
Tip: To make the sleeves look more polished, you can steam block them by lightly pressing with a steam iron or steamer. This will help even out the stitches and give the sleeves a smoother appearance.
With the sleeves completed, your Buzz Lightyear jumper is nearly finished! The next step will be to add any additional details or embellishments, such as the character’s face or logo, to make it truly come to life.
Creating the Collar
When knitting a Buzz Lightyear jumper, one of the key steps in the process is creating the collar. The collar is an important part of the jumper as it helps to frame the face and provide a neat and finished look to the garment.
To create the collar, you will need to follow the knitting pattern instructions for your chosen design. The pattern will typically provide details on the number of stitches and rows required to create the collar. It may also specify any particular stitch patterns or techniques to be used.
Step 1: Cast on stitches
Start by casting on the required number of stitches onto your knitting needle. This will depend on the size of the jumper and the width of the collar specified in the pattern. Use the cast-on method directed in the pattern, such as the long-tail cast on or the cable cast on.
Step 2: Work the collar ribbing
Next, you will need to work the collar ribbing. This is usually done in a knit 1, purl 1 ribbing pattern, but some patterns may use different ribbing patterns. Follow the pattern’s instructions to work the required number of rows in the ribbing pattern.
Step 3: Shape the collar
After completing the ribbing, the pattern may instruct you to shape the collar. This can involve decreasing or increasing stitches to create a tapered or spread-out collar shape. The pattern will provide specific instructions on how to shape the collar, such as decreasing a certain number of stitches at regular intervals.
Step 4: Bind off
Once the collar is shaped according to the pattern, you will need to bind off the stitches to secure the collar edges. Follow the pattern’s instructions on how to bind off, which may involve a basic bind off or a stretchy bind off method.
By following these steps and the instructions provided in the knitting pattern, you will be able to successfully create the collar for your Buzz Lightyear jumper. Take your time and pay attention to the details to ensure a professional-looking finish to your garment. Happy knitting!
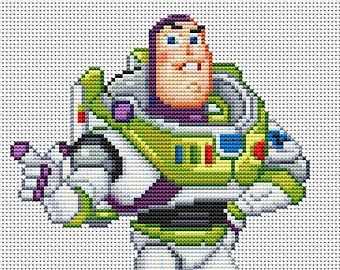
Knitting the Buzz Lightyear Logo
If you are a fan of Buzz Lightyear and love to knit, why not create your very own Buzz Lightyear jumper with his iconic logo? The Buzz Lightyear logo is instantly recognizable with its bold lettering and futuristic design. With a little patience and some basic knitting skills, you can knit this logo onto your jumper and show off your love for this beloved character.
To start knitting the Buzz Lightyear logo, you will need a pattern that outlines the design and provides instructions on how to create each stitch. There are many knitting patterns available online that specifically cater to creating the Buzz Lightyear logo, so finding one shouldn’t be too difficult. Once you have your pattern, gather your materials including the appropriate yarn colors and knitting needles.
Step 1: Start by casting on the required number of stitches for the logo. The pattern will specify how many stitches you need to cast on and the type of stitches to use (e.g. knit or purl stitches). Follow the pattern instructions carefully, ensuring that you have the correct number of stitches on your knitting needles.
Step 2: Once you have cast on your stitches, follow the pattern instructions for knitting the Buzz Lightyear logo. This may involve using different colors of yarn and various knitting techniques such as intarsia or fair isle knitting. Pay close attention to the pattern chart or written instructions to ensure you are creating the logo accurately.
Step 3: As you knit, periodically check your work to make sure the logo is taking shape correctly. If you notice any mistakes or uneven stitches, you can carefully unravel the knitting and fix the error. It’s important to be patient and take your time to ensure the logo is knitted neatly and accurately.
Step 4: Once you have completed knitting the Buzz Lightyear logo, you can continue working on the rest of the jumper following the pattern instructions. This may involve shaping the neckline, adding sleeves, or creating a ribbed border. Follow the pattern instructions carefully to complete your Buzz Lightyear jumper.
Knitting the Buzz Lightyear logo onto your jumper can be a fun and rewarding project for any Buzz Lightyear fan who enjoys knitting. The finished jumper will be a unique and special piece that showcases your knitting skills and your love for this beloved character. So grab your knitting needles and get ready to embark on this exciting knitting adventure!
Finishing Touches
After completing the main body of the Buzz Lightyear jumper, it’s time to add the finishing touches to bring the character to life. These small details will make all the difference in creating an authentic and recognizable design.
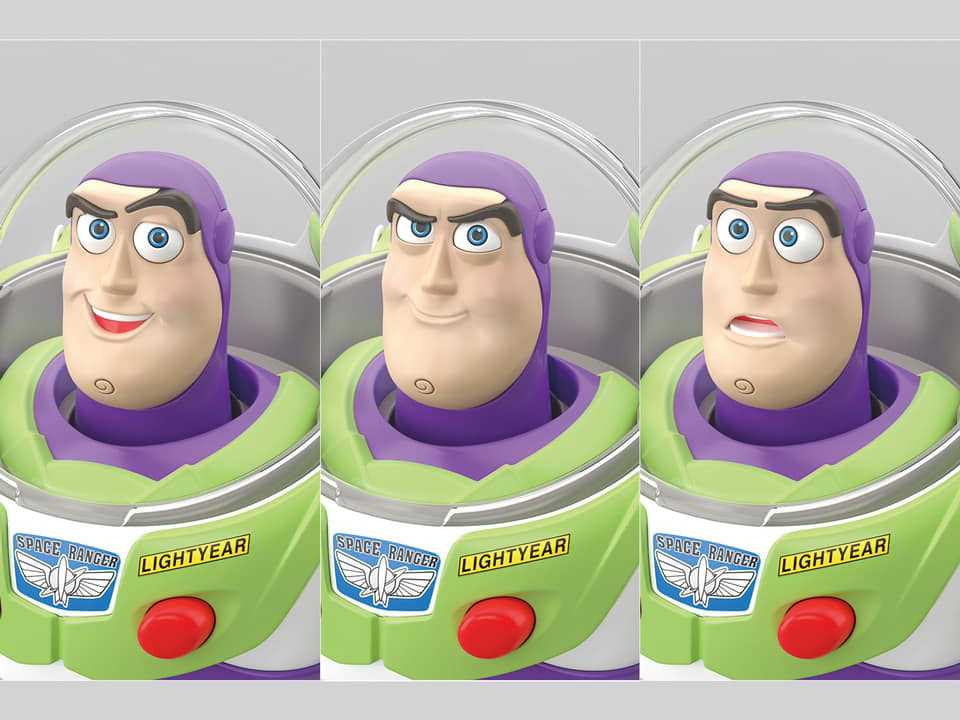
The first step is to embroider the face of Buzz Lightyear onto the front of the jumper. Using a needle and thread, carefully stitch on his eyes, eyebrows, nose, and mouth. Pay close attention to the placement and shape of each feature to capture Buzz’s iconic expression. You can refer to a picture of Buzz Lightyear to ensure accuracy.
Next, it’s time to add the signature green and purple accents to the jumper. Using yarn in the corresponding colors, knit or crochet small sections to sew onto the sleeves, collar, and hem of the jumper. These colored accents will instantly bring the character to life and make the jumper instantly recognizable as Buzz Lightyear.
To complete the look, consider adding some small details such as buttons or appliques to mimic the buttons and insignia on Buzz’s suit. This attention to detail will elevate your knitting project and add an extra touch of authenticity.
Once all the finishing touches are in place, take a step back and admire your creation. The Buzz Lightyear jumper is now ready to be worn with pride, showcasing your knitting skills and love for this iconic character.
Tips and Tricks

In order to successfully knit a Buzz Lightyear jumper, here are some tips and tricks to keep in mind:
1. Choose the right yarn: Select a yarn that is suitable for the pattern and will give you the desired finished look. Consider the weight and fiber content of the yarn, as well as its color.
2. Gauge swatch: Always do a gauge swatch before starting the actual knitting. This will help ensure that your jumper will fit properly and match the specified measurements in the pattern.
3. Follow the pattern: Carefully read and follow the instructions in the pattern. Take note of any abbreviations and special techniques used, and refer to knitting charts if provided.
4. Use stitch markers: Stitch markers can be extremely helpful in keeping track of pattern repeats or specific sections of the jumper. Place them at the beginning of each pattern repeat or as needed.
5. Take accurate measurements: It is crucial to take accurate measurements of the person who will be wearing the jumper. This will ensure that the finished garment fits well and is comfortable to wear.
6. Practice new techniques: If the pattern includes any new techniques or stitches that you are unfamiliar with, consider practicing them on a swatch beforehand. This will help you become more comfortable and confident when working on the actual jumper.
7. Pay attention to finishing details: Finishing touches, such as blocking, seaming, and weaving in ends, are essential for a professional-looking jumper. Take your time with these steps to ensure a neat and polished final result.
8. Have patience and enjoy the process: Knitting a jumper can be time-consuming, so it’s important to have patience. Embrace the process and enjoy seeing your project come to life stitch by stitch.
9. Check for errors: Periodically check your work for any mistakes or errors. It’s much easier to fix them as you go rather than trying to correct them later on.
Conclusion
Knitting a Buzz Lightyear jumper can be a fun and rewarding project. By following the pattern, using the right yarn, and practicing good knitting techniques, you can create a unique and cozy jumper that will be loved by any Buzz Lightyear fan. Remember to take your time, enjoy the process, and don’t hesitate to seek help or guidance if needed. Happy knitting!