
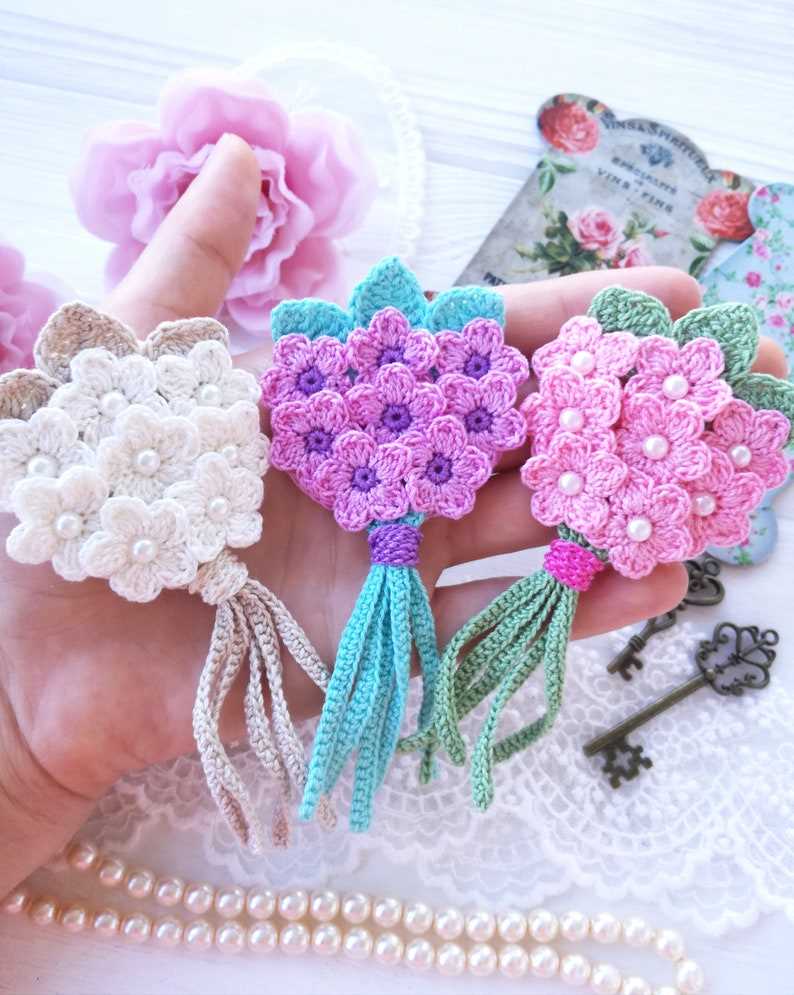
If you love knitting and want to add a touch of charm to your wardrobe, a knitted flower brooch is the perfect accessory. Whether you’re a beginner or an experienced knitter, this pattern is fun and easy to follow. With just a few basic stitches and some colorful yarn, you can create a beautiful flower that will brighten up any outfit.
This pattern is versatile and can be customized to fit your style. You can choose different yarn colors to match your outfits or mix and match for a more eclectic look. You can also experiment with different flower sizes by adjusting the number of stitches and rows. The possibilities are endless!
Not only is this pattern great for sprucing up your own wardrobe, but it also makes a wonderful handmade gift. Imagine the joy on the face of a friend or family member when you present them with a beautiful, handmade flower brooch. It’s a small gesture that can mean so much.
Knitted Flower Brooch Pattern
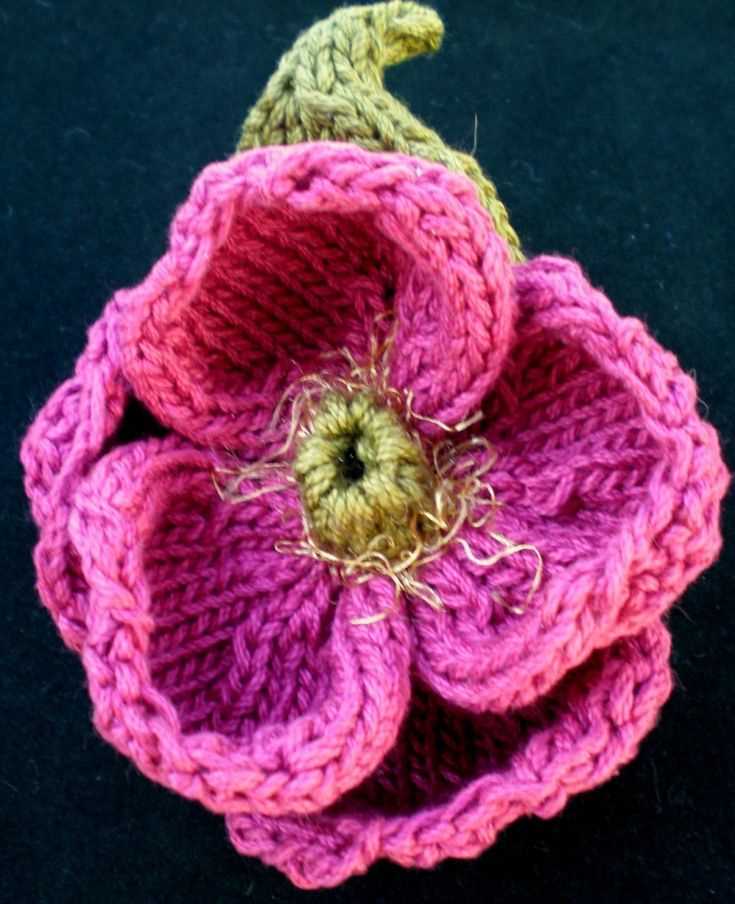
If you are a knitting enthusiast looking for a fun and stylish project, why not try knitting a flower brooch? A knitted flower brooch is a versatile accessory that can add a touch of charm and elegance to any outfit or accessory. Whether you want to embellish a hat, scarf, or bag, or simply wear it as a brooch, a handmade knitted flower can make a bold statement.
To get started, you will need some basic knitting skills and a few materials. You will need yarn in your desired color, knitting needles, a tapestry needle, and a brooch pin. You can choose any yarn weight and needle size depending on the desired size and thickness of your flower. Once you have gathered your materials, you can begin knitting your flower following the simple pattern below.
Materials:
- Yarn in desired color
- Knitting needles
- Tapestry needle
- Brooch pin
Pattern:
- Cast on 6 stitches.
- Row 1: Knit into every stitch.
- Row 2: Purl into every stitch.
- Row 3: Knit into every stitch.
- Row 4: Purl into every stitch.
- Row 5: Knit into every stitch.
- Row 6: Purl into every stitch.
- Row 7: Knit into every stitch.
- Row 8: Purl into every stitch.
- Row 9: Knit into every stitch.
- Row 10: Purl into every stitch.
- Row 11: Knit 2 together, knit 4
- Row 12: Purl into every stitch.
- Row 13: Knit into every stitch.
- Row 14: Purl into every stitch.
- Row 15: Knit into every stitch.
- Row 16: Purl into every stitch.
- Row 17: Knit into every stitch.
- Row 18: Purl into every stitch.
- Row 19: Knit 2 together, knit 2.
- Row 20: Purl into every stitch.
- Row 21: Knit into every stitch.
- Row 22: Purl into every stitch.
- Row 23: Knit 2 together, knit 1.
- Row 24: Purl into every stitch.
- Row 25: Knit into every stitch.
- Row 26: Purl into every stitch.
- Row 27: Slip 1, knit 2 together, pass slipped stitch over.
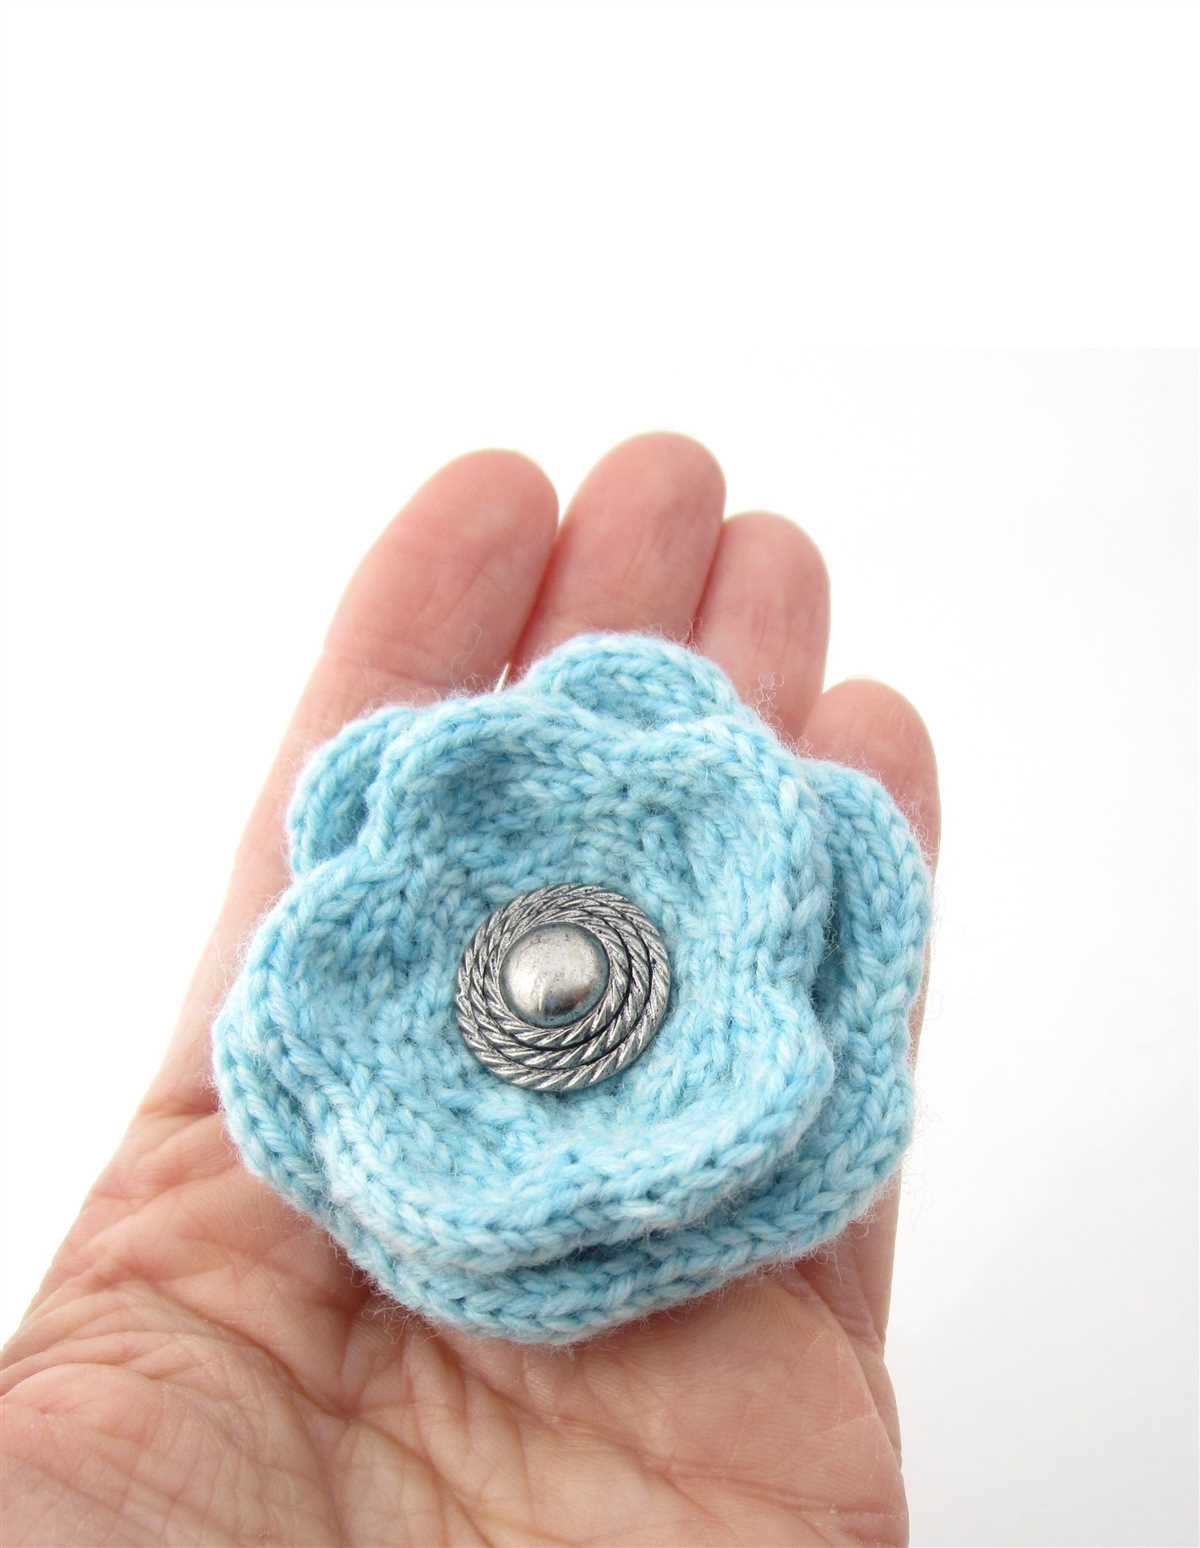
- Cut yarn, leaving a long tail. Thread tail through tapestry needle, and slip stitch the ends together to form a circle.
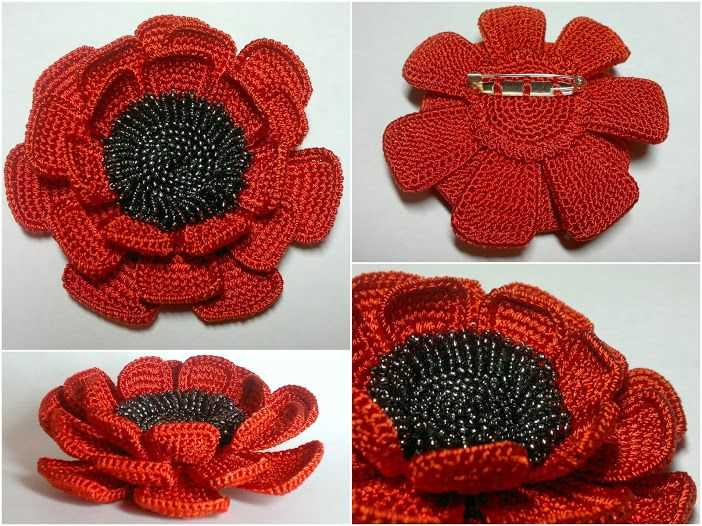
- Sew brooch pin to the back of the flower.
Once you have completed the pattern, you can get creative with your finishing touches. You can add a button or bead to the center of your flower for an extra embellishment. You can also experiment with different yarn colors and textures to create unique and personalized flower brooches. Knitting a flower brooch is a simple and enjoyable project that allows you to showcase your knitting skills and create a stunning accessory that will be admired by all.
Materials needed for the flower brooch
In order to create a knitted flower brooch, you will need the following materials:
- Yarn: Choose a soft and pliable yarn in your preferred color. It is recommended to use a lightweight yarn, such as cotton or acrylic, as it will make the knitted flower more comfortable to wear.
- Knitting needles: Select a pair of knitting needles that are appropriate for your chosen yarn. The size of the needles will depend on the gauge you want for your flower brooch.
- Tapestry needle: A tapestry needle with a large eye will be needed for sewing any loose ends and attaching the brooch pin to the back of the knitted flower.
- Brooch pin: Choose a brooch pin that is the appropriate size for your knitted flower. It is recommended to use a pin with a locking mechanism to ensure that the brooch stays securely in place when worn.
- Scissors: A pair of sharp scissors will be needed for cutting the yarn and trimming any excess materials during the crafting process.
These are the essential materials needed to create your own knitted flower brooch. Once you have gathered all the necessary supplies, you can start following the knitting pattern and bring your creative vision to life.
Step-by-step instructions for knitting the flower brooch
To create a beautiful flower brooch, follow these step-by-step instructions. Begin by gathering the necessary materials, including yarn in your desired colors, knitting needles, a tapestry needle, and scissors.
Step 1: Cast on stitches
Start by casting on the desired number of stitches, depending on the size of the flower you want to create. Make sure to leave a long tail for sewing the flower together later on.
Step 2: Knit the first row
Once you have cast on, start knitting the first row. You can use any stitch pattern you prefer, such as garter stitch or stockinette stitch. Knit the entire row.
Step 3: Create petals
Next, it’s time to create the petals of the flower. To do this, you will need to knit short rows. Knit a few stitches and then turn your work, leaving the remaining stitches unworked. Repeat this process until you have created the desired number of petals.
Step 4: Bind off
When you have finished knitting the petals, it’s time to bind off your stitches. Cut the yarn, leaving a long tail, and thread it through the last stitch to secure it.
Step 5: Sew the flower together
Using the long tail from casting on and the long tail from binding off, sew the flower together. Start by rolling the petals into a circle, overlapping them slightly. Secure the petals in place by sewing through the base of each petal. Continue sewing until the flower feels secure and stays in place.
Once you have finished sewing the flower together, weave in any loose ends, trim any excess yarn, and attach a pin back or brooch finding to the back of the flower. Your knitted flower brooch is now complete and ready to be worn or gifted!
Tips for choosing the right yarn for the brooch
Choosing the right yarn for your knitted flower brooch is essential to achieve the desired look and durability. Here are some tips to help you make the best choice:
1. Consider the texture:
The texture of the yarn will greatly impact the final appearance of your brooch. If you want a delicate and dainty flower, opt for a fine yarn with a smooth texture. On the other hand, if you’re going for a more rustic and textured look, choose a yarn with a slightly thicker and fuzzier texture.
2. Think about the weight:
The weight of the yarn will determine the size and thickness of your knitted flower. If you want a small and lightweight brooch, choose a finer yarn. For a larger and more substantial flower, go for a heavier weight yarn. Keep in mind that the weight of the yarn will also impact the durability of the brooch.
3. Consider the fiber:
The fiber content of the yarn will not only affect the look of your brooch but also its drape and washability. Natural fibers such as cotton, silk, or wool can provide a more luxurious and soft feel to your brooch. Synthetic fibers like acrylic or nylon, on the other hand, can offer more durability and easy care.
4. Check the colors:
The color palette of the yarn is an important consideration to ensure that your brooch matches your style and outfits. Look for yarns that offer a wide range of colors or variegated options to add visual interest and dimension to your knitted flower brooch.
By considering these tips, you can select the perfect yarn for your knitted flower brooch and create a beautiful accessory that reflects your personal style.
Choosing the Right Knitting Needles for the Brooch
When it comes to knitting a flower brooch, choosing the right knitting needles is crucial to achieve the desired outcome. The type and size of needles you use can greatly affect the final look and feel of the brooch.
Needle Size: The size of needles you choose will depend on the thickness of yarn you are using. Thicker yarns will require larger needles, while finer yarns will need smaller needles. The recommended needle size can usually be found on the yarn label or the knitting pattern itself. It’s important to use the correct needle size to ensure that the stitches are neither too loose nor too tight, resulting in an even and balanced brooch.
Needle Material: Knitting needles are available in various materials, such as metal, plastic, bamboo, or wood. Each material has its own unique characteristics that can affect the knitting process. Metal needles are often smooth and slippery, allowing stitches to slide easily. Plastic needles are lightweight and flexible, making them comfortable for extended knitting sessions. Bamboo and wood needles provide a warmer and more tactile feel, which can be advantageous when working with delicate yarns. Consider the characteristics of each material and choose one that suits your knitting style and preference.
Circular Needles vs. Straight Needles: Depending on the brooch pattern, you may need to decide between using circular needles or straight needles. Circular needles are connected by a flexible cable and are suitable for knitting in the round or for larger projects. Straight needles, on the other hand, are separate and are commonly used for flat knitting. Carefully read the brooch pattern to determine which type of needles is recommended.
By considering these factors and selecting the appropriate knitting needles, you can enhance your knitting experience and create a beautiful flower brooch that meets your expectations.
Different stitch patterns for the flower brooch
When making a knitted flower brooch, there are various stitch patterns you can use to create different textures and designs. Here are a few stitch patterns to consider:
1. Garter stitch: This is the simplest stitch pattern and creates a textured fabric with ridges. It is formed by knitting every row. Using garter stitch for your flower brooch can give it a cozy and soft look.
2. Stockinette stitch: This stitch pattern creates a smooth and even fabric by alternating rows of knit and purl stitches. It is a popular choice for many knitting projects and can make your flower brooch look polished and neat.
3. Seed stitch: The seed stitch pattern is created by alternating knit and purl stitches within the same row. It produces a bumpy texture that adds visual interest to your flower brooch. This stitch pattern is great for adding a touch of dimension to your design.
4. Cable stitch: Cable stitch patterns involve crossing stitches over each other to create beautiful twisted designs. Adding a cable stitch pattern to your flower brooch can give it an intricate and decorative look. This stitch pattern requires a bit more skill and attention, but the end result is worth it.
5. Lace stitch: If you want to create a delicate and lacy look for your flower brooch, consider using lace stitch patterns. Lace stitches involve creating decorative holes and often incorporate yarn overs and decreases to achieve the desired effect. This stitch pattern can make your flower brooch look elegant and sophisticated.
These are just a few examples of stitch patterns you can use for your knitted flower brooch. Feel free to experiment with different combinations and variations to create a unique and personalized design that reflects your own style and creativity.
Adding Embellishments to the Flower Brooch
In order to make your knitted flower brooch stand out even more, you can add various embellishments to it. These embellishments can be used to enhance the shape, texture, and overall appearance of the brooch. Here are some ideas for adding embellishments to your flower brooch:
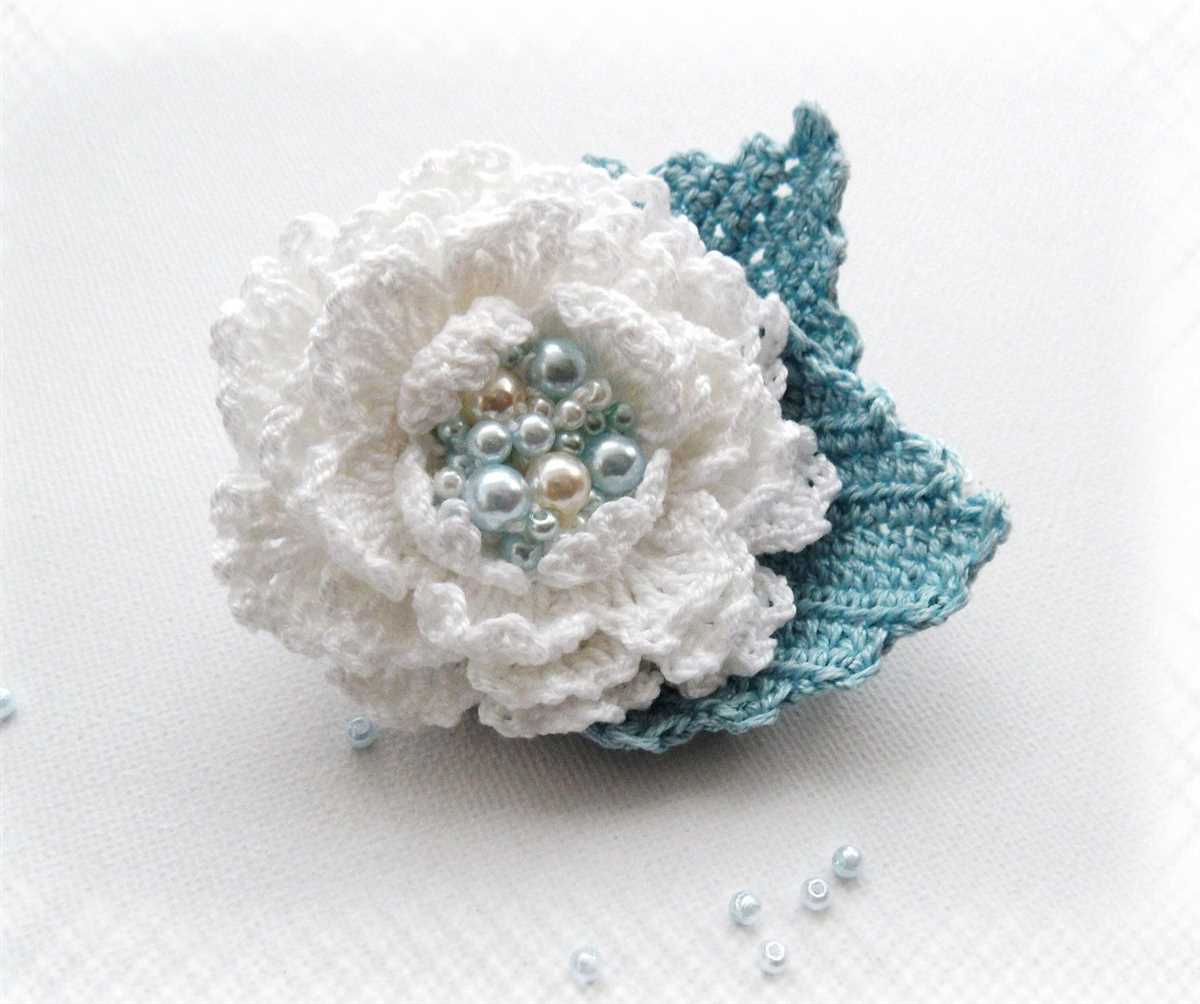
1. Beads

Add a touch of sparkle to your flower brooch by attaching small beads to the center or petals of the flower. You can use beads in a similar color to the yarn or choose contrasting colors for a more eye-catching effect. Sew the beads onto the brooch using a needle and thread, making sure they are securely attached.
2. Embroidery
Enhance the details of your knitted flower by adding embroidery to the petals or leaves. You can use a contrasting color of yarn to create intricate designs or simply add a few stitches for a subtle effect. Embroidery can be used to outline the petals, add additional texture, or create patterns on the surface of the brooch.
3. Ribbons and Fabric
For a more whimsical and feminine look, you can attach ribbons or small pieces of fabric to your flower brooch. This can be done by tying a ribbon around the stem of the brooch or sewing fabric leaves onto the base of the flower. Ribbons and fabric can add a soft and romantic touch to your brooch, making it perfect for special occasions or as a gift.
4. Buttons
Buttons can be a fun and unique way to embellish your flower brooch. You can choose buttons in different colors, shapes, and sizes to create a playful and quirky look. Sew the buttons onto the center of the flower or use them to represent the stamen or pistil of the flower. Buttons can add a touch of whimsy and personality to your brooch.
Remember, the key is to have fun and experiment with different embellishments to create a flower brooch that is uniquely yours. Whether you choose beads, embroidery, ribbons, or buttons, these embellishments will add a special touch to your knitted creation and make it truly stand out.
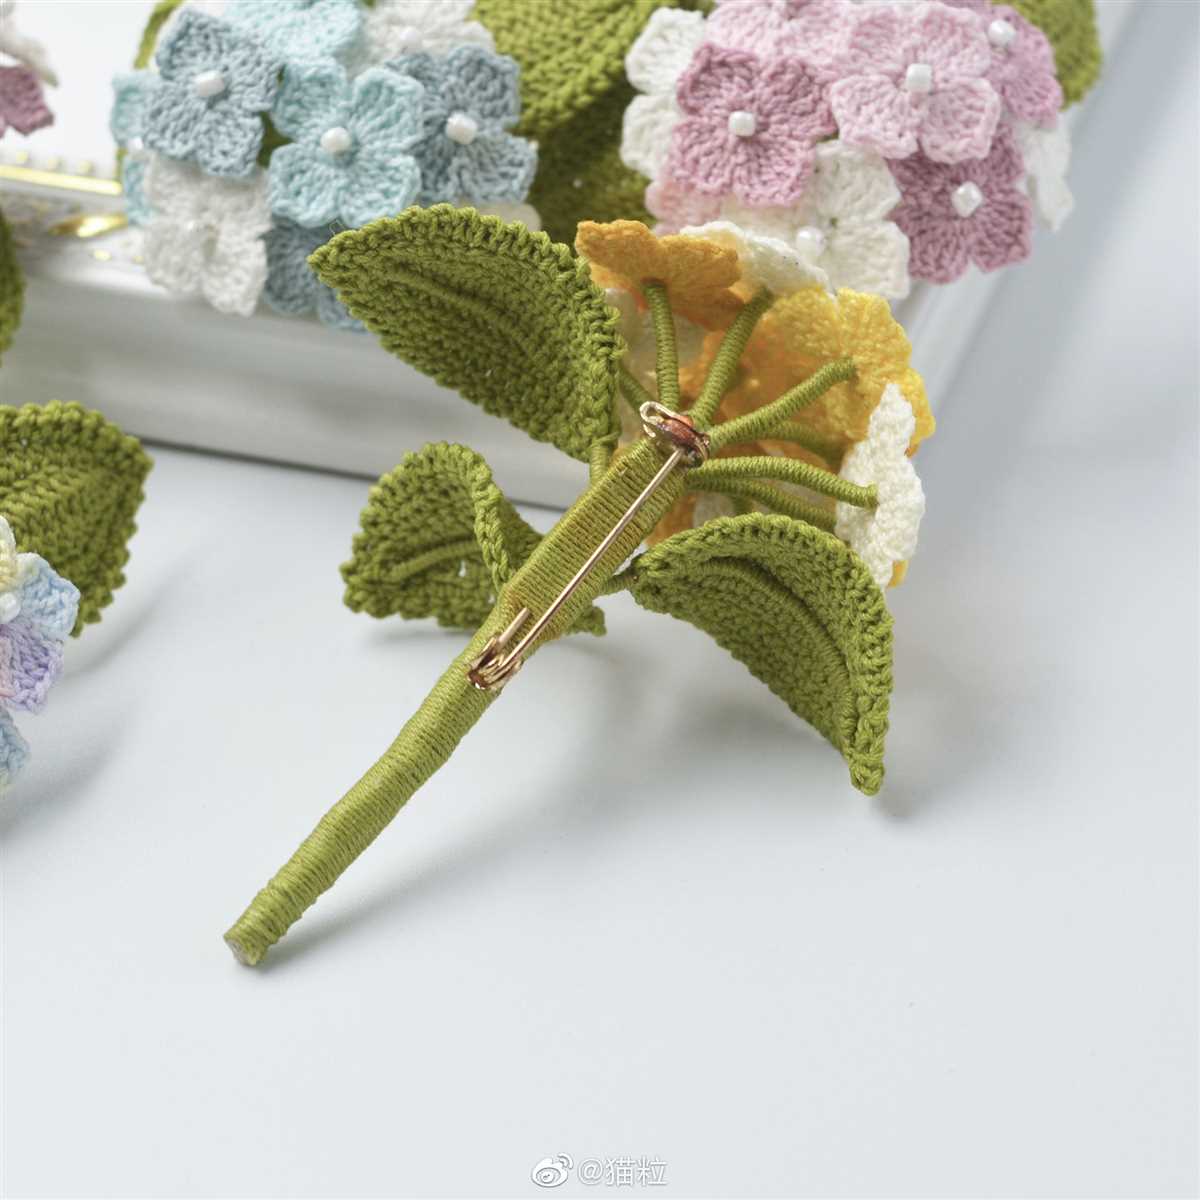
How to sew the brooch pin to the back of the flower
Once you have finished knitting your flower brooch, it’s time to attach the pin to the back so that you can wear it. Sewing the pin securely is important to ensure that it stays in place and doesn’t fall off while you’re wearing it.
To sew the brooch pin to the back of the flower, you will need a needle and thread that matches the color of your knitted flower. Start by folding the petals of the flower together to create the desired shape. Pinch the bottom of the flower to gather the petals and hold them in place.
1. Position the pin:

Place the pin on the back of the flower, aligning it with the gathered bottom part. Make sure that the pin is centered and positioned in a way that will allow you to easily attach the brooch to your clothing.
2. Secure the pin:
Take your needle and thread and begin sewing the pin to the back of the flower. Start by making a few stitches through the pin and the knitted fabric, securing it in place. Make sure to sew through multiple layers of the knitted fabric to ensure a strong attachment. Stitch around the edges of the pin to reinforce the attachment.
Continue sewing the pin in place, making small, neat stitches until you have securely attached it to the back of the flower. Finish off your stitching by knotting the thread and trimming any excess. You can also add a drop of fabric glue to further secure the stitches.
Once you have sewn the pin to the back of the flower, allow the glue to dry completely before wearing your beautiful knitted flower brooch. Now you can proudly show off your handmade accessory and add a touch of charm to any outfit!
Ideas for using the knitted flower brooch
You can use the knitted flower brooch in a variety of ways to add a touch of style and charm to your outfits. Here are some ideas on how to make the most of this accessory:
1. Dress up a plain outfit: A knitted flower brooch can instantly elevate the look of a plain blouse, cardigan, or dress. Simply pin it to the lapel, collar, or chest area for an added pop of color and texture. It’s a great way to transform a simple outfit into something more eye-catching.
2. Decorate a handbag: Add a touch of whimsy to your handbag by attaching the knitted flower brooch to the strap or handle. It can instantly jazz up a plain tote or make a statement on a crossbody bag. It’s a fun and unique way to accessorize your handbag and show off your personal style.
3. Embellish a hat: Jazz up your favorite hat by adding the knitted flower brooch to the brim or side. It can transform a basic hat into a fashionable accessory. Whether you’re wearing a sun hat, fedora, or beanie, the knitted flower brooch will add a playful touch to your look.
4. Enhance a scarf or shawl: Pin the knitted flower brooch to your scarf or shawl to add an extra element of interest. It can serve as a beautiful focal point and draw attention to your neck area. Play around with different placements and colors to create unique and eye-catching combinations.
5. Adorn a belt or sash: Take your outfit to the next level by attaching the knitted flower brooch to a belt or sash. It can cinch in your waist and add a stylish touch to dresses, blouses, or cardigans that may be in need of some definition. Experiment with different sizes and colors to create a striking visual effect.
These are just a few ideas to get you started. The knitted flower brooch is a versatile accessory that can be used in countless creative ways. Have fun experimenting and finding new ways to showcase your personal style!
Variations of the flower brooch pattern
Flower brooches are a versatile accessory that can add a touch of elegance and charm to any outfit. The beauty of these accessories is that they can be customized to suit individual preferences and styles. There are numerous variations of the flower brooch pattern that can be created using different knitting techniques and materials.
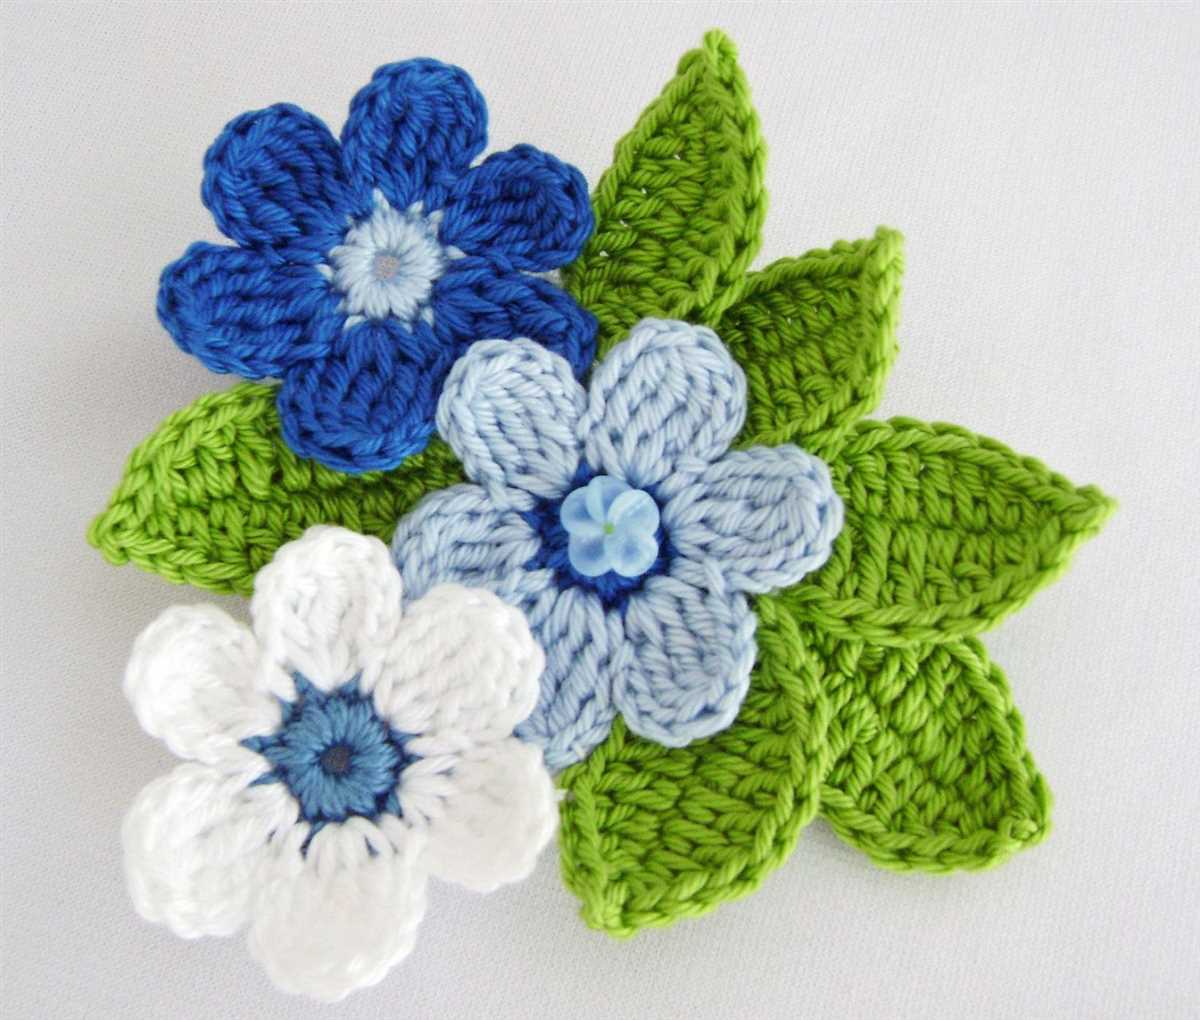
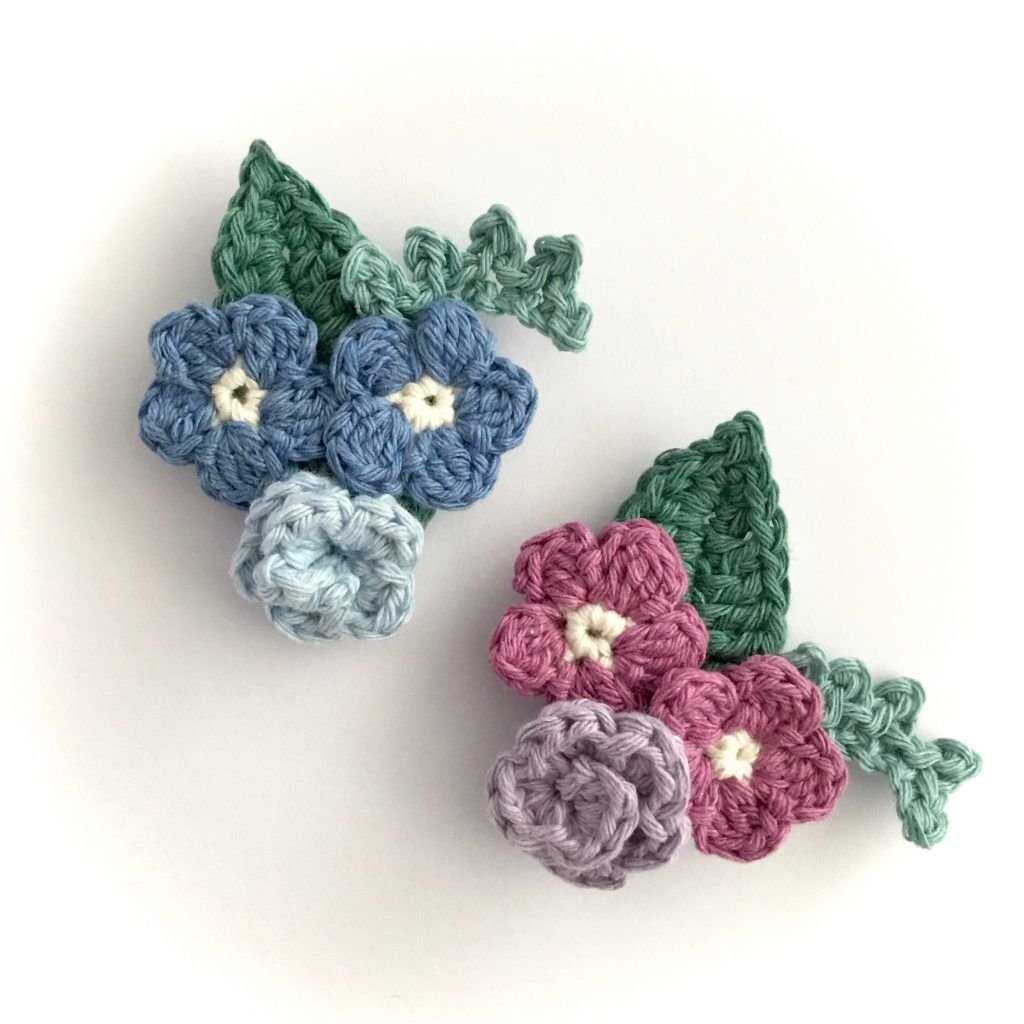
1. Color variations:
One way to add variety to the flower brooch pattern is by experimenting with different colors. Instead of using a single color, you can incorporate multiple colors into the design to create a vibrant and eye-catching accessory. You can choose contrasting colors for a bold look or opt for complementary colors for a more harmonious appearance.
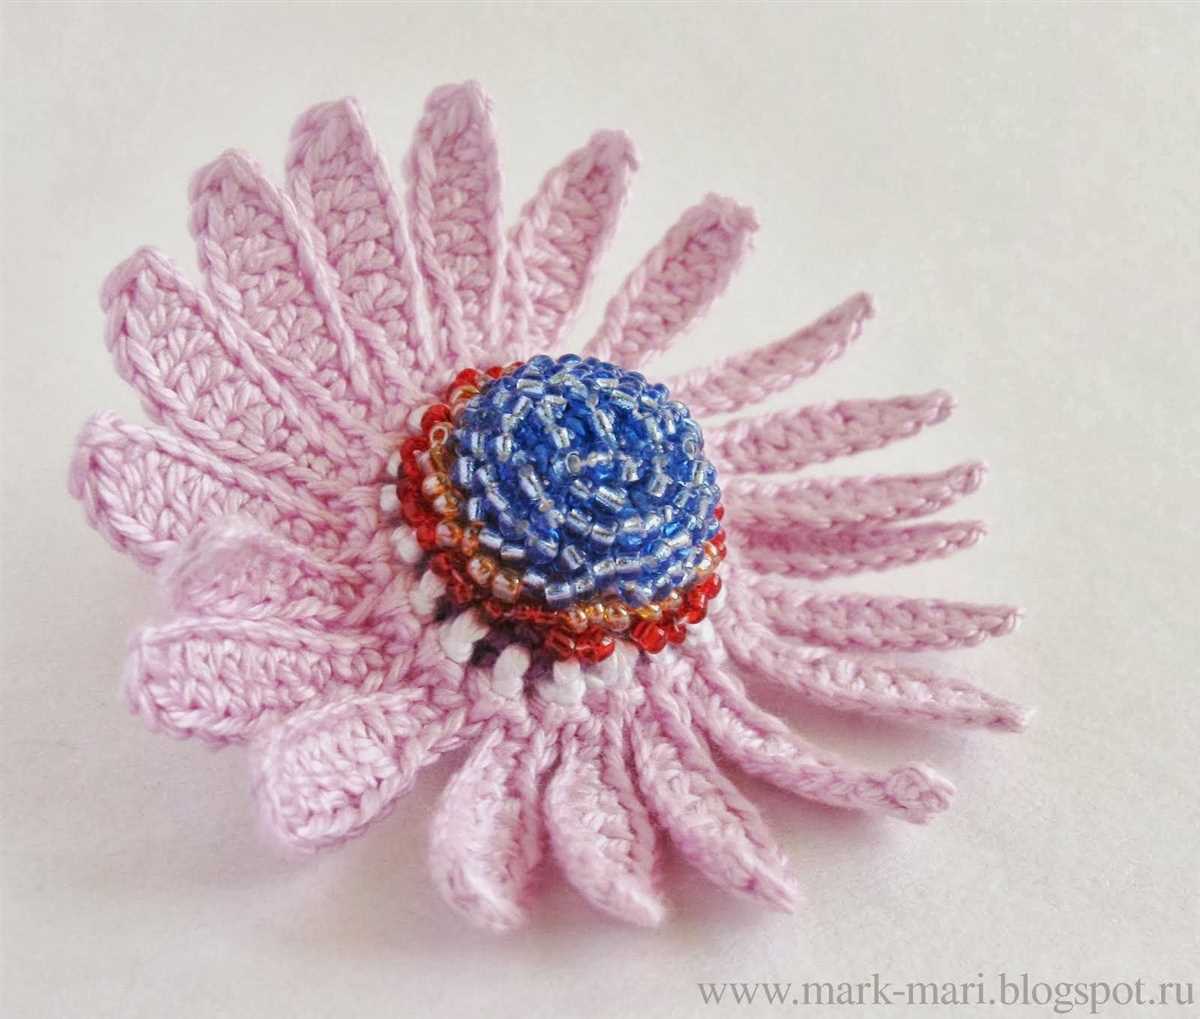
2. Petal variations:
Another way to customize the flower brooch pattern is by changing the shape and size of the petals. You can create larger petals for a more dramatic effect or smaller petals for a delicate and dainty look. Additionally, you can experiment with different stitch patterns to add texture and dimension to the petals.
3. Embellishment variations:
To add extra flair to the flower brooch, you can incorporate embellishments such as beads, sequins, or embroidery. These decorative elements can be added to the center of the flower or scattered throughout the petals for a sparkling and luxurious touch. The choice of embellishments can be customized to suit personal preferences and the occasion.
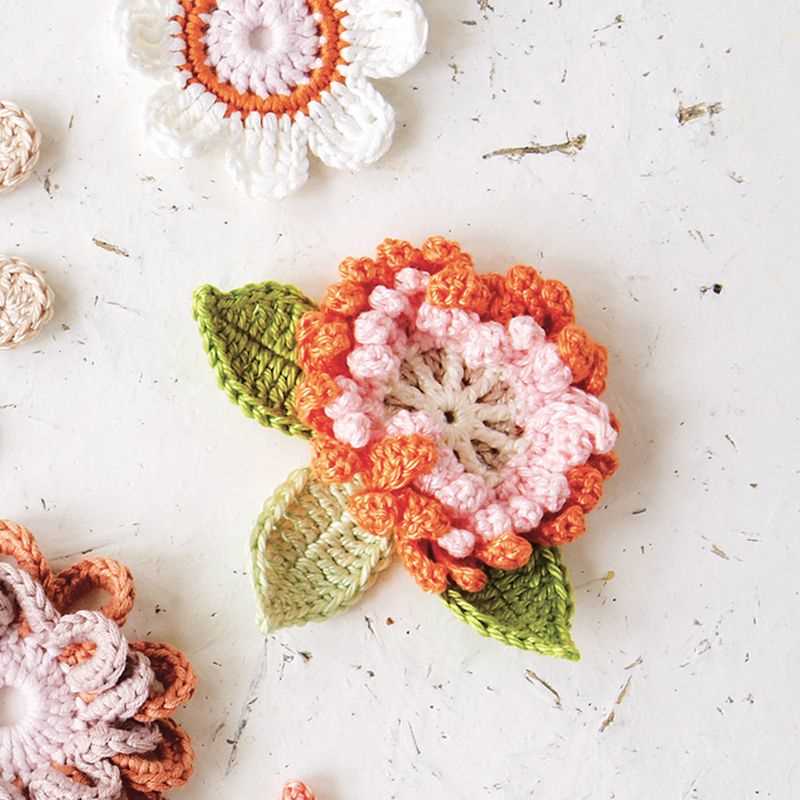
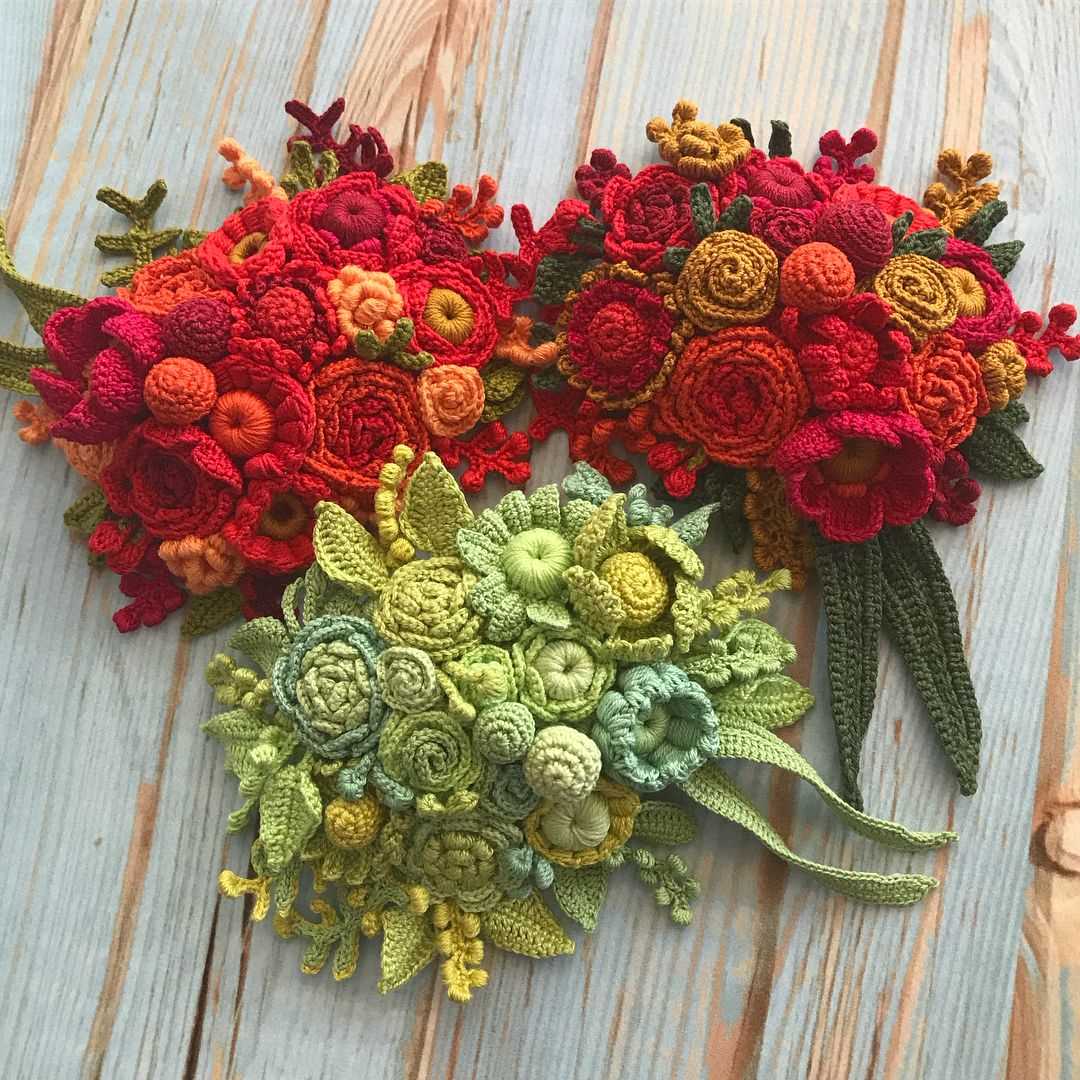
4. Material variations:

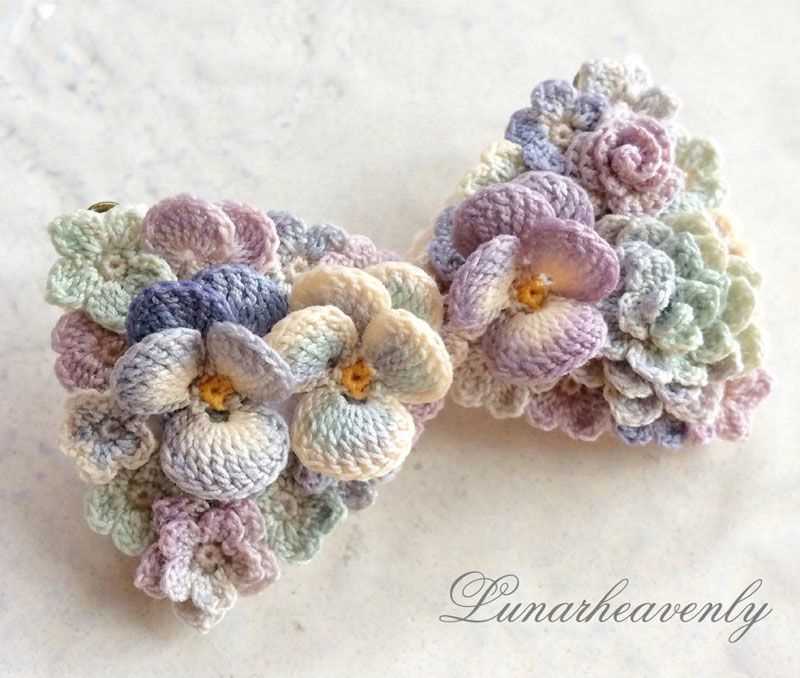
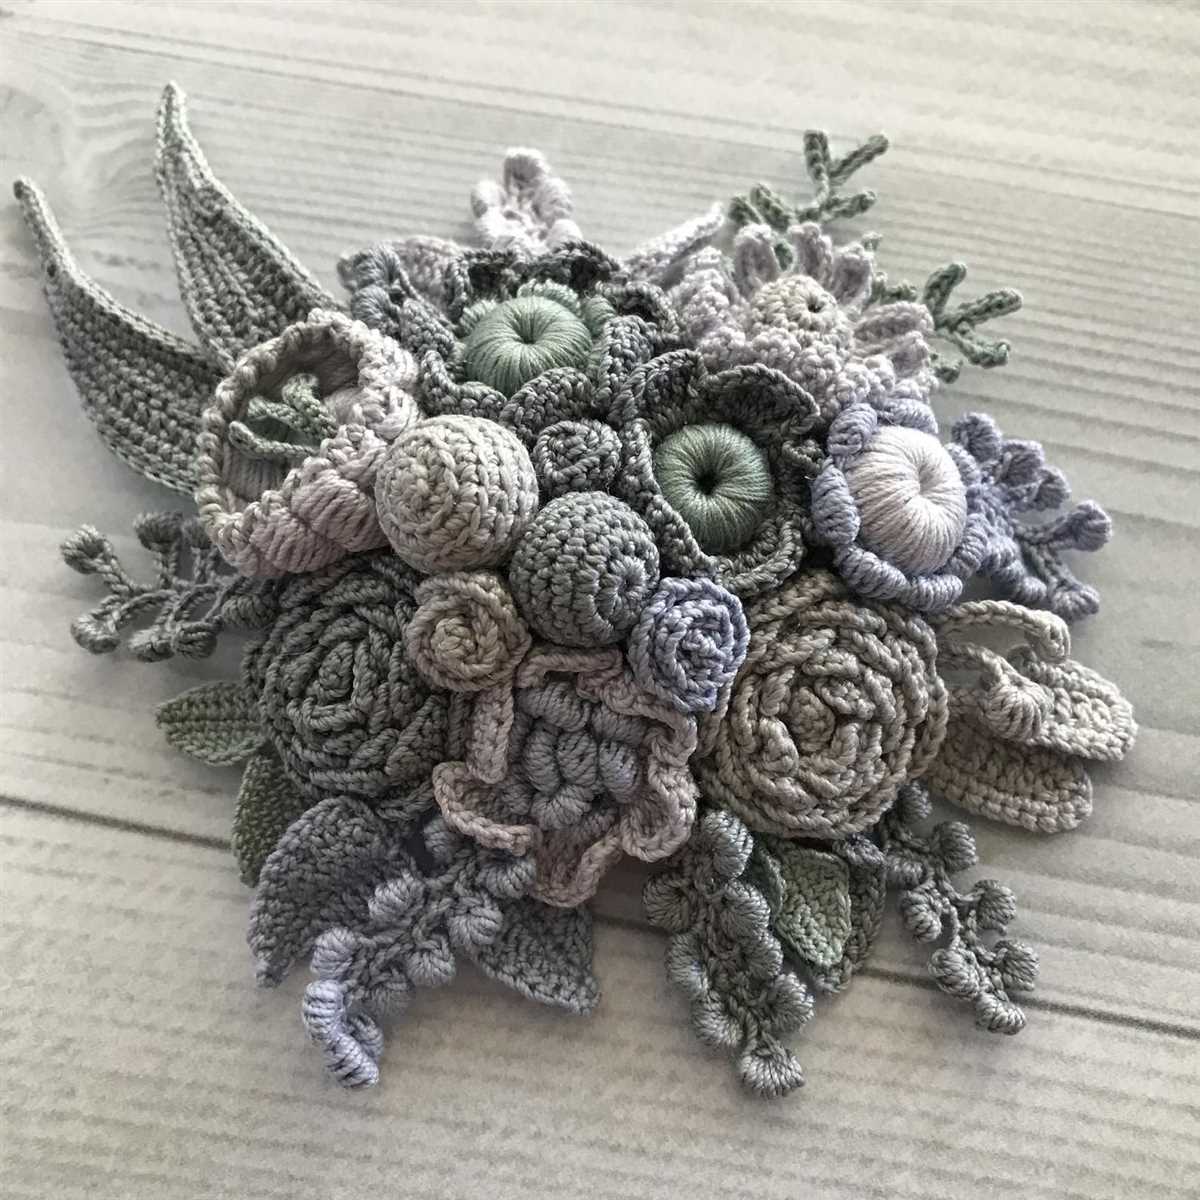
While the flower brooch pattern is commonly knitted, you can also explore different materials to create unique variations. For example, you can try crocheting the flower brooch pattern using crochet thread or even using fabric and sewing techniques to create a fabric flower brooch. These material variations can add an interesting texture and visual appeal to the accessory.
Overall, the variations of the flower brooch pattern are endless. By experimenting with different colors, petal shapes, embellishments, and materials, you can create a flower brooch that is truly one-of-a-kind and reflects your personal style.
Frequently Asked Questions
Here are some commonly asked questions about knitting the flower brooch pattern:
1. Can I use different colors of yarn to make the flower brooch?
Answer: Yes, you can definitely use different colors of yarn to make the flower brooch. You can get creative and experiment with different color combinations to personalize your brooch.
2. How long does it take to complete the flower brooch?
Answer: The time it takes to complete the flower brooch may vary depending on your knitting skills and the amount of time you have available. On average, it should take a few hours to complete the brooch.
3. Can I resize the flower brooch pattern?
Answer: Yes, you can resize the flower brooch pattern by adjusting the size of the knitting needles and the weight of the yarn. Keep in mind that changing the size of the brooch may also alter the overall look of the design.
4. Is this pattern suitable for beginners?
Answer: This pattern is suitable for beginners who have basic knitting skills. The pattern includes step-by-step instructions and basic stitches, making it easy for beginners to follow along.
5. Can I sell the flower brooches I make using this pattern?
Answer: Yes, you can sell the flower brooches you make using this pattern. However, please refrain from selling or distributing the pattern itself as it is protected by copyright.
In conclusion, knitting the flower brooch is a fun and creative project that allows you to showcase your knitting skills. With the frequently asked questions answered, you should now have all the information you need to successfully complete the flower brooch pattern. Happy knitting!