
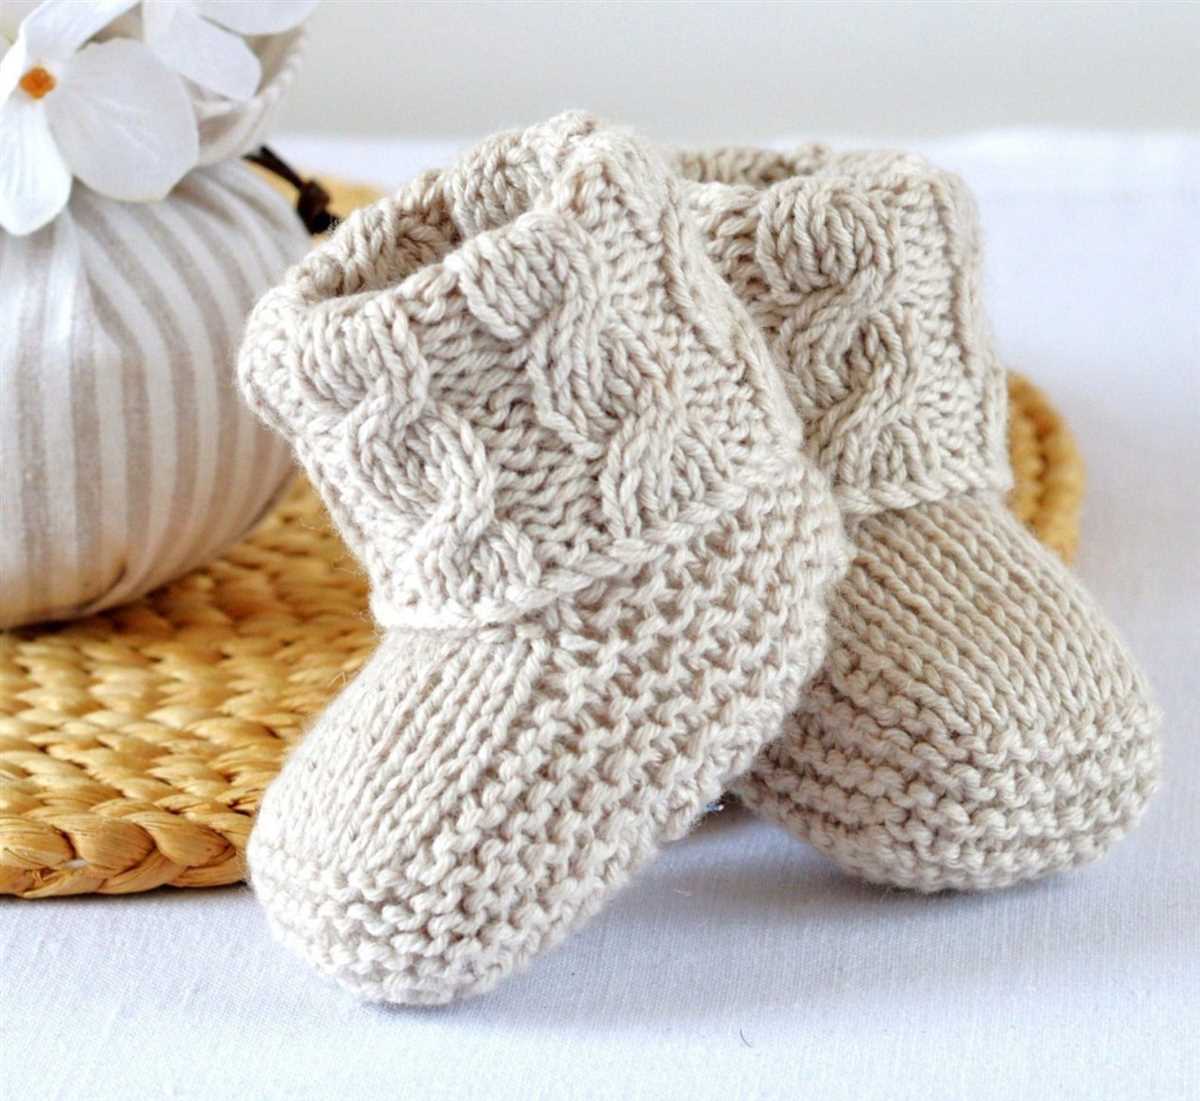
Knitting is not only a relaxing and creative hobby, but it also allows you to create beautiful and practical items, such as booties. Booties are perfect for keeping little feet warm and protected, and they make great gifts for babies and toddlers. If you’re looking for a knitting pattern that will result in booties that stay on securely, this is the pattern for you.
One of the challenges with knitting booties is ensuring that they stay on the baby’s feet. Babies are known for kicking and tugging at their socks and shoes, which can result in lost booties. However, with this pattern, you can create booties that stay securely on the feet, thanks to a clever construction and design.
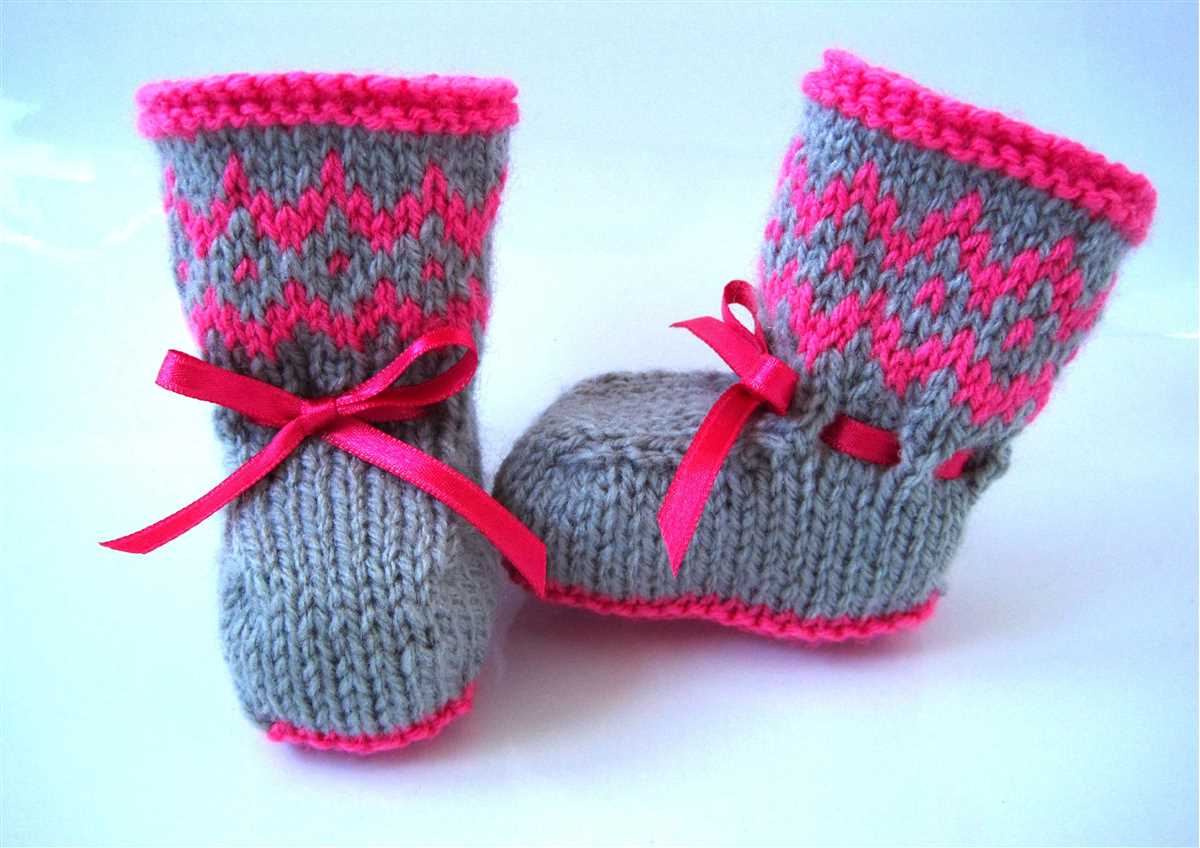
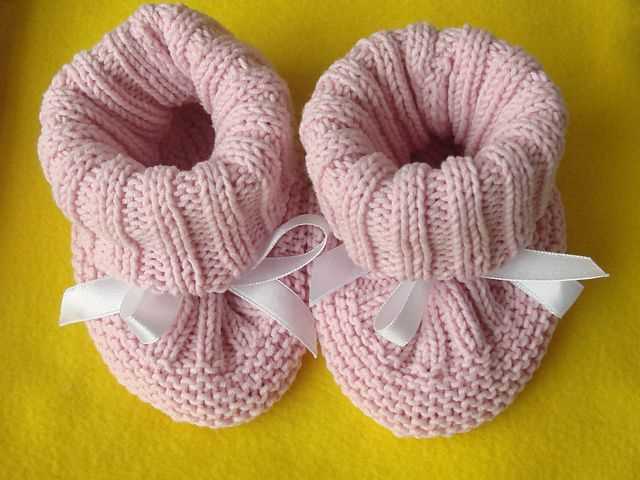
This knitting pattern uses a combination of ribbing and eyelets to create a snug fit around the ankles. The ribbing provides stretch and flexibility, while the eyelets allow for the insertion of a ribbon or elastic that helps to keep the booties in place. The result is a pair of booties that are not only cute and cozy, but also practical and functional.
Stay on Booties Knitting Pattern: How to Create Cozy Footwear
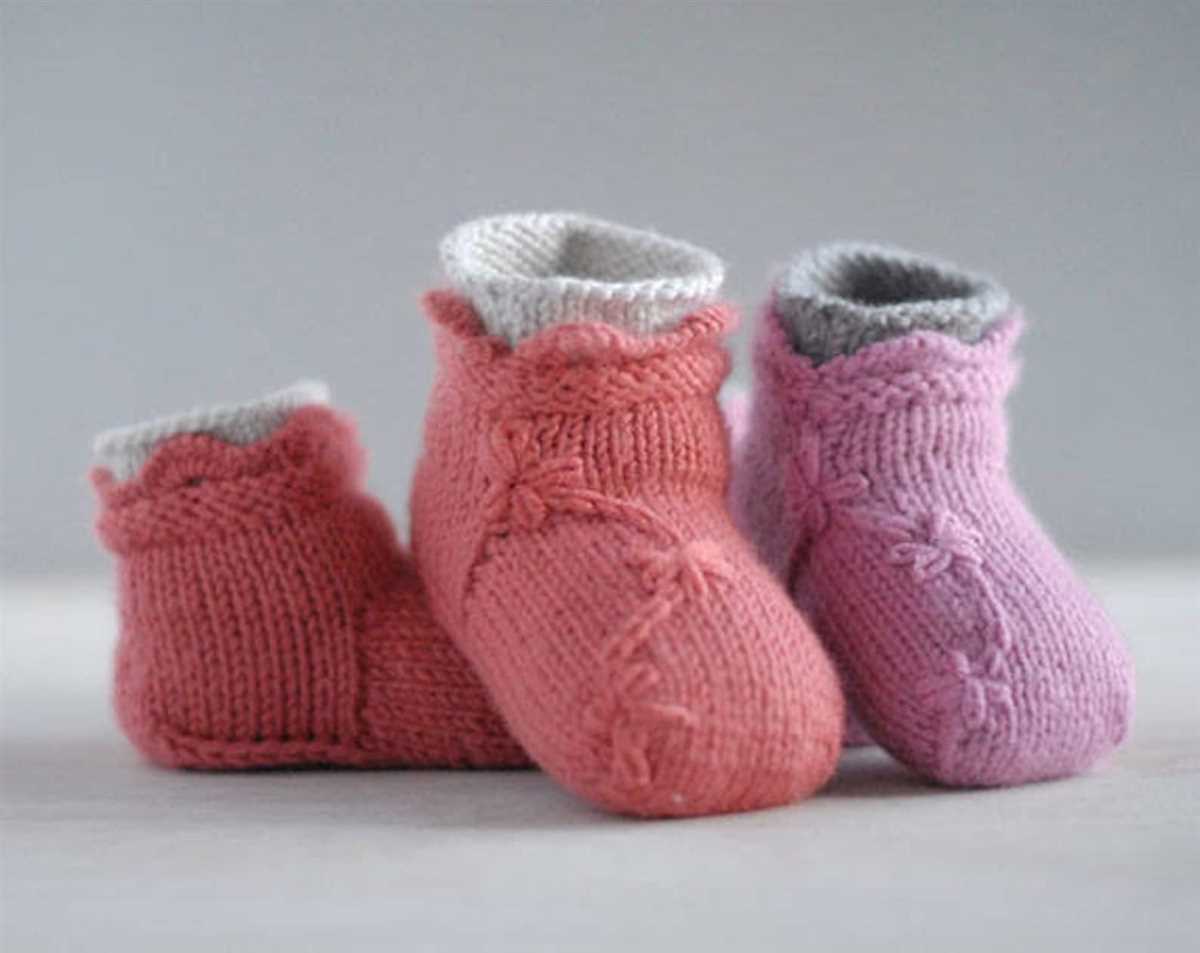
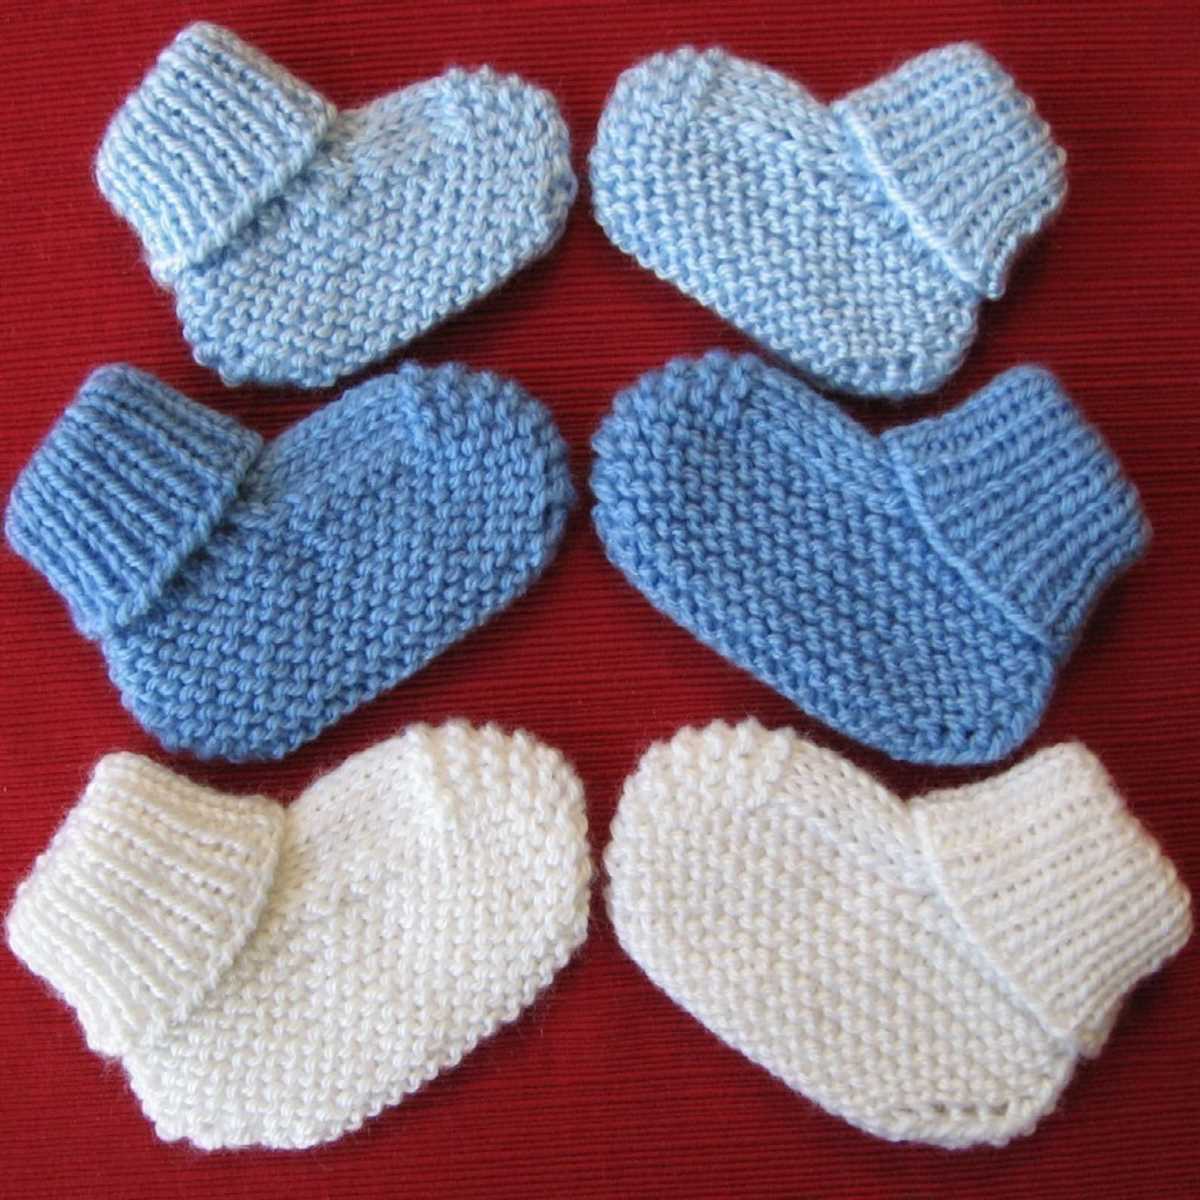
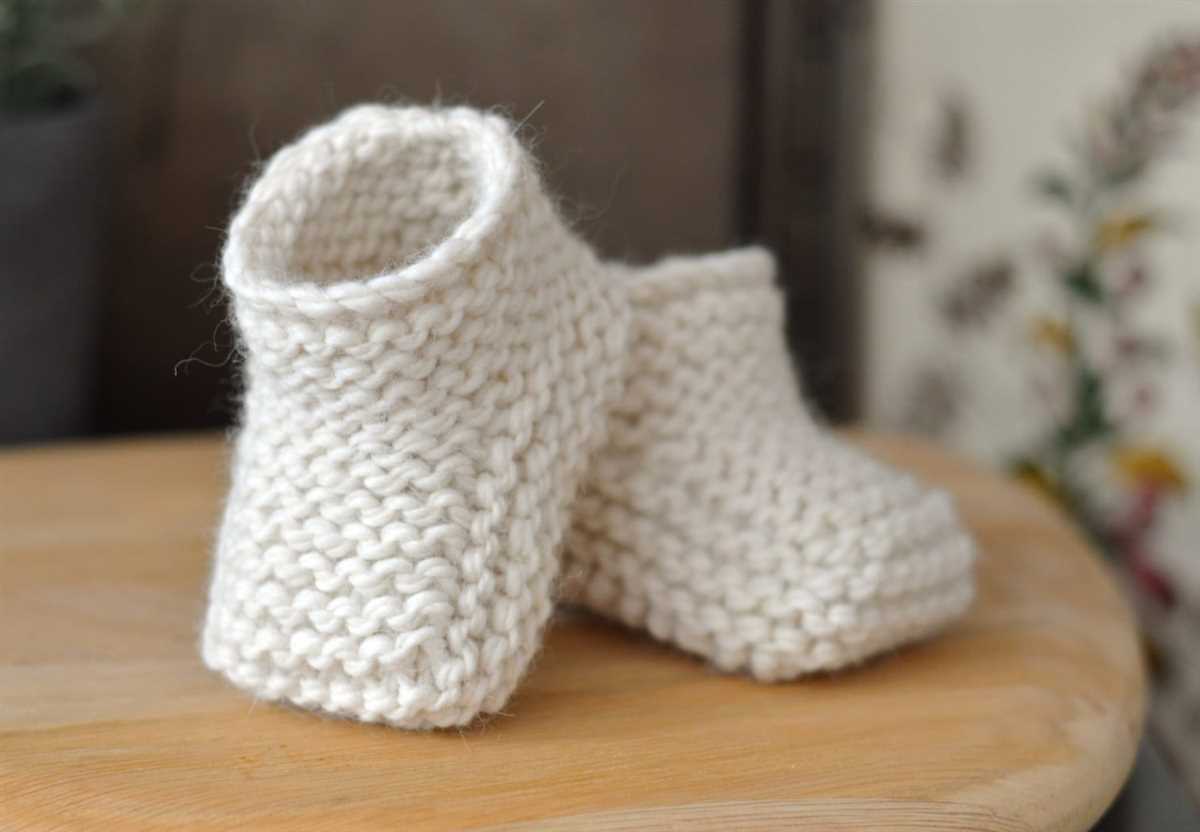
Stay on booties are a must-have for any baby’s wardrobe! These adorable and practical foot coverings are designed to stay securely on little feet, so you won’t have to worry about them getting lost or slipping off. Plus, they provide a cozy and warm layer of protection, keeping your baby’s feet snug and comfortable.
Creating your own pair of stay on booties is a fun and rewarding knitting project. With just a few simple stitches and some soft yarn, you can craft a pair of adorable booties that will become a cherished item for your little one. Whether you’re a beginner knitter or an experienced crafter, this pattern is suitable for all skill levels.
Materials Needed:
- Medium weight yarn in your preferred color
- Knitting needles (size may vary depending on desired bootie size)
- Tapestry needle
- Elastic thread (optional, for added security)
Instructions:
- Begin by casting on the desired number of stitches, based on the size of bootie you wish to create. A good starting point is typically around 32 stitches for a newborn size.
- Work in a basic rib stitch pattern (knit 2, purl 2) for the desired length of the cuff. This will help create a snug and stretchy opening for the bootie.
- Next, switch to stockinette stitch (knit one row, purl one row) for the main body of the bootie. Continue working in stockinette stitch until the bootie measures the desired length for the foot.
- At this point, you’ll need to shape the bootie toe. Start decreasing stitches gradually by knitting two stitches together at the beginning and end of each row. Continue this decrease pattern until you have a small number of stitches remaining.
- Use the tapestry needle to weave in any loose yarn ends and secure the toe seam.
- If desired, you can add a small amount of elastic thread to the cuff of the bootie for added security. Thread the elastic through the stitches and secure it in place.
- Repeat the above steps to create a matching bootie for the other foot.
Once you’ve completed both booties, you’ll have a cozy and adorable pair of stay on booties for your little one. These booties also make great gifts for baby showers or special occasions. Feel free to get creative with colors and embellishments to personalize your booties even further. Happy knitting!
Choosing the Right Yarn for Stay-on Booties
When it comes to knitting stay-on booties, choosing the right yarn is crucial. The yarn you select will determine the comfort, durability, and overall appearance of the booties. Therefore, it’s important to consider a few key factors before making your yarn selection.
1. Softness: Since stay-on booties are typically worn by babies, it’s essential to use a yarn that is soft and gentle on their delicate skin. Look for yarns that are made from natural fibers such as cotton or bamboo, as they are usually the softest options. Avoid yarns that are scratchy or have a rough texture.
2. Stretch: Stay-on booties need to have some stretch to ensure a snug fit and to keep them in place on the baby’s feet. Choose a yarn that has good elasticity, such as a yarn with added spandex or a higher percentage of wool. This will allow the booties to stretch comfortably and stay on securely.
3. Washability: Babies can be messy, so it’s important to choose a yarn that is easy to clean. Look for yarns that are machine washable and can handle frequent washing without losing their shape or softness. This will make the booties more practical and convenient for everyday use.
4. Color and Pattern: Lastly, consider the color and pattern of the yarn. Since stay-on booties are often a focal point of an outfit, choosing a yarn with a beautiful color or interesting pattern can make the booties even more adorable. Have fun experimenting with different colors and patterns to create unique and eye-catching booties.
By considering these factors and selecting the right yarn for your stay-on booties, you can ensure that your finished project is not only cute and stylish but also comfortable and functional for the baby.
Essential Tools for Knitting Stay-on Booties
When knitting stay-on booties, having the right tools can make all the difference. Not only will they help you achieve a neat and professional finish, but they will also make the knitting process much easier and more enjoyable. Here are some essential tools that every knitter should have when making stay-on booties.
1. Knitting Needles
The first and most obvious tool you’ll need is a pair of knitting needles. The size and material of the needles will depend on your yarn and knitting pattern. Circular needles are often recommended for stay-on booties as they allow you to easily knit in the round.
2. Stitch Markers
Stitch markers are an essential tool for keeping track of your stitches, especially when knitting in the round. They can be placed between stitches to mark a specific section of your pattern or to indicate the beginning of a round. This can be particularly helpful when making stay-on booties with multiple sections or when working with different yarn colors.
3. Yarn Needle
A yarn needle, also known as a tapestry needle, is necessary for weaving in loose ends and finishing off your knitting project. When making stay-on booties, you’ll likely have multiple ends to weave in, so having a yarn needle with a large eye and a blunt tip will make this task much easier.
4. Scissors
Sharp and precise scissors are essential for cutting yarn and trimming any excess. A small pair of scissors that easily fit in your knitting bag or project pouch will come in handy when working on stay-on booties.
5. Measuring Tape
Accuracy is key when knitting stay-on booties, especially when it comes to sizing. A measuring tape will help you ensure that your booties are the right length and fit comfortably. It’s also useful for measuring your gauge and making any necessary adjustments to your pattern.
With these essential tools in hand, you’ll be well-equipped to knit beautiful and functional stay-on booties. Remember to take your time, follow the pattern instructions, and enjoy the process of creating something special for your little one or as a thoughtful gift for someone else.
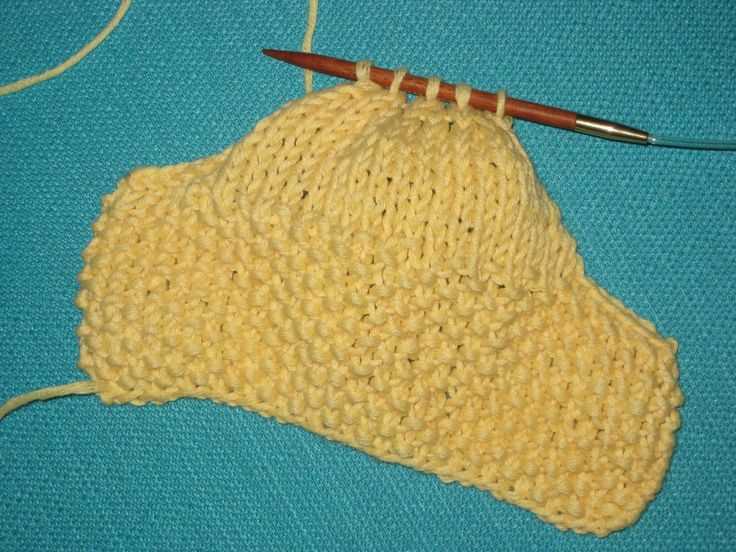
Getting Started: Casting On for Stay-on Booties
When it comes to knitting stay-on booties, the first step is to cast on. Casting on is the process of creating the first row of stitches on your knitting needles. In this pattern, we will be using the long-tail cast on method, which creates a neat and sturdy edge.
To begin, you will need a pair of knitting needles, a ball of yarn, and a tapestry needle for weaving in the ends. Make sure your needles are the correct size for your yarn to achieve the desired gauge.
Step 1: To start, leave a long tail of yarn, approximately three times the width of the finished booties. This tail will be used to create the first row of stitches.
Step 2: Make a slipknot by forming a loop with the yarn, crossing the ends, and pulling one end through the loop. Slip this knot onto one of your knitting needles and tighten it, leaving a small loop.
Step 3: Hold the knitting needle with the slipknot in your right hand. With your left hand, hold the long tail and forefinger against the needle, creating a “V” shape with the yarn.
Step 4: With your right hand, insert the needle into the loop on your left thumb, going from front to back.
Step 5: Use your right thumb to wrap the yarn around the needle, going over it from back to front.
Step 6: Use your right thumb to pull the newly formed loop through the loop on your thumb, creating a new stitch. Slip this stitch onto your right needle and tighten it. Repeat steps 4-6 until you have cast on the desired number of stitches.
Once you have cast on all the stitches needed for the booties, you are ready to start working the first row of the pattern. Remember to check the instructions carefully for any specific details on stitch count or pattern repeat.
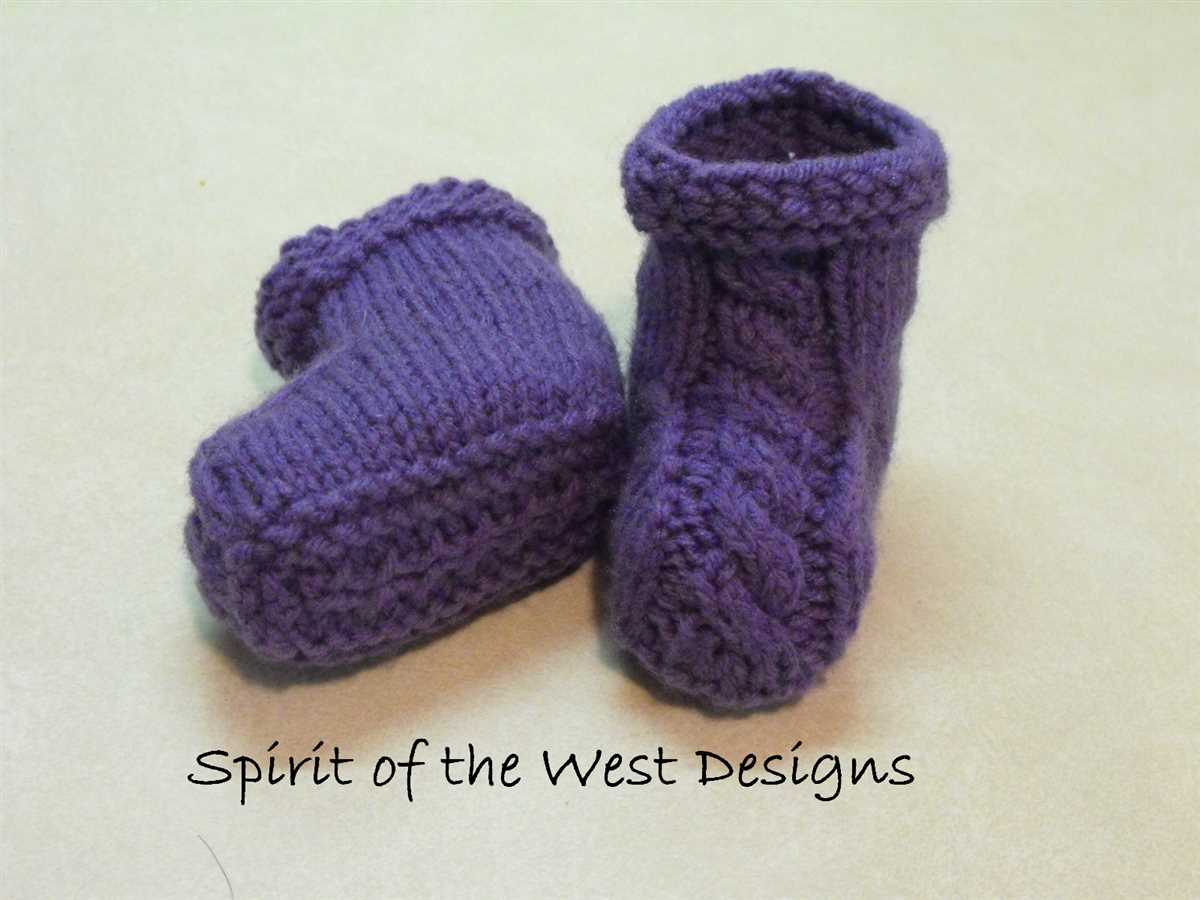
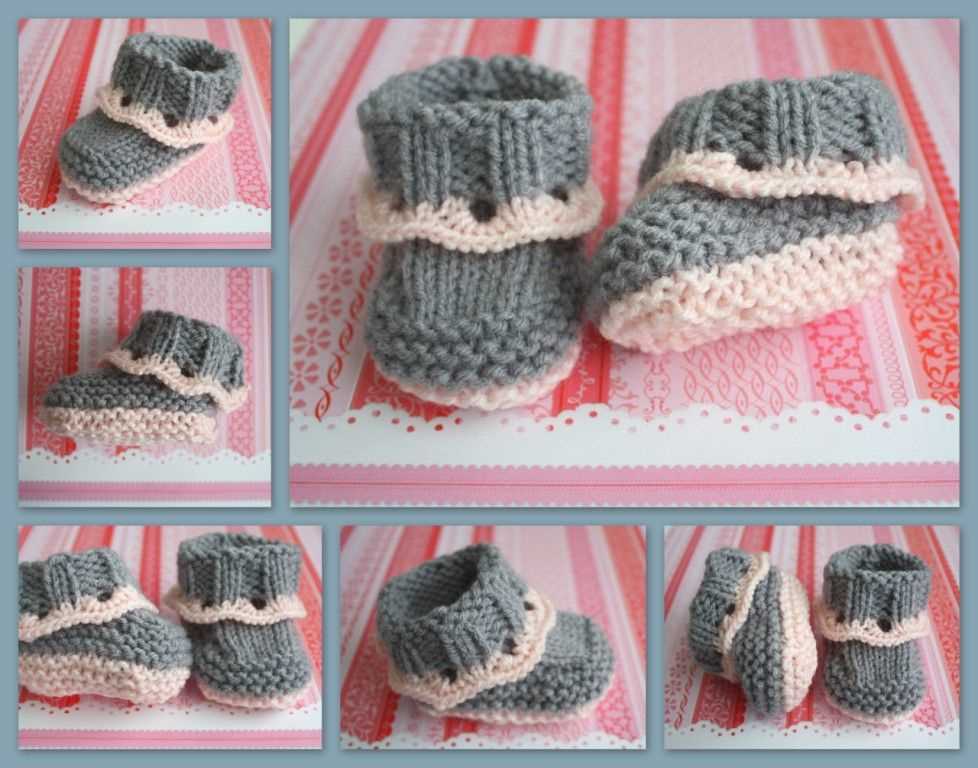
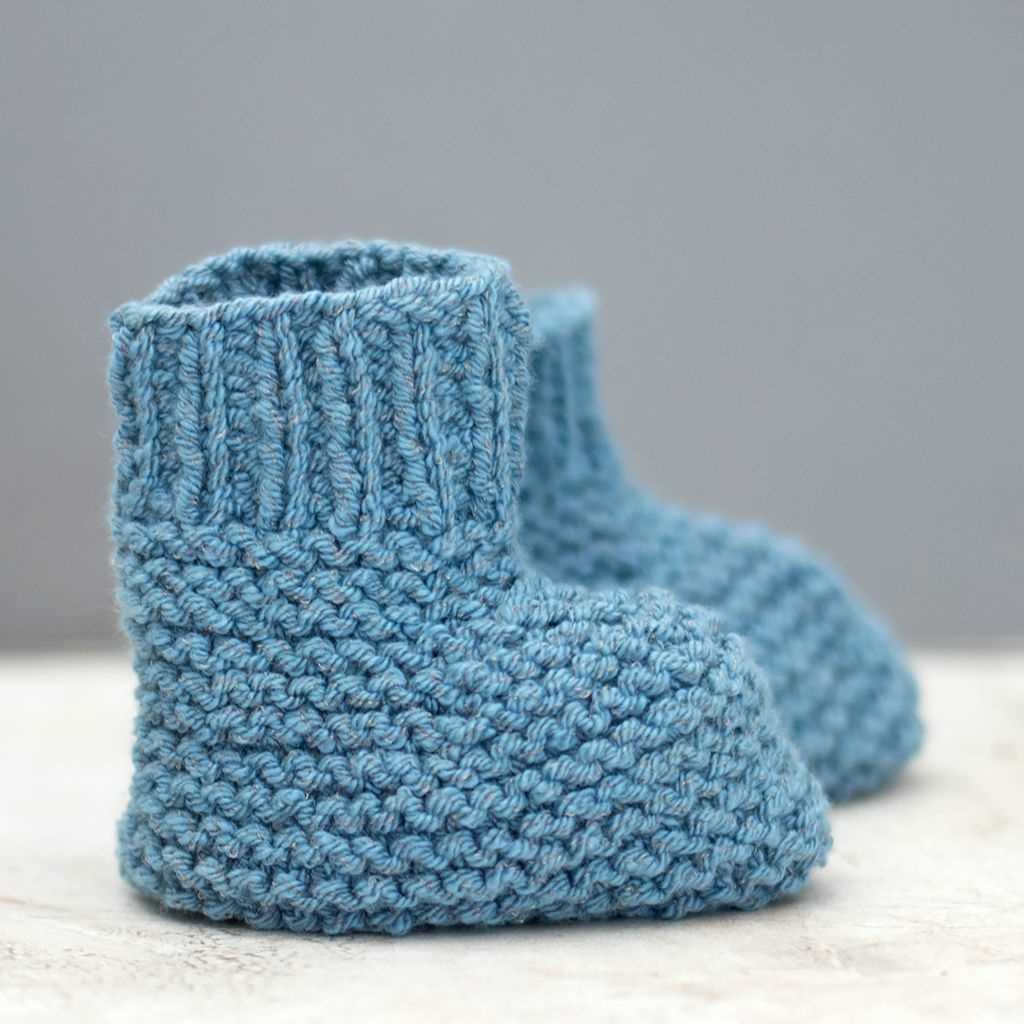
Creating the Ribbing for Stay-on Booties
When knitting stay-on booties, it is important to create a ribbed cuff that will help keep the booties securely on the baby’s feet. The ribbing provides elasticity and ensures a snug fit, preventing the booties from slipping off. To create the ribbing, you will need to use a combination of knit and purl stitches.
To start, cast on the desired number of stitches for the cuff. It is recommended to use a smaller needle size than the main body of the booties to create a tighter, stretchier ribbing. A common ribbing pattern is k2, p2, where you knit two stitches, then purl two stitches, repeating this pattern until the end of the row.
Continue knitting the ribbed cuff in the k2, p2 pattern for the desired length. This pattern creates columns of knit stitches and purl stitches that give the ribbing its characteristic texture. Remember to keep the tension even throughout the row to maintain the elasticity of the ribbing.
Once you have reached the desired length, you can either bind off the stitches in the ribbing pattern or switch to a different stitch pattern for the main body of the booties. The ribbing provides a nice transition from the cuff to the rest of the booties, creating a professional and finished look.
Shaping the Body of Stay-on Booties
When knitting stay-on booties, the shaping of the body is an important step that ensures a snug fit and keeps the booties securely on the baby’s feet. The body shaping is usually done by decreasing stitches gradually, creating a tapering effect towards the ankle.
To shape the body of stay-on booties, begin by knitting the desired number of stitches for the sole. This can vary depending on the size of the booties and the gauge of your knitting. Once the sole is complete, you can start shaping the body.
One common way to shape the body is by knitting a few rounds in the main stitch pattern, which could be a simple rib or a textured pattern. Then, begin decreasing stitches evenly across the round. This can be done by knitting two stitches together, or by slipping one stitch, knitting the next stitch, and then passing the slipped stitch over the knitted stitch.
Continue to work in the main stitch pattern and decrease stitches evenly every few rounds or as indicated in the pattern. This will gradually narrow the body of the booties and create a snug fit. It’s important to be mindful of the gauge and the desired fit, as the shaping should be done gradually to ensure the booties don’t become too tight or loose.
Once the desired number of stitches have been decreased and the body has been shaped, you can then continue knitting the booties according to the pattern instructions. This may involve knitting a few more rounds in the main stitch pattern or transitioning to a different stitch pattern for the cuff or ankle portion of the booties.
By following the instructions for shaping the body of stay-on booties, you can create a comfortable and secure fit that will keep the booties in place on the baby’s feet. It’s important to take the time to carefully shape the body and ensure that the booties fit well before moving on to the next steps of the knitting pattern.
Adding the Heel Flap to Stay-on Booties
When knitting stay-on booties, adding a heel flap can provide extra durability and a better fit for the baby’s foot. The heel flap is worked separately from the rest of the bootie and is then attached to the back of the bootie during the knitting process. This technique ensures that the bootie stays securely on the baby’s foot while also allowing for easy on and off.
To add the heel flap, start by knitting the specified number of stitches for the heel flap onto a separate set of double-pointed needles or a circular needle. The size of the heel flap will vary depending on the size of the bootie, so be sure to follow the pattern instructions carefully. Once you have the required number of stitches on your needles, work back and forth in rows, knitting on the right side and purling on the wrong side.
When knitting the heel flap, it is important to maintain the same tension as the rest of the bootie to ensure a consistent fit. This can be achieved by using the same needle size and yarn weight as the rest of the project. Additionally, you may choose to reinforce the heel flap by slipping the first stitch of every row as if to purl, which creates a neater edge.
After completing the heel flap, you will then join it to the rest of the bootie by picking up stitches along the sides of the heel flap and continuing to knit in the round. This will create a seamless transition and ensure that the bootie stays securely on the baby’s foot.
By adding a heel flap to stay-on booties, you can enhance both the durability and fit of the bootie. This extra step in the knitting process allows for a more snug and secure fit, ensuring that the booties stay on even the most active little feet.
Turning the Heel for Stay-on Booties
When knitting stay-on booties, one of the important steps is turning the heel. This is where you shape the heel to fit the baby’s foot snugly, ensuring that the booties stay in place.
1. Begin the Heel Turn
To start turning the heel, you will need to work on a specific number of stitches. This number will vary depending on the size of the booties and the pattern you are using. Once you have reached the designated number of stitches, you can begin the heel turn.
- Knit or purl the specified number of stitches, usually starting with the right side of the work.
- Next, you will need to create a gap by turning the work. This is done by slipping the next stitch purlwise, bringing the yarn to the front of the work, and slipping the same stitch back onto the left needle.
- Move the yarn to the back of the work and either knit or purl the next stitch, again depending on the pattern instructions.
2. Short Rows
Once you have turned the work and created the gap, you will begin working short rows to shape the heel. Short rows involve working only a portion of the stitches and leaving the remaining stitches unworked.
- After turning the work, knit or purl a specified number of stitches, usually starting with the wrong side of the work.
- Turn the work again and again knit or purl a specified number of stitches, always leaving a gap between the stitches you worked and the unworked stitches.
- Continue this process until you have worked all the specified stitches and have created a triangular shape in the heel area.
By shaping the heel through short rows, you create a curved edge that will fit the baby’s foot comfortably. This is essential for the booties to stay on securely. Once you have completed the heel turn, you can continue knitting the rest of the bootie according to the pattern instructions.
Picking Up Stitches for Stay-on Booties
When knitting stay-on booties, one of the important steps is picking up stitches along the edges of the bootie to create the straps or ties that will help keep the booties on the baby’s feet. This process can be a bit tricky, but with a little practice, it becomes easier.
To start, you will need a set of double-pointed needles or a circular needle, depending on your preference. Begin by inserting the needle into the edge stitch of the bootie, picking up one stitch for every two rows of knitting. It’s important to maintain an even ratio of stitches to rows to keep the bootie’s shape intact.
Next, insert your needle through the next stitch, wrapping the yarn around and pulling it through to create a new stitch. Repeat this process until you have picked up the desired number of stitches along the edge of the bootie.
Once all the stitches are picked up, you can begin working the straps or ties. This can be done using a simple knit stitch, purl stitch, or any other stitch pattern you prefer. Make sure to work the desired length of the straps, keeping in mind that they need to be long enough to wrap around the baby’s foot and tie securely.
Finally, when you have finished working the straps, you can secure them by either sewing the ends together or adding a button or snap closure. This will ensure that the booties stay in place on the baby’s feet and provide a snug fit.
Remember, practice makes perfect when it comes to picking up stitches for stay-on booties. Don’t be afraid to try different techniques and experiment with different stitch patterns to create unique and personalized booties for your little one.
Knitting the Gusset for Stay-on Booties
When knitting stay-on booties, the gusset is an essential part of the pattern that helps create a snug fit and ensures that the booties stay in place on the baby’s feet. The gusset is knitted in a triangular shape on either side of the foot and is joined with the heel flap to form the base of the booties.
To begin knitting the gusset, first, you will need to pick up stitches along the edges of the heel flap. This is typically done by inserting the needle into the slipped stitch edges of the heel flap and knitting or purling the desired number of stitches onto the needle. This will create a smooth transition from the heel flap to the gusset triangle.
Once the stitches are picked up, you will begin shaping the gusset triangle by working a series of decreases on each side. Common decreases used in gusset shaping include knit two together (k2tog) and slip, slip, knit (ssk). These decreases help bring the gusset inwards, creating the pointed shape of the triangle.
It’s important to follow the pattern instructions carefully when shaping the gusset, as the number of stitches and the rate of decreases will vary depending on the specific bootie design. Pay close attention to any stitch markers or specific stitch patterns indicated in the pattern to ensure proper shaping.
Once the gusset is shaped, you can continue knitting the foot of the booties as directed in the pattern. The gusset will provide extra room and flexibility for the baby’s foot, ensuring a comfortable fit. When completed, the booties should fit securely on the baby’s feet, preventing them from slipping off easily.
Shaping the Toe for Stay-on Booties
When knitting stay-on booties, one of the most important steps is shaping the toe. This is what will give the booties a snug and comfortable fit on your baby’s feet. Here, we will outline the steps involved in shaping the toe for stay-on booties.
1. Decreasing stitches: To shape the toe, you will need to decrease the number of stitches gradually. This can be done by working a series of decrease rounds. The decrease rounds can be worked in a variety of ways, such as knitting two stitches together or slipping stitches and passing them over. The specific decrease pattern will depend on the instructions provided in the booties’ knitting pattern.
2. Maintaining stitch pattern: While decreasing stitches, it is important to maintain the stitch pattern of the booties. This means that you will need to continue knitting the specified stitch pattern, such as ribbing or seed stitch, as you decrease. Pay close attention to the pattern instructions to ensure that you are decreasing in the correct places while keeping the pattern intact.
3. Shaping the point: As you continue to decrease stitches, you will start to see the toe of the booties taking shape. The goal is to create a rounded or pointed toe, depending on the desired style. Keep decreasing until you reach the desired number of stitches and shape for the toe. This may involve alternating between decrease rounds and plain knitting rounds, as specified in the pattern instructions.
4. Seaming the toe: Once you have shaped the toe and reached the desired number of stitches, you will need to close it. This can be done by threading a yarn needle with the yarn tail and stitching the remaining open stitches together. This creates a seamless and secure toe for the booties.
By following these steps, you can successfully shape the toe for stay-on booties and create a comfortable and snug fit for your little one’s feet. Remember to always read and follow the instructions provided in the knitting pattern for the best results.
Finishing Touches: Binding Off and Weaving in Ends
When you reach the end of your knitting project, it’s important to properly finish off your work to ensure a clean and polished result. One of the final steps in knitting is binding off, which secures the last row of stitches and prevents them from unraveling. To bind off, simply knit the first two stitches as usual, then insert your left needle into the first stitch on your right needle. Lift this stitch over the second stitch and off the needle, leaving one stitch on your right needle. Knit the next stitch and repeat the process until only one stitch remains, then cut your yarn leaving a long tail.
After binding off, there will likely be loose ends of yarn hanging from your project. These ends need to be woven in to ensure they don’t come undone. To weave in ends, thread your yarn tail onto a tapestry needle and thread it through the stitches on the wrong side of your work. Make sure to go in different directions and retrace your path a few times to securely anchor the yarn. Trim any excess yarn, being careful not to cut through any stitches. This will give your project a clean and professional finish.
To make the final touches on your stay on booties, you can use the same binding off and weaving in ends techniques. Once the booties are complete, bind off following the instructions above. Then, weave in any loose ends using a tapestry needle. You can also use this opportunity to shape the booties, if desired. Gently steam them with a steam iron or a steaming kettle, being careful not to touch the iron or kettle to the yarn, and shape them by hand. Allow the booties to dry completely before wearing or gifting them. These finishing touches will give your stay on booties a polished look and ensure they stay in place comfortably on your feet.
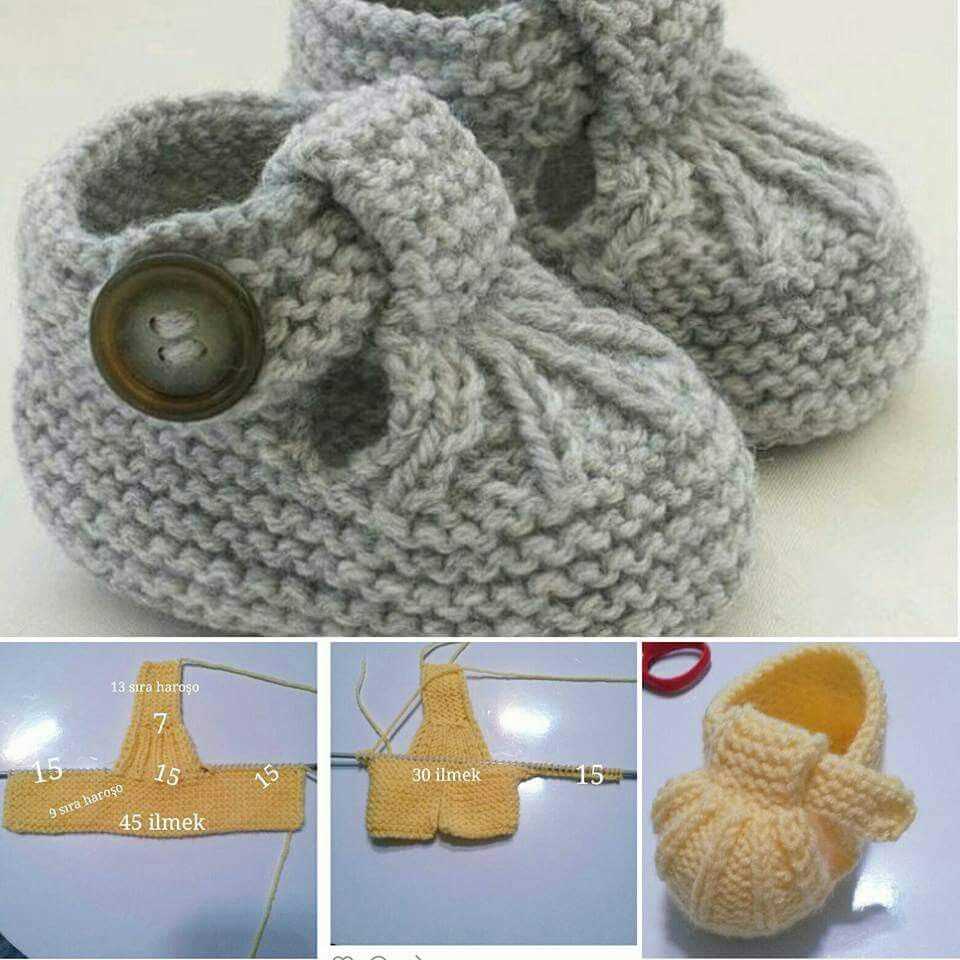
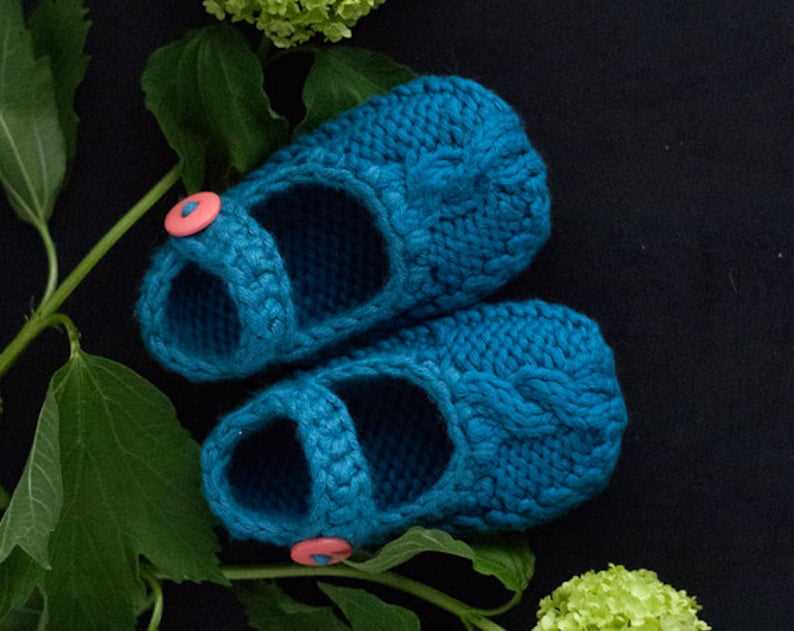
Embellishments for Stay-on Booties: Adding Buttons or Pompoms
Stay-on booties are not only practical but also cute and stylish. To add a touch of personality to these adorable booties, you can consider embellishing them with buttons or pompoms. These simple additions can elevate the look of the booties and make them even more eye-catching.
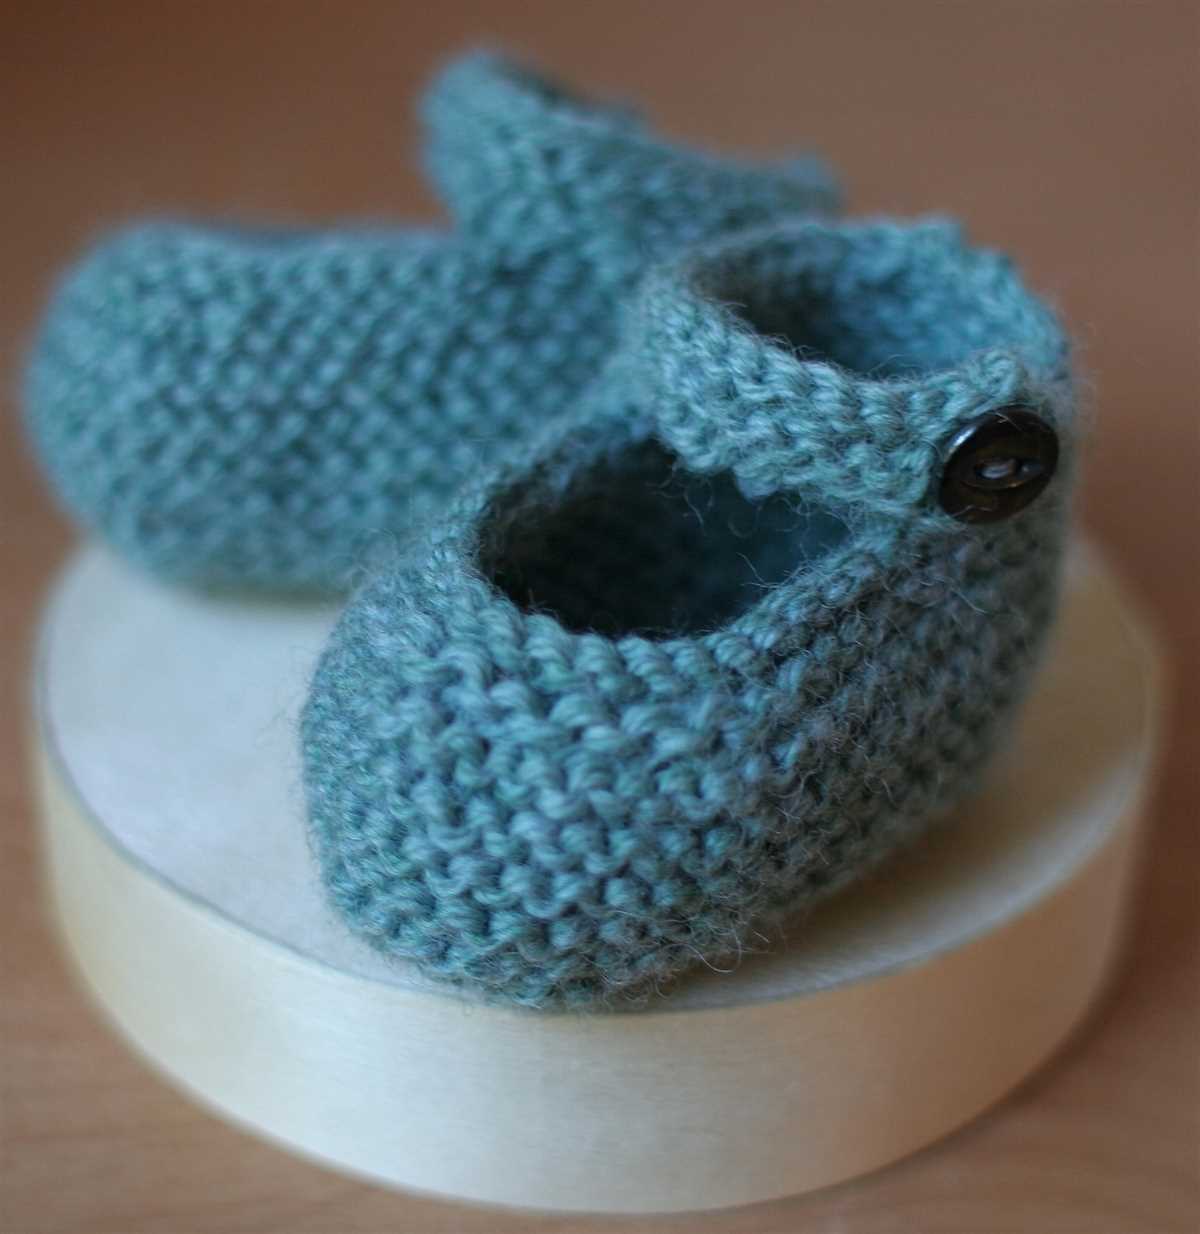
Adding Buttons:
If you want to make the booties more fashionable, you can sew buttons onto them. Buttons come in various shapes, sizes, and colors, allowing you to customize the booties according to your preference. You can choose buttons that match the yarn color or opt for contrasting buttons to create a pop of color. Sew the buttons securely onto the upper part of the booties, making sure they are firmly attached.
Adding Pompoms:
Pompoms are another fun way to embellish stay-on booties. You can use store-bought pompoms or make your own using yarn and a pom-pom maker. Attach the pompoms to the back of the booties or on the ankle strap, creating a playful and whimsical look. Experiment with different colors and sizes of pompoms to create a unique and personalized pair of booties.
Conclusion:
Adding buttons or pompoms to stay-on booties is a simple and creative way to enhance their overall appearance. These embellishments allow you to add a personal touch and make the booties more stylish. Whether you choose buttons or pompoms, both options can be easily customized to suit your preferences and make the booties stand out. So have fun experimenting with different embellishments and create a unique pair of stay-on booties that will surely catch everyone’s attention!
Q&A:
What is a stay on booties knitting pattern?
A stay on booties knitting pattern is a set of instructions that guide you on how to knit booties that will stay on the baby’s feet. These booties typically have adjustable closures or unique design elements that help them stay in place.
Why would I need a stay on booties knitting pattern?
Stay on booties knitting patterns are especially useful for baby booties as babies tend to kick their feet and wiggle their toes, causing regular booties to fall off easily. By using a stay on booties knitting pattern, you can ensure that the booties will stay on the baby’s feet and keep them warm and snug.
Where can I find a stay on booties knitting pattern?
You can find stay on booties knitting patterns in various places. Online knitting websites, knitting books, and knitting magazines often have a selection of patterns to choose from. You can also find patterns on craft-focused websites or by searching for specific patterns on search engines.
What materials do I need to knit stay on booties?
To knit stay on booties, you will typically need yarn in your desired color and thickness, knitting needles of the appropriate size, a tapestry needle for sewing or finishing, and any additional materials required by the specific knitting pattern you are using. Some patterns may also recommend using buttons, snaps, or other closures for added functionality.