
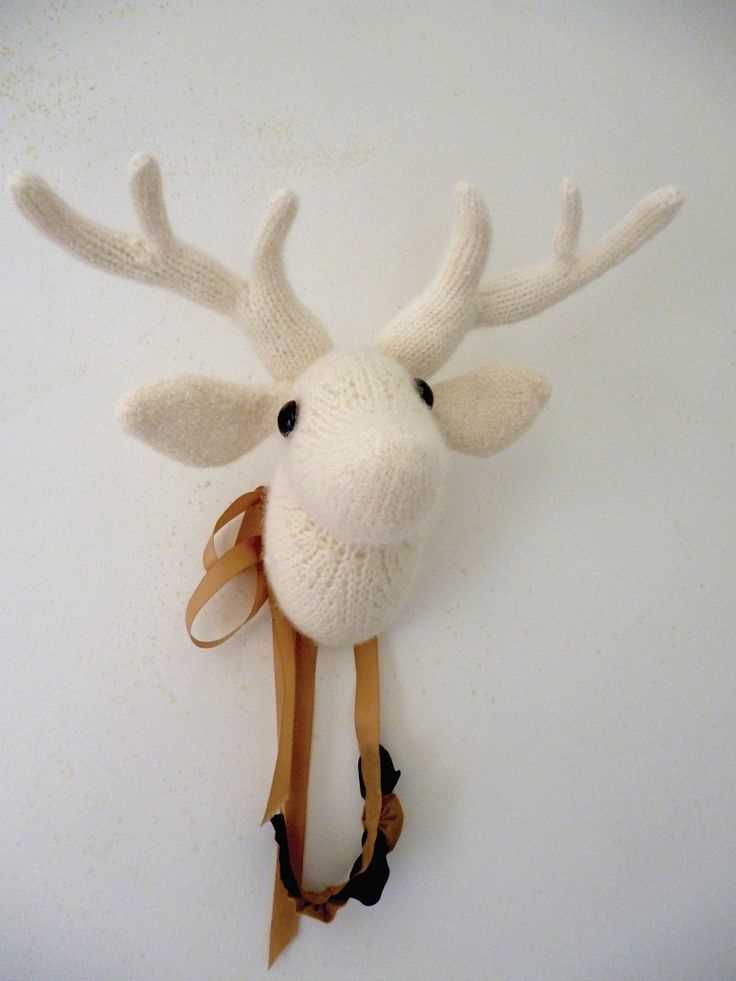
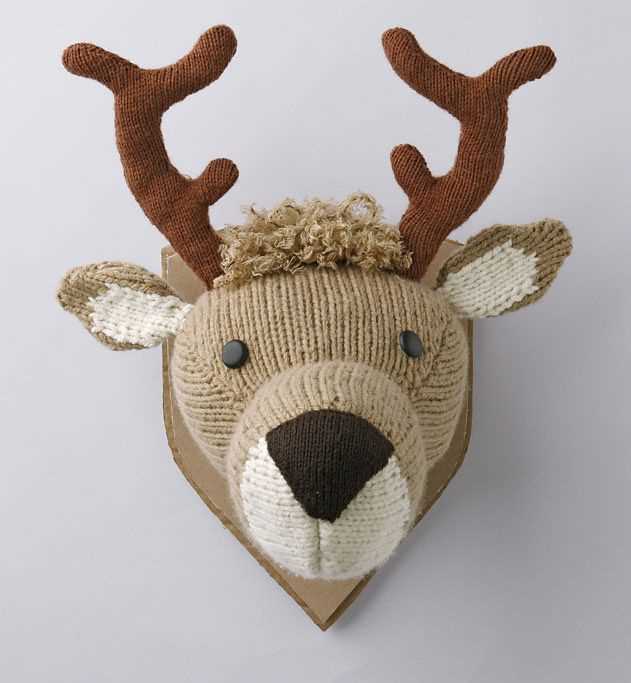
If you’re looking for a fun and unique project to adorn your walls, a knitted deer head might be just what you need. This trendy and modern design is the perfect addition to any home, adding a touch of rustic charm and creativity to your decor. Whether you’re an experienced knitter or a beginner looking for a challenge, this pattern is sure to bring joy and satisfaction to your knitting experience.
Knitting a deer head may sound complicated, but with the right pattern and some patience, you’ll be able to create a beautiful piece of art that will impress everyone who sees it. The pattern will guide you through the steps, from choosing the right yarn and needles to creating each individual part of the deer head. The finished product will be a lifelike and eye-catching decoration that will make a statement in any room.
The knitted deer head pattern is not only a rewarding knitting project, but it also allows you to customize the design to your liking. You can choose the colors that best match your home decor, or even experiment with different patterns and textures to create a truly unique piece. Additionally, this pattern enables you to make adjustments to the size of the deer head, allowing you to create a small and cute piece or a large and majestic one, depending on your preference.
So, if you’re ready to take your knitting skills to the next level and create an impressive piece of art for your home, give the knitted deer head pattern a try. With its versatility and creativity, this project is guaranteed to bring a smile to your face and a sense of accomplishment. Get your knitting needles ready and let your imagination run wild as you bring this beautiful deer head to life!
How to Knit a Deer Head: A Step-by-Step Guide
Knitting a deer head can be a fun and creative project for those who enjoy both knitting and home decor. With some basic knitting skills and a deer head pattern, you can create a unique and charming centerpiece for your space. Follow this step-by-step guide to learn how to knit a deer head.
Materials Needed:
- Yarn in desired colors (brown, white, and black)
- Knitting needles (size will depend on the yarn weight)
- Filling or stuffing material
- Yarn needle
- Scissors
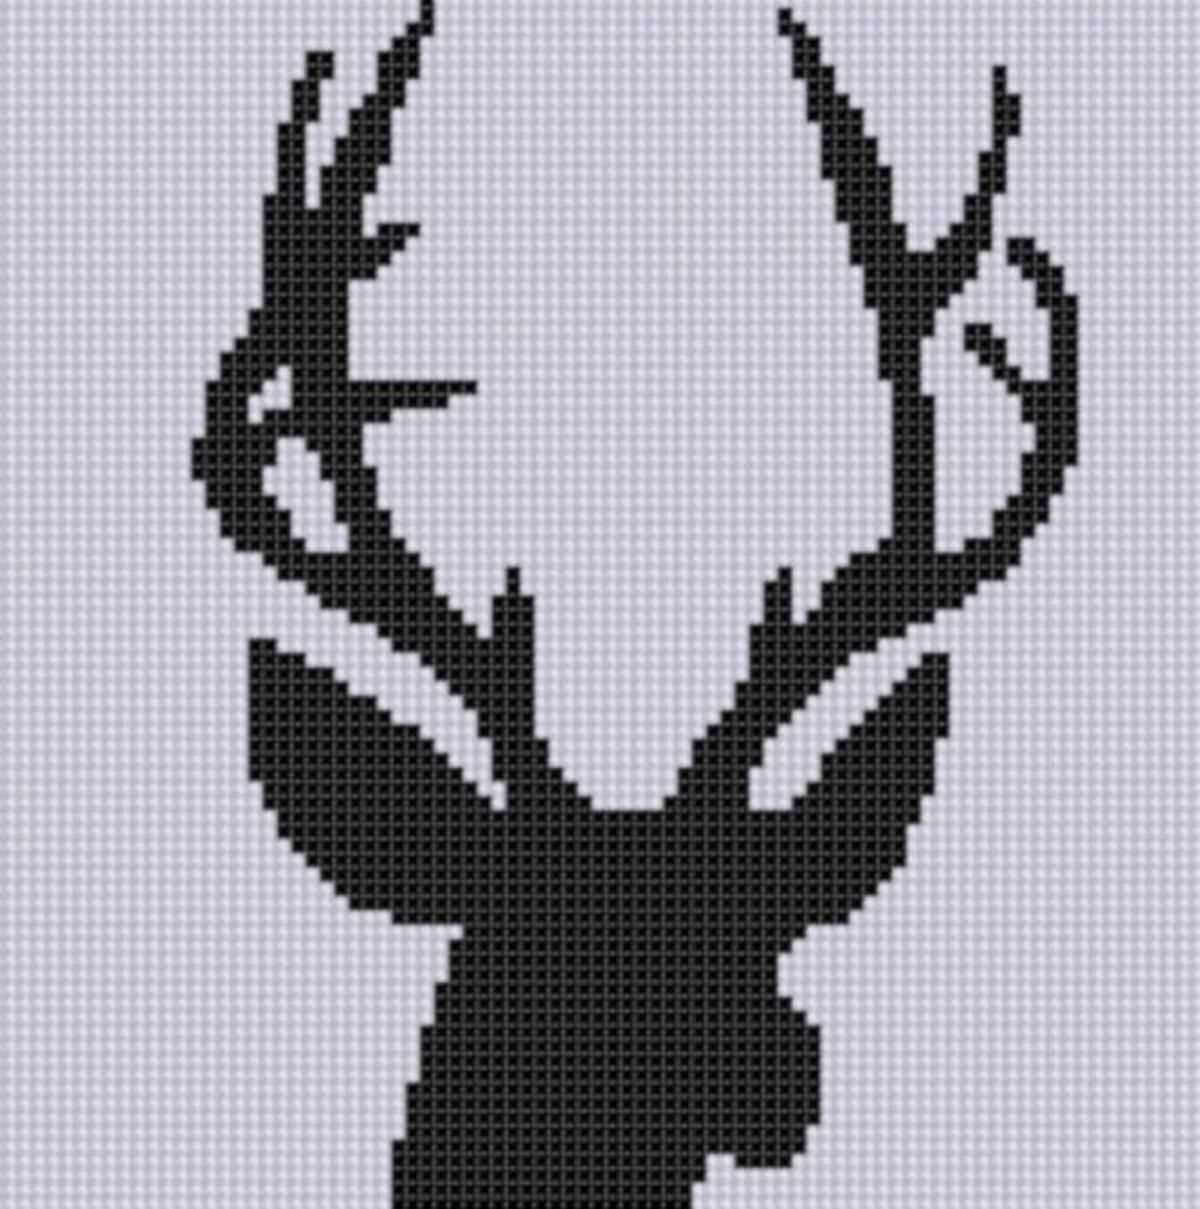
- Deer head knitting pattern
Step 1: Gather Your Materials
Before you begin knitting, make sure you have all the necessary materials ready. This includes yarn in the colors you want for your deer head, knitting needles, filling material, a yarn needle, and scissors. Additionally, download or print out a deer head knitting pattern that you will be following throughout the process.
Step 2: Start Knitting the Base
Begin by casting on the required number of stitches indicated in the pattern for the deer head base. This will typically be a rectangular shape that forms the main body of the deer head. Follow the instructions in the pattern for the specific stitch pattern to use and the number of rows to knit.
Step 3: Shape the Deer Head
Once you have completed the base, you will begin shaping the deer head. This step will involve decreasing stitches to create the tapered shape of the head. Again, refer to the pattern for the specific instructions on how to shape the head. This may involve knitting two stitches together or using other knitting techniques to achieve the desired shape.
Step 4: Add the Antlers and Facial Features
After shaping the head, it’s time to add the antlers and facial features to bring your knitted deer head to life. Use the pattern to knit and attach the antlers onto the head, and then embroider or add buttons for the eyes and nose. You can also use embroidery thread or black yarn to create details such as the mouth or eyebrows.
Step 5: Finish and Assemble
Once all the knitting and detailing is complete, it’s time to finish and assemble your knitted deer head. Cut your yarn, leaving a long tail for sewing. Use the yarn needle to weave in any loose ends and sew any openings closed. Stuff the deer head with filling material, making sure to shape it as you go. Once the head is fully stuffed, sew it closed.
By following these step-by-step instructions and using a deer head knitting pattern, you can create a beautiful knitted deer head to display in your home. Get creative with your color choices and enjoy the process of bringing this unique piece to life with your knitting skills.
Choosing the Right Materials for Your Knitted Deer Head
When it comes to knitting a deer head, choosing the right materials is essential to create a beautiful and realistic finished product. The materials you choose will not only affect the final appearance of your deer head, but also its durability and ease of knitting.
Yarn: The type of yarn you use will greatly impact the texture and overall look of your knitted deer head. To achieve a soft and natural appearance, opt for a yarn that mimics the texture of deer fur such as mohair or alpaca yarn. These yarns have a fuzzy texture that adds depth and realism to the finished piece. Additionally, consider using yarn in various shades of brown and tan to create a more realistic color palette.
Needles: Choosing the right needles is important to ensure an even stitch and a well-proportioned deer head. For most knitters, a set of double-pointed needles in a size appropriate for the chosen yarn is recommended. However, if you prefer to work with circular needles or have a specific method you are comfortable with, feel free to use those instead. The goal is to have needles that create a tight and even gauge.
Stuffing: To give your knitted deer head structure and shape, you will need to use stuffing. There are many options to choose from, including polyester fiberfill, wool roving, or even scrap yarn. The key is to choose a stuffing material that is firm enough to hold its shape but also lightweight so that it doesn’t weigh down the knitted fabric.
Accessories: Depending on your desired final look, you may want to consider adding some accessories to your knitted deer head. This could include small antlers made from wire or polymer clay, or even a fabric bow around the neck. Be sure to choose materials that are safe and appropriate for the intended use of your finished project.
In conclusion, choosing the right materials for your knitted deer head is crucial to achieving a realistic and visually appealing result. Consider the type of yarn, needles, stuffing, and any additional accessories you want to incorporate. By carefully selecting these materials, you can create a beautiful knitted deer head that will be treasured for years to come.
Understanding the Knitting Terminology
When it comes to knitting, it is important to understand the terminology used in patterns and instructions. Being familiar with these terms can help you follow patterns accurately and create beautiful knitted pieces. Here are some key knitting terms that every knitter should know:
1. Cast On:
The cast on is the first step in starting any knitting project. It refers to the process of creating the initial stitches on the knitting needle. There are various methods of casting on, including the long-tail cast on, cable cast on, and provisional cast on.
2. Knit:
Knitting is the basic stitch in knitting where the yarn is pulled through the existing stitch on the needle, creating a new loop. It is denoted by the letter “K” in knitting instructions. Knitting can be done in two ways: the English method, where the yarn is held in the right hand, or the Continental method, where the yarn is held in the left hand.
3. Purl:
The purl stitch is the opposite of the knit stitch. It is denoted by the letter “P” in knitting instructions. In the purl stitch, the yarn is brought to the front of the work and then pulled through the existing stitch from right to left, creating a new loop.
4. Decrease:
Decreasing is a technique used to reduce the number of stitches in a row or round of knitting. It is denoted by abbreviations such as “k2tog” (knit two stitches together) or “ssk” (slip slip knit). Decreases are used to shape the fabric or create decorative elements in the knitting.
5. Yarn Over:
A yarn over is an increase technique in knitting where an extra loop of yarn is added to the needle. It is denoted by the abbreviation “yo” in knitting instructions. Yarn overs are used to create decorative holes or eyelets in the fabric.
6. Bind Off:
Binding off, also known as casting off, is the final step in finishing a knitting project. It involves creating a secure edge by working the stitches off the needle and fastening them off. The most common method of binding off is the basic bind off, where each stitch is knitted and passed over the previous stitch on the right needle.
By familiarizing yourself with these knitting terms and techniques, you will be able to confidently tackle any knitting pattern and create beautiful, handmade pieces!
Starting with the Deer Head Base
If you’re looking to make a knitted deer head, you’ll first need to start with the base. The base is the foundation of the entire project and will determine the shape and size of the finished deer head. There are various patterns available online that you can use as a starting point, or you can create your own design.
To begin, you’ll first need to gather the necessary materials. This typically includes yarn in various colors, knitting needles, stuffing, and any additional embellishments you may want to add. It’s important to choose a yarn that is appropriate for the size of the deer head you want to create and that will hold its shape well.
Once you have your materials ready, you can start casting on. The number of stitches you cast on will depend on the size of the deer head you want to make and the gauge of your yarn and needles. It’s a good idea to swatch before starting the actual project to ensure your gauge is accurate.
You can create the base of the deer head using either circular or straight knitting techniques, depending on your preference. If you choose to knit in the round, you’ll need to use circular needles or double-pointed needles. If you prefer to knit flat, you can use straight needles.
Once you’ve cast on the appropriate number of stitches, you can begin knitting the base. This usually involves working in stockinette stitch or a combination of knit and purl stitches to create the desired shape. Be sure to follow the pattern or design you’re using, as it will provide guidance on the specific stitches and techniques to use.
After completing the base, you can begin shaping the deer head. This is typically done by increasing and decreasing stitches in specific areas to create the desired contours and angles. Again, the pattern or design you’re following will provide instructions on how to shape the head.
- Tip: As you work on the base and shape of the deer head, it’s important to stuff it lightly with polyfill or another stuffing material. This will help give the head structure and allow it to hold its shape.
Once you’ve finished shaping the head, you can bind off the stitches and weave in any loose ends. At this point, you’ll have the foundation of your knitted deer head complete and can move on to adding the antlers, eyes, and any other embellishments you desire to bring your creation to life.
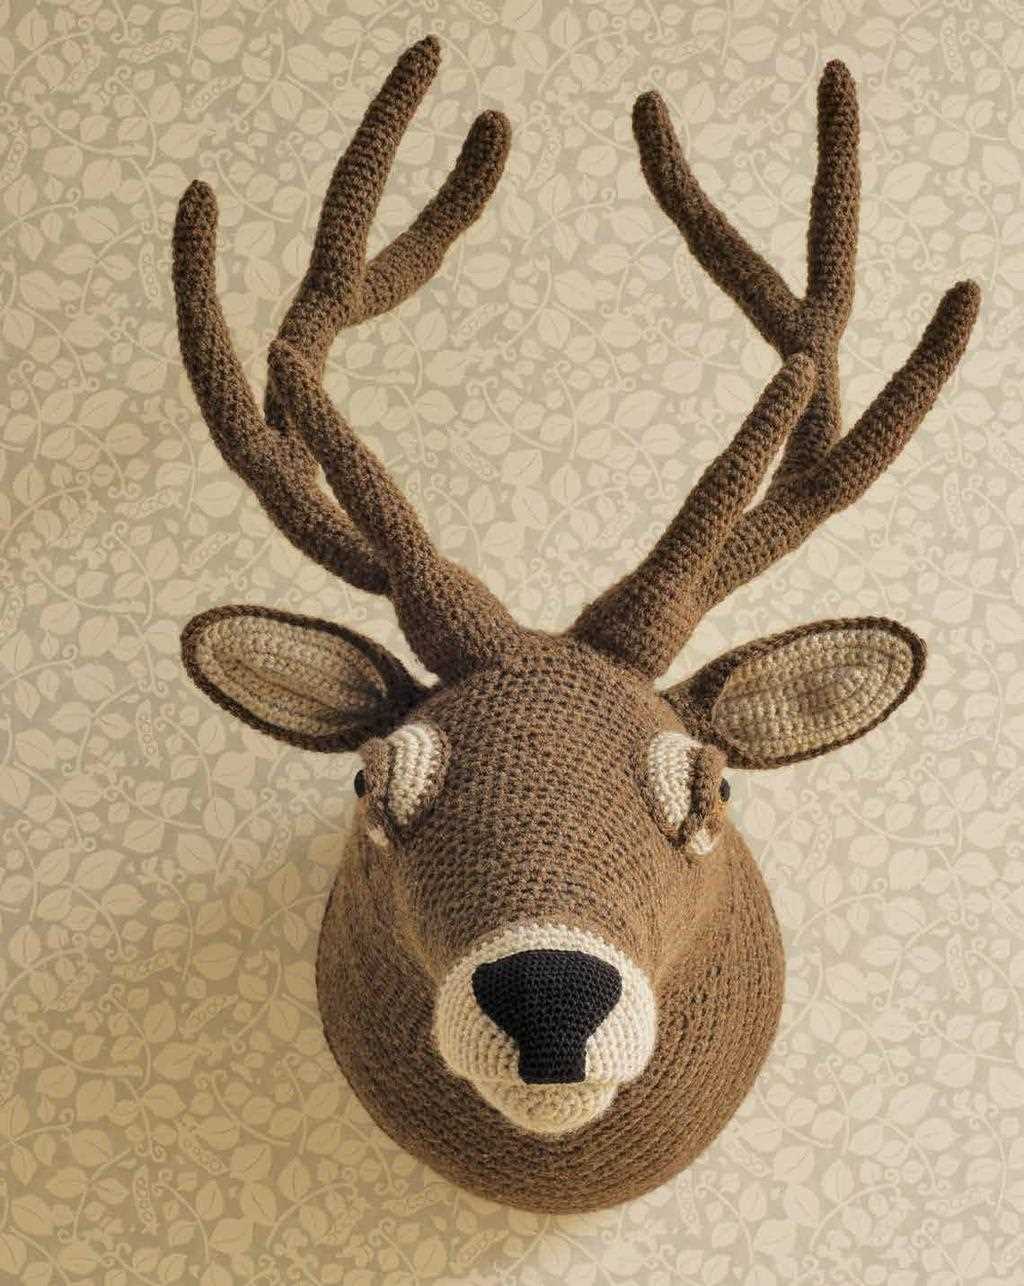
Creating the Antlers
One of the most distinctive features of a deer is its antlers, and it’s important to capture that detail when knitting a deer head. To create the antlers, you will need two double-pointed needles and a skein of yarn in a suitable color.
Start by casting on the required number of stitches for each antler. The pattern should specify the exact number, but it is usually around 20 stitches. Once you have cast on, distribute the stitches evenly onto the double-pointed needles.
Next, work in a specific stitch pattern to create the texture of the antlers. Common stitch patterns include cables, twisted stitches, or even simple stockinette stitch. Follow the pattern instructions closely to achieve the desired effect.
As you work through the rows, you will gradually shape the antlers by increasing or decreasing stitches. This shaping gives the antlers their natural curve and taper. Be sure to keep track of your stitch count and follow the pattern carefully to maintain the correct shaping.
Once you have finished knitting both antlers, you can attach them to the deer head. The pattern will provide instructions for sewing or attaching them securely. Take the time to align the antlers properly and position them symmetrically on either side of the head to achieve a balanced and realistic look.
Shaping the Body of the Deer Head
When knitting a deer head, it is important to shape the body properly to achieve a realistic look. Here are the steps to follow:
1. Start with a base
Begin by knitting a round base for the body of the deer head. This can be done using circular needles and a method such as the magic loop or double-pointed needles. The size of the base will depend on the desired size of the finished deer head.
2. Gradually increase stitches
To create the rounded shape of the body, you will need to gradually increase stitches as you work your way up from the base. This can be done by evenly distributing the increases throughout each round. One common method is to make a yarn over increase at regular intervals.
3. Shape the neck
Once you have reached the desired width for the body, you can start shaping the neck. This involves decreasing stitches gradually to create a narrower section between the body and the head. There are various ways to decrease stitches, such as knitting two stitches together or slipping stitches.
4. Create the chest and shoulders
To give the deer head a more realistic shape, it is important to create a defined chest and shoulders. This can be achieved by increasing stitches in specific areas, such as the front and sides of the neck. You can also shape the shoulders by gradually decreasing stitches towards the top.
5. Finish with shaping the head
Once you have shaped the body, you can move on to shaping the head. This can be done by decreasing stitches gradually to create a more pointed shape towards the top. You can also shape the snout by increasing and decreasing stitches in a specific pattern.
By following these steps, you can successfully shape the body of a knitted deer head to achieve a lifelike appearance.
Adding the Facial Features
Once you have completed knitting the main body of the deer head, it’s time to add the facial features. This step is crucial in bringing your knitted deer head to life and giving it personality. Here are the key facial features you will need to add:
1. Eyes
The eyes are an important part of any animal’s face, as they give it expression. To create the eyes, you can use small black buttons or sew on black beads. Place them evenly on the face, slightly above the center of the head. Sew them securely in place.
2. Nose
The nose is another feature that will give your knitted deer head character. You can use a small triangle-shaped piece of black felt or black yarn to create the nose. Sew it in place just below the eyes, in the center of the head. Make sure it is securely attached.
3. Mouth
The mouth is optional but can add a playful touch to your knitted deer head. You can embroider a simple, curved smile using black yarn or embroidery thread. Place it just below the nose, in the center of the head. Adjust the shape and size to your preference and sew it in place.
4. Antlers

The antlers are an iconic feature of a deer. To create the antlers, you can use brown yarn or brown pipe cleaners. Knit or twist the yarn or pipe cleaners into a shape resembling antlers, and attach them securely to the sides of the head, near the top. Make sure they are firmly attached to prevent them from falling off.
Once you have added these facial features, your knitted deer head will start to take shape and look more like a deer. Feel free to get creative and add any additional details or decorations that you like.
Knitting the Ears
One of the key features of a knitted deer head is its adorable ears. Knitting the ears requires a basic understanding of knitting techniques such as increasing and decreasing stitches. The pattern usually provides instructions on how to create the ears, but here are some general tips to get you started.
Materials: To knit the ears, you will need the appropriate yarn and knitting needles, usually in the same size used for the rest of the project. You may also need stitch markers and a tapestry needle for finishing touches.
There are several ways to knit the ears. One common method is to start by casting on a certain number of stitches, typically around 10-15, depending on the desired size of the ears. Then, using either stockinette or garter stitch, you can work back and forth in rows to create the ear shape.
Another approach is to create the ears separately by working in the round. This technique involves casting on a small number of stitches and joining them in a circle with a slip stitch. You can then knit in the round, either using stockinette or a combination of knit and purl stitches, until the ear reaches the desired length.
Regardless of the method you choose, you may need to shape the ear by decreasing stitches towards the top. This can be done by knitting two stitches together or using other decrease techniques specified in the pattern. Pay attention to the instructions and adjust your knitting accordingly to achieve the desired shape and size of the ears.
Once you have finished knitting the ears, you can attach them to the head of the deer using a tapestry needle and the yarn tails. Make sure to position the ears symmetrically and secure them firmly to the head. Now you’re one step closer to completing your knitted deer head masterpiece!
Assembling the Knitted Pieces
Once you’ve finished knitting all the necessary pieces for your deer head, it’s time to start assembling them. Before you begin, make sure to weave in any loose ends from your knitting to give your project a clean and finished look.
The first step in assembling your knitted deer head is to sew the ears onto the head. Place each ear in the desired position, making sure they are symmetrical, and use a tapestry needle and matching yarn to stitch them in place. Start at the bottom of the ear and sew along the edges, leaving the top open for stuffing.
Next, attach the antlers to the top of the head. Position them where you want them to be, ensuring they are even and centered. Use the same tapestry needle and yarn to sew the base of each antler to the head, making sure they are securely attached.
Once the ears and antlers are in place, it’s time to stuff the head. Fill it with fiberfill or stuffing material of your choice to give it a plump and three-dimensional shape. Make sure to stuff it firmly but not too tightly, as you want it to maintain its shape.
Finally, sew the opening at the bottom of the head closed using the same tapestry needle and yarn. Make small stitches and secure them tightly to ensure that the stuffing doesn’t fall out. Once the opening is sewn shut, your knitted deer head is complete and ready to be displayed!
Adding Details and Embellishments
Once you have completed knitting the main body of your deer head, it’s time to add some details and embellishments to bring your project to life. Here are some ideas:
1. Antlers:
Start by knitting the antlers separately using a different color of yarn. You can create antlers by knitting two small tubes and stitching them securely to the top of the head. Alternatively, you can use wire or pipe cleaners to create a sturdy frame for the antlers and then wrap yarn around them to create the desired shape.
2. Eyes and Nose:
For the eyes, you can use small black buttons or beads and sew them securely onto the face. If you prefer, you can also embroider eyes using black yarn or thread. For the nose, you can use a small piece of black felt and stitch it onto the face, or you can also use embroidery thread to create a simple nose shape.
3. Ears:
To create the ears, you can knit two small triangles and stitch them to the sides of the head. You can also experiment with different shapes and sizes to achieve the desired look. Another option is to use fabric or felt to create the ears and stitch them securely to the head.
4. Decorative Accessories:
Add some personal touches to your knitted deer head by creating and attaching decorative accessories. You can knit a small scarf or bow tie using a contrasting color of yarn and tie it around the neck of the deer. You can also use small fabric flowers, buttons, or beads to embellish the head and give it a unique look.
Remember to securely attach all the details and embellishments to ensure that they do not come loose during use or handling. Have fun getting creative and adding your own personal touch to your knitted deer head!
Finishing Touches and Displaying Your Knitted Deer Head
Once you have finished knitting your deer head, you can add some finishing touches to bring it to life. You can embroider eyes, nose, and mouth onto the face using black or brown yarn. You can also sew on some antlers using the same yarn that you used for the rest of the head. This will give your deer head a more realistic and three-dimensional look.
After adding the finishing touches, it’s time to display your knitted deer head. There are several options for displaying it, depending on your preference and the space you have. Here are a few ideas:
- You can mount the deer head on a wooden plaque or a piece of driftwood. Attach it securely using screws or glue.
- If you prefer a more minimalistic look, you can display the deer head without any mounting. Simply hang it on a wall using a hook or a nail.
- Another option is to use a decorative ribbon or rope to hang the deer head from a hook or a curtain rod. This adds a touch of charm and gives your knitted deer head a unique display.
No matter how you choose to display your knitted deer head, it will surely be a conversation piece and a unique decoration for your home. Whether you’re a nature lover or simply enjoy the art of knitting, creating a knitted deer head can be a fun and rewarding project that allows you to showcase your creativity and skills. So grab your knitting needles and start making your own knitted deer head today!