
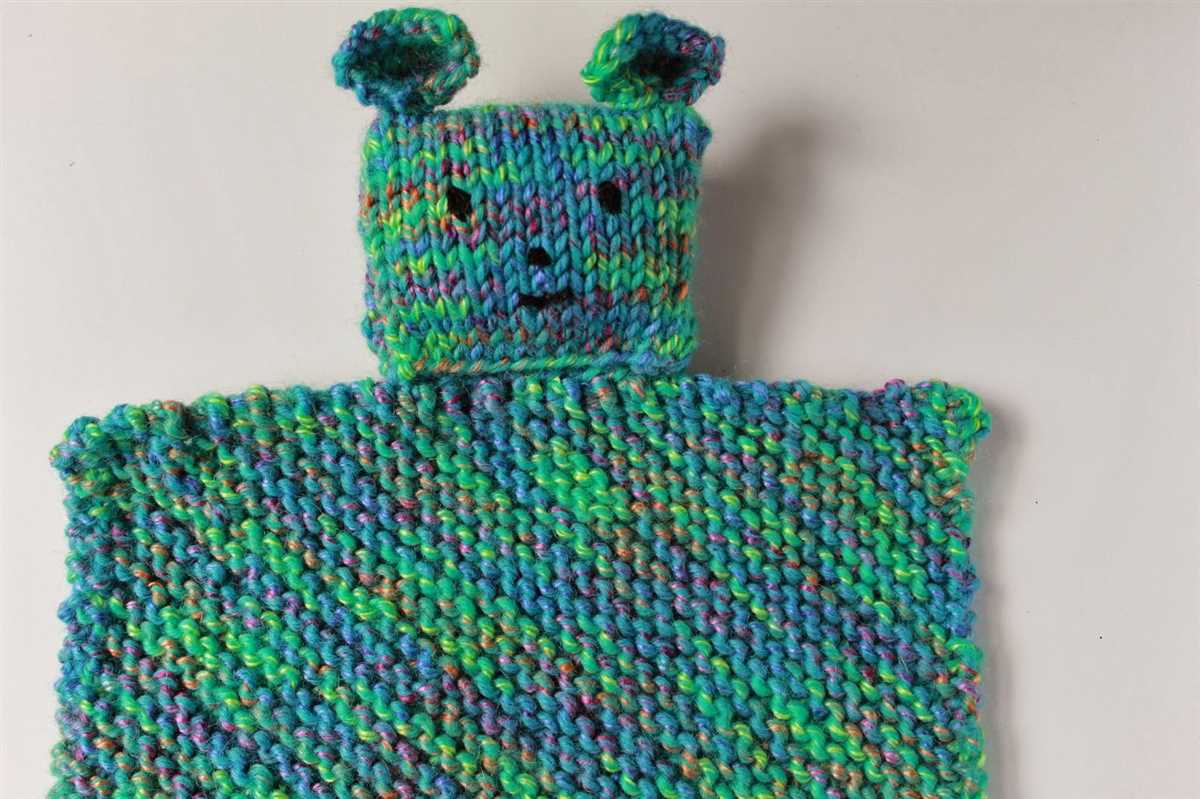
Are you a knitting enthusiast looking for a new project? Look no further! We have the perfect knitting pattern for you – the Blanket Buddy! This adorable blanket and toy combo is perfect for both kids and adults. Whether you’re knitting it for a baby shower gift or just for yourself, the Blanket Buddy is a fun and practical project that you’ll love working on.
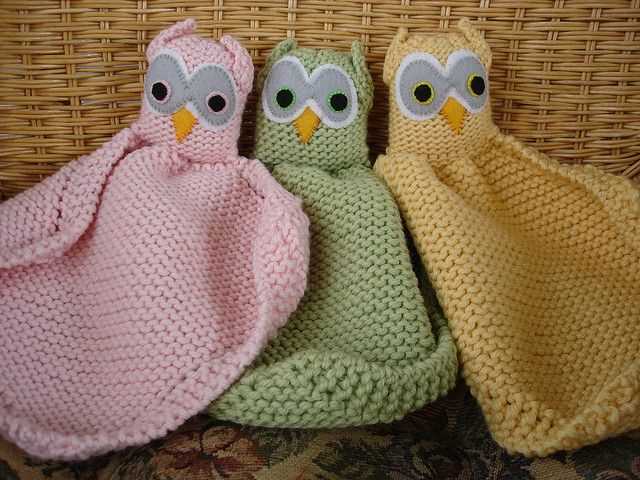
The Blanket Buddy is a cozy blanket that comes with an attached stuffed animal head and arms. It’s like having a cuddly friend and a blanket all in one! The pattern is simple and beginner-friendly, making it a great project for knitters of all skill levels. With just a few basic stitches, you’ll be able to create a beautiful and functional blanket that will surely become a cherished keepsake.
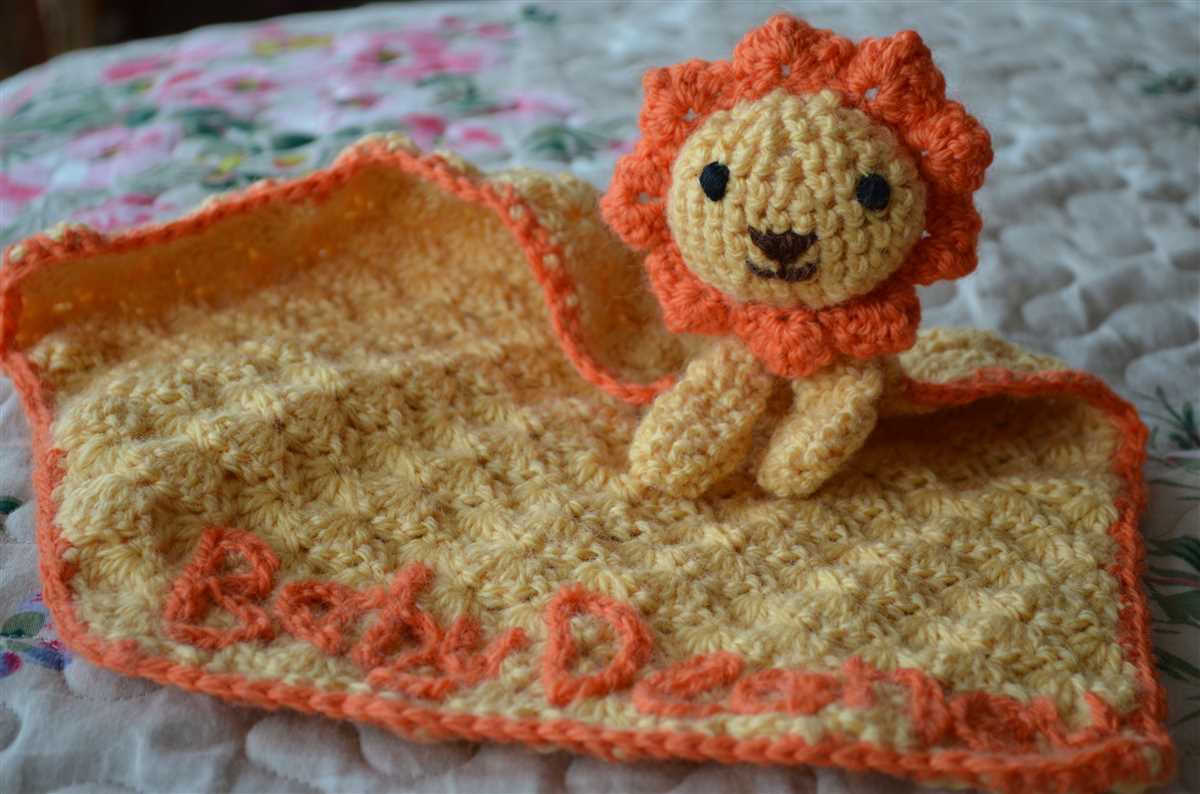
Not only is the Blanket Buddy a warm and comforting accessory, but it also makes a great gift idea. Imagine the joy on a child’s face when they receive their very own Blanket Buddy! It’s the perfect companion for bedtime, naptime, or just lounging around the house. Plus, the customizable options are endless – choose your favorite colors and even experiment with different animal designs. The possibilities are truly endless!
What is a Blanket Buddy?
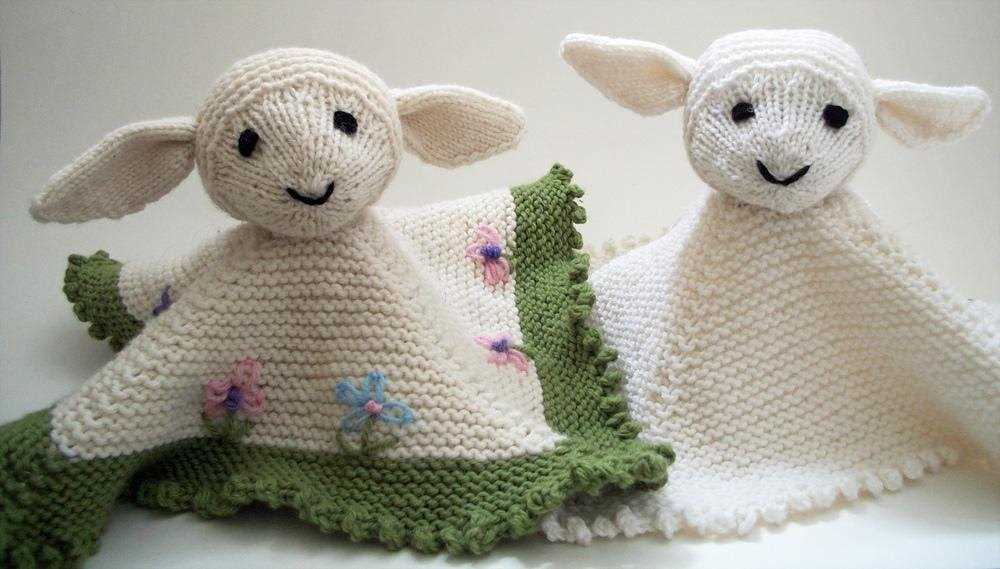
A Blanket Buddy is a knitted or crocheted stuffed animal toy that is also a blanket. It is a combination of a soft and cuddly toy and a cozy blanket, providing comfort and companionship to both kids and adults. The Blanket Buddy pattern allows you to create your own unique creation, choosing the colors, textures, and patterns that you love.
These adorable creatures are perfect for snuggling up with on chilly nights or for providing comfort during naptime or travel. The blankets can be easily folded and stored inside the buddy, making it convenient to take them on trips or to keep them tidy when not in use. They are also great for gifting, as they are personalized and made with love.
The Free Blanket Buddy knitting pattern provides step-by-step instructions on how to create this versatile toy. The pattern includes a list of materials needed, as well as detailed directions on how to knit or crochet the buddy and attach the blanket. It is a fun and rewarding project for both beginners and experienced crafters, as it allows you to showcase your creativity and create a unique toy that will be cherished for years to come.
Benefits of Knitting a Blanket Buddy
Knitting a blanket buddy can bring a multitude of benefits, both for the knitter and the recipient of the knitted item. Whether you’re making it for yourself or as a thoughtful gift, here are a few reasons why knitting a blanket buddy is a great idea.
1. Personalized and Unique
One of the biggest advantages of knitting a blanket buddy is the opportunity to create something completely personalized and unique. You can choose the colors, patterns, and even add special touches like embroidered initials or decorative buttons. This allows you to make a truly one-of-a-kind item that reflects the recipient’s personality or your own.
2. Therapeutic and Relaxing
Knitting has long been known for its therapeutic and relaxing benefits. Many knitters find that the repetitive motion of the needles and the focus required to create intricate patterns can help reduce stress and promote relaxation. Knitting a blanket buddy gives you the chance to unwind and enjoy a creative outlet while also working towards a tangible and useful end product.
3. Practical and Functional
A blanket buddy is not only a cute and cuddly companion, but it also serves a practical purpose. Knitted blankets provide warmth and comfort, making them perfect for cozy nights on the couch or as an extra layer of insulation during colder months. With a blanket buddy, you can have both a cute toy and a functional blanket all in one.
4. Thoughtful and Meaningful

Knitting a blanket buddy requires time, effort, and care, making it a thoughtful and meaningful gift. By dedicating your time and skills to create something special, you are expressing your love and affection for the recipient. A handmade blanket buddy is a personal and heartfelt gift that will be cherished and appreciated for years to come.
5. Versatile and Adaptable
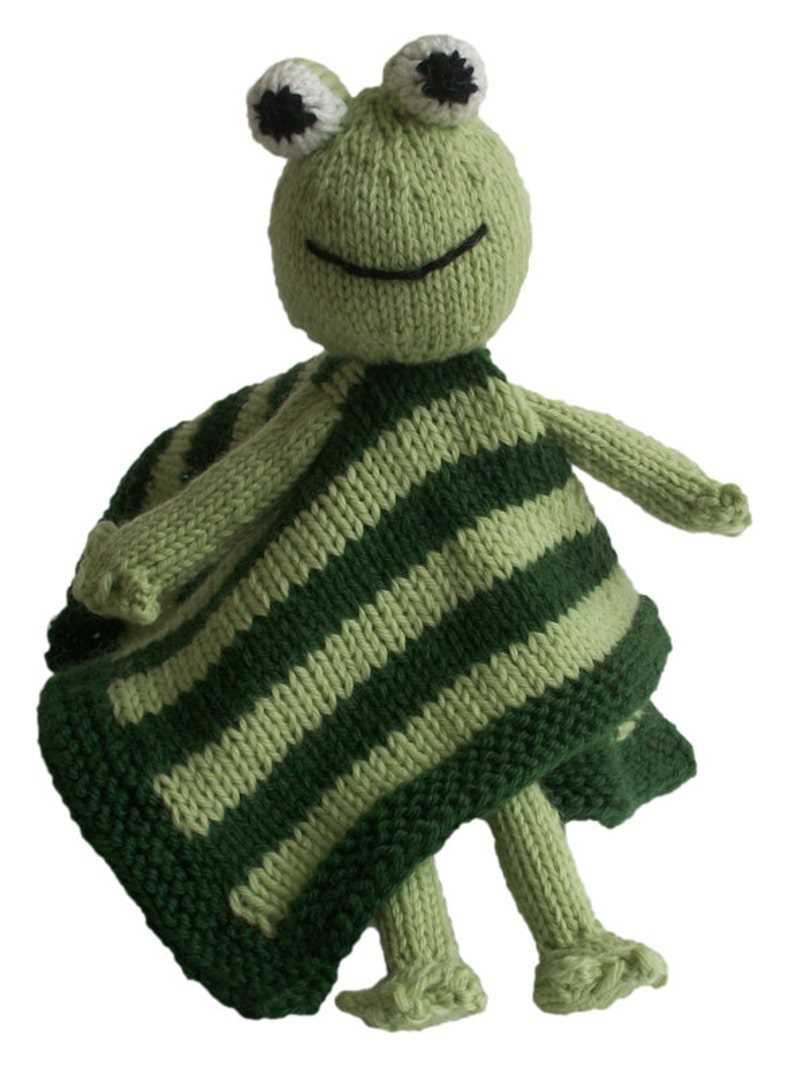
A blanket buddy can be customized to fit any age or preference. Whether you’re knitting for a baby, child, or adult, you can adjust the size, color scheme, and design to suit the recipient’s needs and preferences. You can create a cute animal buddy for a child or a sophisticated and elegant blanket for an adult. The possibilities are endless, allowing you to make a blanket buddy that will be loved by its recipient.
Overall, knitting a blanket buddy is a rewarding and enjoyable activity that offers numerous benefits. From the personalization and uniqueness it brings to the therapeutic and relaxing nature of knitting, it’s a craft that can bring joy and happiness to both the knitter and the recipient. So grab your knitting needles and start creating a one-of-a-kind blanket buddy!
Choosing the Right Yarn and Needles
When it comes to knitting a free blanket buddy, choosing the right yarn and needles is crucial for achieving the desired results. The yarn and needle size can greatly affect the final texture, size, and drape of the blanket buddy. It is important to consider these factors when selecting your materials.
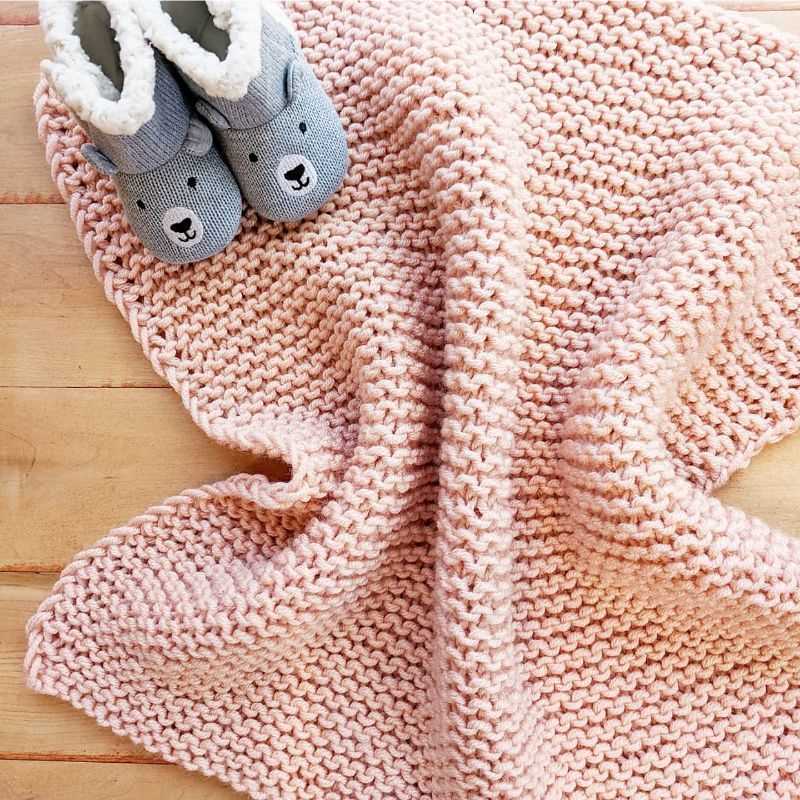
Yarn: When selecting yarn for your blanket buddy, it is important to consider the softness, weight, and washability of the yarn. A soft and washable yarn is ideal, as it will provide comfort and durability for the finished product. Choose a yarn that is specifically designed for baby or children’s items, as these are often softer and more suitable for sensitive skin. Also, consider the weight of the yarn – a bulky or chunky yarn will create a thicker blanket, while a lighter weight yarn will create a more delicate and lightweight blanket.
Needles: The needle size you choose will depend on the yarn weight and the desired texture of your blanket buddy. Thicker yarns will typically require larger needles, while thinner yarns will require smaller needles. It is important to check the yarn label for recommended needle sizes, as this will give you a starting point. However, it is ultimately a matter of personal preference, so don’t be afraid to experiment and try different needle sizes to achieve the desired effect. Additionally, the type of needles you use can also affect the final outcome – straight needles are most commonly used, but circular or double-pointed needles can also be used depending on the pattern and your knitting style.
Overall, choosing the right yarn and needles for your free blanket buddy project can greatly enhance the finished product. Take the time to consider the softness, weight, and washability of the yarn, as well as the appropriate needle size for your desired texture. With the right materials, you’ll be on your way to creating a cozy and cuddly blanket buddy that will bring joy to someone’s life.
Getting Started: Cast On and the First Row
Before you can start knitting your blanket buddy, you’ll need to cast on your stitches. Casting on is the process of creating the foundation row of stitches on your knitting needle. There are several different methods for casting on, but the most common method is the long-tail cast on.
To begin the long-tail cast on, you’ll need to estimate how much yarn you’ll need for your desired number of stitches. You’ll want to leave a long tail of yarn, about three times the width of your knitting project. This tail will be used to create the first row of stitches.
Long-Tail Cast On Method:
1. Make a slip knot by creating a loop with the yarn, crossing the end over the main strand.
2. Slide the slip knot onto your knitting needle, leaving a tail of yarn.
3. Hold the needle and the tail of yarn in your right hand, with the slip knot at the end of the needle.
4. With your left hand, bring the yarn over your left index finger and behind your left thumb.
5. Insert the needle under the strand of yarn between your thumb and index finger, from front to back.
6. Bring the needle over the strand of yarn on your index finger, and then under the strand on your thumb.
7. Bring the thumb and index finger closer together to create a new loop of yarn on the needle.
8. Repeat steps 5-7 until you have cast on the desired number of stitches.
Once you have cast on your stitches, you’re ready to work the first row. Hold the needle with the cast on stitches in your left hand, and use your right hand to hold the empty needle. With the yarn attached to the ball, insert the empty needle into the first stitch on the left-hand needle. Wrap the yarn around the right-hand needle, from back to front, creating a loop. Pull the loop through the stitch, transferring the stitch from the left-hand needle to the right-hand needle. Continue this process until you have worked all of the stitches on the left-hand needle.
Now that you’ve completed the first row, you’re ready to continue knitting your blanket buddy using the pattern instructions. Happy knitting!
Adding Color and Creating Patterns
When knitting a blanket buddy, you have the opportunity to add color and create patterns to make your project unique and visually appealing. Whether you choose to use multiple colors or stick to a single color, there are various techniques you can employ to add visual interest to your blanket buddy.
One way to add color to your blanket buddy is by using different colored yarns. You can alternate between colors to create stripes or use different colors for different sections of the buddy, such as the ears or the body. This can give your buddy a fun and playful look.
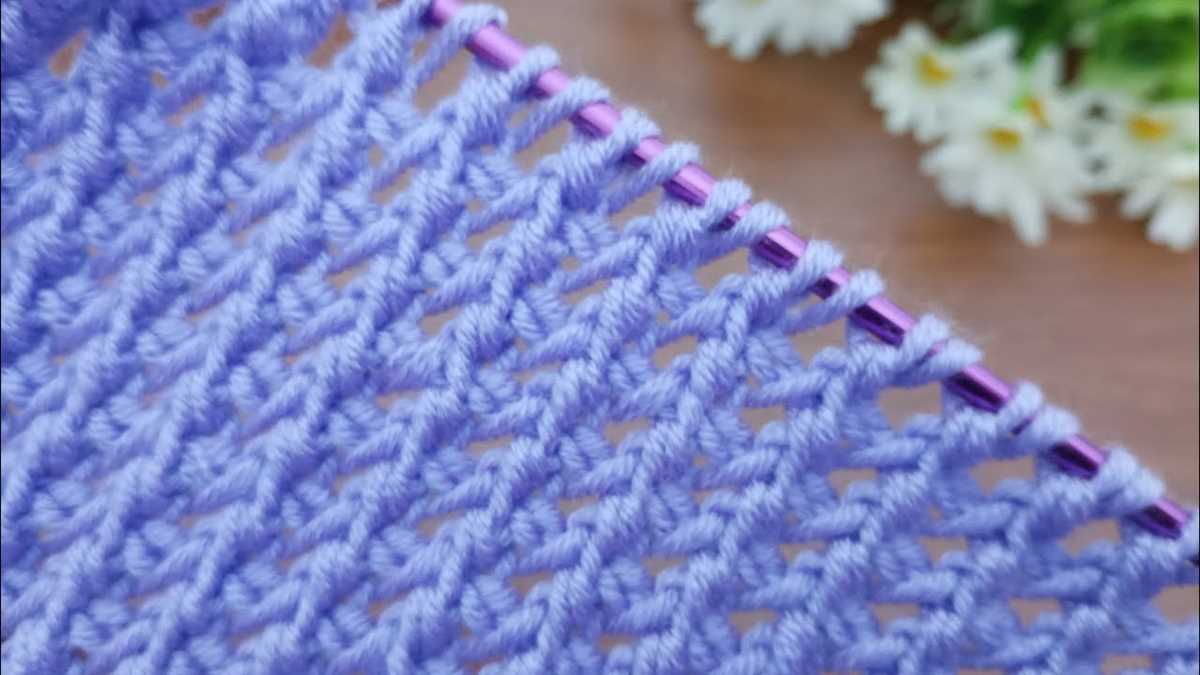
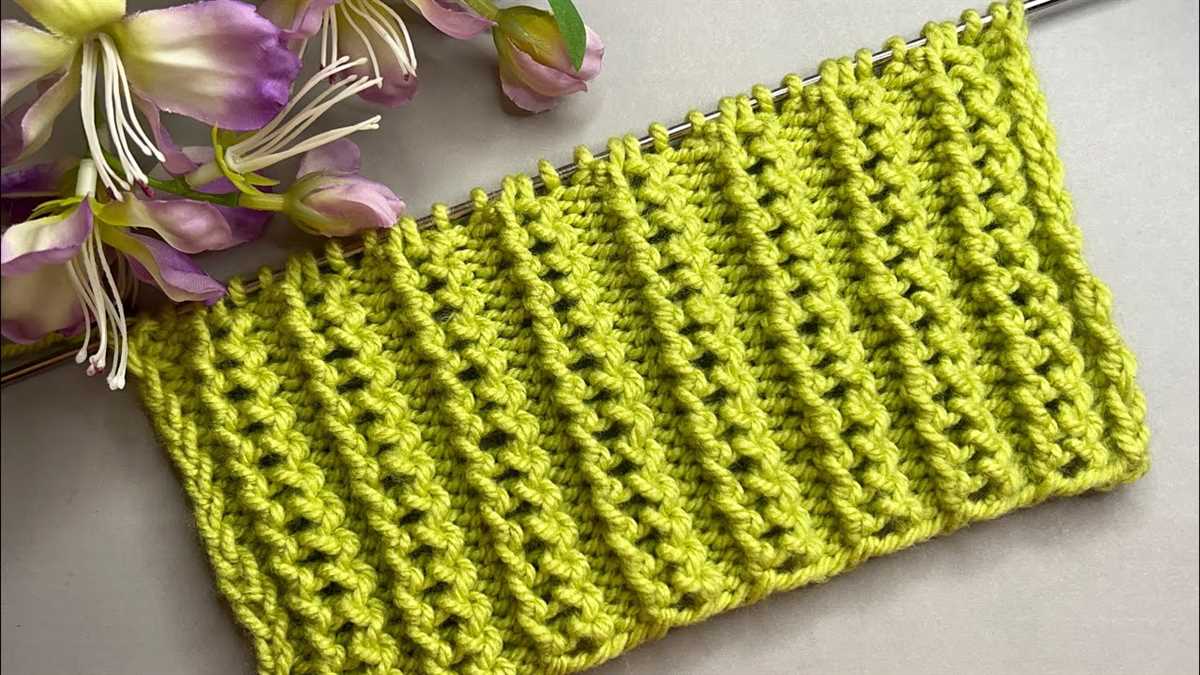
Another option is to create patterns using different knitting techniques. You can incorporate cables, lace, or other textured stitches to add dimension to your buddy. For example, you can knit a cable pattern on the body or use a lace pattern for the ears. This can make your blanket buddy look more intricate and impressive.
If you prefer a more subtle approach, you can consider using variegated yarns that already have multiple colors in them. This way, you can create a pattern without having to switch between different colors of yarn. The variegated yarn will do all the work for you, resulting in a unique and vibrant blanket buddy.
When adding color and creating patterns, it’s important to plan ahead and consider how the colors and patterns will work together. You can sketch out your design before starting to knit to get a better idea of how the finished buddy will look. Remember to have fun and let your creativity shine through your blanket buddy!
Knitting the Body of the Blanket Buddy
Once you have completed knitting the head and the arms of the Blanket Buddy, it’s time to move on to the body. The body of the Blanket Buddy is knitted using the main color yarn in a simple stockinette stitch. To start, pick up the stitches from the arms and join them to start knitting in the round.
To create the body, you will continue knitting in the round for a certain number of rows, depending on the desired length of the blanket buddy. Make sure to keep track of your rows by using stitch markers or a row counter. You can also refer to the pattern for specific instructions on the number of rows to knit for the body.
If you want to add some color or texture to the body, you can incorporate different yarn colors or stitch patterns. For example, you can knit stripes by alternating between different colors every few rows or add some ribbing or lace panels for a decorative touch.
Once you have completed knitting the body, you can proceed to knitting the legs and the feet of the Blanket Buddy. This involves picking up stitches from the body and knitting them in the round. Again, refer to the pattern for specific instructions on the number of rows and stitches to knit for the legs and feet.
After completing the legs and feet, you can finish off the knitting by binding off all the stitches and weaving in any loose ends. Don’t forget to stuff the Blanket Buddy with fiberfill or stuffing to give it a plush and cuddly feel. Finally, you can add any additional embellishments, such as buttons for eyes or a nose, to bring your Blanket Buddy to life.
Creating the Face and Features
When knitting a blanket buddy, one of the most important steps is creating the face and features. These details give the blanket buddy its personality and make it unique. Here are some tips and techniques to create the perfect face for your blanket buddy:
Embroidering the Eyes
- Start by choosing the color of yarn you want to use for the eyes. Black or dark brown yarn is commonly used, but you can also experiment with other colors.
- Thread a tapestry needle with the chosen yarn, and carefully stitch the eyes in place. You can use a backstitch or satin stitch to create the shape of the eyes.
- Remember to leave space between the eyes, as this will be where you will attach the blanket buddy’s nose.
Add a Nose
- To create the nose, you can use the same color yarn as the eyes or a contrasting color for some added flair.
- Starting from the center point between the eyes, use a tapestry needle and sew a small triangle shape for the nose. You can use a satin stitch or a single stitch to fill in the shape.
- Make sure the nose is securely attached, as it may experience some pulling or tugging during playtime.
These are just a couple of techniques you can use to create the face and features for your blanket buddy. Get creative and experiment with different colors and shapes to give your buddy a personality of its own. Remember, these details are what make the blanket buddy special, so take your time and have fun with it!
Knitting the Arms and Legs

When knitting the arms and legs for your blanket buddy, there are a few things to keep in mind to ensure they turn out just right. First, choose your preferred method for knitting in the round, whether it’s using double-pointed needles, magic loop, or two circular needles. This will make it easier to create the seamless tubes for the limbs.
Start by casting on the required number of stitches for the arm or leg. You can use a long-tail cast-on or any other method you prefer. Once the stitches are cast on, distribute them evenly across your preferred method of knitting in the round. Make sure to place a stitch marker to mark the beginning of the round.
For the arms:
- Continue knitting in the round, working the desired length for the arm. You can use stockinette stitch, ribbing, or any other stitch pattern of your choice.
- Once the desired length is reached, you can either bind off the stitches or place them on holders for later seaming. If you choose to bind off, make sure to leave a long tail for sewing the arm to the body of the blanket buddy.
For the legs:
- Similar to the arms, continue knitting in the round, working the desired length for the leg. You can use different stitch patterns or colors to create stripes or other designs.
- When you reach the desired length, it’s time to shape the foot. You can do this by decreasing evenly around the round until you have the desired number of stitches left. This will create a tapered shape for the foot.
- After shaping the foot, continue knitting a few more rounds to create the toe. Then, either bind off the stitches or place them on holders for later seaming. Leave a long tail for sewing the leg to the body of the blanket buddy.
Once the arms and legs are completed, you can attach them to the body of the blanket buddy using the long tails left for sewing. Make sure to position them evenly and securely, ensuring they are firmly attached to withstand regular use and cuddles.
Assembly: Sewing the Parts Together
After you have finished knitting and stuffing all the different parts of your blanket buddy, it is time to assemble them together. This step requires some sewing skills, but with a little patience and practice, you will be able to create a lovely and cuddly toy for yourself or your loved ones.
Start by sewing the arms onto the sides of the body. Place the arm near the shoulder area and use a tapestry needle and matching yarn to sew it securely in place. Repeat the same process for the other arm on the opposite side. Make sure the arms are aligned symmetrically and securely attached.
Next, sew the legs onto the bottom of the body. Position each leg where you want them to be, making sure they are evenly spaced. Again, use a tapestry needle and matching yarn to sew them securely. Take your time to ensure that the legs are attached firmly, as they will support the weight of the blanket buddy when it is propped up.
Once the arms and legs are attached, you can move on to sewing the head onto the body. Place the head on top of the body and position it in the center. Use a tapestry needle and matching yarn to sew around the head, attaching it securely to the body. Be sure to sew along the edges, leaving an opening at the bottom for stuffing.
Finally, stuff the body of the blanket buddy through the opening left at the bottom of the head. Use small amounts of stuffing at a time to shape the body and achieve the desired level of firmness. Once you are satisfied with the stuffing, sew the opening closed using the same tapestry needle and yarn. Make sure to secure the stitches tightly to prevent any stuffing from coming out.
With all the parts sewn together and the body stuffed, your blanket buddy is now complete! Give it a gentle shake and fluff the fur to make it look its best. Your free blanket buddy knitting pattern has come to life, and you are ready to enjoy its warmth and companionship.
Adding the Finishing Touches: Embellishments and Details

Once you have completed knitting the main body of your free blanket buddy, it’s time to add the finishing touches and details that will bring your creation to life. The embellishments and details you choose to add can make a big difference in the overall look and feel of your blanket buddy.
1. Facial features: Start by embroidering or sewing on the facial features of your blanket buddy. This may include eyes, a nose, and a mouth. You can use embroidery thread or felt to create the desired look. Keep in mind the size and placement of these features to achieve a cute and friendly expression.
2. Ears and tail: Depending on the animal or creature you are creating, you may want to add ears and a tail. These can be knit separately and attached securely to the body. Pay attention to the positioning and shape of these features to ensure they match the character of your blanket buddy.
3. Arms and legs: To give your blanket buddy a more lifelike appearance, consider adding arms and legs. These can be created by knitting additional pieces and attaching them to the body. You can use buttons or safety eyes to secure the limbs in place.
Example:
- Create two separate knitted arms and stitch them onto the sides of the main body. Make sure they are evenly spaced and aligned.
- For legs, you can either knit two separate pieces or create one long piece that is folded in half and stitched onto the bottom of the body.
- Once the limbs are securely attached, you can further embellish them by sewing on tiny paws or claws using embroidery thread or felt.
4. Additional details: To make your blanket buddy even more unique, consider adding additional details such as a collar, a bowtie, or even a tiny hat. These small touches can add character and personalization to your creation.
5. Finishing touches: Finally, make sure to weave in any loose ends and trim excess yarn. This will give your blanket buddy a polished and professional finish.
By paying attention to these embellishments and details, you can transform a simple knitted creature into a truly special and adorable blanket buddy. Let your creativity shine and have fun adding the finishing touches!
Tips for Washing and Caring for Your Blanket Buddy
Proper care and maintenance of your Blanket Buddy will ensure that it stays soft, cozy, and beautiful for many years to come. Here are some helpful tips for washing and caring for your Blanket Buddy:
Washing Tips
- Check the Care Instructions: Before washing your Blanket Buddy, always check the care instructions provided by the manufacturer. Different materials may require different washing techniques.
- Hand Wash or Machine Wash: Most Blanket Buddies can be either hand washed or machine washed. If you choose to machine wash, use a gentle cycle and cold water to prevent shrinking.
- Use Mild Detergent: When washing your Blanket Buddy, use a mild detergent that is free of harsh chemicals. This will help preserve its color and texture.
- Avoid Bleach: Never use bleach on your Blanket Buddy, as it can damage the fibers and cause discoloration.
- Air Dry or Tumble Dry: After washing, gently squeeze out excess water and reshape your Blanket Buddy. It is best to air dry it flat or hang it up to dry. If you prefer using a dryer, set it to a low heat setting.
Caring Tips
- Store Properly: When you’re not using your Blanket Buddy, store it in a clean, dry place away from direct sunlight. This will help prevent fading and damage.
- Avoid Sharp Objects: Keep your Blanket Buddy away from sharp objects, such as pet claws or jewelry, to prevent snagging or tearing.
- Brush Gently: If your Blanket Buddy has any loose fibers or pilling, gently brush it with a soft-bristle brush or a fabric shaver to remove them.
- Consider Dry Cleaning: If your Blanket Buddy is made of delicate materials or has intricate designs, it may be best to take it to a professional dry cleaner for proper care.
By following these tips, you can ensure that your Blanket Buddy remains in great condition and provides you with warmth and comfort for years to come.
Q&A:
What is a free blanket buddy knitting pattern?
A free blanket buddy knitting pattern is a set of instructions that allows you to knit a soft cuddly toy attached to a small blanket. It is a popular knitting project that combines the comfort of a blanket with the fun of a stuffed animal.
Where can I find free blanket buddy knitting patterns?
You can find free blanket buddy knitting patterns on various websites and online knitting communities. Some popular websites that offer free knitting patterns include Ravelry, Knitting Pattern Central, and AllFreeKnitting. You can search for specific patterns using keywords like “blanket buddy” or “stuffed animal blanket.”
How difficult is it to knit a blanket buddy?
The difficulty level of knitting a blanket buddy depends on your knitting skills and the pattern you choose. Some patterns may be more beginner-friendly, while others may require intermediate or advanced knitting techniques. If you are new to knitting, it’s best to start with a simpler pattern and gradually work your way up as you gain more experience.
What materials do I need to knit a blanket buddy?
To knit a blanket buddy, you will need yarn, knitting needles, a yarn needle for sewing, stuffing for the toy, and any additional embellishments you want to add, such as buttons or ribbons. The specific materials needed can vary depending on the pattern you choose, so be sure to check the pattern instructions for a list of required materials.
Can I customize my blanket buddy?
Yes, you can customize your blanket buddy by choosing different colors of yarn, adding extra details or accessories, or even modifying the overall shape or design. Knitting patterns often provide suggestions for customization, but feel free to get creative and make your blanket buddy truly unique.