
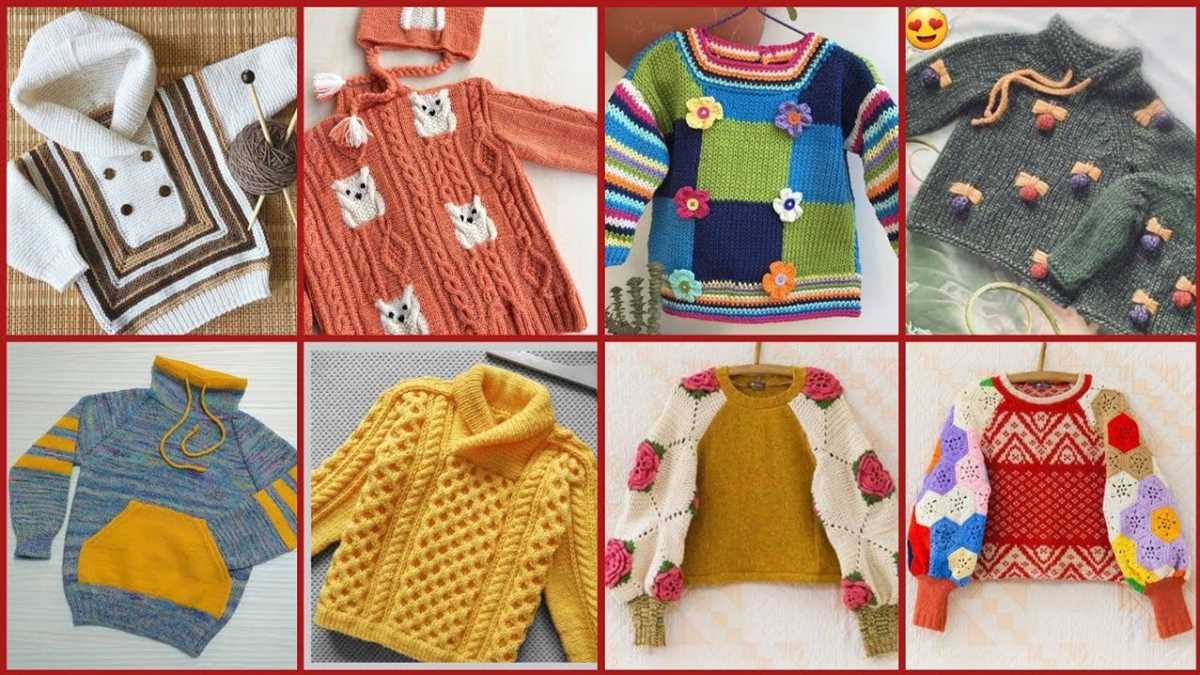
If you’re feeling nostalgic and want to bring back the fashion trends of the 80s, look no further than an 80s sweater knitting pattern. In the 1980s, bright and bold colors, geometric patterns, and oversized silhouettes were all the rage. The sweaters of this era were often adorned with unique embellishments, such as shoulder pads or fun patchwork designs.
Knitting your own 80s-inspired sweater allows you to recreate the look and feel of this iconic era while adding your own personal touch. Whether you prefer a classic crewneck or an oversized pullover, there are plenty of patterns available to suit your style. Plus, knitting your own sweater gives you the freedom to choose your favorite colors and customize the fit to your liking.
Not only does knitting provide a creative outlet, but it also offers a sense of accomplishment when you see your finished product. With an 80s sweater knitting pattern, you can create a unique piece of clothing that stands out from the rest. So grab your knitting needles and let’s get started on this throwback project!
Sweater Knitting Pattern from the 80s
If you are looking for a unique and stylish sweater to knit, why not try out a sweater knitting pattern from the 80s? The 80s was known for its bold fashion choices and vibrant colors, and this is reflected in the sweater designs from that era.
One popular 80s sweater knitting pattern is the oversized, slouchy sweater. This style was popularized by celebrities and musicians of the time, and it continues to be a trendy choice today. The pattern often includes dropped shoulders and a loose fit, making it a comfortable and cozy option. You can pair this sweater with high-waisted jeans or leggings for a retro look.
Materials
- Chunky yarn in your preferred color
- Size 10 knitting needles
- Tapestry needle for weaving in ends
- Stitch markers
Instructions
- Start by casting on the required number of stitches for your size.
- Follow the pattern instructions for the body of the sweater, which may include ribbing, stockinette stitch, or other stitch patterns.
- Continue knitting until you reach the desired length for the sweater.
- For the sleeves, pick up stitches along the armhole and knit in the round or flat, depending on the pattern.
- Finish off the sweater by knitting the neckline and adding any desired embellishments, such as buttons or a collar.
- Weave in any loose ends and block the sweater to ensure a professional finish.
By following an 80s sweater knitting pattern, you can create a unique and trendy piece of clothing that reflects the fashion of the time. Whether you want to embrace the bold and vibrant colors of the 80s or simply try out a new knitting challenge, an 80s sweater knitting pattern is a great choice. Happy knitting!
Why Choose an 80s Sweater?
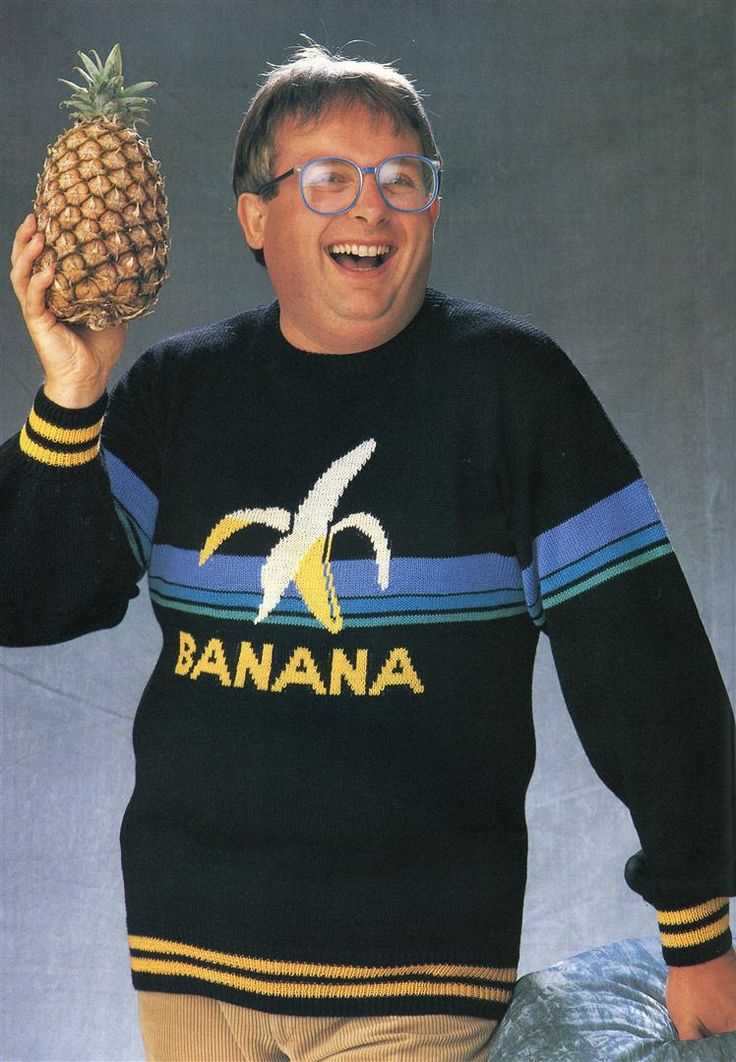
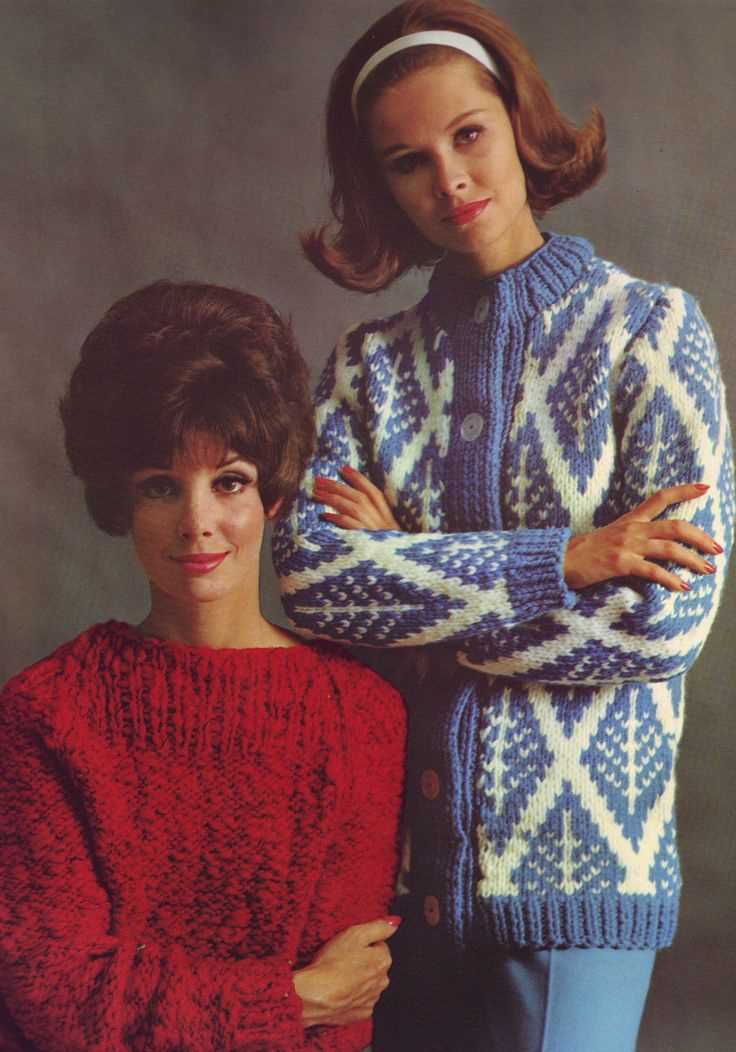
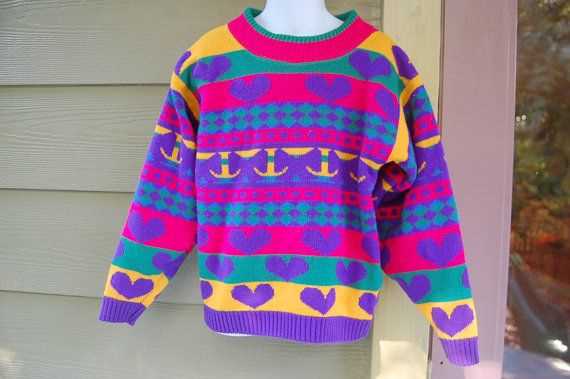
There are many reasons why choosing an 80s sweater can be a great choice for your wardrobe. The fashion trends of the 80s were bold, vibrant, and full of character, and this is reflected in the designs of the sweaters from that era. These sweaters often featured bright colors, unique patterns, and exaggerated shoulder pads, making them a statement piece that can instantly elevate any outfit.
One of the reasons why people love 80s sweaters is the nostalgia factor. Wearing an 80s sweater can transport you back to a time when fashion was all about self-expression and breaking the rules. It can bring back memories of neon lights, big hair, and iconic pop culture moments. Whether you grew up in the 80s or simply appreciate the fashion of that era, an 80s sweater can be a fun and nostalgic addition to your wardrobe.
Another great reason to choose an 80s sweater is the quality and craftsmanship. Knitting was a popular hobby in the 80s, and many of the sweaters from that time were hand-knitted with care and attention to detail. These sweaters were often made from high-quality materials like wool or acrylic, ensuring warmth and durability. By choosing an 80s sweater, you can own a piece of fashion history that has stood the test of time.
Furthermore, 80s sweaters are versatile and can be styled in various ways. They can be paired with jeans for a casual and retro look, or dressed up with a skirt and heels for a more glamorous ensemble. No matter how you choose to wear it, an 80s sweater is sure to make a statement and add a unique touch to your outfit.
Materials Needed
To knit an 80s sweater, you will need the following materials:
- Yarn: Choose a worsted weight yarn in your favorite color. You will need approximately 6-8 skeins, depending on the size of the sweater.
- Knitting Needles: Use size 8 (5mm) knitting needles, or a size that gives you the correct gauge.
- Circular Needles: You will also need a 16-inch circular needle in the same size for the neckline and cuffs.
- Tapestry Needle: A tapestry needle will be used for weaving in ends and sewing seams.
- Stitch Markers: These will help you keep track of your stitches and pattern repeats.
- Scissors: You will need a pair of scissors for cutting yarn and trimming ends.
- Measuring Tape: A measuring tape will help you check your gauge and measure your progress.
With these materials, you will be well-equipped to start knitting your own 80s-inspired sweater! Whether you’re a beginner or an experienced knitter, this pattern will let you create a cozy and fashionable sweater that pays homage to the iconic styles of the 80s.
Casting on and Ribbing
When starting your knitting project, the first step is to cast on. Casting on is the process of creating the first row of stitches on your knitting needle. There are various methods for casting on, but the most commonly used method for sweater knitting is the long tail cast on. This method creates a neat and elastic edge that is perfect for ribbing.
To start the long tail cast on, you will need to estimate the amount of yarn you will need for your cast on stitches. The general rule of thumb is to allocate about one inch of yarn for every stitch. Make a slipknot and place it on your knitting needle, leaving a long tail of yarn. Hold the needle with the slipknot in your right hand and the tail of yarn in your left hand.
Step 1: Using your left thumb and index finger, make a “V” shape with the working yarn and the tail, crossing the tail over the working yarn.
Step 2: Slip the needle through the “V” shape from front to back, catching the tail on the needle.
Step 3: Drop the tail and hold it to the right side of the needle with your right hand. The working yarn should be held in your left hand.
Step 4: Use your right hand to pull the working yarn through the “V” shape and place it on the needle.
Once you have cast on the desired number of stitches, it’s time to start the ribbing pattern. Ribbing is a common stitch pattern used to create stretchy and flexible fabric that is perfect for cuffs, hems, and necklines. It is typically worked with a combination of knit and purl stitches.
1×1 Ribbing: The 1×1 ribbing pattern is created by alternating one knit stitch and one purl stitch across the row. This creates a fabric with vertical columns of knits and purls.
2×2 Ribbing: The 2×2 ribbing pattern is created by alternating two knit stitches and two purl stitches across the row. This creates a fabric with larger columns of knits and purls.
3×3 Ribbing: The 3×3 ribbing pattern is created by alternating three knit stitches and three purl stitches across the row. This creates a fabric with even larger columns of knits and purls.
When working ribbing, it’s important to maintain tension in your stitches to ensure an even and stretchy fabric. It’s also a good idea to use a smaller needle size than the main body of the sweater to help the ribbing stay in place. Knitting ribbing can take some practice to get the hang of, but once you master it, you’ll be able to create beautiful and professional-looking sweaters.
Body of the Sweater
Once you have completed the neckline and ribbing section of your 80s sweater, it’s time to move on to the body. The body of the sweater is where you will knit the main portion of the garment, covering the torso. This is where you can get creative with different stitch patterns and designs to give your sweater that unique 80s flair.
Length and Fit: Before you start knitting the body, it’s important to decide on the length and fit of your sweater. The 80s sweaters were known for their relaxed and oversized fit, so you may want to consider making your sweater a bit looser and longer than usual. Measure your torso and choose the appropriate size based on the pattern instructions.
Stitch Pattern: The body of the sweater can be knit in a plain stockinette stitch for a simple and clean look, or you can experiment with different stitch patterns to add texture and visual interest. Popular stitch patterns in the 80s included cables, colorwork, and intarsia. You can find various stitch patterns in knitting books or online resources, or you can create your own unique design.
Decreases and Shaping: Depending on the style of your sweater, you may need to incorporate decreases and shaping to achieve the desired fit. Common shaping techniques include decreases at the waist to create a more hourglass shape, or increases at the hips for a more relaxed and oversized fit. Follow the pattern instructions carefully to ensure that your sweater turns out the way you envision.
Length and Finishing: Finally, once you have knitted the body to the desired length, it’s time to finish off your sweater. You may need to knit a ribbed hem or add a few rows of ribbing at the bottom for a polished look. Make sure to bind off your stitches neatly and weave in any loose ends to give your sweater a professional finish.
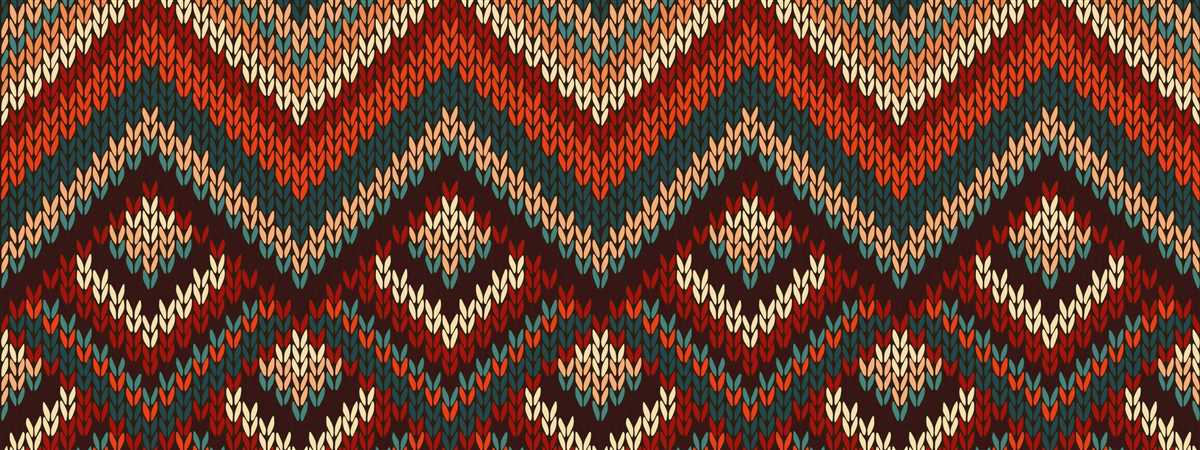
Colorwork and Pattern
In the world of sweater knitting patterns, colorwork and pattern are essential elements that can add depth and visual interest to your designs. Whether you’re a beginner or an experienced knitter, incorporating colorwork techniques can take your knitting projects to the next level.
One popular colorwork technique is Fair Isle knitting, which originated in the Shetland Islands. Fair Isle knitting typically involves using two colors of yarn in a single row to create intricate patterns and motifs. This technique requires careful tension control and the ability to carry the unused color strands behind the work. The result is a beautiful and eye-catching pattern that can be used to create stunning sweaters.
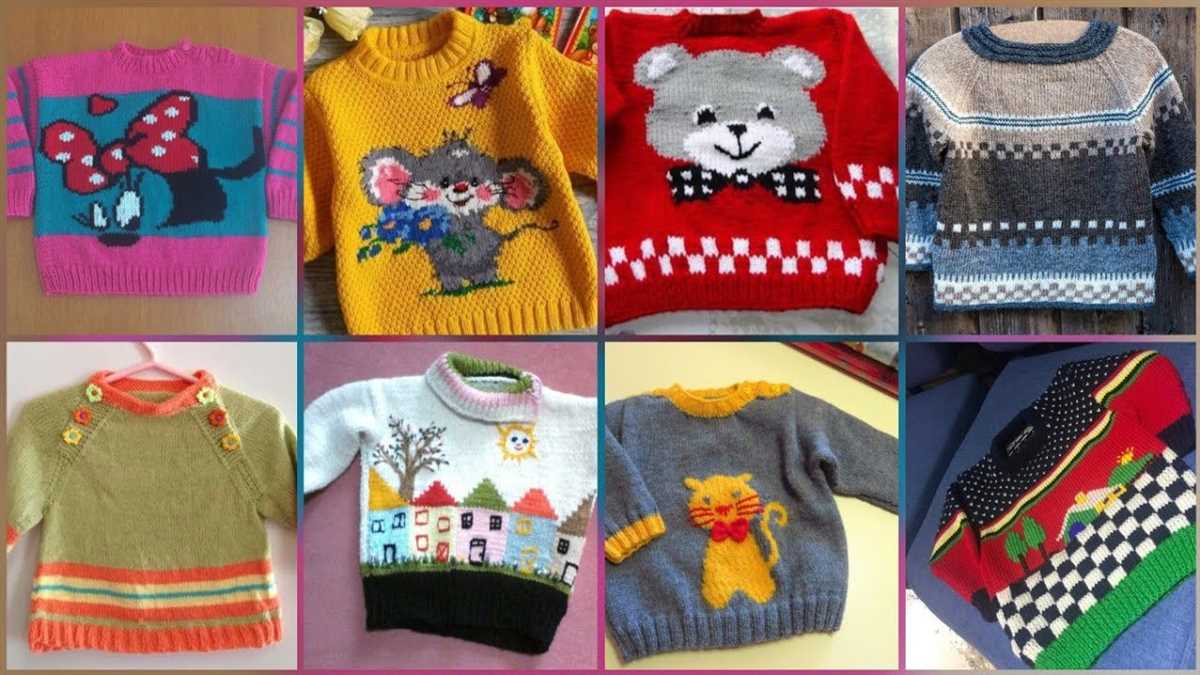
Intarsia
Another colorwork technique is called intarsia, which involves working blocks of color within a larger fabric. This technique is often used to create bold geometric designs or images on a sweater. With intarsia, each block of color is worked separately, and the yarn is twisted at the color change to prevent gaps in the fabric. This technique allows for precise color placement and the opportunity to create detailed and intricate patterns.
When it comes to choosing color combinations for your sweater, the possibilities are endless. You can opt for contrasting colors to create a bold and vibrant design, or choose shades within the same color family for a subtle and cohesive look. Experimenting with different color combinations can help you create unique and personalized sweaters that reflect your individual style.
In addition to color, the choice of pattern can also greatly impact the overall aesthetic of your sweater. There are countless pattern options to choose from, ranging from simple stripes and checks to more complex motifs and lacework. Consider the style and purpose of your sweater when selecting a pattern, and don’t be afraid to mix and match different patterns to create a truly unique design.
When working with colorwork and pattern, it’s important to keep in mind the level of difficulty and the amount of time and concentration required. Some patterns may be more suitable for advanced knitters, while others are beginner-friendly. Take your time, practice different techniques, and don’t be afraid to push your boundaries to create beautiful and intricate sweater designs that showcase your knitting skills.
Shaping the Sleeves
Shaping the sleeves is an important step in knitting an 80s-inspired sweater. The sleeves of this sweater have a slightly tapered shape that adds to its retro look. To achieve this shape, you will need to follow a specific pattern and make decreases at certain points in the knitting process.
The pattern for shaping the sleeves typically starts with knitting a certain number of rows in the main stitch pattern. Then, the decreases begin. These decreases are usually made by knitting or purling two stitches together, which reduces the number of stitches on the needle. The decreases are spaced out evenly along the rows to create a gradual taper.
It’s important to pay attention to the pattern instructions for shaping the sleeves and to keep track of the number of decreases you make. This will ensure that both sleeves have the same shape and size. You may also need to adjust your needle size or gauge to achieve the desired fit.
One technique that can be used to further customize the shaping of the sleeves is short rows. Short rows are partial rows of knitting that are worked across a smaller number of stitches. They can be used to create a more rounded shape at the top of the sleeve, or to add extra length in certain areas.
Overall, shaping the sleeves of an 80s sweater is an important step in creating an authentic vintage look. By following the pattern instructions and making careful decreases, you can achieve a tapered shape that complements the overall design of the sweater.
Joining the Sleeves
Once you have completed knitting the body of the sweater and both of the sleeves, it’s time to join them together to create the finished garment. This step is crucial for achieving a seamless and polished look.
To begin, lay the sweater body flat on a table or flat surface, with the right side facing up. Take one sleeve and align it with the armhole of the sweater body, matching up the underarm seams. Pin the sleeve in place to secure it.
1. Sewing the Sleeve to the Body
Using a yarn needle and the same yarn you used to knit the sweater, carefully sew the sleeve to the body using a mattress stitch or any other preferred method of joining. Take your time to ensure that the stitches are neat and even, creating an invisible seam. Repeat this process for the other sleeve.
2. Checking the Fit
Once both sleeves are attached, try on the sweater to check the fit. Make sure the shoulder seams align properly and the sleeves are the desired length. If any adjustments are needed, now is the time to make them. You can easily remove the stitches and rejoin the sleeves if necessary.
3. Finishing Touches
After you are satisfied with the fit, secure any loose ends and trim off excess yarn. Give the sweater a final block or steam if desired to help shape the garment and even out any stitches. Lastly, sew on any buttons or embellishments as desired to complete the sweater.
Neckband and Finishing Touches
Once you have completed knitting the body and sleeves of your 80s sweater, it’s time to move on to the neckband. The neckband adds a professional and polished look to your sweater, and also provides a comfortable fit around the neck.
To start, you will need to pick up stitches along the neckline. Use a circular needle that is one size smaller than the needle you used for the body of the sweater. Begin by inserting the needle into the first stitch on the left side of the neckline, then wrap the yarn around the needle and pull it through to create a new stitch. Continue this process along the entire neckline, picking up an equal number of stitches on each side.
Next, you will work the neckband in a rib stitch pattern. This will give the neckband some stretch and help it lay flat against the neck. A common rib stitch pattern for neckbands is k1, p1. To work this pattern, knit one stitch, then purl one stitch, and continue this sequence until you reach the end of the row. Repeat this row until the neckband measures your desired length.
Once you have finished the neckband, it’s time for the finishing touches. First, weave in any loose ends of yarn from joining new skeins or sewing up seams. This will ensure that your sweater looks neat and tidy.
If you want to add some extra flair to your 80s sweater, consider adding some fun embellishments. This could include sewing on buttons, attaching patches, or even embroidering a design onto the front or sleeves. Get creative and make your sweater unique!
Finally, don’t forget to block your sweater. Blocking will help even out any uneven stitches and give your sweater a more professional finish. To block your sweater, lay it flat on a clean surface and use pins to gently stretch and shape it. Then, mist it with water or use a steam iron to set the shape. Allow it to dry completely before wearing or storing.
Blocking and Assembly
Blocking and assembly are the final steps in knitting a sweater from an 80s pattern. Blocking is the process of shaping and setting the knitted pieces to the correct dimensions and removing any wrinkles or curling that may have occurred during the knitting process. It is an essential step that ensures the finished sweater looks its best.
To block the knitted pieces:
- Fill a basin or sink with lukewarm water and add a small amount of gentle detergent.
- Immerse the knitted pieces one at a time, making sure they are fully submerged. Allow them to soak for around 10 minutes.
- Gently squeeze out the excess water, being careful not to wring or twist the fabric.
- Lay the pieces flat on a clean towel or blocking mat, carefully shaping them to the correct dimensions. Use pins or blocking wires to hold the pieces in place.
- Leave the pieces to dry completely, which may take a day or two depending on the thickness of the yarn.
Once the pieces are dry, it’s time to assemble the sweater. Follow the pattern instructions for sewing the front, back, and sleeves together using a yarn needle and the same yarn that was used to knit the sweater. Take care to align the pieces properly and sew them securely to ensure the durability of the finished garment.
Note: If desired, you can also add any additional details or embellishments to the sweater during the assembly process, such as buttons, ribbons, or embroidery.
Tips and Tricks for Knitting with Vintage Patterns
Knitting with vintage patterns can be a nostalgic and rewarding experience. However, these patterns often come with their own set of challenges. Here are some tips and tricks to help you successfully tackle your 80s sweater knitting project:
1. Read the Pattern Carefully
Before starting your project, take the time to read the vintage pattern carefully. Pay attention to any special instructions or techniques that may be different from modern patterns. Make sure you understand the abbreviations and symbols used. If you come across any unfamiliar terms, consult a knitting glossary or online resource for clarification.
2. Check the Gauge
One of the most important aspects of knitting is getting the correct gauge. Vintage patterns may have different yarn weights and needle sizes compared to modern standards. Take the time to knit a gauge swatch and measure it accurately. Adjust your needle size if necessary to achieve the correct gauge. This will ensure that your finished sweater fits as intended.
3. Use Modern Yarns
While vintage patterns may specify certain yarns, it can be challenging to find them today. Instead, choose modern yarns that closely match the recommended gauge and fiber content. This will make it easier to find the right yarn for your project and ensure a more accurate result.
4. Make Modifications if Needed
Vintage patterns may not always fit your desired style or size. Don’t be afraid to make modifications to the pattern to suit your preferences. This could include adjusting the length, adding or removing details, or changing the neckline. Just make sure to carefully plan and calculate any modifications to ensure a balanced and well-fitting garment.
5. Use Stitch Markers
To avoid getting lost in complex vintage patterns, use stitch markers to mark important sections or repeats. This will help you keep track of where you are and prevent mistakes. Additionally, using different colored stitch markers can help distinguish between different pattern sections.
6. Join Online Communities
If you need guidance or support while knitting with vintage patterns, consider joining online communities or forums dedicated to vintage knitting. These communities can provide valuable advice, tips, and even help decipher old knitting techniques. You can also find inspiration from other knitters’ completed projects and share your own progress.
Knitting with vintage patterns can be a rewarding experience, bringing nostalgic charm to your wardrobe. By following these tips and tricks, you can tackle your 80s sweater knitting project with confidence and create a unique and timeless garment.
Sweater Styling Tips
Now that you have knitted your own fabulous 80s sweater, it’s time to think about how to style it and make a statement. Here are some tips to help you rock your sweater with confidence:
- Go Retro: Embrace the 80s vibes by pairing your sweater with high-waisted jeans or leggings. Add some neon accessories and scrunch your socks for a truly retro look.
- Layer Up: Take advantage of the cold weather by layering your sweater over a turtleneck or collared shirt. This adds a touch of sophistication to your outfit and keeps you warm and cozy.
- Accessorize: Elevate your sweater game with the right accessories. Think oversized sunglasses, chunky jewelry, and a wide belt to cinch in your waist. Don’t be afraid to experiment!
- Play with Colors: 80s fashion was all about bright and bold colors. Mix and match your sweater with vibrant bottoms or opt for a monochromatic look with matching accessories.
- Try Different Lengths: Sweaters come in various lengths, from cropped to oversized. Experiment with different styles to find what flatters your body shape and personal style.
Remember to have fun with your 80s sweater and make it your own. Don’t be afraid to express your individuality and rock this retro fashion trend!