
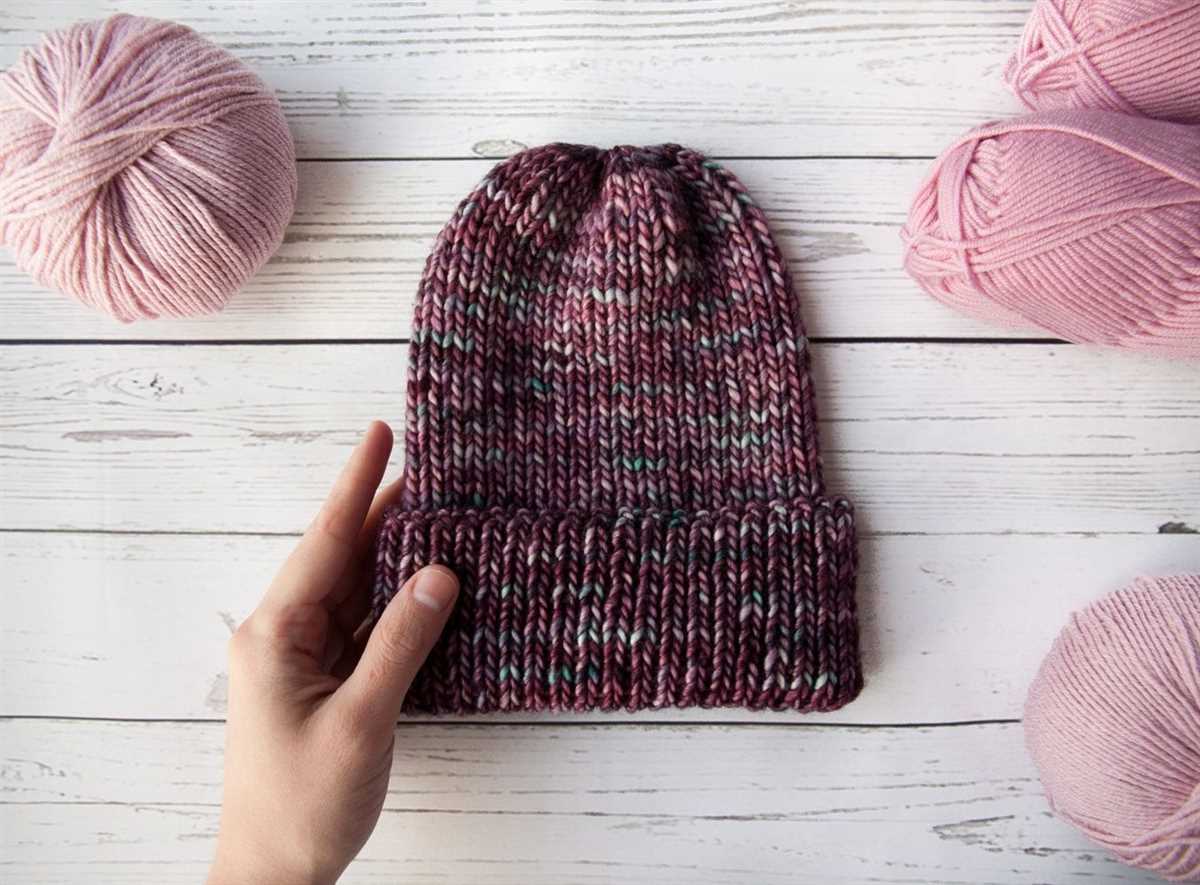
Knitting your own beanie is a great way to add a personal touch to your winter wardrobe. Whether you’re a beginner or an experienced knitter, this simple knit beanie pattern is perfect for any skill level. With just a few basic stitches and some cozy yarn, you’ll have a stylish and warm hat in no time!
This pattern uses a basic ribbing stitch for the brim and a stockinette stitch for the body of the beanie. The ribbing stitch creates a snug fit around the head, while the stockinette stitch adds a smooth and polished finish. The pattern also includes instructions for shaping the crown of the beanie, giving it a nice rounded shape.
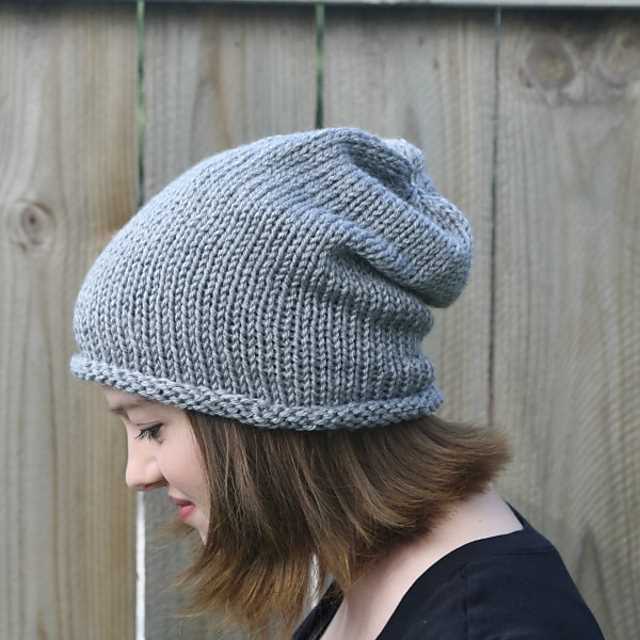
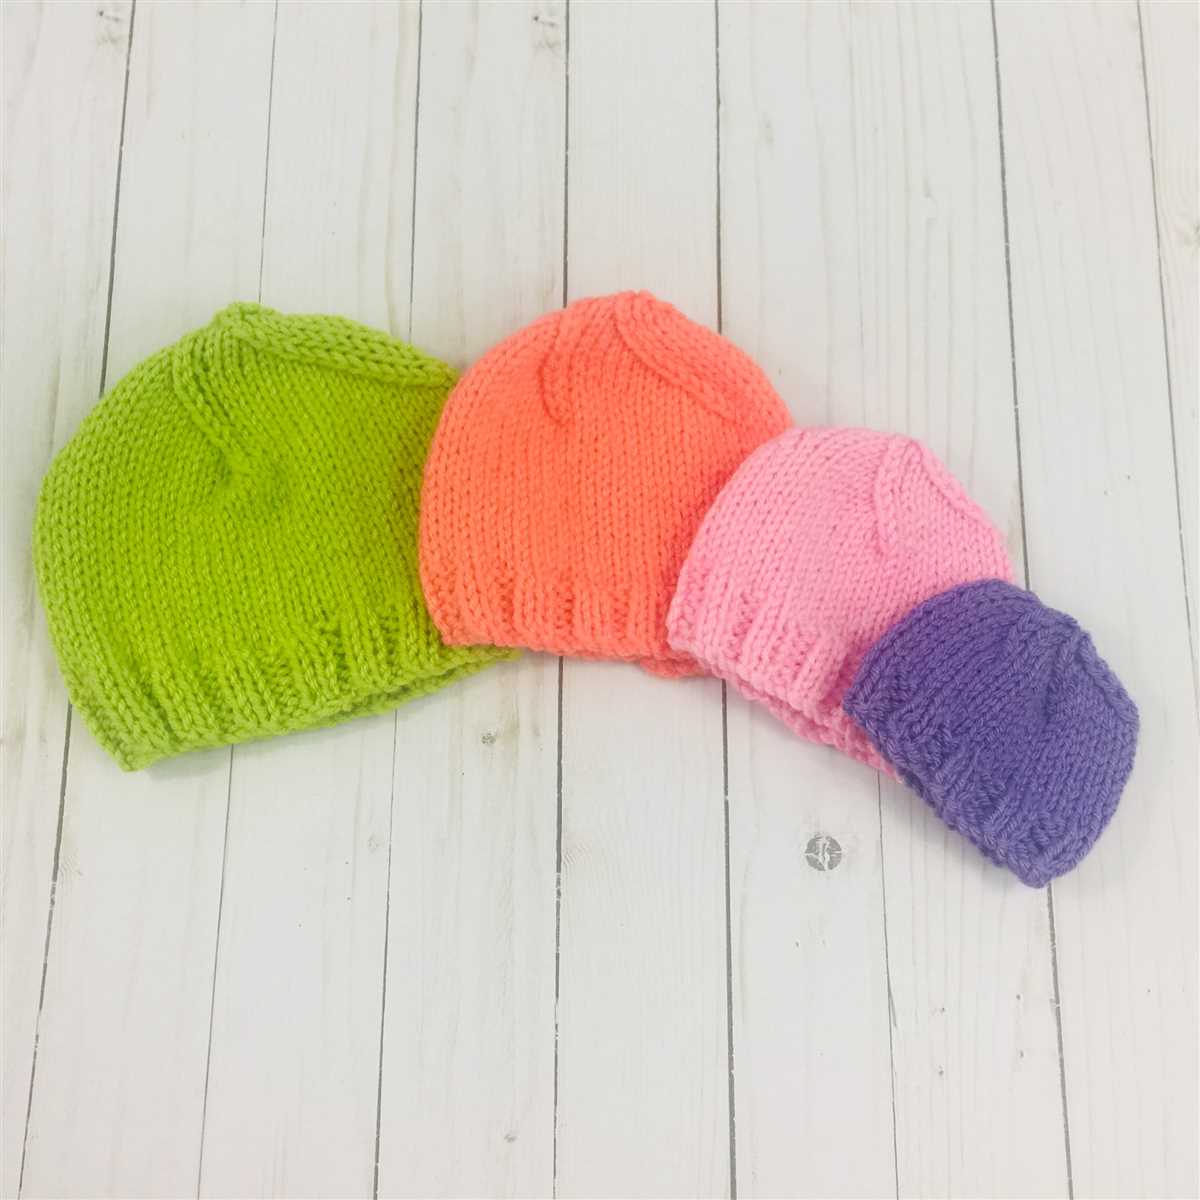
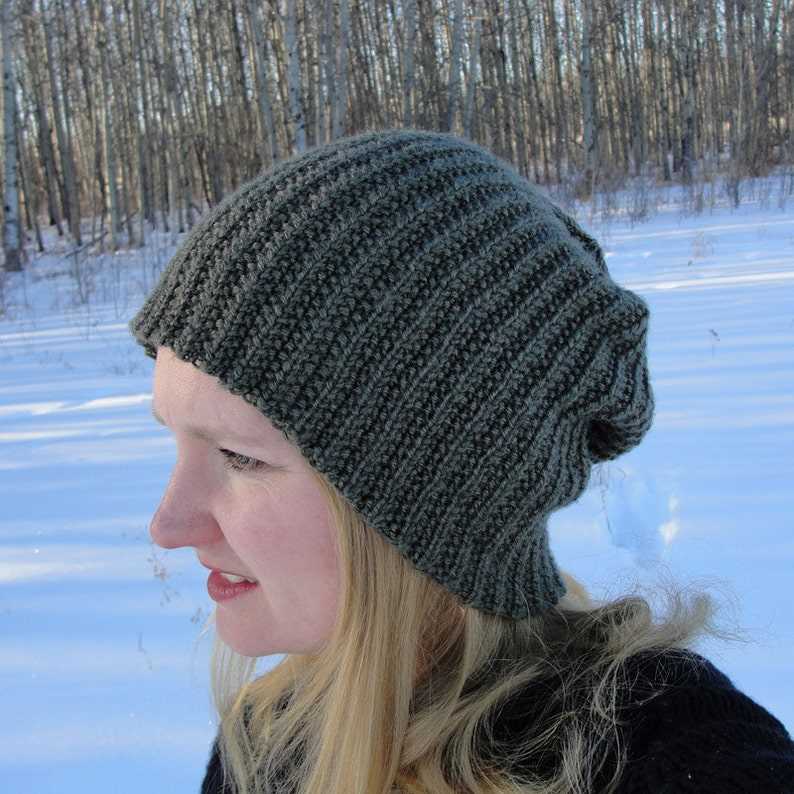
One of the best things about knitting your own beanie is that you can customize it to your own style. Choose your favorite yarn color, or mix and match for a fun and unique look. You can also experiment with different yarn weights and needle sizes to achieve the desired fit and thickness. Whether you prefer a slouchy beanie or a more fitted style, this pattern is easily adaptable to suit your preference.
So why not cozy up this winter with a hand-knit beanie? This simple knit beanie pattern is the perfect project for knitting enthusiasts of all levels. With just a little bit of time and effort, you’ll have a stylish and warm accessory to keep you cozy all season long.
Simple Knit Beanie Pattern: A Step-By-Step Guide to Knitting a Cozy Beanie
Are you looking for a fun and cozy project to take on this winter? Knitting your own beanie is a great way to stay warm and stylish while also indulging in a relaxing and rewarding hobby. With this simple knit beanie pattern, you can create a cozy accessory that is perfect for yourself or as a thoughtful handmade gift for someone special.
Materials:
- Size US 8 knitting needles
- Worsted weight yarn in your preferred color
- Yarn needle
- Stitch marker
Instructions:
- Start by casting on 80 stitches using the long-tail cast-on method. Make sure the stitches are not too tight or too loose.
- Join the round by knitting the first stitch and placing a stitch marker to mark the beginning of the round. This will help you keep track of your progress.
- Next, continue knitting in the round using the stockinette stitch (knit every stitch) until the beanie measures approximately 8 inches from the cast-on edge. You can adjust the length according to your preference.
- To shape the crown of the beanie, you will start decreasing stitches. Begin by knitting 8 stitches, then knit 2 stitches together. Repeat this pattern until the end of the round.
- For the next round, knit all stitches.
- Continue decreasing stitches in this manner, knitting 7 stitches and knitting 2 stitches together, until you have 16 stitches remaining.
- Finally, cut the yarn, leaving a long tail. Thread the tail through the yarn needle and thread it through the remaining stitches, removing them from the knitting needles. Pull tight to close the top of the beanie.
- Weave in any loose ends and your cozy knit beanie is ready to be worn!
With just a few simple knitting techniques, you can create a beautiful and cozy beanie to keep you warm during the chilly winter months. Experiment with different colors and yarns to personalize your beanie and make it truly unique. Whether you’re a knitting enthusiast or a beginner looking to try something new, this simple knit beanie pattern is a great project to get started with. Happy knitting!
Choose the Right Yarn
When it comes to knitting a simple beanie, choosing the right yarn is crucial. The type of yarn you select will determine the final look and feel of your beanie, as well as its warmth and durability. There are several factors to consider when choosing yarn, including fiber content, weight, and color.
Fiber content: One of the first things to consider when choosing yarn is the fiber content. Common options include wool, acrylic, cotton, and blends. Different fibers have different properties, and it’s important to choose a fiber that suits your needs and preferences. Wool, for example, is known for its warmth and elasticity, while acrylic is often more affordable and easy to care for. Blends can offer the best of both worlds, combining the benefits of different fibers.
Weight: The weight of the yarn refers to its thickness. Different patterns and projects require different weights of yarn. For a simple knit beanie, a medium weight yarn, also known as worsted weight or aran weight, is a popular choice. It provides a good balance between warmth and stitch definition. However, if you want a lighter or thicker beanie, you can choose a lighter weight yarn, such as sport weight or bulky weight, or a heavier weight yarn, such as chunky or super bulky.
Color: The color of the yarn is another important consideration. Think about the desired look of your beanie and the person who will wear it. Do you prefer a solid color or a variegated one? Are you looking for a neutral shade or something bold and vibrant? Consider the recipient’s personal style and preferences when selecting the color of your yarn.
In summary, when choosing yarn for a simple knit beanie, consider the fiber content, weight, and color. Each of these factors will impact the final result, so take your time and choose a yarn that suits your needs and preferences. Happy knitting!
Select the Appropriate Knitting Needles
When starting a knitting project, one of the most important decisions is choosing the right knitting needles. The type and size of knitting needles can greatly affect the outcome of your project, so it is essential to select the appropriate ones.
Type of Needles: There are various types of knitting needles available, including straight needles, circular needles, and double-pointed needles. Straight needles are the most traditional and are used for flat knitting, such as scarves or blankets. Circular needles have a flexible cable connecting two needle tips and are great for knitting in the round. Double-pointed needles come in sets of four or five and are used for small, circular knitting projects like socks or hats.
Size of Needles: The size of knitting needles is measured in millimeters and determines the gauge or tension of your knitting. The appropriate needle size will depend on the thickness of the yarn you are using and the desired outcome of your project. The recommended needle size is usually stated on the yarn label or in the knitting pattern you are following. It is important to use the correct needle size to ensure that your stitches are neither too tight nor too loose.
When choosing the appropriate knitting needles, consider the type of needles needed for your specific project and the recommended needle size for the yarn and pattern. Taking the time to select the right needles will help ensure that your knitting project turns out as intended. Happy knitting!
Gauge and Measurements
In order to knit a perfect beanie, it is important to take accurate measurements and ensure the right gauge. The pattern provided here is written for a specific gauge, and any variations in gauge may result in a different size or fit. Therefore, it is essential to make a gauge swatch before starting the project.
To create a gauge swatch, use the recommended needle size and yarn weight stated in the pattern. Cast on a few more stitches than necessary, and work in the specified stitch pattern for a few inches. Once the swatch is complete, measure the number of stitches and rows within a 4-inch square. If the number of stitches and rows match the gauge specified in the pattern, then you can proceed with confidence. However, if your swatch differs from the gauge, you will need to adjust your needle size or yarn weight to achieve the correct gauge.
When it comes to measurements, it is important to accurately determine the circumference of the head for which the beanie is being made. Using a flexible measuring tape or a piece of string, wrap it around the widest part of the head, just above the eyebrows and ears. Ensure that the tape or string is snug but not too tight. Note down this measurement, as it will be used to determine the number of stitches to cast on.
Tip: If you are making the beanie as a surprise gift or for someone whose head measurement you don’t know, a general guideline is to design the beanie with a circumference of approximately 20-22 inches, which is the average adult head size.
Size Chart
| Head Circumference (inches) | Number of Stitches to Cast On |
|---|---|
| 20-21 | 72-80 |
| 21-22 | 80-88 |
| 22-23 | 88-96 |
| 23-24 | 96-104 |
Refer to the above size chart to determine the appropriate number of stitches to cast on based on the head circumference measurement. Keep in mind that the number of stitches may vary depending on your gauge, so adjust accordingly.
By taking accurate measurements and ensuring the correct gauge, you can create a knit beanie that fits perfectly and looks great.
Cast On Stitches
When starting a knitting project, the first step is to cast on stitches onto the knitting needle. This creates the foundation row for the project. There are various methods to cast on stitches, but the most commonly used method is the long tail cast on.
The long tail cast on method requires a long tail of yarn that is used to create the stitches. To begin, make a slip knot by creating a loop with the yarn, then pulling the working yarn through the loop. Place the slip knot onto the knitting needle and hold the needle in your right hand.
With your left hand, hold the tail of the yarn and the working yarn. Insert the needle into the slip knot and wrap the working yarn around the thumb and tail of the yarn. Use your thumb and forefinger to create a V-shape with the working yarn.
Next, insert the needle into the V-shape and under the loop on your thumb. Bring the needle over the top of the loop on your thumb, then back through the loop. This creates a new stitch on the needle.
Repeat this process to cast on the desired number of stitches, keeping the tension even between each stitch. Once all the stitches have been cast on, you are ready to begin knitting the first row of your project.
Knitting the Ribbing
The ribbing is an important part of knitting a beanie as it creates a stretchy and snug fit around the head. It also adds a decorative edge to the hat. To start knitting the ribbing, you will need to choose your yarn and appropriate needles. Typically, a smaller needle size is used for the ribbing to create a tighter and denser fabric.
To begin, cast on the desired number of stitches for the ribbing. The most common ribbing pattern is the 1×1 rib, which alternates between one knit stitch and one purl stitch. This creates a nice textured effect and allows the ribbing to stretch easily. You can also experiment with other ribbing patterns, such as a 2×2 rib or a twisted rib, to add more variety to your beanie.
Step 1: Knit the first stitch.
Insert your needle into the stitch from left to right and wrap the yarn around the needle. Pull the needle through the stitch, creating a new stitch on the right needle. This is called a knit stitch, and it creates a smooth and raised stitch on the right side of the fabric.
Step 2: Purl the next stitch.
Move the yarn to the front of the work, between the two needles. Insert the right needle into the next stitch from right to left and bring the yarn over the top of the needle, from back to front. Pull the needle through the stitch, creating a new stitch on the right needle. This is called a purl stitch, and it creates a bumpy and slightly recessed stitch on the right side of the fabric.
Step 3: Repeat steps 1 and 2 until you have completed the desired length of ribbing.
Continue knitting one stitch and purling one stitch in the established pattern until you have reached the desired length for the ribbing. The length of the ribbing can vary depending on personal preference or the pattern you are following. Typically, ribbing is knitted for about 1-2 inches before transitioning to the main body of the beanie.
Step 4: Transition to the main body of the beanie.
After knitting the ribbing, you can switch to a larger needle size and continue knitting the rest of the beanie using your preferred stitch pattern, such as stockinette stitch or a textured pattern. The ribbing provides a nice foundation and helps to keep the beanie in place on the head.
Overall, knitting the ribbing is a crucial step in creating a well-fitting and comfortable beanie. It adds elasticity to the edge of the hat and gives it a polished look. Whether you stick with the classic 1×1 rib or experiment with different ribbing patterns, the ribbing is a versatile and essential technique in knitting a beanie.
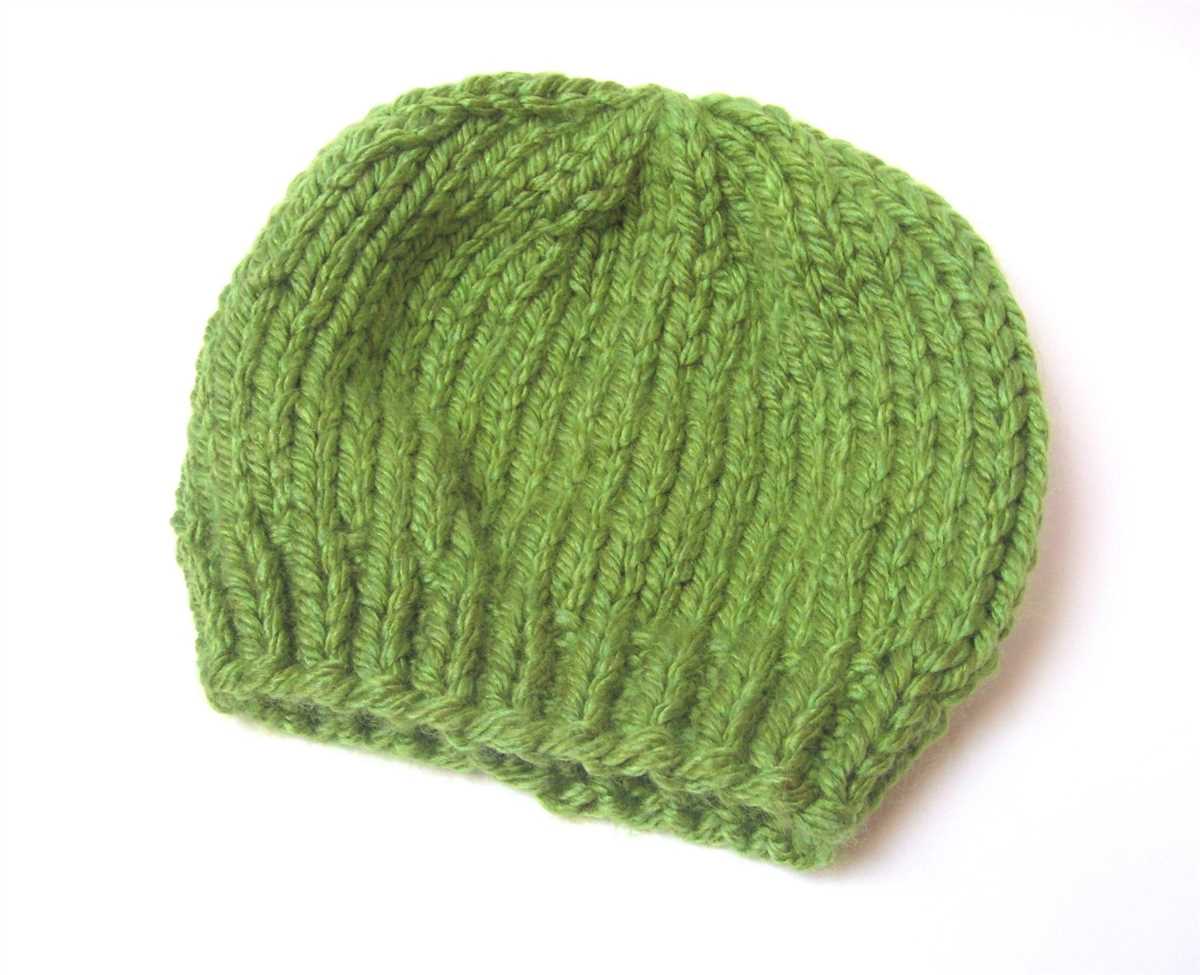
Transition to Stockinette Stitch
Once you have completed the ribbing portion of the beanie, it’s time to transition to the stockinette stitch. The stockinette stitch is a simple knitting pattern that creates a smooth, flat fabric with a distinct “V” pattern on the right side.
To transition from the ribbing to the stockinette stitch, you will need to switch from knitting every stitch to alternating between knitting and purling stitches. This change in stitching pattern creates the smooth, flat surface of the stockinette stitch.
Start by knitting the first stitch of the transition row, just as you did in the ribbing portion. Then, instead of knitting the next stitch, bring the working yarn to the front of the work and purl the next stitch. Repeat this pattern of knitting one stitch and purling one stitch until you reach the end of the row.
For the following rows, continue to alternate between knitting and purling stitches. To knit a stitch, insert the right-hand needle into the next stitch from left to right, wrap the working yarn around the right-hand needle from back to front, and pull the loop through. To purl a stitch, bring the working yarn to the front of the work, insert the right-hand needle into the next stitch from right to left, wrap the working yarn around the right-hand needle from front to back, and pull the loop through.
Continue knitting the stockinette stitch until you have reached the desired length for your beanie. Remember to always knit the stitches on the right side and purl the stitches on the wrong side to maintain the smooth surface of the stockinette stitch.
Shaping the Crown
Shaping the crown of a knit beanie is an important step in the knitting process, as it adds depth and structure to the hat. There are several techniques that can be used to achieve a nicely shaped crown, depending on the desired outcome.
One common method is to decrease stitches gradually and evenly across each row. This creates a smooth, rounded crown that is comfortable to wear. To do this, you can use a technique called “knit two together” (k2tog), where you knit two stitches together as if they were one. This decreases the total number of stitches on each row and creates a nice shaping effect.
Another technique is to create a more slouchy or relaxed fit by gradually increasing stitches towards the crown. This can be done by using a technique called “make one” (M1), where you make a new stitch by picking up the horizontal loop between two stitches and knitting into it. By adding stitches gradually, you can create a more slouchy and roomy crown for your beanie.
Alternatively, you can also create a more structured crown by decreasing stitches more quickly and sharply. This can be achieved by using techniques such as “slip, slip, knit” (SSK), where you slip two stitches from the left needle to the right needle, insert the left needle into the slipped stitches, and knit them together. This creates a tighter and more defined shaping effect for the crown of the beanie.
No matter which technique you choose, shaping the crown is an important step to consider when knitting a beanie. It allows you to create the desired fit, style, and structure for your hat, making it both functional and fashionable.
Decreasing Stitches
A crucial step in creating a knit beanie is decreasing stitches to shape the crown. Decreasing stitches helps to taper the top of the hat and give it a fitted look. There are several techniques for decreasing stitches, and the choice depends on the desired pattern and style of the beanie.
The most common way to decrease stitches is by knitting two stitches together (k2tog). This method involves knitting the next two stitches as if they were one stitch, reducing the stitch count by one. The k2tog decrease creates a smooth decrease line and is often used in ribbed patterns or for a simple, clean look.
Another commonly used decrease method is the slip, slip, knit (ssk) decrease. In this method, you slip two stitches knitwise, one at a time, onto the right needle. Then, insert the left needle into the front loops of the slipped stitches and knit them together through the back loops. The ssk decrease creates a left-leaning decrease line and is often used in lace patterns or for a more decorative look.
In addition to k2tog and ssk, there are other decrease methods such as knit three together (k3tog), slip, knit, pass (skp), and purl two together (p2tog). These decrease methods can be used to achieve different effects, create intricate patterns, or shape the crown in a specific way.
When following a knit beanie pattern, the decrease instructions will specify which method to use and at which points in the pattern. It’s important to carefully read and understand the decrease instructions to ensure the correct shaping of the crown. With practice, decreasing stitches becomes easier, and you’ll be able to create beautifully shaped knit beanies.
Finishing the Hat
Once you have completed knitting your beanie, it’s time to finish off the hat and give it a polished look. The finishing touches are what make the hat truly special and professional-looking. Here are the steps to complete your knit beanie:
Weaving in Ends
Start by weaving in any loose ends from the yarn. Use a darning needle to carefully thread the loose ends through the stitches on the backside of the hat. This will secure the ends and prevent them from unraveling. Make sure to weave in the ends in a neat and inconspicuous manner so that they are not visible from the outside of the hat.
Blocking the Hat
Blocking is an important step to shape and resize your beanie. Fill a basin or sink with lukewarm water and gently place the hat in it. Let it soak for about 10-15 minutes. Carefully remove the hat from the water and squeeze out the excess water without wringing or twisting it. Lay the hat flat on a towel and gently shape it to the desired size and dimensions. Leave the hat to dry completely.
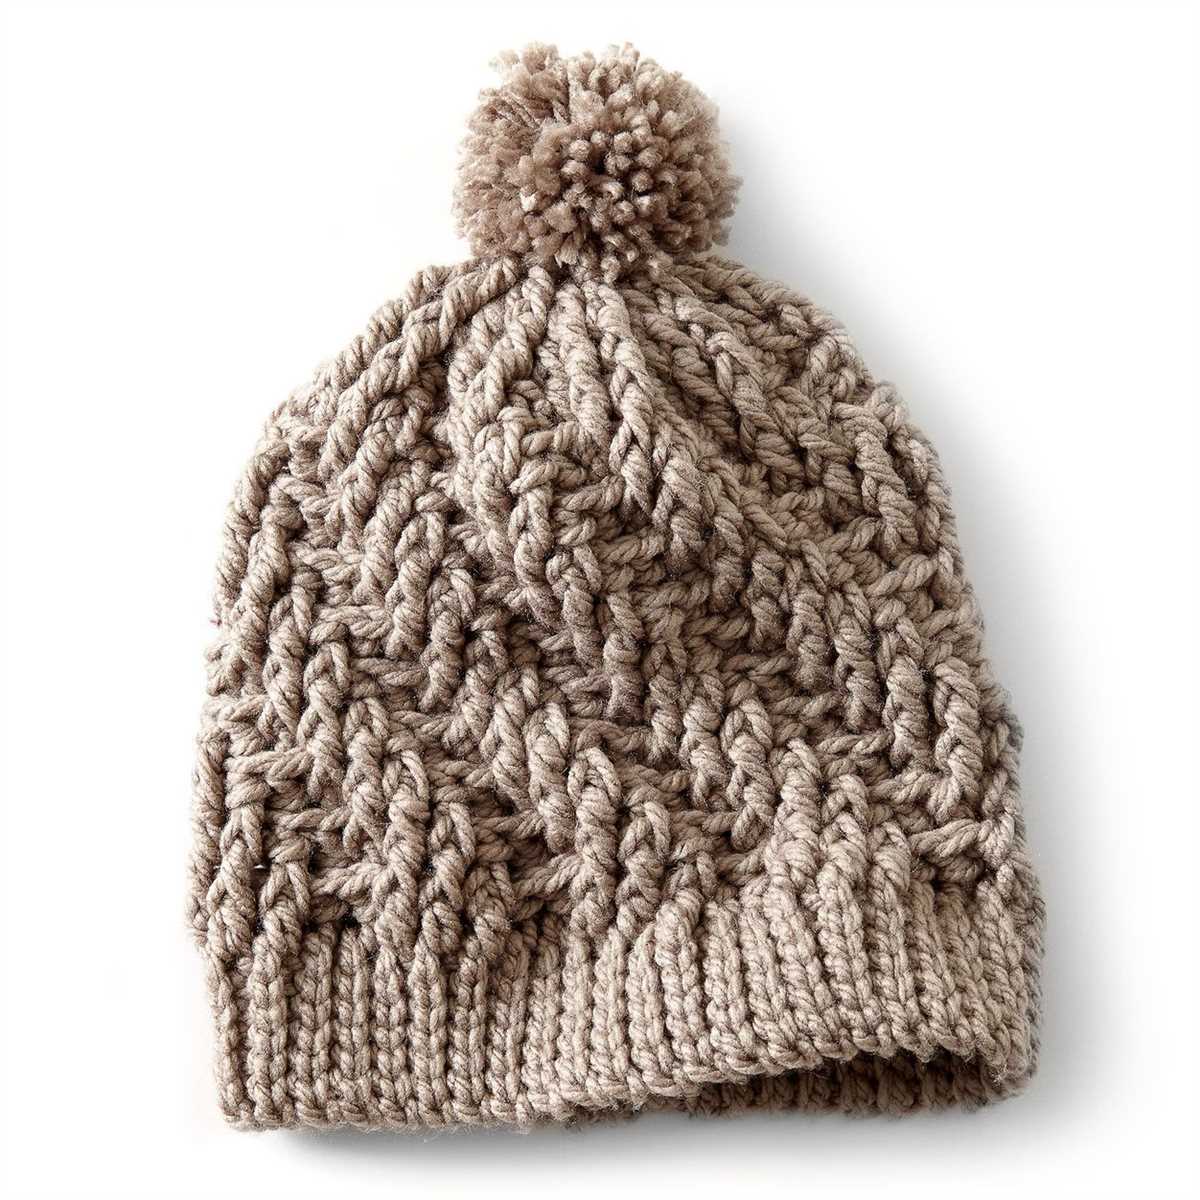
Adding a Pom-pom (optional)
If you want to add a playful touch to your beanie, you can attach a pom-pom to the top. There are pre-made pom-poms available, or you can make your own using yarn. Simply sew the pom-pom securely to the top of the hat using a darning needle and a length of yarn that matches the color of the pom-pom and hat. Make sure the pom-pom is attached tightly to prevent it from coming loose.
Final Touches
Once the hat is dry, give it a final inspection for any loose threads or imperfections. Trim any excess yarn carefully to ensure a clean finish. If desired, you can also add additional embellishments such as buttons or patches to personalize your beanie. Finally, try on the hat and make any necessary adjustments to achieve the perfect fit. Your knit beanie is now ready to be worn and enjoyed!
Adding Embellishments (optional)
Once you have finished knitting your beanie, you may want to add some embellishments to give it a personalized touch. Here are a few ideas to consider:
Embroidery
Add a pop of color and texture to your beanie by embroidering a design or pattern onto it. Use contrasting colors of yarn and a tapestry needle to create beautiful stitches. You can choose to embroider a small motif or cover the entire beanie with a unique design.
Pom-poms
Add a playful and whimsical touch to your beanie by attaching a pom-pom to the top. You can make a pom-pom using yarn and a pom-pom maker or create one by hand. Simply attach the pom-pom securely to the top of your beanie using a yarn needle, making sure it is centered and secure.
Buttons and beads
Add some extra flair to your beanie by sewing on decorative buttons or beads. Choose buttons that complement the color and style of your beanie, and sew them onto the brim or in a specific pattern. Alternatively, you can string beads onto the yarn and incorporate them as you knit.
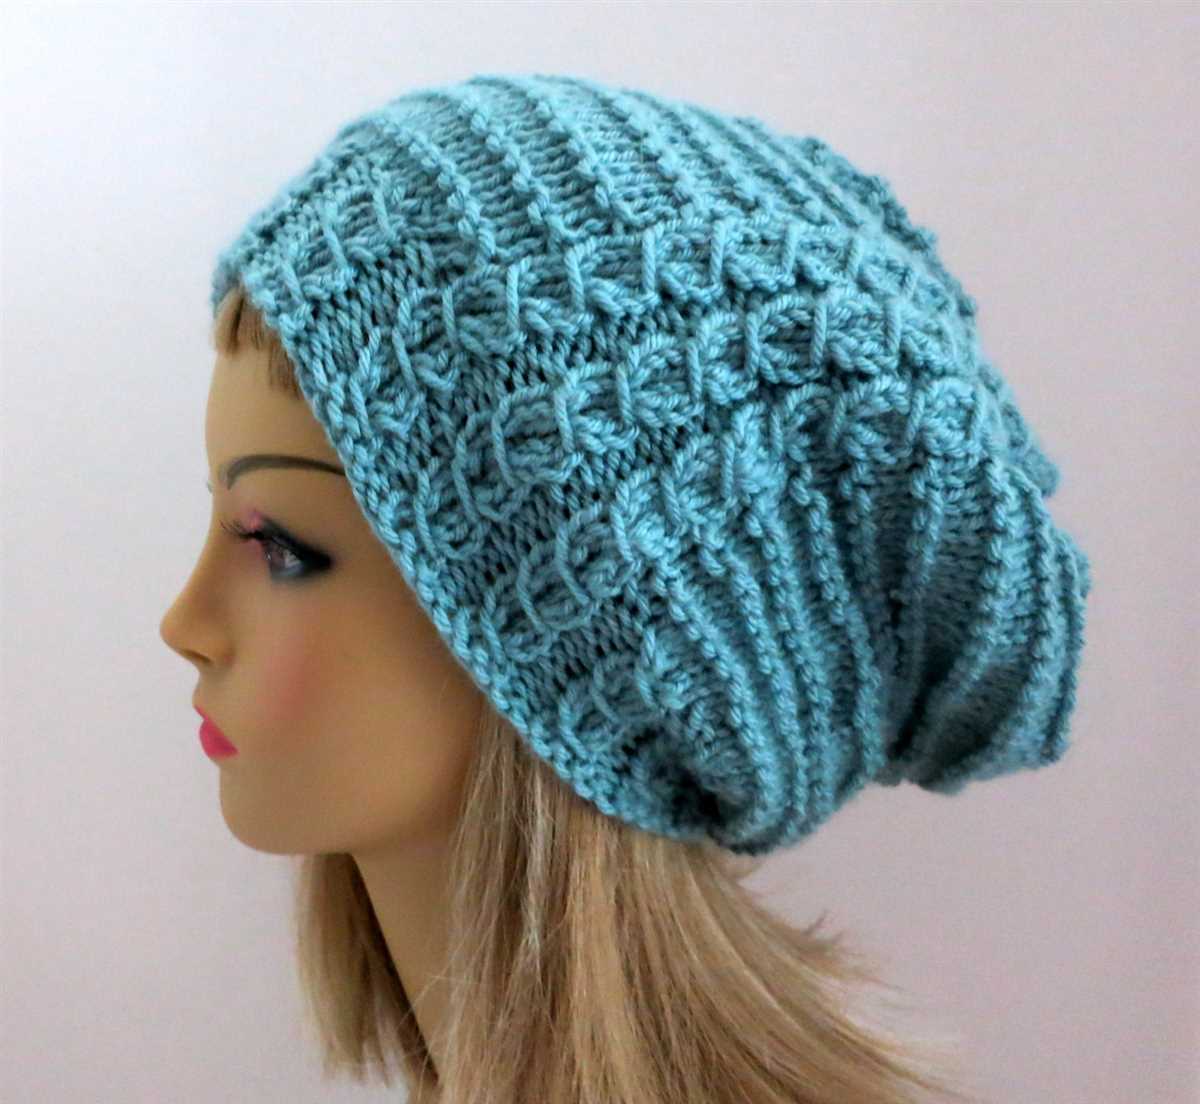
Textured stitches
Experiment with different stitch patterns to add texture to your beanie. You can try cable stitches, bobbles, or lace patterns to create interesting designs. Incorporate these stitches into specific sections of your beanie, such as the brim or crown, to make them stand out.
Remember, adding embellishments is entirely optional, so feel free to get creative and customize your beanie to your liking. Just make sure any additions are securely attached to ensure they don’t come loose during wear and washing.
Final Thoughts and Styling Tips
In conclusion, this simple knit beanie pattern is a great project for knitters of all skill levels. It’s a versatile pattern that can be customized to fit your personal style and preferences. Whether you’re a beginner or an experienced knitter, you’ll enjoy creating your own cozy and stylish beanie.
Here are a few styling tips to help you make the most of your new beanie:
- Accessorize: Add a pom-pom, a decorative button, or a knit flower for a fun and personalized touch.
- Pair with a scarf: Coordinate your beanie with a matching or complementary scarf for a cozy and put-together look.
- Wear with confidence: Rock your beanie with confidence, knowing that you made it yourself and that it adds a unique touch to your outfit.
- Experiment with colors: Don’t be afraid to play with different colors and yarns to create a beanie that matches your wardrobe or makes a bold fashion statement.
Whether you’re looking to stay warm during the colder months, add a stylish accessory to your outfit, or create a handmade gift for a loved one, this simple knit beanie pattern is a fantastic choice. Happy knitting!