
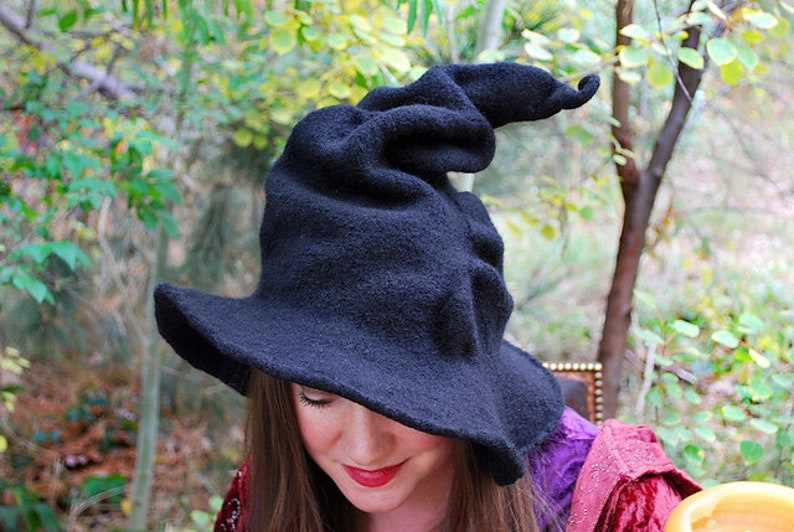
Knitting is a wonderful craft that allows you to create beautiful and unique items. If you are a fan of witch costumes and Halloween, what could be better than knitting your very own witch hat? With its classic shape and whimsical charm, a knitted witch hat can be a great addition to your costume or a fun accessory for any occasion.
Creating your own witch hat can be a rewarding and enjoyable experience. Whether you are a beginner or an experienced knitter, there are plenty of patterns available that will suit your skill level. From simple designs with basic stitches to more intricate patterns with cabled brims and lace details, you can find a pattern that matches your style and abilities.
When choosing a witch hat knitting pattern, it’s important to consider the materials you will be using. While traditional witch hats are often made with black yarn, you can also experiment with different colors to create a more unique and personalized hat. Additionally, consider the type of yarn you will be using in terms of texture and weight. Some patterns may specify a specific type of yarn, while others may offer more flexibility in terms of yarn choice.
Whether you are knitting a witch hat for yourself or as a gift, the end result will be a one-of-a-kind piece that you can be proud of. So grab your knitting needles and get ready to cast a spell with your very own knitted witch hat!
Witch Hat Knitting Pattern: Make Your Own Halloween Accessory
Halloween is a time when people of all ages can dress up and have fun, and what better way to complete your spooky costume than with a witch hat? Instead of buying a generic one from the store, why not make your own using a knitting pattern? Not only will it be unique, but it will also showcase your knitting skills.
There are many different knitting patterns available for witch hats, catering to different skill levels and preferences. Whether you prefer a classic pointy hat or a more modern style, there is a pattern out there for you. Patterns often include instructions for different sizes, ensuring that you can create a hat that fits you perfectly.
To make your own witch hat, you will need some basic knitting supplies, such as yarn, knitting needles, and a tapestry needle. You may also need additional materials, such as a circular needle or double-pointed needles, depending on the pattern you choose. It’s important to read through the pattern before starting to ensure that you have all the necessary supplies.
Knitting a witch hat can be a fun and rewarding project. It allows you to express your creativity while also creating a practical accessory for Halloween. Whether you’re an experienced knitter or just starting out, give a witch hat knitting pattern a try and add a touch of handmade charm to your Halloween costume.
Tips for Knitting a Witch Hat
- Choose a pattern that matches your skill level.
- Take your time and read through the pattern before starting.
- Make sure you have all the necessary supplies before beginning.
- Experiment with different colors and yarn types to customize your hat.
- Don’t be afraid to ask for help or seek out tutorials if you’re unsure of any steps.
- Have fun and enjoy the process of creating your own Halloween accessory!
Materials and Tools You’ll Need for the Witch Hat Knitting Pattern
In order to complete the witch hat knitting pattern, you will need to gather several materials and tools. This list will ensure you have everything you need before beginning the project.
Materials:
- Yarn: Choose a yarn color that matches your desired witch hat design. Worsted weight yarn is recommended for this project.
- Knitting Needles: You will need a set of double-pointed knitting needles in the appropriate size for your yarn. Circular needles can also be used if you prefer.
- Stitch Markers: These will help you keep track of your stitches and rounds while knitting.
- Tapestry Needle: This needle will be used for weaving in ends and finishing your hat.
- Scissors: A pair of sharp scissors will be essential for cutting yarn and trimming any excess.
Tools:
- Measuring Tape: This will come in handy for checking your gauge and measuring the length of your hat.
- Crochet Hook: You may need a crochet hook for picking up dropped stitches or fixing any mistakes in your knitting.
- Pom-pom Maker: If you’d like to add a fun and decorative pom-pom to the top of your hat, a pom-pom maker will be useful.
- Blocking Materials: Depending on your preference, you might want to block your hat to shape it perfectly. This can be done using blocking mats, pins, and a spray bottle.
Once you have gathered all the necessary materials and tools, you will be ready to start knitting your witch hat. Make sure to read through the pattern instructions carefully and enjoy the process of creating your own unique and magical accessory.
Choosing the Right Yarn for Your Witch Hat Knitting Pattern
When it comes to knitting a witch hat, choosing the right yarn is essential to ensure that the finished product is not only visually appealing but also comfortable to wear. The yarn you choose can greatly impact the look and feel of the hat, so it’s important to consider a few factors before making your final decision.
Type and Weight: The type and weight of the yarn will determine the thickness and durability of the hat. For a witch hat, it’s best to opt for a medium to heavy-weight yarn that provides enough structure to hold the shape of the hat. Consider using a wool or acrylic blend yarn, which are both versatile and easy to work with.
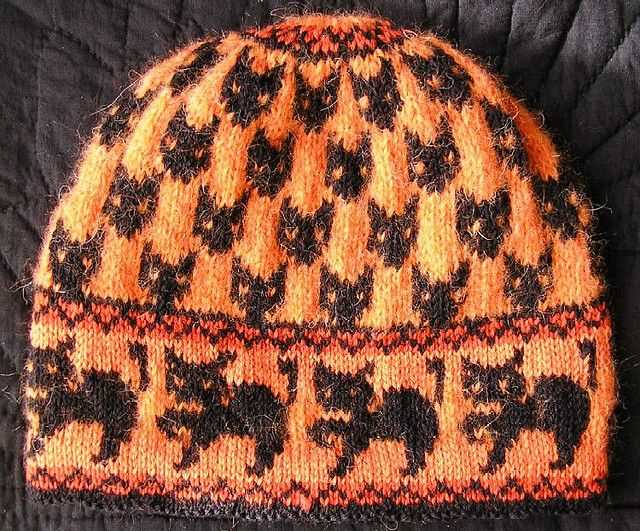
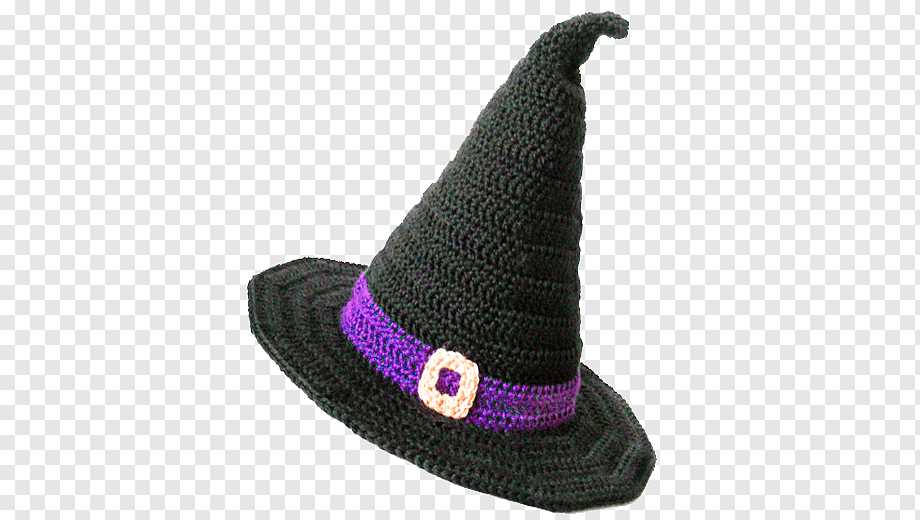
Color: The color of the yarn will play a big role in the overall aesthetic of the witch hat. Traditionally, witch hats are depicted in dark and mysterious colors such as black, purple, or deep green. However, you can also choose bold and vibrant colors to personalize your hat and make it stand out.
Texture: The texture of the yarn can add an interesting element to your witch hat. For a more traditional look, opt for a smooth and even yarn. Alternatively, you can choose a yarn with a textured or variegated effect to add dimension and visual interest to the hat.
Care Instructions: Consider the care instructions of the yarn when choosing for your witch hat knitting pattern. You want to select a yarn that is easy to care for and can withstand regular wear. Look for machine washable options or yarns that only require gentle handwashing to ensure that your hat remains in good condition.
Quantity: Finally, make sure to estimate the quantity of yarn you will need for your witch hat. Consider the pattern you’re using and the size of the hat. It’s always better to have a bit more yarn than you think you’ll need to avoid running out mid-project.
- Choose a medium to heavy-weight yarn that provides structure
- Consider dark and mysterious colors or bold and vibrant shades
- Experiment with smooth, textured, or variegated yarns for added interest
- Check the care instructions to ensure easy maintenance
- Estimate the required quantity of yarn before starting the project
Step-by-Step Instructions for Knitting the Brim of the Witch Hat
In order to knit the brim of the witch hat, you will need to follow a series of simple steps. First, you will need to cast on a certain number of stitches, which will create the base of the brim. The number of stitches will depend on the size of the hat you are knitting and the thickness of the yarn you are using.
Once you have cast on the desired number of stitches, you can then start to knit the brim in the desired pattern. One popular pattern for the brim of a witch hat is a ribbed pattern, which creates a stretchy and textured fabric. To create the ribbed pattern, you will alternate between knitting and purling stitches.
Begin by knitting the first stitch, then purl the next stitch. Continue this pattern of knitting and purling stitches until you have reached the end of the row. For the next row, you will need to purl the first stitch and then knit the next stitch. Repeat this pattern of purling and knitting stitches for the entire row.
Continue knitting the brim of the hat in this ribbed pattern until it reaches the desired width. You can try the hat on periodically to check the fit and make any adjustments if necessary. Once the brim is the correct width, you can then bind off the stitches to finish the brim.
By following these step-by-step instructions, you will be able to knit the brim of the witch hat with ease. Remember to choose a pattern that you enjoy and have fun with the process of creating your own unique witch hat!
Knitting the Body of the Witch Hat: Tips and Tricks
When knitting a witch hat, the body is an essential part that determines the overall shape and style. Here are some tips and tricks to help you knit the body of the witch hat successfully.
1. Choose the Right Yarn and Needle Size
For a witch hat that holds its shape well and has a good drape, it’s important to choose the right yarn and needle size. A worsted weight yarn or a yarn with some wool content works great for this project. Consider using circular knitting needles of appropriate size for easier knitting in the round.
2. Knit in the Round
Knitting the body of the witch hat in the round not only creates a seamless finish but also makes the process much more efficient. With circular needles, you can avoid the need for seaming and easily monitor your progress as you go. This method also allows you to try on the hat as you work to ensure a perfect fit.
3. Mind the Tension
Consistent tension is crucial when knitting the body of the witch hat to ensure an even and polished look. Avoid knitting too tightly, as it can make the hat stiff and uncomfortable. Conversely, knitting too loosely can result in a floppy hat. Take regular breaks to relax your hands and adjust your tension if needed.
4. Use Stitch Markers
Using stitch markers can be extremely helpful when knitting the body of the witch hat. Placing markers at the beginning and end of each repeat can help you keep track of your progress and prevent mistakes. They can also be useful for marking decreases or increases, ensuring symmetrical shaping.
5. Customize with Lace or Ribbing
To add a touch of uniqueness to your witch hat, consider incorporating lace or ribbing patterns into the body. A simple lace pattern can add elegance and a delicate touch, while ribbing can create a more structured and textured look. Experiment with different stitch patterns to find the one that best suits your style.
By following these tips and tricks, you can confidently knit the body of the witch hat and create a beautiful and stylish accessory for Halloween or any other magical occasion.
Adding the Iconic Pointed Top to Your Witch Hat
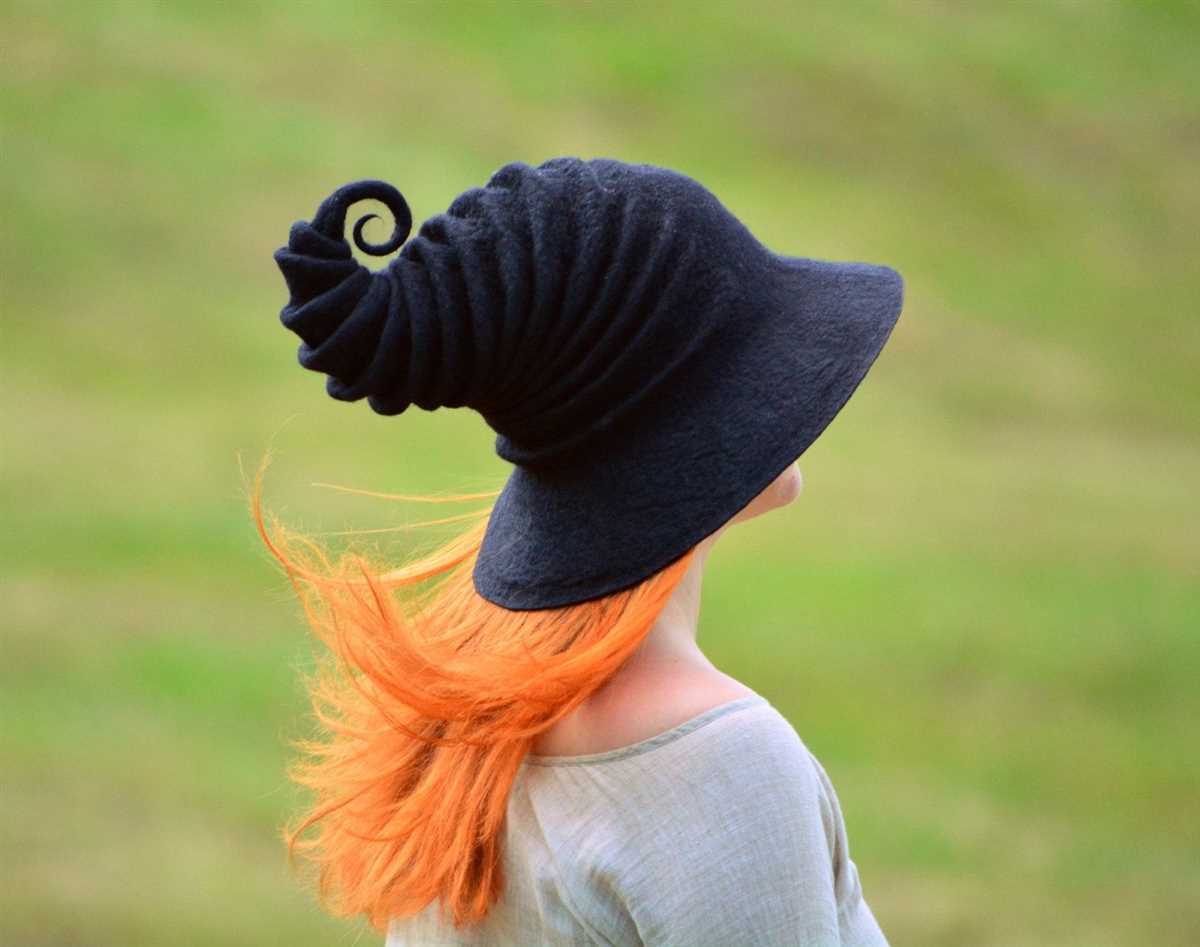
When it comes to knitting a witch hat, one of the most distinctive features is the pointed top. This iconic shape is what sets a witch hat apart from other styles of hats. If you want to add this pointed top to your witch hat, there are a few different techniques you can use.
One popular method is to use a decrease stitch pattern to create the desired shape. By gradually decreasing the number of stitches as you work towards the top of the hat, you can create a conical shape that tapers to a point. This can be done using techniques like knit two together (K2tog) or slip, slip, knit (SSK) to decrease the stitch count.
Using a Decrease Stitch Pattern
To add the iconic pointed top to your witch hat using a decrease stitch pattern, you’ll need to follow a specific pattern and repeat the decrease rows until you reach the desired point. Here’s an example pattern to get you started:
- Cast on the desired number of stitches for your hat.
- Work in your chosen stitch pattern (such as stockinette stitch) for several rows to establish the base of the hat.
- Begin your decrease rows by knitting two stitches together (K2tog) across the row.
- Knit the next row without any decreases.
- Continue alternating between decrease rows and regular knit rows, gradually decreasing the number of stitches each time.
- Once you have only a few stitches remaining, cut the yarn, thread it through the remaining stitches, and pull tight to close the top of the hat.
By following this decrease stitch pattern, you can create the iconic pointed top on your witch hat. Experiment with different stitch patterns and decrease techniques to achieve the perfect shape and size for your hat. Happy knitting!
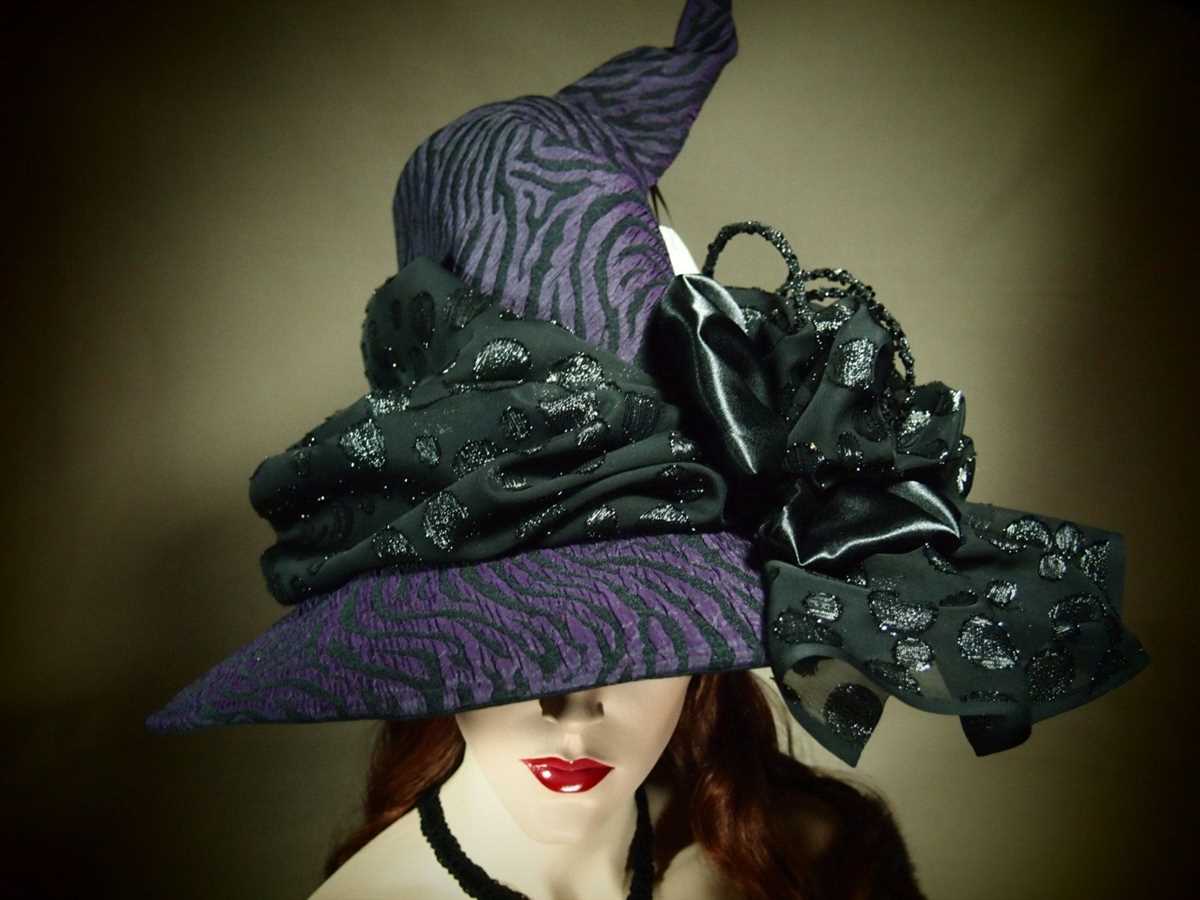
Personalizing Your Witch Hat with Embellishments and Decorations
When it comes to witch hat knitting patterns, the possibilities for personalization are endless. One fun way to add your own touch is by embellishing and decorating your hat. By adding unique elements, you can truly make your witch hat one-of-a-kind.
1. Ribbons and Bows: Adding ribbons and bows to your witch hat is a simple yet effective way to personalize it. You can choose ribbons in different colors and patterns to match your style or the occasion. Simply attach the ribbons or bows to the brim or the top of your hat using a hot glue gun or by sewing them on.
2. Feathers and Flowers: Another way to make your witch hat stand out is by adding feathers or flowers. This can give your hat a whimsical or bohemian look depending on the type of feathers or flowers you choose. Consider attaching them to the brim or creating a floral crown around the base of the hat.
3. Charms and Trinkets: To add a touch of magic to your witch hat, consider attaching charms or trinkets. You can find various witchy or mystical-themed charms online or at craft stores. Attach them to the brim or incorporate them into a hatband to give your hat a unique and enchanting flair.
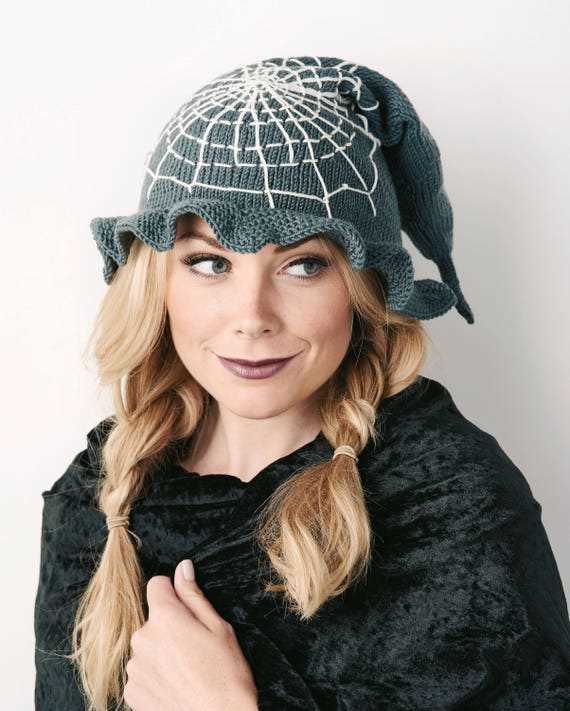
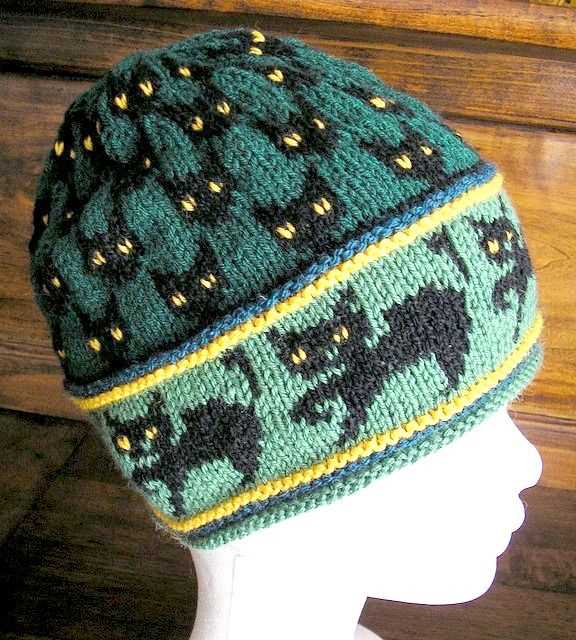
4. Embroidery and Appliques: If you’re skilled in embroidery or enjoy working with appliques, you can use these techniques to personalize your witch hat. You can embroider your initials, a spooky design, or even add a small applique of a black cat or a pumpkin. These details will make your hat truly special.
5. Glitter and Sequins: For an extra touch of sparkle and glamour, consider adding glitter or sequins to your witch hat. You can apply them to the entire hat or create patterns and designs. Be sure to use a strong adhesive or fabric glue to ensure they stay in place.
6. Hatband Accessories: Lastly, you can personalize your witch hat by adding accessories to the hatband. This can include small charms, beads, or even small props like tiny broomsticks or miniature cauldrons. This will give your hat an extra layer of detail and make it truly unique.
Remember, the key to personalizing your witch hat is to have fun and let your creativity shine. Don’t be afraid to experiment with different materials, colors, and ideas to make your hat truly reflect your style and personality.
Finishing Touches: Blocking and Shaping Your Witch Hat
After completing the intricate knitting pattern for your witch hat, it’s time to give it the finishing touches to make it look just right. Blocking and shaping are essential steps in achieving the desired fit and aesthetic for your hat.
Blocking:
Blocking is the process of shaping and stretching the knitted fabric to even out any unevenness and give it a more polished appearance. To block your witch hat, you will need a blocking mat or surface, rustproof pins, and a spray bottle filled with lukewarm water.
First, lay your hat on the blocking mat and gently pull and shape it to the desired size. Use the rustproof pins to secure the edges in place, pushing them into the mat. Make sure to stretch any areas that need shaping, such as the brim or crown of the hat. Once the hat is in the desired shape, lightly mist it with water using the spray bottle. This will help the fibers relax and set in the new shape. Allow the hat to dry completely before removing the pins.
Shaping:
Shaping your witch hat involves giving it structure and definition. This can be achieved through several techniques, such as adding wire or a fabric stiffener to the brim or crown.
If you choose to use wire, gently sew it into the hem of the brim to give it stability and allow for shaping. Bend the wire to the desired curve, ensuring that it follows the shape of the brim. This will give the brim structure and help it maintain its shape even when worn.
Another option is to use a fabric stiffener, such as starch or a commercial fabric stiffening spray. Apply the stiffener to the brim or crown of the hat, following the instructions on the product. This will add rigidity to the fabric and help maintain its shape over time.
Once you have blocked and shaped your witch hat, it’s ready to be worn or displayed. The finishing touches of blocking and shaping will not only give your hat a professional look, but also ensure that it fits comfortably and retains its shape for years to come.
Trying Different Variation of Witch Hat Knitting Patterns
Knitting is an enjoyable craft that allows you to create beautiful and unique pieces, and one popular project for knitting enthusiasts is the witch hat. With its distinct shape and whimsical style, a witch hat can be a fun and fashionable accessory for Halloween or any dress-up occasion. One of the great things about knitting is that there are endless possibilities for customization, and you can experiment with different variations of the witch hat knitting pattern to create a design that is truly your own.
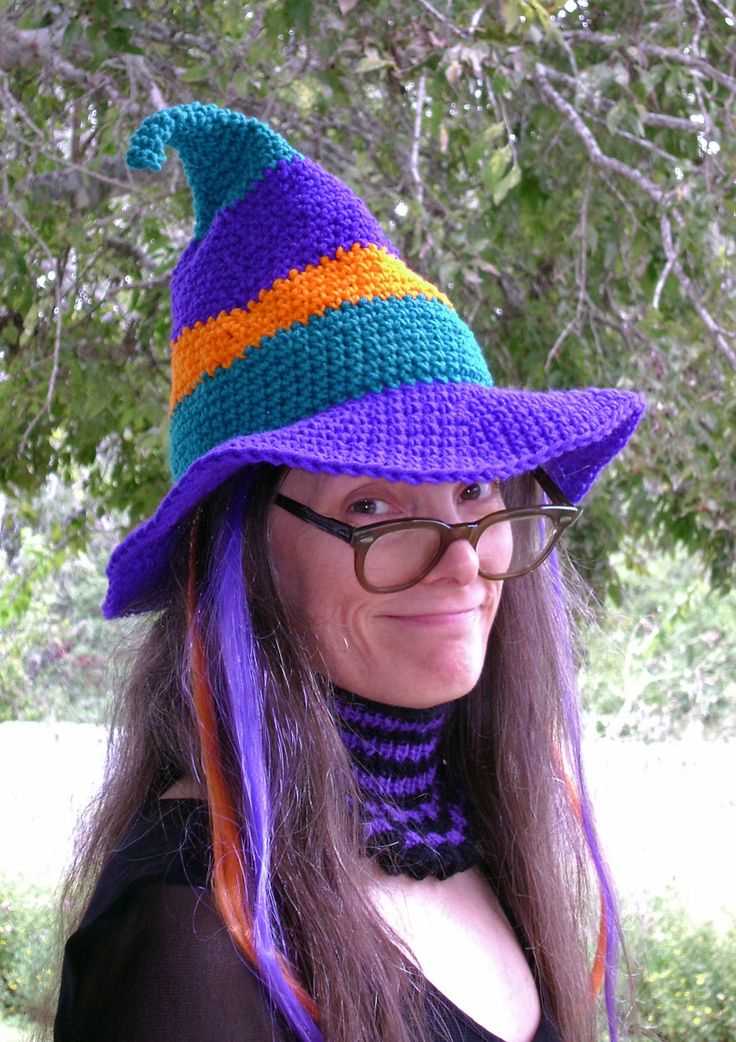
One variation you can try is changing the color scheme of the hat. While traditional witch hats are often black, you can add a pop of color by using a different shade for the main body of the hat or incorporating contrasting stripes or patterns. This allows you to match the hat to a specific costume or personal style, making it even more eye-catching and unique.
If you want to take your witch hat to the next level, you can also experiment with different stitch patterns. Instead of using a basic stockinette stitch, try incorporating cables, lace, or textured stitches to add dimension and visual interest to your hat. This can give your hat a more intricate and enchanting look, elevating it from a simple accessory to a true work of art.
Another way to add personality to your witch hat is by incorporating embellishments. You can use buttons, ribbons, bows, or even crochet flowers to decorate the brim or the top of the hat. These small details can make a big difference and can help customize your hat even further.
In conclusion, trying different variations of witch hat knitting patterns is a great way to personalize your creations and make them truly unique. By experimenting with color, stitch patterns, and embellishments, you can create a witch hat that reflects your individual style and adds a touch of magic to your wardrobe.
Show Off Your Creations: Sharing and Styling Your Hand-Knit Witch Hat
Now that you have successfully completed knitting your witch hat, it’s time to show off your beautiful creation! Whether you want to share it with your friends and family or style it for a Halloween party, here are some ideas to help you make the most of your hand-knit witch hat.
1. Social Media:
Take some stunning pictures of your witch hat and share them on your favorite social media platforms. Use relevant hashtags like #witchhatknitting or #handknitwitchhat to reach a wider audience. Don’t forget to tag the pattern designer or knitting community you got inspiration from, as they would love to see your work!
2. Knitting Communities:
Join online knitting communities or forums where you can share your witch hat project. You can post pictures, ask for feedback, or simply inspire others with your creation. Knitting communities often provide a supportive and encouraging environment for fellow knitters.
3. Create a Witchy Photoshoot:
Get into the Halloween spirit and organize a fun photoshoot with your hand-knit witch hat. Find a spooky location or set up a Halloween-inspired backdrop. Experiment with different poses and angles to capture the essence of your witch hat. You can even ask a friend to model the hat for you!
4. Gift or Sell:
If you’re feeling generous, why not gift your hand-knit witch hat to someone special? Handmade gifts are always appreciated and cherished. Alternatively, if you have extra witch hats or want to turn your knitting hobby into a small business, consider selling them online or at local craft markets.
5. Style it Up:
Once you’ve shown off your creation, it’s time to style your witch hat for various occasions. Pair it with a spooky Halloween costume or wear it with a casual outfit for a touch of whimsy. Experiment with different hair styles and accessories to create different looks that showcase your unique style.
Remember to have fun with your hand-knit witch hat and let your creativity shine. It’s not just a functional accessory, but a reflection of your passion for knitting and love for the craft. Enjoy the process, embrace your individuality, and share your beautiful creation with the world!
Q&A:
What is a witch hat knitting pattern?
A witch hat knitting pattern is a set of instructions that guides you on how to knit a hat in the shape of a traditional witch’s hat.
Where can I find a witch hat knitting pattern?
You can find witch hat knitting patterns on various knitting websites, craft stores, or by searching online for free or paid patterns.
What materials do I need to knit a witch hat?
To knit a witch hat, you will need a set of knitting needles (circular or double-pointed), a yarn of your choice in the desired color, a tapestry needle for finishing, and any additional decorations you may want to add.
Are there different styles of witch hat knitting patterns?
Yes, there are different styles of witch hat knitting patterns available. Some patterns may have a pointed tip, while others may be more slouchy or have different decorative elements. You can choose a pattern that suits your preferences.
Is it difficult to knit a witch hat?
The difficulty level of knitting a witch hat depends on your knitting skills and the complexity of the pattern you choose. Some patterns may be more suitable for experienced knitters, while others may be beginner-friendly. It is always helpful to read through the pattern instructions before starting and to practice basic knitting techniques.
What materials do I need to knit a witch hat?
You will need yarn, knitting needles, a crochet hook, a tapestry needle, and a set of double-pointed needles.
What level of knitting skill is required to knit a witch hat?
A basic understanding of knitting techniques such as casting on, knitting, purling, increasing, and decreasing is required to knit a witch hat.