
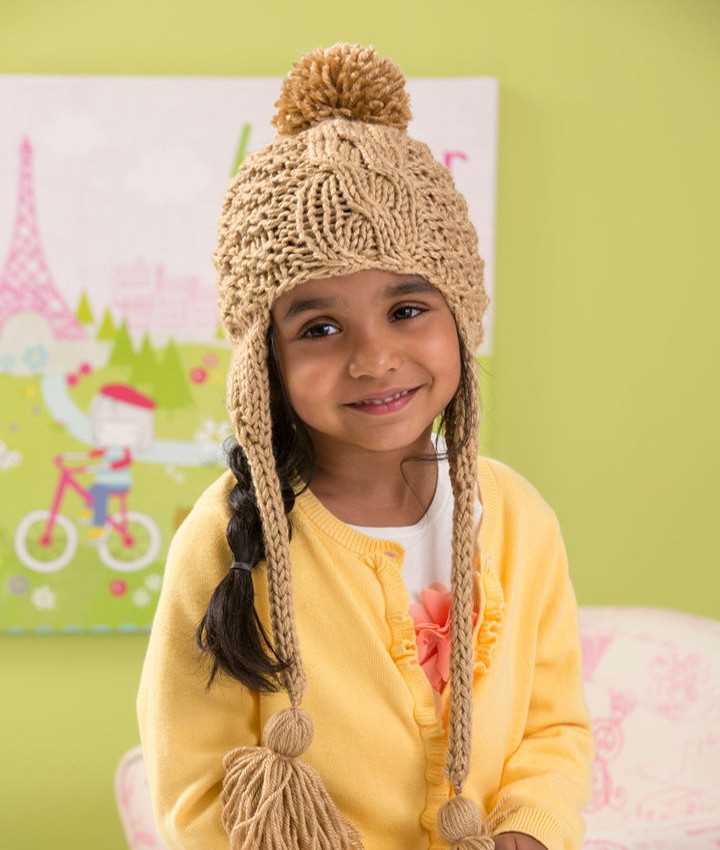
Knitting is a popular craft that allows you to create beautiful and functional items with just a pair of needles and some yarn. One of the most popular things to knit is a hat, and there are countless patterns available for hats of all shapes and sizes. If you’re looking to knit a hat for a toddler, you’ll need a pattern that is specifically designed for their smaller heads.
This knitting pattern for a toddler hat is perfect for beginners who are just starting out with knitting. It features a simple and straightforward design that is easy to follow, making it an ideal project for those who are new to the craft. The pattern uses basic stitches and techniques, such as knit and purl, and includes detailed instructions and clear diagrams to help you along the way.
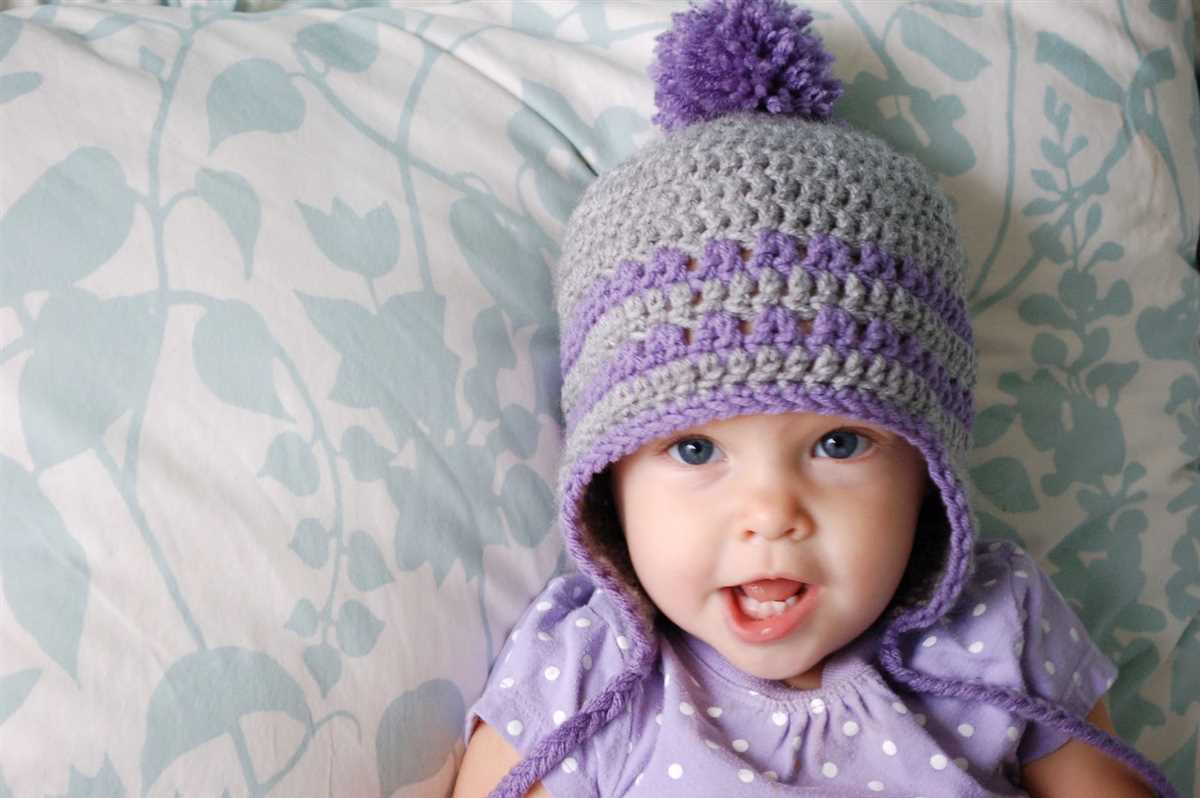
The hat is designed to fit toddlers aged 1-3 years old, with a circumference of approximately 16-18 inches. It is knit in the round using circular needles, which eliminates the need for seaming and creates a seamless and comfortable finished product. The pattern also includes instructions for adding a cute pom-pom on top, for an extra touch of whimsy.
Materials needed:
- 1 skein of worsted weight yarn
- US size 8 circular needles
- US size 8 double-pointed needles
- Tapestry needle
- Stitch marker
With this knitting pattern for a toddler hat, you’ll have a fun and rewarding project that will result in a cozy and adorable hat that any little one would love to wear. So grab your knitting needles and get started today!
Materials
When it comes to knitting a hat for a toddler, it is important to choose the right materials that will provide both comfort and warmth. Here is a list of materials you will need for your knitting project:
- Yarn: Select a soft and durable yarn suitable for babies and toddlers. Look for a yarn that is machine washable for easy care. Choose a worsted weight or bulky yarn to create a warm and cozy hat.
- Knitting Needles: You will need a set of double-pointed or circular knitting needles, depending on your preferred knitting method. Choose the appropriate needle size based on the gauge provided in the knitting pattern.
- Tape Measure: A tape measure is essential for accurately measuring your toddler’s head size and checking the gauge of your knitting.
- Stitch Markers: Stitch markers are used to mark the beginning of rounds or specific stitch patterns. They help you keep track of your progress and make it easier to follow the knitting pattern.
- Yarn Needle: A yarn needle, also known as a darning needle, is needed for weaving in loose ends and finishing your hat. Choose a needle with a large eye to accommodate the thickness of the yarn.
- Scissors: A pair of sharp scissors is necessary for cutting yarn and trimming any excess.
With these materials on hand, you will be well-equipped to start knitting a cozy and adorable hat for your toddler!
Gauge
When knitting a hat for a toddler, it is important to pay attention to the gauge, which refers to the number of stitches and rows per inch in a knitted sample. The correct gauge ensures that the hat will fit properly and have the desired size. To achieve the correct gauge, it is necessary to knit a swatch using the recommended yarn and needle size.
To check the gauge, the knitter needs to measure the number of stitches and rows in a 4-inch square. If there are more stitches and rows than specified in the pattern, it means that the tension is too tight, and a larger needle size should be used. On the other hand, if there are fewer stitches and rows, the tension is too loose, and a smaller needle size should be used.
Using the correct gauge is vital to ensure that the hat fits the toddler comfortably. If the gauge is too tight, the hat will be small and uncomfortable to wear. Conversely, if the gauge is too loose, the hat will be too big and may fall off the toddler’s head. Therefore, it is essential to take the time to knit a gauge swatch and make any necessary adjustments before starting the actual project.
Size
When knitting a toddler hat, it is important to consider the size to ensure a proper fit. The size of the hat will depend on the age and head circumference of the child. It is recommended to measure the child’s head before starting the project to determine the appropriate size.
The knitting pattern for a toddler hat will typically include several size options. These options may range from newborn to toddler sizes, with corresponding head circumferences. The pattern may also provide guidance on how to adjust the size if needed, such as adding or reducing the number of stitches or rows.
To ensure the hat fits comfortably, it is important to choose the correct size based on the child’s measurements. A hat that is too small may be tight and uncomfortable, while a hat that is too large may slip off easily. Taking accurate measurements and selecting the appropriate size will help to create a hat that fits well and can be worn comfortably by the child.
Abbreviations
In knitting patterns, it is common to use abbreviations for certain stitches or techniques. These abbreviations help to simplify the instructions and make them easier to read and understand. Here are some commonly used abbreviations you may come across in a knitting pattern for a toddler hat:
- K: Knit
- P: Purl
- YO: Yarn Over
- K2tog: Knit two stitches together
- P2tog: Purl two stitches together
- RS: Right Side
- WS: Wrong Side
- CO: Cast On
- BO: Bind Off
- St(s): Stitches
It is important to familiarize yourself with these abbreviations before starting a knitting project to ensure you understand the instructions correctly. Most knitting patterns will include a key or glossary that explains the abbreviations used. If you are unsure about an abbreviation, you can refer to this key for clarification.
Instructions

In order to knit a toddler hat, you will need the following materials:
- US size 8 circular knitting needles
- 1 skein of worsted weight yarn
- Scissors
- Yarn needle
Once you have gathered all of your materials, you can begin knitting the toddler hat using the following steps:
- Cast on 60 stitches using the long-tail cast on method.
- Place a stitch marker at the beginning of your round.
- Join your knitting in the round, being careful not to twist your stitches.
- Knit every stitch in the round for 15 rows.
- Begin your decrease rounds as follows:
- Round 1: *Knit 8, knit 2 together* repeat from * to * to the end of the round (54 stitches remaining).
- Round 2: Knit every stitch.
- Round 3: *Knit 7, knit 2 together* repeat from * to * to the end of the round (48 stitches remaining).
Cast on
A cast on is the first step in starting a knitting project. It is the process of creating the foundation row of stitches on your needles. In this toddler hat knitting pattern, we will be using the long tail cast on method.
To begin, you will need to measure out a long tail of yarn. This tail should be approximately three times the width of the finished project. Make a slipknot at the end of the yarn, leaving a short tail. Insert your right needle through the loop of the slipknot and tighten it onto the left needle. This slipknot will count as your first stitch.
Hold the two needles in your right hand, with the cast on yarn coming from the back of the needles. Place your left thumb and forefinger between the two needles to create tension in the yarn. Bring the yarn over the top of your left hand needle and around the back, creating a loop. Insert the right needle into the loop from left to right and under the left needle. With your right hand, bring the yarn under the right needle and through the loop, creating a new stitch on the right needle.
Continue this process, creating stitches and sliding them onto the left needle, until you have cast on the required number of stitches for the toddler hat. Make sure to keep the tension consistent throughout. Once all the stitches are cast on, you are ready to begin the next step of the pattern.
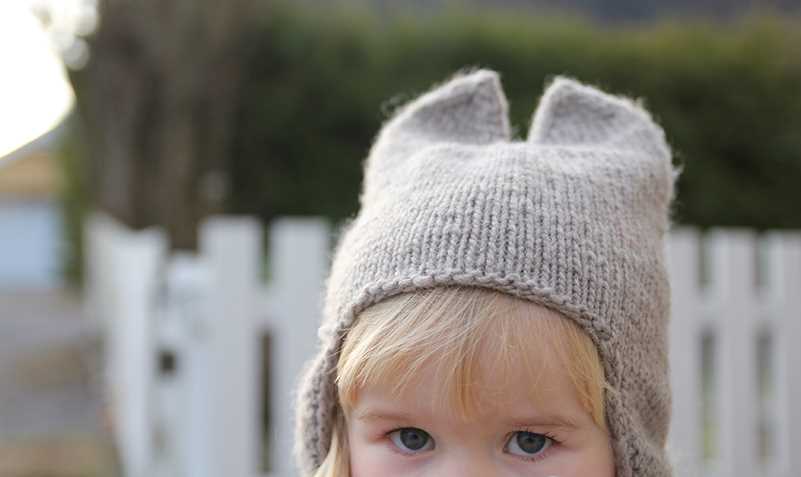
The Brim of a Toddler Hat
The brim is an important part of a toddler hat as it helps to keep the hat in place and provide some protection from the sun. It can also add a decorative element to the overall design. When knitting a toddler hat, it’s crucial to pay attention to the brim to ensure a comfortable fit and a polished look.
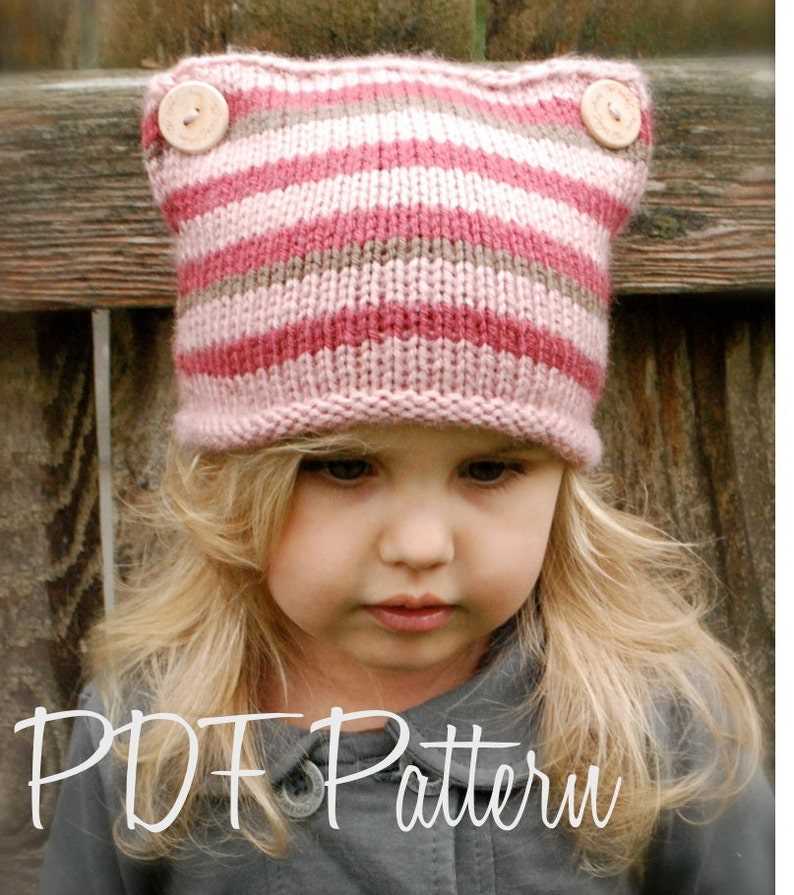
There are different types of brims that can be used for a toddler hat. One common type is the folded brim, where the edge of the hat is folded up to create a double layer of fabric. This not only adds warmth and structure to the hat but also gives it a classic, finished look. Another option is a ribbed brim, which is created by alternating knit and purl stitches. This type of brim stretches nicely and provides a snug fit.
When choosing a brim for a toddler hat, it’s important to consider the yarn weight and the child’s comfort. A bulky yarn can create a thick, cozy brim, while a lighter weight yarn will result in a more delicate and breathable brim. It’s also important to ensure that the brim is not too tight, as this can be uncomfortable for the child and may cause the hat to slip off. Adding a bit of stretch or using a flexible stitch pattern can help achieve a comfortable fit.
Lastly, the brim can be a great opportunity to add some embellishments or decorative stitches to the hat. For example, you could incorporate a contrasting color for the folded edge or add a row of eyelet stitches for a feminine touch. Be creative and experiment with different techniques to make the brim unique and personalized.
Body
The body of the toddler hat is knit in a combination of ribbing and stockinette stitch to create a snug and warm fit. The ribbing provides stretch and elasticity, allowing the hat to comfortably fit a range of head sizes. The stockinette stitch creates a smooth and uniform texture, giving the hat a polished and professional look. The body of the hat is knit in the round, using circular knitting needles, to eliminate the need for seams and ensure a seamless finish.
To start the body of the hat, cast on the desired number of stitches using the long-tail cast on method. This will create a clean and stretchy edge. The ribbing pattern is then worked for a few inches to provide a snug fit around the head. The ribbing is typically worked in a 1×1 or 2×2 pattern, alternating between knit and purl stitches. This creates a stretchy and elastic fabric that will expand to fit the head comfortably.
After the ribbing section is complete, the body of the hat transitions into the stockinette stitch pattern. This involves working one round of knit stitches followed by one round of purl stitches, repeating this pattern until the desired length is reached. The stockinette stitch creates a smooth and flat fabric with visible “V” shaped stitches on the right side and purl bumps on the wrong side.
Once the body of the hat reaches the desired length, it is time to shape the crown. This is done by decreasing stitches evenly across the rounds until only a few stitches remain. This is typically done by knitting two stitches together (k2tog) or by using other common decreasing techniques. The decreases create a tapered shape that fits snugly on top of the head. Finally, the remaining stitches are gathered and secured to close the crown of the hat.
In summary, the body of a toddler hat is knit in a combination of ribbing and stockinette stitch to create a snug and warm fit. The ribbing provides stretch and elasticity, while the stockinette stitch creates a smooth and polished appearance. The body is knit in the round using circular needles, and the crown is shaped by decreasing stitches evenly until only a few stitches remain.
Decrease
The decrease is an important technique in knitting that allows you to shape your hat and create a more fitted look. It involves removing stitches from your knitting, usually at regular intervals, to gradually decrease the width of the hat.
To begin the decrease, you will need to identify the number of stitches in your current row. This will determine the spacing of your decreases. For example, if you have 60 stitches and want to decrease by 10%, you would subtract 10% of 60, which is 6, from the total number of stitches. This will give you 54 stitches.
You can decrease stitches in a few different ways, depending on the desired effect. The most common decrease is the knit-two-together (k2tog) decrease, where you knit two stitches together as one. This creates a neat and symmetrical decrease. Another decrease option is the slip, slip, knit (ssk), where you slip two stitches knitwise, then knit them together through the back loop.
As you continue to knit and decrease, you will gradually shape the crown of the hat. It’s important to follow the decrease pattern specified in your knitting pattern to ensure an even and balanced decrease. Once you have completed the decrease rounds, you can finish off the hat by gathering the remaining stitches together and securing them tightly.
Finishing
Once you have completed knitting the toddler hat, it’s time to finish it off and make it ready to wear. Here are some steps to follow:
- Weaving in ends: Start by weaving in all the loose ends of yarn. This is important to give the hat a clean and polished look. Use a tapestry needle to carefully thread the yarn through the stitches on the wrong side of the hat. Make sure to secure the yarn by weaving it back and forth a few times.
- Blocking: Blocking is the process of shaping and stretching the hat to its desired size. It helps to even out the stitches and gives the hat a professional finish. To block the hat, dampen it with water and gently stretch it to the desired shape. You can use blocking mats or towels to help retain the shape while it dries.
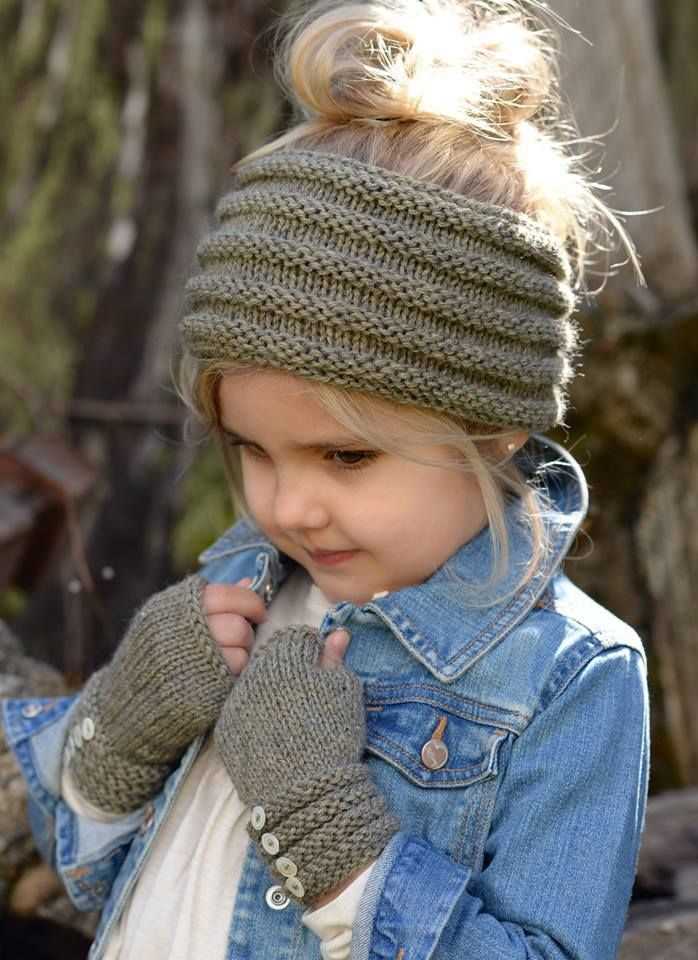
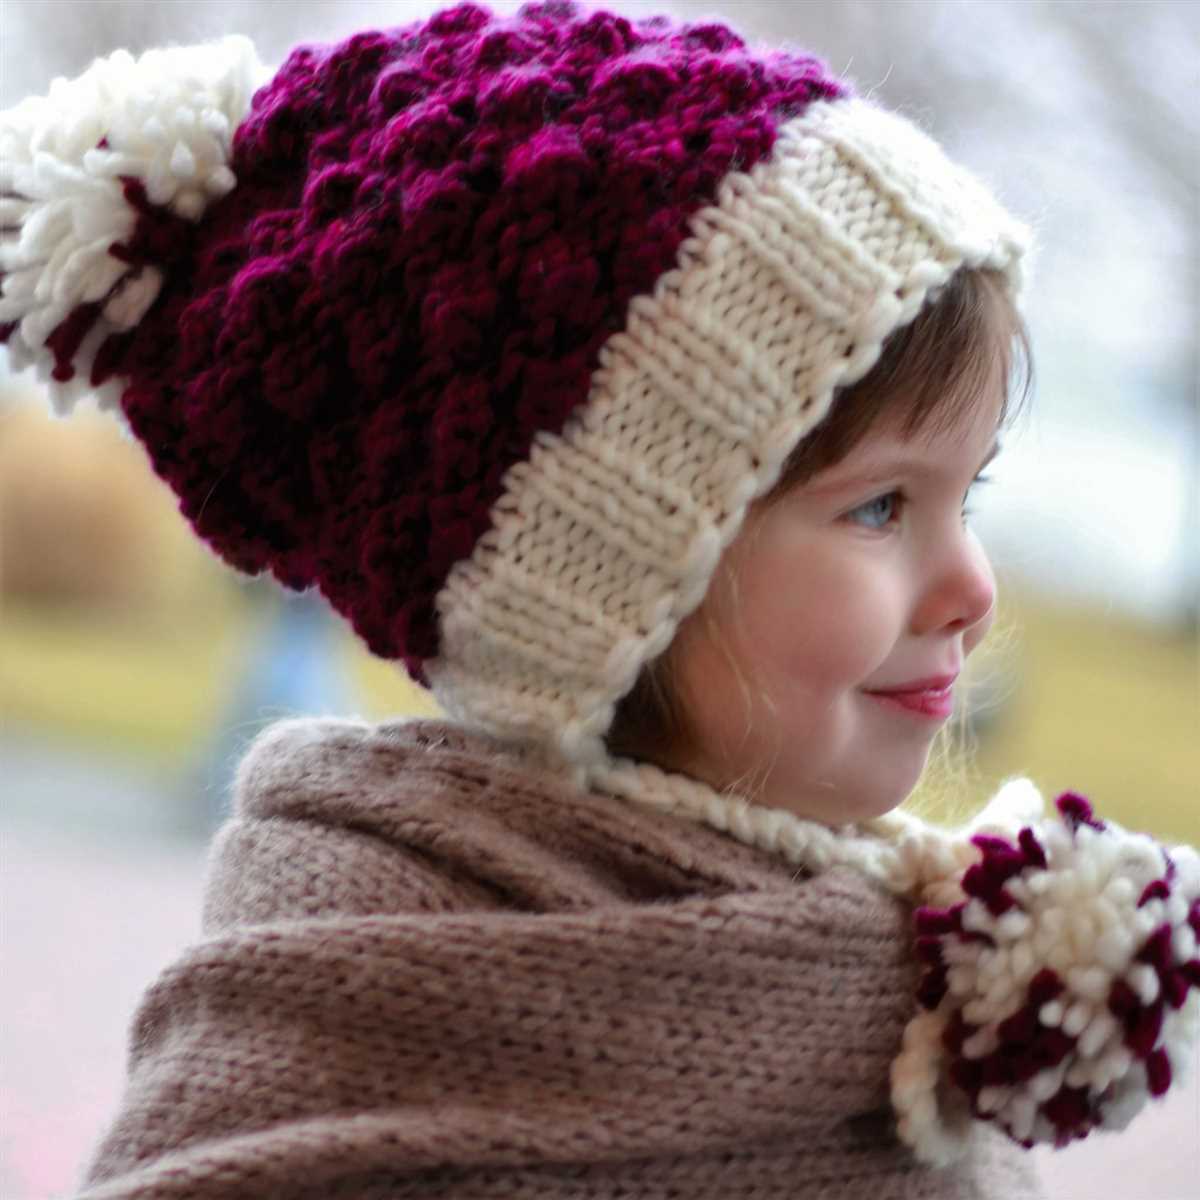
- Attaching a pom-pom: If desired, you can attach a pom-pom to the top of the hat for an extra cute and playful touch. You can either make a pom-pom yourself using yarn or purchase pre-made pom-poms. Sew the pom-pom securely to the top of the hat using a tapestry needle and yarn that matches the hat.
- Adding a chin strap: For added functionality and security, you can add a chin strap to the hat. This is particularly useful for toddlers who tend to pull off their hats. To add a chin strap, you can create two small loops on opposite sides of the hat using a tapestry needle and yarn. Then, attach a button or a snap fastener to each loop. This will allow you to fasten the chin strap under the child’s chin, keeping the hat in place.
Following these finishing steps will ensure that your toddler hat is complete and ready to keep your little one warm and stylish.
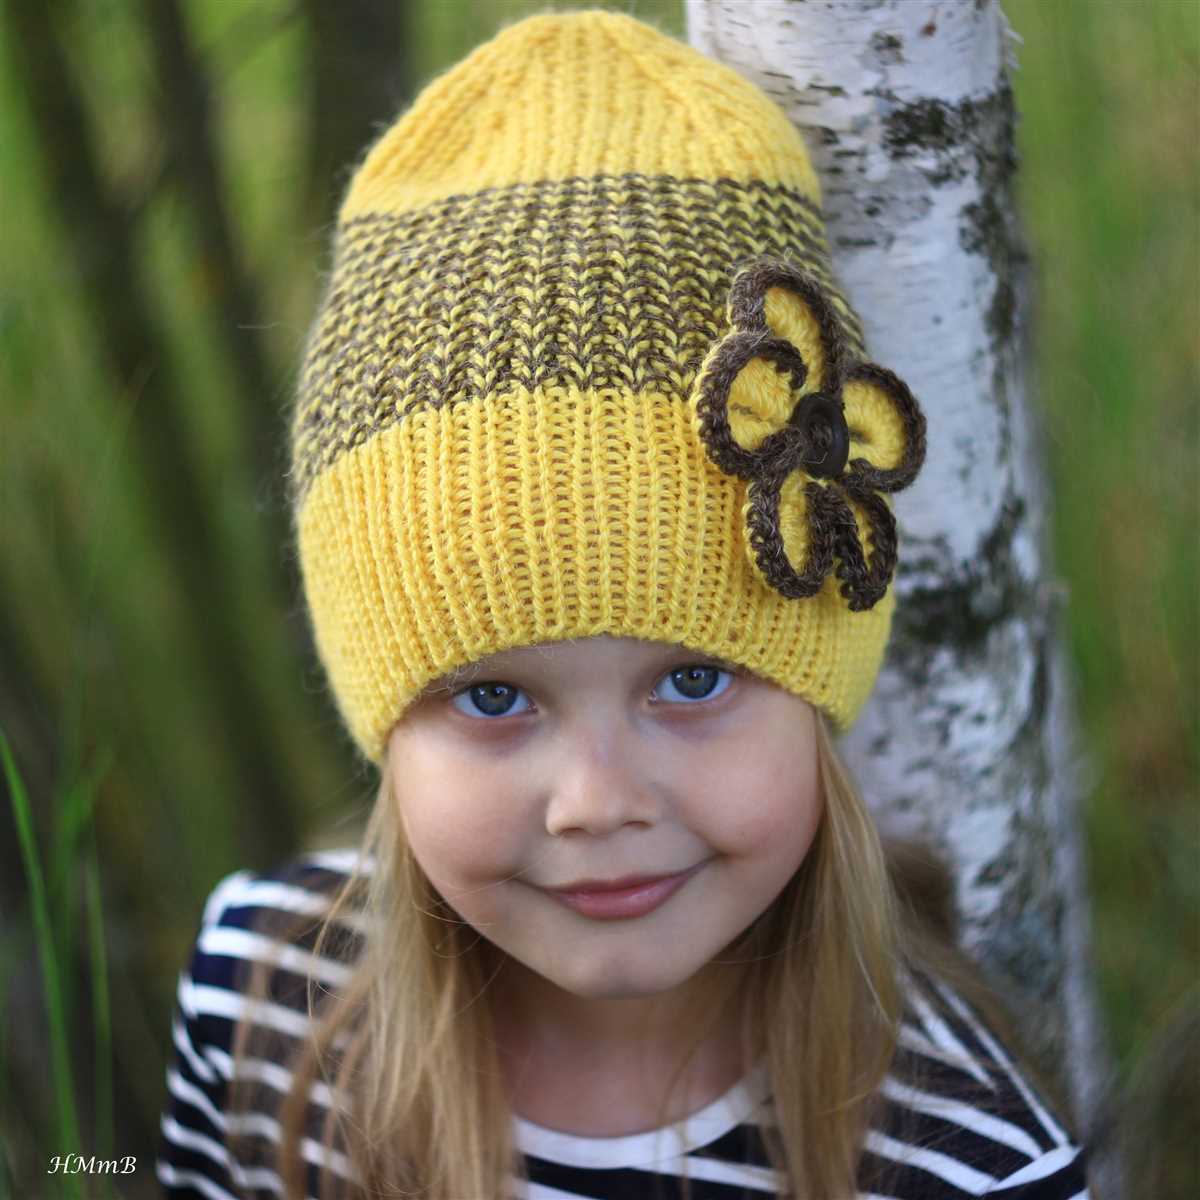
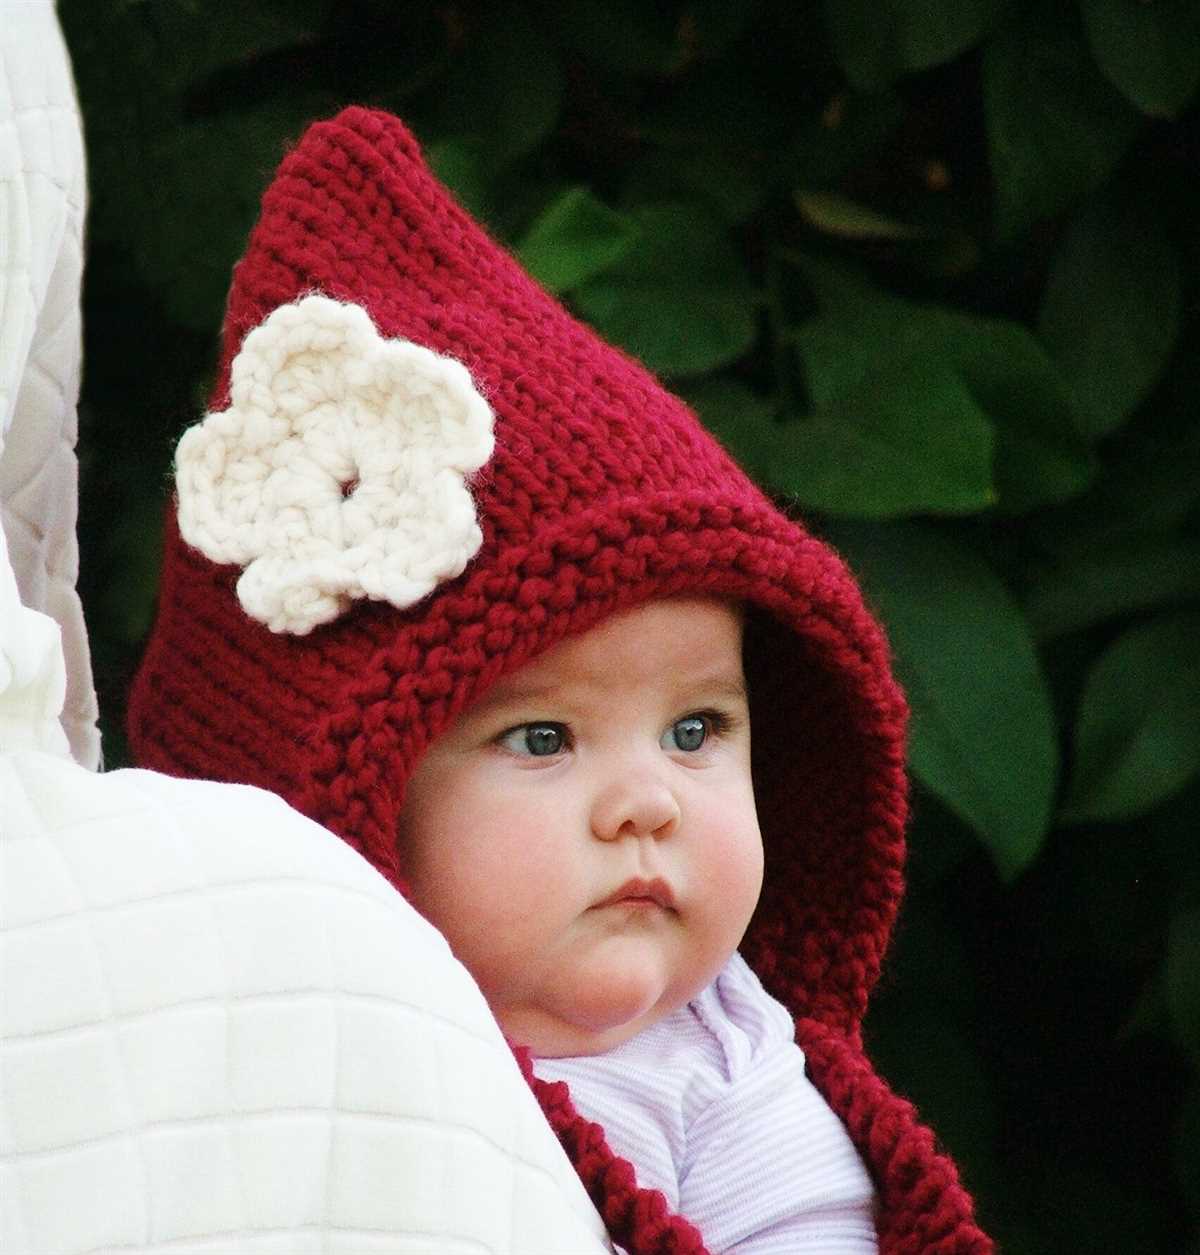
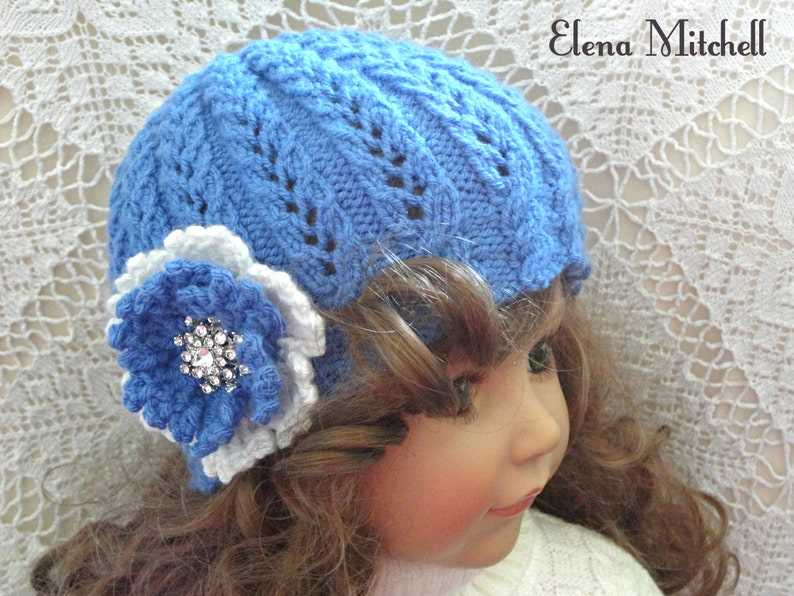
Optional Embellishments
If you want to add a little extra flair to your toddler’s hat, there are several optional embellishments you can incorporate into the knitting pattern. These embellishments can help make the hat even more unique and special, and they are a great way to personalize it for your little one.
Pom-poms: One popular option is to add a pom-pom to the top of the hat. You can choose a pom-pom in a coordinating color or pattern, or you can make your own using yarn from the same project. Pom-poms are fun and playful, and they add a touch of whimsy to the hat.
Embroidery: Another option is to add some decorative embroidery to the hat. You can stitch designs such as flowers, stars, or animals onto the hat using embroidery floss or yarn. This allows you to get creative and add a personal touch to the hat.
If you want to add some texture to the hat, you can also consider using different knitting techniques. For example, you can incorporate cables or lace patterns into the hat’s design. These techniques add visual interest and can make the hat look more intricate and sophisticated.
Buttons or bows: Finally, you can also add buttons or bows to the hat as a finishing touch. Sew a few small buttons or bows along the brim of the hat, or attach them to the sides for a cute and playful look. Just make sure to secure them tightly to prevent any choking hazards.
Remember, these embellishments are optional, so feel free to get creative and customize the hat to your liking. Whether you choose to add pom-poms, embroidery, or buttons, these extra touches will make the toddler hat even more adorable and unique.
Notes and Tips

When knitting a hat for a toddler, there are a few things to keep in mind to ensure a successful project. Here are some notes and tips to help you along the way:
- Select the right yarn: Use a soft and durable yarn that is suitable for a child’s sensitive skin. Choose a yarn that is machine washable for easy care.
- Check the gauge: Take the time to create a gauge swatch before starting the hat to ensure that your stitches match the pattern’s recommended gauge. This will help you achieve the correct size.
- Measurements matter: Take accurate measurements of the child’s head circumference to determine the correct size of the hat. This will help you choose the appropriate pattern size and ensure a proper fit.
- Pay attention to stitch markers: Use stitch markers to keep track of important sections of the pattern, such as increases or decreases. This will help you stay organized and maintain the correct stitch count.
- Read the instructions carefully: Make sure to read through the entire pattern before starting to understand the construction and any specific techniques required. This will help you avoid mistakes and confusion later on.
- Use stitch holders: If the pattern calls for placing stitches on hold, use stitch holders or scrap yarn to keep them secure. This will make it easier to pick up and continue working on those stitches later.
- Add personal touches: Feel free to customize the hat by adding embellishments such as pom-poms, buttons, or embroidery. Just ensure that any additions are securely attached and do not pose a choking hazard.
- Take your time: Knitting can be a relaxing and enjoyable hobby, so take your time and enjoy the process. Don’t rush through the project or you may make mistakes. Take breaks when needed and remember to have fun!
By following these tips, you’ll be well-prepared to knit a cozy and stylish hat for a toddler. Happy knitting!