
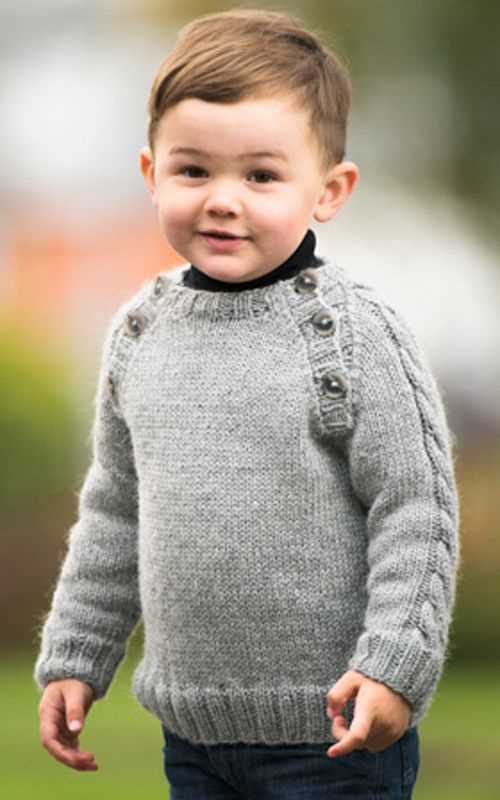
If you’re looking for a knitting project that is perfect for a little boy, then look no further! We have the perfect pattern for you. This boy sweater knitting pattern is not only free, but it’s also easy to follow and will result in a cozy and stylish sweater that any boy will love.
Knitting a sweater may seem intimidating, but this pattern includes step-by-step instructions and helpful tips to guide you along the way. Whether you’re an experienced knitter or just starting out, you’ll be able to create a beautiful sweater that will keep your little one warm during the colder months.
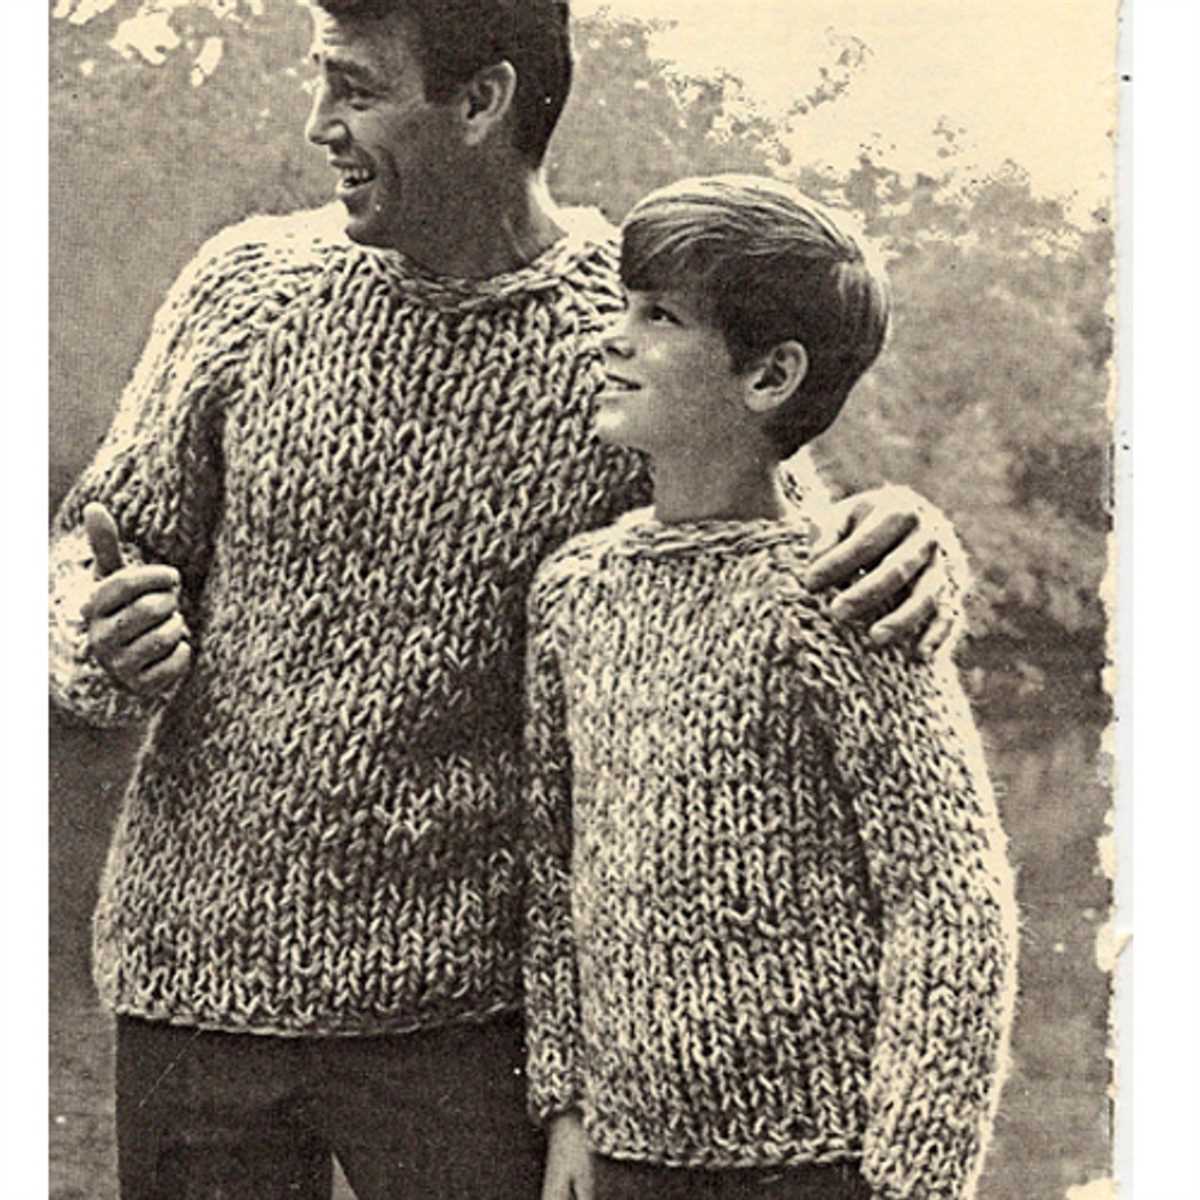
This boy sweater knitting pattern is versatile and can be customized to fit your child’s style and preferences. You can choose from a variety of yarns in different colors to create a unique sweater that your little boy will be proud to wear. Plus, the pattern includes sizes ranging from toddler to pre-teen, so you can easily make one for your child at any age.
So why wait? Start knitting today and create a one-of-a-kind sweater that your little boy will cherish for years to come. Download the free boy sweater knitting pattern now and get started on your next knitting project!
Why knit a sweater for a boy?
Knitting a sweater for a boy can be a rewarding and enjoyable experience for many reasons. First and foremost, a handmade sweater is a thoughtful and personalized gift that can be cherished for years to come. Whether it’s for a special occasion or just to keep the little one warm, a knitted sweater shows love and care in every stitch.
1. Unique and Customizable: Knitting allows you to create a one-of-a-kind sweater that reflects the boy’s personality and style. You have the freedom to choose the color, pattern, and design elements that best suit his interests and taste. This personal touch makes the sweater truly special and memorable.
2. Quality and Durability: Handmade sweaters are often made with high-quality yarns that are soft, warm, and durable. This means that the sweater will not only keep the boy cozy but also withstand the rough and tumble of everyday play. Knitting your own sweater gives you control over the materials used and allows you to create a garment that will last.
3. Skill Development: Knitting a sweater for a boy is a great way to improve your knitting skills and challenge yourself with new techniques. From mastering different stitch patterns to learning advanced construction methods, each project offers an opportunity to grow as a knitter. The satisfaction of seeing your skills improve and the finished product come to life is a rewarding experience.
4. Cost-effective and Sustainable: Knitting your own sweater can be a cost-effective alternative to buying a store-bought one. While high-quality yarn can be an initial investment, you can use leftovers from previous projects or look for sales to save money. Additionally, knitting your own sweater is a sustainable choice as it reduces the demand for fast fashion and promotes slow fashion practices.
- In conclusion, knitting a sweater for a boy is a wonderful way to show your love and creativity. Not only does it result in a unique and customized garment, but it also allows you to improve your knitting skills and make a sustainable choice. So why not pick up your knitting needles and start creating a special sweater for that special boy in your life?
Choosing the right yarn and needles
When knitting a boy’s sweater, it is important to choose the right yarn and needles to ensure that the finished project will be both comfortable and durable. The yarn you choose will determine the overall feel and look of the sweater, while the needles will affect the gauge and the size of the stitches.
Yarn: When selecting yarn for a boy’s sweater, it is best to choose a sturdy and machine-washable option. This will ensure that the sweater can withstand the rough and tumble of a boy’s everyday activities, while also being easy to clean. Acrylic and cotton yarns are great choices for this purpose, as they are durable and low-maintenance. Additionally, consider the thickness of the yarn and the recommended needle size for the desired gauge.
Needles: The right needles are crucial for achieving the correct gauge and size in your boy’s sweater. The needle size should correspond to the recommended gauge in the knitting pattern. If your stitches are too tight, try using larger needles, and if they are too loose, try using smaller needles. It is also important to consider the type of needle, whether it is straight or circular, as well as the material it is made of. Metal or bamboo needles are popular choices due to their smoothness and durability.
By carefully selecting the right yarn and needles, you can ensure that your boy’s sweater will turn out beautifully and be a joy to wear. Remember to always check the gauge and adjust your needle size if necessary. Happy knitting!
Getting the right measurements
When knitting a boy sweater, it is crucial to obtain accurate measurements to ensure a proper fit. Taking the time to measure the child’s body will result in a well-fitting garment that he can comfortably wear.
Start by measuring the chest circumference. Wrap a measuring tape around the widest part of the chest, just under the armpits, and make sure it is snug but not too tight. Take note of this measurement as it will determine the sweater’s overall width.
Next, measure the length from the base of the neck to the desired hemline. This will determine how long the sweater should be. Ensure the child stands up straight with their shoulders relaxed when taking this measurement.
Additionally, measure the sleeve length from the shoulder seam to the desired cuff length. This measurement should be taken with the child’s arm slightly bent and relaxed. It is essential to consider whether the sweater will have full-length sleeves or a shorter style.
To ensure a comfortable fit, also measure the neck circumference. This measurement will determine how snug or loose the collar of the sweater should be. Wrap the measuring tape around the base of the child’s neck, where the collar of a t-shirt would normally sit.
Once you have these measurements, you can refer to the knitting pattern to determine the appropriate size to knit. Consider ease, which is how much additional space beyond the actual body measurements is desired. Some patterns may provide guidelines on ease measurements to achieve a particular fit.
Starting with the ribbing
When knitting a boy’s sweater, it is important to start with the ribbing. The ribbing is typically done at the bottom of the sweater, as well as around the collar and cuffs. This gives the sweater a stretchy and snug fit, making it comfortable for the wearer.
To start the ribbing, you will need to cast on a certain number of stitches, depending on the size of the sweater and the desired width of the ribbing. You can use a smaller needle size than what is recommended for the main body of the sweater, as this will help create a tighter fabric for the ribbing.
The most common ribbing pattern used for sweaters is the k1, p1 ribbing. This means that you will knit one stitch, then purl one stitch, repeating this pattern until the desired length is reached. You can also experiment with different ribbing patterns, such as k2, p2 or k3, p1, to add variety and texture to the sweater.
It is important to maintain an even tension when working the ribbing, as this will ensure that the stitches are uniform and the ribbing lays flat. You can use stitch markers to help keep track of your pattern, especially if you are working with a larger number of stitches.
Once the ribbing is complete, you can then transition to the main body of the sweater, following the instructions for the chosen knitting pattern. With the ribbing done, you will have a solid base for your boy’s sweater, ready to be transformed into a cozy and stylish garment.
Transitioning to the main body
Once you have finished knitting the ribbed collar and cuffs, it’s time to transition to the main body of the boy’s sweater. This is where you will start working with the main stitch pattern and shaping the sweater to fit your child.
To begin, you will need to establish the main stitch pattern for the body of the sweater. This could be a simple stockinette stitch, a cable pattern, or any other design of your choice. Follow the instructions provided in the knitting pattern to make sure you are using the correct stitch pattern.
Once you have established the stitch pattern, you will continue knitting in the round for the body of the sweater. This means that you will be knitting in a continuous spiral, with no seams to sew later. It’s important to use circular knitting needles for this part of the project, as they will allow you to easily knit in the round.
To shape the body of the sweater, you will need to follow the instructions provided in the knitting pattern. This may involve increasing or decreasing stitches at certain points to create the desired fit. Pay close attention to the stitch counts and measurements given in the pattern to ensure that you are shaping the sweater correctly.
As you work on the main body of the sweater, make sure to regularly try it on your child to check the fit. This will help you make any necessary adjustments to ensure that the sweater fits well. It’s also a good idea to measure your child’s chest circumference and compare it to the measurements given in the pattern to ensure a proper fit.
Adding the sleeves
Once you have completed the body of the sweater, it’s time to add the sleeves. The sleeves will be knitted separately and then attached to the body of the sweater.
To begin, you will need to cast on the required number of stitches for the size of sweater you are making. Refer to the pattern for the specific stitch count. Once you have cast on the stitches, you will work in the specified stitch pattern until the sleeve measures the desired length.
Attaching the sleeves
To attach the sleeves to the body of the sweater, you will need to use a method called “seaming”. This involves sewing the edges of the sleeve to the corresponding armhole edges of the body.
First, lay the sweater flat with the right side facing up. Then, line up the top edge of the sleeve with the armhole edge of the body, making sure that the seam matches up with the underarm seam of the sweater. Use a tapestry needle and matching yarn to sew the sleeve to the body using a mattress stitch or a whip stitch.
Repeat this process for the second sleeve, making sure that both sleeves are attached evenly and securely. Once the sleeves are attached, you can weave in any loose ends or trim any excess yarn.
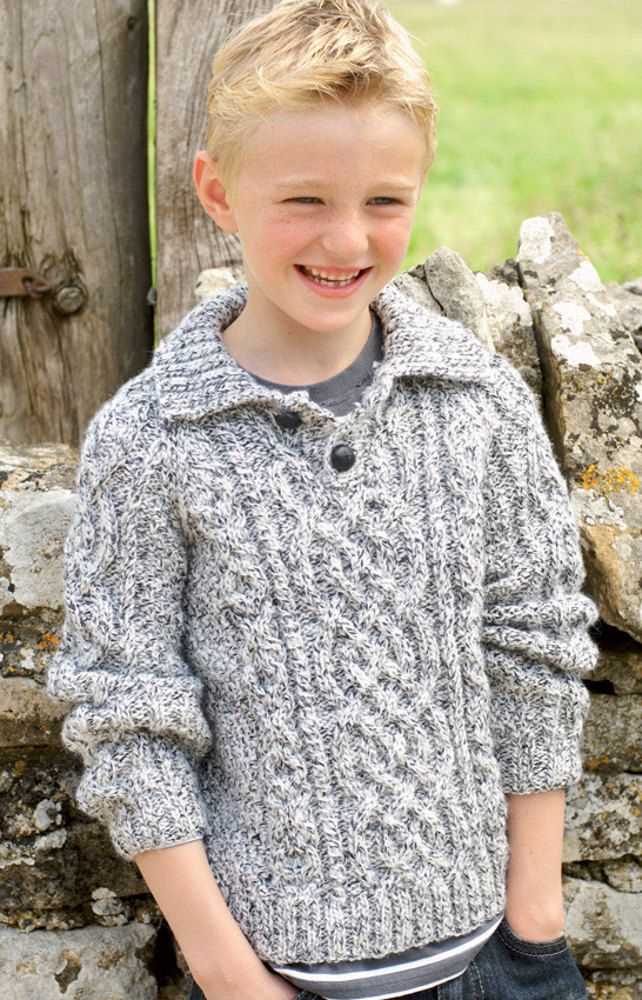
Creating a crew neck or a v-neck
When it comes to knitting a boy’s sweater, one of the design decisions you’ll have to make is whether to create a crew neck or a v-neck. Both neck styles have their own unique characteristics and can greatly influence the overall look and feel of the garment.
A crew neck is a classic and timeless option. It features a rounded neckline that sits comfortably at the base of the neck. This style is versatile and can be dressed up or down depending on the yarn and stitch pattern used. To create a crew neck, you’ll typically start by knitting the body of the sweater in the desired stitch pattern and then pick up stitches around the neckline to create a ribbed band that will provide structure to the neckline.
If you want to add a touch of classic sophistication to your boy’s sweater, a v-neck can be a great choice. The v-neckline creates a more open and flattering look, drawing the eye downward and elongating the neck. To create a v-neck, you’ll follow a similar process as for a crew neck, but instead of making a rounded neckline, you’ll decrease stitches on each side of the neckline to create a V shape.
Whether you choose a crew neck or a v-neck, it’s important to consider factors such as the wearer’s preference, the overall style of the sweater, and the yarn and stitch pattern being used. Both neck styles can be customized to suit your specific design vision and can add a touch of personality to your hand-knit sweater.
Finishing off with the cuffs and hem
When it comes to knitting a boy’s sweater, the finishing touches can make all the difference. One important area to pay attention to is the cuffs and hem. These parts of the sweater not only add a polished look to the final product but also provide structure and durability.
To start, it’s important to choose the right needle size for the cuffs and hem. A slightly smaller needle size than what was used for the main body of the sweater is often recommended. This helps to create a tighter gauge and prevent the cuffs and hem from stretching out over time.
When knitting the cuffs, you can use a ribbing pattern to create a snug fit. A common ribbing pattern is the 1×1 rib, where you alternate between knitting one stitch and purling one stitch. This creates a stretchy and flexible fabric that will comfortably hug the wrists.
As for the hem, you can choose to continue with the same ribbing pattern as the cuffs or opt for a different pattern for added visual interest. Some knitters prefer a seed stitch hem, which alternates between knit and purl stitches in a specific pattern. This creates a textured and visually appealing edge.
Once you have finished knitting the cuffs and hem, it’s important to properly bind off the stitches. You can use a stretchy bind off method, such as the suspended bind off or the tubular bind off, to ensure that the edges retain their stretch and flexibility.
Lastly, don’t forget to block your finished sweater to help set the shape and even out any uneven stitches. This involves gently washing the sweater, laying it flat to dry, and shaping it to the desired measurements. Blocking can make a significant difference in the overall appearance and fit of the sweater.
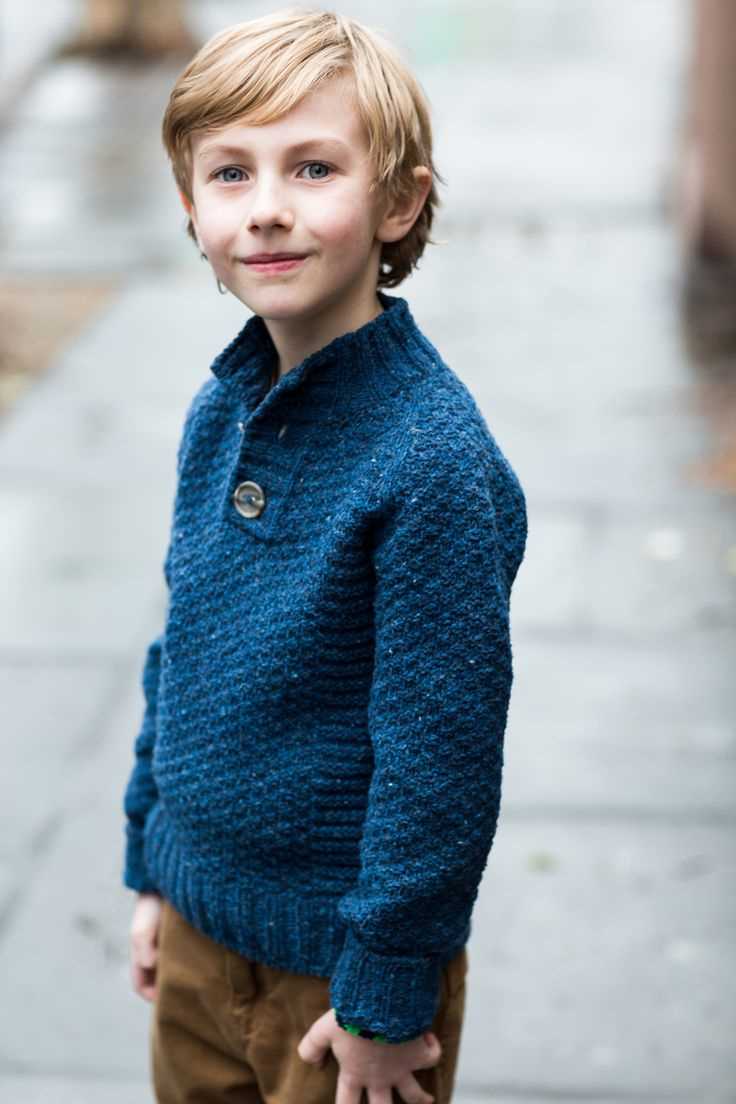
Adding buttons or a zipper
When knitting a boy’s sweater, adding buttons or a zipper can be a great way to not only add functionality but also enhance the overall design. There are different techniques you can use depending on your preference and the style of the sweater.
If you choose to add buttons, it’s important to consider the size and style that will complement the sweater. You can opt for traditional round buttons or go for more unique shapes and designs. You can also experiment with different colors to create contrast or match the color scheme of the sweater.
To ensure that the buttons are securely attached, you can reinforce the areas where they will be sewn by using double knitting or a reinforcing fabric. This will help prevent the buttons from pulling the yarn or creating gaps in the knitted fabric.
Another option is to add a zipper to the sweater. This can be a great choice if you prefer a more streamlined and modern look. When adding a zipper, you will need to carefully measure and mark the placement to ensure that it aligns properly. It’s important to sew the edges of the zipper securely to prevent it from coming undone.
No matter which option you choose, adding buttons or a zipper can give your boy’s sweater a polished and finished look. It can also make the sweater easier to put on and take off, providing added convenience for both the wearer and the knitter.
Blocking and Finishing Touches
Blocking is an important final step in knitting a sweater. It helps to smooth out the stitches and even out any inconsistencies in tension. To block a sweater, follow these steps:
- Fill a basin with lukewarm water and add a small amount of mild soap. Submerge the knitted sweater in the water and gently squeeze to ensure it is fully saturated.
- Drain the water from the basin and gently press out any excess water from the sweater.
- Lay a clean towel on a flat surface and place the sweater on top of it.
- Gently shape the sweater, making sure to align the stitches and edges. Use blocking pins to hold the shape in place.
- Leave the sweater to dry completely, which can take several days depending on the climate and yarn used.
Once the sweater is dry, it’s time to add the finishing touches. This may include sewing on buttons, adding a collar or neckline, or weaving in any loose ends. Take care to choose buttons that complement the color and style of the sweater. When sewing on buttons, make sure they are securely attached.
After all the finishing touches have been completed, the sweater is ready to be worn and enjoyed. The blocking and finishing process ensures that the sweater looks its best and fits well. With proper care, the sweater will last for years to come.
Choosing a color or pattern
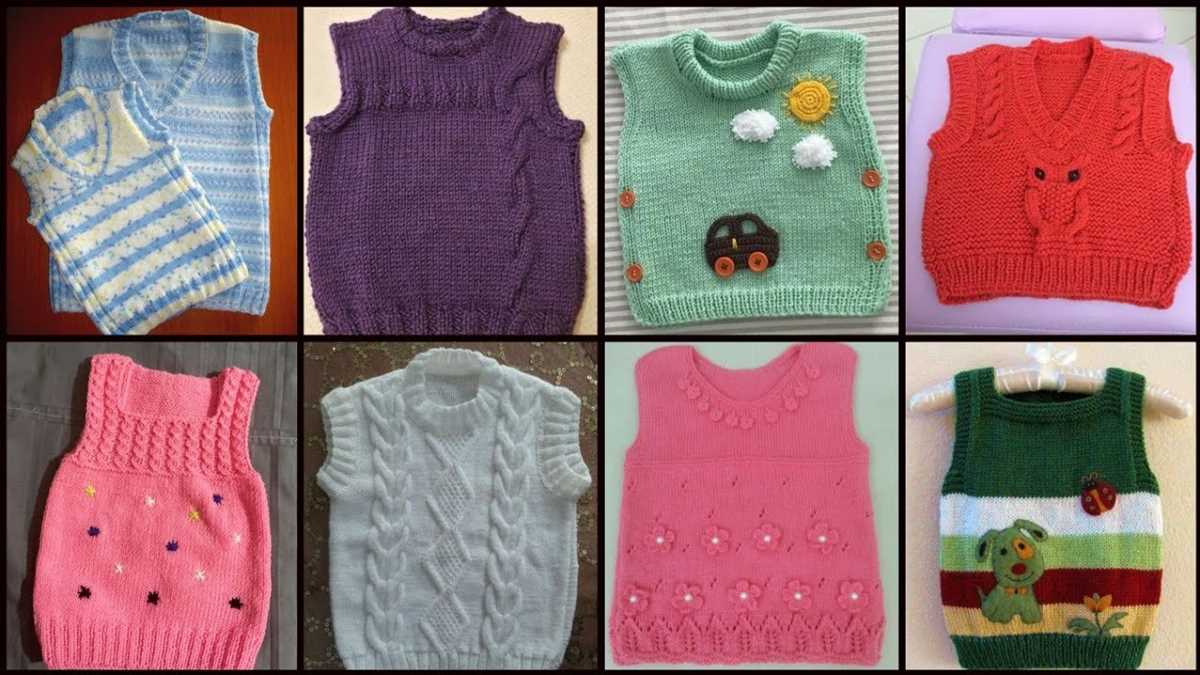
When it comes to knitting a boy sweater, one of the most exciting parts is choosing the color or pattern. Whether you prefer bold and vibrant colors or subtle and neutral tones, there are endless options to choose from. The color or pattern you choose can greatly influence the overall look and feel of the sweater, so it’s important to consider your personal style, the occasion, and the preferences of the boy who will be wearing it.
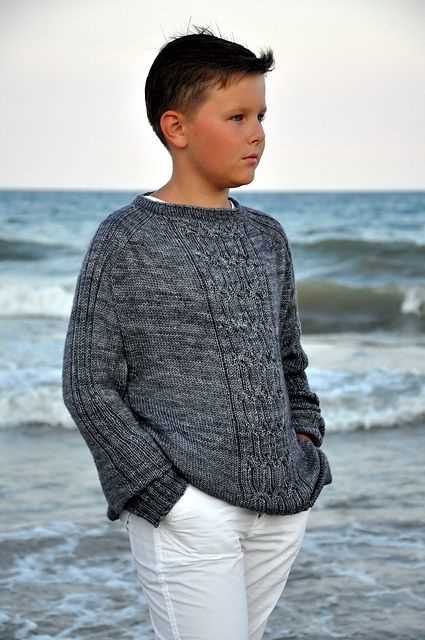
If you want to create a timeless and versatile sweater, you may opt for classic colors such as navy blue, gray, or black. These colors are not only stylish but also easy to match with different outfits. They can be dressed up or down, making them perfect for both formal and casual occasions. Additionally, classic colors tend to be more gender-neutral, so the sweater can be passed down to siblings or friends.
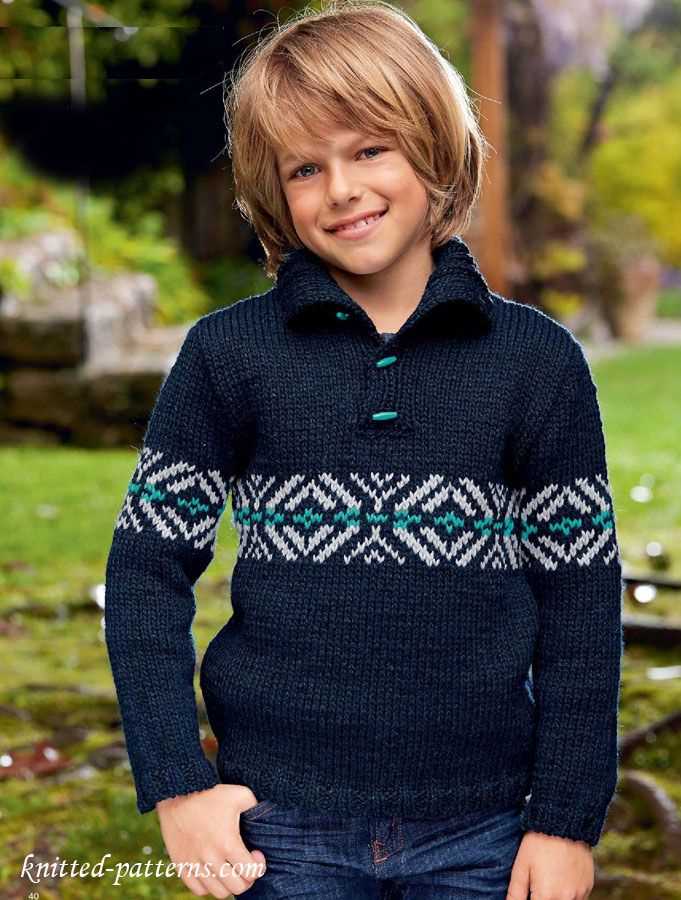
For those who are looking to add a playful touch to the sweater, choosing a pattern can be a great option. There are numerous knitting patterns available for boys, ranging from simple stripes to intricate Fair Isle designs. Stripes are a popular choice as they add a fun and youthful vibe to the sweater. On the other hand, Fair Isle patterns can bring a touch of tradition and heritage, making the sweater a statement piece.
In conclusion, choosing a color or pattern for a boy sweater is an exciting process that allows you to showcase your creativity and personal style. Whether you opt for classic colors or bold patterns, make sure to consider the occasion and the preferences of the boy who will be wearing the sweater. With the right color or pattern, you can create a unique and memorable knitwear piece that will be cherished for years to come.
Sharing your masterpiece
Once you have completed knitting the boy sweater using the free pattern, it’s time to share your masterpiece with others. Here are a few ways you can do this:
1. Social Media: Take a picture of the finished sweater and post it on your favorite social media platforms like Instagram, Facebook, or Pinterest. Use popular hashtags such as #knitting #sweaterknitting #handmade to reach a wider audience and connect with fellow knitters.
2. Knitting communities and forums: Join online knitting communities and forums where you can share your knitting projects. You can also ask for feedback or advice from other experienced knitters. Some popular knitting communities include Ravelry, KnittingHelp, and LoveKnitting.
3. Blogging: If you enjoy writing and sharing your knitting experiences, why not start a knitting blog? You can document your knitting journey, share your patterns, and connect with other knitters from around the world.
4. Local knitting groups: Check if there are any local knitting groups or knitting circles in your area. These groups often meet regularly to knit, chat, and share projects. It’s a great way to meet fellow knitting enthusiasts and get feedback on your work.
5. Gift it: Knitted sweaters make great gifts! Consider giving the finished sweater to a loved one, family member, or friend. They will appreciate the time and effort you put into creating a special and unique gift.
Remember, sharing your masterpiece not only allows you to showcase your skills and creativity but also inspires and motivates others to pick up knitting needles and create something beautiful. So go ahead, share your boy sweater and inspire others with your passion for knitting!
Q&A:
Where can I find a free knitting pattern for a boy sweater?
You can find free knitting patterns for boy sweaters on various websites such as Ravelry, Knitty, and LoveKnitting. These websites offer a wide range of patterns for all skill levels.
What materials will I need to knit a boy sweater?
The materials you will need to knit a boy sweater typically include yarn (in the desired color and weight), knitting needles (in the appropriate size for your chosen pattern), scissors, a tapestry needle, stitch markers, and a measuring tape. Some patterns may also require additional materials such as buttons or a zipper.
Are there any specific techniques I should be familiar with to knit a boy sweater?
While the specific techniques required can vary depending on the pattern, some common techniques you may need to know or learn include casting on, knitting and purling stitches, increasing and decreasing stitches, and seaming. It may also be beneficial to be familiar with techniques such as stranded colorwork or cabling if your chosen pattern includes these elements.
Can I adjust the size of a boy sweater knitting pattern?
Yes, you can usually adjust the size of a knitting pattern to better fit the intended recipient. Most patterns will include instructions or calculations for different sizes. If you are unsure how to modify the pattern, you can consult resources such as knitting books, online tutorials, or ask for help from experienced knitters.