
Looking for a fun and festive fall project to create with your Addi knitting machine? Look no further! This pumpkin pattern is a great way to get into the spirit of the season and add a touch of cozy charm to your home. The Addi knitting machine is a versatile tool that allows you to quickly and easily create beautiful knitted pieces, and this pattern is no exception.
Whether you’re a seasoned knitting machine pro or just getting started, this pumpkin pattern is perfect for all skill levels. It’s a great way to practice your knitting skills and learn new techniques, while also creating something adorable and decorative. These knitted pumpkins can be used as table centerpieces, fall decorations, or even as cute little gifts for friends and family.
The pattern itself is straightforward and easy to follow, with step-by-step instructions and helpful tips along the way. You’ll need a few basic supplies, including your Addi knitting machine, some yarn in festive fall colors, and a few additional tools like a tapestry needle and fiberfill stuffing. Once you have everything you need, you’ll be able to whip up these charming little pumpkins in no time.
So why wait? Get out your Addi knitting machine and start creating your own adorable pumpkins today. This pattern is sure to add a touch of cozy charm to your fall decor and provide hours of knitting enjoyment. Don’t miss out on this fun and festive project!
The Benefits of Using an Addi Knitting Machine
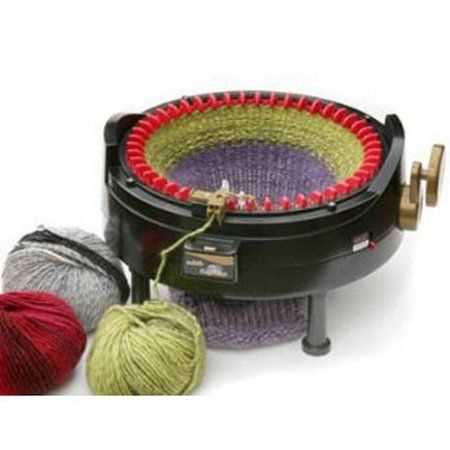
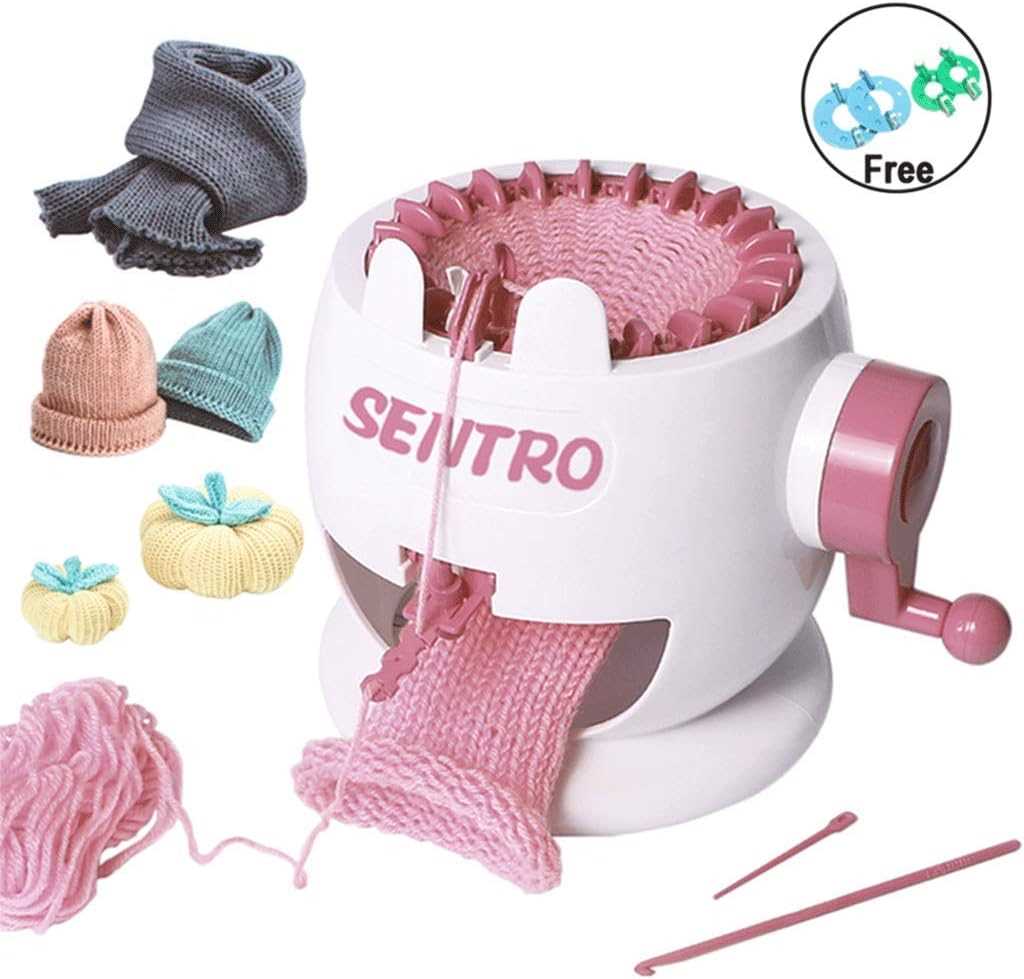
Knitting can be a relaxing and satisfying hobby, but sometimes the process of knitting by hand can be time-consuming and labor-intensive. That’s where an Addi knitting machine comes in. This innovative tool is designed to make the knitting process faster and more efficient, allowing you to create beautiful and intricate patterns with ease.
One of the main benefits of using an Addi knitting machine is the speed at which you can create knitted items. With a traditional knitting method, it can take hours or even days to complete a single project. However, with an Addi knitting machine, you can produce items at a much faster rate, allowing you to finish projects in a fraction of the time.
- Efficiency: An Addi knitting machine is designed to make the knitting process more efficient, allowing you to create knitted items at a faster rate.
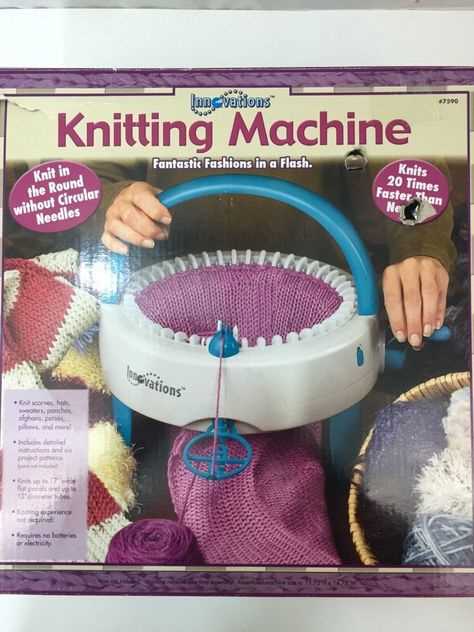
- Versatility: Whether you want to make scarves, hats, blankets, or even intricate lace patterns, an Addi knitting machine can handle it all. It is versatile and can be used to create a wide range of knitted items.
- Accuracy: With an Addi knitting machine, you can achieve precise and consistent results every time. The machine ensures that your stitches are even and uniform, resulting in a professional-looking finished product.
- Convenience: Knitting by hand requires concentration and focus, which can be tiring and tedious. With an Addi knitting machine, you can enjoy the benefits of knitting without the strain on your hands and wrists. It allows you to relax and enjoy the process without any discomfort.
In conclusion, an Addi knitting machine is a valuable tool for anyone who enjoys knitting. It offers a range of benefits, including increased efficiency, versatility, accuracy, and convenience. Whether you are a beginner or an experienced knitter, using an Addi knitting machine can enhance your knitting experience and help you create beautiful knitted items in less time.
Choosing the Right Yarn for Your Pumpkin Project
When it comes to knitting a pumpkin using an Addi knitting machine, choosing the right yarn is crucial for achieving the desired result. The right yarn not only affects the final appearance of the pumpkin, but also its durability and overall quality. Here are some factors to consider when selecting yarn for your pumpkin project:
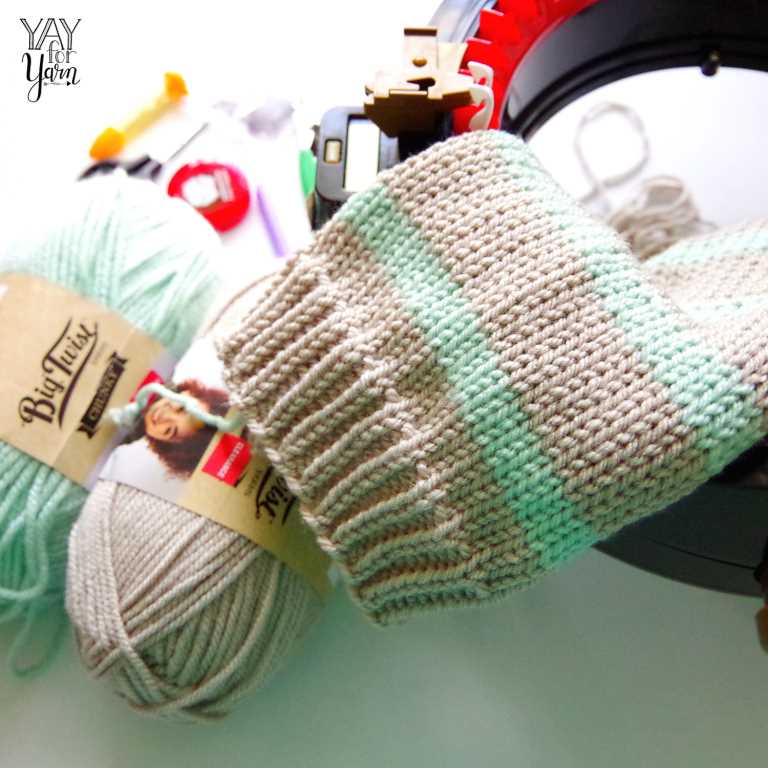
Fiber Content: The fiber content of the yarn can greatly influence the look and feel of your knitted pumpkin. For a traditional, rustic pumpkin, consider using yarn made from natural fibers like wool or cotton. These fibers provide a textured and cozy appearance. However, if you want a more playful and vibrant pumpkin, opt for acrylic or blended yarns that come in a wide range of colors.
Weight: The weight of the yarn is another important consideration. Thicker, bulkier yarns will result in a larger and fuller pumpkin, while thinner yarns will create a more delicate and lightweight pumpkin. Consider the intended use of your pumpkin when choosing the weight of the yarn. If you plan to use it as a decorative piece, a thicker yarn might be more suitable. If you want to create smaller pumpkins to use as keychains or ornaments, a lighter weight yarn would be ideal.
- Texture: The texture of the yarn can add dimension and character to your pumpkin. Consider using yarns with a textured or boucle finish for a more interesting and visually appealing result. These yarns can mimic the texture of a real pumpkin, adding depth and visual interest to your knitting.
- Color: Choosing the right color is essential for creating a realistic or festive pumpkin. Classic orange yarns can be used for traditional pumpkins, while variations of green, white, and yellow can be used to create different types of pumpkins like gourds or white pumpkins. Don’t be afraid to experiment with different colors to give your pumpkins a unique and personalized touch.
- Quantity: Depending on the size and number of pumpkins you want to create, you will need to consider the quantity of yarn needed. Make sure to check the pattern or instructions for the pumpkin project to determine how much yarn is required. It’s always a good idea to buy a little extra yarn, especially if you want to incorporate different colors or textures into your design.
In conclusion, choosing the right yarn is crucial for creating the perfect knitted pumpkin using an Addi knitting machine. Consider the fiber content, weight, texture, color, and quantity of yarn when making your selection. With the right yarn, you can create beautiful, festive pumpkins that will be a great addition to your Halloween or fall decor.
Understanding the Basic Techniques for Knitting Pumpkins
When it comes to knitting pumpkins using the Addi knitting machine, it’s important to have a good grasp of the basic techniques involved. Knitting pumpkins can be a fun and creative project, and understanding the techniques will help you achieve the desired results.
1. Casting On: Before you can begin knitting your pumpkin, you’ll need to cast on the stitches. With the Addi knitting machine, the process is relatively simple. Start by placing the yarn in the yarn guide and then follow the machine’s instructions for casting on. This will create a foundation row of stitches.
2. Increasing Stitches: As you progress with your knitting, you’ll need to increase the number of stitches to give your pumpkin shape and volume. This can be done by working increases, such as yarn overs or knitting into the front and back of a stitch. The specific method will depend on the knitting pattern you are following.
3. Decreasing Stitches: Conversely, to shape your pumpkin and give it a tapered appearance towards the top, you will need to decrease stitches. Common methods for decreasing include knitting two stitches together or slip, slip, knit. Again, the pattern you are working with will dictate the specific decreases to use.
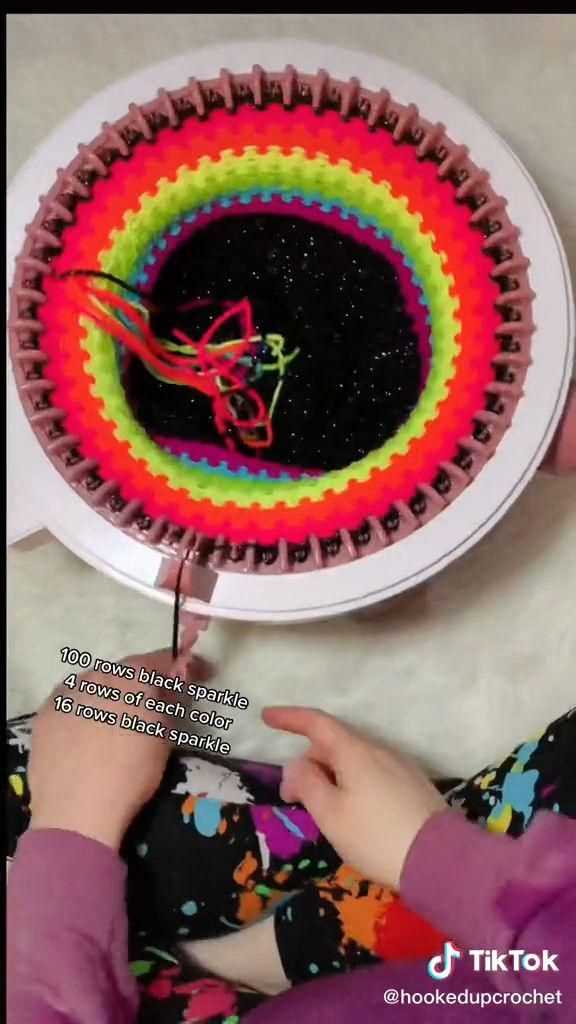
4. Change Colors: To add more visual interest to your knitted pumpkin, you can introduce different colors of yarn. This can be done by simply switching out the yarn as you work or using techniques like stranded knitting or intarsia to create colorwork designs. Be sure to secure the yarn ends neatly to avoid unraveling.
5. Finishing Techniques: Once you have completed knitting your pumpkin, you will need to finish off the project. This can involve binding off the stitches, weaving in any loose ends, and stuffing the pumpkin with fiberfill or another filling material. You can also attach a stem or embellishments to add a personal touch.
In conclusion, mastering the basic techniques involved in knitting pumpkins on the Addi knitting machine is essential for creating beautiful and intricate designs. By understanding how to cast on, increase and decrease stitches, change colors, and finish off the project, you’ll be well-equipped to take on any pumpkin knitting pattern and bring your own unique creativity to the process. Happy knitting!
Tips and Tricks for Using the Addi Knitting Machine
If you’re new to using the Addi knitting machine, these tips and tricks will help you get started and make the most of this handy tool.
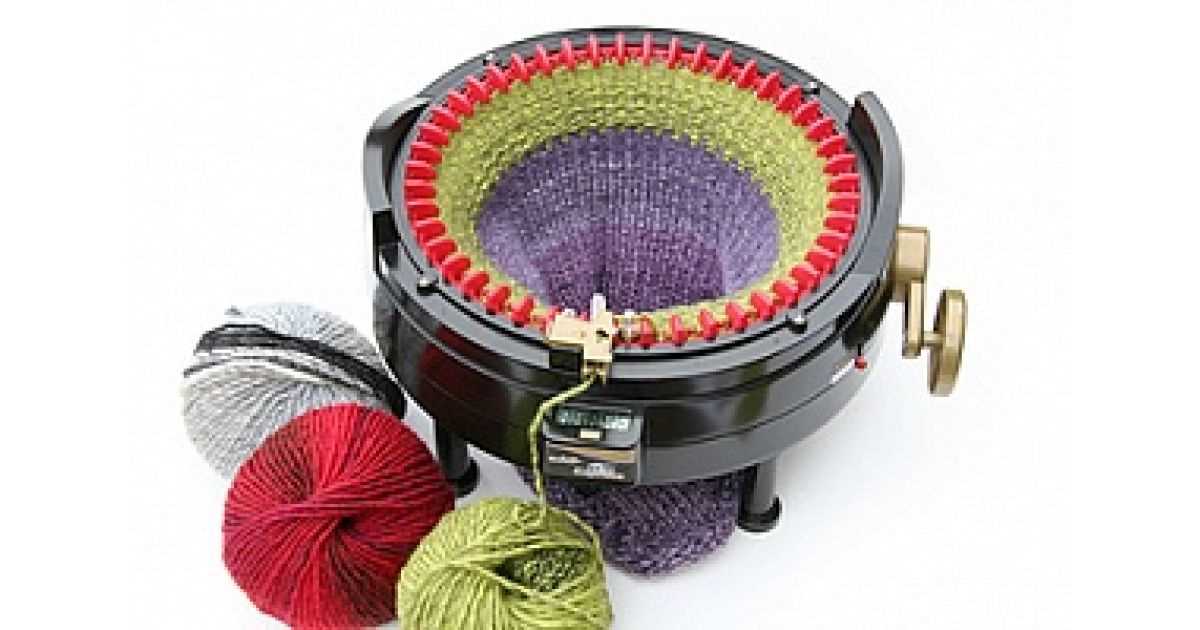
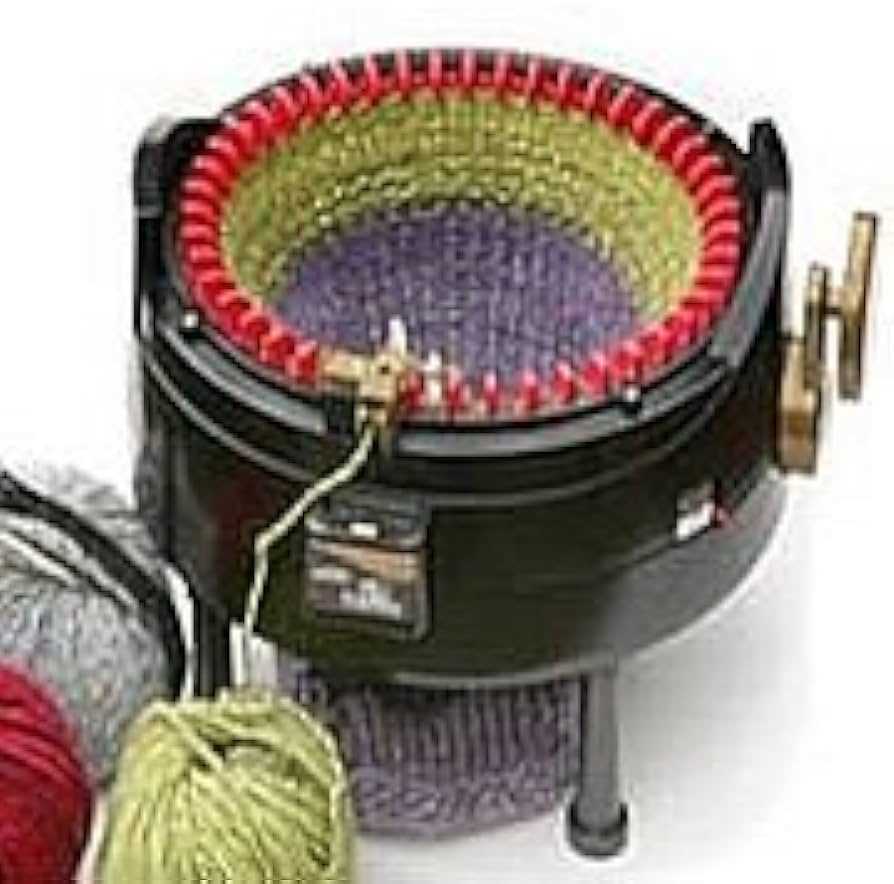
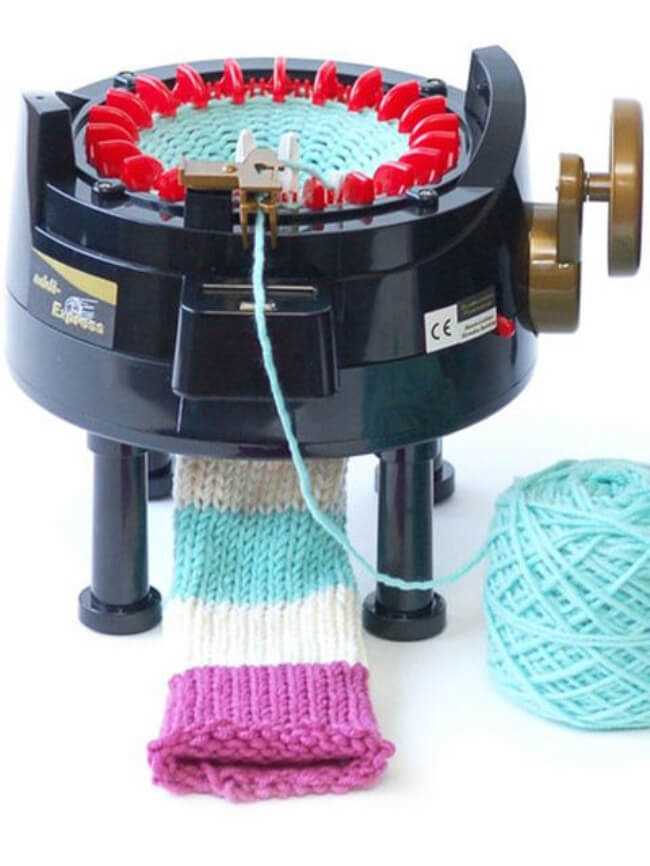
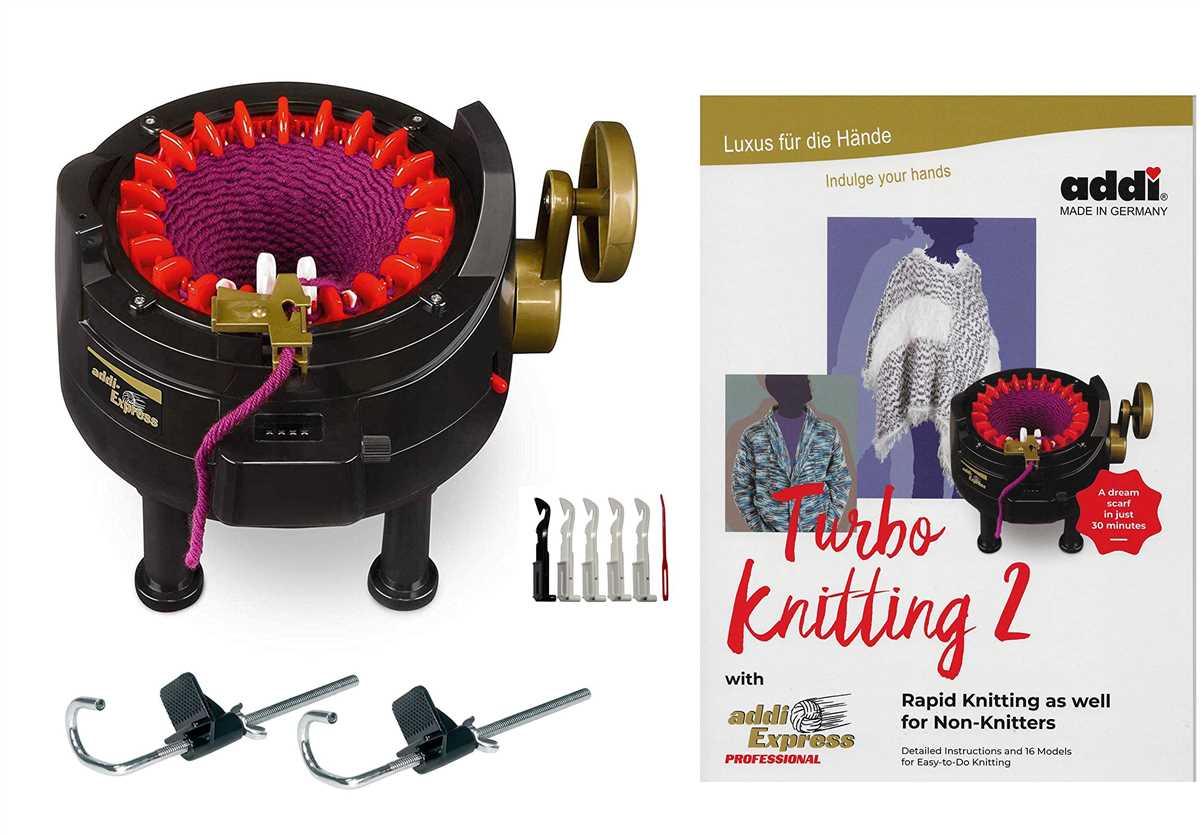
Familiarize yourself with the machine
Before you begin using the Addi knitting machine, take some time to familiarize yourself with its components and how they work. Understand the different parts, such as the crank handle, the needle bed, and the yarn guide. Read the instruction manual and watch tutorials to gain a better understanding of how the machine operates.
Choose the right yarn
Selecting the appropriate yarn is essential for successful knitting on the Addi machine. Use a yarn that is compatible with the machine’s needle size, ensuring it can smoothly pass through the needles and create a consistent fabric. Avoid using yarns that are too thin or too fuzzy, as they may not knit well on the machine.
Start with simple projects
When starting out with the Addi knitting machine, it’s best to begin with simple and small projects. This will allow you to get comfortable with the machine’s operation and understand its capabilities. Start with basic scarves or washcloths before moving on to more complex designs.
Maintain tension and keep an eye on the stitches
Proper tension is crucial for achieving even and consistent stitches on the Addi machine. Keep a gentle and steady tension on the yarn as you crank the handle to prevent loose or tight stitches. Watch out for dropped or missed stitches and fix them immediately to avoid any issues in your finished project.
Experiment with stitch patterns
One of the benefits of using the Addi knitting machine is the ability to experiment with different stitch patterns and textures. Try out various stitch patterns like ribbing, cables, or lace to create unique and interesting designs. You can also combine different yarn textures to add more dimension to your projects.
Clean and maintain your machine
Regular cleaning and maintenance are essential to ensure smooth operation and longevity of your Addi knitting machine. Remove any leftover yarn or debris from the needles and needle bed after each use. Lubricate the machine’s mechanical parts as recommended in the instruction manual to keep them functioning properly.
By following these tips and tricks, you’ll be able to confidently use the Addi knitting machine and create beautiful projects in no time.
How to Cast On and Start Knitting Your Pumpkin
Knitting your own pumpkin using an Addi knitting machine is a fun and creative project that allows you to customize your Halloween decorations. To get started, you will need your Addi knitting machine, pumpkin-colored yarn, and a tapestry needle.
1. Cast On: To begin, attach the yarn to the knitting machine by threading it through the yarn guide and into the carriage. Make a slip knot and place it onto the right-hand needle. Insert the left-hand needle into the slip knot, and pull the yarn to tighten the stitch. Repeat this process until you have cast on the desired number of stitches, depending on the size of your pumpkin.
2. Knit the Base: Once you have cast on, it’s time to start knitting the base of your pumpkin. Push the carriage from right to left, allowing the needles to knit the stitches. Continue knitting each row until the base is the desired length. Remember to push the carriage from right to left after each row to complete the knit stitches.
3. Increase Stitches: To create the characteristic shape of a pumpkin, you will need to increase stitches. This can be done by manually moving stitches from one needle to another on the knitting machine. Follow your pattern’s instructions for the specific placement and frequency of the increases.
4. Shape the Pumpkin: As you continue knitting, use your pattern’s instructions to shape the pumpkin. This may involve decreasing stitches, knitting certain rows, or switching to a different stitch pattern. Pay close attention to the pattern and follow the instructions carefully to achieve the desired shape.
5. Bind Off: Once you have finished knitting your pumpkin, it’s time to bind off. Cut the yarn, leaving a tail of about 6 inches. Thread the tail onto a tapestry needle, and slide the needle through the stitches, removing them from the knitting machine. Pull the yarn tight to secure the stitches, and weave in any loose ends.
With these steps, you can cast on and start knitting your very own pumpkin using an Addi knitting machine. Get creative with different yarn colors and stitch patterns to make unique and personalized pumpkins that will add a festive touch to your Halloween decorations.
Creating Different Sizes and Shapes with the Addi Knitting Machine
The Addi knitting machine is a versatile tool that allows you to create a wide variety of knitted items, including pumpkins. With a little creativity and experimentation, you can use the machine to make pumpkins in different sizes and shapes.
Changing the Yarn Weight: One way to create different sizes of pumpkins is by changing the yarn weight. Using a thicker yarn will result in a larger pumpkin, while using a thinner yarn will produce a smaller pumpkin. This allows you to customize the size of your pumpkins to fit your desired aesthetic or project requirements.
Adjusting the Stitch Length: Another way to modify the size and shape of your pumpkins is by adjusting the stitch length on the Addi knitting machine. A shorter stitch length will create tighter and more compact stitches, resulting in a rounder and fuller pumpkin shape. On the other hand, a longer stitch length will produce looser and more open stitches, giving your pumpkin a more elongated or stretched appearance.
Experimenting with Decreases and Increases: To add even more variety to your pumpkins, you can experiment with different types of decreases and increases. For example, you can try using knit two together (K2tog) or purl two together (P2tog) decreases to create a pointed or tapered top for your pumpkin. Similarly, you can use yarn overs (YO) or make one (M1) increases to create a wider or more bulbous shape.
Using Different Colors: Lastly, you can create visual interest and uniqueness in your pumpkins by using different colors of yarn. You can try alternating between two or more colors to create stripes or color blocks, or even incorporate variegated yarns for a more playful and dynamic effect. By playing around with color combinations, you can make each pumpkin truly one-of-a-kind.
- Change the yarn weight to create different sizes
- Adjust the stitch length for varying shapes
- Experiment with decreases and increases for additional variation
- Use different colors to add visual interest
Adding Details and Embellishments to Your Knitted Pumpkins
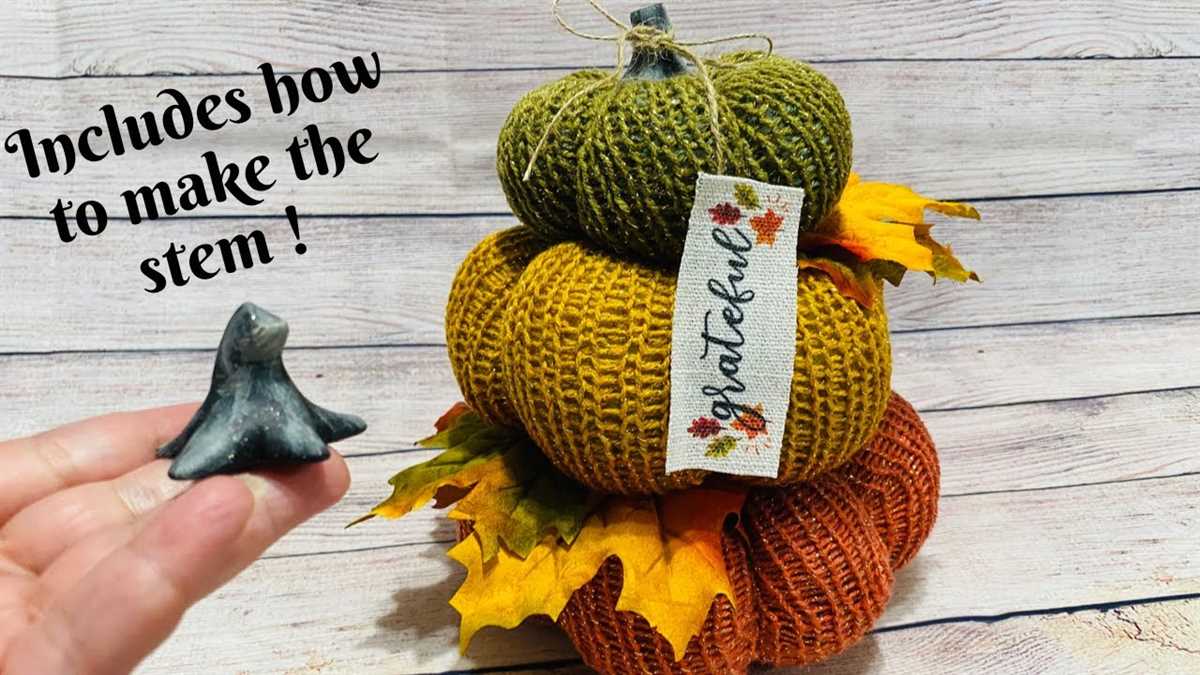
Once you’ve created the basic shape of your pumpkin using the Addi knitting machine, you can take your project to the next level by adding details and embellishments. These extra touches will make your pumpkins look even more realistic and festive, perfect for decorating your home or giving as gifts.
1. Stem and Leaf: The stem and leaf are essential components that give your knitted pumpkin its characteristic appearance. To create the stem, you can use a double-pointed needle or a separate piece of yarn. Knit a small tube shape, and then attach it to the top of your pumpkin. For the leaf, you can either knit a separate piece and sew it onto the pumpkin or use a crochet hook to create a leaf shape directly on top of the pumpkin.
2. Face Embroidery: To add a playful touch to your knitted pumpkins, consider embroidering a face onto them. You can use different colors of yarn or embroidery floss to create eyes, a nose, and a mouth. Experiment with different facial expressions to give each pumpkin its unique personality. You can find inspiration for pumpkin faces online or create your own design.
3. Texture and Patterns: Another way to enhance the appearance of your knitted pumpkins is by incorporating texture and patterns. You can achieve this by using different stitch patterns or by adding small embellishments like beads or buttons. Consider using ribbing or cable stitches to create a ridged or textured effect on the surface of your pumpkin. You can also experiment with color changes to create stripes or other patterns.
4. Adding Accessories: To make your knitted pumpkins even more festive, you can add accessories such as small hats, scarves, or bows. These can be knitted separately and then attached to the pumpkin or created directly on the knitting machine. Get creative with your accessory choices to match the style and theme of your pumpkins.
By adding these details and embellishments, you can transform your basic knitted pumpkins into eye-catching decorations that will impress family and friends. Remember to have fun and let your creativity shine as you customize each pumpkin to your liking.
Customizing Your Pumpkin Pattern for a Personalized Touch
When it comes to knitting machine patterns for pumpkins, there are countless ways to customize them and add a personalized touch. Whether you’re looking to create a unique Halloween decoration or a one-of-a-kind gift, here are some ideas for customizing your pumpkin pattern.
1. Color Choice:
Start by choosing colors that reflect your personal style or the occasion you’re knitting for. While traditional pumpkins are orange, feel free to experiment with different shades like white, green, or even multicolored yarns. Adding a pop of unexpected color can make your pumpkin pattern stand out and add a modern twist.
2. Embellishments:
Add some extra flair to your knitted pumpkin by incorporating embellishments. You can sew on buttons as eyes or use embroidery stitches to create a unique face. Consider adding ribbons, beads, or sequins to give your pumpkin a festive touch. Just make sure the embellishments are securely attached and won’t pose a choking hazard if the pumpkin will be used as a decoration.
3. Size Variations:
Experiment with different sizes for your pumpkin pattern to create a more personalized display. You can knit larger pumpkins to use as centerpieces or smaller ones to hang on a garland. By varying the sizes, you can create a dynamic and visually interesting arrangement for your knitting project.
4. Texture:
Add some texture to your pumpkin pattern by using different knitting stitch patterns. Try incorporating cables, bobbles, or lace stitches to create an interesting surface. The texture will not only make your pumpkin visually appealing but also add depth and dimension to the overall design.
5. Unique Stem:
Instead of using a traditional knitted stem, consider using a real or artificial one for an added touch of authenticity. You can attach a dried pumpkin stem, a twig, or even a cinnamon stick to give your knitted pumpkin a natural and rustic look.
By customizing your pumpkin pattern, you can make it truly your own and add a personalized touch to your knitting project. Don’t be afraid to experiment and let your creativity shine through!
Finishing and Binding Off Your Knitted Pumpkin Project
Once you have finished knitting your pumpkin using the Addi knitting machine, it is time to finish the project and bind off. This final step is important to ensure that your pumpkin takes shape and holds its form. Follow these steps to complete your knitted pumpkin:
1. Cut the yarn and leave a tail
Start by cutting the yarn, leaving a long tail. This tail will be used for seaming the bottom of the pumpkin later on. Make sure to leave enough yarn to sew up the entire seam.
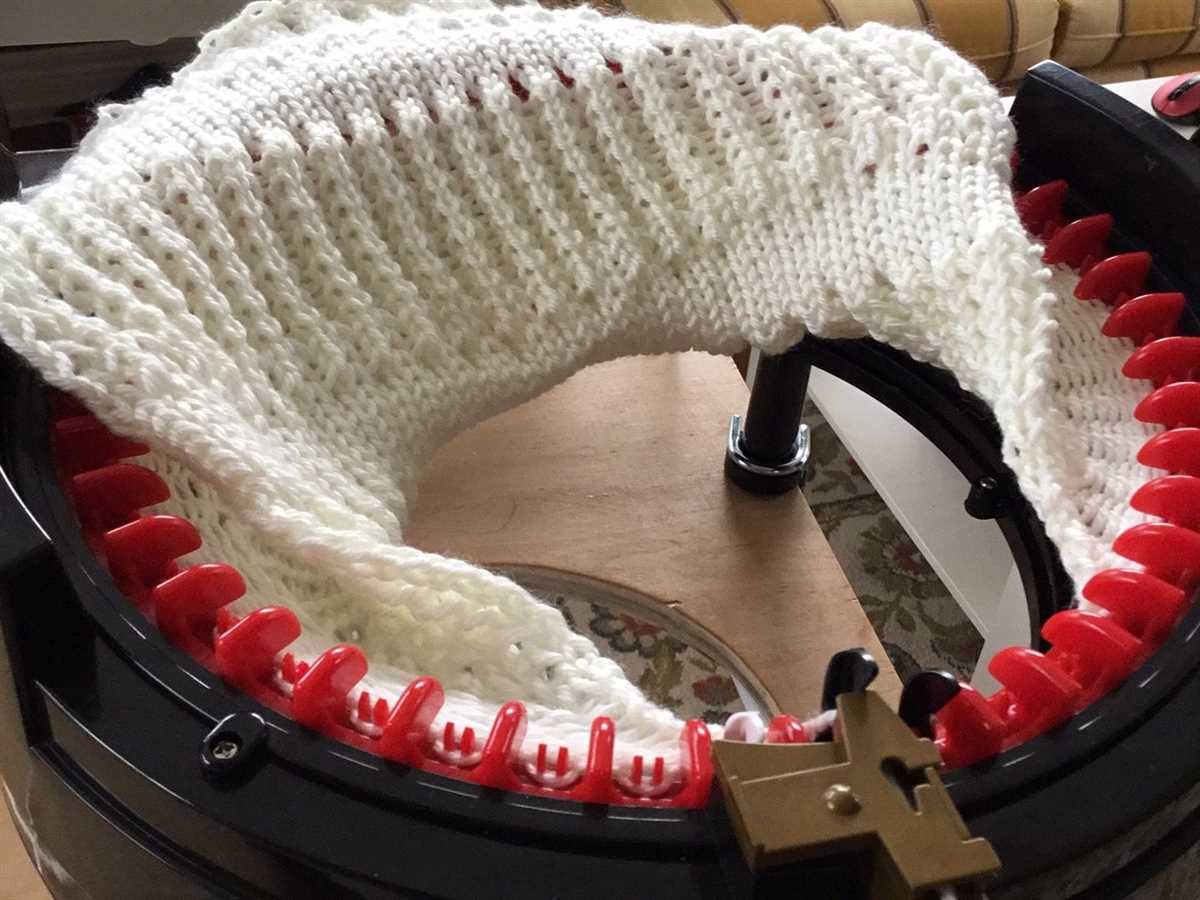
2. Remove the project from the machine
Carefully slide the knitted pumpkin off the needles of the Addi knitting machine. Take your time to ensure that the stitches do not unravel or become loose. If needed, use a stitch holder or a spare needle to hold the stitches in place while removing the project.
3. Cinch the top of the pumpkin
To create the traditional pumpkin shape, gather the stitches at the top of the pumpkin by pulling the yarn tightly. This will cinch the top closed and give the pumpkin its rounded shape.
4. Secure the yarn
Once you are satisfied with the shape of your pumpkin, secure the yarn at the top by weaving it through the stitches. This will prevent the top from coming undone and help maintain the pumpkin’s shape.
5. Seam the bottom of the pumpkin
Using the long tail of yarn left earlier, sew up the bottom of the pumpkin. Thread the yarn through each stitch at the bottom, pulling tightly to close the opening. Make sure to secure the yarn at the end to prevent unraveling.
6. Finish and trim any loose ends
Lastly, take the time to inspect your knitted pumpkin for any loose ends or stray yarn. Using a pair of scissors, carefully trim any excess yarn, being careful not to cut into the stitches of the pumpkin.
With these steps, you can successfully finish and bind off your knitted pumpkin project. Now, you can proudly display your handmade knitted pumpkin as a festive decoration for Halloween or fall!
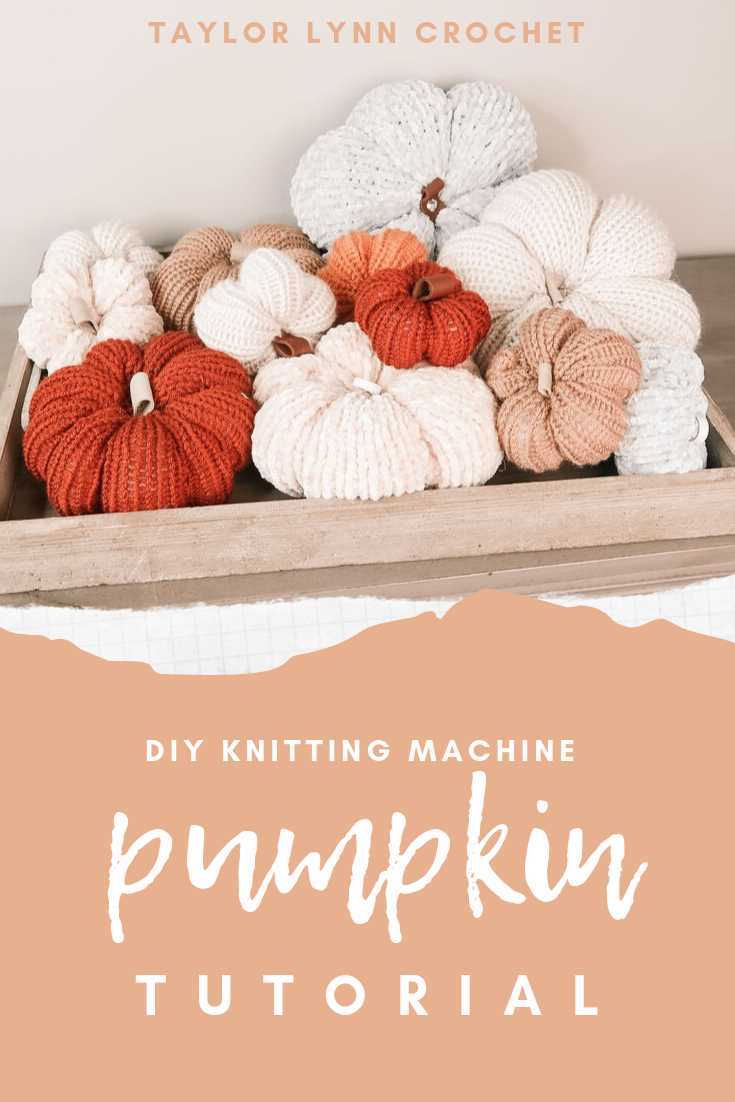
Styling and Displaying Your Knitted Pumpkins
Once you have finished knitting your pumpkins using the Addi knitting machine, it’s time to think about how you want to style and display them. Here are some ideas to help you make your knitted pumpkins stand out:
1. Color and Texture: Consider using different shades of orange and even other colors to create a visually interesting display. You can also experiment with different types of yarn to add texture to your pumpkins, such as using a chunky or furry yarn for a more unique look.
2. Size and Shape: Knitted pumpkins can come in all shapes and sizes, so think about how you want to arrange them. Mixing different sizes and shapes can add variation and make your display more visually appealing.
3. Accessories: You can add some extra flair to your knitted pumpkins by attaching small accessories to them. Consider using ribbons, bows, or even small artificial leaves to enhance their appearance.
4. Grouping and Arrangement: To create an eye-catching display, try grouping your knitted pumpkins together in a cluster or arranging them in a pyramid shape. You can also place them on a bed of autumn leaves or fabric to add an extra touch of seasonal charm.
5. Adding Lights: To give your knitted pumpkins a magical glow, consider inserting small LED lights inside them. The soft illumination will make your display stand out, especially in the evening.
By paying attention to color, texture, size, shape, accessories, grouping, and lighting, you can create a stunning display of your knitted pumpkins that will add a touch of autumn charm to your home or event.
Using Your Knitted Pumpkins in Home Decor and Crafts
Celebrate the fall season with charming knitted pumpkins created using your Addi knitting machine. These adorable pumpkins make versatile decorations that can be used in a variety of home decor and craft projects. Whether you prefer a spooky Halloween theme or a cozy autumn atmosphere, knitted pumpkins add a touch of warmth and whimsy to any setting.
Table Centerpieces: Arrange a collection of knitted pumpkins in varying sizes and colors to create a festive centerpiece for your dining or coffee table. Surround them with leaves, pinecones, or other natural elements for an eye-catching display that captures the essence of the season. The soft texture of the pumpkins adds a cozy touch to your table setting.
Wreaths and Garland: Incorporate knitted pumpkins into your fall-themed wreaths or garlands to give them a unique and handmade touch. Attach the pumpkins to a grapevine wreath or string them along a garland with autumn leaves and faux berries. Hang these beautiful creations on your front door, mantel, or staircase to create a warm and welcoming atmosphere for your guests.
Soft Toys: Turn your knitted pumpkins into cute and cuddly soft toys for children or pets. Sew on bright eyes, a cute smile, and a simple stem to transform the pumpkins into friendly characters. Kids will love playing with these soft toys, and pets will enjoy snuggling up to them. These knitted pumpkins make adorable companions for the little ones.
Festive Ornaments: Add a touch of seasonal charm to your Christmas tree by hanging knitted pumpkins as ornaments. Knit pumpkins in festive colors like red, green, and gold, and attach a loop of yarn to the top for easy hanging. Mix them with other holiday-themed ornaments to create a unique and personalized tree that showcases your knitting skills.
With your Addi knitting machine, you can easily create an array of knitted pumpkins to incorporate into your home decor and craft projects. From table centerpieces to wreaths and garlands, these charming pumpkins add a cozy and whimsical touch to any setting. Get creative and explore the endless possibilities of using your knitted pumpkins to enhance your home decor and craft projects.
Sharing Your Addi Knitting Machine Pumpkin Creations with Others
Once you have finished creating your beautiful pumpkins with your Addi knitting machine, you may want to share your creations with others. Whether you want to inspire fellow knitters, sell your pumpkins, or simply show off your talent, there are various ways in which you can do so.
If you want to inspire others and share your knitting process, consider documenting your journey and posting it on social media platforms such as Instagram or Pinterest. Create a step-by-step guide or a video tutorial to help others understand how to knit pumpkins using an Addi machine. You can also join knitting groups and communities online to connect with like-minded individuals and share your creations there.
If you are interested in selling your Addi knitting machine pumpkins, you can set up an online store on platforms like Etsy or Shopify. Take high-quality photos of your pumpkins to showcase their beauty, write detailed descriptions, and set a fair price. Promote your store through social media, word of mouth, or by participating in craft fairs and local markets. Engage with potential customers and be open to custom orders, as people may have specific requests for pumpkins of different sizes, colors, or patterns.
Summary:
- Document your knitting process and share it on social media platforms to inspire others.
- Join knitting groups and communities online to connect with fellow knitters.
- If you want to sell your pumpkins, set up an online store on platforms like Etsy or Shopify.
- Take high-quality photos and write detailed descriptions to attract customers.
- Promote your store through social media, word of mouth, or by participating in craft fairs.
- Be open to custom orders to fulfill specific requests from customers.
By sharing your Addi knitting machine pumpkin creations, you can spread creativity and inspire others to explore their knitting skills. Whether you choose to share your journey online or sell your pumpkins, enjoy the process and have fun connecting with fellow craft enthusiasts!