
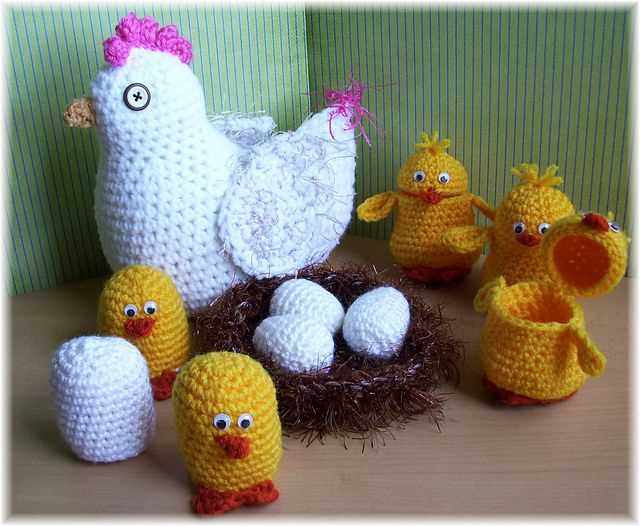
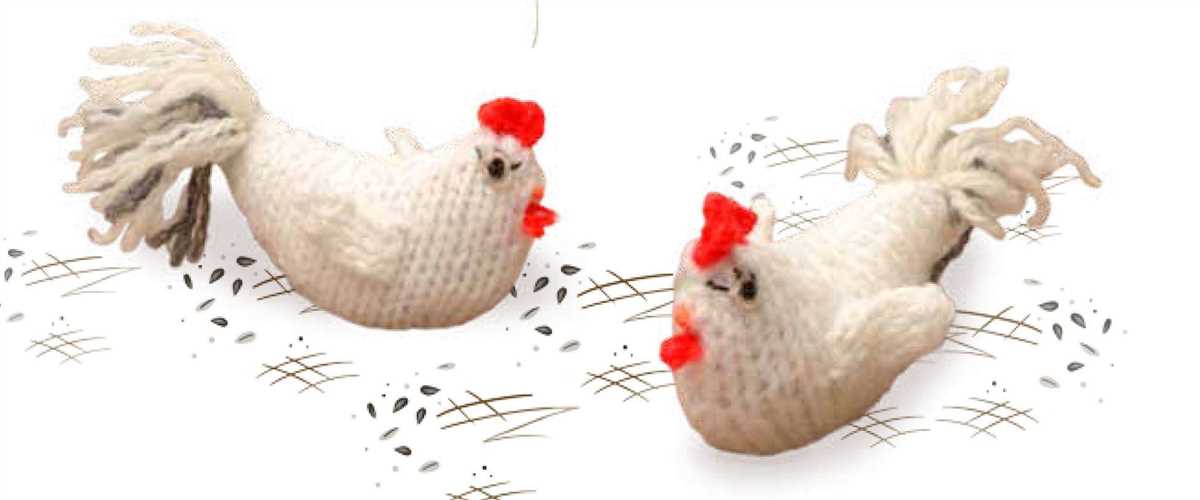
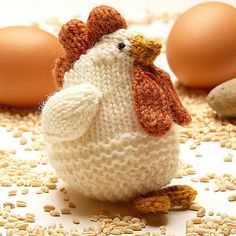
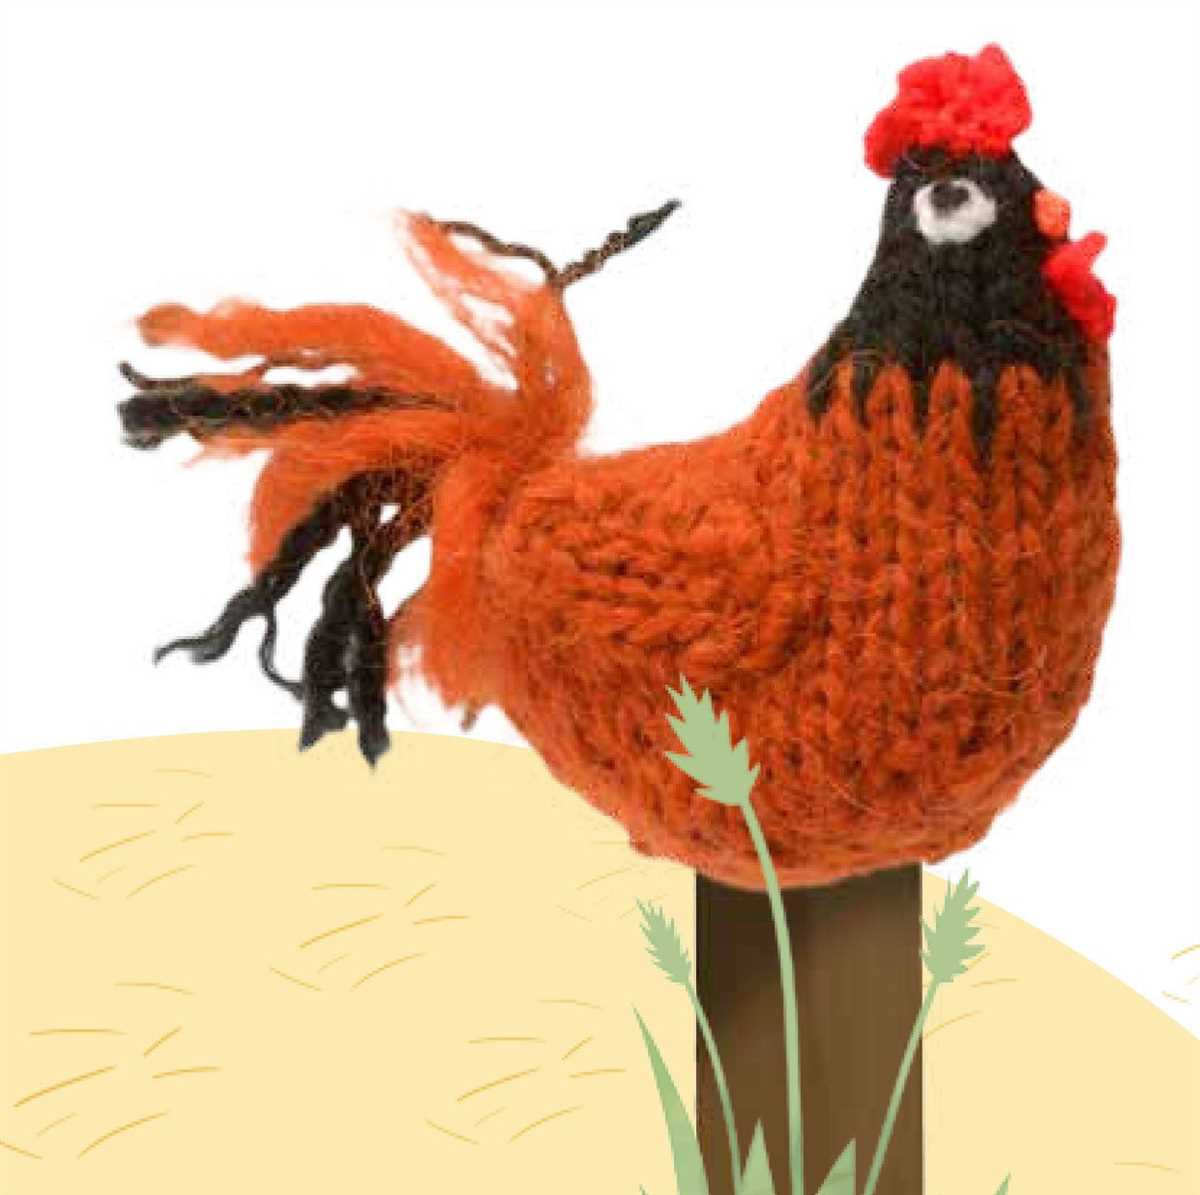
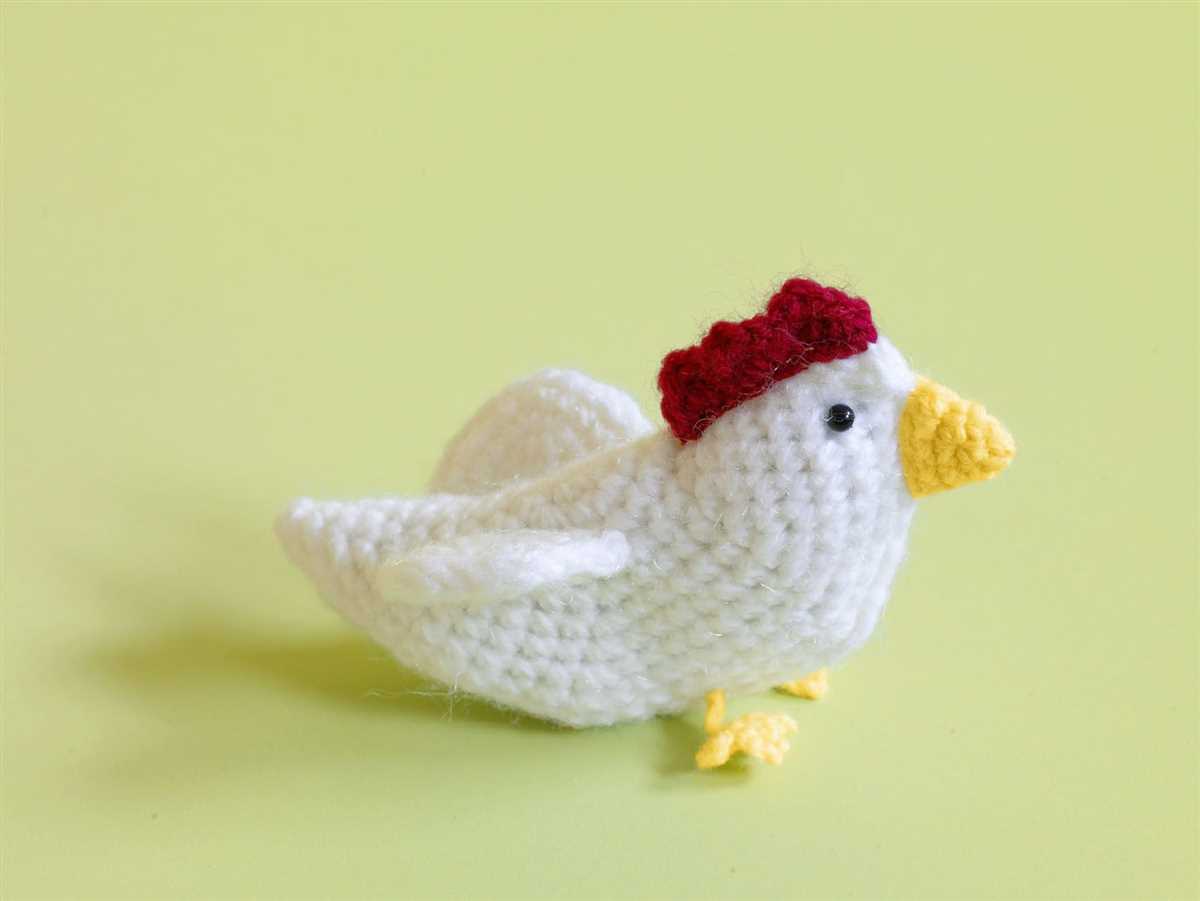
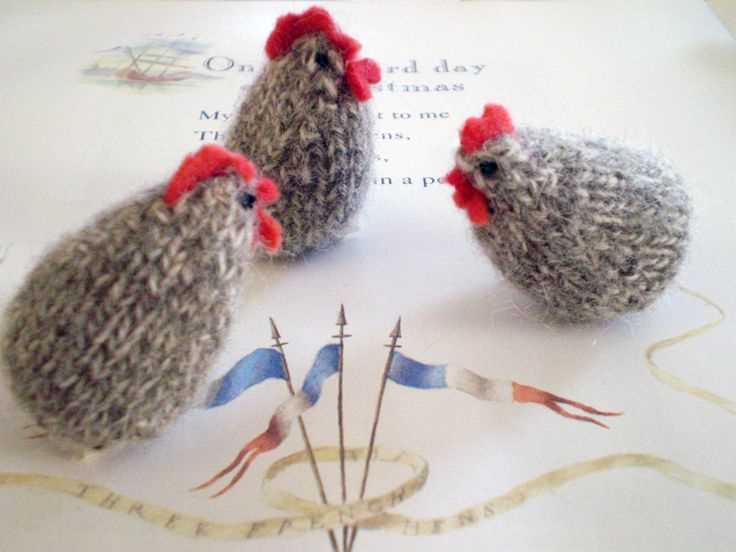
If you’re looking for a cute and adorable craft project, look no further! Knitting a hen toy is not only fun and rewarding, but it also makes for a great gift idea for children or chicken lovers. Lucky for you, we have a free knitting pattern for a knitted hen that will surely melt anyone’s heart.
This knitted hen pattern is perfect for both beginners and experienced knitters. The pattern includes step-by-step instructions and detailed photos to guide you through the process. You’ll need basic knitting skills, such as casting on, knitting, purling, and decreasing stitches. Once you’ve mastered these skills, you’ll be able to create your very own knitted hen in no time!
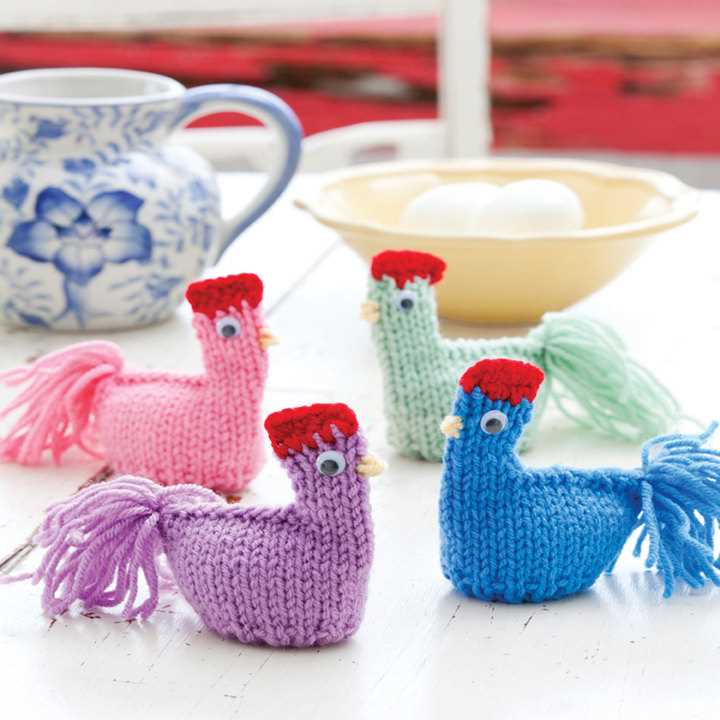
The knitted hen pattern allows for customization and personalization. You can choose your favorite colors for the body, wings, tail, and beak to make your hen unique. Additionally, you can add small details like embroidered eyes or embellishments to give your knitted hen extra personality.
So, roll up your sleeves, grab your knitting needles, and get ready to create an adorable knitted hen that will bring joy and smiles to the faces of your loved ones. Knitting a hen has never been easier and more fun with our free pattern. Download it now and start knitting today!
Free Knitted Hen Pattern: Create Your Own Adorable Toy
Are you looking for a fun and creative project to work on? Why not try your hand at knitting a cute hen toy? With our free knitted hen pattern, you can create your very own adorable toy that will make a perfect gift or decoration for Easter or any time of the year.
The knitted hen pattern we are sharing is suitable for knitters of all skill levels, from beginners to experienced. The pattern provides step-by-step instructions, along with helpful tips and techniques, to ensure that your project turns out beautifully. Whether you are new to knitting or have been knitting for years, this pattern is a great way to challenge yourself and create something truly special.
The free knitted hen pattern uses basic knitting stitches, such as knit and purl, and requires only a few different colors of yarn. You can choose your own color combination to make your hen toy unique and personal. Additionally, the pattern includes instructions for adding details like eyes, beak, and wings, so you can bring your knitted hen to life.
To get started, simply download the free knitted hen pattern and gather your materials. Follow the instructions carefully, taking your time to ensure that each step is done correctly. As you work on your project, you will see your knitted hen taking shape, and the sense of satisfaction and accomplishment that comes with creating something with your own hands is truly rewarding.
So why wait? Grab your knitting needles and get ready to create your own adorable knitted hen toy. With our free pattern and your creativity, you can make a charming toy that will bring joy and smiles to both children and adults alike.
Why Knitting Hens is a Popular Craft
Knitting hens has become increasingly popular among craft enthusiasts due to several reasons. Firstly, knitting hens allows individuals to showcase their knitting skills and creativity. By following a pattern and using different knitting techniques, crafters can create unique and beautiful hens that can be displayed as decorative items or given as gifts.
Another reason for the popularity of knitting hens is the sense of accomplishment it brings. Knitting requires patience, concentration, and precision, and completing a hen project can give crafters a sense of satisfaction and pride in their work. The process of knitting hens also provides a therapeutic and meditative experience, as the repetitive motion of knitting can help reduce stress and promote relaxation.
Furthermore, knitting hens offers a practical aspect as well. These knitted hens can be used as functional items, such as pin cushions or coasters. They can also be turned into decorative elements by adding details like buttons or beads. The versatility of knitted hens allows crafters to use them in various ways, making them a popular choice among crafters of all skill levels.
In addition, knitting hens is a great way to connect with others who share the same passion. Many crafters join knitting groups or participate in online communities where they can share tips, ideas, and patterns related to knitting hens. This sense of community and camaraderie adds to the appeal of knitting hens as a popular craft.
In conclusion, knitting hens has gained popularity as a craft due to its ability to showcase creativity, provide a sense of accomplishment, offer practicality, and foster a sense of community among crafters. Whether it’s for decorative purposes or functional use, knitting hens allows individuals to express their knitting skills and create unique and meaningful items.
Materials and Tools You’ll Need
Before you start knitting your adorable hen, make sure you have all the necessary materials and tools. Here is a list of what you’ll need:
Materials:
- Yarn: Choose a yarn that is suitable for knitting toys. Acrylic or cotton yarn will work well. Select colors of your choice, preferably white or yellow for the body, red or pink for the comb and wattle, and black for the eyes.
- Stuffing: You will need polyester fiberfill or any other stuffing material to stuff the hen.
- Needles: Use double-pointed knitting needles in a size appropriate for the yarn you have chosen.
Tools:
- Scissors: Make sure you have a sharp pair of scissors to cut the yarn.
- Tapestry Needle: You will need a large-eyed tapestry needle to sew the parts of the hen together.
- Stitch Marker: A stitch marker will help you keep track of your rounds while knitting.
Once you have gathered all the materials and tools, you are ready to start knitting your hen. Have fun and enjoy the process of creating your own knitted toy!
The body of the knitted hen is the main part of the toy and it is made up of several steps. Here, we will provide step-by-step instructions on how to knit the body.
Materials:
- Knitting needles (size may vary depending on the desired size of the toy)
- Yarn (color of your choice)
- Stuffing material
- Tapestry needle
Step 1: Cast On
Start by casting on the required number of stitches onto your knitting needles. The number of stitches will vary depending on the size of the toy and the thickness of the yarn used. Make sure to leave a long tail of yarn for sewing up later.
Step 2: Knit the Body
Continue knitting in the round using the stockinette stitch until you reach the desired length for the body. The stockinette stitch is formed by knitting one row and purling the next row. Repeat these two rows until the body reaches the desired length.
Step 3: Shaping the Body
To shape the body, you can decrease stitches by knitting two stitches together at regular intervals. This will create a tapered effect towards the top of the body. Alternatively, you can also increase stitches by making yarn overs at regular intervals to create a flared effect towards the bottom of the body. Experiment with different shaping techniques to achieve the desired look for your knitted hen.
Step 4: Bind Off

Finally, when the body has reached the desired length and shape, it is time to bind off your stitches. Cut the yarn, leaving a long tail, and thread it through the tapestry needle. Take the needle through each stitch, removing them from the knitting needles. Pull the yarn tight to secure the stitches and fasten off.
Once the body is complete, you can proceed to knitting other parts of the hen, such as the wings, tail, and head, to complete your knitted toy.
Step-by-Step Instructions: Knitting the Head
Knitting the head of your hen is an essential step in creating your adorable knitted toy. Follow these step-by-step instructions to knit the head and bring your hen to life.
Materials you will need:
- Yarn in desired colors
- Knitting needles appropriate for your chosen yarn
- Tapestry needle
- Polyester stuffing or yarn scraps
- Scissors
Step 1: Cast on
Using your desired yarn and knitting needles, cast on the required number of stitches to begin knitting the head. This number will depend on the pattern you are following or the size you want your hen to be. Make sure to leave a long tail for sewing up later.
Step 2: Knit in the round
Continue knitting in the round, using your preferred knitting method such as double-pointed needles or circular needles. Follow the pattern instructions for any stitch changes or shaping required for the hen’s head. Keep knitting until the head reaches the desired height.
Step 3: Shape the head
Once the head is at the desired height, you may need to shape it to achieve the roundness of the hen’s head. This can be done by decreasing stitches evenly across the round. Follow the pattern instructions for any specific shaping techniques.
Step 4: Bind off
When the head is completed, it’s time to bind off. Cut the yarn, leaving a long tail. Thread the tail onto a tapestry needle and slip the needle through each stitch on the knitting needle, removing them as you go. Pull the tail tight to secure the stitches and close the top of the head.
Step 5: Stuff the head
Using polyester stuffing or yarn scraps, fill the head of the hen to give it a plump and rounded shape. Make sure to stuff it evenly and firmly, but be careful not to overstuff it as this can distort the shape. Adjust the stuffing as needed until you are satisfied with the shape of the head.
Step 6: Finish
Finally, use the long tail you left from casting on to sew up the bottom of the head, closing any gaps. Weave in any remaining yarn ends and trim them neatly. Your knitted hen’s head is now complete and ready to be attached to the body.
Step-by-Step Instructions: Knitting the Beak
When knitting a hen, the beak is an important detail that helps bring the toy to life. Follow these step-by-step instructions to knit a beak for your knitted hen:
Materials:
- Double-pointed knitting needles
- Yarn in a color of your choice
- Tapestry needle
- Scissors
Step 1: Cast On Stitches
Using the double-pointed needles and the yarn, cast on 6 stitches.
Step 2: Knit First Row
Knit the first row, making sure to keep the tension even and the stitches tight.
Step 3: Increase Stitches
On the second row, increase 1 stitch at the beginning and end of the row by knitting into the front and back of the same stitch.
Step 4: Continue Knitting
Continue knitting in stockinette stitch (knit one row, purl one row) until the beak reaches the desired length. This will typically be about 1-2 inches.
Step 5: Decrease Stitches
On the last row, decrease 1 stitch at the beginning and end of the row by knitting two stitches together.
Step 6: Bind Off
Bind off all the stitches and cut the yarn, leaving a long tail for sewing.
Step 7: Sew the Beak
Using the tapestry needle and the tail of yarn, sew the beak onto the head of the knitted hen. Make sure to position it in the center and secure it firmly.
By following these step-by-step instructions, you can knit a beak that adds a charming touch to your knitted hen toy.
Step-by-Step Instructions: Knitting the Wings
Here are step-by-step instructions to help you knit the wings of the hen:
- Cast on stitches: Begin by casting on the required number of stitches for the wing. This may vary depending on the pattern you are following.
- Knit the first row: Start knitting the first row using a basic knit stitch. This will create the foundation for the wing.
- Begin increasing: To shape the wing, you will need to increase stitches. This can be done by knitting into the front and back of certain stitches. Follow the pattern instructions to determine when and how many stitches to increase.
- Continue knitting: Once you have completed the increases, continue knitting the wing in the desired stitch pattern. This may involve using a combination of knit and purl stitches to create texture.
- Shape the wing: To create a realistic wing shape, you may need to decrease stitches. This can be done by knitting two stitches together. Again, refer to the pattern for guidance on when and how many stitches to decrease.
- Bind off: When you have finished knitting the wing, it’s time to bind off the stitches. This will secure the edges of the wing and prevent unraveling. Follow the pattern instructions for the specific bind-off method to use.
Remember to consult the pattern you are following for any specific instructions or variations on knitting the wings. With these step-by-step instructions, you’ll be able to create beautiful knitted wings for your hen.
Step-by-Step Instructions: Knitting the Tail
When knitting a hen, one of the key elements is the tail. The tail adds character and charm to the finished project. To help you create the perfect tail for your knitted hen, follow these step-by-step instructions:
Materials Needed:
- Yarn in desired colors for the tail
- Knitting needles appropriate for the yarn weight
- Tail pattern or guide
- Tapestry needle
- Scissors
Instructions:
- Start by selecting the yarn colors you want to use for the tail. It can be a single color or a combination of colors, depending on the look you want to achieve.
- Once you have chosen your yarn, cast on the required number of stitches according to the tail pattern or guide you are following. Make sure to leave a long tail for sewing later.
- Begin knitting the tail using the specified stitch pattern. This could be a simple garter stitch, stockinette stitch, or any other pattern that you prefer.
- Continue knitting until you have reached the desired length for the tail. Remember to refer to the pattern or guide for guidance on the required length.
- Once the tail is of the desired length, bind off the stitches to secure the end.
- Using a tapestry needle and the long tail you left earlier, sew the tail onto the body of the knitted hen. Make sure to position it in the desired location and secure it firmly.
- After sewing the tail, weave in any loose ends of yarn to ensure a neat and tidy finish.
- Finally, trim any excess yarn if necessary, and admire your knitted hen with its beautiful tail!
With these step-by-step instructions, you can easily knit a charming and unique tail for your knitted hen. Have fun experimenting with different yarn colors and stitches to create a tail that perfectly complements your project.
Step-by-Step Instructions: Assembling the Hen
Once you have completed knitting and stuffing all the individual parts of the hen, it’s time to assemble them and bring your knitted hen to life. Follow these step-by-step instructions to ensure a successful and professional-looking result.
Step 1: Attach the Wings
Start by attaching the wings to the body. Position the wings on either side of the hen’s body, making sure they are symmetrical. Use a yarn needle and the same yarn color to sew the wings onto the body. Take small stitches around the edge of the wings, securely attaching them to the body. Repeat the process for the other wing.
Step 2: Sew the Legs
Next, sew the legs onto the bottom of the hen’s body. Position the legs so that they are evenly spaced and symmetrical. Use a yarn needle and the same yarn color to sew the legs onto the body. Take small stitches around the legs, attaching them securely to the body. Repeat the process for the other leg.
Step 3: Embroider the Face
Now it’s time to embroider the hen’s face to add character and personality. Use a yarn needle and black yarn to embroider the eyes, creating small stitches to make the eyes stand out. Then, use orange yarn to embroider the beak, creating a small triangle shape in the center of the face. Finally, use red yarn to create the hen’s comb on top of the head. Take your time and ensure the stitches are neat and well-defined.
Step 4: Finishing Touches
Once the face is embroidered, you can add any additional finishing touches you desire. For example, you can sew on buttons or beads for the hen’s eyes, or attach a small ribbon around the hen’s neck for a decorative touch. Be creative and personalize your knitted hen to your liking.
Now that you have finished assembling your knitted hen, you can proudly display it or give it as a gift. Enjoy the process of assembling and adding the final touches to create a charming and adorable knitted hen that will bring joy to anyone who sees it.
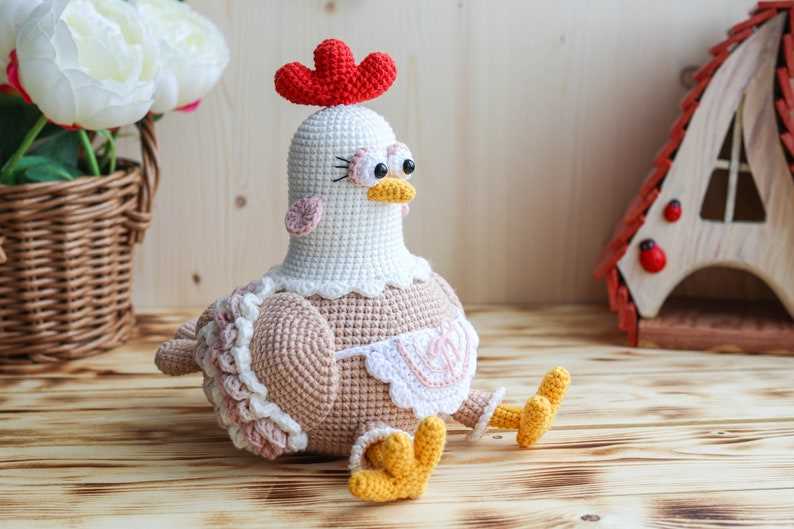
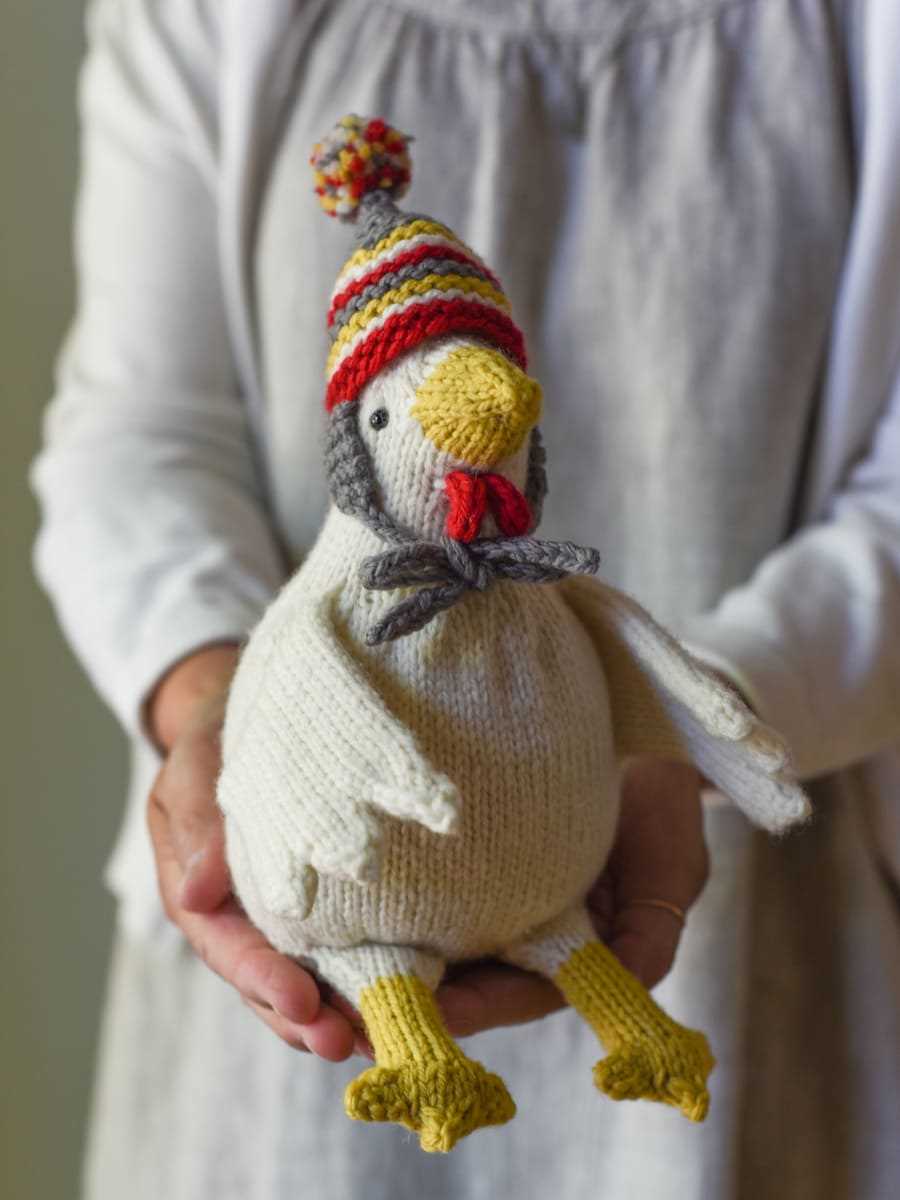
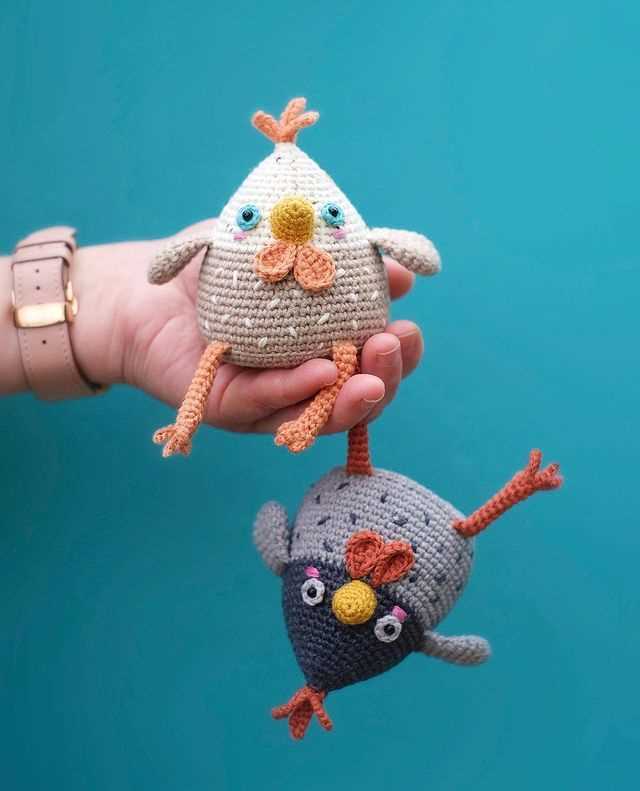
Ideas for Personalizing Your Hen
If you’re looking to add some personal flair to your knitted hen, there are plenty of options to consider. From color variations to small accessories, here are a few ideas to help you make your hen truly unique.
1. Unique Colors
While hens are traditionally seen in white, don’t be afraid to experiment with different hues. Consider using variegated yarn or choosing a vibrant color for your hen’s body. You could also use different colors for the wings, beak, and wattle to create a more eye-catching design.
2. Fashionable Accessories
Add some extra charm to your knitted hen by giving her some fashionable accessories. You could knit a small hat or bow to place on top of her head, or even create a tiny scarf or necklace to drape around her neck. These small details can really make your hen stand out.
3. Customized Patterns
If you’re comfortable with knitting charts, you could personalize your hen by incorporating special patterns or motifs into her design. Consider knitting a heart or star into her body, or creating a unique pattern for her wings. These customized details will make your hen one-of-a-kind.
4. Miniature Props
Why stop at accessories? Take your hen to the next level by knitting or crocheting miniature props for her. You could create a tiny basket of eggs for her to sit on, or even knit a nesting box for her to rest in. These props will add an extra touch of whimsy to your knitted creation.
5. Name or Initial
Add a personal touch to your hen by using embroidery or duplicate stitch to add your initials or a small name onto her body. This can be a subtle and special way to make your hen uniquely yours.
Remember, the beauty of knitting is that you can customize your creations to reflect your own individual style and taste. Have fun experimenting with different colors, accessories, and personal touches, and let your creativity shine through in your knitted hen.
Tips and Tricks for Knitting Success
Knitting is a wonderful craft that allows you to create unique and beautiful items. However, it can be challenging at times, especially for beginners. To help you succeed in your knitting projects, here are some useful tips and tricks:
- Choose the right needles and yarn: The choice of needles and yarn can greatly affect the outcome of your knitting project. Make sure to use the correct size of needles for your yarn, and select a yarn that is appropriate for your desired project.
- Start with simple projects: If you are new to knitting, it’s best to start with simple projects like scarves or dishcloths. This will allow you to practice basic knitting techniques and build your skills before moving on to more complex projects.
- Practice tension control: Tension control is an important aspect of knitting. It refers to how tightly or loosely you hold the yarn while knitting. Practice controlling your tension to ensure consistent and even stitches.
- Use stitch markers: Stitch markers are handy tools that can help you keep track of your stitches, especially when working on intricate patterns. They can be placed on your needles to mark specific stitches or sections of your work.
- Learn to read knitting patterns: Knitting patterns may seem confusing at first, but learning to read them is an essential skill. Familiarize yourself with the abbreviations and symbols used in patterns, and take the time to understand the instructions before starting a project.
- Take breaks and stretch: Knitting for long periods can strain your hands and wrists. Take regular breaks, stretch your fingers and wrists, and do exercises to prevent any discomfort or injury.
- Join a knitting group: Joining a knitting group or community can provide valuable support, inspiration, and guidance. You can learn from experienced knitters, share your projects, and find motivation to keep knitting.
By following these tips and tricks, you can improve your knitting skills and increase your chances of success in your knitting projects. Remember that knitting is a journey, and practice is key to becoming a confident and skilled knitter. Happy knitting!
Q&A:
Where can I find a free knitted hen pattern?
You can find free knitted hen patterns on various knitting websites, such as Ravelry, LoveKnitting, and Knitting Patterns Galore.
Are there any specific materials needed for knitting a hen?
Yes, you will need to have knitting needles, yarn in different colors, stuffing, and a tapestry needle for sewing.
How difficult is it to knit a hen?
The difficulty level of knitting a hen can vary depending on the pattern and your skill level. Some patterns may be more challenging than others, especially if they include complex stitch patterns or shaping. However, there are also beginner-friendly patterns available.
Can I customize the colors of my knitted hen?
Yes, you can definitely customize the colors of your knitted hen. Most patterns will provide instructions for color changes, allowing you to create a hen in your preferred color scheme.
Do I need to have any previous knitting experience to knit a hen?
While some basic knitting skills are recommended, you don’t need extensive experience to knit a hen. There are beginner-friendly patterns available that provide clear instructions and beginner-friendly techniques.
Where can I find a free knitted hen pattern?
You can find free knitted hen patterns on various websites such as Ravelry, LoveKnitting, and KnittingPatternsCentral. These websites offer a wide range of knitting patterns, including patterns for knitted hens.