
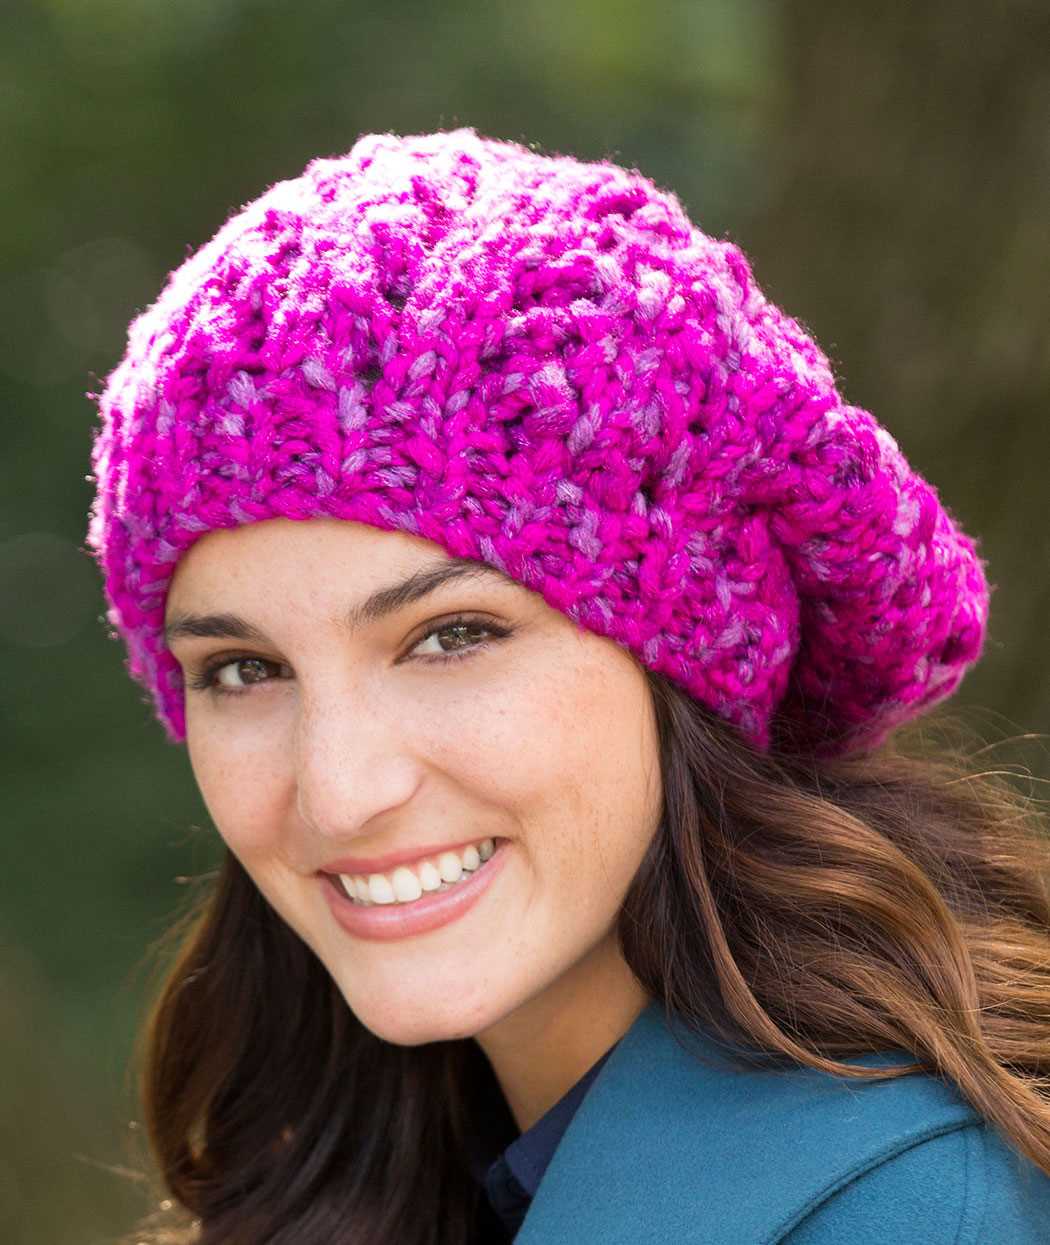
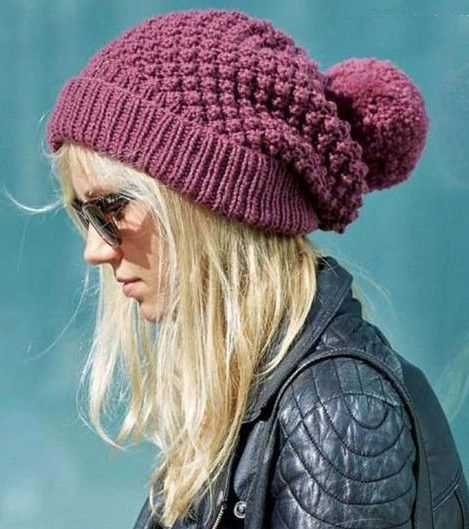
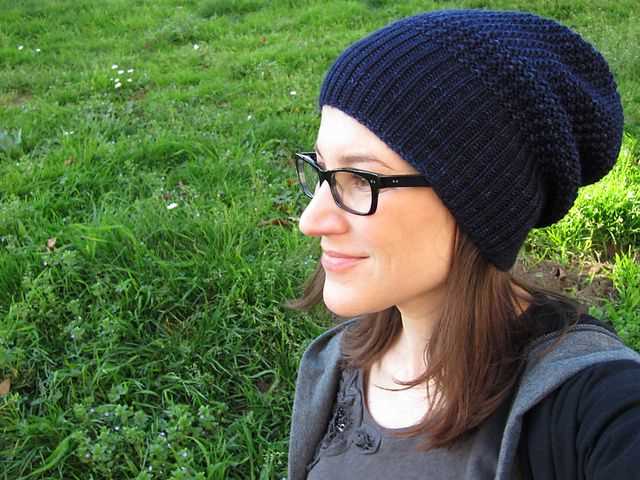
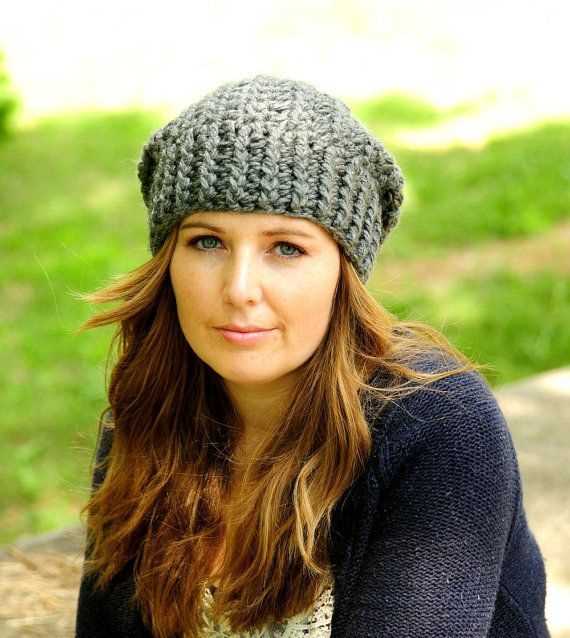
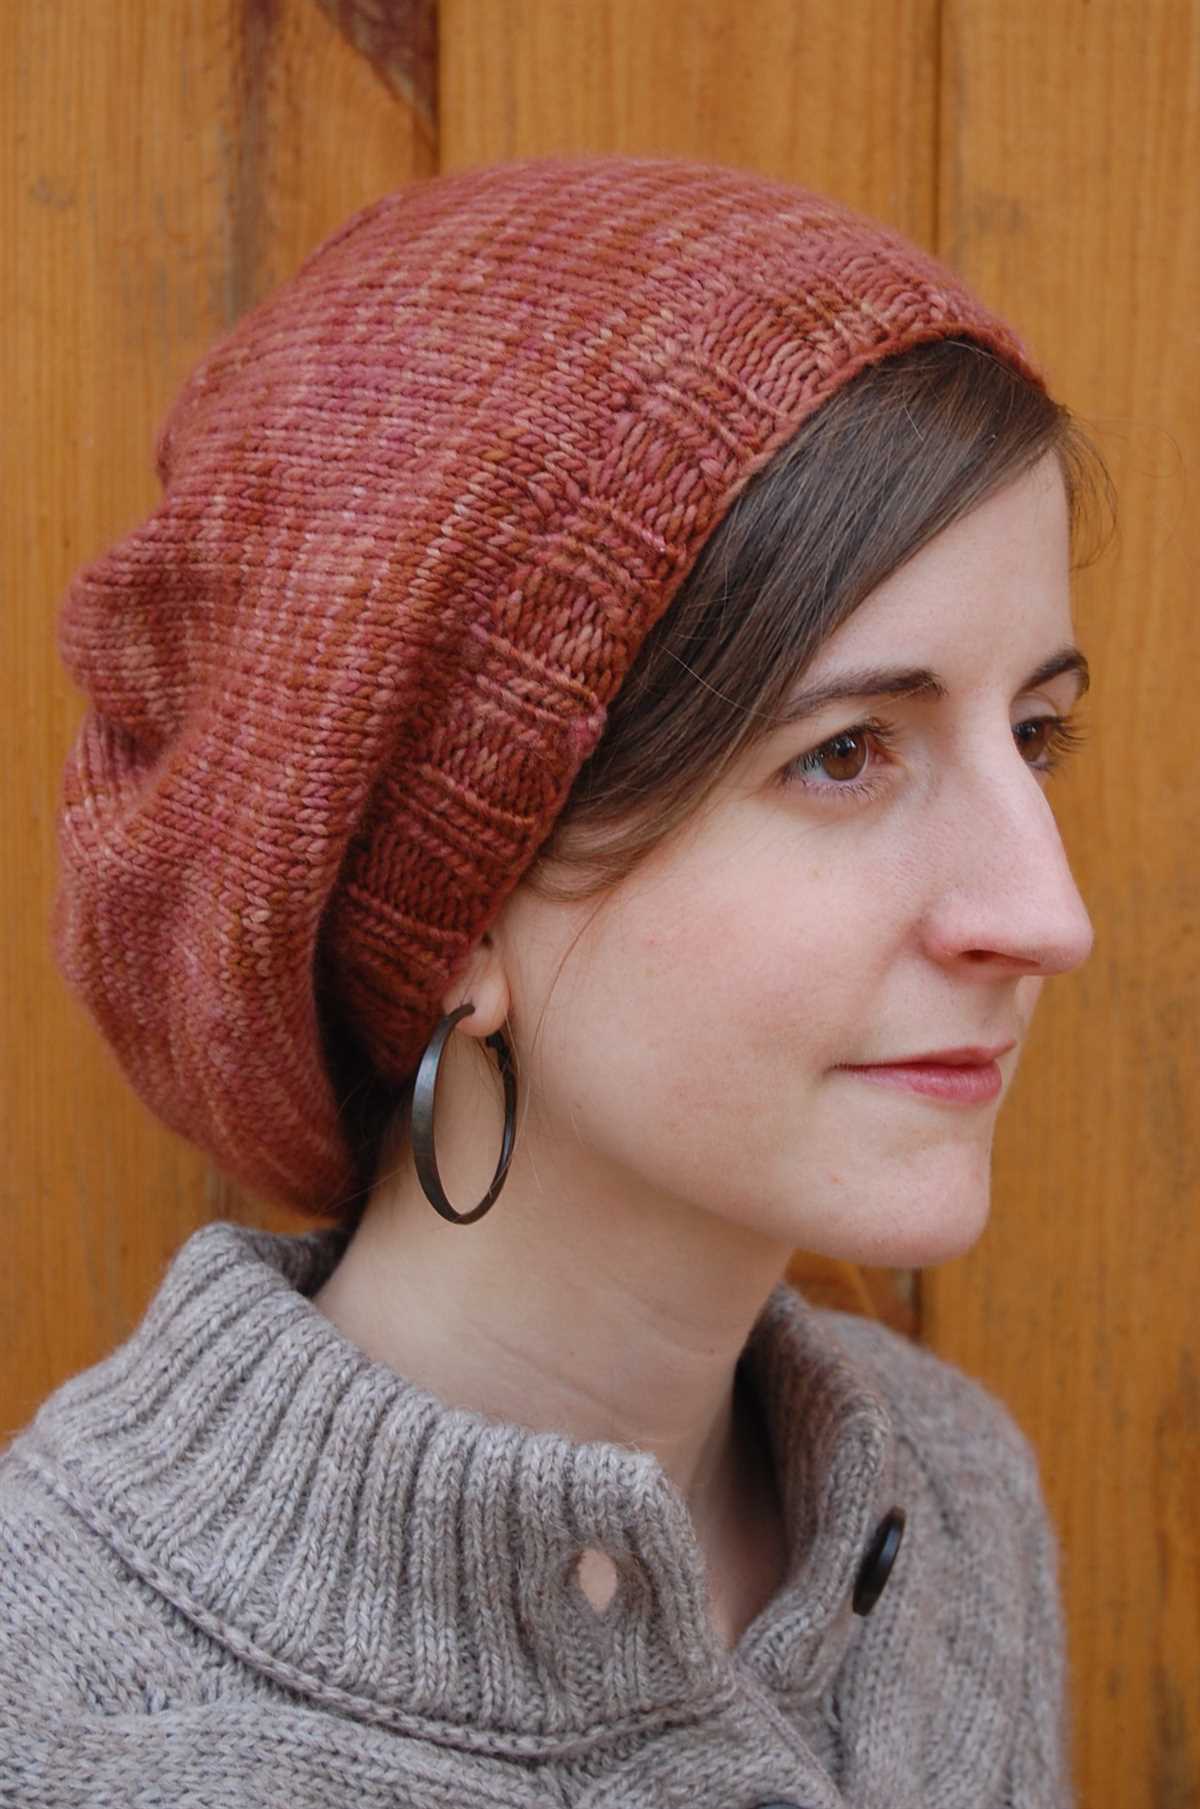
Looking for a simple and stylish accessory to keep you warm during those chilly winter months? Look no further than a knitted slouchy beanie! This trendy hat is not only cozy, but also adds a touch of flair to any winter outfit.
Whether you’re a beginner knitter or have years of experience, this free knitted slouchy beanie pattern is perfect for everyone. With just a few basic stitches and some yarn, you can create your very own fashionable beanie in no time.
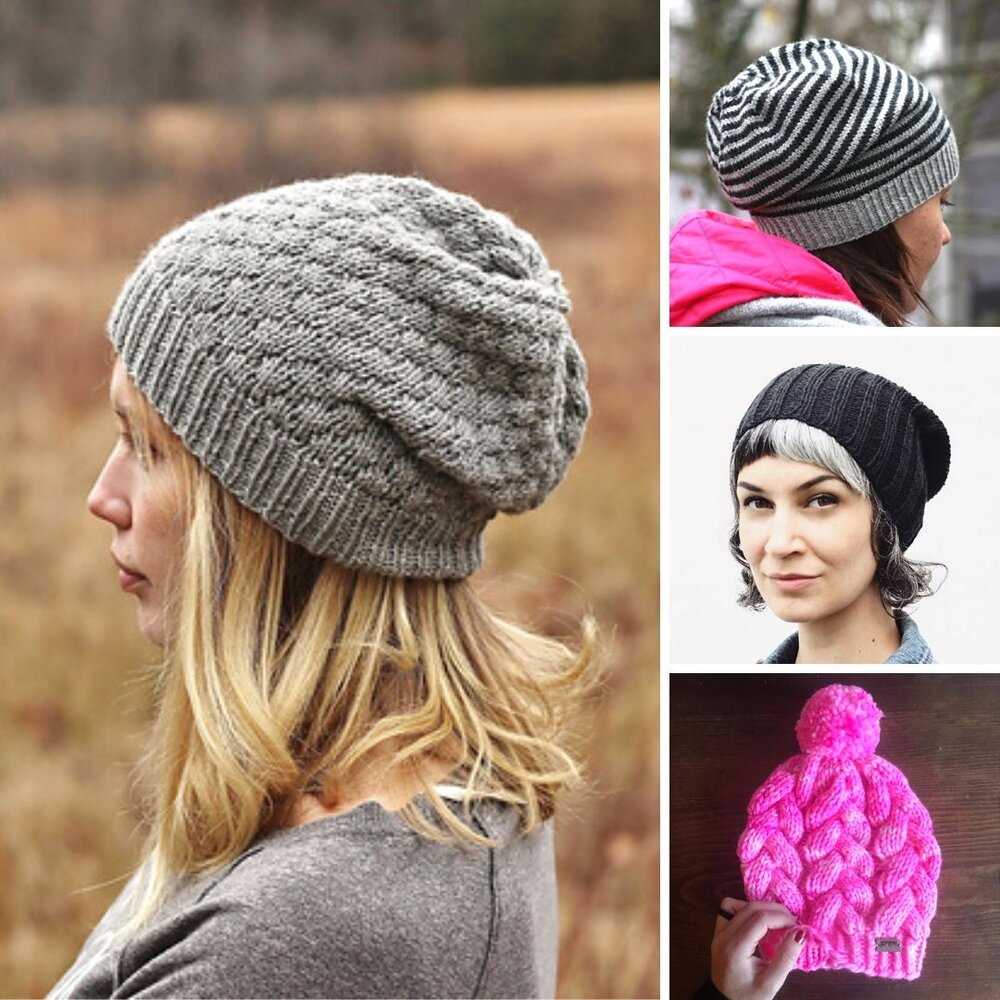
This pattern is customizable, allowing you to choose your favorite colors and add your own unique flair. You can make it as slouchy or fitted as you like, depending on your personal style. Plus, knitting your own beanie is a great way to relax and unwind after a long day.
So grab your knitting needles and get ready to create a cozy and chic accessory that will keep you looking stylish and feeling warm all winter long. Follow our step-by-step instructions below to get started on your very own knitted slouchy beanie!
Materials needed
Before you start knitting your slouchy beanie, make sure you have all the necessary materials. Here is a list of items you will need:
- Yarn: Choose a soft and warm yarn of your choice. Worsted weight yarn is recommended for this pattern.
- Knitting Needles: Use a pair of circular knitting needles in the appropriate size for your yarn. The length of the needles should be at least 16 inches.
- Double Pointed Needles: You will also need a set of double pointed needles in the same size as your circular needles. These will be used for the decreases at the crown of the beanie.
- Tapestry Needle: A tapestry needle with a large eye is essential for weaving in the ends of your yarn.
- Stitch Markers: Stitch markers are helpful for marking the beginning of each round and any other important stitch placements in the pattern.
- Measuring Tape: A measuring tape or ruler is useful for checking your gauge and measuring the length of your beanie.
- Scissors: A good pair of scissors will come in handy for cutting your yarn.
- Row Counter: A row counter can be helpful for keeping track of your rows and rounds, especially if you tend to lose count easily.
Once you have gathered all these materials, you are ready to start knitting your slouchy beanie. Make sure to read through the pattern carefully and understand all the instructions before you begin.
Gauge and Sizing
Before you start knitting your slouchy beanie, it is important to check your gauge. The gauge determines the size of your finished project and ensures that it fits properly. To check the gauge, knit a swatch using the recommended yarn and needle size. Measure the number of stitches and rows per inch, and compare it to the gauge specified in the pattern. If your gauge doesn’t match, you may need to change your needle size to achieve the correct tension.
The sizing of the slouchy beanie can vary depending on the pattern. Most patterns provide instructions for different sizes, from baby to adult. Make sure to carefully read and follow the sizing instructions provided in the pattern. This will ensure that your finished beanie fits comfortably and as intended.
For additional guidance on sizing, the pattern may provide a head circumference measurement for each size. Measure the circumference of the head you are knitting for and compare it to the provided measurements. This will help you choose the appropriate size for your project.
Remember, knitting tension can vary between individuals, so checking your gauge is essential to ensure a well-fitted slouchy beanie. Taking the time to measure and adjust as needed will result in a hat that not only looks great but feels great to wear.
Casting on
When starting a knitting project, one of the first steps is casting on. This process creates the foundation row of stitches on the knitting needle. There are several methods for casting on, but the most common method is the long-tail cast on.
To begin the long-tail cast on, you will need to estimate the amount of yarn needed for the foundation row. Measure the length of yarn by loosely wrapping it around the knitting needle a number of times equal to the number of stitches needed. This will give you the tail end and working yarn for the cast on.
Hold the knitting needle in your right hand and make a slipknot at the end of the yarn. Slide this loop onto the needle and tighten it. Hold the working yarn in your right hand and the tail end in your left hand. Insert the needle into the loop on your left hand, from front to back, and use the needle to catch the working yarn.
Bring the needle over the tail end and pull the loop through the slipknot. This creates a new stitch on the needle. Continue this process until you have cast on the desired number of stitches. Make sure to keep the tension of the stitches even, neither too loose nor too tight.
The long-tail cast on creates a neat and sturdy foundation for your knitting project. Once all the stitches are cast on, you can proceed with the next steps of your pattern, whether it’s a knitted slouchy beanie or any other project.
Ribbing
Ribbing is a knitting technique that creates a stretchy and flexible fabric. It is commonly used for cuffs, hems, and bands on various knitted items, including beanies. Ribbing is achieved by alternating knit and purl stitches in a specific pattern.
When knitting ribbing, the most basic pattern is called 1×1 ribbing, which consists of one knit stitch followed by one purl stitch. This pattern creates vertical columns of stitches that give the fabric its characteristic ribbed appearance. Another common variation is 2×2 ribbing, where two knit stitches are followed by two purl stitches. Depending on the desired outcome, different ribbing patterns can be used.
1×1 Ribbing:
- Row 1: *K1, P1* – repeat from * to * until the end of the row
- Row 2: *K1, P1* – repeat from * to * until the end of the row
- Repeat Rows 1 and 2 for the desired length of ribbing
2×2 Ribbing:
- Row 1: *K2, P2* – repeat from * to * until the end of the row
- Row 2: *K2, P2* – repeat from * to * until the end of the row
- Repeat Rows 1 and 2 for the desired length of ribbing
Ribbing is not only aesthetically pleasing but also functional. It adds elasticity to the fabric, allowing it to stretch and fit comfortably around the wearer’s head. Additionally, ribbing helps prevent the edges of the beanie from rolling up, providing a clean and polished finish. Overall, ribbing is an essential technique in creating a well-fitting and stylish knitted slouchy beanie.
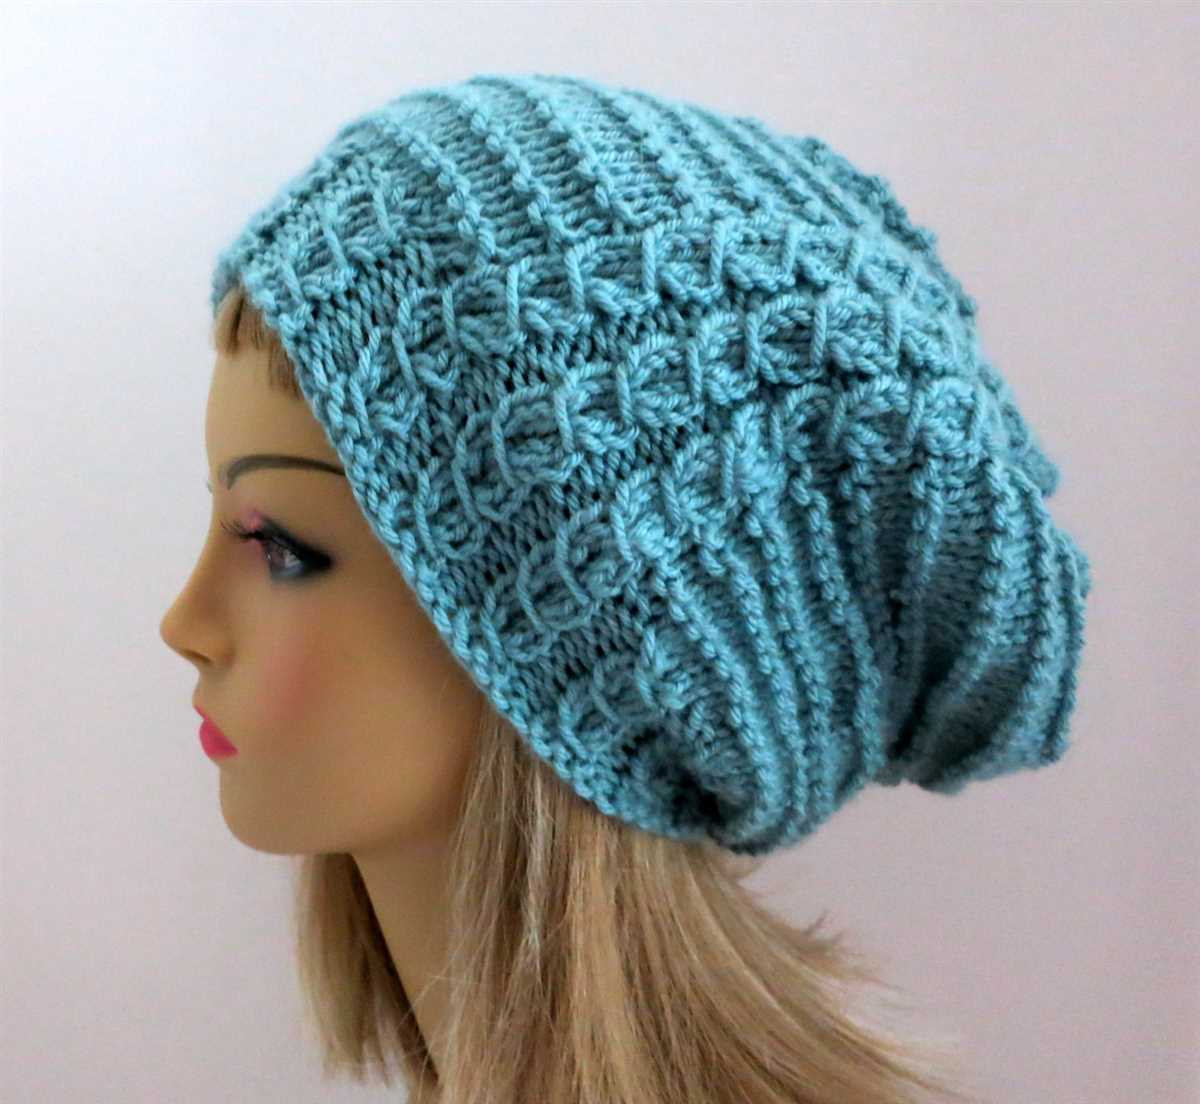
Main body
The main body of the slouchy beanie is the central part that covers the head. It is where the majority of the knitting will take place. The pattern typically requires a certain number of stitches to be cast on, which can vary depending on the desired size of the beanie. Once the stitches are cast on, the knitter will begin working in the round, using either circular needles or double-pointed needles.
The main body of the beanie is usually knitted in a specific stitch pattern, which gives the beanie its unique look. This can range from basic stockinette stitch to more complex cable or lace patterns. The stitch pattern is repeated throughout the main body, allowing the beanie to gradually slouch as it is worn.
As the knitter progresses through the pattern, they will typically need to make adjustments to ensure that the beanie is the correct size and shape. This can involve increasing or decreasing stitches to achieve the desired circumference and slouchiness. The length of the main body can also be adjusted to create a shorter or longer slouchy beanie.
Some patterns may include additional design elements, such as colorwork or texture, in the main body. These can add visual interest and make the beanie even more unique. Once the main body is complete, the knitter will typically move on to the next section, which may involve shaping the crown or adding a brim.
Decreasing
In order to create the slouchy effect, it is necessary to decrease the number of stitches as you progress. This is achieved by knitting two stitches together, known as a knit two together (k2tog) decrease. Here is a step-by-step guide on how to decrease:
- 1. Identify the point in your pattern where the decrease is indicated. This is usually specified by a decrease symbol, such as a triangle or a slash.
- 2. Insert the right needle into the next two stitches on the left needle as if to knit.
- 3. Wrap the yarn around the right needle as if to knit.
- 4. Pull the right needle and the yarn through the two stitches, resulting in one loop on the right needle.
- 5. Slip the two stitches off the left needle and onto the right needle, completing the decrease.
Repeat this decrease process as indicated in your pattern until the desired number of stitches is reached.
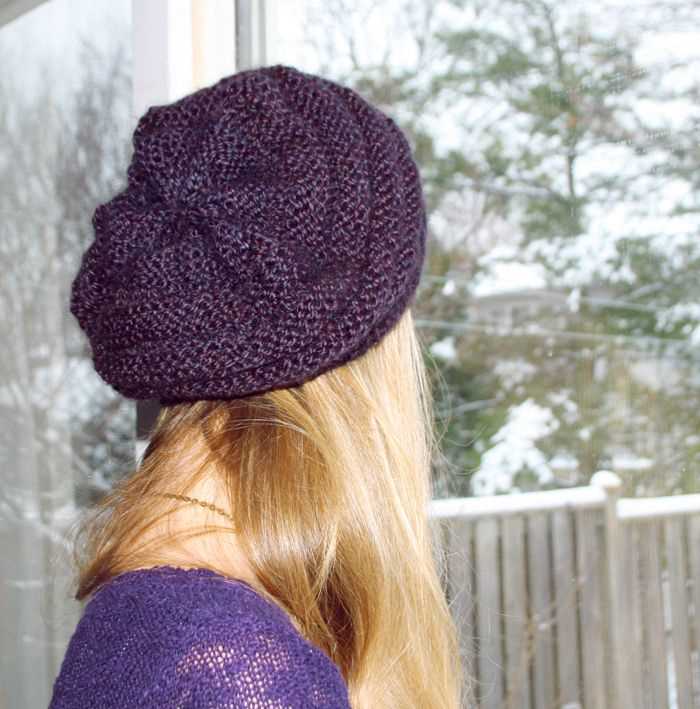
Finishing the crown
Once you have reached the desired length for the body of your slouchy beanie, it is time to start shaping the crown. This is where you will decrease stitches in order to create a snug fit at the top of the beanie.
To begin the crown shaping, you will need to divide your stitches evenly onto multiple double-pointed needles or onto a circular needle if you prefer. This will allow you to work in the round as you decrease. Make sure to distribute your stitches evenly so that you have an equal number on each needle.
Next, you will begin the decrease rounds. This is where you will knit two stitches together, also known as a knit-two-together (k2tog), to decrease the stitch count. The exact number of stitches to decrease and the frequency of the decrease rounds will depend on the size and style of your slouchy beanie.
Continue to work the decrease rounds, following the pattern’s instructions, until you have decreased enough stitches to create a snug fit at the crown of the beanie. This will typically be several rounds of decreasing, gradually reducing the stitch count.
Finally, when you have reached the last few stitches, cut the yarn, leaving a long tail. Thread the tail through the remaining stitches and pull tight to close the top of the beanie. Secure the yarn on the inside of the beanie, and weave in any loose ends to finish.
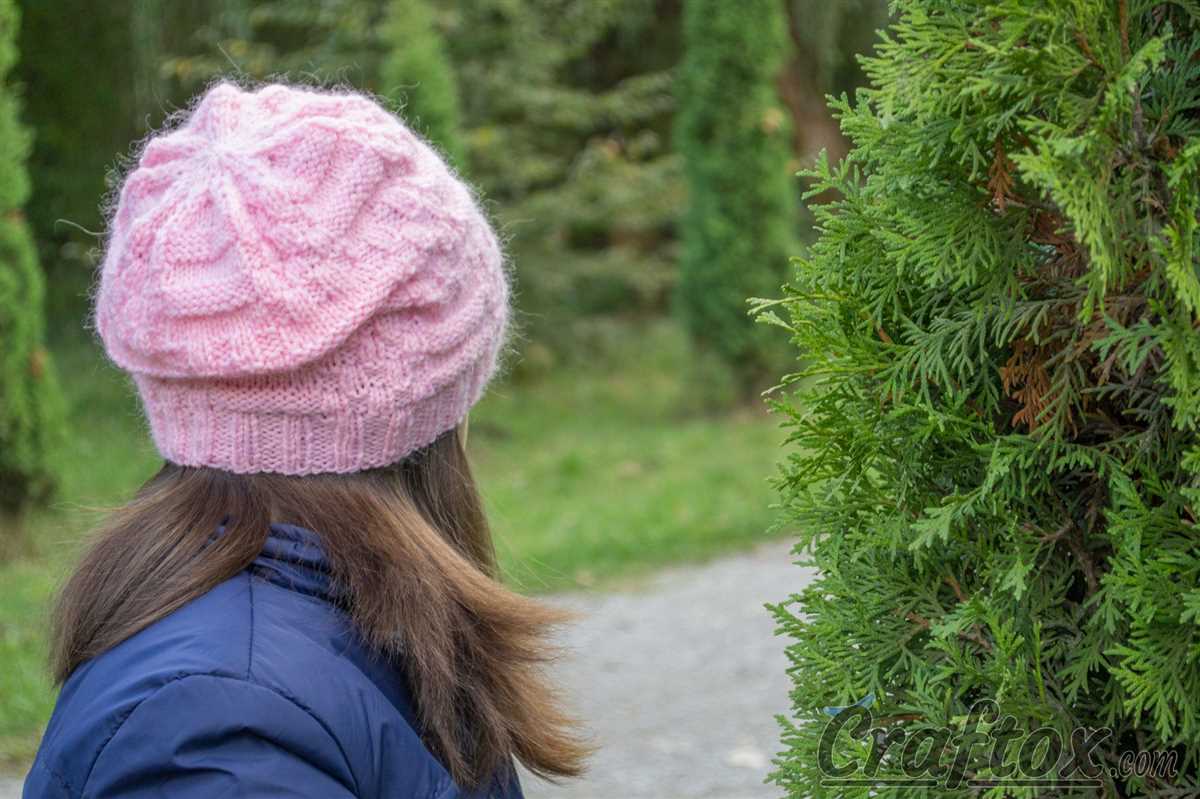
Shaping the slouch
When knitting a slouchy beanie, shaping is an important aspect to consider in order to achieve the desired slouchy effect. The shaping is done by increasing stitches at certain intervals to create a wider circumference at the top of the hat. This creates the slouchy look as the excess fabric gathers and drapes over the back of the head.
To shape the slouch, you can use various knitting techniques such as yarn overs or make-one increases. Yarn overs are created by simply wrapping the yarn around the needle without knitting or purling. This creates an extra stitch on the next row. Make-one increases, on the other hand, involve picking up the horizontal strand between two stitches and knitting or purling into it, effectively adding an extra stitch.
Here is an example of how to shape the slouch using yarn overs:
- Start by knitting the initial ribbed brim of the beanie.
- Once you reach the main body of the hat, start increasing stitches at regular intervals. For example, you can increase 1 stitch every 6 or 8 rows.
- To increase, simply knit or purl into the next stitch and then yarn over before knitting or purling the next stitch.
- Continue knitting the rounds, repeating the increase stitches at the desired intervals.
- As you continue to increase stitches, the circumference of the hat will gradually widen, creating the slouchy effect.
This is just one example of how to shape the slouch in a knitted beanie. The specific pattern you are using may have different instructions for shaping, so be sure to follow the pattern carefully. With the right shaping techniques, you can create a beautifully slouchy beanie that is both stylish and cozy.
Optional Embellishments
The free knitted slouchy beanie pattern already provides you with a stylish and cozy accessory, but if you want to add a personal touch or make it even more unique, there are several optional embellishments you can consider.
1. Pom-pom: Adding a pompom to the top of your beanie can give it a fun and playful look. You can purchase ready-made pompoms from a craft store or make your own using yarn. Attach it securely to the top of the beanie using a needle and thread.
2. Button detail: Sewing on buttons can add an extra element of style to your slouchy beanie. Choose buttons in different sizes, shapes, or colors to create a decorative pattern or focal point. Make sure to securely attach them to the front or side of the beanie using a needle and thread.
3. Embroidery: If you enjoy embroidery, you can consider embellishing your beanie with your favorite designs or patterns. Use colorful yarn or embroidery thread to create beautiful stitches on the brim or the body of the beanie. You can embroider flowers, geometric shapes, or even your initials.
4. Lining: For added warmth and comfort, you can choose to line the inside of your slouchy beanie. Cut a piece of soft fabric, such as fleece or flannel, to the same shape as the beanie and sew it in place. This lining will keep your head cozy during colder days and give the beanie a polished finish.
5. Ribbons or bows: Adding ribbons or bows can give your beanie a feminine and elegant touch. Choose ribbons in different colors or patterns and securely attach them to the side or back of the beanie. You can tie a bow or let the ribbons hang loose for a playful look.
These optional embellishments allow you to add your personal style and creativity to the knitted slouchy beanie. Whether it’s a simple pom-pom or intricate embroidery, these details can make your beanie stand out and reflect your unique personality.
Tips and Tricks
Knitting a slouchy beanie can be a fun and rewarding project. Here are some tips and tricks to make the process easier and ensure a successful outcome:
1. Gauge Matters
Make sure to check your gauge before you start knitting. Even a small difference in gauge can greatly affect the final size of your beanie. If your gauge doesn’t match the pattern’s gauge, adjust your needle size until you get the desired gauge.
2. Join the Round Correctly
When joining the round, make sure to knit the first stitch of every round to prevent an unwanted gap. You can place a stitch marker to keep track of the beginning of the round.
3. Use Lifelines
If you’re trying out a new stitch pattern or using a complicated stitch pattern, it can be helpful to add lifelines. Lifelines are a spare piece of yarn threaded through your stitches, creating a safety net. If you make a mistake, you can easily rip back to the lifeline without losing all your progress.
4. Blocking Is Important
Blocking your finished beanie can make a big difference in the final look and fit. Follow the recommended blocking method for your yarn to achieve the best results. Blocking can help even out stitches, relax the fabric, and adjust the size and shape of your beanie.
5. Customize Your Beanie
Feel free to experiment and customize your beanie with different colors, yarn weights, or stitch patterns. Have fun and make it your own! You can also add embellishments like pompoms or buttons to give your beanie a unique touch.
6. Practice Makes Perfect
Don’t get discouraged if your first attempt doesn’t turn out perfect. Knitting, like any skill, takes practice. If you’re new to knitting, start with simpler projects before tackling a slouchy beanie. With time and practice, you’ll improve your knitting skills and be able to create beautiful beanies.
By following these tips and tricks, you’ll be well-equipped to successfully knit your own slouchy beanie. Have fun, be creative, and enjoy the process!