
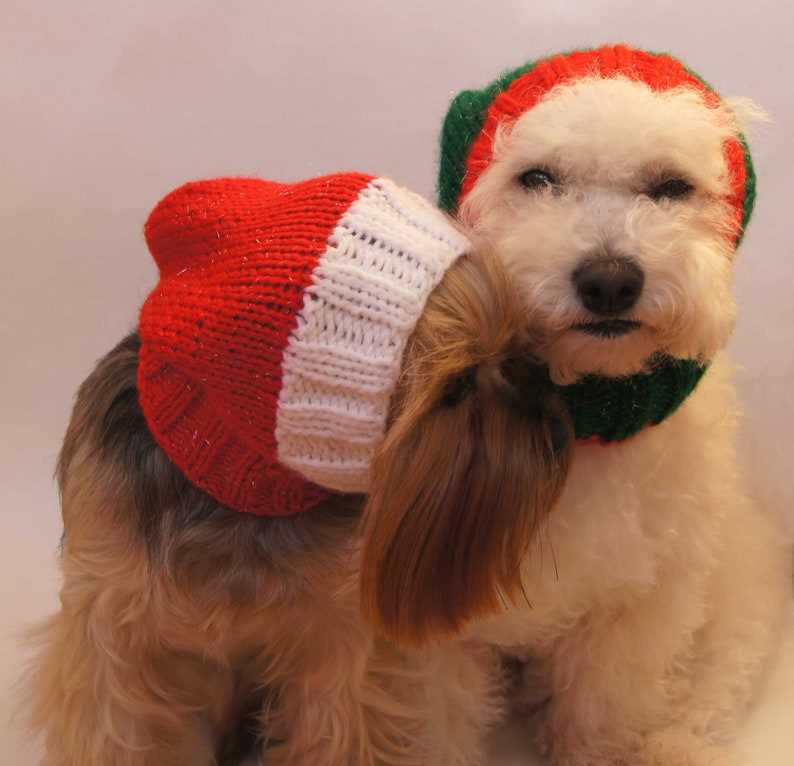
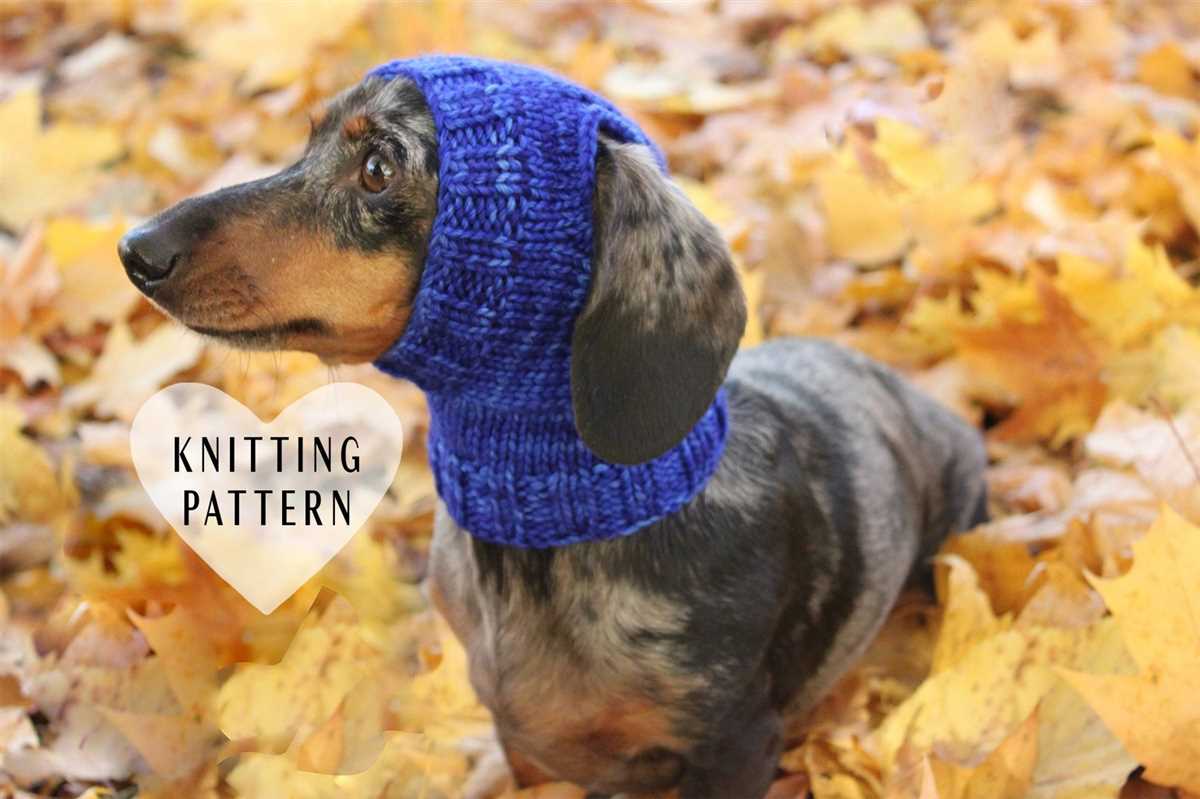
If you have a small dog and love knitting, why not combine your two passions and make a cute and cozy hat for your furry friend? Knitting patterns for small dog hats are readily available and can be a fun and rewarding project for any knitter. Not only will your dog look adorable in their new accessory, but they’ll also stay warm and cozy during the colder months.
When searching for a knitting pattern for a small dog hat, you’ll find a wide variety of options to choose from. Some patterns are simple and basic, perfect for beginners who are just starting out. Others are more complex and intricate, allowing you to showcase your knitting skills and create a truly unique and stylish hat. Whether you prefer a classic design or something more trendy, there’s a pattern out there that will suit your taste.
Before you start knitting, it’s important to measure your dog’s head to ensure the hat will fit properly. Most small dog hat patterns provide instructions on how to take accurate measurements and customize the hat to fit your dog’s specific dimensions. Taking the time to measure correctly will result in a well-fitting hat that your dog will be comfortable wearing.
Materials needed
Before starting the knitting pattern for a small dog hat, make sure you have all the necessary materials. Here is a list of what you will need:
- Yarn: Choose a soft and warm yarn, suitable for small dogs. You can use a single color or multiple colors for a more colorful hat.
- Knitting needles: Use the appropriate size of knitting needles for the yarn you have chosen. Typically, a medium-sized pair of needles should work well.
- Tapestry needle: This needle will be used for weaving in the loose ends of yarn and sewing any necessary seams.
- Circular knitting needles or double-pointed needles (optional): If you prefer knitting in the round, you can use circular knitting needles or double-pointed needles instead of straight needles.
- Stitch markers: These will help you keep track of your stitches, especially if you are knitting in the round.
- Measuring tape: This will be used to measure your dog’s head size and ensure a proper fit for the hat.
- Scissors: You will need a pair of scissors to cut the yarn and trim any excess.
Once you have gathered all these materials, you will be ready to start knitting your small dog hat!
Choosing the right yarn
When it comes to knitting a hat for your small dog, choosing the right yarn is essential. Dogs can be sensitive to certain materials, so it’s important to consider their comfort when making your selection. Additionally, you’ll want to choose a yarn that is durable and easy to care for, as your dog will likely be wearing the hat frequently.
Consider your dog’s skin sensitivity and allergies. Some dogs have sensitive skin or allergies to certain materials, such as wool. Take note of any sensitivities your dog may have and look for yarns that are hypoallergenic or made from natural fibers that are less likely to cause irritation.
Look for yarns that provide warmth and insulation. Since the purpose of a hat is to provide warmth, it’s important to choose a yarn that offers good insulation. Wool is known for its natural insulating properties, making it a popular choice for dog hats. However, there are also acrylic or synthetic yarns that can provide similar warmth and insulation.
Consider the durability and washability of the yarn. Dogs can be active and adventurous, so it’s important to choose a yarn that can withstand their energy. Look for yarns that are durable and can handle wear and tear. Additionally, consider the ease of care for the yarn. Machine washable yarns can make your life easier when it comes to cleaning your dog’s hat.
Take your dog’s comfort into account. Dogs have different preferences when it comes to fabrics and textures. Consider the feel of the yarn and whether it’s something your dog will be comfortable wearing on their head. Some dogs may prefer softer yarns, while others may prefer a more textured or chunky yarn.
Choose a yarn that matches the size and style of the hat. Depending on the size of your small dog and the style of hat you’re knitting, you’ll want to choose a yarn that is appropriate for the project. Thinner yarns may be more suitable for intricate patterns or smaller dogs, while thicker yarns can provide a cozier and more substantial hat.
Don’t be afraid to experiment. Knitting a hat for your small dog is a great opportunity to get creative with your yarn choices. You can mix and match colors, textures, and yarn types to create a unique and stylish hat that reflects your dog’s personality. Just make sure to keep the factors mentioned above in mind to ensure your dog’s comfort and the durability of the hat.
Selecting the correct needle size
When knitting a small dog hat, selecting the correct needle size is essential to ensure that the hat fits properly and looks its best. The needle size you choose will depend on the type of yarn you are using and the desired gauge.
To determine the correct needle size, start by referring to the yarn label. The label should provide a recommended needle size range. It’s important to note that different yarns may require different needle sizes to achieve the same gauge, so always refer to the label for guidance.
Once you have the recommended needle size range, it’s time to swatch. Swatching is the process of knitting a small sample to determine your gauge. Use the recommended needle size from the yarn label and knit a small square, usually around 4 inches by 4 inches.
After knitting the swatch, measure the number of stitches and rows per inch. If your gauge matches the gauge specified in the knitting pattern, you can proceed with the recommended needle size. However, if your gauge is too loose, you will need to switch to a smaller needle size to achieve the desired tension. On the other hand, if your gauge is too tight, you will need to switch to a larger needle size.
Keep in mind that achieving the correct gauge is crucial for the hat to fit properly. If your gauge is significantly different from what is specified in the knitting pattern, it’s recommended to adjust the needle size and swatch again until you achieve the desired result.
Measuring your dog’s head size
Before starting any knitting project for your small dog, it’s important to measure their head size accurately. This will ensure that the hat fits comfortably and securely on their head. Here are a few steps you can follow to measure your dog’s head size:
- Use a flexible measuring tape: Start by getting a flexible measuring tape that can easily wrap around your dog’s head. This will give you an accurate measurement.
- Place the tape around the base of the head: With your dog standing or sitting comfortably, place the measuring tape around the base of their head, just above the ears. Make sure the tape is snug but not too tight.
- Take the measurement: Once the tape is in position, read the measurement in inches or centimeters. Take note of this measurement as it will be used to determine the size of the hat.
It’s important to remember that every dog is unique, so it’s always a good idea to measure your own dog rather than relying on standard sizes. This will ensure the best fit and comfort for your furry friend. Once you have the measurement, you can refer to the knitting pattern and adjust the size as needed to create a tailored hat for your small dog.
Casting on stitches
When starting a knitting project, one of the first steps is casting on stitches. This is the process of creating the first row of stitches on your knitting needle. There are several different methods for casting on, but the most common is the long-tail cast on.
To begin the long-tail cast on, you will need to measure out a length of yarn that is roughly three times the width of your finished piece. This will be the “tail” of your yarn. Then, make a slipknot on your needle, leaving a short tail hanging down. Hold the needle with the slipknot in your right hand, and the “tail” of the yarn and the working yarn in your left hand.
Next, insert the needle under the “tail” of the yarn with your right hand, and use your left hand to wrap the working yarn around your thumb and index finger. Then, bring the needle down through the loop on your thumb, and pull the working yarn to tighten the stitch.
Repeat this process for the desired number of stitches, making sure to adjust the tension of the working yarn as you go. Once all the stitches are cast on, you can begin your knitting project!
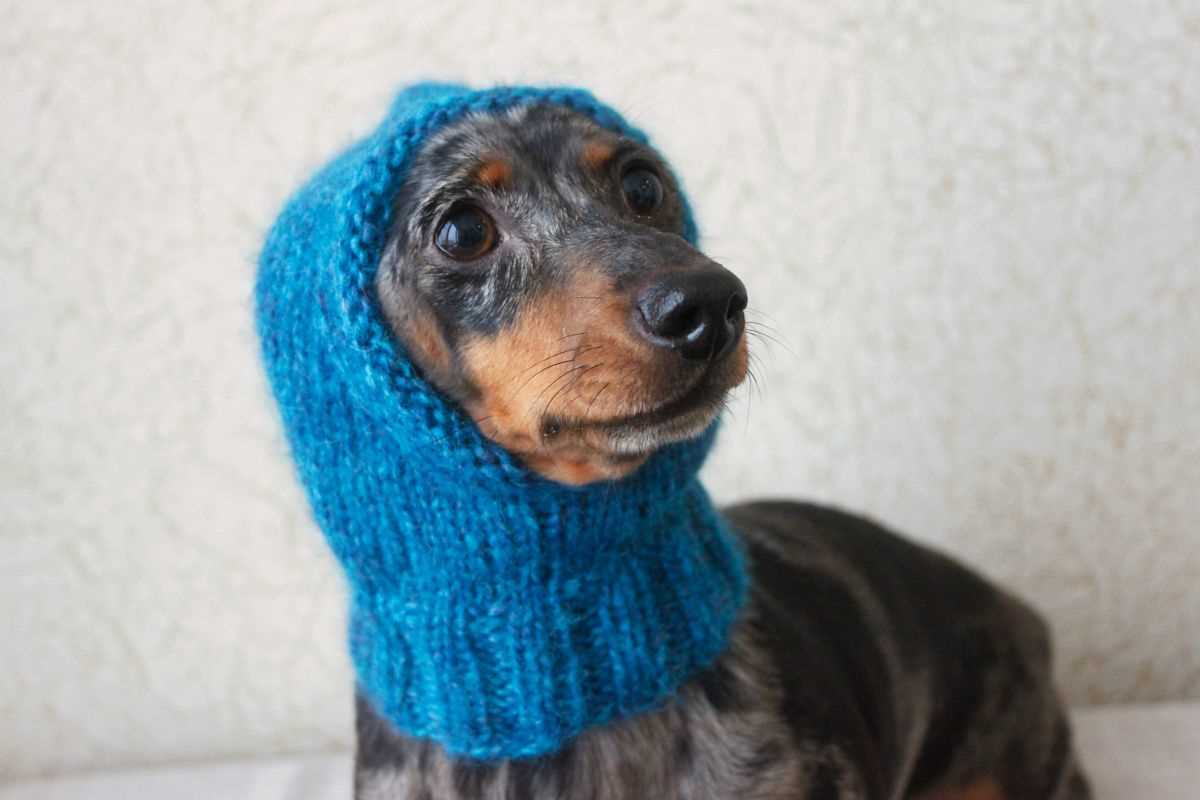
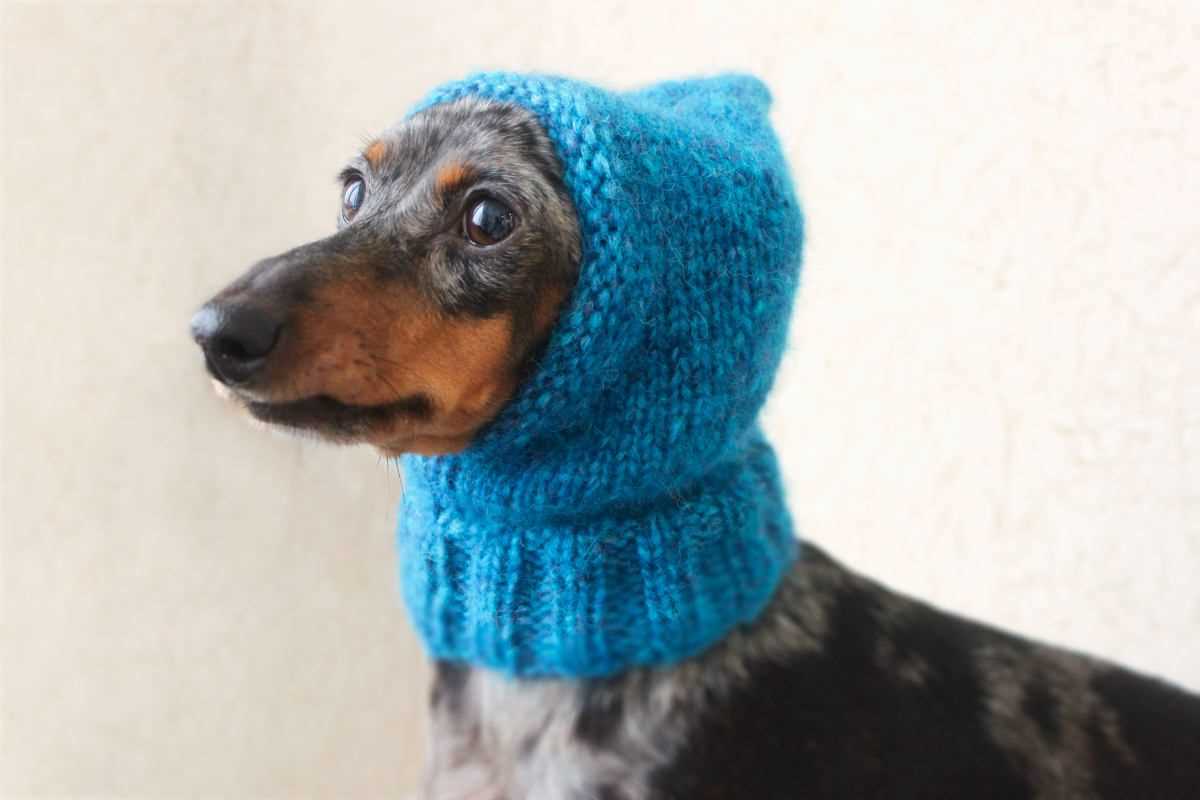
Creating the ribbed brim
When knitting a small dog hat, one of the first steps is to create the ribbed brim. This brim not only adds an element of style to the hat, but also helps to ensure a snug fit on your furry friend’s head. To create the ribbed brim, you will need a set of double-pointed knitting needles and the appropriate weight of yarn.
To begin, cast on the required number of stitches onto one of the double-pointed needles. The number of stitches will vary depending on the size of your dog’s head and the desired width of the brim. It’s a good idea to measure your dog’s head circumference and make a swatch to ensure the right fit.
Once you have cast on the stitches, you will begin to work in a ribbed pattern. This typically involves alternating knit and purl stitches in a specific sequence. For example, you may knit two stitches, then purl two stitches, and repeat this sequence throughout the row. This creates the characteristic vertical stripes of the ribbed pattern.
Continue working in the ribbed pattern for the desired length of the brim. This will create a stretchy and flexible brim that will comfortably fit around your dog’s head. Once you have reached the desired length, you can bind off the stitches and move on to the next step of the knitting pattern.
Here is a simple example of a ribbed brim pattern:
- Cast on 40 stitches.
- Row 1: Knit 2, purl 2, repeat to end of row.
- Row 2: Purl 2, knit 2, repeat to end of row.
- Repeat Rows 1 and 2 until the brim reaches the desired length.
- Bind off all stitches.
Remember to adjust the number of stitches and rows based on the size of your dog and the desired width of the brim. With a little practice, you’ll be able to create a ribbed brim that adds the perfect finishing touch to your small dog’s hat!
Knitting the main body of the hat
Once you have cast on the required number of stitches and completed the ribbing for the brim of the hat, it’s time to start knitting the main body of the hat. This is where you will create the body of the hat, giving it shape and style.
To begin, you will continue knitting in the round, using the chosen stitch pattern or design for the hat. This could be a basic stockinette stitch for a simple and smooth finish, or a more intricate pattern for added texture and visual interest.
Working in the chosen stitch pattern, you will progress by knitting each round until the desired length is reached. A good starting point is to knit for about 2-3 inches, but this can be adjusted based on the size of your dog’s head and the desired fit of the hat.
Throughout the process, it’s important to periodically try the hat on your dog to ensure a proper fit. This will help you determine if you need to adjust the length or make any modifications to accommodate your dog’s specific measurements.
As you continue to knit, make sure to maintain a consistent tension and check for any mistakes or dropped stitches along the way. Fixing these issues early on will save you time and frustration later.
Once you have reached the desired length, it’s time to prepare for the decrease rounds. This will shape the crown of the hat and create a snug fit for your dog. Following the pattern instructions, you will gradually decrease the number of stitches until only a few remain, allowing you to finish off the hat with a neat and secure closure.
Remember to always refer to the knitting pattern you are using for specific instructions on stitch counts, measurements, and shaping details.
Shaping the crown
When it comes to shaping the crown of the small dog hat, there are several techniques you can use. One common method is to decrease stitches evenly across each round to create a gradual narrowing effect. This can be achieved by knitting two stitches together, known as a knit two together (K2tog) decrease, or by slipping one stitch knitwise, knitting the next stitch, and passing the slipped stitch over the knitted stitch, known as a slip, knit, pass (SKP) decrease.
Another option for shaping the crown is to use short rows. This technique involves working partial rows to create curves or angles in the knitting. By turning the work before reaching the end of the row, you can add extra height to certain sections of the hat. Short rows can be used in combination with decreases to achieve a more tailored fit.
Decreasing Stitches
To decrease stitches evenly across the round, you can choose a specific number of stitches between each decrease and repeat the pattern throughout the round. For example, you can knit 10 stitches, then knit two stitches together, and repeat this sequence until the end of the round. Alternatively, you can choose a different number of stitches between each decrease to create a more customized shape.
Using Short Rows
When using short rows to shape the crown, you will need to determine where you want the extra height or shaping to be added. You can mark these points with stitch markers, or simply remember the number of stitches from the beginning or end of the round. When working the partial rows, you will need to turn the work before reaching these marked points and work back in the opposite direction until you reach the end of the round. This will create a curved or angled shape in the knitting.
Experiment with different shaping techniques to achieve the desired fit and style for your small dog hat. Remember to take accurate measurements and make any necessary adjustments as you go. With practice, you’ll be able to create perfectly shaped crowns for your furry friends.
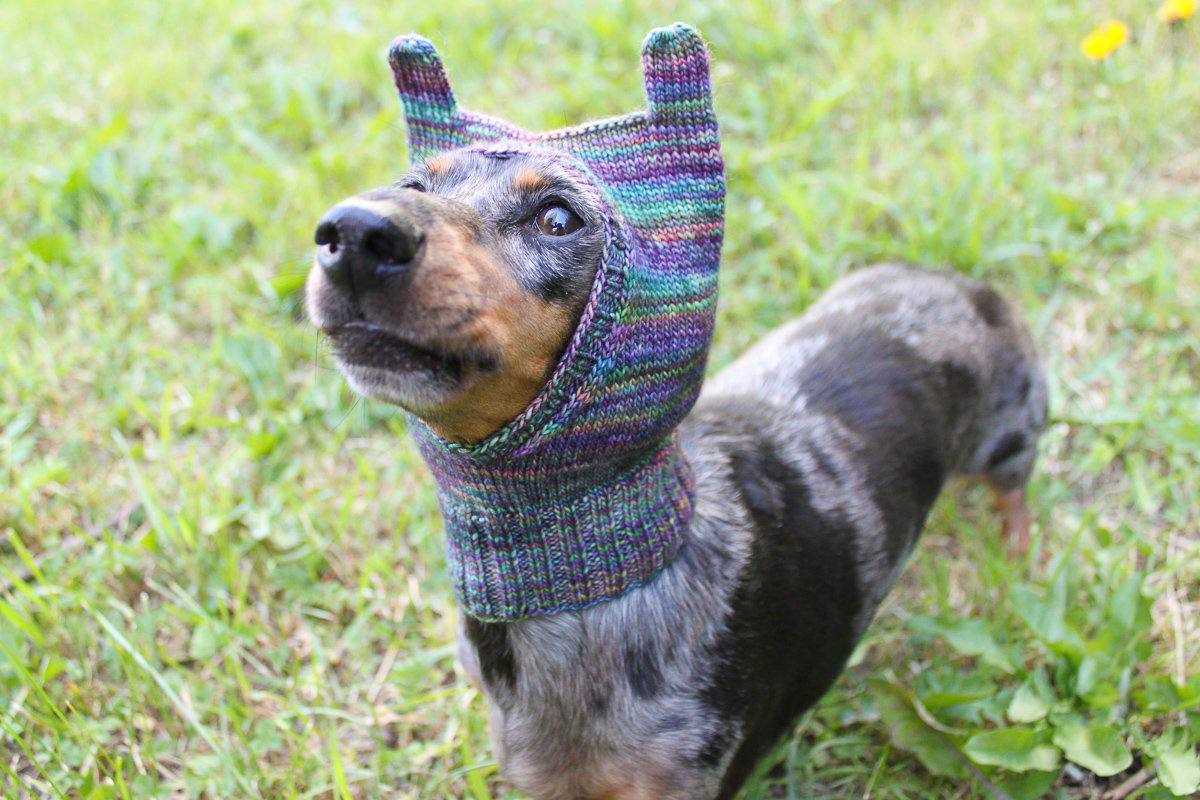
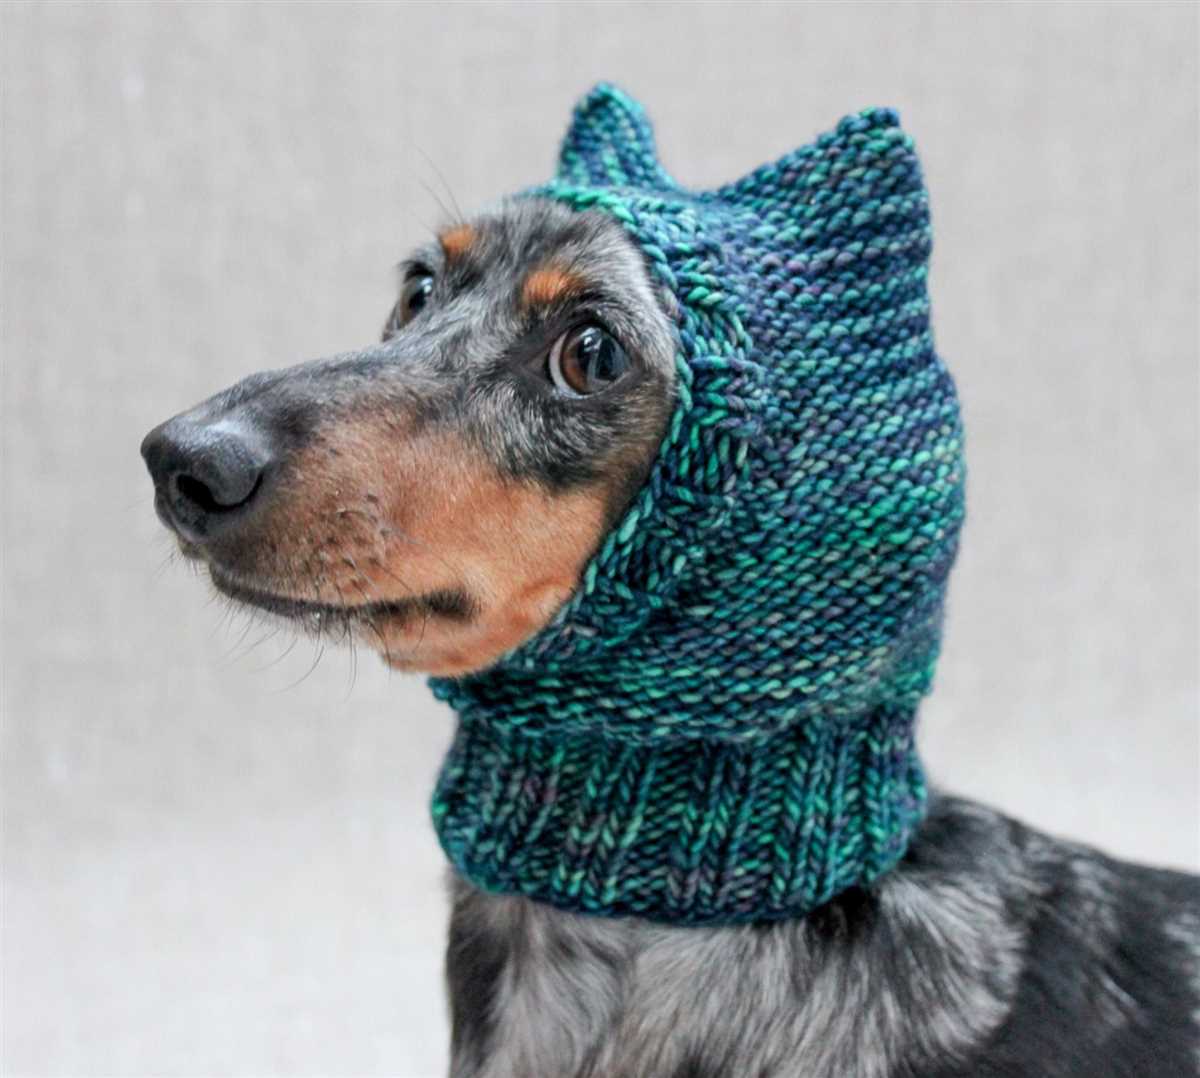
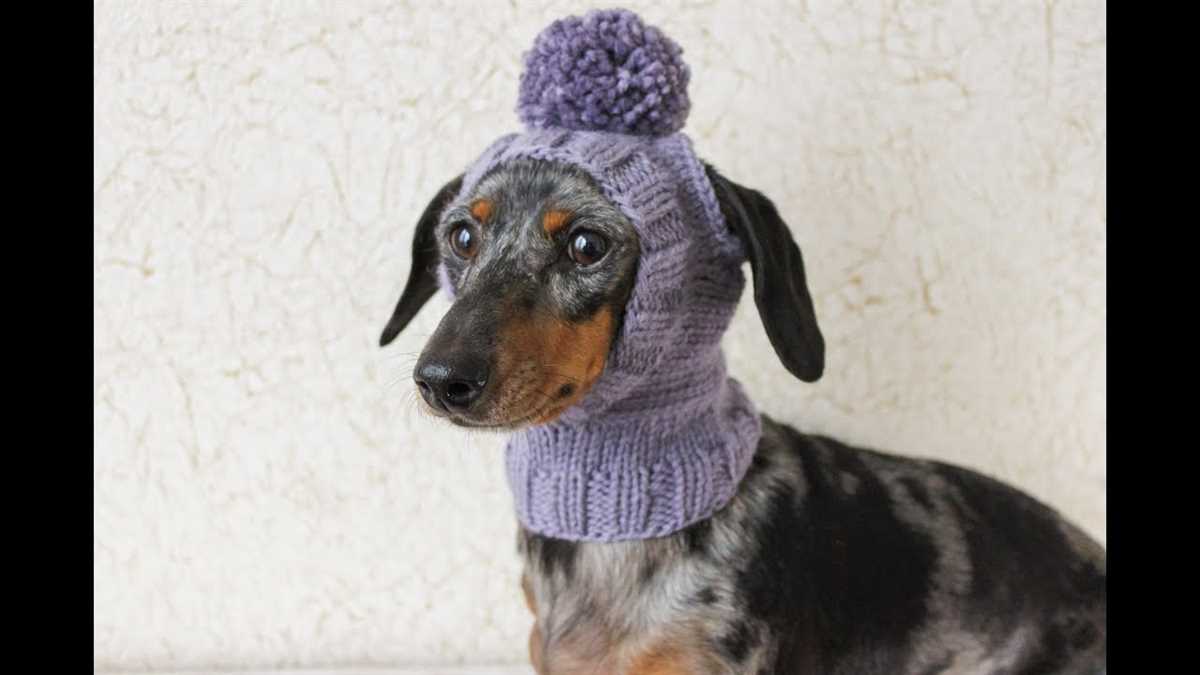
Adding ear holes
When knitting a hat for a small dog, it is important to consider the placement of ear holes to ensure comfort and proper fit. Ear holes are necessary to allow the dog’s ears to fit through and avoid any discomfort for the dog while wearing the hat.
To add ear holes to your knitting pattern, you can follow these steps:
- Start by measuring the width of the dog’s ears. This will help you determine the size and placement of the ear holes in the hat.
- Mark the positions of the ear holes on the hat pattern. You can use stitch markers or small pieces of contrasting yarn to mark the spots.
- When reaching the marked spots while knitting the hat, you will need to create the ear holes by working some stitches in a different way. This can be done by slipping a certain number of stitches onto a separate stitch holder or waste yarn.
- Continue knitting the hat according to the pattern until you reach the end of the row or round.
- To finish the ear holes, you will need to rejoin the stitches that were put on hold. This is typically done by knitting or purling the held stitches together with the live stitches on the needle.
- Complete the hat as per the pattern instructions, making sure to bind off or finish off the edges neatly.
By following these steps, you can easily add ear holes to your small dog hat knitting pattern. Remember to make sure the ear holes are properly sized and positioned to ensure a comfortable and secure fit for your furry friend.
Finishing the hat
Once you have completed the knitting portion of the small dog hat, it’s time to finish it off and make it ready for your furry friend to wear. Here are the steps to follow:
1. Weave in the loose ends:
Take a yarn needle and thread the loose ends of your yarn through it. Carefully weave the needle in and out of the stitches on the wrong side of the hat to secure the ends in place. Make sure to do this neatly and evenly to create a clean finish.
2. Block the hat (optional):
If you want to ensure that your hat maintains its shape and has a professional look, you may choose to block it. Wet the hat with cold water and gently squeeze out the excess. Lay it flat on a clean towel and shape it to the desired size and form. Leave it to air dry completely before handling.
3. Add any desired embellishments:
If you want to personalize the hat or add a decorative touch, now is the time to do it. You can attach small buttons, bows, or even embroidery to the hat. Be creative and have fun with this step, but make sure that any embellishments are securely attached so they don’t become a choking hazard for your pet.
4. Try the hat on your dog:
After you have finished all the previous steps, it’s time to try the hat on your furry friend. Gently place it on their head and adjust it until it fits comfortably. Make sure there is enough room for their ears to move freely and that the hat is not too tight. You want your dog to be happy and comfortable while wearing their new accessory.
Follow these steps, and soon your small dog will be rocking their new handmade hat with style. Remember to always supervise your pet while they are wearing any type of clothing or accessory, and never leave them unattended with it on.
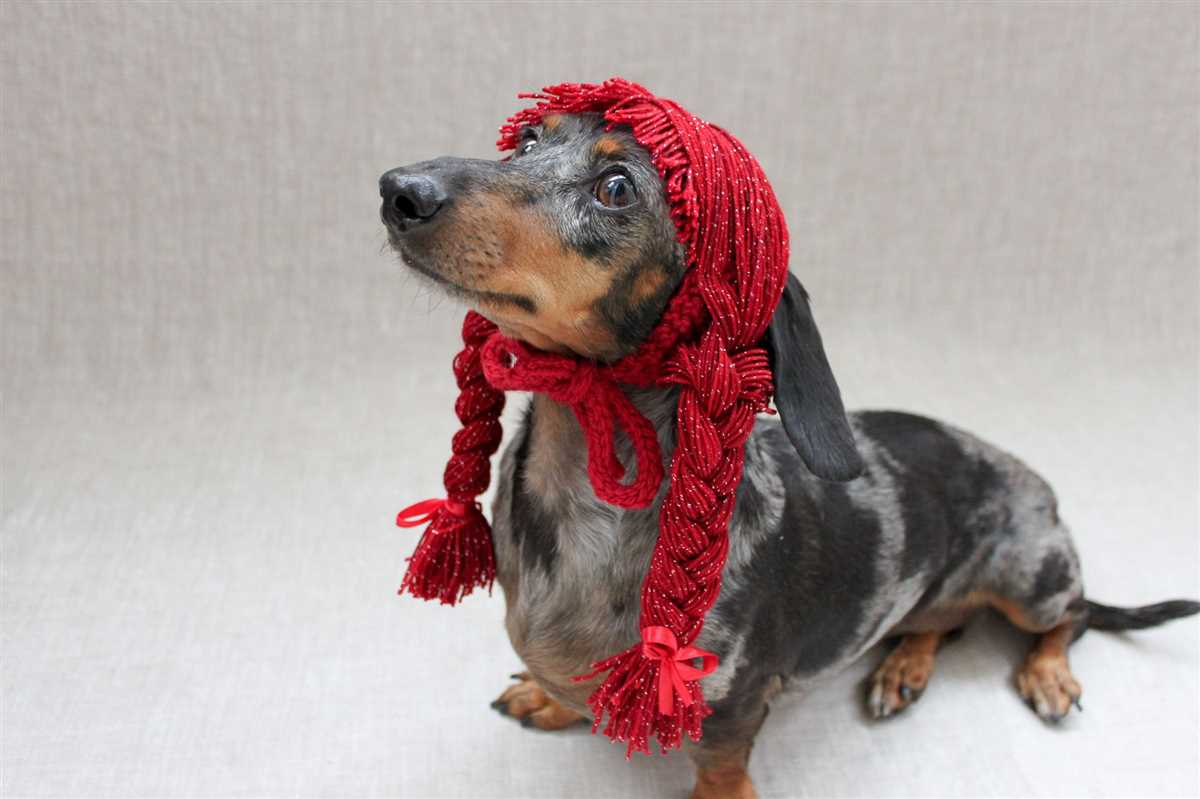
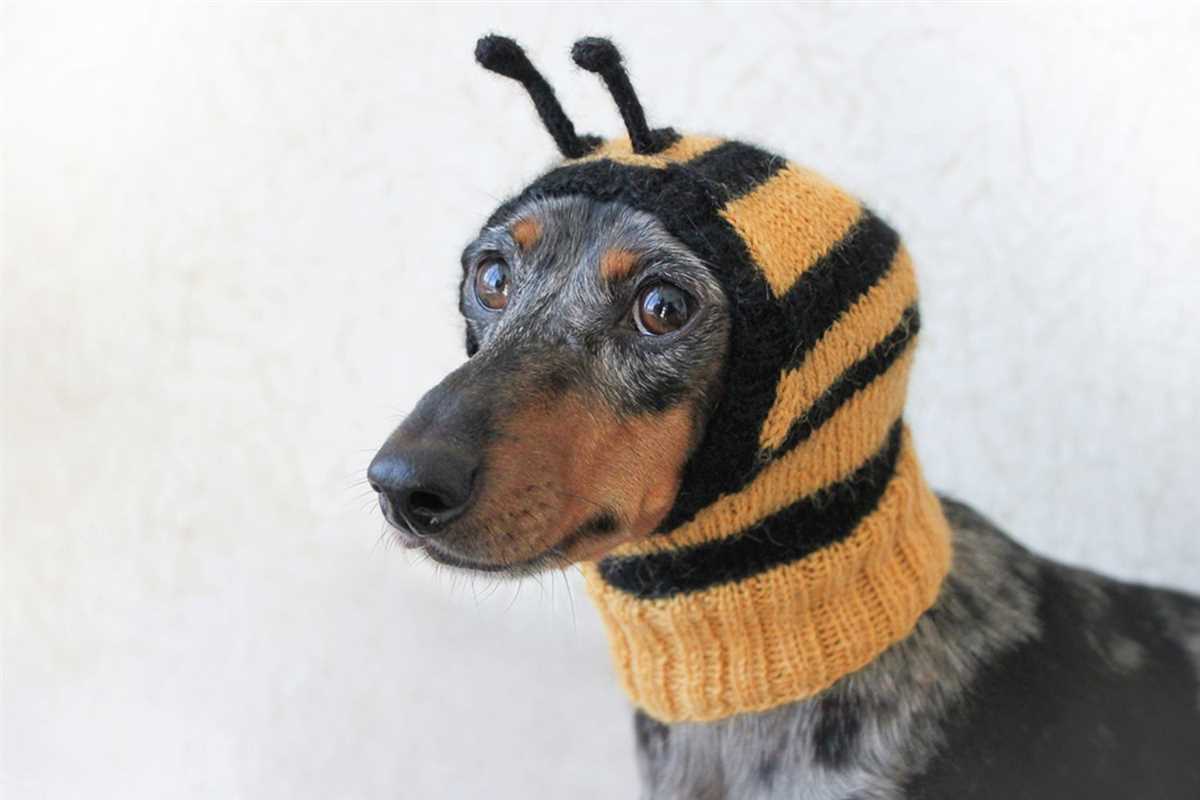
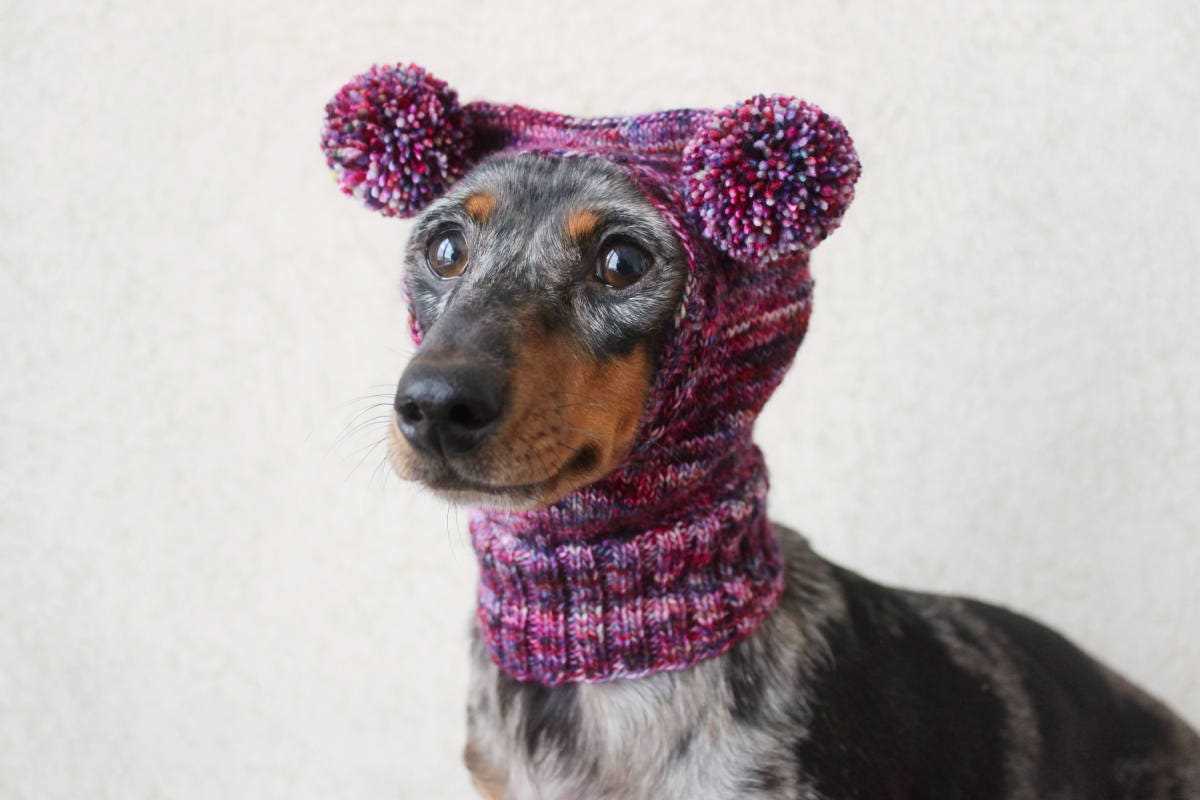
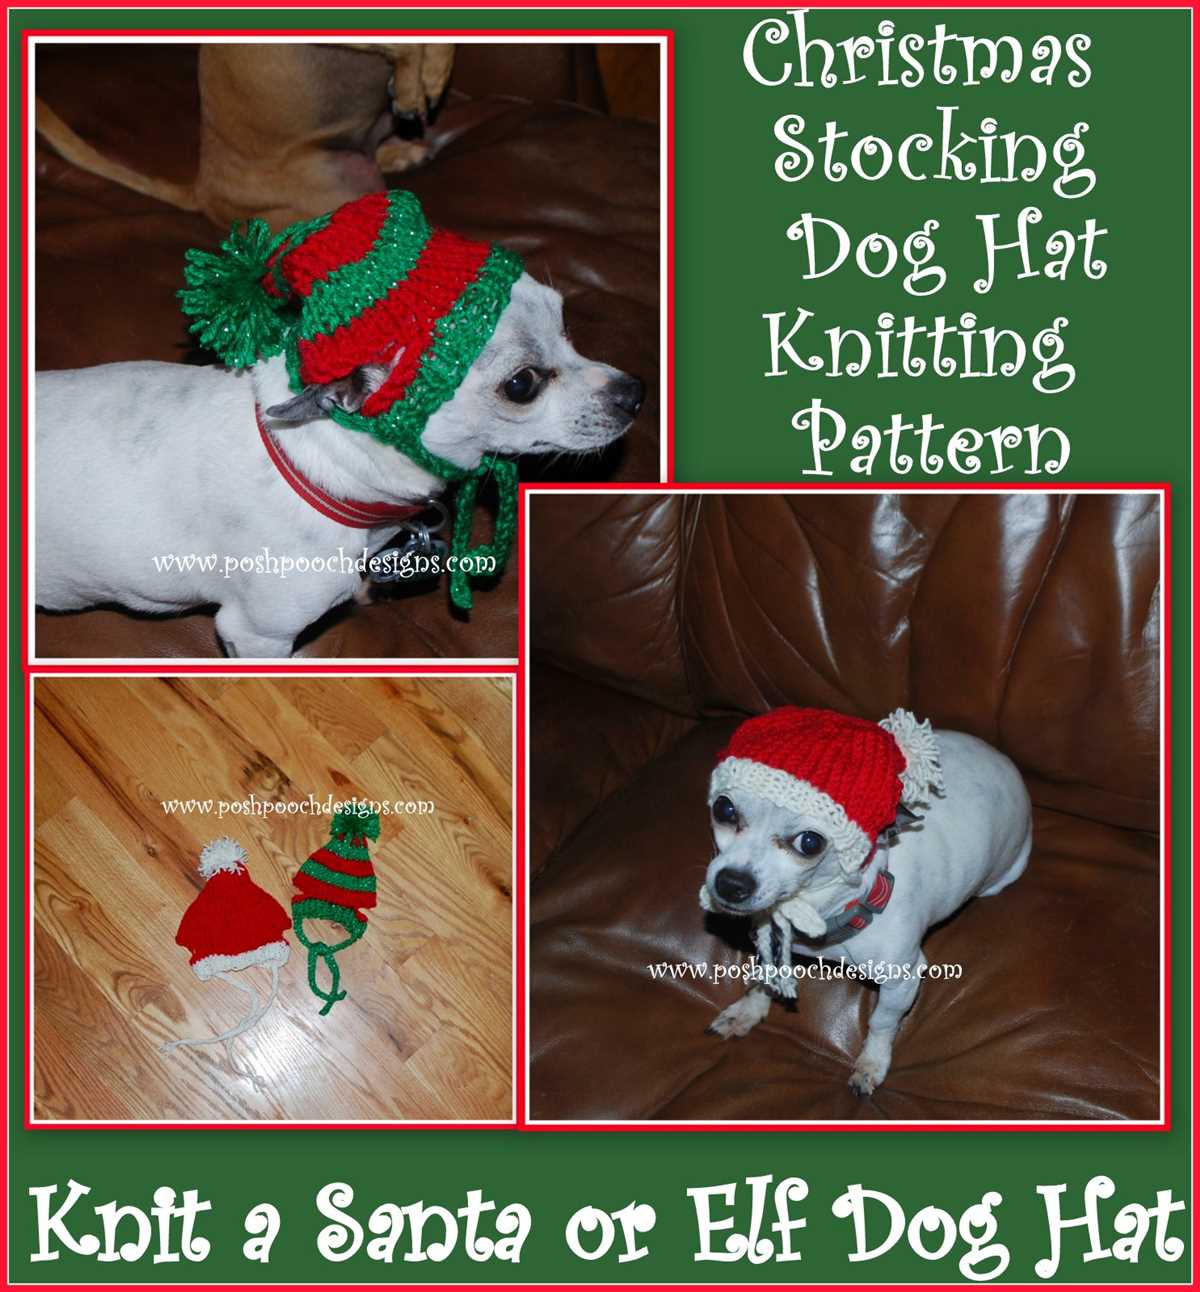
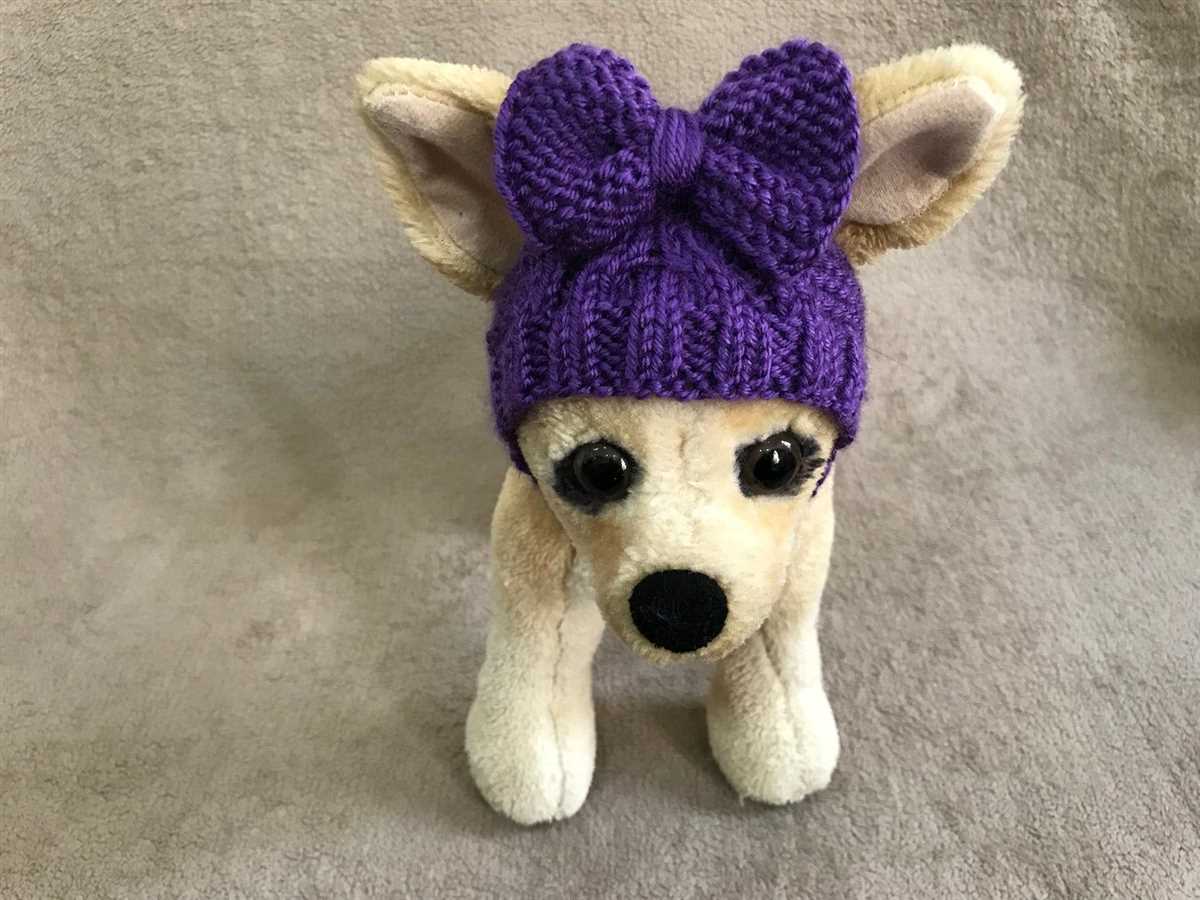
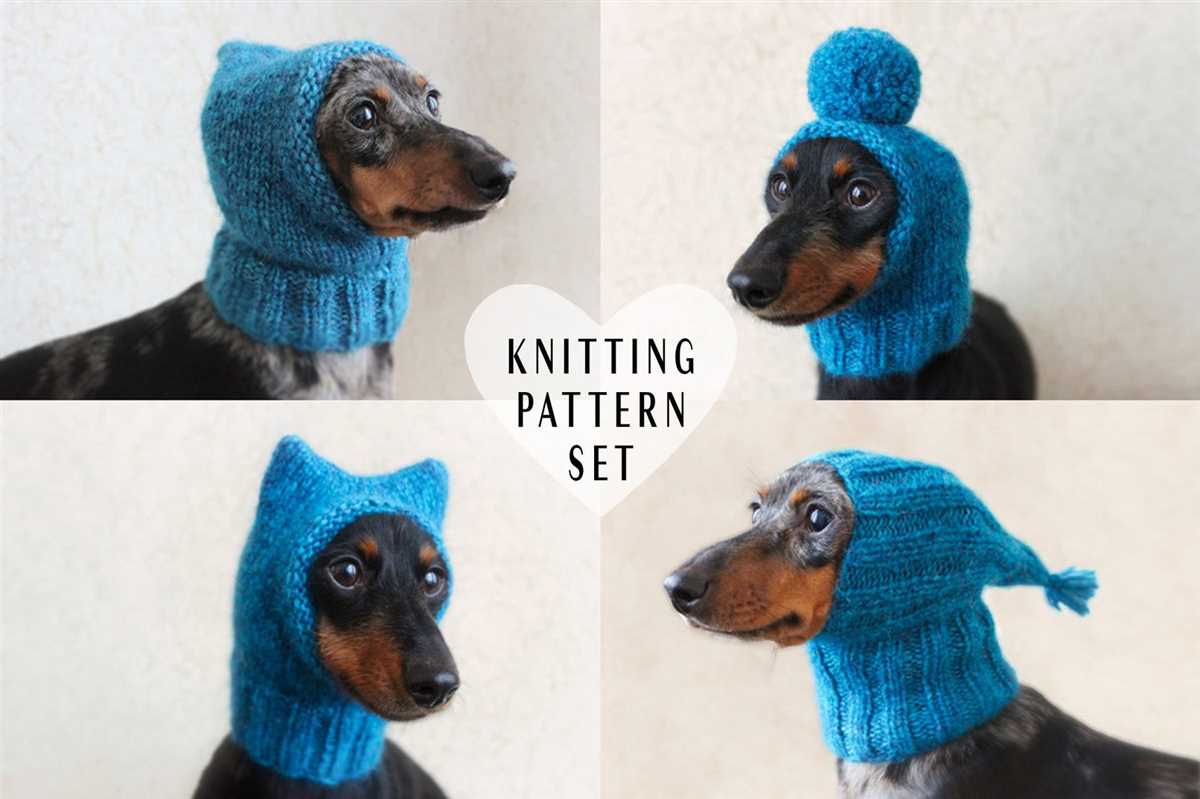
Decorating the hat
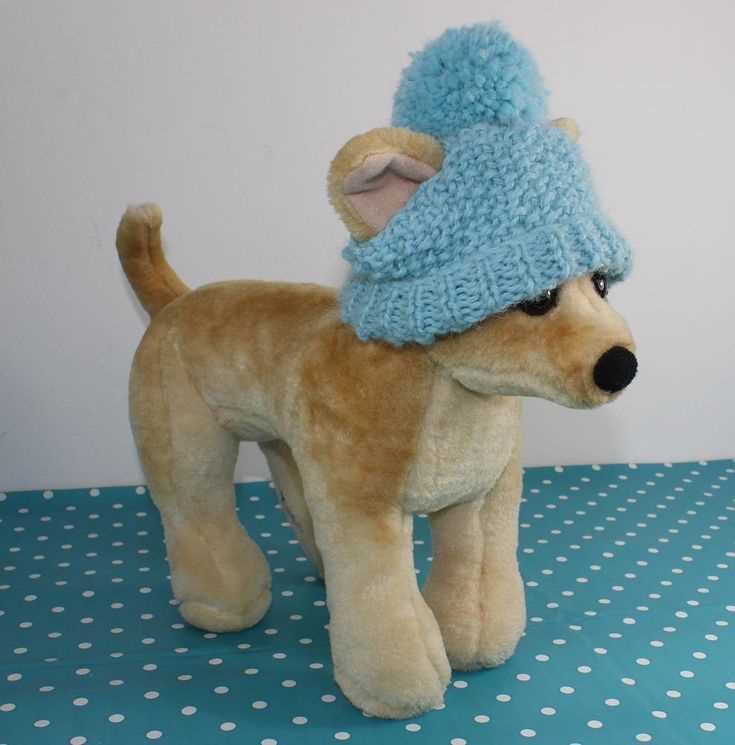
Once you have finished knitting the small dog hat, it’s time to add some decorative elements to make it even cuter. Here are a few ideas to inspire you:
- Pom-pom: Attach a colorful pom-pom to the top of the hat. It will add a playful touch and make the hat extra fun.
- Ribbons: Incorporate ribbons into the design by sewing them along the brim or tying them into bows. Opt for ribbons with patterns or colors that complement the hat.
- Embroidery: Use embroidery thread to add small designs or your dog’s name onto the hat. You can create simple patterns like hearts, stars, or even paw prints.
- Buttons: Select small, lightweight buttons and sew them onto the hat for a decorative accent. Make sure the buttons are securely attached to avoid any choking hazards.
Remember to consider the comfort and safety of your furry friend when decorating the hat. Avoid using any small or sharp objects that could pose a risk. Additionally, make sure the decorations do not obstruct your dog’s vision or cause any discomfort when they wear the hat.
Tips for a Perfect Fit
To ensure that the dog hat fits your furry friend perfectly, here are some tips to keep in mind:
- Measure your dog’s head: Before starting the knitting process, it’s essential to measure your dog’s head circumference. This will help you determine the appropriate size of the hat. Measure carefully to ensure an accurate fit.
- Choose the correct size: Once you have the measurements, refer to the knitting pattern or size chart to select the correct size. Too loose or too tight hats may make your dog uncomfortable.
- Consider your dog’s breed and fur: Different dog breeds have varying head shapes and fur thickness. Take these factors into account while selecting the size and adjusting the pattern if necessary.
- Test the fit as you go: While knitting the hat, periodically try it on your dog’s head to ensure it fits snugly but comfortably. This will help you identify any adjustments that need to be made.
- Adjust the length: Depending on your dog’s ear position, you may need to modify the hat’s length. If your dog has erect ears, the hat should cover the ears comfortably. If your dog has floppy ears, you may want to adjust the length accordingly.
- Consider Velcro closures: To ensure a secure fit, you can add Velcro closures to the hat. This will allow you to adjust the hat’s tightness and keep it securely in place on your dog’s head.
With these tips in mind, you’ll be able to create a snug and comfortable hat that your small dog will love to wear!