
If you’re a fan of knitting, chances are you’ve heard about the knit every row pattern. It’s a classic technique that is loved by beginners and experienced knitters alike. This simple but versatile pattern creates a beautiful fabric and can be used for a wide range of projects, from scarves and sweaters to blankets and hats.
The knit every row pattern, also known as the garter stitch, involves knitting every stitch of every row. Unlike other stitch patterns that involve knit and purl stitches, the knit every row pattern is made up entirely of knit stitches. This makes it a great choice for beginners who are still getting the hang of the basic knit stitch.
One of the reasons why the knit every row pattern is so popular is its simplicity. With this pattern, you don’t have to worry about keeping track of different stitch patterns or counting rows. You can simply knit away, creating a beautifully textured fabric with a consistent and uniform appearance.
Another advantage of the knit every row pattern is its versatility. You can use this pattern with any type of yarn and any size needles to create a wide range of projects. Whether you’re knitting a cozy scarf or a chunky sweater, the knit every row pattern will give your project a timeless and classic look.
In conclusion, the knit every row pattern is a classic and versatile technique that is loved by knitters of all skill levels. Its simplicity and versatility make it an ideal choice for a wide range of projects, and its consistent and uniform appearance creates a beautiful fabric that will stand the test of time. So pick up your needles and give the knit every row pattern a try – you won’t be disappointed!
What is the knit every row pattern?
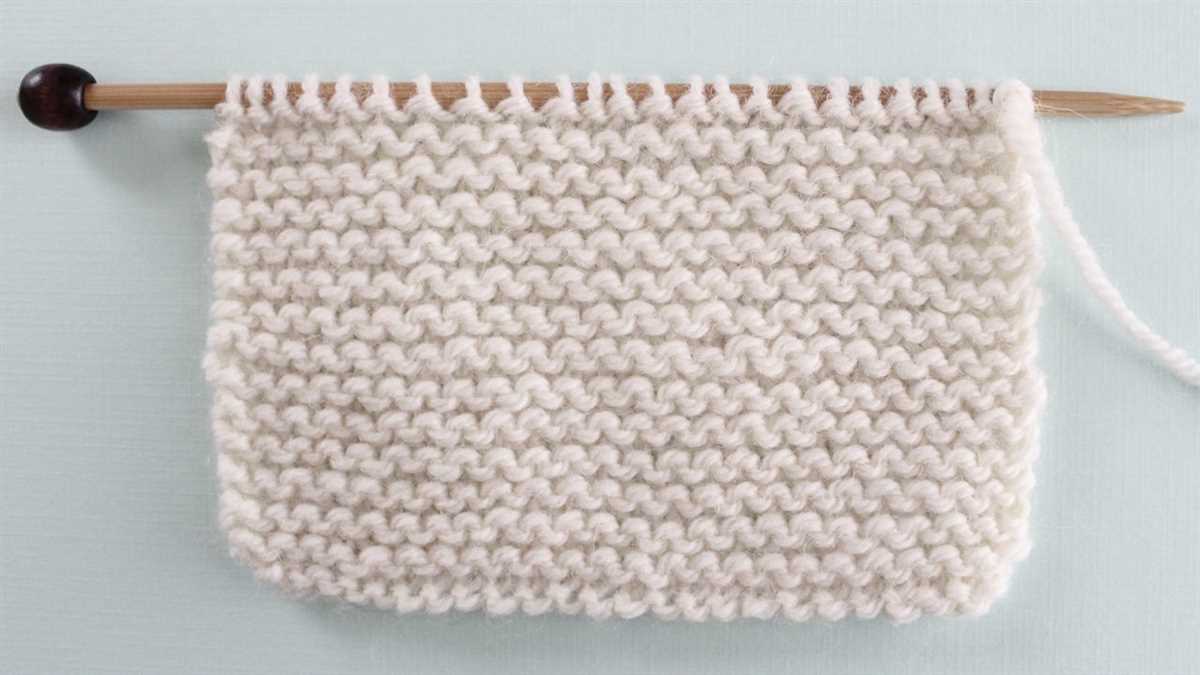
The knit every row pattern, also known as the garter stitch, is one of the simplest and most basic knitting patterns. It is characterized by knitting every stitch on every row, resulting in a fabric with a bumpy texture and a reversible design. This pattern is commonly used for scarves, blankets, and other projects where a dense and sturdy fabric is desired.
The knit every row pattern is ideal for beginners as it is easy to master and doesn’t require any complicated stitch combinations or techniques. It is often the first pattern that new knitters learn, as it helps them get familiar with the basic knitting stitch and the rhythm of knitting.
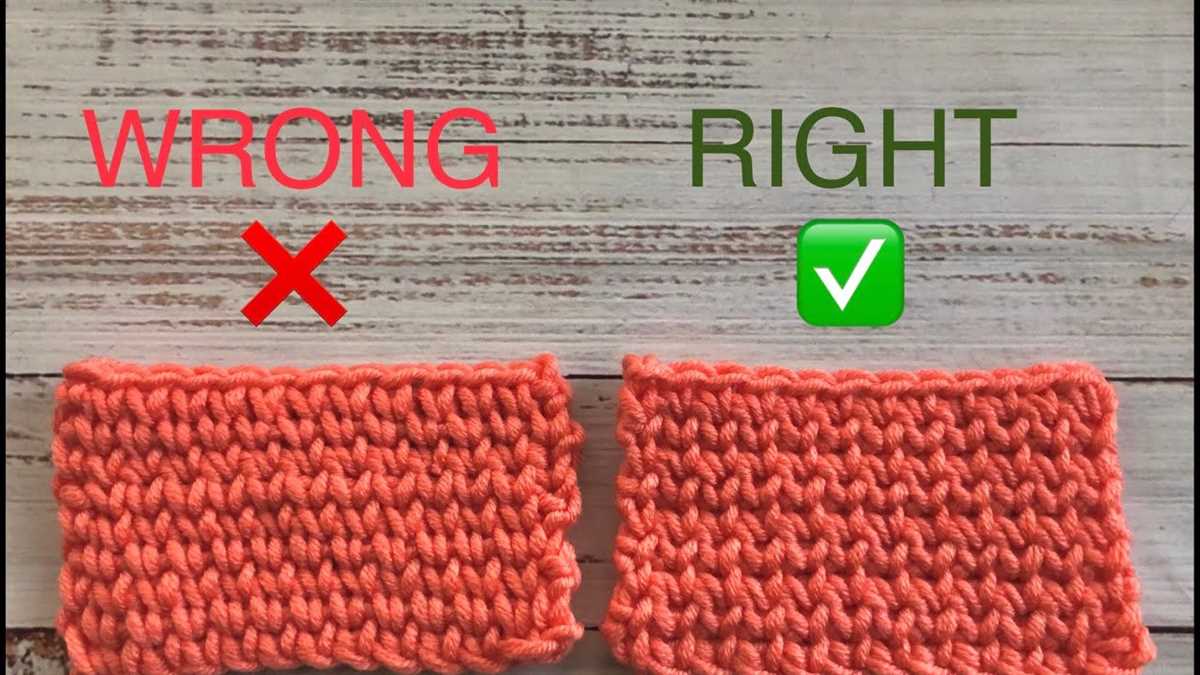
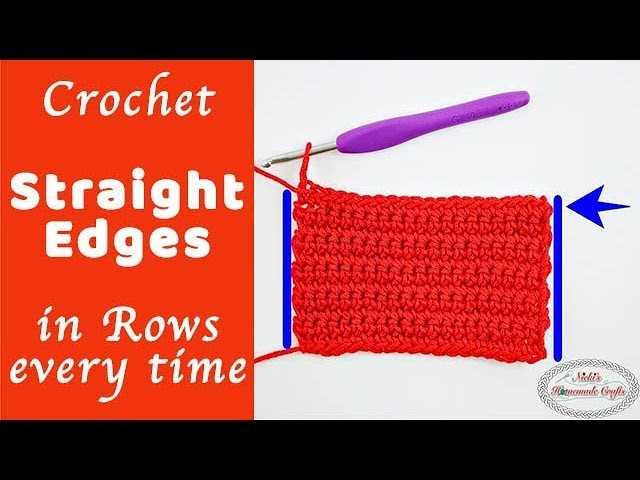
One of the advantages of the knit every row pattern is that it creates a fabric that lies flat and doesn’t curl at the edges, making it a popular choice for items that need to maintain their shape. Additionally, the garter stitch is quite stretchy, which can be useful when knitting items that need to have some give, such as baby clothes or hats.
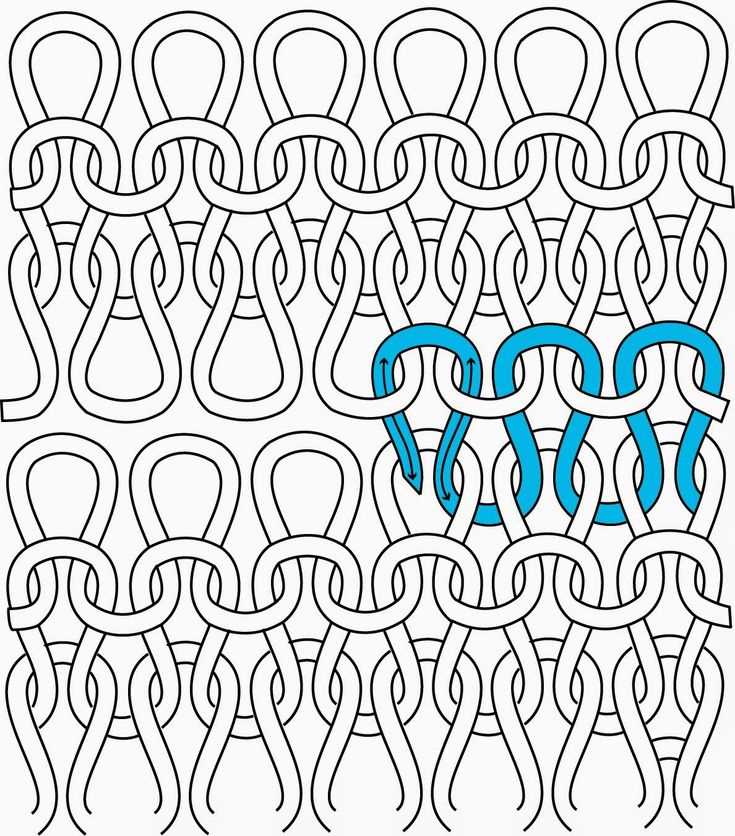
To create the knit every row pattern, you only need to know the basic knit stitch. Simply insert the right-hand needle into the first stitch on the left-hand needle, wrap the yarn around the right-hand needle, and pull it through the stitch, slipping the old stitch off the left-hand needle. Repeat this process for every stitch on every row, and you’ll have a beautiful garter stitch fabric!
Materials and Tools Needed for the Knit Every Row Pattern
When starting a project using the knit every row pattern, it is important to gather all the necessary materials and tools beforehand. This will ensure a smooth and efficient knitting process and lead to a successful finished product.
Yarn: Choose a yarn that is suitable for your desired project. The weight and fiber content of the yarn will affect the overall look and feel of the finished item. Consider the pattern’s gauge and recommended yarn type to determine the appropriate yarn to use.
Knitting Needles: Select knitting needles that are appropriate for your chosen yarn and pattern. The size of the knitting needles will impact the tension and size of your stitches. Refer to the pattern for the recommended needle size, or use a needle size that gives you the desired gauge.
Stitch Markers: Stitch markers are useful for keeping track of specific sections or stitches in your project. They can help identify where to increase or decrease stitches, or mark the beginning of a round if you’re knitting in the round.
Tape Measure: A tape measure is essential for checking your gauge and measuring your progress as you knit. It is important to achieve the correct gauge to ensure that your finished item will have the right size and fit.
Scissors: Keep a pair of scissors handy for cutting yarn and trimming any excess. Make sure they are sharp and suitable for cutting yarn without causing any damage.
Yarn Needle: A yarn needle, also known as a darning needle, is used for weaving in loose ends and sewing pieces together. It should have a large eye that can accommodate the thickness of your yarn.
Pattern: Lastly, don’t forget the pattern! Make sure you have a printed or digital copy of the knit every row pattern you will be following. Familiarize yourself with the instructions and any abbreviations or special techniques used.
By having all these materials and tools ready, you will be well-prepared to begin your knitting project using the knit every row pattern. Happy knitting!
Basic knitting techniques for the knit every row pattern
Knitting is a popular craft that allows you to create beautiful and cozy items, and one of the simplest patterns to start with is the knit every row pattern. Also known as the garter stitch, this pattern involves knitting every stitch on every row, resulting in a fabric with a textured, ridged appearance. While it may seem straightforward, there are a few techniques and tips to ensure your knit every row pattern turns out perfectly.
1. Casting on
Before you can start knitting the garter stitch, you’ll need to cast on your stitches. There are several methods for casting on, but the long-tail cast on method is commonly used for the knit every row pattern. To do this, you’ll need to estimate a tail that is roughly three times the length of your desired finished edge, then create a slip knot and place it on one of your knitting needles. Hold the needle with the slip knot in your right hand (if you’re right-handed) and the empty needle in your left hand.
Tip: When casting on, be sure to leave a little bit of slack in between each stitch to prevent your edges from becoming too tight.
2. Knitting
With your stitches cast on, it’s time to start knitting. Unlike other patterns that may require you to alternate between knitting and purling, the knit every row pattern only requires you to knit. Insert your right needle into the first stitch on your left needle from left to right, then wrap the yarn around the right needle counterclockwise. Use the right needle to pull the yarn through the stitch, slipping the old stitch off the left needle.
Tip: As you knit, remember to keep your tension consistent. If you find that your stitches are too tight or too loose, you may need to adjust the way you hold your yarn or the tension of your knitting.
3. Finishing off
Once you’ve finished knitting all your rows in the garter stitch pattern, it’s time to bind off to secure your work. To bind off, knit the first two stitches as usual, then use the left needle to pull the first stitch over the second stitch and off the right needle. You should have one stitch remaining on your right needle. Knit the next stitch, then repeat the process of pulling the previous stitch over. Continue this until you have only one stitch left, then cut your yarn, leaving a tail of a few inches. Thread the tail through the remaining stitch, pull tight to secure, and weave in the loose ends.
Tip: Blocking your finished project can help to even out any inconsistencies in stitch size and give your knitted item a more professional look. To block, soak your knitted piece in lukewarm water for about 15 minutes, then gently squeeze out the excess water and lay it flat to dry, shaping it as desired.
Step-by-step instructions for the knit every row pattern
Knitting is a popular craft that allows you to create beautiful and cozy items. One of the simplest knitting patterns is the “knit every row” pattern. This pattern is perfect for beginners or for when you want a simple and elegant finished product. With just one basic stitch, the knit stitch, you can create a variety of items using the knit every row pattern.
To start, you will need a pair of knitting needles and yarn of your choice. Choose a yarn that is appropriate for your project and that you find comfortable to work with. You will also need a pair of scissors to cut the yarn and a tapestry needle to weave in any loose ends.
Step 1: Begin by making a slip knot and placing it on one of your knitting needles.
Step 2: Hold the needle with the slip knot in your right hand and the empty needle in your left hand.
Step 3: Insert the right needle from left to right through the first stitch on the left needle.
Step 4: Wrap the yarn counterclockwise around the right needle, crossing over the left needle.
Step 5: Use the right needle to pull the loop of yarn through the stitch, creating a new stitch on the right needle.
Step 6: Slide the old stitch off the left needle, completing the knit stitch.
Continue repeating Steps 3-6 until you have knitted every stitch on the left needle. Then, switch the needles so that the needle with the knitted stitches is in your left hand and the empty needle is in your right hand. Repeat Steps 3-6 to knit every stitch on the new left needle. Keep repeating these steps until you have reached the desired length for your project.
Tip: As you knit, make sure to keep your tension even so that your stitches are consistent in size. This will help to create a neat and professional-looking finished product.
When you have finished knitting, you can bind off your stitches by knitting two stitches, then inserting the left needle into the first stitch on the right needle and pulling it over the second stitch and off the needle. Repeat this process until you have one stitch remaining, then cut the yarn, leaving a long tail. Thread the tail through the last stitch and pull tight to secure.
Tips for knitting the knit every row pattern
Knitting the knit every row pattern, also known as garter stitch, is a simple and versatile technique that is perfect for beginners. Here are some tips to help you get started and create beautiful knit projects.
1. Use the right needles
When knitting the knit every row pattern, it is important to use the right size needles for your yarn. This will ensure that your stitches are uniform and the finished project has a nice drape. The recommended needle size can usually be found on the yarn label. If in doubt, you can always make a gauge swatch to check if your needle size is appropriate.
2. Keep your tension consistent
Consistency in tension is key when knitting the knit every row pattern. Since you are knitting every row, it is easy for your tension to become tighter or looser as you progress. To maintain a consistent tension, try to relax your hands and hold the yarn in a comfortable position. Regular practice will also help you develop a steady knitting rhythm.
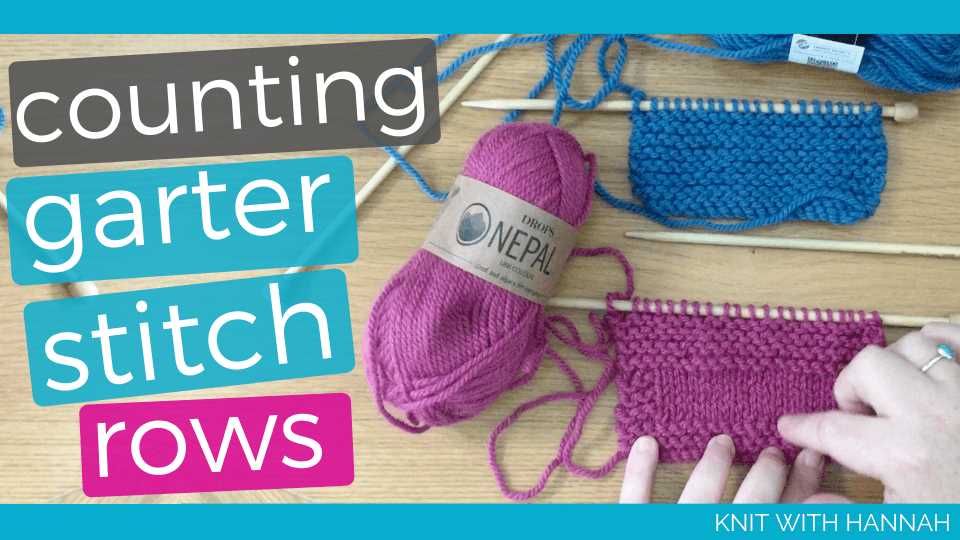
3. Count your rows
Counting your rows is crucial when knitting the knit every row pattern, especially if you are working on a project that requires a specific number of rows. To keep track of your rows, you can use a row counter or simply make a tally mark on a piece of paper for each completed row. This will help you avoid any mistakes and ensure that your finished project has the desired length.
4. Experiment with color and texture
While the knit every row pattern may seem basic, it is a great opportunity to experiment with color and texture. You can create interesting effects by combining different colors or using variegated yarn. Additionally, you can add texture by incorporating different stitch patterns, such as ribbing or seed stitch, to make your project more visually appealing.
5. Block your finished project
Blocking is an important step when knitting any project, including the knit every row pattern. Blocking helps to even out stitches, relax the fabric, and give your finished project a more polished look. Depending on the type of yarn you used, blocking can be done by wetting the project and laying it flat to dry or by steam blocking.
By following these tips, you can create beautiful knit projects using the knit every row pattern. Whether you’re making a cozy scarf, a baby blanket, or a simple dishcloth, garter stitch is a classic technique that will always have a place in the world of knitting.
Variations of the knit every row pattern
The knit every row pattern, also known as the garter stitch, is a fundamental knitting technique that creates a textured fabric with ridges on both sides. While the basic pattern involves knitting every stitch of every row, there are several variations that can add interest and complexity to your knitting projects. These variations can be used to create different patterns, textures, and designs.
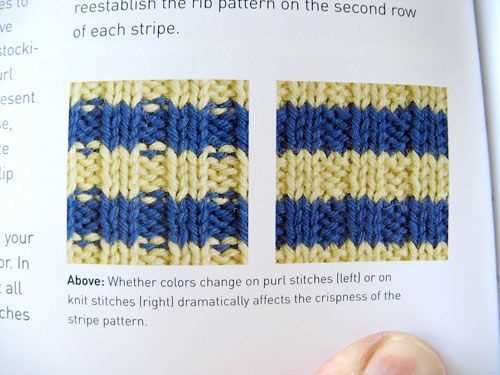
1. Stripes
One way to add variation to the knit every row pattern is by incorporating stripes. By alternating between two or more colors of yarn, you can create a striped effect in your knitting. This can be done by simply changing colors at the beginning of each row or by using a technique called striping where you carry the unused yarn along the edge of your work.
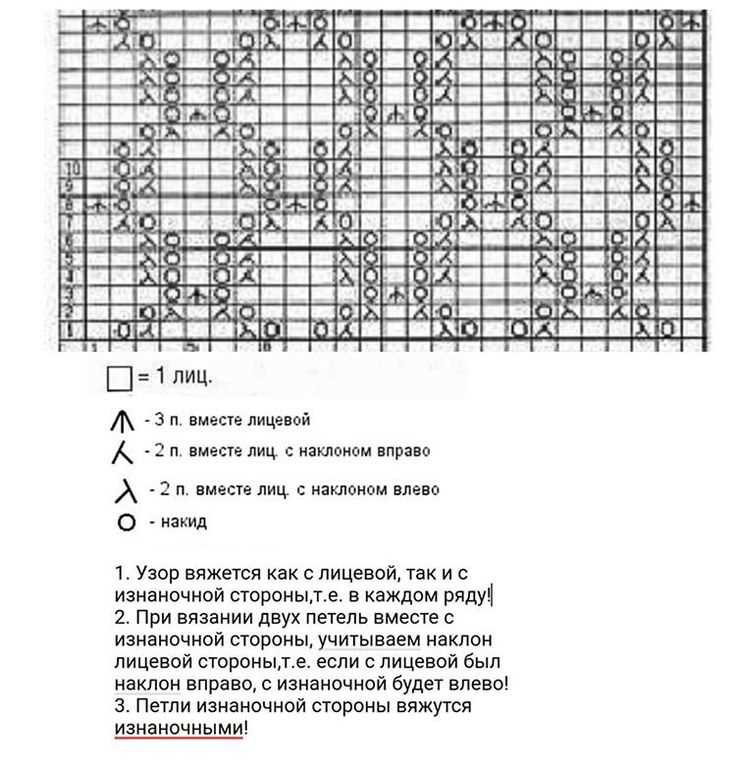
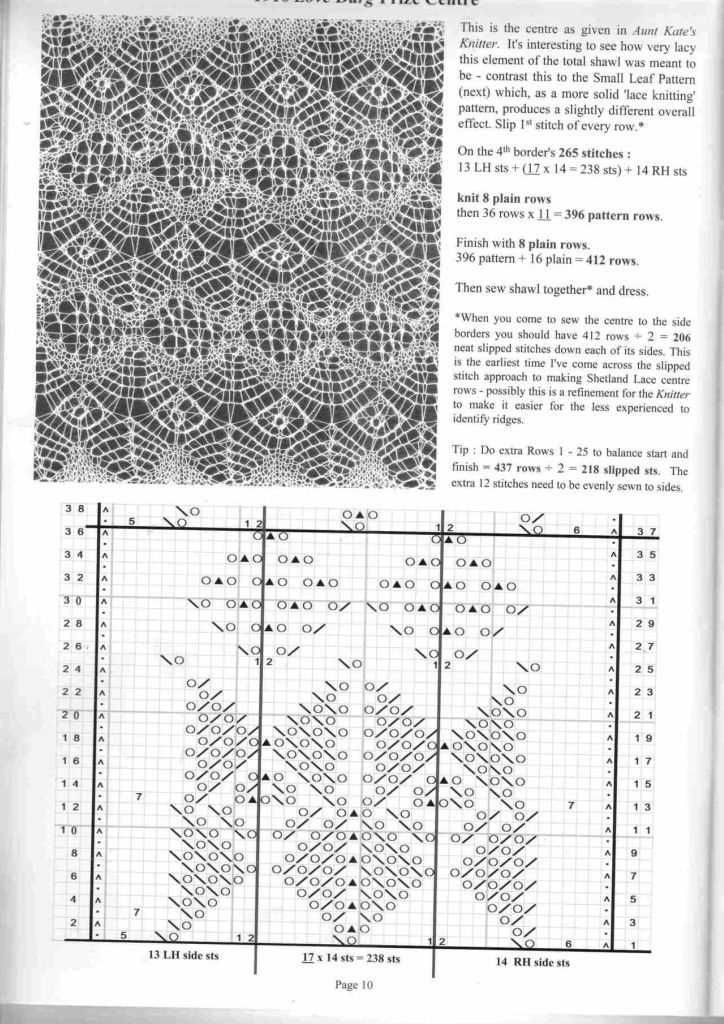
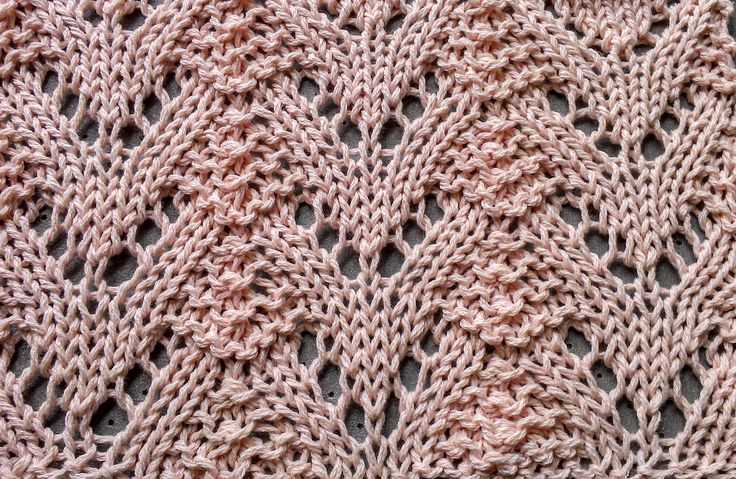
2. Eyelets
Another variation is adding eyelets or small holes to your knitting. This can be achieved by doing a yarn over (bringing the yarn forward and over the right-hand needle) followed by a knit stitch. This creates an extra stitch and a hole in your knitting. Eyelets are commonly used in lace knitting patterns to create intricate designs and patterns.
3. Decreases and increases
To add shaping to your knitting, you can incorporate decreases and increases into the knit every row pattern. Decreases, such as knitting two stitches together, can be used to create a tapered or angled edge. Increases, such as yarn overs or knitting into the front and back of a stitch, can be used to create a wider or fuller shape.
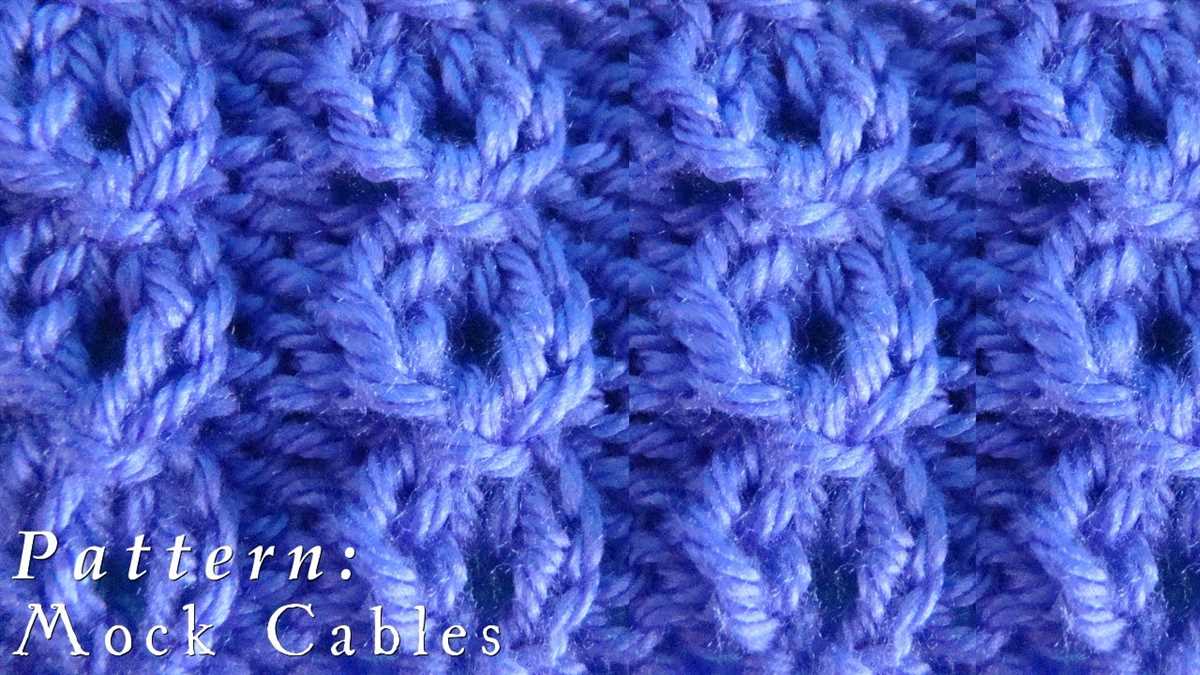
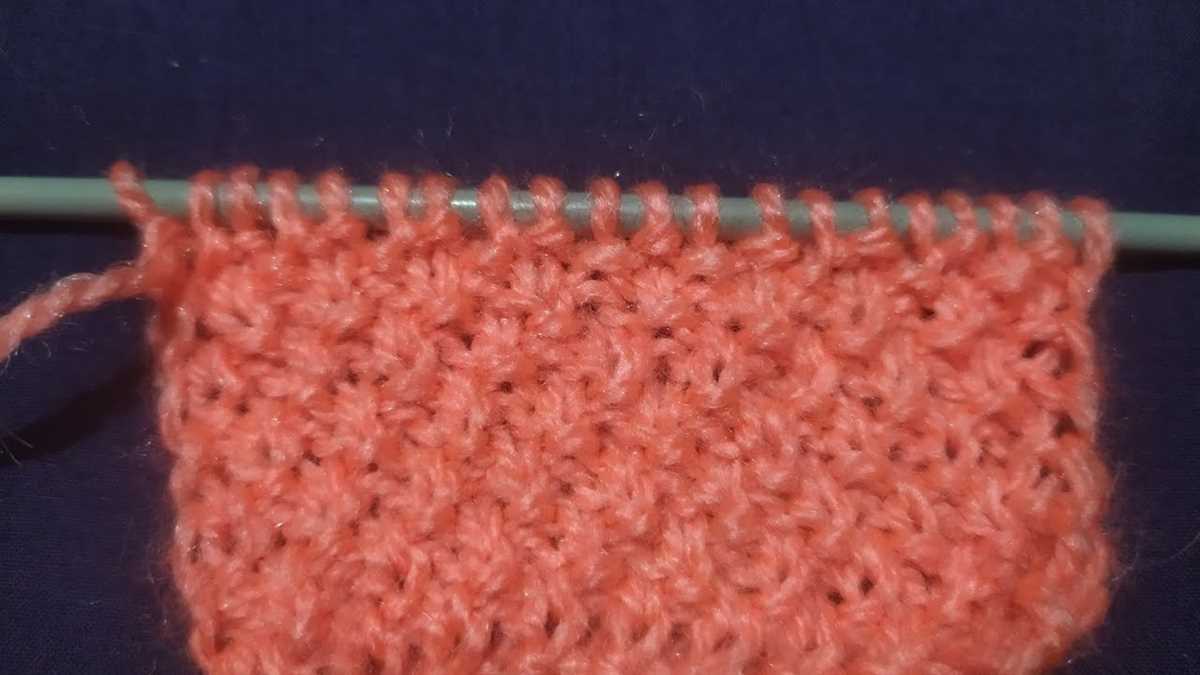
4. Texture stitches
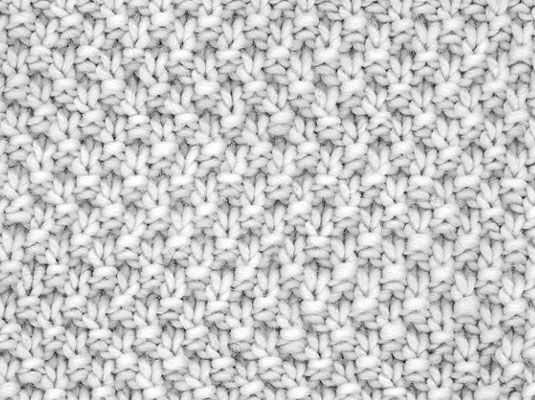
By combining the knit every row pattern with other stitches, you can create various textures in your knitting. Some common texture stitches include seed stitch (alternating between knit and purl stitches), rib stitch (alternating between knit and purl stitches in a specific pattern), and moss stitch (alternating between knit and purl stitches in a different pattern).
Summary
The knit every row pattern is a versatile technique that can be adapted and modified to create a wide range of knitting projects. Whether you choose to incorporate stripes, eyelets, shaping, or texture stitches, the possibilities are endless. Experiment with different variations to add interest and complexity to your knitting and create unique and beautiful designs.