
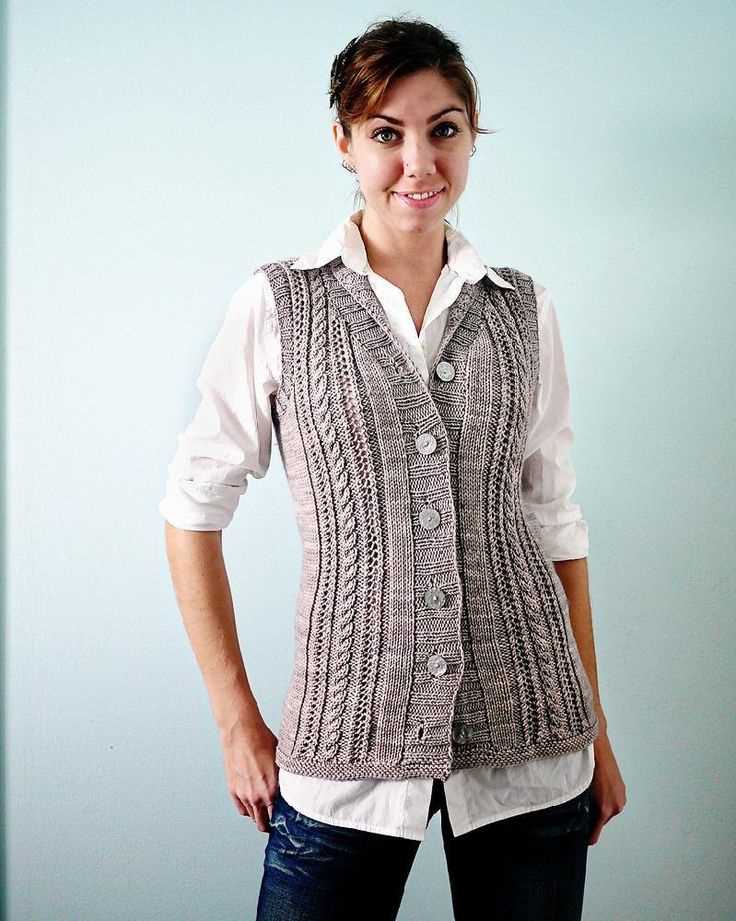
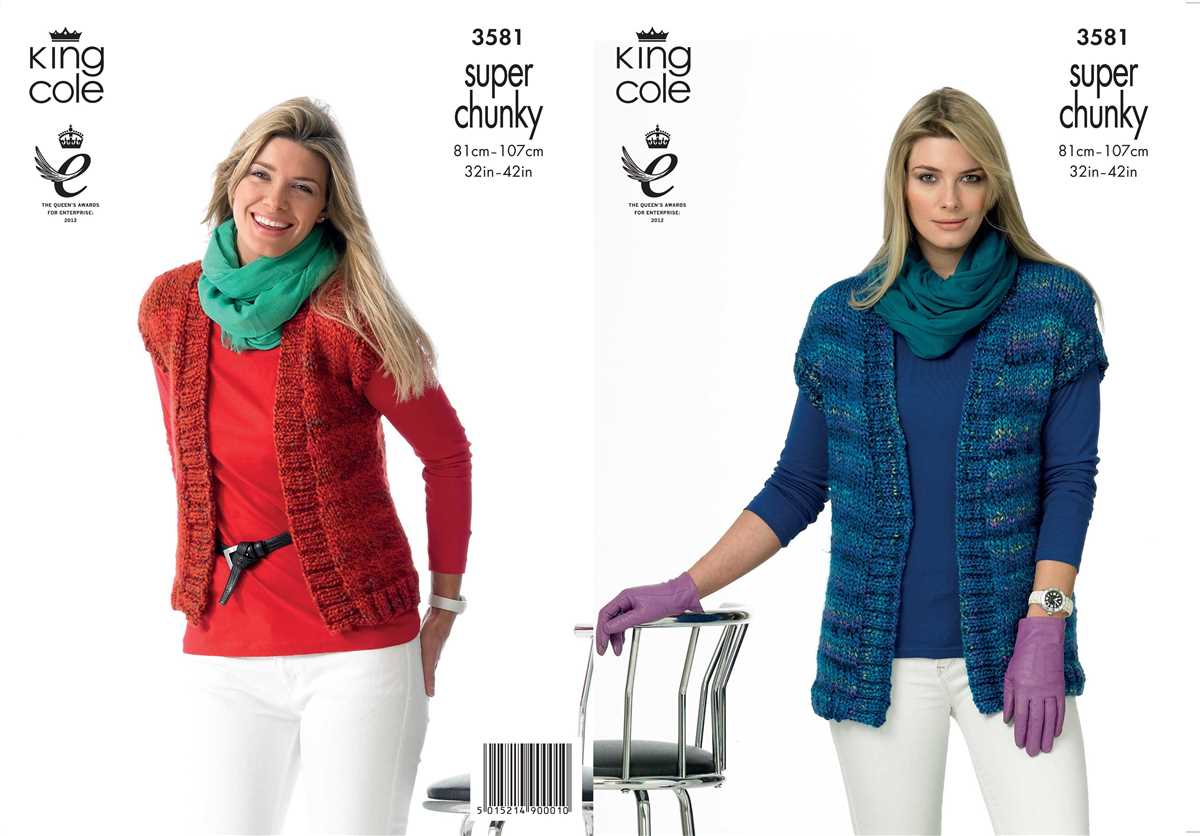
Knitting can be a rewarding and relaxing hobby, and one of the most popular items to knit is a ladies vest. A vest is a versatile and stylish addition to any wardrobe, perfect for layering and adding a touch of warmth without being too bulky. Whether you’re a beginner or an experienced knitter, there are plenty of knitting patterns available to suit all skill levels and styles.
When choosing a knitting pattern for a ladies vest, there are a few factors to consider. The first is the level of difficulty – if you’re new to knitting, you may want to start with a simple pattern that uses basic stitches. As you gain confidence and experience, you can move on to more complex patterns that incorporate different stitches, lacework, or colorwork.
Another factor to consider is the style and design of the vest. Do you prefer a classic, timeless design or something more modern and trendy? There are knitting patterns available for all tastes and preferences, from traditional and elegant to bold and contemporary. You can also choose between fitted or loose-fitting vests, depending on your personal style and body shape.
How to Knit a Stylish Ladies Vest: A Detailed Pattern
In this knitting pattern, we will guide you through the process of creating a stylish and fashionable vest for ladies. This pattern is suitable for intermediate knitters who have a basic understanding of knitting techniques and stitches.
Materials:
- 4 skeins of worsted weight yarn
- Size 8 (5mm) knitting needles
- Size H-8 (5mm) crochet hook
- Tapestry needle
- Stitch markers
- Scissors
Pattern:
- Back Panel: Cast on 80 stitches. Knit in rib stitch (K1, P1) for the first 2 inches, then switch to stockinette stitch for the remainder of the panel. Continue knitting until the back panel measures 14 inches in length.
- Left Front Panel: Cast on 40 stitches. Knit in rib stitch for the first 2 inches, then switch to stockinette stitch. At the beginning of each row, decrease 1 stitch until you have 30 stitches remaining. Continue knitting until the left front panel measures 14 inches in length.
- Right Front Panel: Repeat the same instructions as the left front panel, but mirror them to create a symmetrical piece.
- Neckline: Join the back panel and the front panels at the shoulders using a three-needle bind off technique. Make sure to leave a wide enough opening for the neck.
- Armholes: Pick up stitches along the sides of the vest and knit in rib stitch for 2 inches. Bind off.
- Finishing: Weave in all loose ends using a tapestry needle. Use the crochet hook to add a border around the neckline and armholes. You can add buttons or decorative elements as desired.
This pattern will result in a versatile and stylish ladies vest that can be worn with various outfits. You can choose different yarn colors and experiment with stitch patterns to customize your vest and make it truly unique. Happy knitting!
Selecting the Perfect Yarn for Your Vest
Choosing the right yarn is crucial when knitting a vest. The yarn you select will determine the final look and feel of your garment. With so many different types of yarn available, it can be overwhelming to make a decision. However, by considering a few key factors, you can find the perfect yarn for your project.
Fiber Content: The first thing to consider when selecting yarn for your vest is the fiber content. Different fibers have different properties, which can affect the drape, warmth, and durability of your garment. Some popular options include wool, cotton, acrylic, and blends. Wool is known for its warmth and elasticity, while cotton is lightweight and breathable. Acrylic is often chosen for its affordability and easy care. Consider your preferences and the intended use of your vest when selecting the fiber content.
Weight: Another important factor to consider is the weight of the yarn. Yarn weight refers to the thickness of the yarn, and it is usually listed on the ball band. For a vest, you’ll want to choose a yarn that is suitable for the pattern and will give you the desired gauge. Bulky or chunky yarns will give you a quicker knit and a thicker, warmer vest, while fingering or lace weight yarns will result in a lighter, more delicate garment. Consider the season and climate in which you’ll be wearing your vest when selecting the weight of the yarn.
Color and Texture: Finally, consider the color and texture of the yarn. The color of your yarn can greatly impact the overall look of your vest. Choose a color that complements your skin tone and works well with your existing wardrobe. Additionally, consider the texture of the yarn. A smooth, matte yarn will give your vest a classic and polished appearance, while a yarn with a bit of texture or sheen can add interest and dimension to your garment.
By considering these factors – fiber content, weight, color, and texture – you can select the perfect yarn for your vest. Remember to also take into account your personal preferences and the intended use of your garment. With the right yarn, your vest will not only be stylish, but also comfortable and durable.
Essential Knitting Tools for Making a Ladies Vest
If you are planning to make a ladies vest using a knitting pattern, it is essential to have the right tools to ensure a successful and enjoyable knitting experience. Here are some must-have knitting tools:
1. Knitting Needles
Choose knitting needles that are appropriate for the yarn weight specified in the knitting pattern. Circular needles are ideal for making a ladies vest as they allow you to easily knit in the round and avoid seams.
2. Stitch Markers
Stitch markers are essential for marking key points in the knitting pattern, such as the beginning of a round or a specific stitch pattern. They help you keep track of your progress and prevent mistakes.
3. Tape Measure
A tape measure is necessary for taking accurate body measurements and ensuring that the vest fits correctly. Measure your bust, waist, and hip circumference to select the appropriate size and make any necessary adjustments to the knitting pattern.
4. Yarn Needle
A yarn needle, also known as a darning needle, is used for sewing in loose ends and finishing the vest. It is essential for achieving a polished and professional-looking final product.
5. Row Counter
A row counter is a useful tool for keeping track of the number of rows you have knitted, especially if the knitting pattern includes complex stitch patterns or shaping details. It helps you stay organized and ensures that your vest will have consistent dimensions.
6. Scissors
A pair of sharp scissors is essential for cutting yarn and trimming loose ends. Choose scissors that are comfortable to hold and have a pointed tip for precise cutting.
With these essential knitting tools in your arsenal, you are ready to start making a beautiful and stylish ladies vest. Happy knitting!
Understanding the Main Knitting Techniques for Your Vest
When it comes to knitting your own vest, there are several main techniques that you need to understand in order to create a beautiful and well-fitting garment. These techniques will help you create different stitch patterns, shape the vest, and add special details.
1. Casting On: This is the first step in starting any knitting project. There are various methods to cast on, including the long-tail cast on, the cable cast on, and the provisional cast on. The method you choose will depend on the specific design of your vest and the desired edge finish.
2. Knit and Purl Stitches: Knit and purl stitches are the foundation of knitting. The knit stitch creates a smooth and sturdy fabric, while the purl stitch adds texture and can create patterns like ribbing. Understanding how to alternate between these two stitches will allow you to create intricate stitch patterns and textures for your vest.
3. Increasing and Decreasing: Increasing and decreasing stitches are essential for shaping your vest. Common methods for increasing stitches include knit front and back (kfb), make one (M1), and yarn over (YO). Decreasing techniques such as knit two together (k2tog) and slip, slip, knit (ssk) are used to shape the neckline, armholes, and waist of the vest.
4. Cable Knitting: Cable knitting is a technique that allows you to create beautiful and intricate patterns by crossing stitches over each other. This technique adds depth and texture to your vest and can be used to create stunning cable panels or borders.
5. Finishing Techniques: Once you have completed the main body of your vest, you will need to finish it off with various techniques. This may include binding off, blocking the garment to shape it, and sewing any seams if needed. Adding buttons, zippers, or other closures will also require additional finishing techniques.
In conclusion, familiarizing yourself with these main knitting techniques will give you the foundation you need to start knitting your own vest. As you gain more experience and confidence, you can explore more advanced techniques and experiment with different stitch patterns and designs to create unique and personalized vests.
Step-by-Step Instructions for Knitting the Body of the Vest

Once you have completed the ribbing for the bottom edge of the vest, you are ready to begin knitting the body. Follow these step-by-step instructions to create a beautiful and comfortable vest:
Step 1: Continue with your chosen yarn and needle size
Continue using the same yarn and needle size that you used for the ribbing. This will ensure that your gauge remains consistent throughout the entire garment.
Step 2: Knit in the desired stitch pattern
Knit in the desired stitch pattern to create the body of the vest. You can choose to knit in stockinette stitch for a smooth and even texture, or experiment with other stitch patterns like garter stitch or a cable pattern.
Step 3: Shape the armholes
When you have reached the desired length for the body of the vest, it is time to shape the armholes. This is done by binding off a certain number of stitches on each side of the garment. Follow the pattern instructions to determine the specific number of stitches to bind off.
Step 4: Continue knitting the body
After shaping the armholes, continue knitting the body of the vest until it reaches the desired length. This length will vary depending on your personal preference and the style of the vest.
Step 5: Bind off all stitches
Once you have reached the desired length for the body of the vest, it is time to bind off all stitches. This will create a finished edge and secure your work.
Step 6: Check your gauge
Before moving on to the next part of the vest, it is important to check your gauge. Measure your finished body against the pattern instructions to ensure that it matches the specified measurements. If necessary, make any adjustments to your knitting to achieve the correct gauge.
Following these step-by-step instructions will help you successfully knit the body of your vest. Remember to read the pattern carefully and consult any additional instructions provided by the designer to ensure that you achieve the desired result.
Creating the Neckline and Armholes for a Perfect Fit

A well-fitting vest is essential for comfort and style. When creating a knitting pattern for a ladies’ vest, it is important to pay attention to the neckline and armholes to ensure a perfect fit. Here are some tips and techniques for creating a neckline and armholes that will flatter the wearer.
1. Neckline: The neckline is one of the most prominent features of a vest and can greatly affect the overall look and fit. There are several options for neckline styles, including crew neck, V-neck, scoop neck, and boat neck. Consider the wearer’s body shape and personal style when choosing the neckline. To create a clean and professional finish, consider using a rib stitch or a rolled edge for the neckline.
2. Armholes: Properly shaped armholes are crucial for a comfortable and well-fitting vest. The size and shape of the armholes will depend on the desired fit and the pattern’s overall design. If you prefer a close-fit vest, opt for a slightly smaller armhole size. For a looser fit, go for a larger armhole size. To ensure a clean finish, consider using a rib stitch or a garter stitch border on the armholes.
It is important to take accurate measurements and make adjustments as needed throughout the knitting process. By paying attention to the neckline and armholes, you can create a ladies’ vest that fits perfectly and flatters the wearer’s body shape.
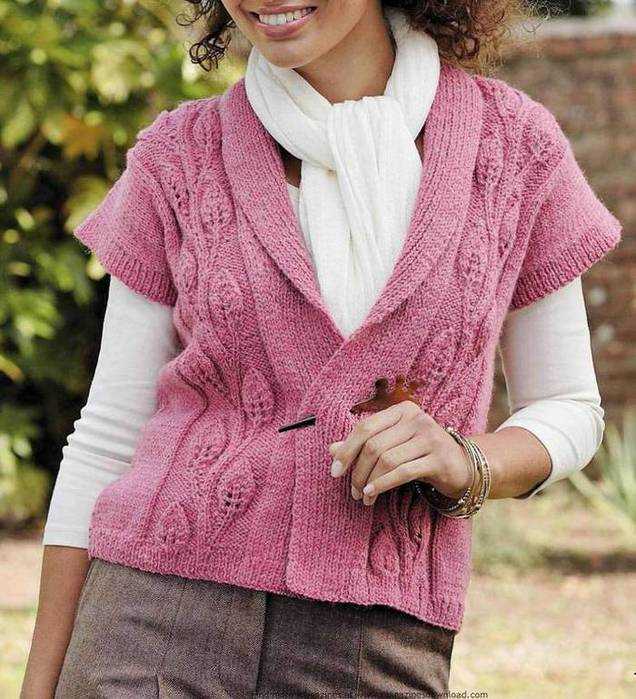
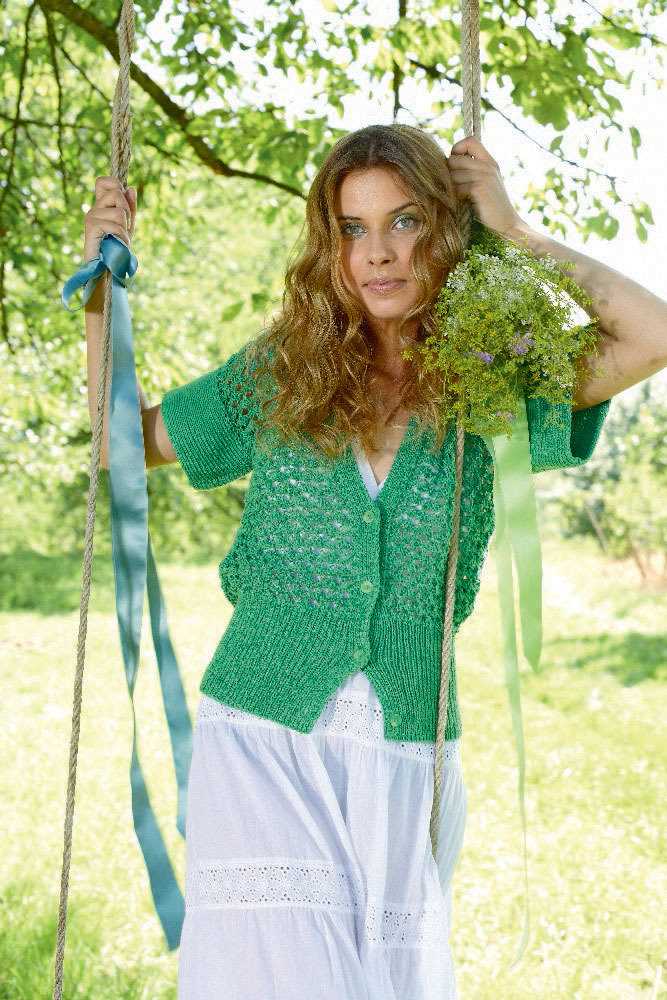
Adding Beautiful and Intricate Stitch Patterns to Your Vest
When knitting a vest, incorporating intricate stitch patterns can add a touch of elegance and sophistication to your finished garment. These beautiful stitch patterns not only make your vest visually appealing, but they also provide an opportunity to showcase your knitting skills and creativity. Whether you prefer lacework, cables, or textured stitches, there are numerous stitch patterns available that can enhance the overall look of your vest.
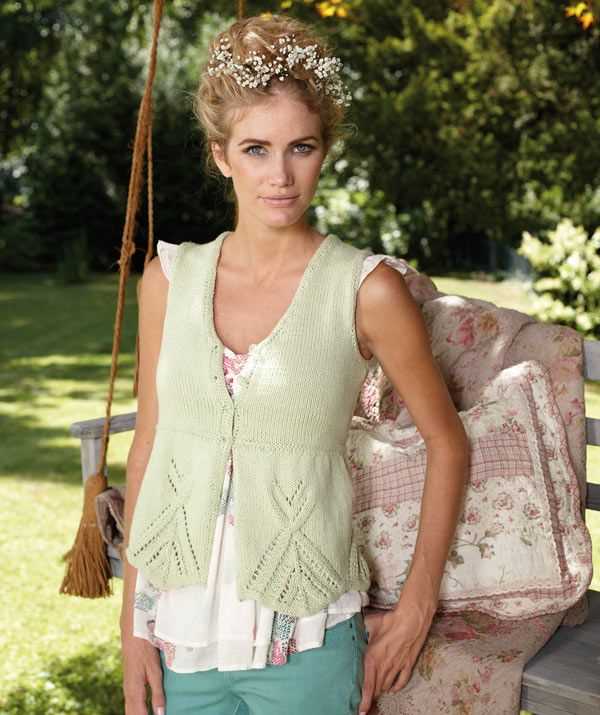
Lacework stitch patterns: Lace knitting involves creating delicate and openwork patterns that are perfect for adding a feminine touch to your vest. From simple eyelet patterns to more intricate lace motifs, there is a wide variety of lace stitch patterns to choose from. The delicate nature of lacework can complement both casual and formal outfits, making it a versatile option for your vest.
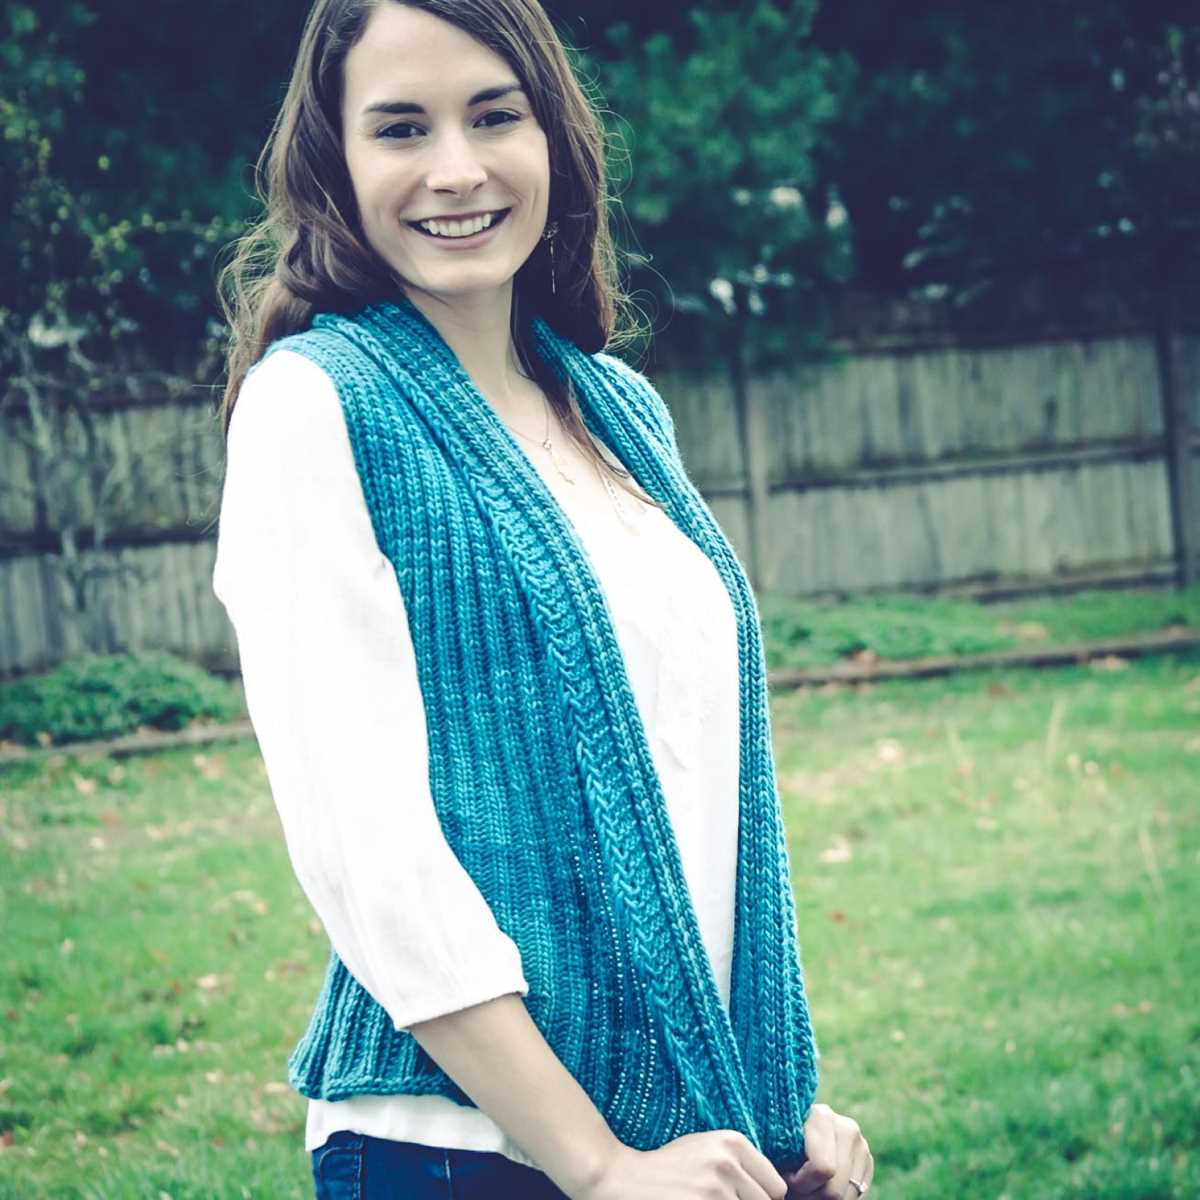
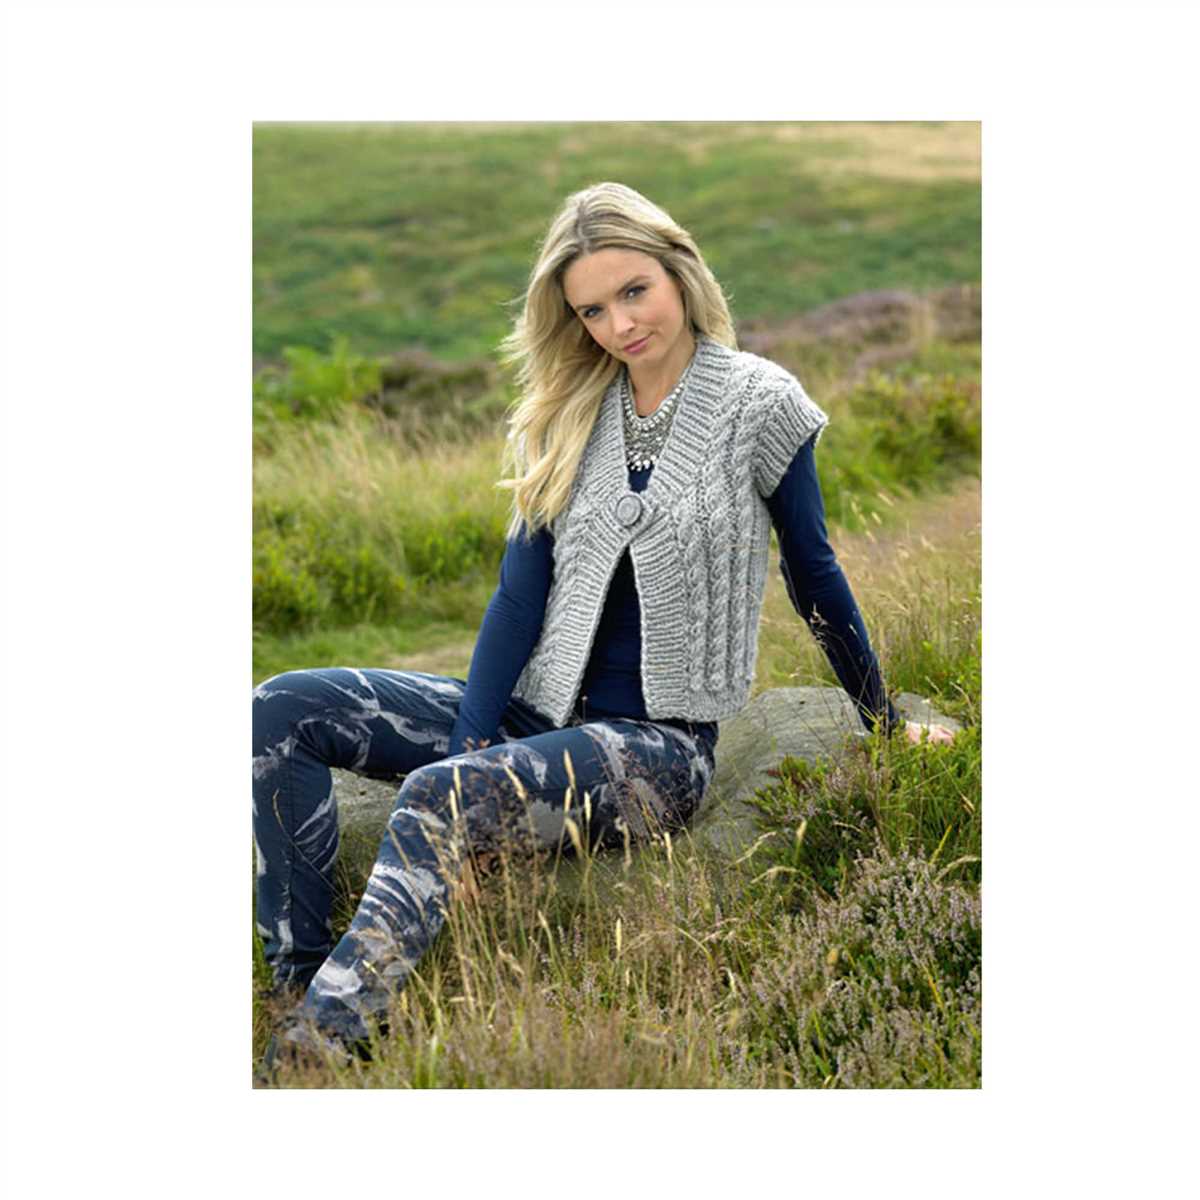
Cable stitch patterns: Cable knitting involves crossing stitches to create twisted and braided motifs. This technique adds texture and depth to your vest, making it stand out. Whether you choose a basic cable or a more intricate cable design, the woven effect created by these stitches adds an interesting visual element to your garment.
Textured stitch patterns: Texture can play a significant role in elevating the overall appearance of your vest. Simple stitch patterns like seed stitch or moss stitch can add subtle texture, while more complex stitch patterns like basketweave or honeycomb can create a more pronounced texture. These patterns not only look visually appealing but also provide warmth and thickness to your vest.
To incorporate these stitch patterns in your vest, it is essential to carefully follow the knitting instructions and charts provided in your knitting pattern. Pay attention to the pattern repeats and stitch counts to ensure the desired effect is achieved. Remember to choose a stitch pattern that complements the style and yarn weight of your vest to create a cohesive and visually stunning finished garment.
Finishing Touches: Blocking and Sewing Up Your Vest
After completing the knitting portion of your ladies vest, there are still a few important steps to take to achieve the perfect finished result. One of these steps is blocking. Blocking is the process of shaping your knitted piece to its desired dimensions and allowing the fibers to relax and settle into place. This step is crucial for ensuring that your vest looks polished and professional.
Blocking your vest
To block your vest, start by filling a basin or sink with lukewarm water. Gently submerge your vest into the water, making sure it is fully saturated. Allow the vest to soak for about 20 minutes to allow the fibers to absorb the water. After soaking, carefully remove the vest from the water and gently squeeze out the excess moisture.
Next, lay the vest flat on a clean towel or blocking mat. Shape the vest to its desired dimensions, using your hands to gently stretch and smooth out any uneven areas. Pin the edges and any seams in place using rustproof T-pins or blocking wires, making sure to maintain the correct measurements and alignment.
Leave the vest to dry completely, undisturbed. This process may take anywhere from 24 to 48 hours, depending on the thickness of the yarn and the humidity in your environment. Once the vest is dry, carefully remove the pins or wires, and your vest will be ready for the final step: sewing up.
Sewing up your vest
When sewing up your vest, it’s important to be precise and neat to achieve a professional finish. Start by laying out the vest pieces with the right sides facing and matching up the edges that need to be sewn together. Thread a tapestry needle with a matching yarn and use small, neat stitches to sew the pieces together.
Ensure that your stitches are even and consistent, taking care to maintain the correct tension. If you’re unsure about your sewing skills, it’s a good idea to practice on scrap yarn or fabric before starting on your vest. Remember to sew any armholes and neckline edges as well as any other required seams.
Once all the necessary seams have been sewn, weave in any loose ends and trim away excess yarn. Give your vest a final inspection, checking for any loose stitches or uneven edges. Take the time to make any necessary adjustments before enjoying your newly finished ladies vest!
Variations and Customizations: Making the Vest Your Own
When knitting a ladies vest using a specific knitting pattern, there are various ways to make it unique and customized to your personal style. By incorporating different yarn colors, stitch patterns, and neckline variations, you can create a vest that reflects your individuality and preferences.
Yarn Colors: One simple way to personalize your vest is by choosing different yarn colors. You can opt for bold and vibrant hues to make a statement piece or choose more subtle shades for a classic and timeless look. Experimenting with different color combinations can result in an entirely different visual impact, allowing you to create a vest that matches your wardrobe or personal taste.
Stitch Patterns: Another way to customize your vest is by incorporating unique stitch patterns. Knitting patterns often provide instructions for specific stitch patterns, but you can also explore and experiment with different stitches to add texture and interest to your vest. From simple ribbing and seed stitch to more complex lace or cable patterns, the possibilities are endless. Choose a stitch pattern that resonates with you and complements the overall design of the vest.
Neckline Variations: The neckline of a vest can significantly impact its overall appearance. While the knitting pattern may suggest a specific neckline, you can modify it to suit your preferences. You can make it higher or lower, add a collar or a V-neck, or even create a cowl neck. These variations can change the style and functionality of the vest, making it more versatile and tailored to your liking.
In addition to these customization options, you can also add embellishments such as buttons, beads, or embroidery to further personalize your vest. It’s important to keep in mind that any modifications you make may require adjustments to the knitting pattern, so it’s essential to carefully read and understand the instructions before making any changes.
In conclusion, making a ladies vest your own involves exploring different yarn colors, stitch patterns, neckline variations, and embellishments. By incorporating these customization options, you can create a unique and personalized vest that showcases your creativity and style. Whether you prefer a bold and vibrant look or a more classic and understated design, the possibilities for customization are endless when it comes to knitting a ladies vest.
Summary
Knitting a ladies vest can be a fun and rewarding project for those who enjoy knitting. By following the knitting pattern, selecting the right yarn and needle size, and taking advantage of some helpful tips and tricks, you can create the perfect ladies vest that fits well and looks stylish. Here is a summary of the key points to keep in mind:
Selecting the Right Yarn and Needle Size
- Choose a yarn that matches the recommended gauge in the knitting pattern.
- Consider the drape and weight of the yarn for the desired vest design.
- Select the appropriate needle size to achieve the correct tension and gauge.
Following the Knitting Pattern
- Read the knitting pattern thoroughly before starting to ensure you understand the instructions.
- Take accurate measurements and choose the right size to knit.
- Use stitch markers to keep track of pattern repeats and important stitch placements.
- Pay attention to shaping instructions to achieve a well-fitted vest.
Helpful Tips and Tricks
- Swatch before starting to ensure your tension and gauge are correct.
- Use lifelines to easily rip back and fix mistakes without losing all your progress.
- Block your finished vest to even out stitches and give it a polished look.
- Consider adding embellishments or personal touches to make your vest unique.
Remember, knitting is a skill that improves with practice. Don’t be discouraged if your first attempt doesn’t turn out perfectly. With patience and determination, you can knit the perfect ladies vest and enjoy the process along the way.