
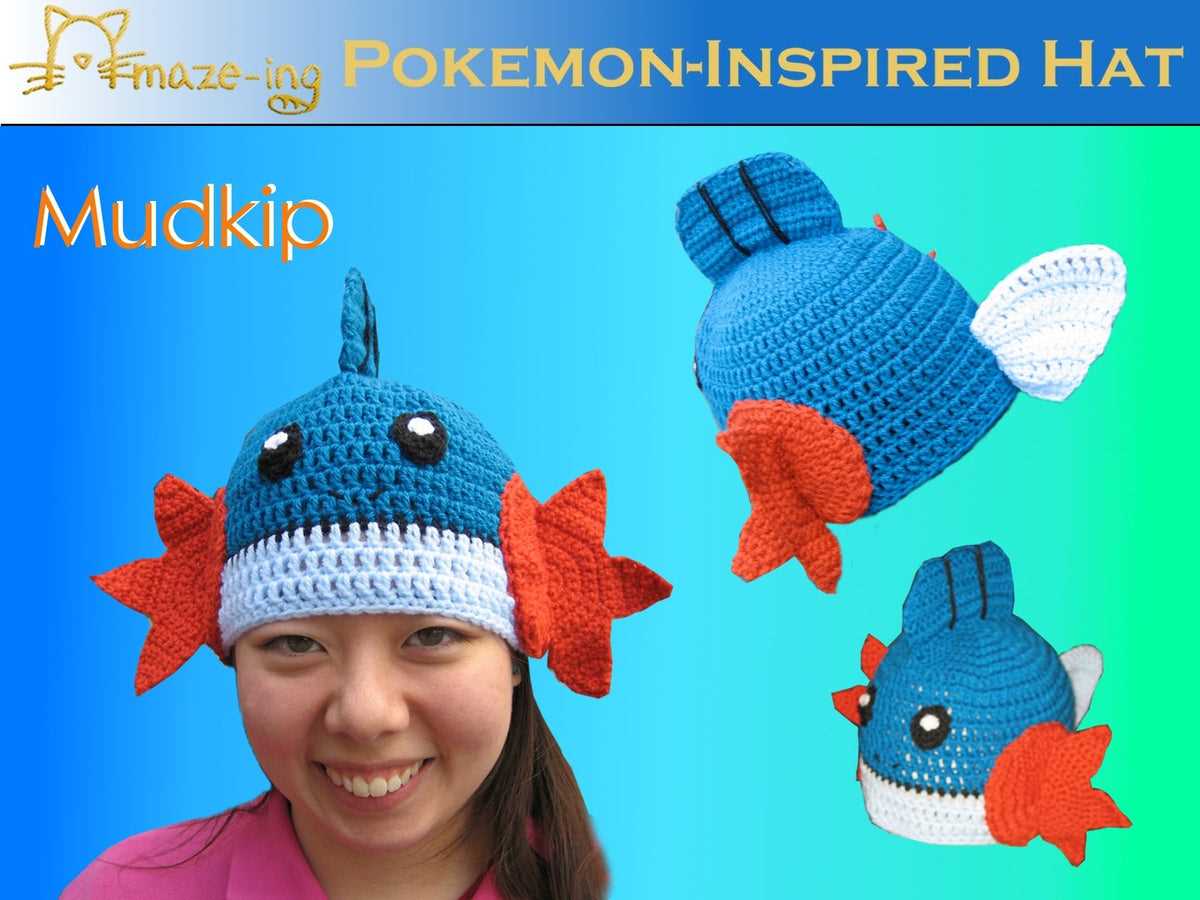
Knitting is a wonderful hobby that allows you to create unique and personalized pieces. If you’re a fan of Pokemon and love to knit, then this Pokemon hat knitting pattern is perfect for you! With this pattern, you can knit your very own Pokemon-themed hat that will keep you warm and stylish all winter long.
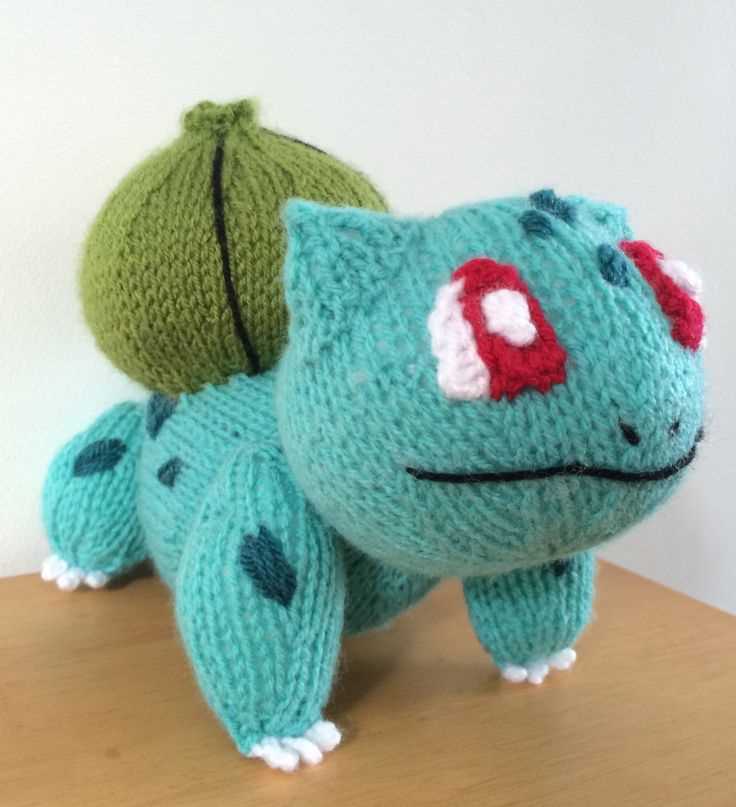
This Pokemon hat knitting pattern features some of the most beloved Pokemon characters, such as Pikachu, Charmander, and Bulbasaur. The pattern includes step-by-step instructions, along with detailed images, to help you create your own Pokemon hats. Whether you’re a beginner or an experienced knitter, this pattern is suitable for all skill levels.
Knitting this Pokemon hat is not only a fun project, but it also allows you to unleash your creativity. You can choose your favorite Pokemon characters and colors to create a hat that is uniquely yours. Imagine wearing a Pikachu hat that you knitted yourself – it’s guaranteed to turn heads and make you the envy of all Pokemon fans!
Pokemon Hat Knitting Pattern
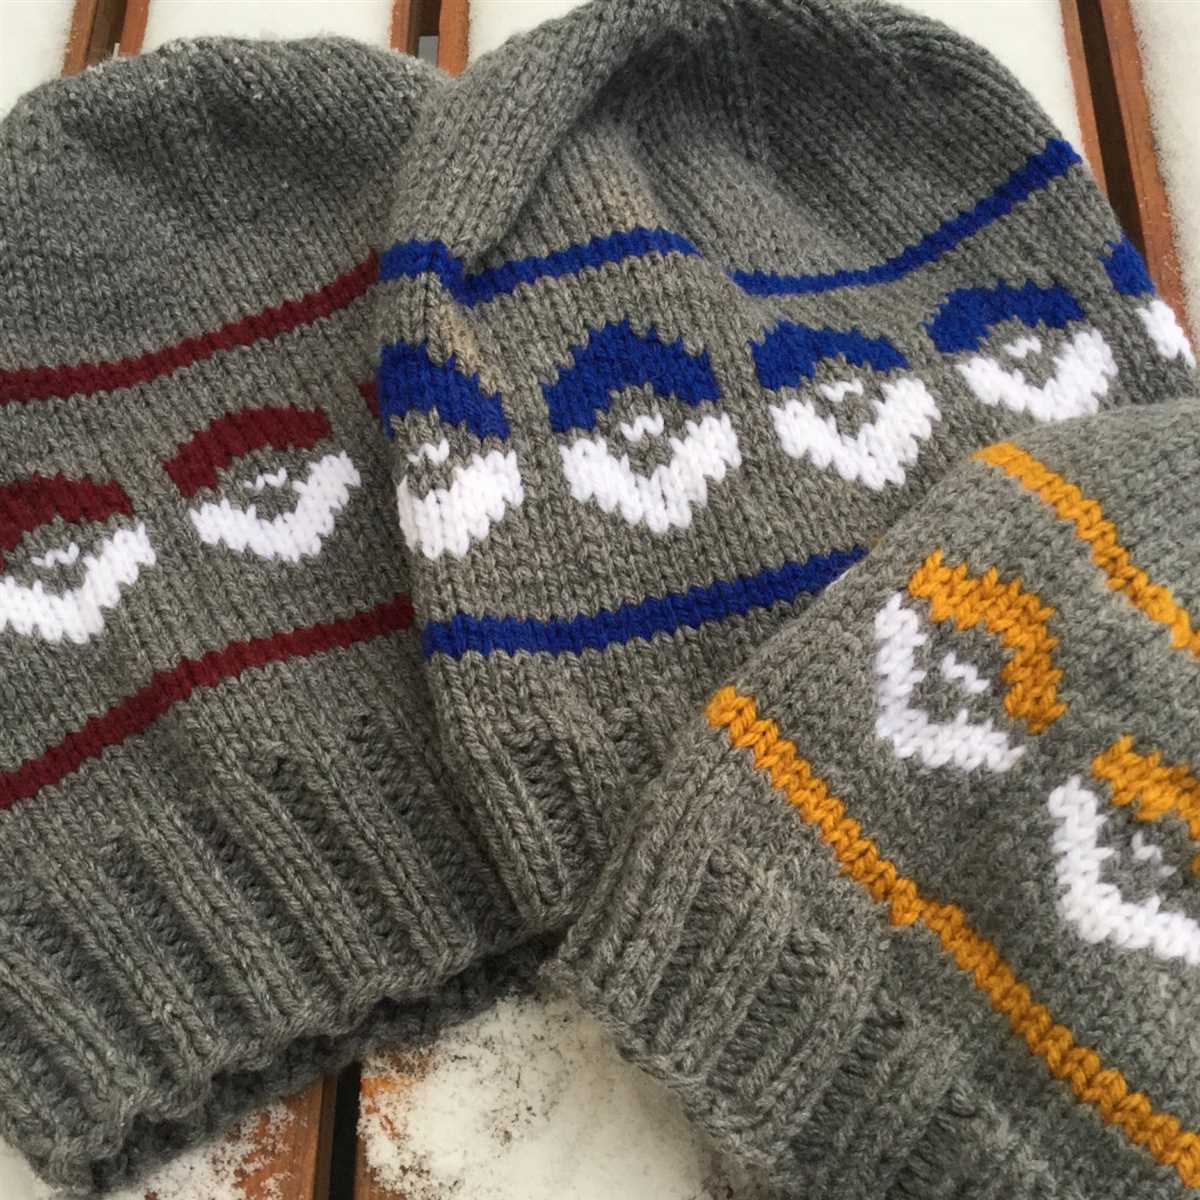
Knitting has become a popular hobby for many people, and creating unique and fun projects is a great way to showcase your skills. One popular project among knitting enthusiasts is the Pokemon hat. This hat features a design inspired by the iconic Pokemon characters, and it is a fun and stylish accessory for any fan of the franchise.
To create a Pokemon hat, you will need a set of knitting needles, yarn in various colors, and a basic knowledge of knitting techniques. The pattern typically involves creating a ribbed brim for a snug fit, followed by knitting the body of the hat in the main color. The Pokemon character design is then added using different colored yarn for the eyes, mouth, and other details. The pattern can be customized to include your favorite Pokemon or even multiple characters.
Materials:
- Knitting needles (size may vary depending on the desired size of the hat)
- Yarn in the main color (enough to complete the body of the hat)
- Yarn in various colors for the Pokemon character design
- Tapestry needle
- Scissors
Instructions:
- Start by casting on the desired number of stitches for the brim of the hat using the main color yarn. This will create a ribbed pattern for a comfortable fit.
- Continue knitting in a ribbed pattern for the desired length of the brim.
- Switch to the main color yarn and knit in stockinette stitch for the body of the hat until it reaches the desired length.
- Using the different colored yarn, create the Pokemon character design by embroidering or stitching the eyes, mouth, and other details onto the body of the hat.
- Finish off the hat by binding off the stitches, cutting the yarn, and weaving in any loose ends.
Once you have completed the Pokemon hat knitting pattern, you will have a unique and stylish accessory that showcases your love for Pokemon. Whether you wear it yourself or gift it to a fellow Pokemon fan, this hat is sure to be a hit.
Create Your Own Pokemon Hat with This Knitting Pattern
Calling all Pokemon fans! If you’re looking to show off your love for the franchise while staying warm and cozy, why not create your very own Pokemon hat? With this knitting pattern, you can knit a hat featuring your favorite Pokemon character.
To get started, you’ll need some basic knitting skills and the following materials: yarn in the colors of your chosen Pokemon, knitting needles, a tape measure, and a yarn needle. You can find the specific yarn colors and weight recommendations in the pattern below.
Materials:
- Yarn – (Insert desired yarn colors and weights)
- Knitting needles – (Insert recommended needle size for your chosen yarn)
- Tape measure
- Yarn needle
Now, let’s dive into the knitting pattern:
- Cast on stitches: Start by casting on the number of stitches required for your hat size.
- Knit in the round: Join the cast-on stitches in a circle and knit every row to create the body of the hat.
- Add color: Follow the chart provided in the pattern to create the design of your chosen Pokemon. Switch between yarn colors as indicated in the chart.
- Decrease stitches: Once you’ve reached the desired length of your hat, begin decreasing stitches to shape the crown. This is usually done by knitting two stitches together at regular intervals.
- Bind off: When you have only a few stitches remaining, cut the yarn, leaving a long tail. Thread the tail through the last stitches, pull tight, and secure.
- Finishing touches: Weave in any loose ends and give your hat a gentle blocking if needed.
With this knitting pattern, you can let your creativity soar and bring your favorite Pokemon to life in hat form. Whether you choose Pikachu, Charmander, or any other Pokemon, you’re sure to turn heads with your unique and personalized creation. So grab your knitting needles and start stitching your very own Pokemon hat today!
Choosing the Right Yarn and Needles
When it comes to knitting a Pokemon hat, choosing the right yarn and needles is crucial for achieving the desired result. The yarn type and weight will determine the overall look and feel of the hat, while the needle size will affect the tension and gauge of the finished project.
First, consider the yarn type. For a Pokemon hat, it’s best to use a medium weight yarn that is soft and comfortable to wear. Acrylic yarn is a popular choice as it is affordable, easy to care for, and comes in a wide range of colors. Alternatively, you can opt for a wool or cotton blend yarn for a more natural feel.
Next, think about the needle size. The recommended needle size will depend on the yarn weight and your personal knitting style. Generally, a set of US size 7 (4.5mm) or US size 8 (5mm) circular needles will work well with a medium weight yarn. However, it’s always a good idea to check the gauge on the yarn label and swatch before starting your project to ensure the correct needle size.
Remember, the yarn and needle choices can greatly impact the final outcome of your Pokemon hat knitting project. By selecting the right yarn type and weight, and using appropriate needle size, you can create a hat that is not only fun and fashionable, but also comfortable to wear.
Getting Started: Casting On and Knitting the Ribbing
Before you can start knitting your very own Pokemon hat, you’ll need to get started by casting on and knitting the ribbing. The ribbing is the band at the bottom of the hat that provides a snug fit and adds a nice decorative touch. Following these steps will ensure that your hat turns out just right.
Casting On
To begin, you’ll need a set of knitting needles and your chosen yarn. Start by making a slipknot and placing it onto one of the needles. Then, hold the needle with the slipknot in your right hand, and use your left hand to hold the other needle.
Next, bring the working end of the yarn behind the right-hand needle, and insert the left-hand needle into the slipknot from left to right. With your right hand, wrap the working end of the yarn around the right-hand needle, going counterclockwise. Then, pull the right-hand needle through the slipknot, creating a new stitch on the right-hand needle.
Knitting the Ribbing
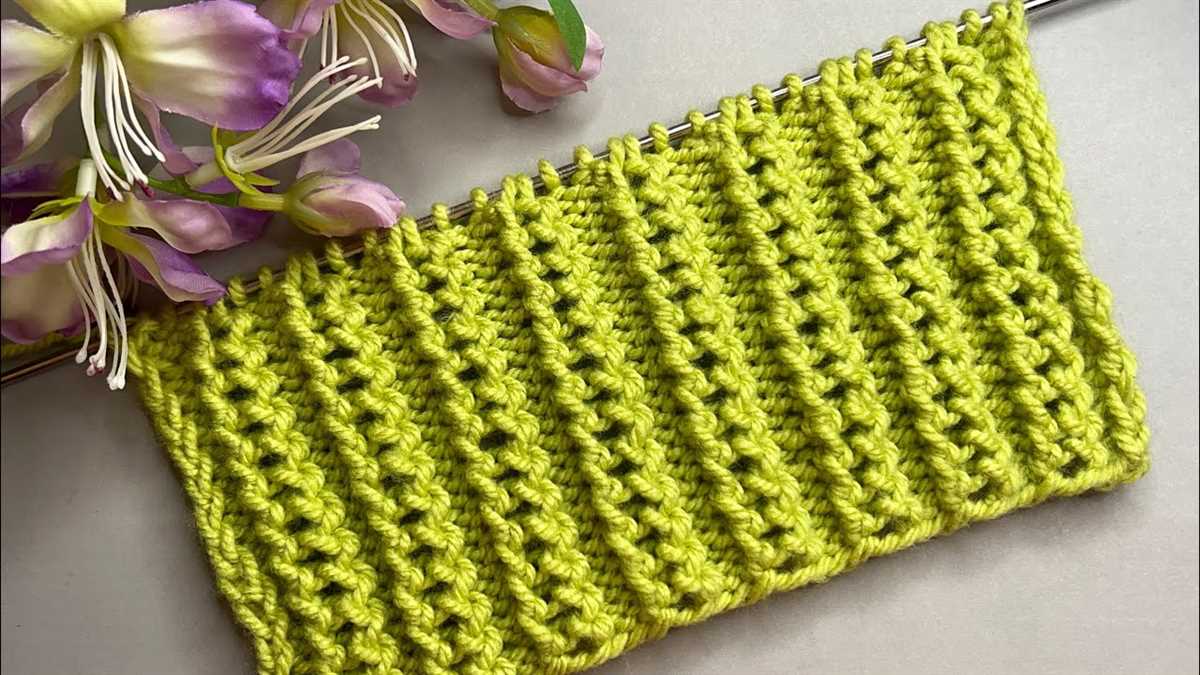
Once you have cast on the desired number of stitches, you can begin knitting the ribbing. The ribbing is typically worked in a combination of knit and purl stitches to create a stretchy and textured fabric.
Start by holding the knitting needles with the cast-on stitches in your right hand, and use your left hand to hold the empty needle. Insert the right-hand needle into the first stitch on the left-hand needle, going from left to right.
Then, using your right hand, wrap the working end of the yarn around the right-hand needle counterclockwise. With the right-hand needle, pull the yarn through the stitch, slipping the stitch off the left-hand needle and onto the right-hand needle. You have just completed a knit stitch. Continue knitting all the stitches in this manner until you reach the end of the row.
After completing a row of knit stitches, you can switch to purl stitches to create the ribbing pattern. To purl, insert the right-hand needle into the next stitch on the left-hand needle from right to left. Wrap the yarn counterclockwise around the right-hand needle, and pull it through the stitch, slipping the stitch off the left-hand needle and onto the right-hand needle. Repeat this process for all the stitches in the row.
Continue alternating between knit and purl stitches until you have completed the desired number of rows for the ribbing. This will give your Pokemon hat a professional and finished look. Once the ribbing is complete, you can move on to the next steps of knitting the body of the hat and adding the Pokemon design.
Knitting the Body of the Hat

Once you have completed the ribbing section of the Pokemon hat, it’s time to move on to knitting the body of the hat. This section will give the hat its shape and determine how long it will be.
Start by switching to the main color yarn that you have chosen for the body of the hat. Using the same circular needles, begin knitting in the round. You can continue with the ribbing pattern or switch to a different stitch pattern if desired.
If you want to incorporate a pattern or design into the body of the hat, now is the time to do so. You can use intarsia or fair isle techniques to add motifs or images of Pokemon characters. Alternatively, you can also choose to keep the body of the hat plain and simple.
Continue knitting in the round until the body of the hat reaches your desired length. You can reference a standard hat sizing chart to determine the appropriate length for your specific head size. Don’t forget to consider any additional length that may be added by the decrease rounds later on.
Once you have reached the desired length, it’s time to move on to shaping the crown of the hat with decrease rounds. These rounds will gradually decrease the number of stitches and create a tapered shape. Stay tuned for the next section on shaping the crown of the Pokemon hat!
Adding Pokemon Character Designs
When creating a Pokemon hat knitting pattern, the addition of Pokemon character designs can take the hat to the next level. By incorporating popular Pokemon characters into the knitting pattern, you can create a unique and personalized hat that is sure to delight Pokemon fans of all ages.
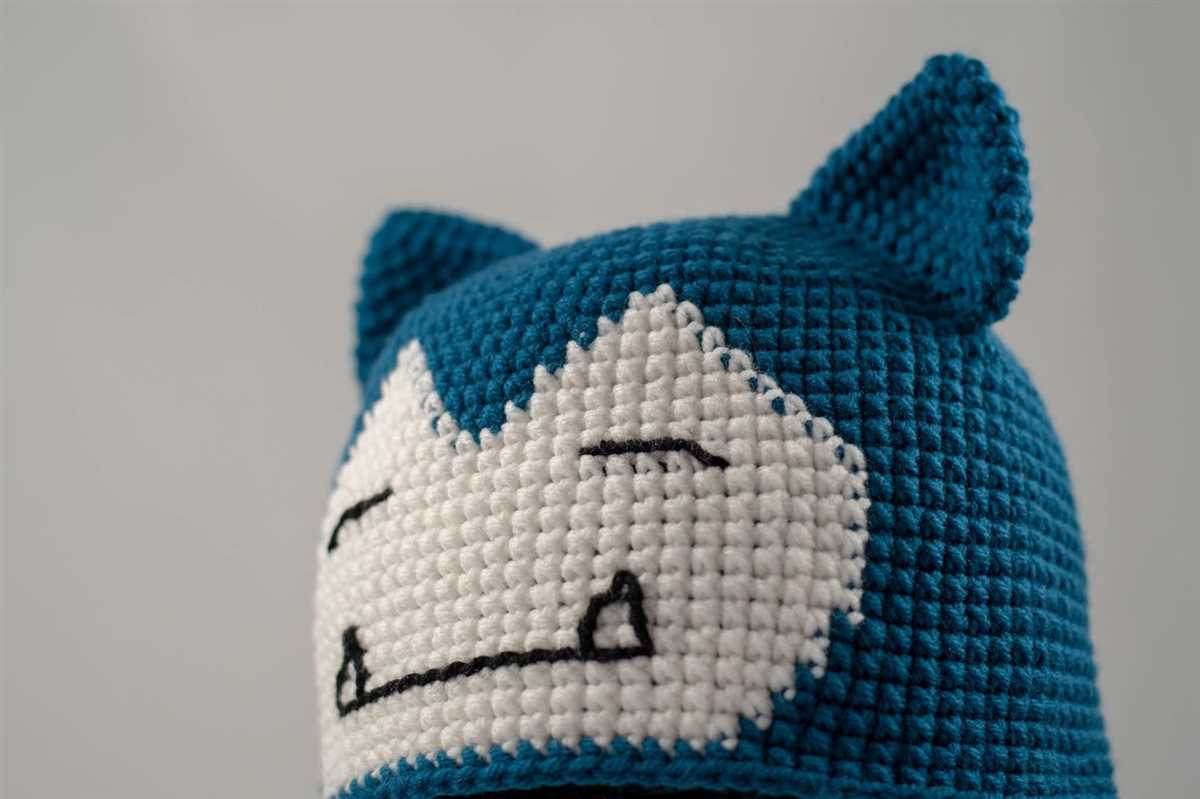
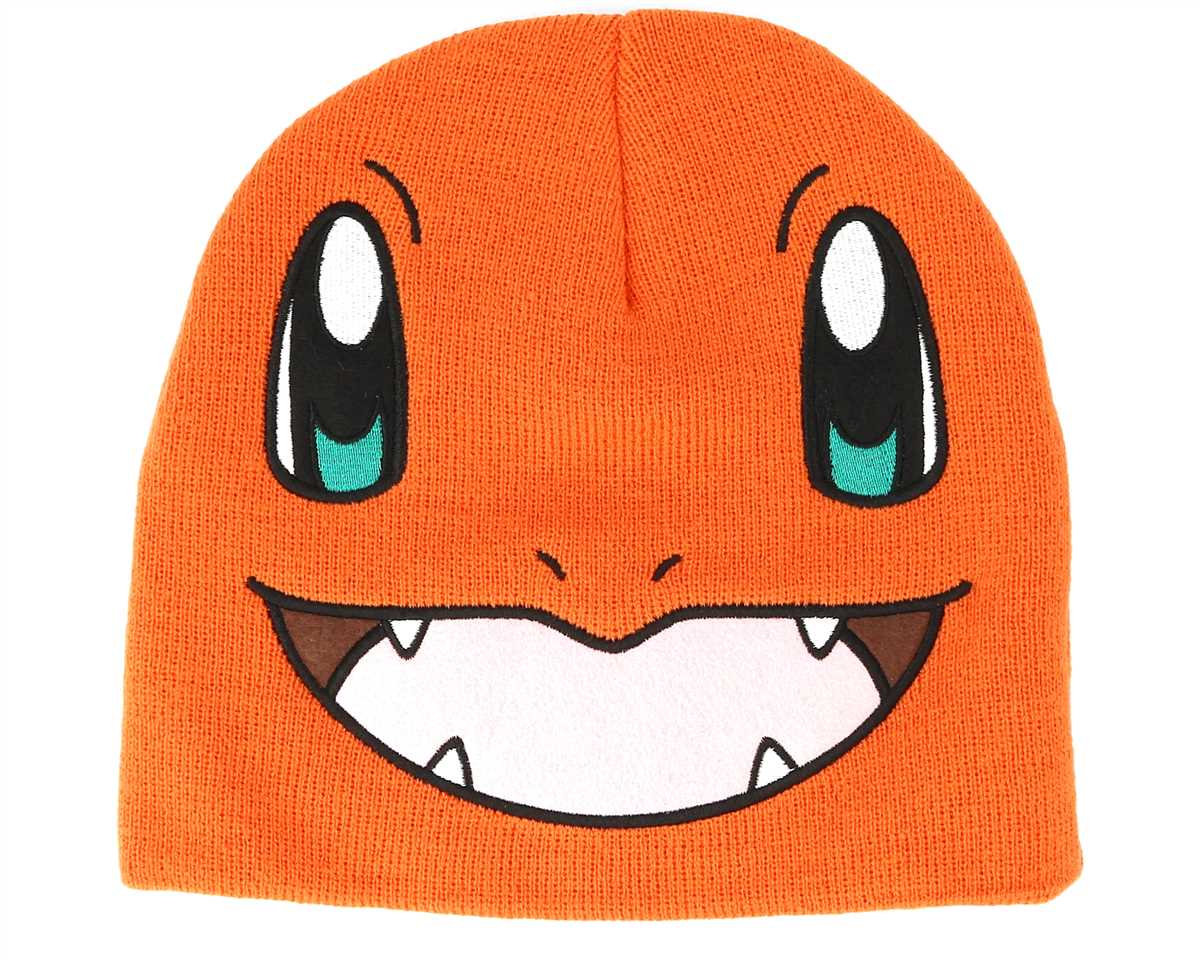
1. Choosing the Characters: The first step in adding Pokemon character designs to your hat knitting pattern is to choose which characters you want to feature. Consider selecting iconic Pokemon such as Pikachu, Charmander, Bulbasaur, or Squirtle, or go for more recent favorites like Eevee, Jigglypuff, or Snorlax.
2. Charting the Design: Once you have selected your Pokemon characters, you will need to chart their designs. A chart is a visual representation of your design, typically using symbols to represent different stitches or colors. You can find pre-made Pokemon character charts online, or create your own by tracing or drawing the characters onto graph paper.
3. Introducing Colorwork: Adding Pokemon character designs to your hat pattern usually involves colorwork techniques. Colorwork is the process of knitting with multiple colors on the same row or round to create a pattern or design. To achieve the desired effect, you will need to switch between different colored yarns, following the charted design as you knit.
4. Incorporating Details: To make your Pokemon characters come to life on the hat, be sure to include any distinctive details, such as facial features or unique markings. These small details can make a big difference in creating recognizable and appealing designs.
5. Personalization: While sticking to the original Pokemon color schemes is a popular choice, feel free to personalize your designs by using different colors or adding your own creative touches. Consider incorporating the recipient’s favorite colors or adapting the character’s appearance to match their preferences.
With these steps in mind, you can add Pokemon character designs to your hat knitting pattern and create a fun and whimsical accessory that Pokemon fans will adore. Whether you are knitting the hat for yourself or as a gift, the addition of Pokemon characters is sure to make it a truly unique and special piece.
Creating the Crown of the Hat
Once you have completed the ribbing section, it’s time to start working on the crown of the hat. This is where the fun begins, as you will be creating the distinctive shape that resembles the top of a Pokemon’s head.
To start, switch to the main color of yarn that you have chosen for the hat. Using your preferred method of knitting in the round, continue knitting in a stockinette stitch until you reach the desired length for the crown. Remember to keep track of your stitches to ensure that your hat will fit properly.
This pattern provides instructions for creating the crown with a decrease method known as “knit two together” or K2tog. This technique involves knitting two stitches together as if they were one, effectively reducing the number of stitches on your needles. By following the decrease instructions provided, you will gradually shape the crown of the hat while maintaining the Pokemon-inspired design.
As you work through the decrease rounds, you will notice the crown taking shape and forming the iconic curved point at the top. It’s important to follow the pattern closely during this stage to achieve the desired look. Depending on the specific Pokemon hat pattern you are following, there may be additional design elements that you can incorporate, such as color changes or stitch patterns.
Instructions for Decrease Rounds:
- Round 1: *K6, K2tog* repeat until the end of the round
- Round 2: Knit all stitches
- Round 3: *K5, K2tog* repeat until the end of the round
- Round 4: Knit all stitches
- Continue to alternate between decrease rounds and plain knit rounds until you have a small number of stitches left
Once you reach the final few stitches, you can either gather them together tightly and secure with a yarn needle, or you can use the Kitchener stitch to seamlessly close the crown of the hat. Either way, make sure to weave in any loose ends and give your hat a final blocking to ensure a polished finish.
Finishing Touches: Sewing Up and Weaving in Ends
After completing the knitting portion of your Pokemon hat, it’s time to give it the finishing touches. One important step is sewing up any openings or seams that may still be present. This will ensure that the hat is secure and won’t unravel with wear. Using a yarn needle, thread a length of yarn that matches the color of your hat and carefully sew up any gaps or seams, making sure to keep your stitches neat and consistent.
Next, it’s time to weave in the loose ends of yarn that were created during the knitting process. These loose ends can be unsightly and can also pose as potential snagging hazards, so it’s important to properly secure them. To do this, thread a yarn needle with one of the loose ends and weave it through the stitches on the wrong side of the fabric, following the path of the yarn. Repeat this process with all the loose ends, making sure each one is woven in securely.
Tips:
- When sewing up openings or seams, make sure to align the stitches as closely as possible to create an invisible seam.
- When weaving in ends, try to follow the natural path of the yarn to ensure that it is properly secured and won’t come loose.
- If you have multiple colors in your hat, make sure to weave in the ends of each color separately, taking care to hide them within their respective sections.
- After sewing up and weaving in ends, give your hat a final check to make sure everything is secure and tidy.
Customizing Your Pokemon Hat
When it comes to creating your very own Pokemon hat, the possibilities are endless. With a bit of creativity and some basic knitting skills, you can customize your hat to reflect your favorite Pokemon or add unique personal touches that make it one of a kind.
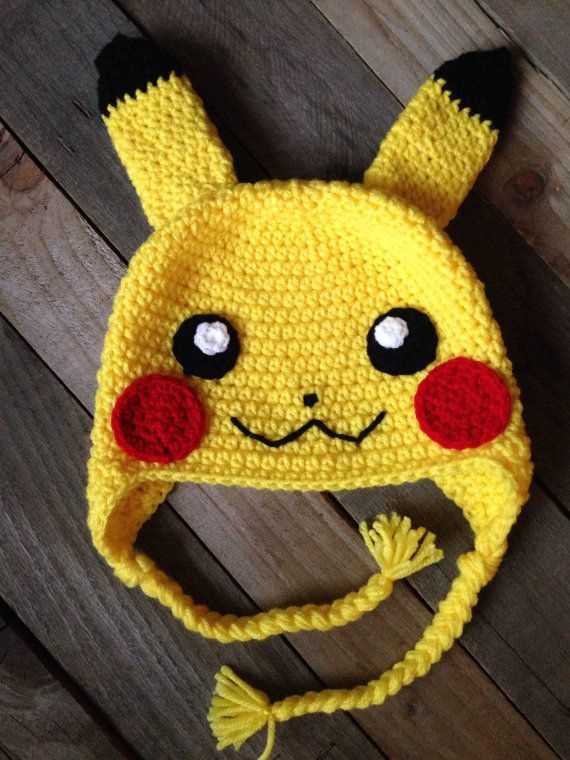
One of the easiest ways to customize your Pokemon hat is by incorporating your favorite Pokemon’s color scheme. Whether you’re a fan of Pikachu’s iconic yellow or Charizard’s fiery red and orange, using the right yarn colors can help bring your Pokemon to life. Consider using a combination of solid colors or even experimenting with variegated yarns to add depth and texture to your design.
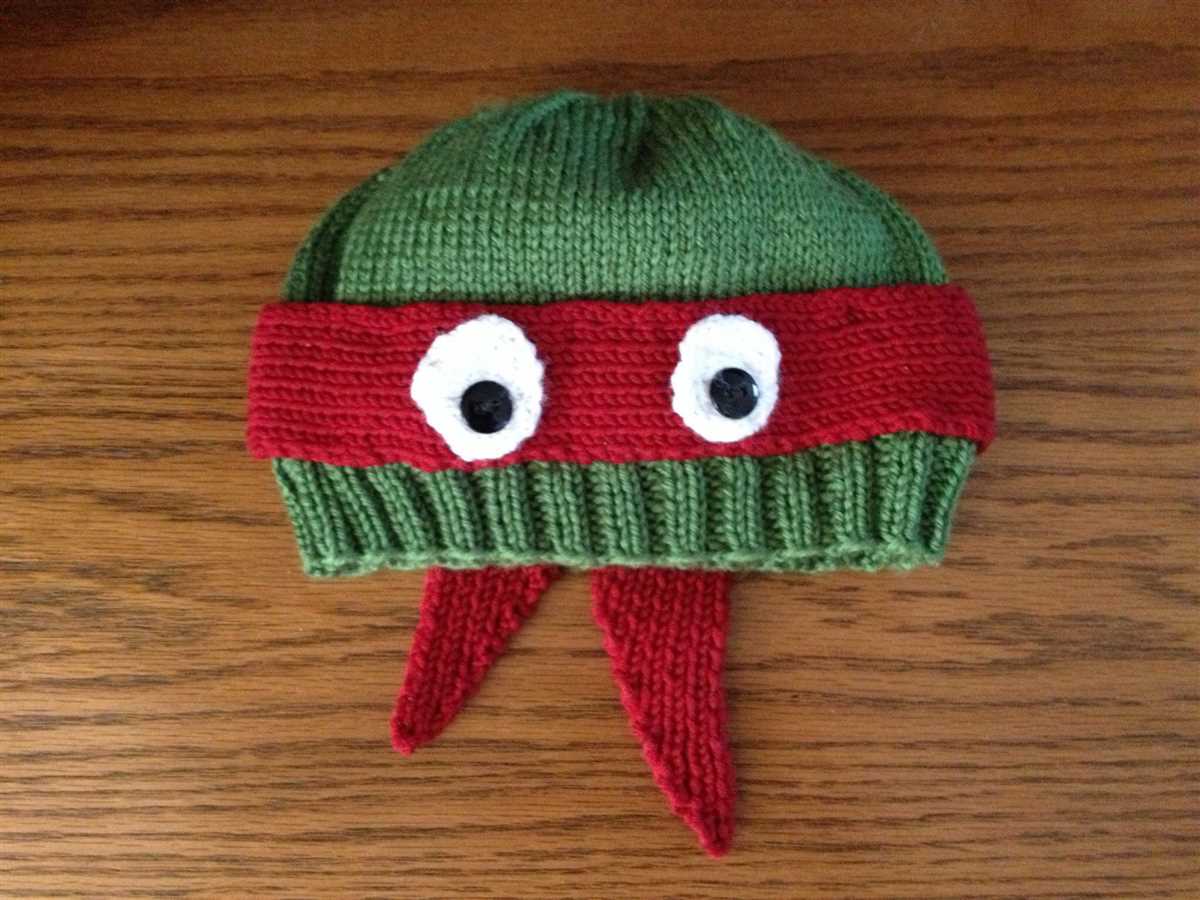
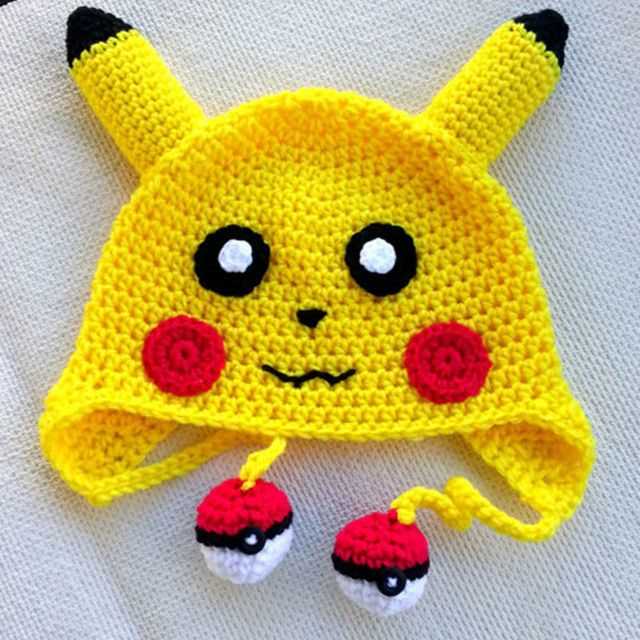
For those who are more adventurous, you can also take your customization a step further by adding embroidered details. Use embroidery floss to stitch on the Pokemon’s features, such as its eyes, mouth, or any other distinguishing marks. This can help make your hat look even more authentic and capture the spirit of your chosen Pokemon.
Another fun way to customize your Pokemon hat is by incorporating different textures. Consider adding a pom-pom to the top of your hat for a playful touch, or use a ribbed knitting pattern to add some extra stretch and structure. You could even experiment with different knitting stitches to create patterns that mimic the scales or fur of your favorite Pokemon.
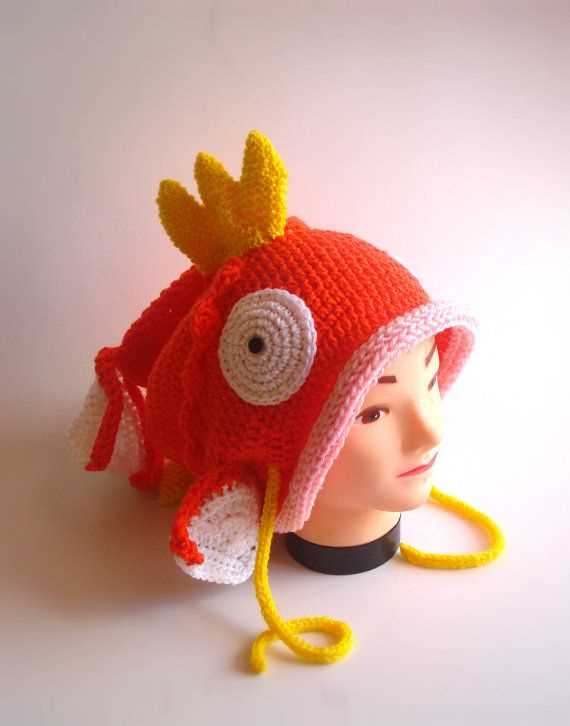
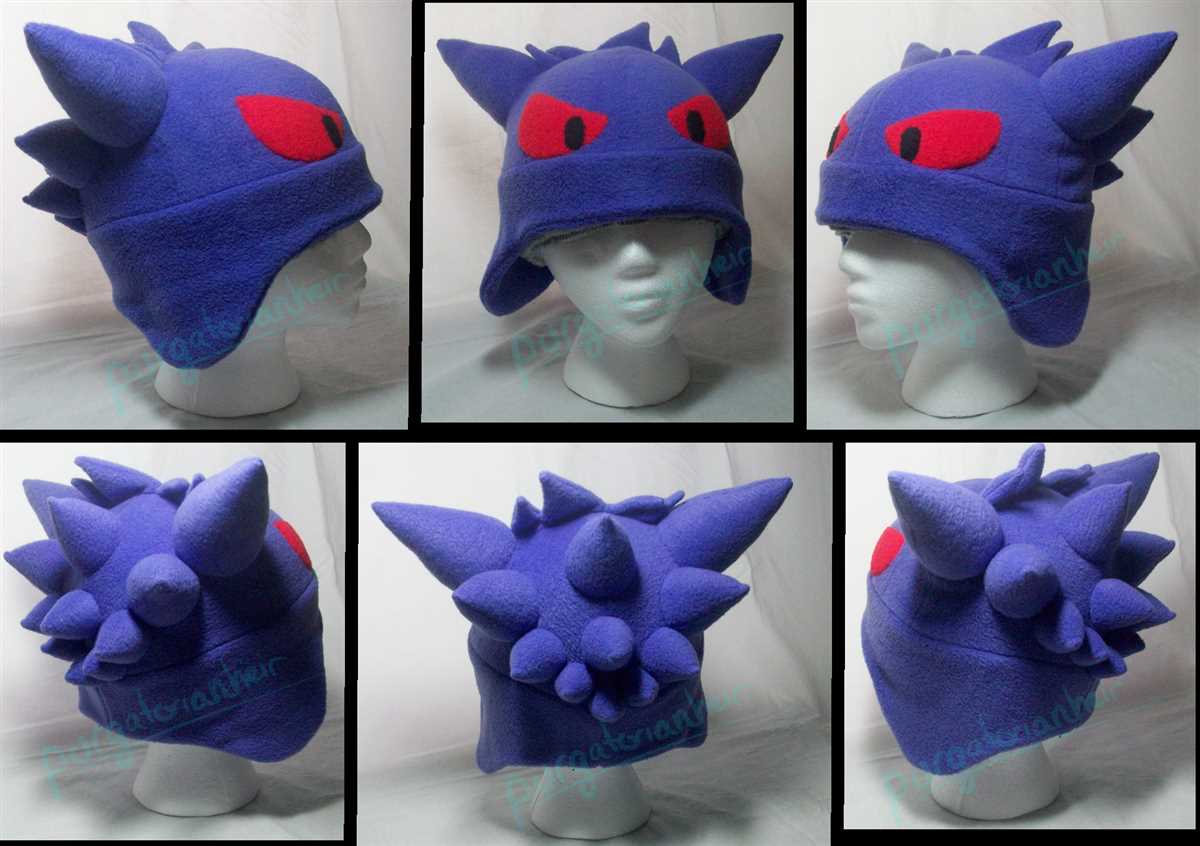
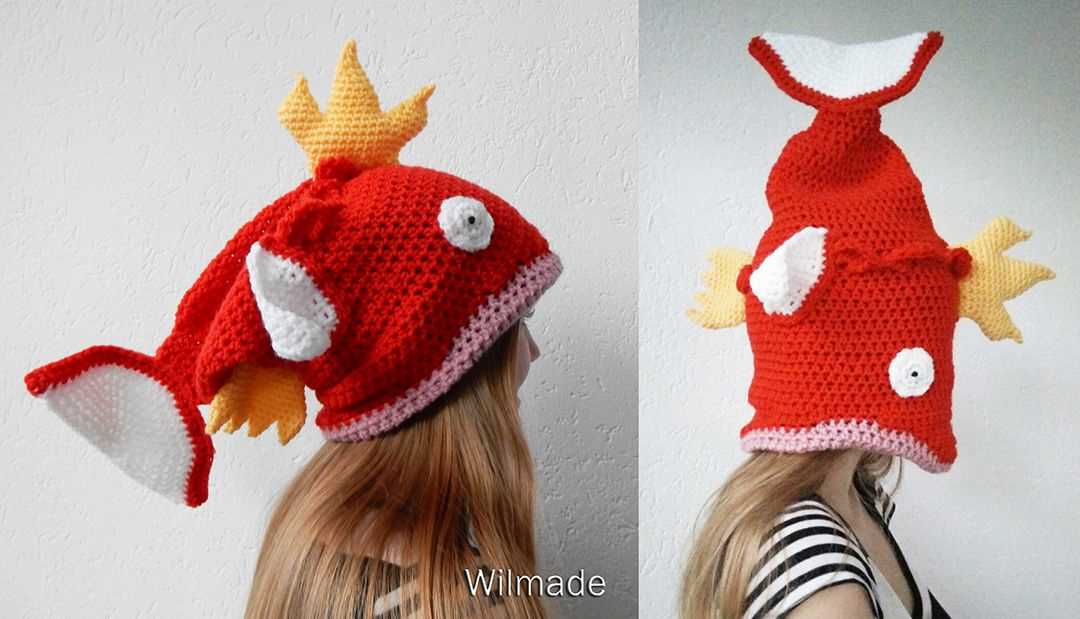
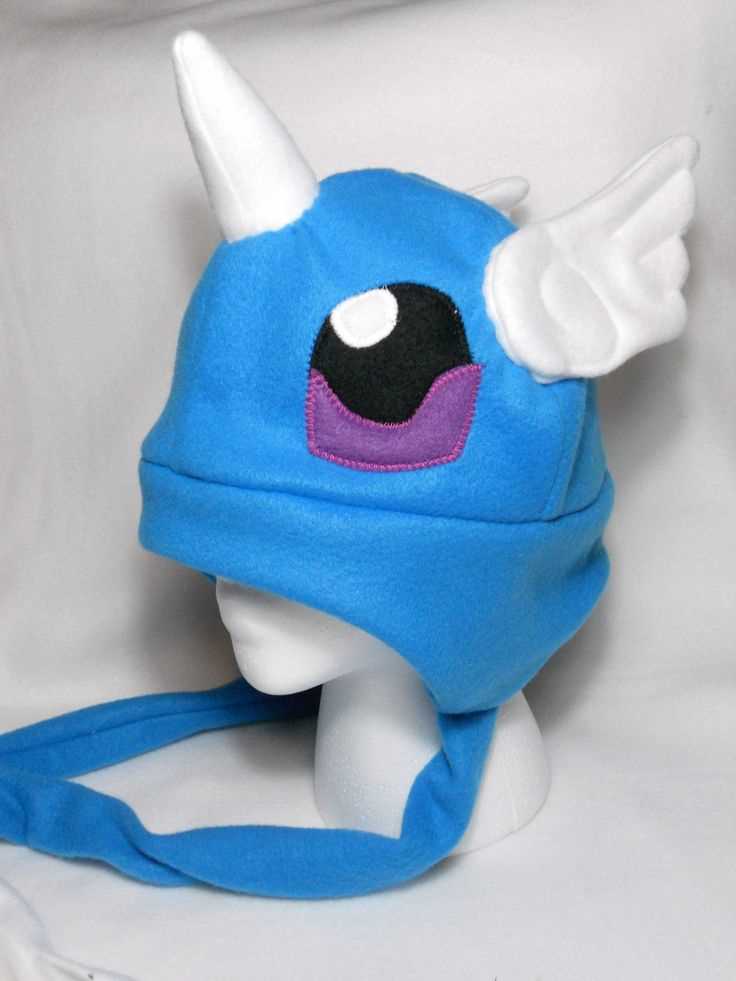
If you’re feeling particularly ambitious, you can even try your hand at creating a Pokemon hat that resembles the actual shape of the Pokemon. This could involve adding ears, horns, or other 3D elements to your design. Just be sure to plan your pattern accordingly and take your time to ensure that your hat is both comfortable to wear and true to your vision.
Remember, the key to customizing your Pokemon hat is to let your imagination run wild. With some basic knitting skills and a creative eye, you can create a hat that is uniquely yours and showcases your love for Pokemon in a fun and fashionable way.
Common Mistakes to Avoid
When knitting a Pokemon hat, it’s important to avoid certain common mistakes in order to ensure a successful outcome. Here are some mistakes to watch out for:
1. Incorrect Gauge
One of the most common mistakes when knitting a hat is not achieving the correct gauge. Gauge refers to the number of stitches and rows per inch, and it’s crucial in obtaining the correct size and fit for the hat. Make sure to swatch and check your gauge before starting the project, and adjust your needle size if necessary.
2. Poor Yarn Choice
Choosing the wrong yarn for your Pokemon hat can also lead to disappointing results. The yarn used should be suitable for the intended purpose of the hat and should provide the desired level of warmth and durability. It’s important to carefully read the pattern recommendations and choose a yarn that matches the suggested weight and fiber content.
3. Ignoring Pattern Instructions
Another common mistake is to ignore or skip pattern instructions. It’s important to carefully read and follow the pattern from start to finish, as each step is designed to contribute to the final look and fit of the hat. Skipping or modifying pattern instructions can result in an ill-fitting or misshapen hat.
4. Incorrect Stitch Count

Not keeping track of your stitch count can lead to errors in the pattern and a hat that doesn’t look like the intended design. Make sure to count your stitches regularly, especially after working shaping or pattern repeats, to ensure that you’re maintaining the correct stitch count.
5. Lack of Tension Consistency
Tension consistency is important in achieving an even and professional-looking fabric. Make sure to maintain a consistent tension throughout the project, neither knitting too tight nor too loose. If you notice that your tension is uneven, try adjusting your needle size or practicing with different knitting techniques.
Avoiding these common mistakes will greatly increase your chances of successfully knitting a Pokemon hat that looks and fits as intended. Take your time, pay attention to detail, and enjoy the process of creating a unique and fun accessory!
Tips for a Perfect Pokemon Hat
Creating a Pokemon hat can be a fun and rewarding knitting project. Whether you’re a fan of Pikachu, Charmander, or Bulbasaur, these tips will help you create the perfect hat to show off your Pokemon love.
1. Choose the Right Yarn: When knitting a Pokemon hat, it’s important to choose yarn that is soft, warm, and durable. Look for yarn that is suitable for hats and easy to care for.
2. Use the Correct Needles: The needles you choose for your project can make a difference in the final result. Use needles that match the recommended gauge for your chosen yarn, ensuring that your stitches are even and consistent throughout the hat.
3. Follow a Pattern: Following a Pokemon hat knitting pattern can help ensure that your hat turns out exactly as you envision. Look for patterns that include detailed instructions, stitch explanations, and clear charts if necessary.
4. Gauge Swatch: Before diving into your hat project, take the time to create a gauge swatch. This will help you determine whether you need to adjust your needle size to achieve the correct gauge for the pattern. It’s important to match the gauge to ensure proper sizing of the finished hat.
5. Add Embellishments: To make your Pokemon hat extra special, consider adding embellishments such as embroidered faces or felt details. These small touches can really bring your hat to life and make it even more recognizable as your favorite Pokemon character.
6. Take Your Time: Knitting a hat requires time and patience. Take your time with each stitch and row, making sure to check your work often to avoid mistakes. Slow and steady wins the race when it comes to creating a perfect Pokemon hat.
7. Block Your Hat: Once your hat is complete, consider blocking it to give it a professional finish. This can help even out stitches and make the hat more comfortable to wear. Follow the blocking instructions specific to your chosen yarn to ensure the best results.
Incorporating these tips into your knitting process will help you create a perfect Pokemon hat that you can proudly wear or gift to a fellow Pokemon enthusiast!
Show Off Your Pokemon Hat Creations!
Congratulations on completing your Pokemon hat knitting project! You can now proudly wear your favorite Pokemon on your head and show off your knitting skills. Whether you made a Pikachu hat, a Charizard hat, or any other Pokemon hat, we would love to see your creations.
Share a photo of your Pokemon hat on social media using the hashtag #PokemonHatCreations and tag us @KnitCrafters. We can’t wait to see all the different variations and designs that you come up with. Show off your creativity and inspire others to try their hand at knitting their favorite Pokemon hat too!
Not only will you be able to show off your skills, but you might also inspire others to start knitting their own Pokemon hats. Who knows, maybe you’ll even start a Pokemon hat knitting trend!
So don’t be shy, grab your Pokemon hat, strike a pose, and share your creation with the world. It’s time to show off your Pokemon hat creations!
Q&A:
Where can I find a Pokemon hat knitting pattern?
You can find a Pokemon hat knitting pattern on various websites and online knitting communities. Some popular websites include Ravelry, Pinterest, and Etsy. You can also try searching for specific Pokemon hat patterns on search engines like Google.
Are there different Pokemon hat knitting patterns available?
Yes, there are many different Pokemon hat knitting patterns available. You can find patterns for a wide range of Pokemon characters, including Pikachu, Charmander, Bulbasaur, Squirtle, and many more. Some patterns may be free, while others may require a purchase or a membership to access.
Is it difficult to knit a Pokemon hat?
The difficulty level of knitting a Pokemon hat can vary depending on the pattern and your skill level as a knitter. Some patterns may be more intricate and require advanced knitting techniques, while others may be simpler and suitable for beginners. It is always helpful to read through the pattern and make sure you understand the instructions before starting.
What materials do I need to knit a Pokemon hat?
The materials you will need to knit a Pokemon hat include knitting needles of the appropriate size (as indicated in the pattern), yarn in the specified colors, a yarn needle for sewing in the ends, and any additional embellishments or accessories required by the pattern. The pattern will usually provide a list of materials needed.
Can I customize a Pokemon hat knitting pattern?
Yes, you can definitely customize a Pokemon hat knitting pattern to your liking. You can change the colors, add or remove embellishments, adjust the size, or even combine different Pokemon designs to create your own unique hat. Knitting is a great way to express your creativity, so feel free to make it your own!
Where can I find a Pokemon hat knitting pattern?
You can find a Pokemon hat knitting pattern on various websites or online knitting communities. Some popular websites that offer free or paid patterns include Ravelry, Etsy, and Pinterest. You can also try searching for specific Pokemon hat patterns on search engines like Google or Bing.
Are there any Pokemon hat patterns for beginners?
Yes, there are Pokemon hat patterns available for beginners. Many knitting websites and communities offer patterns that are specifically designed for beginners, with detailed instructions and simpler stitches. These patterns are a great way to get started with knitting and create a Pokemon hat.