
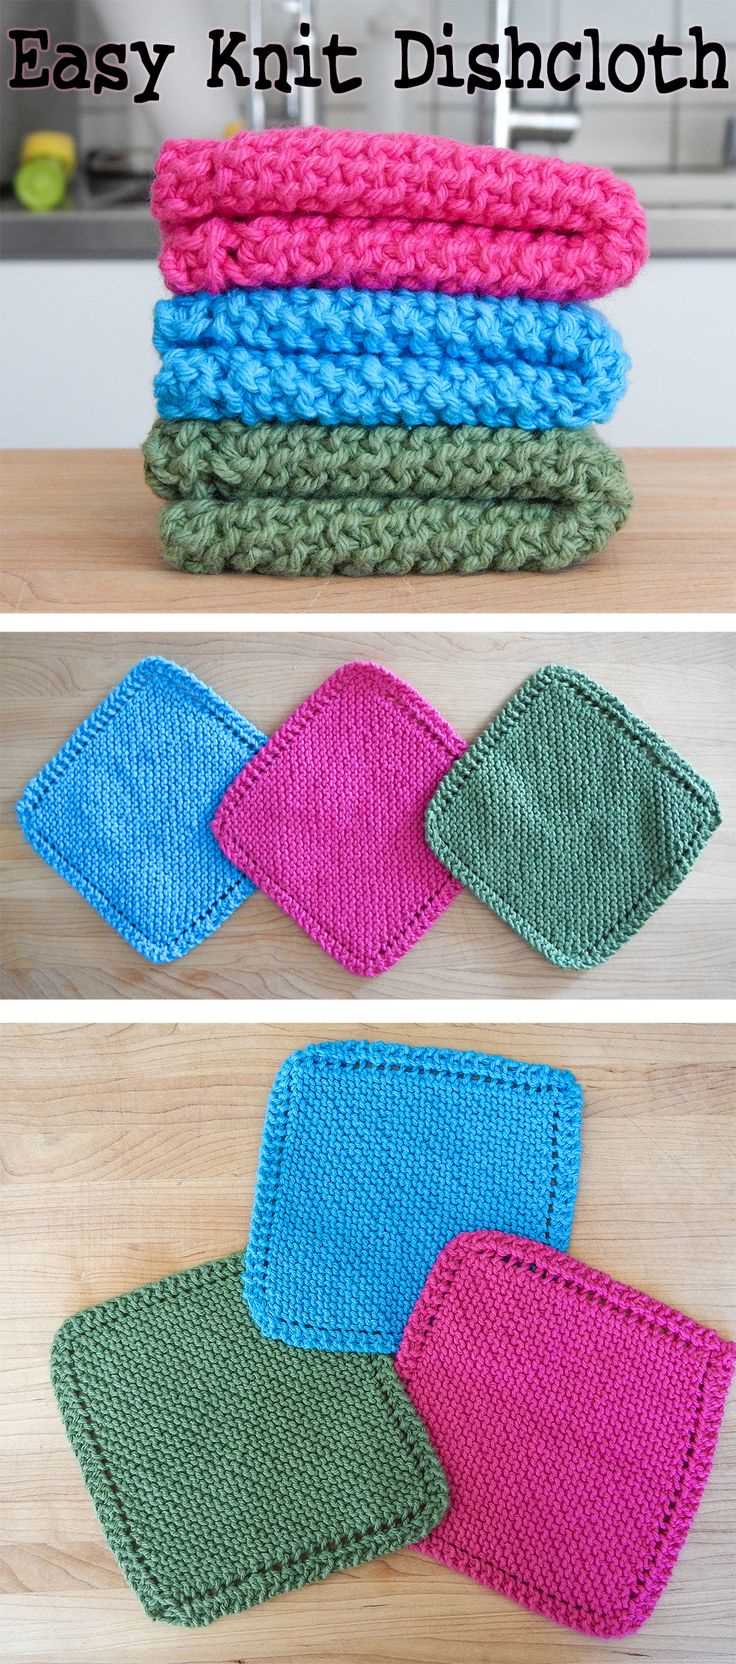
If you’re new to knitting or just looking for a quick and easy project, this easy knit dishcloth pattern is perfect for you. Knitting dishcloths is a great way to practice new stitches and techniques while creating something practical for your kitchen. Whether you’re a beginner or an experienced knitter, you’ll love making these simple and stylish dishcloths.
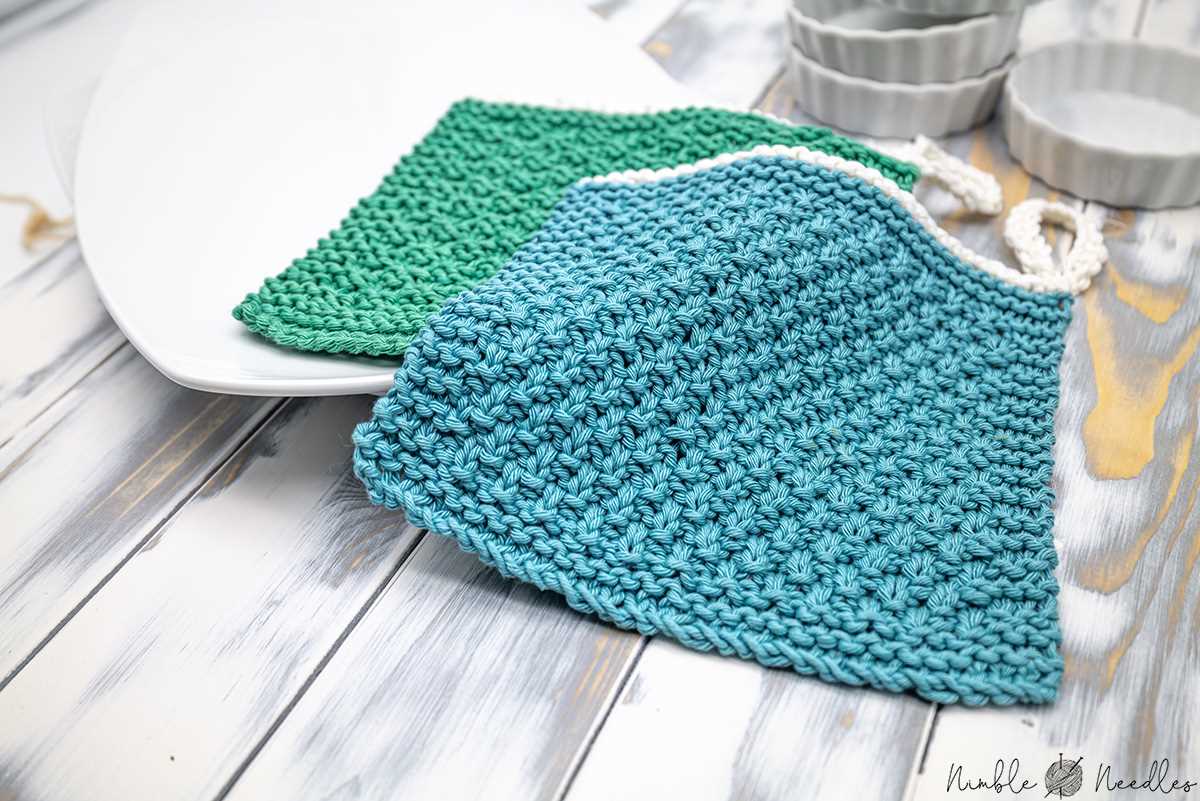
This pattern uses basic knitting stitches and is perfect for beginners who want to experiment with different stitch patterns. The dishcloth is knitted in a square shape, making it easy to knit and finish quickly. The textured stitch pattern creates a thick and durable fabric that is perfect for scrubbing dishes and cleaning up spills.
This easy knit dishcloth pattern requires a few basic knitting supplies, including knitting needles and cotton yarn. You can choose any color of yarn you like to match your kitchen decor or create a set of dishcloths in different colors. This pattern is also a great way to use up any leftover yarn from previous knitting projects.
Whether you’re knitting these dishcloths for yourself or as a gift, they are sure to be a hit. Not only are they practical and stylish, but they also make great housewarming or holiday gifts. So grab your knitting needles and get started on this easy knit dishcloth pattern today!
Easy Knit Dish Cloth Pattern
Looking for a simple and quick project to practice your knitting skills? Look no further! This easy knit dish cloth pattern is perfect for beginners and experienced knitters alike. With basic stitches and a straightforward pattern, you’ll have a beautiful dish cloth in no time.
To get started, you’ll need a pair of knitting needles and some cotton yarn. Cotton yarn is ideal for dish cloths as it is durable and absorbent. You can choose any color you like to add a touch of personality to your kitchen.
The pattern itself is quite simple. You’ll begin by casting on the desired number of stitches, usually around 40 to 50, depending on your preferred size. Then, you’ll knit each row until you reach the desired length. To create a textured pattern, you can alternate between knit and purl stitches, or even experiment with different stitch patterns.
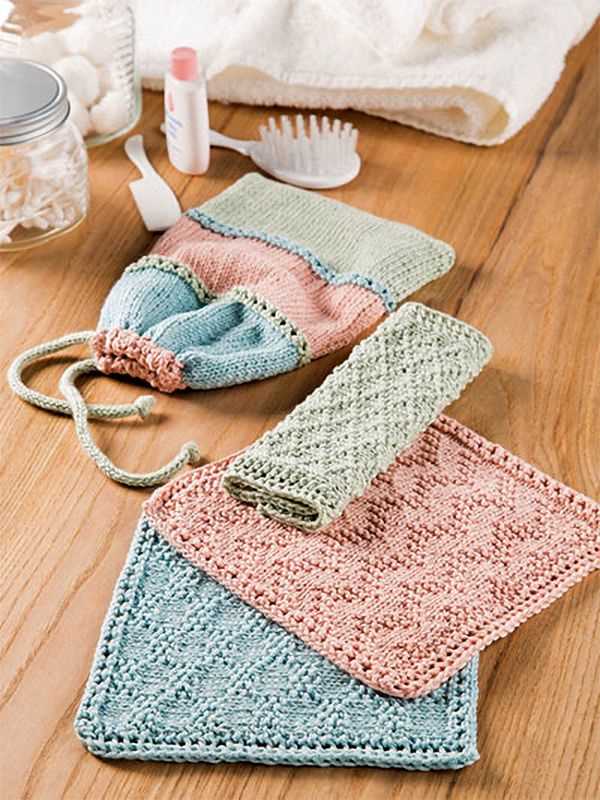
One of the great things about knitting dish cloths is that they make fantastic gifts. You can make a set of matching dish cloths for newlyweds or housewarmings, or simply keep them for yourself. They are also a great way to practice new knitting techniques and experiment with different yarns.
- Materials needed: knitting needles, cotton yarn
- Cast on desired number of stitches
- Knit each row until desired length
- Experiment with different stitch patterns for added texture
- Perfect for gifts or personal use
So, why not give this easy knit dish cloth pattern a try? You’ll be surprised at how satisfying and relaxing knitting can be, and you’ll have a practical and beautiful item to show for your efforts.
What Is a Dish Cloth?
A dish cloth, also known as a dishrag or kitchen cloth, is a small piece of fabric that is used for cleaning dishes, surfaces, and utensils in the kitchen. It is an essential tool in any kitchen, as it helps to remove dirt, grime, and food residue to ensure cleanliness and hygiene.
A dish cloth is typically made from absorbent materials such as cotton, microfiber, or linen. Its main purpose is to soak up water and detergent, making it easier to wipe and clean various surfaces. The texture of the cloth also helps to scrub away stubborn stains and dried-on food particles.
Size and Shape:
Dish cloths come in various sizes and shapes, but they are generally square or rectangular in shape. The size of the cloth can vary depending on personal preference, but a common size is around 8×8 inches or 10×10 inches. The compact size makes it easy to handle and maneuver while cleaning.
Uses:
Dish cloths have multiple uses in the kitchen. They can be used to wash and dry dishes, wipe countertops and tables, clean stovetops and appliances, and even scrub pots and pans. Some people also use dish cloths as hot pads or trivets to protect surfaces from hot objects.
Care and Maintenance:
To ensure the longevity and cleanliness of a dish cloth, it is important to properly care for and maintain it. After each use, the cloth should be thoroughly rinsed to remove any leftover soap or residue. It should then be wrung out and hung to dry in a well-ventilated area. Regular washing in hot water with detergent is also necessary to keep the cloth free from bacteria and odors.
DIY Knit Dish Cloths:
For those who enjoy knitting, dish cloths can also be easily made at home. There are various patterns and designs available that cater to different skill levels. Knit dish cloths not only serve the practical purpose of cleaning, but they also add a touch of handmade charm to the kitchen.
Benefits of Using a Knit Dish Cloth
1. Durability: A knit dish cloth is known for its durability, making it a long-lasting option for cleaning dishes and other surfaces in the kitchen. It can withstand repeated use without losing its shape or effectiveness.
2. Absorbency: The texture of a knit dish cloth allows it to absorb water and liquid easily, making it an ideal choice for drying dishes or wiping up spills. It can hold a significant amount of liquid, preventing it from dripping or causing messes.
3. Versatility: Knit dish cloths can be used for various purposes in the kitchen. They are great for scrubbing pots and pans, wiping down countertops, and cleaning appliances. Their versatility makes them a valuable tool in any kitchen.
4. Eco-friendly: Using a knit dish cloth is an eco-friendly alternative to disposable paper towels or sponges. It helps to reduce waste and minimize environmental impact. By choosing a reusable dish cloth, you are contributing to a more sustainable lifestyle.
5. Easy to clean: Knit dish cloths are easy to clean and maintain. They can be washed in the washing machine or by hand, depending on your preference. Regular washing helps to remove any food particles or bacteria, ensuring that your dish cloth stays clean and hygienic.
6. Cost-effective: Investing in a few knit dish cloths can save you money in the long run. Unlike disposable paper towels or sponges that need to be regularly replaced, a knit dish cloth can last for a significant period of time, making it a cost-effective choice for your kitchen cleaning needs.
Overall, using a knit dish cloth offers several benefits, including durability, absorbency, versatility, eco-friendliness, easy cleaning, and cost-effectiveness. Consider adding this practical and sustainable tool to your kitchen essentials.
Choosing the Right Yarn and Needles
When it comes to knitting dishcloths, choosing the right yarn and needles is essential to ensure a successful and enjoyable knitting experience. The type of yarn you select will determine the texture, durability, and absorbency of your dishcloth, while the size of your needles will determine the overall gauge and thickness of the fabric.
Yarn: Selecting a yarn that is suitable for dishcloths is important, as dishcloths are meant to be absorbent and durable. It is recommended to use 100% cotton yarn, as it is soft, absorbent, and easy to care for. Cotton yarn also holds up well to repeated washing, making it an excellent choice for items that need to withstand frequent use. When choosing a cotton yarn, look for one that is labeled as kitchen or dishcloth cotton, as these yarns are specifically designed for this type of project.
Needles: The size of your needles will determine the thickness and drape of your dishcloth. For a dishcloth with a looser, more open texture, you can use larger needles, such as size US 7 or 8 (4.5 or 5 mm). If you prefer a denser, more tightly woven fabric, you can use smaller needles, such as size US 6 (4 mm). The length of the needles is also a factor to consider. For a dishcloth, straight or circular needles in a length of 10 or 14 inches are typically sufficient.
Overall, choosing the right yarn and needles is crucial for creating a dishcloth that is both functional and aesthetically pleasing. By selecting a cotton yarn that is absorbent and durable, and choosing needles that create the desired texture and thickness, you can enjoy the process of knitting a dishcloth that will be both practical and beautiful.
Getting Started: Casting On

Before you begin knitting, you’ll need to cast on your stitches. Casting on is the process of creating the necessary loops on the knitting needle to begin your project. There are several different methods for casting on, but we’ll be using the long tail cast on method for this dishcloth pattern.
The Long Tail Cast On Method
The long tail cast on method is a versatile and easy way to start your project. To begin, you’ll need to estimate the amount of yarn you’ll need for your cast on stitches. This can be achieved by measuring about 1 inch of yarn per stitch and adding a little extra for good measure.
To execute the long tail cast on, hold the yarn in your right hand, with the end of the yarn placed between your thumb and index finger. Loop the tail end of the yarn over your thumb and hold it in place with your index finger. Then, insert the knitting needle under the loop on your thumb, and over the yarn held between your thumb and index finger. Slide the loop off your thumb and onto the knitting needle, tightening it slightly.
Repeat this process for each stitch needed, making sure to keep the tension even. Remember, the long tail cast on leaves a tail of yarn on one side of your work, which can be used to weave in later or left as a decorative fringe.
Once you have cast on all your stitches, you’re ready to begin knitting your dishcloth using the easy knit stitch pattern. Happy knitting!
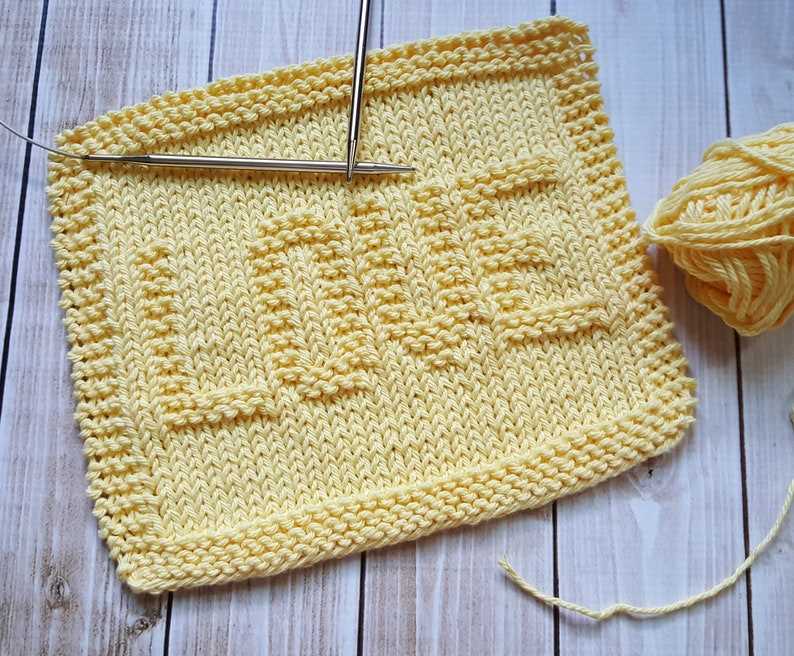
Knitting the Body of the Dish Cloth

Once you have cast on your desired number of stitches for your dish cloth, it’s time to start knitting the body. This is the main part of the dish cloth where the pattern will really start to take shape.
To knit the body, you will use a combination of basic knit and purl stitches. This creates a textured pattern that is not only visually appealing, but also adds extra absorbency to the dish cloth.
Start by knitting the first stitch, then purling the next stitch. Repeat this pattern across the entire row. When you reach the end of the row, turn your work and start the next row by knitting the first stitch, then purling the next stitch. Continue this pattern row after row until your dish cloth reaches the desired length.
It’s important to keep count of your rows to ensure that your dish cloth is symmetrical and even. You can use a row counter or make a tally mark on a piece of paper after each completed row.
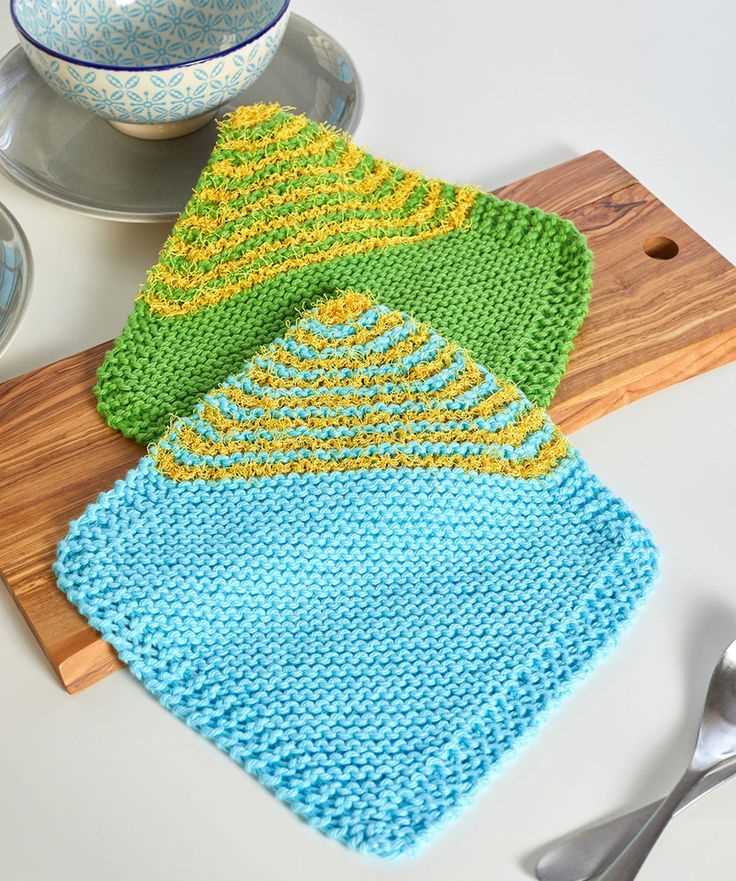
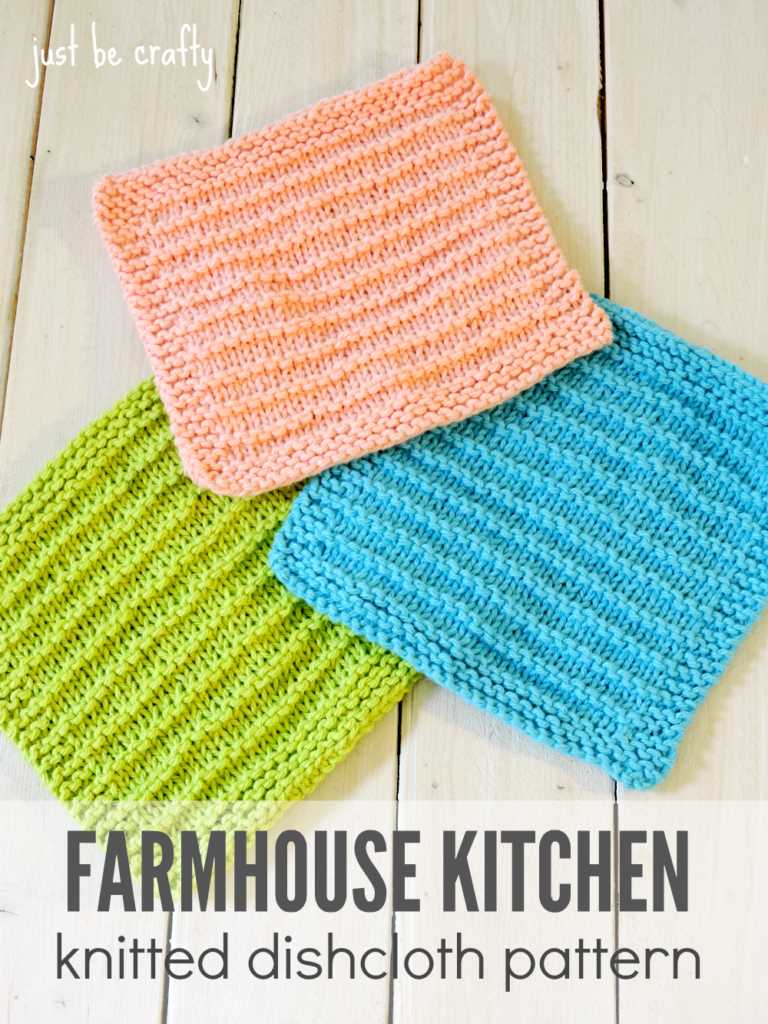
If you want to add some variation to the body of your dish cloth, you can experiment with different stitch patterns or incorporate stripes using different colored yarn. Get creative and have fun with it! Remember, the beauty of knitting is that you can make each dish cloth unique and personalized.
Creating a Beautiful Border
When it comes to knitting dishcloths, adding a beautiful border can make them even more special. A border not only adds visual interest, but also provides a finished look to your dishcloth. Whether you’re a beginner or an experienced knitter, there are several techniques you can use to create a beautiful border.
Lace Border: One way to create a delicate and feminine border is by incorporating lace patterns. You can use a lace stitch pattern that complements the main body of your dishcloth or choose a contrasting lace pattern for a statement look. Knitting a lace border may require some extra attention and concentration, but the end result is worth it.
Ribbed Border: If you’re looking for a simple and classic border, a ribbed pattern is a great choice. Knitting a few rows of rib stitch at the edges of your dishcloth will not only add texture but also help prevent curling. You can vary the width of the ribbed border or use different rib stitch patterns, such as 1×1 or 2×2 ribbing.
Cable Border: For a more intricate and decorative border, consider adding cables to your dishcloth. Cables create a visually appealing pattern that adds depth and dimension to your knitting. You can choose a simple cable pattern or experiment with more complex designs. Knitting cables may require a cable needle and some practice, but the result is sure to impress.
Seed Stitch Border: Another option for a textured and visually interesting border is the seed stitch. The seed stitch alternates between knit and purl stitches, creating a bumpy and pebbled texture. Adding a few rows of seed stitch at the edges of your dishcloth will give it a unique and charming border. The seed stitch is relatively easy to knit and can be used with any type of yarn.
Whether you prefer a delicate lace border, a classic ribbed pattern, an intricate cable design, or a textured seed stitch, adding a beautiful border to your dishcloths can elevate them from simple to stunning. Experiment with different techniques, stitch patterns, and color combinations to create unique and personalized borders that will make your dishcloths truly special.
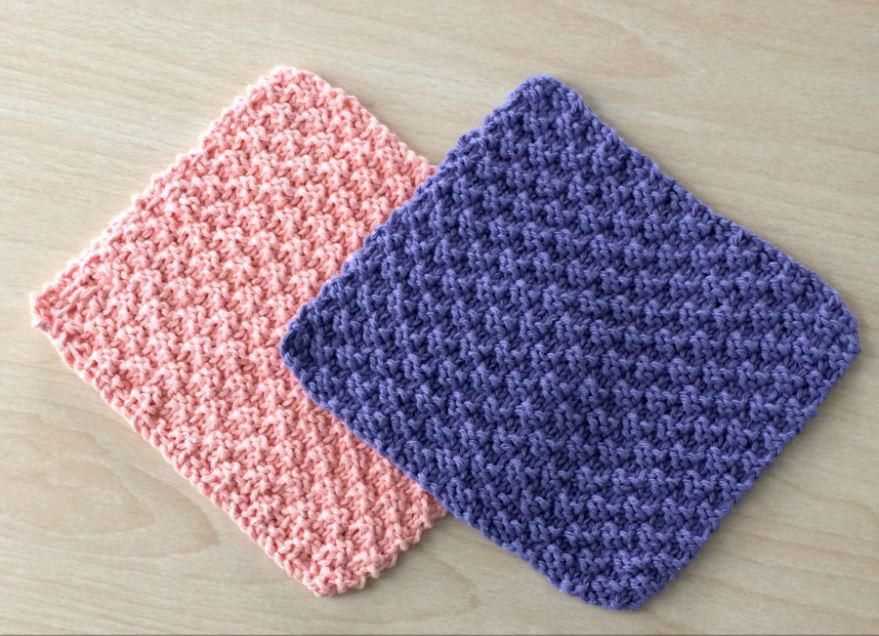
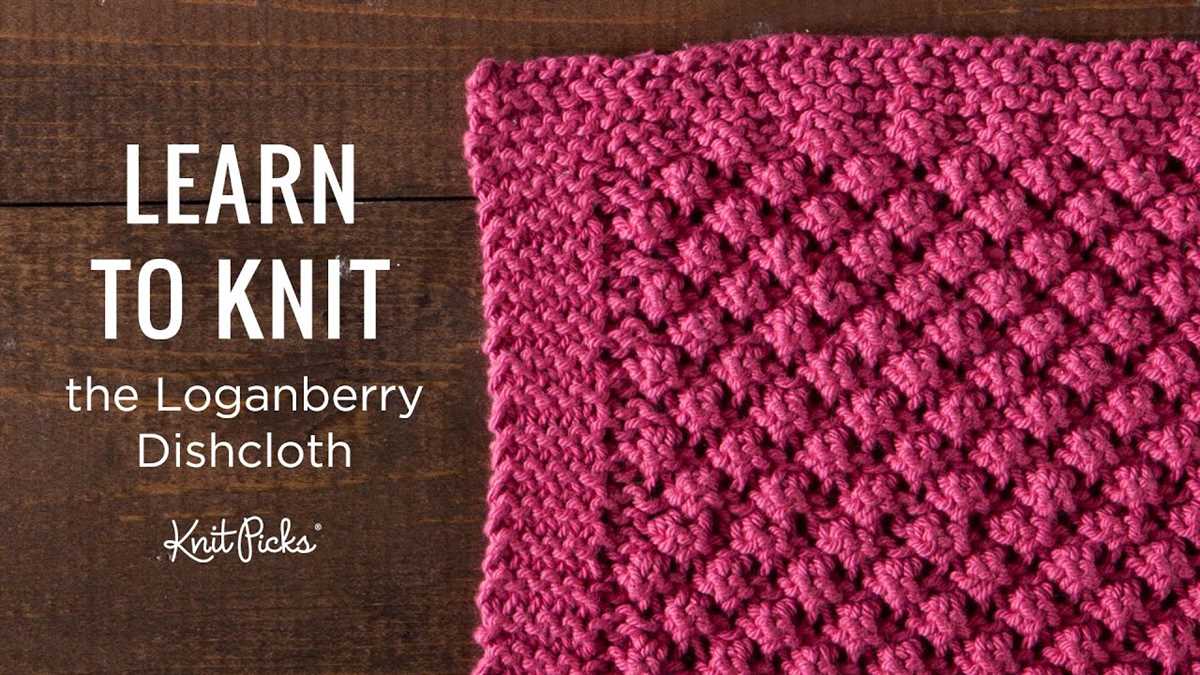
Adding Texture: Using Simple Stitch Patterns
A knit dishcloth is not only a practical and functional item, but it can also be a great way to experiment with different stitch patterns and add texture to your knitting projects. By using simple stitch patterns, you can easily create interesting and visually appealing dishcloths.
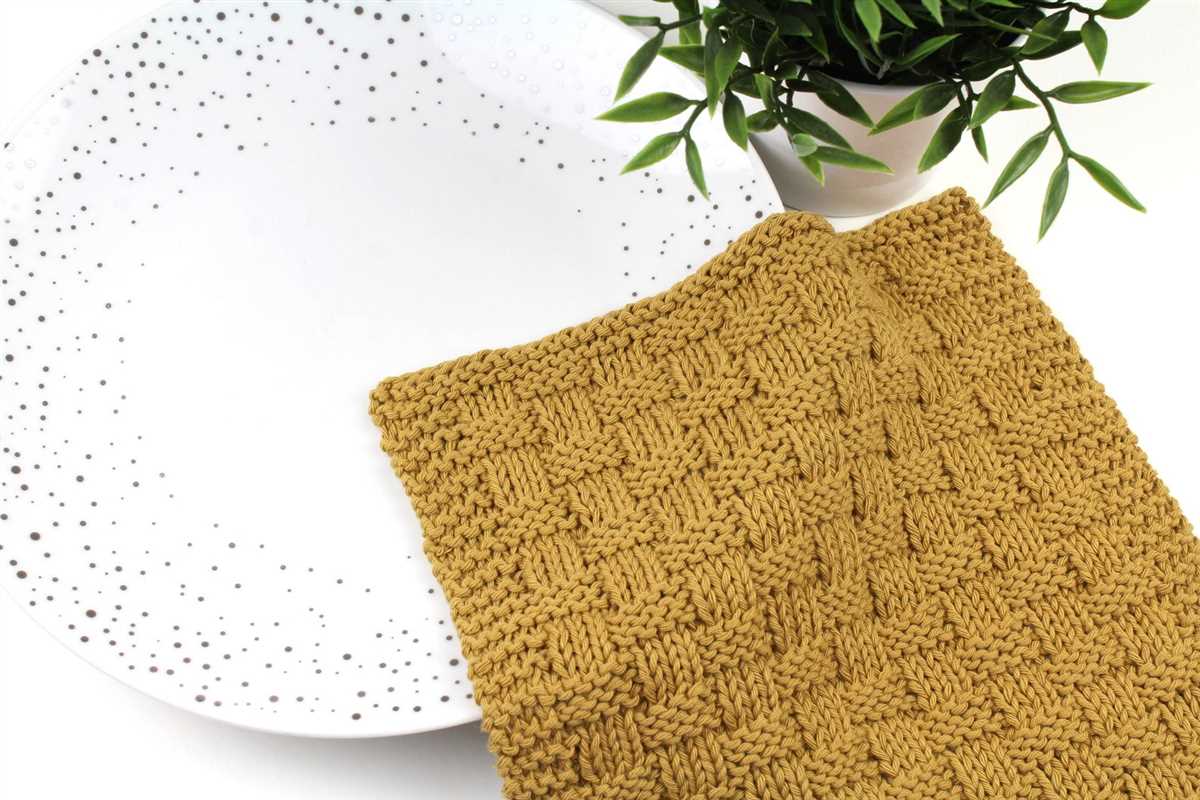
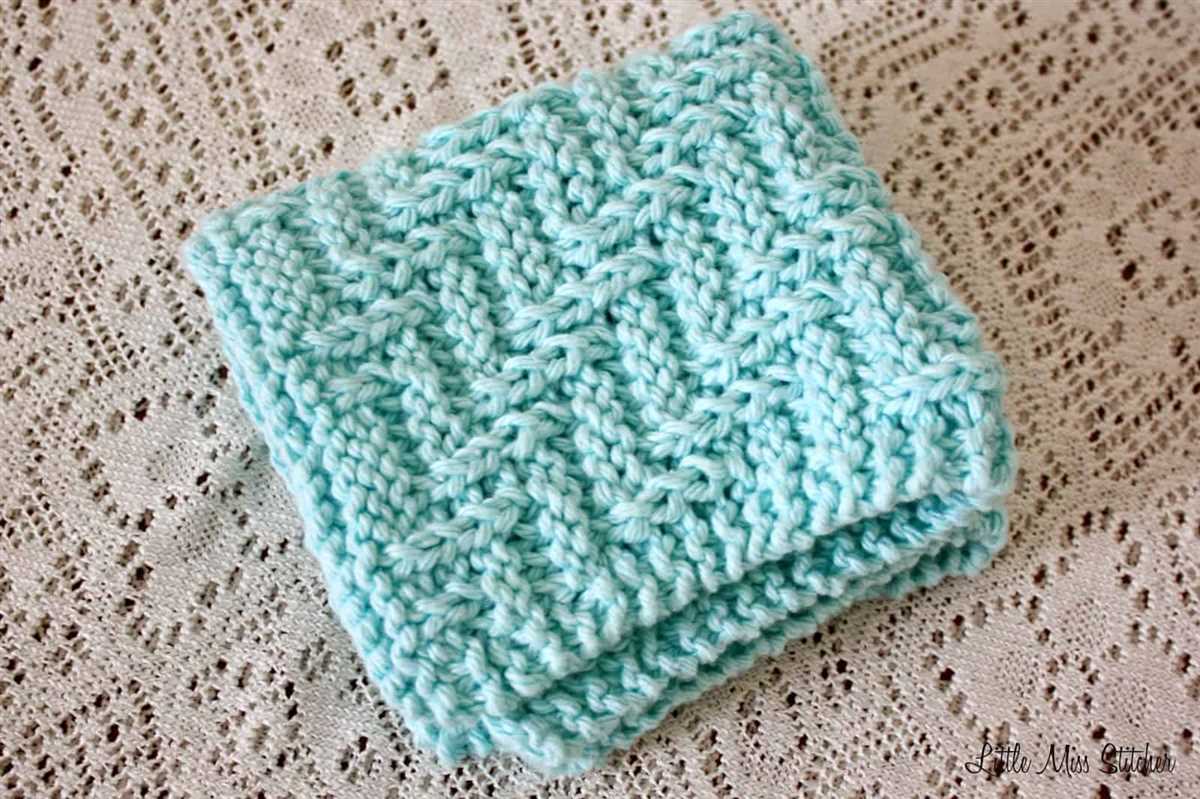
1. Basketweave Stitch: The basketweave stitch pattern is an easy way to add texture to your dishcloth. It creates a woven effect that resembles a basket. To knit a basketweave stitch pattern, you alternate between knit and purl stitches in a specific pattern. This stitch pattern is great for beginner knitters who want to try something new.
2. Seed Stitch: The seed stitch is another simple stitch pattern that adds texture to your dishcloth. It is created by alternating between knit and purl stitches, but in a different pattern than the basketweave stitch. The result is a fabric with small seeds or bumps, which adds visual interest to your knitting project.
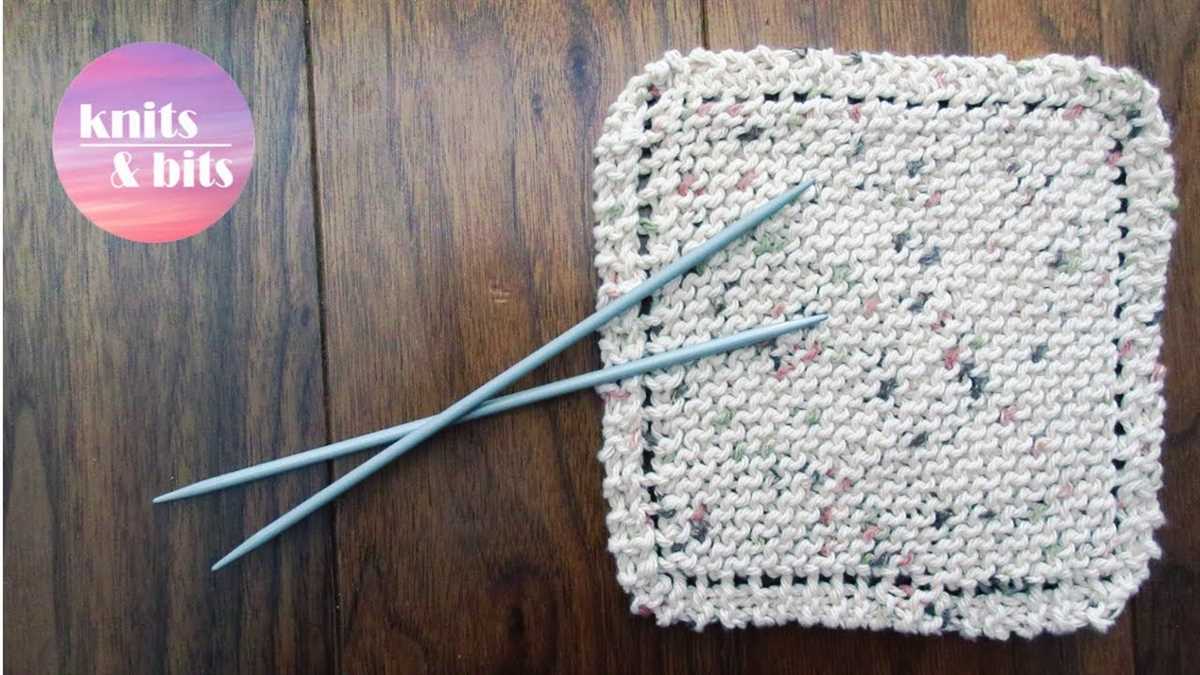
3. Garter Stitch: The garter stitch is the simplest stitch pattern and is often used for beginner projects. However, it can also be used to add texture to your dishcloth. The garter stitch is created by knitting every row, resulting in a fabric with ridges. By using a combination of garter stitch and other stitch patterns, you can create a dishcloth with a unique texture.
4. Lattice Stitch: The lattice stitch is a slightly more complex stitch pattern, but it can create a beautiful texture in your dishcloth. It is created by combining knit, purl, and yarn over stitches in a specific pattern. The result is a fabric with an intricate lattice-like design. This stitch pattern is great for advanced knitters who want to challenge themselves.
By using these simple stitch patterns, you can easily add texture and visual interest to your knit dishcloths. Whether you’re a beginner knitter looking to try something new or an experienced knitter seeking a challenge, experimenting with different stitch patterns can take your dishcloth knitting to the next level.
Changing Colors for a Striped Effect
Adding stripes to your dishcloth pattern is a great way to incorporate different colors and create a visually appealing design. To achieve a striped effect, you will need to change colors at specific points in your knitting.
When working with multiple colors, it is important to weave in the loose ends of the yarn to prevent them from unraveling. To change colors, simply drop the old color and start knitting with the new color. To secure the loose ends, you can weave them in while knitting or use a tapestry needle to sew them in later.
Here are some tips for changing colors:
- Plan out your color sequence before starting your project. This will help you determine where and when to change colors.
- When changing colors, work the last stitch of the old color as usual, then pick up the new color and start knitting the next stitch.
- If you have a long stretch of one color, you can carry the unused color along the back of your work. Be careful not to pull the yarn too tightly, as it can cause puckering.
- To create clean color changes, make sure to twist the yarns together at the beginning of each row. This will prevent any gaps or holes from forming.
By following these tips, you can easily create a striped effect in your dishcloth pattern. Don’t be afraid to experiment with different color combinations and widths of stripes to achieve the desired look. Happy knitting!
Blocking and Finishing Touches
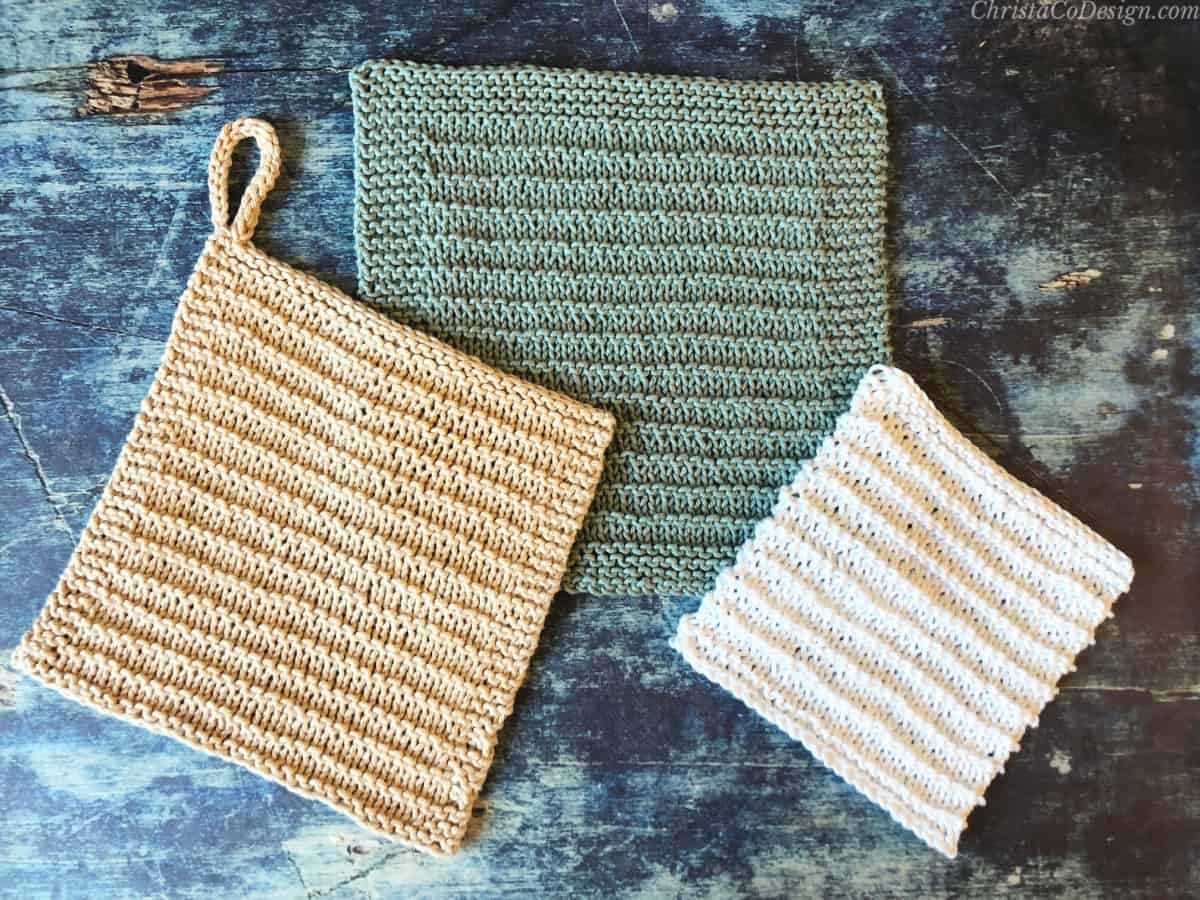
Once you have finished knitting your dish cloth, the next step is to block it. Blocking is an important process that helps to even out the stitches and give your dish cloth a more polished look. To block your dish cloth, simply soak it in lukewarm water for about 15 minutes. Gently squeeze out the excess water and lay the dish cloth on a clean towel. Smooth out any wrinkles and shape the dish cloth to your desired dimensions. Allow it to dry completely before moving on to the next step.
After your dish cloth is blocked and dry, it’s time to add some finishing touches. One option is to add a decorative border to your dish cloth. You can do this by picking up stitches along the edges and knitting a few rows in a contrasting color or stitch pattern. Another option is to add a loop or loop-style hanger to your dish cloth, making it easy to hang and store. You can achieve this by knitting a small tab and attaching it to one corner of the dish cloth.
For a professional-looking finish, consider adding a personalized tag or label to your dish cloth. This can be as simple as creating a small label with your name or initials and attaching it to one corner. Alternatively, you can purchase custom tags or labels online that are specifically designed for handmade items.
Once you have completed the blocking and finishing touches, your dish cloth is ready to be used or gifted. Remember to take care of your dish cloth by washing it gently in warm water and laying it flat to dry. With the right care, your dish cloth will last for years to come, providing a functional and beautiful addition to your kitchen.
Troubleshooting Common Knitting Mistakes
Knitting is a relaxing and enjoyable hobby, but it can be frustrating when mistakes happen. Fortunately, most knitting mistakes can be fixed with a little patience and practice. In this section, we will address some common knitting mistakes and provide troubleshooting tips to help you overcome them.
1. Dropped stitches
Dropped stitches are a common mistake in knitting. If you notice a dropped stitch, don’t panic! Take a deep breath and carefully examine your work. To fix a dropped stitch, use a crochet hook or a spare knitting needle to pick up the dropped stitch and place it back on the needle. Then, continue knitting as usual.
2. Uneven tension
Uneven tension occurs when the tension of your knitting varies throughout your project. This can result in a fabric that looks lumpy or uneven. To fix uneven tension, make sure you are consistently using the same tension while knitting. Practice knitting with a relaxed grip and try to avoid pulling the yarn too tightly. If necessary, you can also block your finished project to even out the tension.
3. Twisted stitches
Twisted stitches are another common knitting mistake. They occur when you knit or purl through the back loop instead of the front loop, resulting in a twisted stitch. To fix twisted stitches, carefully unravel the stitch and re-insert the needle through the front loop before continuing to knit or purl.
4. Holes or gaps
Holes or gaps in your knitting can happen when you accidentally create extra yarn overs or drop stitches. To fix these holes or gaps, carefully examine your work to identify the mistake. Then, use a crochet hook or a spare knitting needle to pick up the dropped stitch or close the gap by knitting or purling into the loop below.
5. Knitting too tightly or too loosely
Knitting too tightly or too loosely can affect the overall appearance and drape of your finished project. To avoid knitting too tightly, try using larger needles or relaxing your grip on the yarn. If you find yourself knitting too loosely, consider using smaller needles or adjusting your tension. Practice and experimentation will help you find the right balance.
In conclusion, knitting mistakes are part of the learning process. Rather than becoming frustrated, embrace them as opportunities to learn and improve your skills. With practice and patience, you’ll become more confident in troubleshooting and fixing knitting mistakes. Remember, the most important thing is to enjoy the process and have fun with your knitting projects!
Happy knitting!