
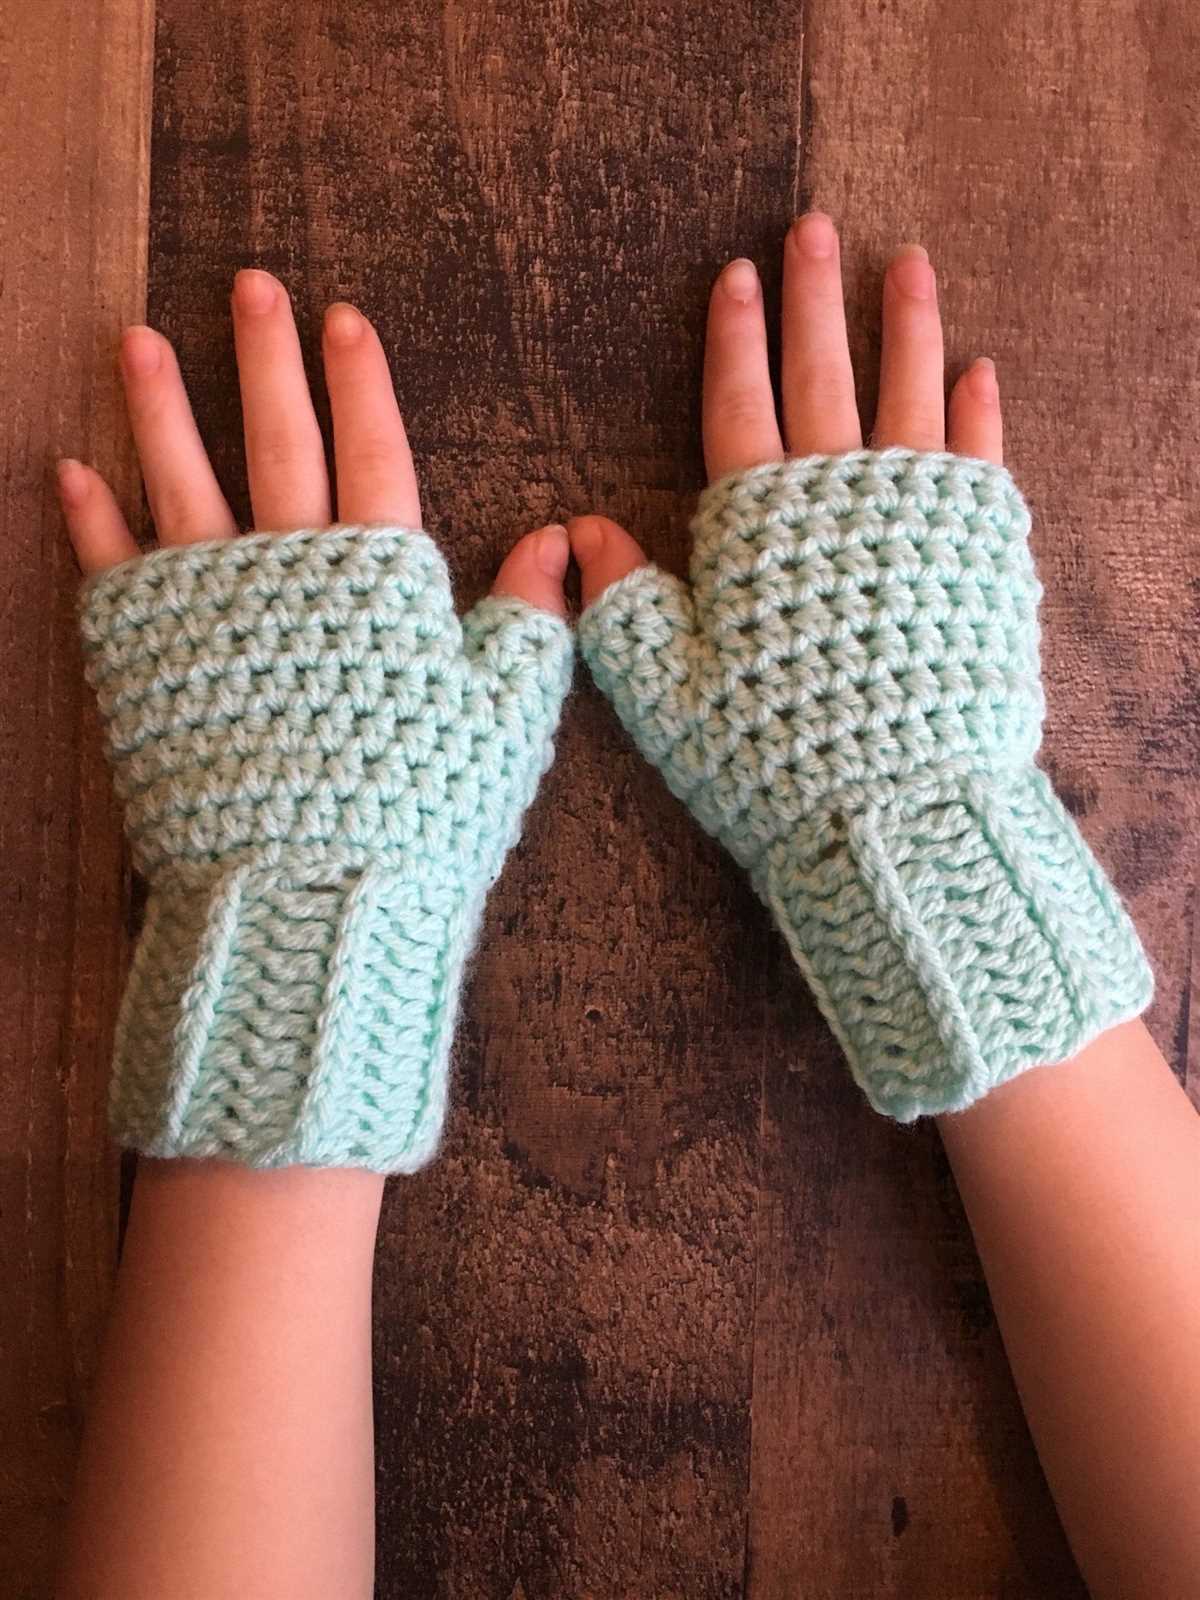
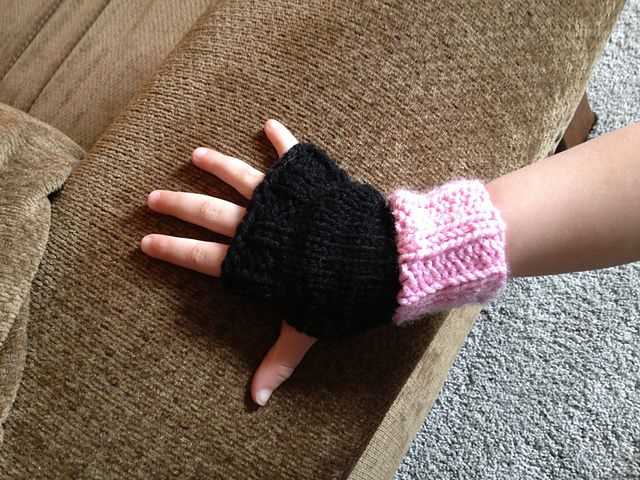
Fingerless mittens are a practical and stylish accessory for children during the colder months. With these mittens, kids can keep their hands warm while still having the freedom to use their fingers for various activities, such as playing outside or using electronic devices. If you have basic knitting skills, you can easily create a pair of fingerless mittens for your little ones with this free knitting pattern.
This pattern is designed specifically for children and includes instructions for various sizes, ensuring a perfect fit for different age groups. The mittens are knitted in the round, using a combination of knit and purl stitches, to create a stretchy and comfortable fabric. The pattern also incorporates ribbing at the cuffs to help keep the mittens in place.
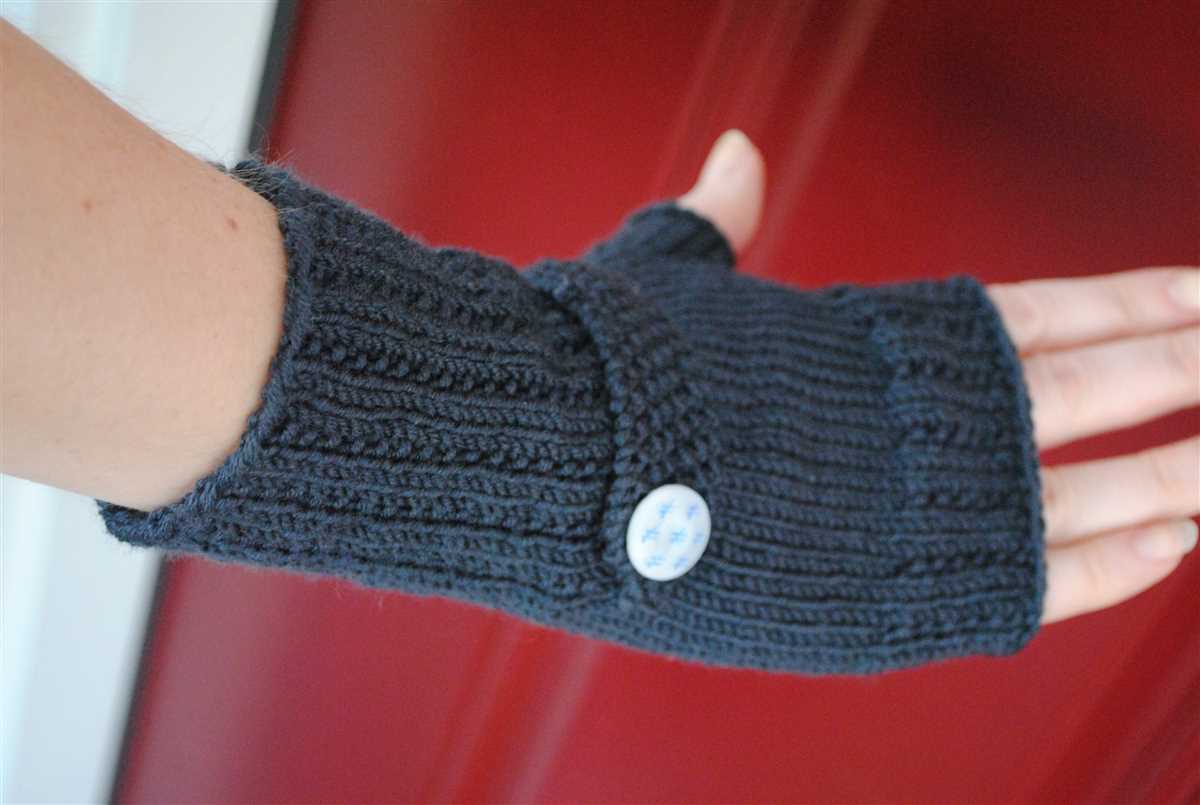
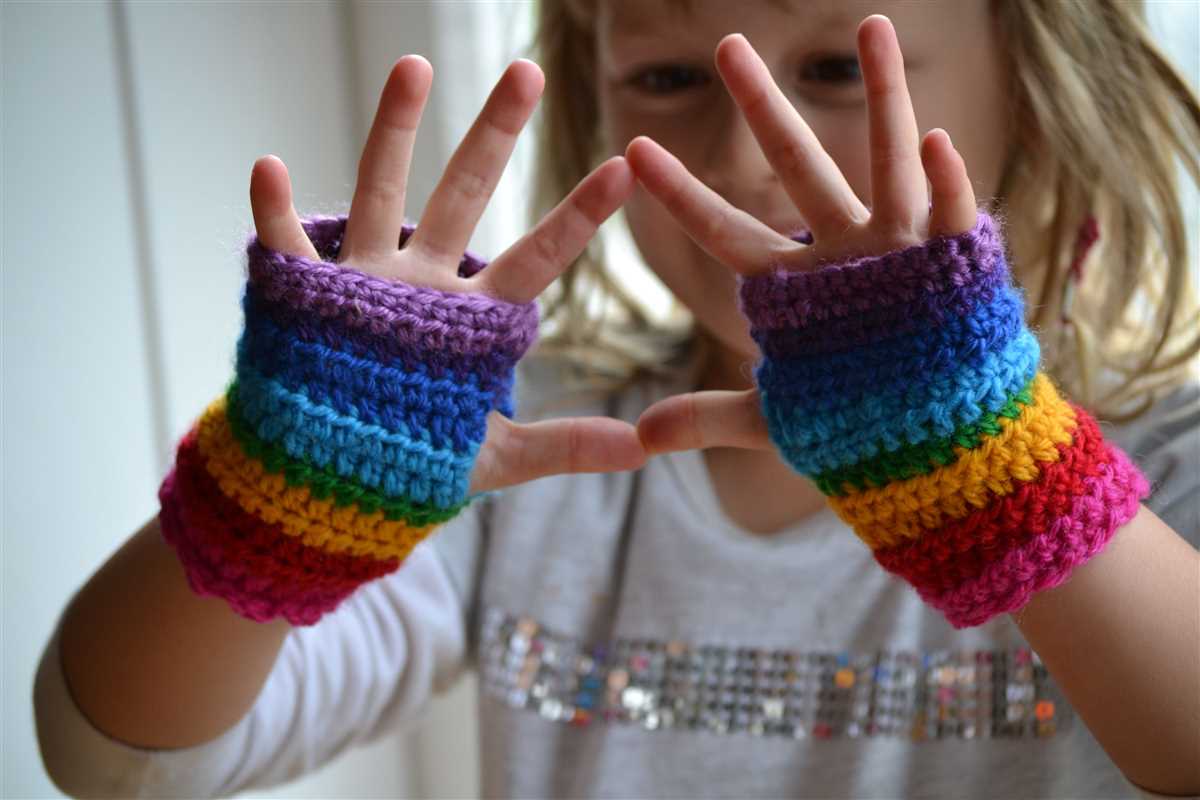
By choosing different colors of yarn and adding embellishments like buttons or embroidery, you can customize these fingerless mittens to suit your child’s individual style. They make for a delightful handmade gift and are also a great project for beginners looking to expand their knitting repertoire.
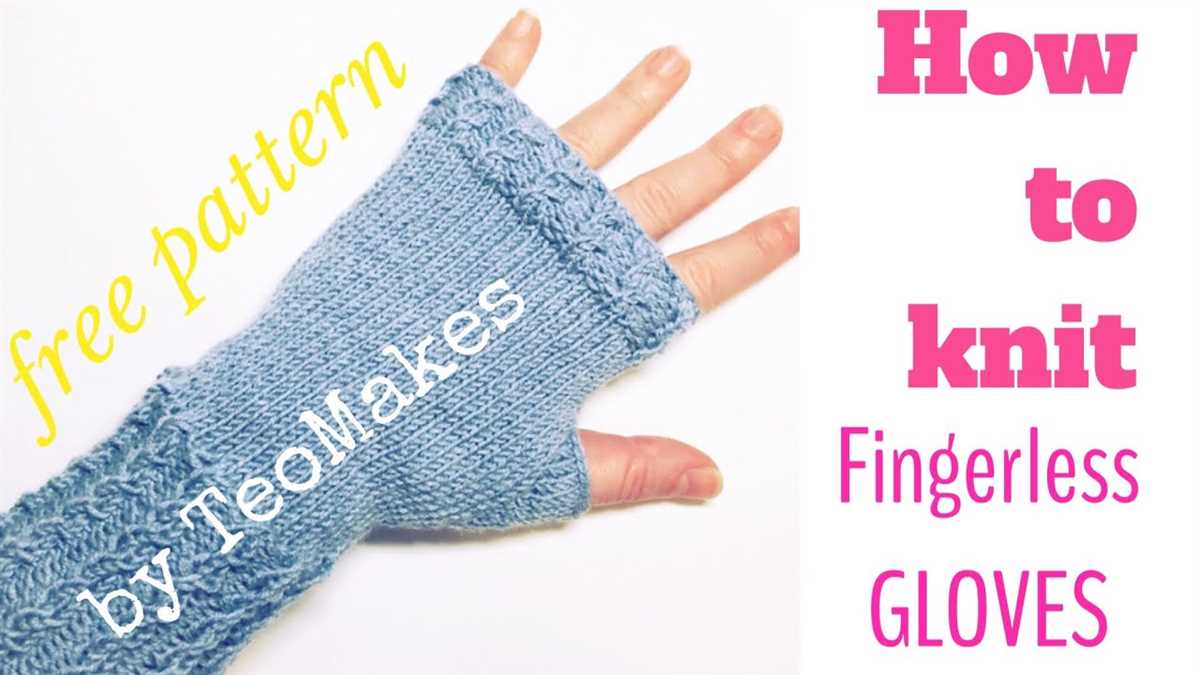
Free Knitting Pattern for Children’s Fingerless Mittens
Fingerless mittens are a great accessory for children, as they keep their hands warm while still allowing them to use their fingers freely. With this free knitting pattern, you can create a pair of cozy fingerless mittens for your little ones.
To get started, you will need:
- Yarn in your desired color
- Knitting needles in the appropriate size for your yarn
- A tapestry needle
Begin by casting on the appropriate number of stitches for the size you wish to make. Work in a rib stitch for a few rows to create a stretchy cuff. Then, switch to a stockinette stitch for the body of the mittens.
When you reach the desired length, you can begin shaping the thumb opening. This is done by binding off a certain number of stitches in the middle of a row, and then casting them back on in the next row. This creates a gap for the thumb.
Continue knitting in stockinette stitch until the mitten reaches the desired length. Then, switch back to the rib stitch for a few more rows to create the top cuff. Finally, bind off all stitches and weave in any loose ends.
These fingerless mittens are a quick and easy knitting project that will keep your child’s hands warm and cozy. Plus, they make a great gift for birthdays or holidays. So why not give this free knitting pattern a try and create a pair of fingerless mittens for your little one?
About Fingerless Mittens

Fingerless mittens, also known as fingerless gloves or wrist warmers, are a popular accessory in the world of knitting. They are designed to keep the hands warm while leaving the fingers free, allowing for dexterity and flexibility. Fingerless mittens are not only practical but also fashionable, making them a versatile and stylish addition to any outfit.
One of the main advantages of fingerless mittens is their versatility. They can be worn indoors or outdoors, making them suitable for various occasions. Whether you’re working on a computer, texting on your phone, or enjoying outdoor activities, fingerless mittens provide the perfect balance between warmth and functionality.
Free knitting patterns for children’s fingerless mittens are widely available online, making it easy for knitting enthusiasts to create their own unique designs. These patterns often include detailed instructions and step-by-step guides, making them suitable for beginners and experienced knitters alike. By using different yarn colors and stitch patterns, you can customize the fingerless mittens to match your child’s personality and style.
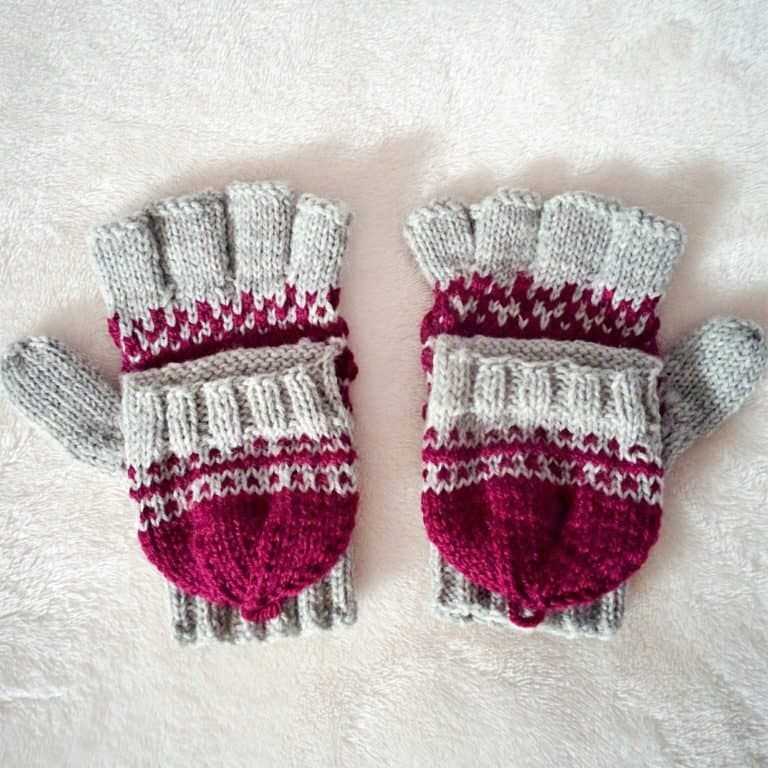
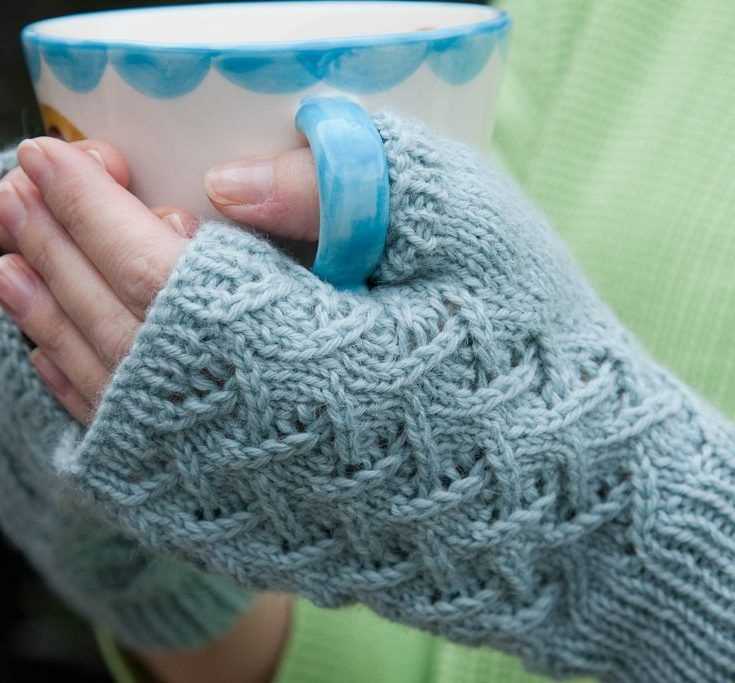
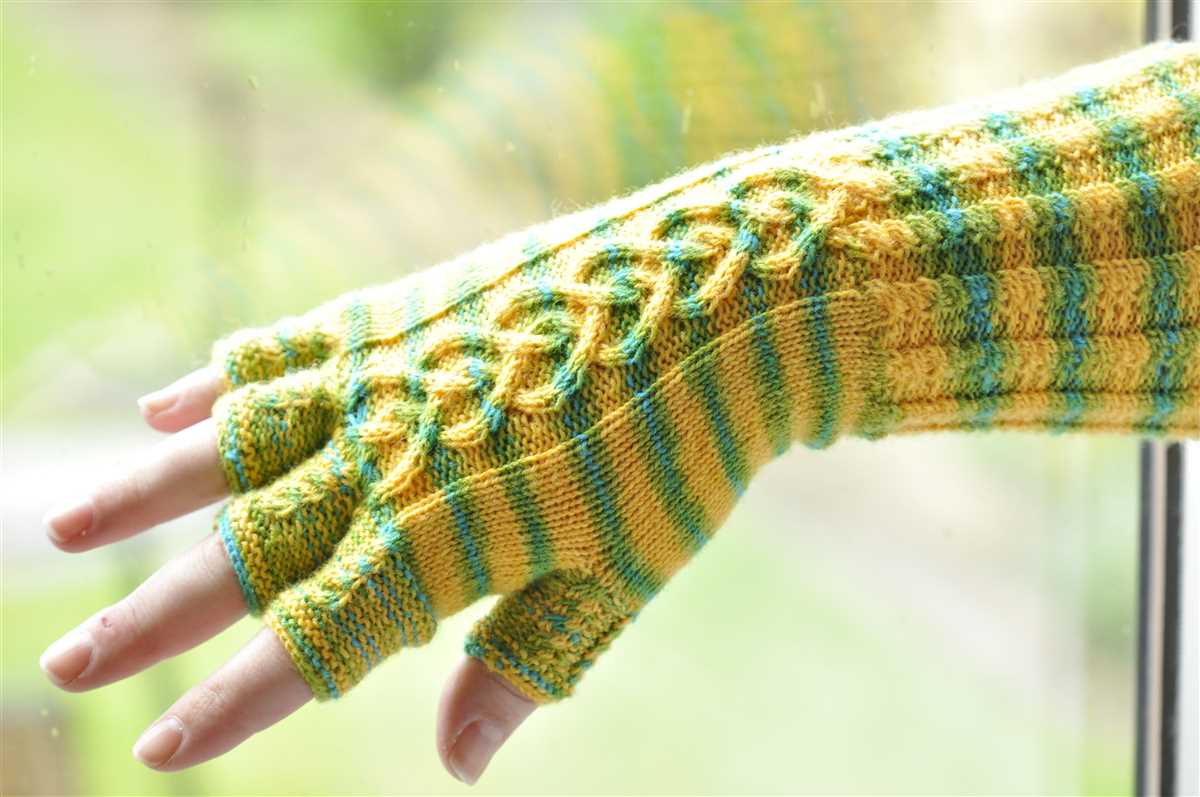
In addition to keeping the hands warm, fingerless mittens can also serve as a fashion statement. They come in various designs, from simple and classic to more intricate and embellished styles. Some fingerless mittens feature lace patterns, cables, or ribbing, adding a touch of elegance and sophistication. With so many options available, you can easily find a fingerless mitten pattern that suits your child’s taste and preferences.
Overall, fingerless mittens are a practical and stylish accessory for children. They provide warmth and comfort while allowing for freedom of movement. Whether you’re knitting them as a gift or for your own child, fingerless mittens are sure to be a hit.
Choosing Yarn and Needles
When it comes to knitting fingerless mittens for children, choosing the right yarn and needles is crucial to achieve the desired results. The yarn you select will determine the warmth, softness, and durability of the mittens, while the needles will affect the stitch definition and overall size of the finished product.
Yarn: For children’s mittens, it is important to choose a yarn that is soft and non-itchy, as kids have sensitive skin. Look for yarns that are specifically designed for children or those that are labeled as being gentle on the skin. Acrylic and cotton blends are popular choices, as they are both hypoallergenic and easy to care for. You may also consider using yarns with added stretch or elasticity to ensure a snug and comfortable fit.
Needles: The size of the needles you use will determine the gauge or tension of your knitting, which in turn affects the size of the mittens. It is recommended to use circular or double-pointed needles in a size that matches the yarn weight you have chosen. This information can usually be found on the yarn label. If you prefer a tighter fabric, consider using smaller needles, while larger needles will create a looser, more open texture. It is always a good idea to make a gauge swatch before starting your project to ensure the correct sizing.
By carefully considering the yarn and needles you use, you can create a pair of fingerless mittens that are not only comfortable and warm but also stylish and functional for children. Take the time to experiment with different yarns and needle sizes to find the perfect combination for your project.
Getting Started
Before you start knitting the fingerless mittens for children, you will need to gather all the necessary materials. Here is a list of what you will need:
- Yarn: Choose a soft and warm yarn that is suitable for children’s mittens. You will need approximately 100-150 grams of yarn.
- Knitting Needles: Use a set of double-pointed knitting needles in the appropriate size for your yarn. Check the label of the yarn for the recommended needle size.
- Tape Measure: You will need a tape measure to ensure that you are knitting to the correct size.
- Scissors: Have a pair of scissors handy for cutting the yarn and weaving in the ends.
- Stitch Markers: Stitch markers can be helpful for marking certain sections of the pattern.
- Yarn Needle: A yarn needle will be used for weaving in the ends and finishing the mittens.
Once you have gathered all the necessary materials, you can now begin knitting the fingerless mittens. Before starting, make sure you have read through the pattern and understand all the instructions. It can be helpful to highlight or mark any important information.
Casting On
When starting a knitting project, the first step is to cast on. This is the process of creating the first row of stitches on your knitting needle. There are several different methods of casting on, but the most common method is the long-tail cast on.
To begin the long-tail cast on, you will need a length of yarn that is approximately three times the width of your finished project. Start by making a slip knot at one end of the yarn and place it on your needle. Hold the needle in your right hand and the yarn in your left hand.
Next, use your right hand to drape the yarn over your left thumb and hold it in place with your index finger. Insert the needle under the yarn on your thumb, going from front to back. Now, bring the needle down and scoop up the yarn on your index finger, bringing it through the loop on your thumb. This creates a new stitch on the needle. Repeat this process until you have the desired number of stitches for your project.
The long-tail cast on is a versatile method that creates a stretchy edge, making it ideal for fingerless mittens. It is important to cast on the correct number of stitches to ensure a snug fit. Once you have finished casting on, you are ready to start knitting the body of the fingerless mittens.
Remember to always take your time and practice your casting on technique before starting a project. With a bit of practice, you will become confident in your casting on skills and be able to tackle any knitting project with ease. Happy knitting!
Knitting the Cuff
When starting to knit the cuff of the fingerless mittens, you will use a smaller size needle to create a snug fit around the wrist. This will help ensure that the mittens stay in place while being worn. The cuff is typically worked in a ribbing pattern, such as k1, p1 or k2, p2, which creates a stretchy and comfortable fabric.
To begin, cast on the required number of stitches onto the smaller size needle. It is recommended to use a long-tail cast-on method for this project, as it creates a neat and elastic edge. Once all the stitches are cast on, join the round by knitting the first stitch and slipping the last cast-on stitch over it. This will create a seamless and continuous cuff.
To knit the ribbing pattern, continue working in the specified stitch pattern for the required length. This may vary depending on the desired length of the cuff. The ribbing pattern should be worked in the round, alternating between knit stitches and purl stitches to create the ribbed effect. Make sure to keep track of your stitch count to ensure the pattern is consistent.
When you have reached the desired length for the cuff, it is time to switch to the larger size needle for the main body of the fingerless mittens. At this point, you will transition to a different stitch pattern or continue in the same pattern, depending on the design. Once the cuff is complete, you can proceed to knit the hand portion of the mittens, following the instructions provided in the pattern.
Creating the Thumb Opening
Once you have completed the main body of the fingerless mittens, it’s time to create the thumb opening. This is the part where the wearer’s thumb will go through. Follow the steps below to accomplish this:
Step 1:

Count the number of stitches on your needles. Divide this number by 2 and place a stitch marker at the halfway point. This will be the center of your thumb opening.
Step 2:
Starting from the stitch marker, knit a few stitches until you reach the desired size for your thumb opening. This can vary depending on your preference and the size of the wearer’s thumb. For children’s fingerless mittens, a thumb opening with 6-8 stitches is usually sufficient.
Step 3:
Once you have reached the desired size for the thumb opening, transfer the stitches to a stitch holder or a spare piece of yarn. This will keep these stitches on hold while you continue working on the rest of the mitten.
Step 4:
Continue knitting the remaining stitches until you reach the end of the round. Make sure to maintain the pattern and stitch count as you work.
Step 5:
After completing a few more rounds, including any necessary decreases or increases, you can finish off the fingerless mittens by binding off all the stitches and weaving in any loose ends.
With these steps, you have successfully created a thumb opening for your children’s fingerless mittens. Enjoy the cozy warmth and stylish look of these handmade accessories!
Shaping the Hand
When knitting fingerless mittens for children, it is important to consider the shape of their hand. Children’s hands tend to be smaller and more rounded compared to adult hands. To ensure a comfortable fit, it is recommended to shape the hand section of the mittens accordingly.
To shape the hand section, you can use various knitting techniques such as increases and decreases. One common method is to start with a ribbed cuff that snugly fits around the wrist, then gradually increase the number of stitches to accommodate the wider part of the hand. This ensures that the mittens stay in place while allowing for freedom of movement.
Another way to shape the hand section is by incorporating thumb gussets. A thumb gusset is an extra panel of stitches that provides room for the thumb to move comfortably. It can be created by using a combination of increases and decreases. Knitting a thumb gusset not only enhances the fit of the mittens but also adds an element of style.
When shaping the hand section, it is important to consider the dexterity of the child. If they require more freedom of movement, you can opt for a simpler design with minimal shaping. However, if the mittens are intended for colder weather and more insulation is needed, you can add additional shaping to create a snugger fit.
Knitting the Thumb
When knitting fingerless mittens for children, the thumb can be a challenging part of the pattern. However, with a little bit of practice and attention to detail, knitting the thumb can become an enjoyable and satisfying part of the project.
To begin knitting the thumb, it is important to first determine the placement of the thumb hole. This can be done by measuring the circumference of the child’s hand and identifying the spot where the thumb naturally bends. Mark this spot on the knitted fabric.
Once the placement of the thumb hole is determined, the next step is to create an opening for the thumb. This is typically done by knitting a few stitches using waste yarn, which will be removed later to create the thumb opening. It is important to leave a long tail of waste yarn to make it easier to remove later.
After the thumb opening is created, the thumb can be knitted separately using the main yarn. This is typically done by picking up stitches along the edges of the thumb opening and knitting in the round. It is important to knit tightly and evenly to ensure a snug and comfortable fit.
When knitting the thumb, it is helpful to use double-pointed needles or a small circular needle to easily maneuver and knit the small circumference. It is also important to regularly try on the mittens to ensure the thumb is being knitted to the correct length and size.
Once the thumb is completed, the waste yarn can be carefully removed to reveal the thumb opening. Any loose ends can be woven in and secured to ensure a neat and finished look.
Knitting the thumb of fingerless mittens for children requires patience and attention to detail. However, with the right techniques and tools, it can be an enjoyable and rewarding part of the knitting process.
Finishing the Mittens

Once you have completed knitting the fingerless mittens for children, it’s time to finish them off to give them a polished look. Here are a few steps to follow for finishing the mittens:
Weave in the ends: Start by securing the loose ends of yarn from where you cast on and where you bound off. Use a yarn needle to weave the ends through the stitches on the wrong side of the mittens. Make sure to weave the ends in securely to prevent them from unraveling.
Seam the sides: With the wrong sides facing each other, align the edges of the mittens and use a yarn needle to seam the sides together. You can use the mattress stitch or whip stitch to sew the edges. Take care to make neat and even stitches to ensure a professional-looking finish.
Add thumb opening (optional): If your pattern includes a thumb opening, now is the time to create it. Follow the instructions in the knitting pattern to determine the placement and size of the opening. Use your preferred technique to create the opening, such as cutting the yarn and picking up stitches or using waste yarn to hold stitches.
Block the mittens (optional): Blocking can help even out the stitches and make the mittens look more polished. Wet blocking is typically recommended for wool or acrylic yarn. Gently soak the mittens in lukewarm water, squeeze out the excess water, and lay them flat on a towel to dry. Use pins or blocking wires to shape the mittens into the desired size and let them dry completely before removing the pins.
Final touches: Once the mittens are dry and the seams are secure, check for any loose stitches or uneven edges. Use a crochet hook or yarn needle to fix any imperfections. You can also add embellishments like buttons, bows, or embroidery to personalize the mittens.
Congratulations! You have now finished knitting and perfecting your children’s fingerless mittens. They are ready to be worn and enjoyed!
Adding Embellishments
Once you have completed your fingerless mittens, you may want to add some extra embellishments to make them truly unique. Here are a few ideas to get you started:
- Buttons: Sewing buttons onto the cuffs or the back of the mittens can add a touch of elegance or whimsy.
- Pom-poms: Attaching small pom-poms to the top of the mittens can give them a playful and fun look.
- Ribbons: Tying ribbons around the wrists or weaving them through the stitches can create a decorative and feminine touch.
- Embroidery: Adding embroidery designs or monograms can personalize the mittens and make them more special.
- Beads: Sewing beads onto the cuffs or creating beaded patterns can add sparkle and glamour.
Remember to choose embellishments that are safe and appropriate for children. Avoid using small parts that can be a choking hazard.
Adding embellishments is a great way to customize your fingerless mittens and make them stand out. Whether you choose buttons, pom-poms, ribbons, embroidery, or beads, this finishing touch will make your mittens one-of-a-kind and sure to be treasured.