
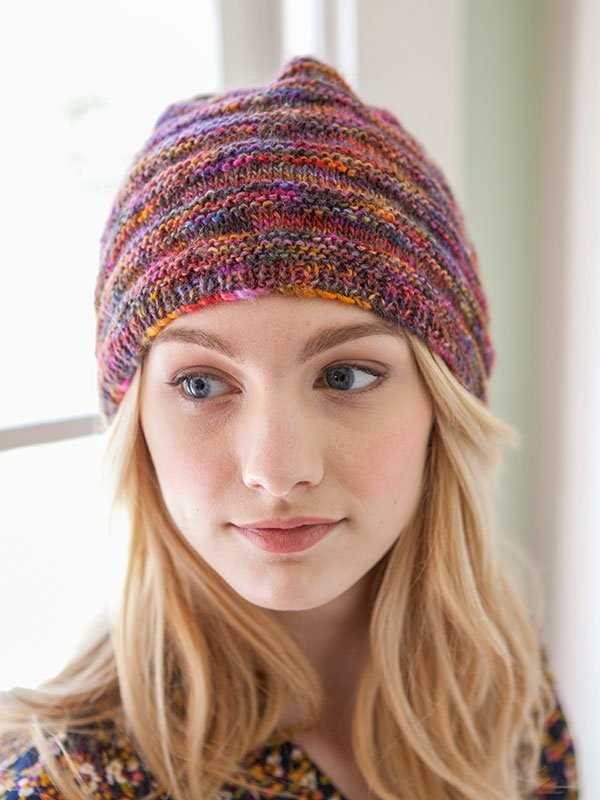
Knitting is not just a craft, it’s a way to express your creativity and style. And what better way to showcase your knitting skills than by making a beautiful knitted hat? Whether you’re a beginner or an experienced knitter, making a knitted hat is a fun and rewarding project that can be completed in just a few hours.
There are countless patterns and designs available for knitted hats, each with their own unique style and level of difficulty. From simple, classic designs to more intricate and detailed patterns, there’s a knitted hat pattern out there for everyone.
In this article, we will explore some popular knitted hat patterns and provide step-by-step instructions to help you create your own stunning hat. We’ll cover different stitches, techniques, and materials to ensure that you have all the information you need to get started on your knitting journey.
So grab your knitting needles and get ready to create a cozy and fashionable accessory that will keep you warm and stylish all winter long. Follow our guide to find the perfect knitted hat pattern and start knitting today!
What is a Knitted Hat Pattern?
A knitted hat pattern is a set of instructions that guides a person on how to create a knitted hat. It includes the steps, stitch patterns, measurements, and materials needed to make the hat. Knitted hat patterns can vary in complexity, from simple designs suitable for beginners to intricate patterns for experienced knitters. They often come in written form, but can also include charts and diagrams to help visualize the knitting process.
When following a knitted hat pattern, the knitter typically starts by selecting the appropriate yarn and knitting needles. The pattern will specify the gauge or tension required to achieve the desired size and fit of the hat. It will then outline the different stitches to be used, such as knit, purl, and various decorative stitch patterns.
The hat pattern will typically provide a step-by-step guide on how to cast on stitches, knit the body of the hat, shape the crown, and finish off the hat. This may involve increasing or decreasing stitches, changing stitch patterns, or even incorporating cables or colorwork. The pattern may also provide instructions for different sizes, allowing the knitter to customize the hat for a specific head circumference or length.
Knitted hat patterns can be found in various sources, such as knitting books, magazines, and online platforms. Some patterns are available for free, while others may require purchase. Knitters can choose from a wide range of hat patterns, including different styles (such as beanies, slouchy hats, or berets) and designs (such as cables, lace, or colorwork). With countless possibilities, knitted hat patterns offer knitters the opportunity to create unique and stylish accessories.
How to Choose the Right Yarn for Your Knitted Hat Pattern
When it comes to knitting a hat, choosing the right yarn is essential. The type of yarn you use can greatly affect the overall look and feel of your finished hat. Whether you’re knitting for yourself or for someone else, taking the time to consider the yarn options can make all the difference in the end result.
Consider the Fiber Content: The fiber content of the yarn will determine the hat’s warmth, durability, and comfort. Wool is a popular choice for hats as it is warm and insulating. Acrylic yarn is another common option, as it is often soft, easy to care for, and affordable. Other fibers to consider include alpaca, cotton, and silk, each with their own unique qualities.
Weight and Gauge:
Another important factor to consider when choosing yarn for your hat pattern is the weight and gauge. The weight of the yarn refers to its thickness, which will influence the size and thickness of your hat. A thinner yarn will result in a lighter and more delicate hat, while a thicker yarn will create a chunky and warm hat. The yarn label should provide information on the recommended gauge, which is the number of stitches and rows per inch. Matching the gauge of your yarn to the pattern is important to ensure the correct sizing and fit of the hat.
Color and Texture:
Lastly, consider the color and texture of the yarn. The color can make a big impact on the look of your finished hat. Do you want a solid color or a variegated yarn with multiple colors? The texture of the yarn, such as smooth, fuzzy, or textured, can also add interest and dimension to your hat. Consider how the color and texture will complement the design and style of your hat pattern.
By considering the fiber content, weight and gauge, and color and texture of the yarn, you can choose the perfect yarn for your knitted hat pattern. Experimenting with different yarns can also lead to unique and personalized creations. So take your time, explore different options, and have fun creating your perfect knitted hat.
Essential Tools and Materials for Knitting a Hat
When embarking on a knitting project, it is important to have the right tools and materials to ensure successful results. Knitting a hat is no exception, and there are a few key items that are essential for this particular project.
Knitting Needles:
To start knitting a hat, you will need a set of knitting needles. The size of the needles will depend on the desired gauge and yarn weight. It is recommended to use circular needles, as they can accommodate a larger number of stitches and provide more flexibility during the knitting process.
Yarn:
Choosing the right yarn is crucial for a hat project. It is important to select a yarn that is suitable for the desired stitch pattern and level of warmth. Worsted weight yarn is a popular choice for hats, as it provides a good balance between durability and softness. Additionally, consider the fiber content of the yarn, as certain fibers, such as wool, can provide better insulation.
Stitch Markers:
Stitch markers are essential tools for keeping track of stitch patterns and shaping techniques in a hat project. They can be placed on the needles to indicate specific parts of the pattern or to mark the beginning of a round. This helps to ensure accuracy and prevent mistakes.
Tapestry Needle:
A tapestry needle is needed to sew the ends of the hat together once the knitting is complete. It is also used for weaving in any loose yarn ends to give the hat a neat finish. Make sure to choose a needle with a large enough eye to accommodate the thickness of the yarn being used.
Measuring Tape:
Having a measuring tape handy is essential for knitting a hat that fits properly. Measure the circumference of the recipient’s head to ensure the hat is the correct size. This will help guide you in determining the number of stitches to cast on and the length of the hat.
- In summary, the essential tools and materials for knitting a hat include knitting needles, yarn, stitch markers, a tapestry needle, and a measuring tape.
- By having these items on hand, you will be well-equipped to start your hat project and create a beautiful and cozy accessory.
Step-by-Step Guide: Knitting a Basic Hat
If you’re new to knitting or looking for a simple project, knitting a basic hat is a great place to start. Knitted hats are not only practical, but they also make for thoughtful gifts. With this step-by-step guide, you’ll be able to create a cozy hat in no time.
Materials and Tools:
- Knitting needles (size may vary depending on your desired gauge)
- Worsted weight yarn (choose a color of your choice)
- Tape measure
- Darning needle
- Scissors
Step 1: Gauge Swatch
Before you start knitting your hat, it’s important to create a gauge swatch. This will help ensure that your finished hat will fit properly. Use your chosen needles and yarn to knit a square swatch, following the recommended stitch count and rows per inch. Measure the gauge of your swatch to determine if any adjustments to your needle size are necessary.
Step 2: Cast On
Once you’ve determined the correct needle size, it’s time to cast on. Start by making a slipknot and placing it on one of your needles. Then, using the long tail cast on method, cast on the desired number of stitches for your hat. This will depend on the size and style of hat you want to make.
Step 3: Knit the Body of the Hat
With your stitches cast on, it’s time to start knitting the body of the hat. Begin by knitting every stitch in every row to create the stockinette stitch. Continue knitting until the hat measures the desired length from the cast on edge, typically around 6-8 inches.
Step 4: Decrease Rows
Once you’ve reached the desired length, it’s time to begin decreasing the stitches to shape the top of the hat. Follow a pattern or use the following decrease technique: knit 2 stitches together at the beginning of the row, then knit the next stitch. Repeat this pattern until the end of the row. Continue decreasing in this manner on every row until you have a small number of stitches left on your needles.
Step 5: Final Rows and Finishing
Once you have a small number of stitches left on your needles, cut the yarn, leaving a long tail. Thread the tail through your darning needle and carefully slip the needle through the remaining stitches, removing them from the knitting needles. Pull the yarn tight to secure the stitches, then weave in the loose ends using the darning needle. Finally, fold the hat in half and seam the edges together using the mattress stitch. Trim any excess yarn, and your basic knitted hat is complete!
With this step-by-step guide, you can easily knit a basic hat to keep yourself warm or give as a thoughtful gift. Experiment with different colors and yarn types to create unique designs and styles. Happy knitting!
Tips and Tricks for Adding Embellishments to Your Knitted Hat
Knitting a hat is a fun and rewarding project, but sometimes you may want to add a little something extra to make it truly unique. Adding embellishments to your knitted hat can take it from ordinary to extraordinary. Here are some tips and tricks to help you add that special touch to your hats.
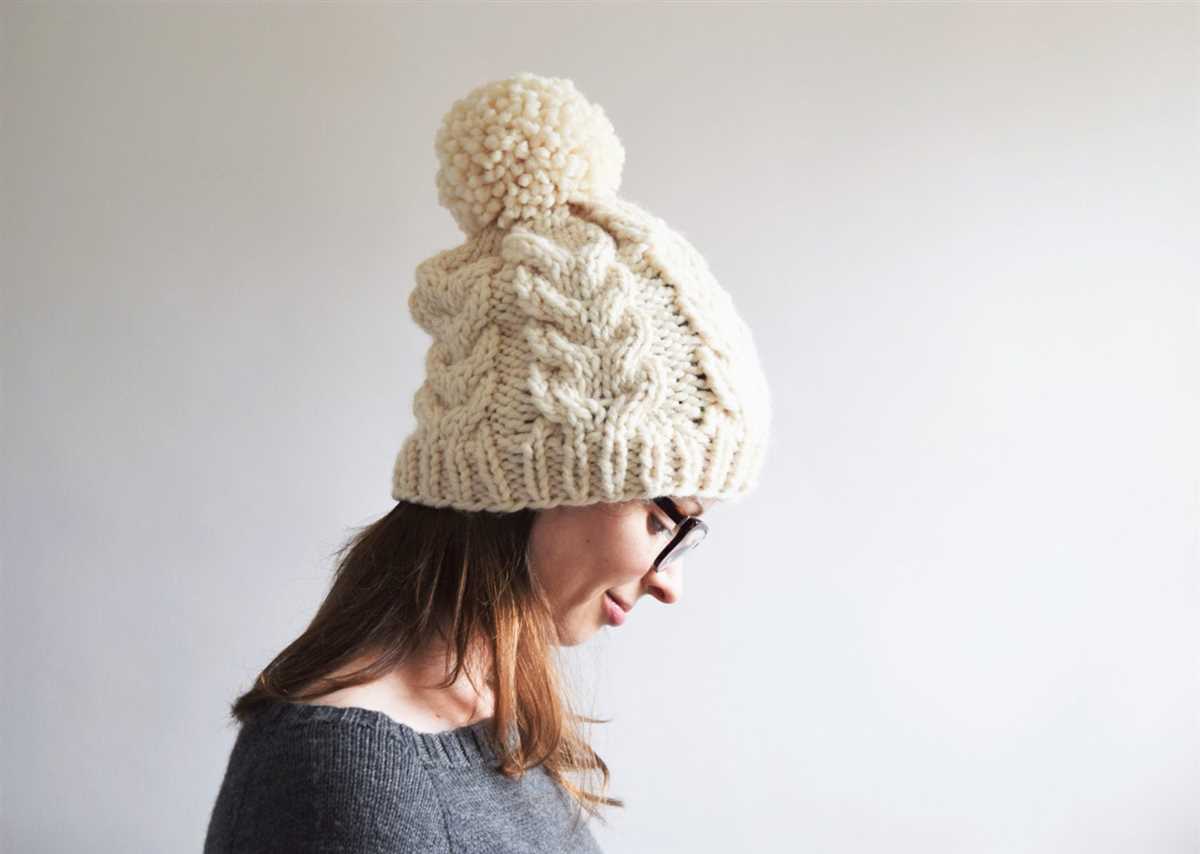
1. Pom-Poms
No knitted hat is complete without a fluffy pom-pom on top. Adding a pom-pom is as simple as using a pom-pom maker or cardboard cutout and attaching it to the crown of the hat. You can choose to make the pom-pom out of the same yarn as your hat for a uniform look, or you can mix it up with a contrasting color. The possibilities are endless!
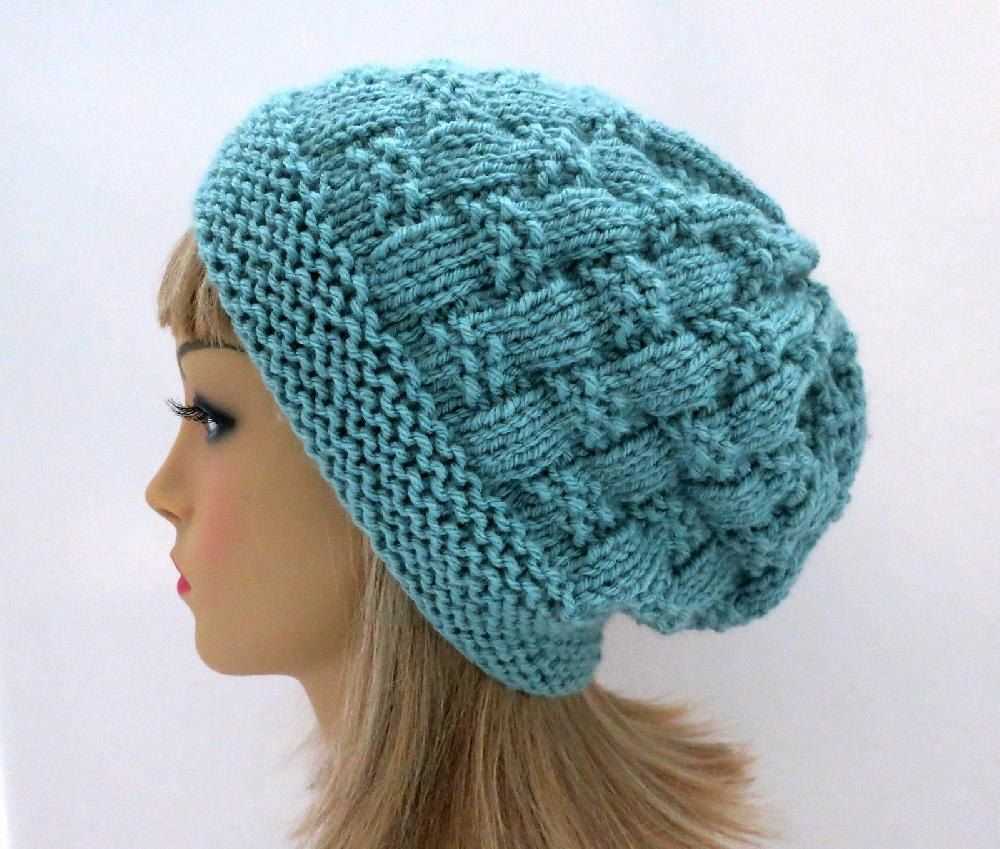
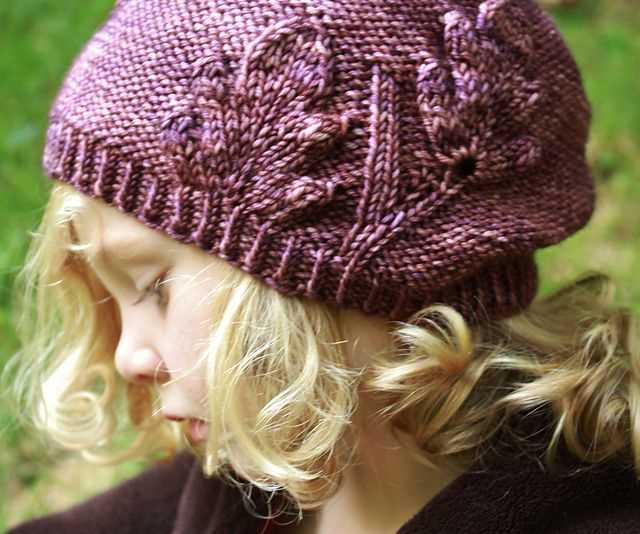
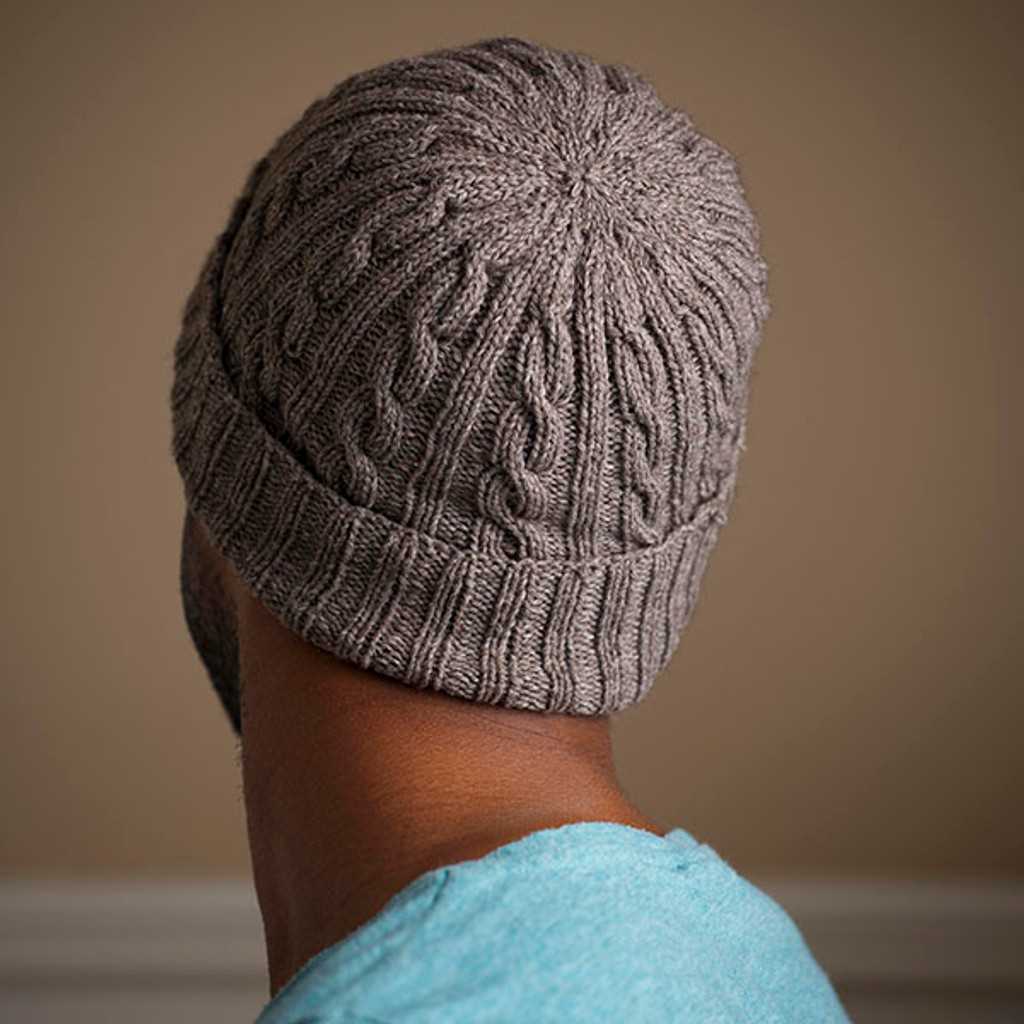
2. Cables and Twists
If you want to add texture and interest to your hat, consider incorporating cables or twists into your design. These techniques involve crossing stitches over each other to create intricate patterns. You can easily find cable and twist patterns online or in knitting books, and they can be added to any part of the hat, such as the brim or the body.
3. Embroidery
Embroidery is a great way to personalize your knitted hat. Whether you want to add a name, a small motif, or a geometric pattern, embroidery can be a fun and creative way to make your hat stand out. You can use embroidery floss or yarn in coordinating or contrasting colors to stitch your design onto the hat. Just make sure to use a tapestry needle with a large eye to make the process easier.
4. Beads and Buttons
If you want to add some extra sparkle or flair to your hat, consider incorporating beads or buttons into your design. You can string beads onto your yarn before knitting, or you can sew them onto the finished hat using a needle and thread. Buttons can also be sewn onto the hat as decorative accents. Just make sure to secure any beads or buttons tightly to prevent them from coming loose.
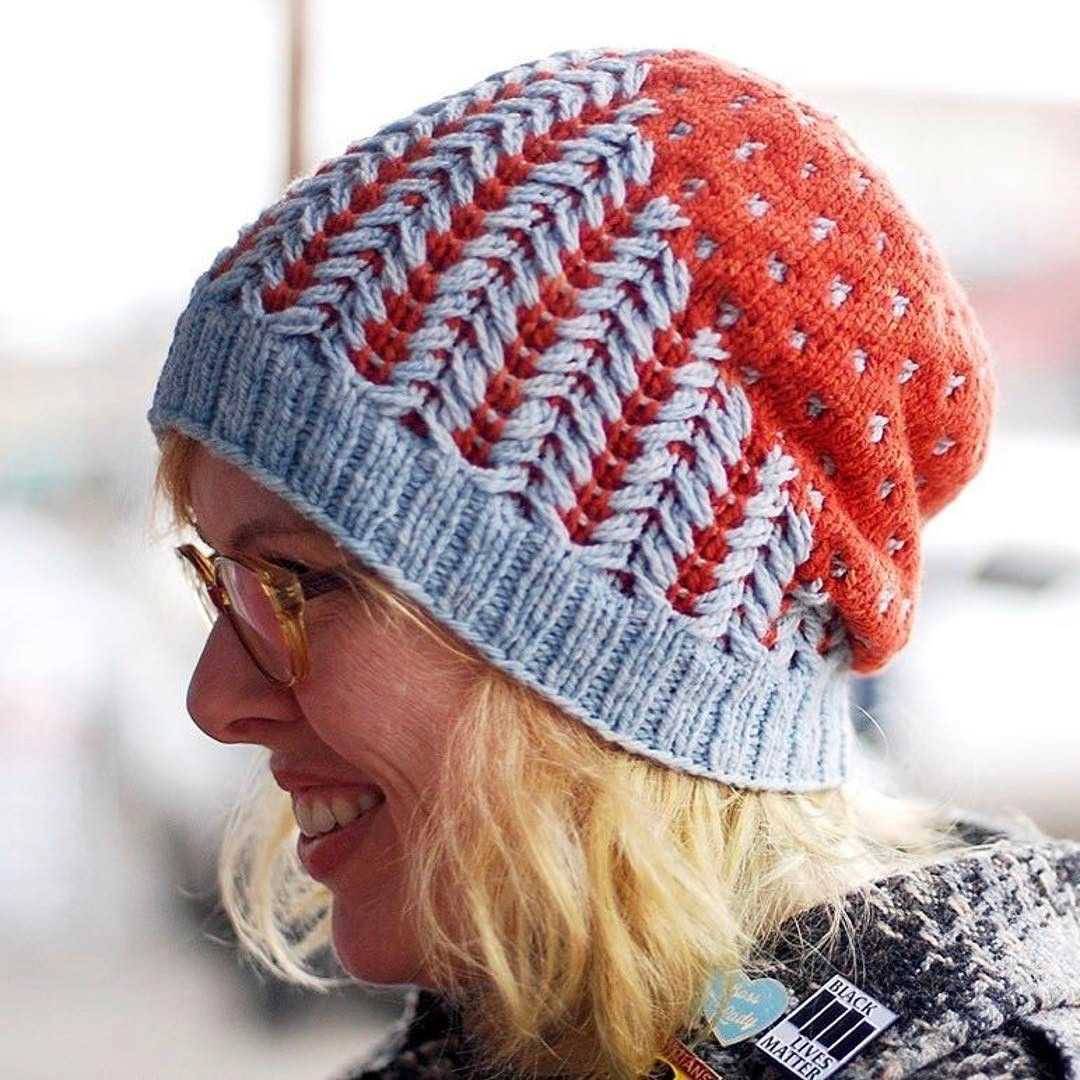
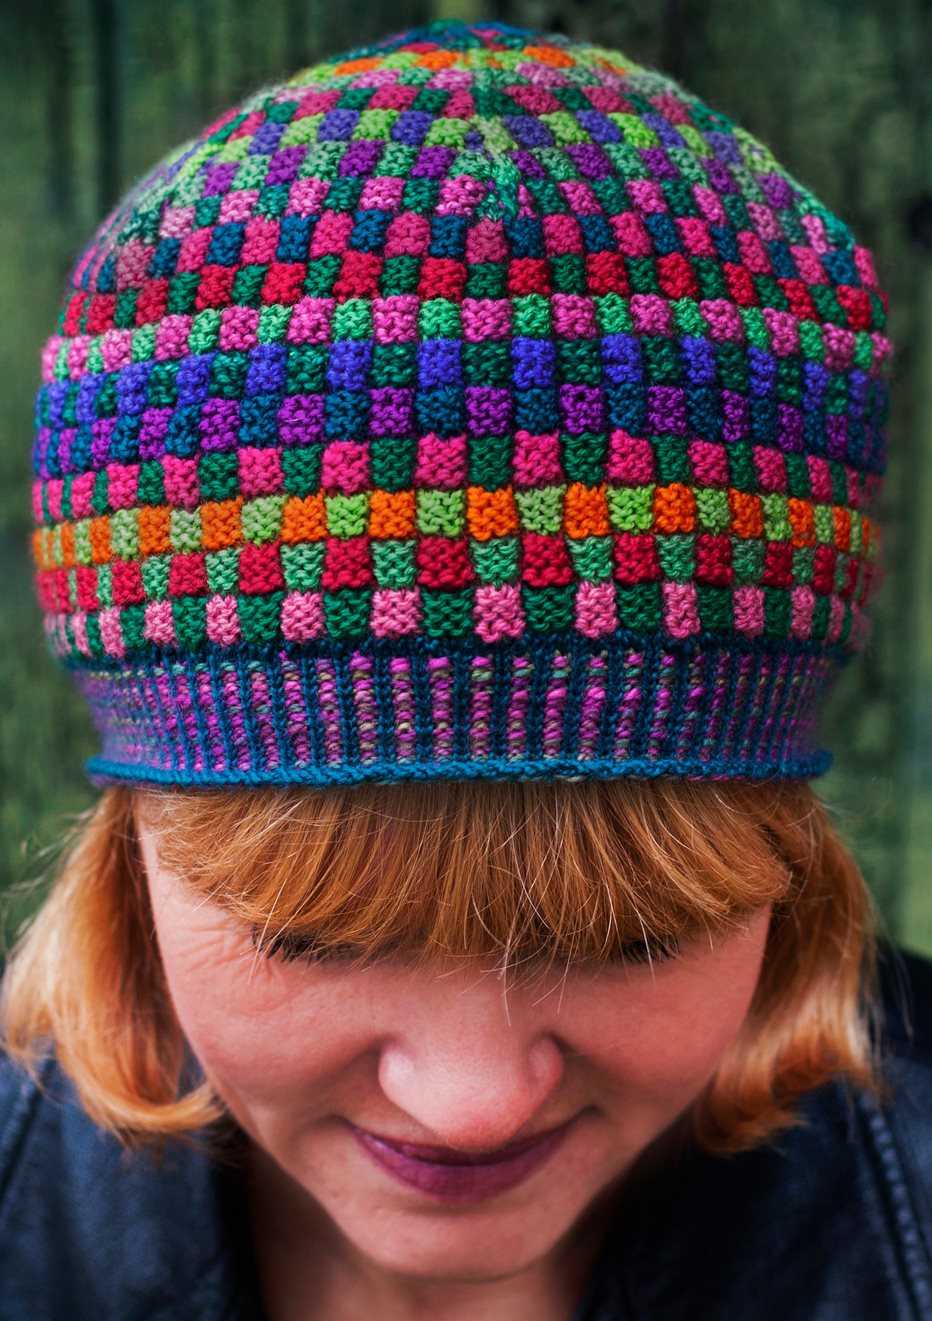
5. Fair Isle and Intarsia
If you’re feeling adventurous, you can try your hand at Fair Isle or intarsia knitting to add colorwork to your hat. Fair Isle involves knitting with two colors at once to create intricate patterns, while intarsia involves knitting with different colors in separate blocks. Both techniques can be used to create stunning designs on your hat, and there are endless possibilities for color combinations.
With these tips and tricks, you can take your knitted hats to the next level and create unique and eye-catching designs. Whether you choose to add pom-poms, cables, embroidery, beads, or colorwork, the possibilities for embellishing your hats are endless. Get creative and have fun with it!
Creating Different Styles and Designs with Knitted Hat Patterns
Knitted hats are a popular accessory among both men and women, and with the wide variety of knitting patterns available, it’s easy to create unique and stylish designs to suit any taste or occasion. Whether you’re a beginner or an experienced knitter, there’s a hat pattern out there that will allow you to showcase your skills and create a hat that stands out from the crowd.
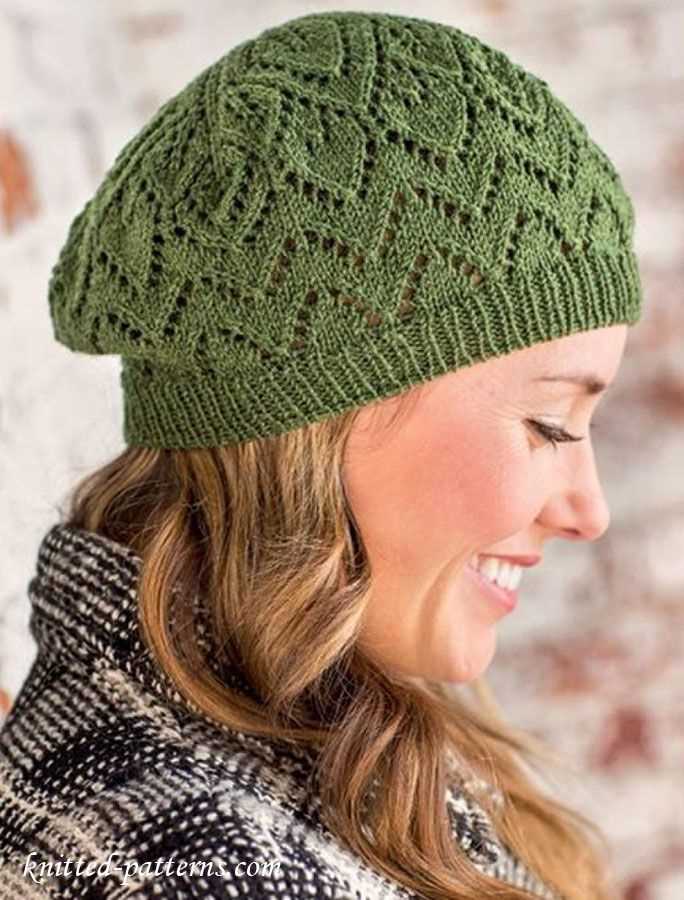
One way to add an interesting twist to your knitted hat is to experiment with different stitch patterns. By choosing a pattern that incorporates cables, lace, or colorwork, you can create a hat with a textured or patterned design. Cables, in particular, add depth and definition to a hat, while lace patterns create a delicate and feminine look. Colorwork, on the other hand, allows you to play with different hues and create a vibrant and eye-catching hat.
Here are a few ideas for creating different styles and designs with knitted hat patterns:
- Fair Isle Hat: This hat style incorporates a traditional knitting technique that involves using multiple colors to create intricate patterns. By choosing a Fair Isle hat pattern, you can create a hat with a Scandinavian-inspired design that is both warm and visually appealing.
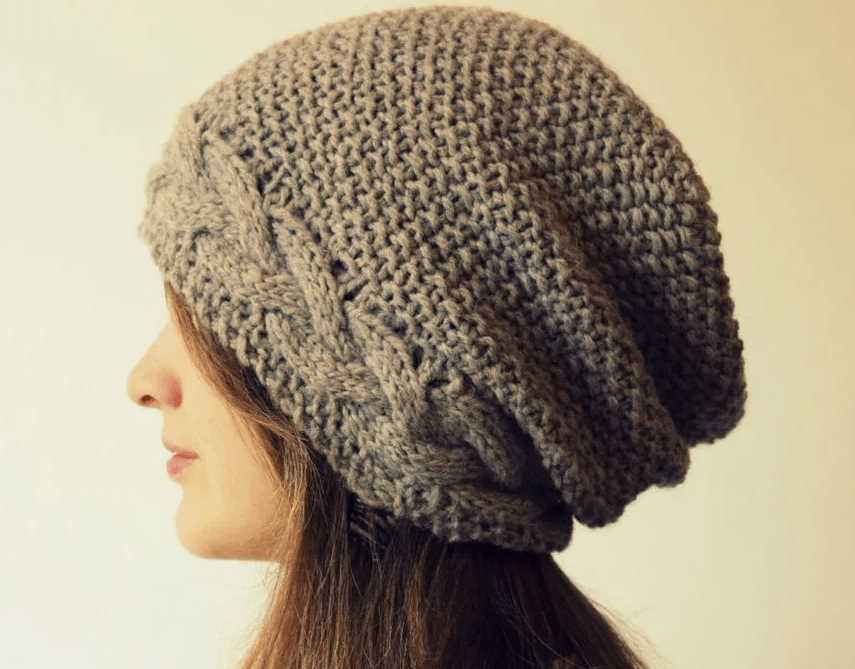
- Cabled Beanie: Cables are a classic element in knitting and can be used to create a wide range of designs, from simple twists to complex braids. Knitting a cabled beanie will give your hat a timeless and elegant look.
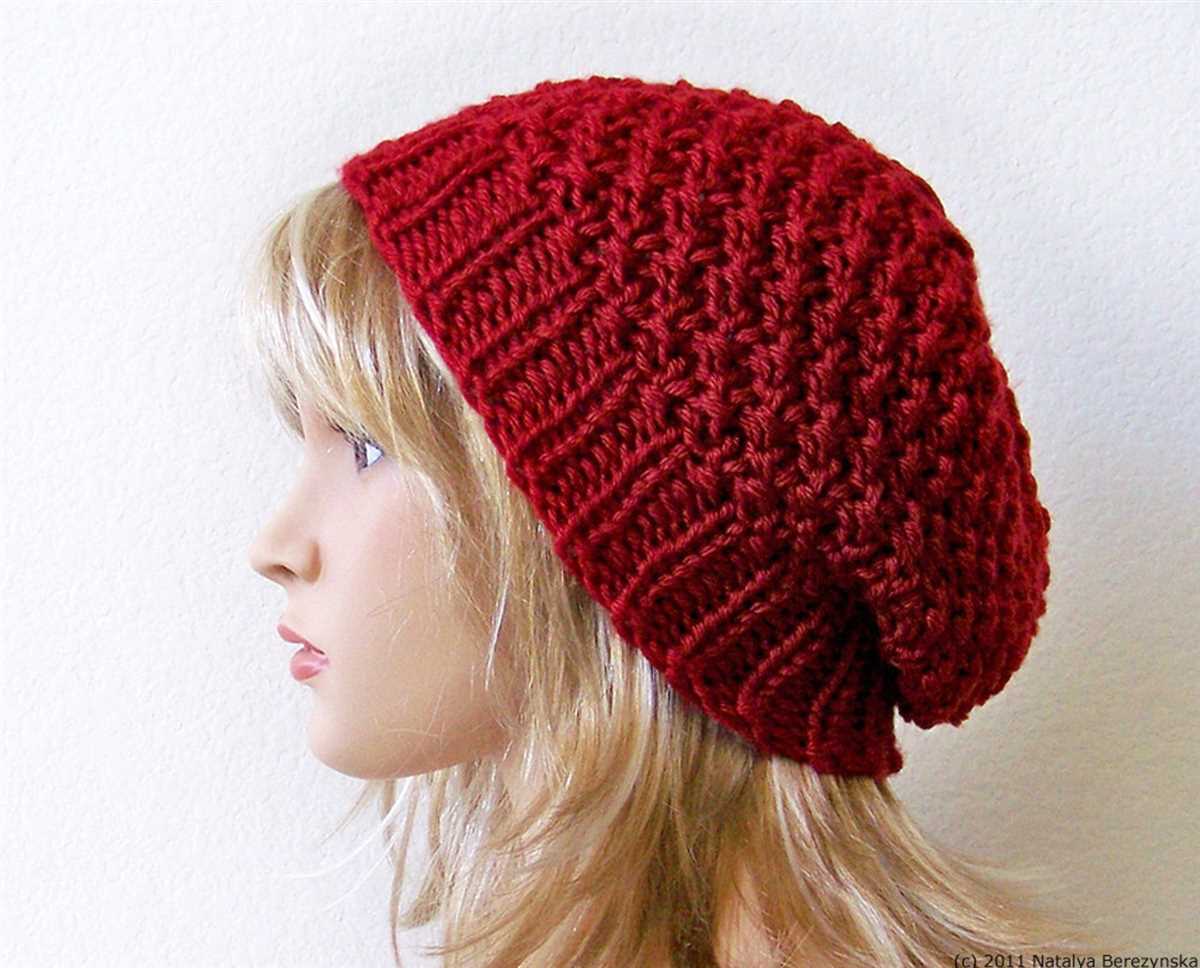
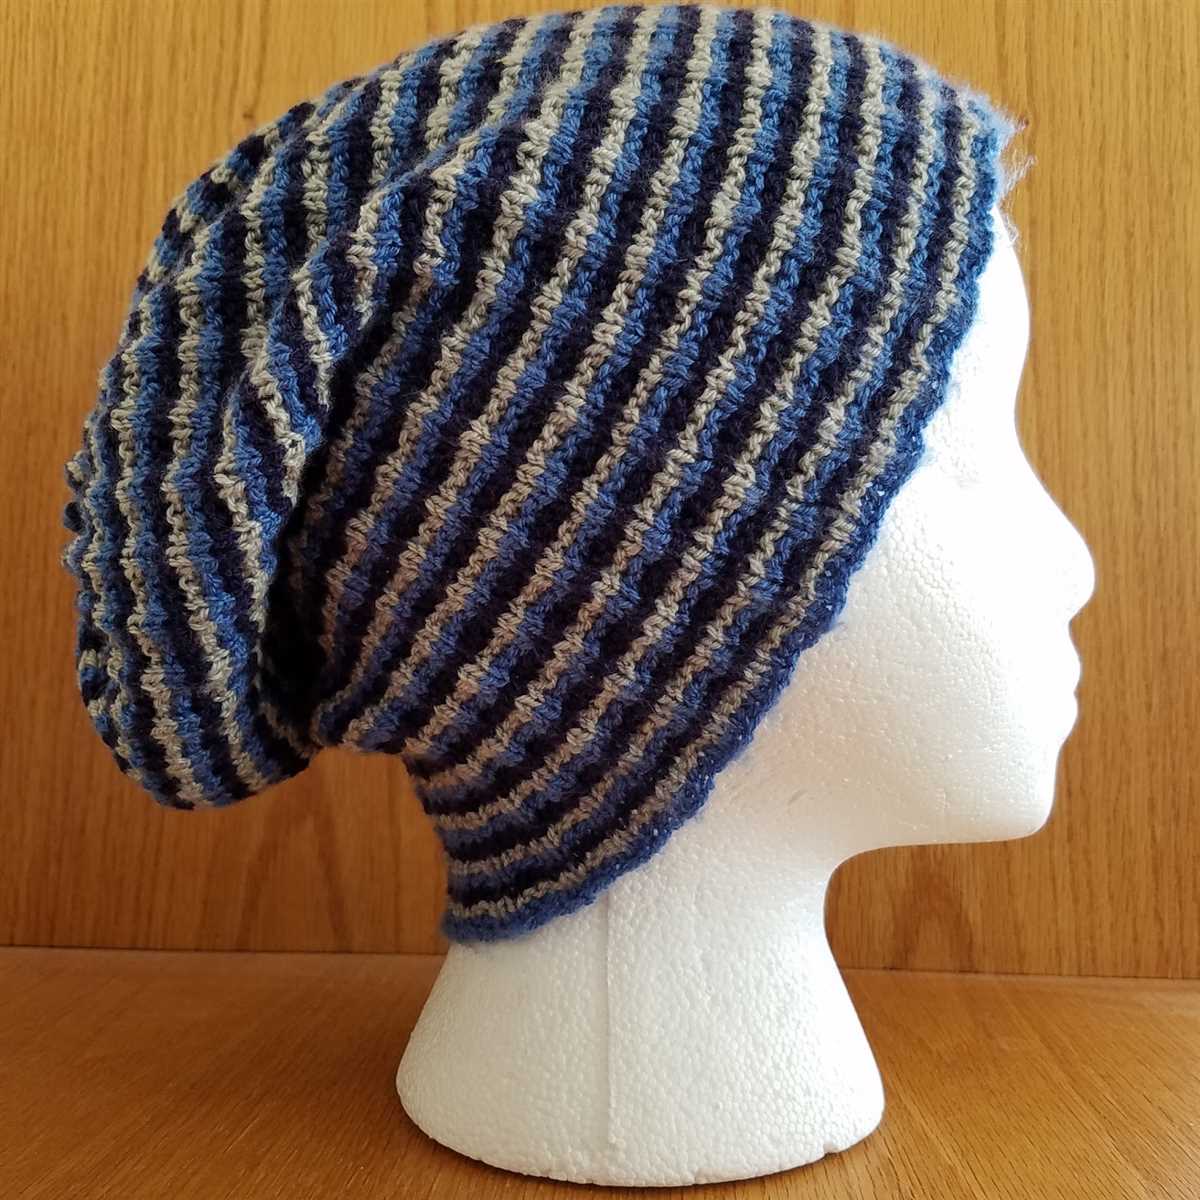
- Slouchy Hat: If you prefer a more relaxed and casual style, a slouchy hat pattern is the way to go. These hats have a loose and floppy fit, making them perfect for achieving a laid-back and effortlessly cool look.
- Pom-Pom Hat: Adding a pom-pom to your knitted hat is a fun way to inject some personality and playfulness into your design. Whether you choose a small, fluffy pom-pom or a big, bold one, it will instantly transform your hat into a statement piece.
With the endless possibilities offered by knitted hat patterns, you can let your creativity shine and create hats that are as unique and individual as you are.
Common Mistakes to Avoid When Knitting a Hat
Knitting a hat can be a rewarding and enjoyable project, but it’s important to avoid common mistakes that can result in a less-than-perfect finished product. By being aware of these mistakes and taking steps to avoid them, you can ensure that your knitted hat turns out just the way you want it.
1. Choosing the Wrong Yarn
One of the most common mistakes when knitting a hat is choosing the wrong yarn. It’s important to select a yarn that is suitable for hats, such as a soft and warm wool or acrylic blend. Avoid using novelty or chunky yarns, as they can result in a hat that is too bulky or not comfortable to wear.
2. Not Checking Gauge
Another mistake knitters often make is not checking their gauge before starting the hat. Gauge refers to the number of stitches and rows per inch, and it can vary depending on the yarn and needles used. Failing to check gauge can result in a hat that is too loose or too tight. Take the time to knit a gauge swatch and adjust your needle size if necessary.
3. Incorrect Sizing
When knitting a hat, it’s important to choose the correct size. Hats that are too small will be uncomfortable to wear, while hats that are too large may fall off easily. Take accurate measurements of the intended wearer’s head circumference and refer to a sizing chart to ensure a proper fit.
4. Poor Stitch Count
Poor stitch count is another common mistake that can negatively impact the appearance of a knitted hat. Make sure to count your stitches at key points, such as the brim and decreases, to ensure that you are following the pattern correctly. Missing or adding stitches can result in an uneven and misshapen hat.
5. Skipping Blocking
Many knitters make the mistake of skipping the blocking process for their hats. Blocking involves wetting and shaping the finished hat to give it a polished and professional look. It can help even out any uneven stitches and improve the overall fit and drape of the hat. Don’t skip this important step in the knitting process.
Avoiding these common mistakes will help you create a beautiful and well-fitting knitted hat. Take your time, follow the pattern instructions, and don’t be afraid to seek help or guidance if needed. With practice and attention to detail, you’ll soon be knitting hats like a pro.
How to Customize a Knitted Hat Pattern to Fit Different Head Sizes
When knitting a hat, it’s important to ensure that it fits the intended wearer comfortably. Everyone has a different head size, so using a standard pattern may not yield the perfect fit for everyone. Fortunately, there are several ways to customize a knitted hat pattern to fit different head sizes.
1. Adjusting the Cast On
One way to customize a knitted hat pattern is to adjust the number of stitches cast on. By adding or subtracting stitches, you can easily modify the circumference of the hat. To determine the appropriate number of stitches, measure the head circumference of the intended wearer and refer to a sizing chart to find the recommended number of stitches per inch. Multiply the number of stitches per inch by the head circumference to get the desired number of stitches for the cast on.
2. Changing the Length
In addition to adjusting the circumference, you may also need to modify the length of the hat. Some people have longer heads or prefer their hats to sit lower on their foreheads. To customize the length, simply knit more or fewer rows before starting the decreases. Take into account any additional length needed for brims or cuffs as well.
3. Using Different Yarn Weights
Another way to customize a knitted hat pattern is to use different yarn weights. Thicker yarns will yield a larger, bulkier hat, while thinner yarns will create a more lightweight and fitted hat. Be sure to check the gauge recommended in the pattern and make any necessary adjustments based on the yarn weight being used.
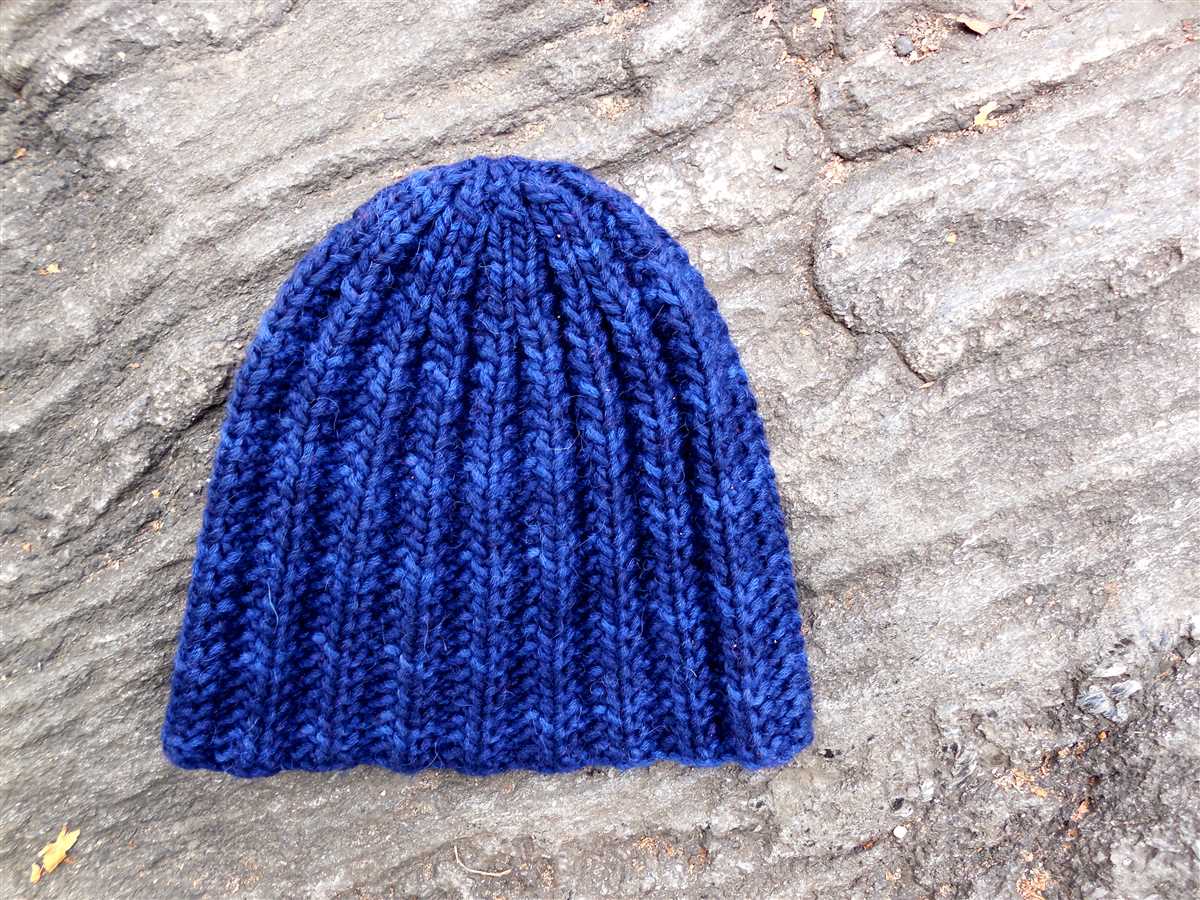
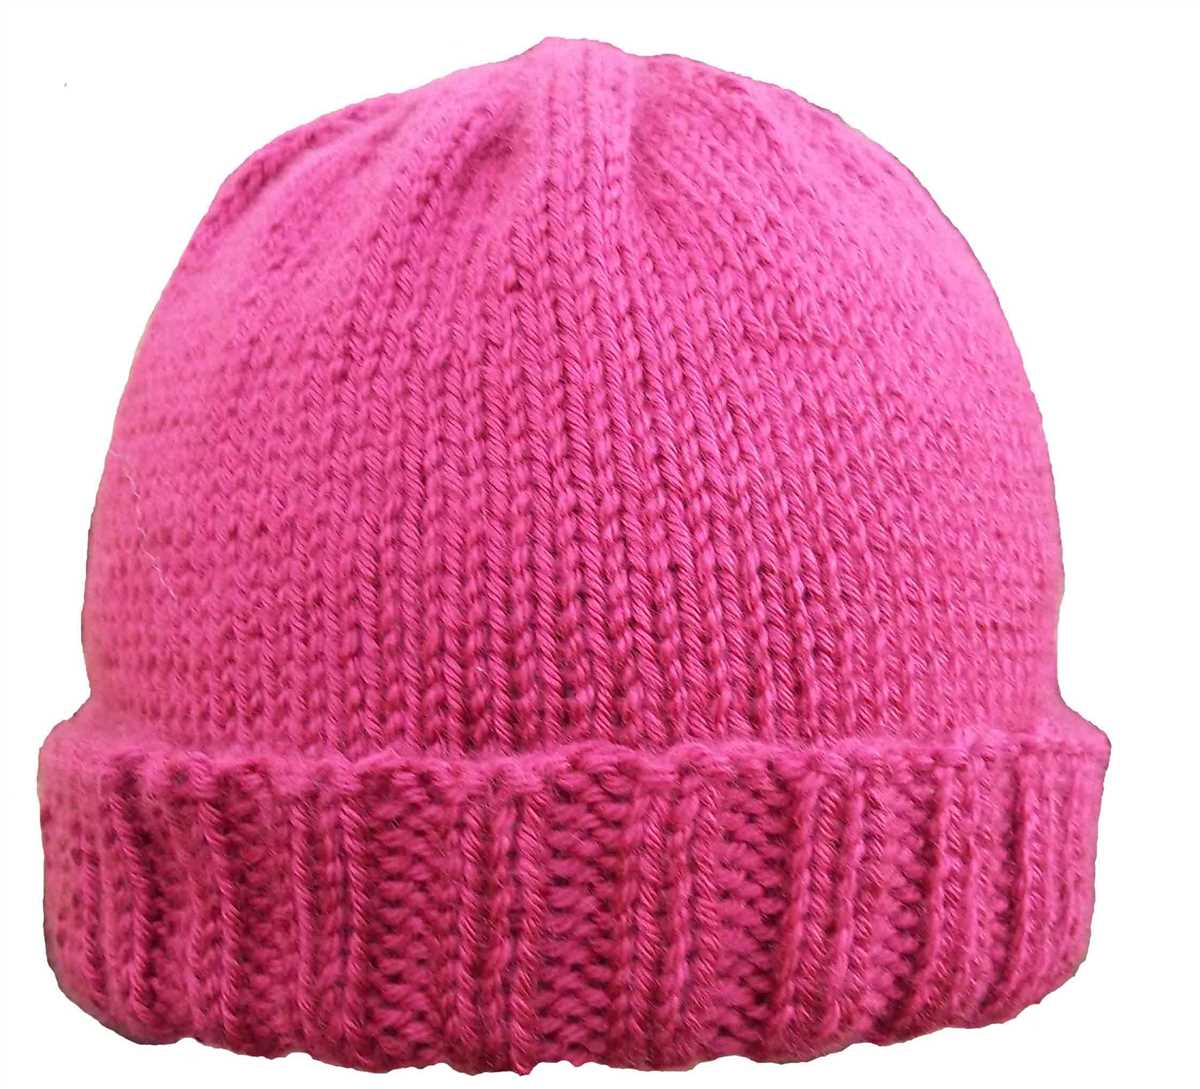
4. Adding or Removing Ribs
Ribbing is a common technique used in hat patterns to create elasticity and a snug fit. If the original pattern does not have enough ribbing or has too much, you can easily add or remove rows of ribbing to customize the fit. Keep in mind that adding ribbing will make the hat stretchier, while removing ribbing may make it tighter.
By following these customization techniques, you can ensure that your knitted hat will fit perfectly no matter the head size. Don’t be afraid to experiment and make adjustments to the pattern to achieve the desired fit.
Knitted Hat Pattern: A Practical and Personalized Gift Idea
When it comes to finding the perfect gift, it can be challenging to find something that is both practical and personalized. However, a knitted hat pattern offers the best of both worlds. Not only is a knitted hat a practical accessory for the colder months, but it also allows you to create a unique and personalized gift for your loved ones.
One of the great things about a knitted hat pattern is that it can be customized to suit the recipient’s preferences. Whether they prefer a slouchy beanie, a snug fitted hat, or even a cute animal-inspired design, there are countless patterns available to choose from. By selecting a pattern that matches the recipient’s style and personality, you can show that you’ve put thought and effort into creating a truly special gift.
Knitting a hat also offers the opportunity to choose the perfect yarn. Whether you opt for a soft and cozy wool blend or a lightweight and breathable cotton, the choice of yarn can greatly affect the hat’s overall feel and functionality. You can even play with different colors and textures, allowing you to truly personalize the gift to the recipient’s taste.
Aside from being a thoughtful and personalized gift, a knitted hat is also a practical accessory. During the colder months, a hat is essential for keeping warm and protecting the head from the elements. By gifting a knitted hat, you’re providing your loved ones with a functional and stylish accessory that they can use and enjoy throughout the winter season.
In conclusion, a knitted hat pattern is a fantastic gift idea that combines practicality and personalization. With the wide variety of patterns available, you can create a hat that perfectly matches the recipient’s style and preferences. Additionally, the choice of yarn and design allows you to add an extra touch of thoughtfulness. So, why not give the gift of warmth and style with a knitted hat?
Conclusion
In conclusion, there are numerous sources available online to find free and paid knitted hat patterns. Whether you’re a beginner or an experienced knitter, there is a pattern out there for you. From websites and blogs dedicated to knitting patterns, to online marketplaces and social media platforms, there are endless options to explore.
When searching for hat patterns, it’s important to consider your skill level, the style and design you’re looking for, and the size you need. Many websites and platforms offer filters and categories to help you narrow down your options and find the perfect pattern.
Some popular websites that offer a wide range of knitted hat patterns include Ravelry, AllFreeKnitting, and LoveCrafts. These platforms have a mix of free and paid patterns, and they often have options for different levels of experience.
Additionally, you can also find knitted hat patterns on social media platforms such as Pinterest and Instagram. Many knitters and designers share their patterns and project ideas through these platforms, allowing you to discover new and unique designs.
Lastly, if you’re willing to invest in a paid pattern, there are also websites and individual designers who offer premium hat patterns. These patterns often come with detailed instructions, additional resources, and support from the designer.
Overall, exploring different online sources for knitted hat patterns can be a fun and inspiring way to find new projects and expand your knitting skills. Whether you prefer free patterns or are open to purchasing a premium design, the online knitting community has something for everyone.