
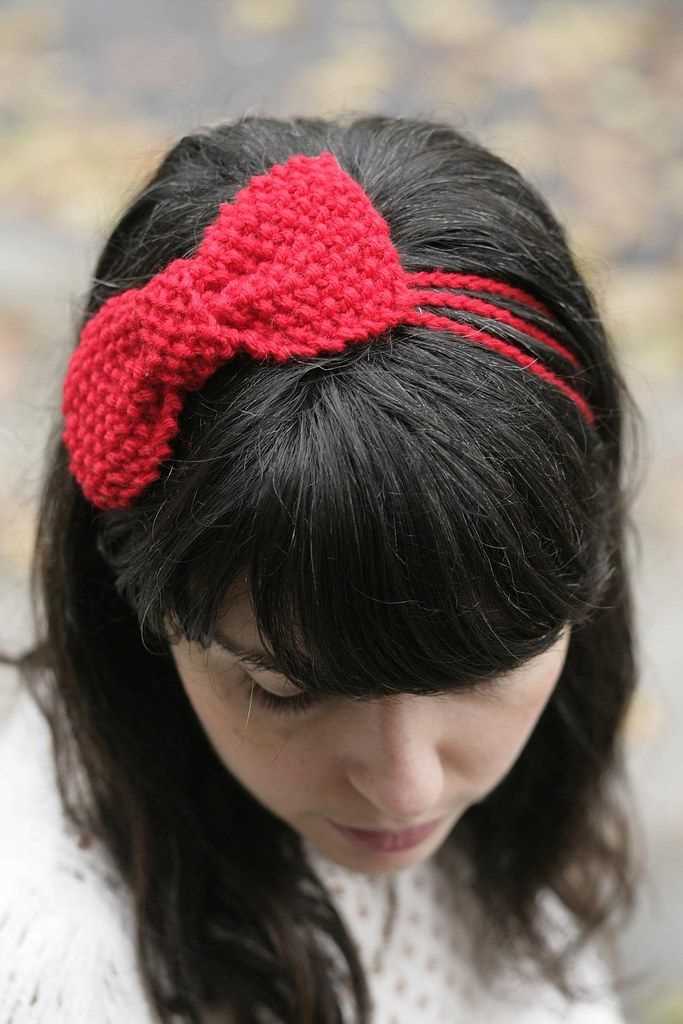
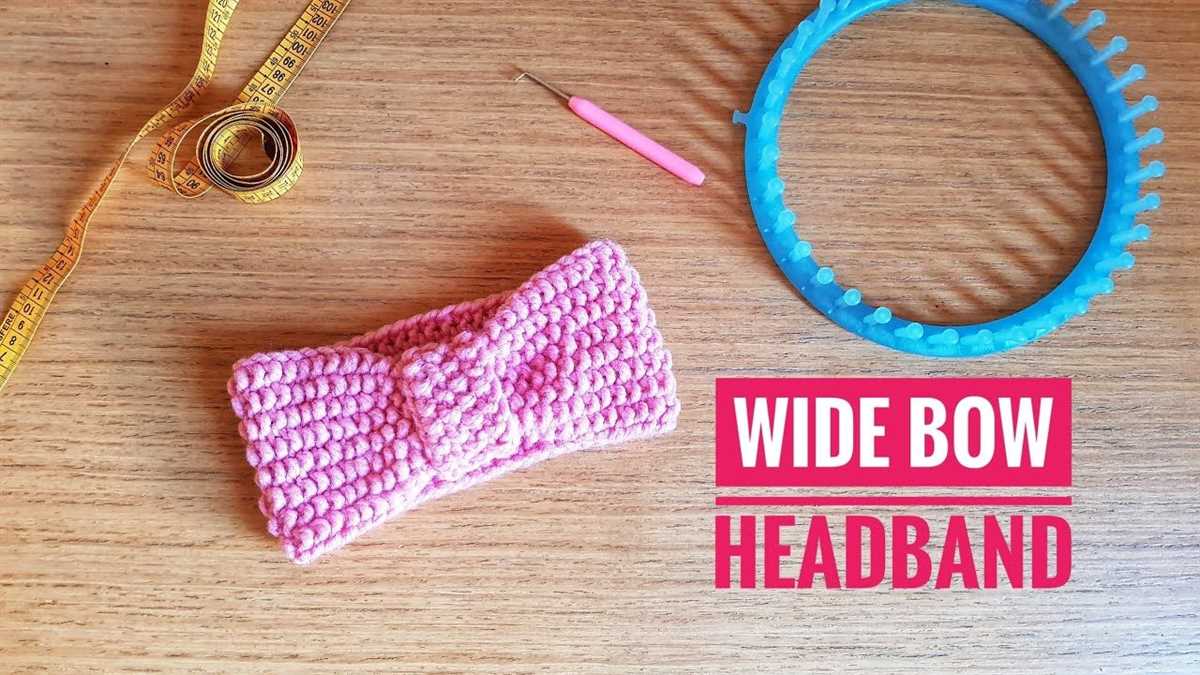
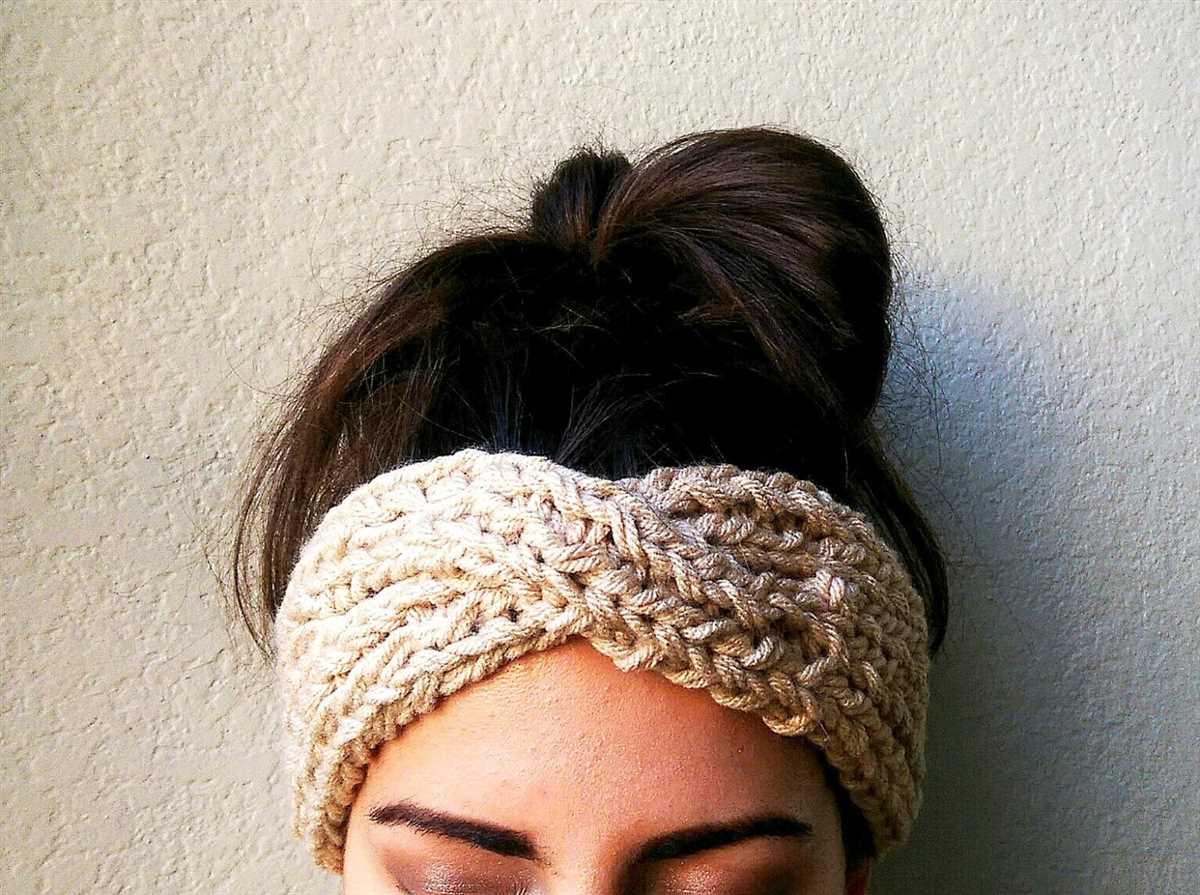
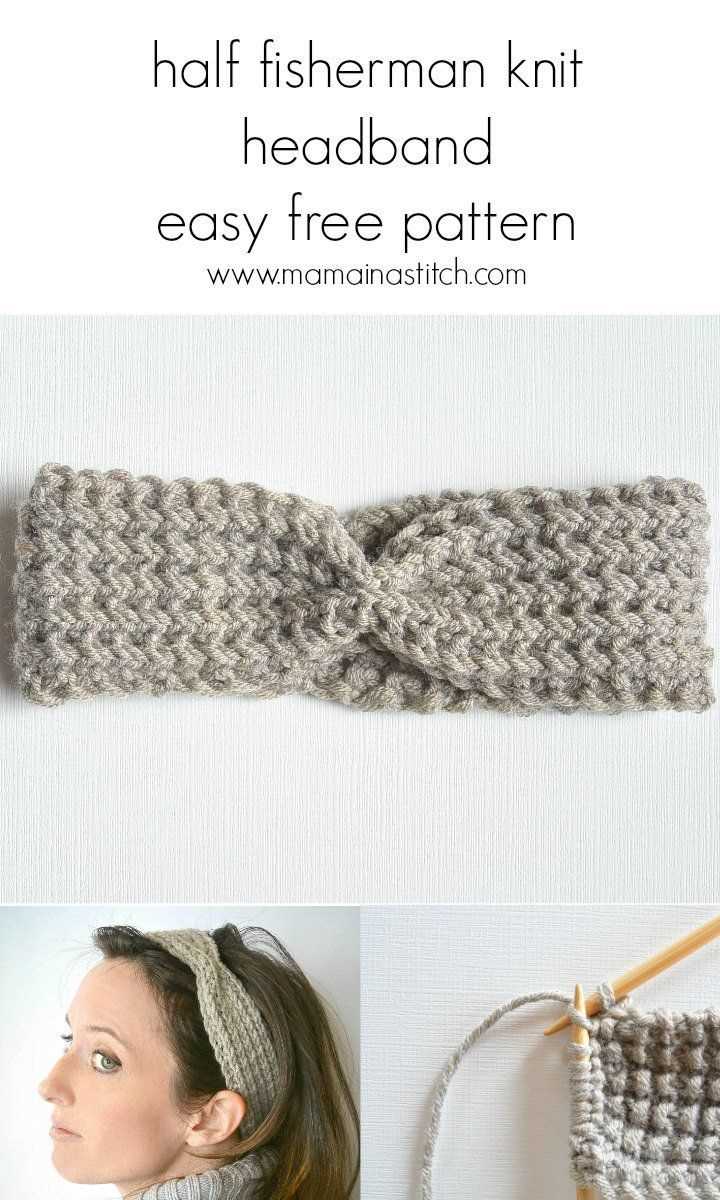
Knitting is a popular craft that allows you to create beautiful and functional items. One such item is a knitted headband, which can serve as both a fashionable accessory and a way to keep your ears warm in colder weather. One popular pattern for a knitted headband is the seed stitch pattern.
The seed stitch pattern creates a textured fabric that is both soft and stretchy. It is made by alternating knit and purl stitches in a specific pattern. The result is a headband that has a subtle, raised texture on one side and a smooth, flat texture on the other.
This seed stitch pattern is ideal for beginners as it is easy to learn and creates a reversible design. This means that you can wear the headband with either side facing out, giving you more options for coordinating it with your outfits. Plus, with a wide range of yarn colors available, you can customize the headband to match your personal style.
To start knitting the seed stitch headband, you will need a set of knitting needles and a soft, medium-weight yarn. The pattern is worked in the round, so you will also need a set of double-pointed needles or a circular needle. With just a few simple stitches and some patience, you’ll have a cozy and stylish headband to wear all winter long!
Seed Stitch Knitted Headband Pattern
If you’re looking for a stylish and practical accessory to add to your wardrobe, a knitted headband is a perfect choice. The seed stitch is a popular stitch pattern in knitting that creates a textured and reversible fabric. This headband pattern combines the seed stitch with a simple ribbed band for a comfortable and stretchy fit.
To create this headband, you will need a set of knitting needles and a ball of yarn in your preferred color. The seed stitch is worked by alternating knit and purl stitches in each row. To start, cast on the desired number of stitches, usually around 20-25 stitches, depending on your head size and desired width of the headband. Then, work the seed stitch pattern by knitting the purl stitches and purling the knit stitches in each row.
You can customize this headband pattern by adding additional details, such as a button closure or a braided band. To add a button closure, simply knit a few extra rows at the beginning or end of the headband, and then sew a button on one end. For a braided band, you can create three separate strips of the seed stitch pattern and then braid them together before sewing the ends together.
The seed stitch knitted headband pattern is a versatile and customizable accessory that can be made in various colors to complement your outfits. It is also a great knitting project for beginners who want to practice different stitch patterns. Whether you’re wearing it to keep your ears warm in the winter or to add a stylish touch to your outfit, this headband is sure to become a favorite in your accessory collection.
Materials Needed
In order to make a seed stitch knitted headband, you will need the following materials:
- Yarn: You will need a chunky or bulky weight yarn, preferably in a soft and warm material such as merino wool or alpaca.
- Knitting Needles: You will need a pair of size 10 or 11 knitting needles, or a size that will give you the desired gauge for the headband.
- Tapestry Needle: A tapestry needle will be used to weave in any loose yarn ends.
- Scissors: A pair of scissors will be needed to cut the yarn and trim any excess.
- Measuring Tape: A measuring tape will be helpful to measure the size of your headband and ensure a proper fit.
- Stitch Marker: A stitch marker can be used to mark the beginning or end of a round if you are knitting the headband in the round.
Once you have gathered all the necessary materials, you will be ready to start knitting your seed stitch headband.
Choosing the Right Yarn and Needles
When knitting a seed stitch headband, it is important to choose the right yarn and needles to ensure a successful and comfortable final product. The yarn should be suitable for the desired warmth and texture of the headband. A soft and warm yarn, such as merino wool or alpaca, is often a popular choice for headbands that will be worn in colder weather.
In terms of needles, the size and material can make a difference in the outcome of the seed stitch pattern. Generally, smaller needle sizes, around US 6 or 7, are recommended for a tighter seed stitch texture. However, if a looser and more relaxed look is desired, larger needles can be used. Additionally, using wooden or bamboo needles can add a natural and rustic feel to the headband, while metal needles may provide a smoother knitting experience.
Yarn Weight and Texture
For a seed stitch headband, yarn in a medium to bulky weight is typically preferred to create a thick and cozy accessory. The texture of the yarn can also impact the final appearance of the headband. Smooth, plied yarns will accentuate the stitch definition, while fuzzy or textured yarns can create a more visually interesting effect.
Synthetic vs Natural Fibers
When choosing yarn for a seed stitch headband, consider the benefits of synthetic and natural fibers. Synthetic yarns, like acrylic or nylon, often offer durability and easy care, making them suitable for everyday wear. On the other hand, natural fibers such as wool, alpaca, or cotton can provide warmth, breathability, and a luxurious feel against the skin.
Needle Size
Choosing the right needle size is crucial for achieving the desired tension and stitch definition in seed stitch. Smaller needles, such as US 6 or 7, will result in a tighter fabric, while larger needles will create a more open and looser texture. It’s important to note that while smaller needles may require more stitches to achieve the desired headband width, they will also consume more yarn.
Needle Material
The material of the needles can also affect the knitting experience and final product. Wooden or bamboo needles offer a warm and natural feeling, making them a popular choice among knitters. They can also provide a good grip for the yarn, preventing it from sliding off. Metal needles, on the other hand, are smooth and slippery, allowing for faster knitting speed. Ultimately, the choice of needle material often comes down to personal preference and knitting style.
Gauge and Measurements
Before you start knitting your seed stitch headband, it’s important to take gauge and measurements. This will ensure that your headband fits properly and has the right amount of stretch.
Gauge: The gauge tells you how many stitches and rows should be in a certain measurement. To check your gauge, knit a small swatch using the seed stitch pattern and the recommended needle size. Measure a 4-inch square in the center of your swatch and count the number of stitches and rows. If your gauge doesn’t match the pattern’s gauge, you may need to change your needle size to achieve the correct gauge.
Measurements: To determine the size of your headband, you will need to measure the circumference of your head. Wrap a flexible measuring tape around your head, just above your ears and eyebrows. Make sure the tape is snug but not too tight. Take note of this measurement, as it will be used throughout the pattern to help you determine the number of stitches to cast on and the length of your headband.
By checking your gauge and taking accurate measurements, you can ensure that your seed stitch headband will fit comfortably and look great. Remember, every knitter’s gauge is unique, so don’t be discouraged if you need to make adjustments to get the perfect fit. Enjoy the process of knitting and creating a beautiful and functional accessory!
Pattern Instructions
Follow these steps to create your own seed stitch knitted headband:
Materials:

- Size 8 (5 mm) knitting needles
- Worsted weight yarn in your choice of color
- Tapestry needle
- Scissors
Instructions:
- Cast on 16 stitches using the long tail cast on method.
- Row 1: *Knit 1, Purl 1. Repeat from * to end of row.
- Row 2: *Purl 1, Knit 1. Repeat from * to end of row.
- Repeat Rows 1 and 2 until the headband measures approximately 18 inches in length.
- Bind off all stitches in pattern.
- Weave in any loose ends using a tapestry needle.
- Join the two ends of the headband together using the mattress stitch or your preferred method of joining.
- Trim any excess yarn and weave in the ends.
- Your seed stitch knitted headband is now complete and ready to wear!
Enjoy the warmth and style of your handmade headband. It’s a versatile accessory that can be worn with any outfit and is perfect for keeping your ears cozy in the colder months.
Casting On

Before you can start knitting your headband, you will need to cast on your stitches. Casting on is the process of creating the foundation row of stitches on your knitting needles. In this pattern, we will be using a long tail cast on method.
To begin, measure out a length of yarn that is approximately three times the width of your finished headband plus a few extra inches for the tail. This will give you enough yarn to work with while casting on. Tie a slipknot at the end of the yarn, leaving a long tail.
Hold the slipknot in your right hand with the tail hanging down. Insert your left hand needle into the slipknot from left to right, making sure the yarn is positioned behind the needle. With your right hand, bring the yarn over the left hand needle, creating a loop on the needle.
Continue this process, inserting the needle into the loop from left to right and bringing the yarn over the needle, until you have cast on the required number of stitches for your headband. Make sure to keep the tension of the yarn consistent as you cast on.
Once all the stitches are cast on, you can begin knitting the seed stitch pattern for your headband.
Knitting the Seed Stitch
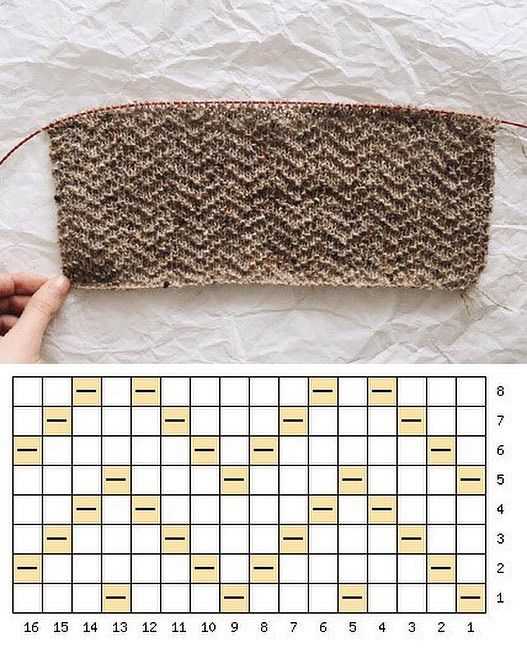
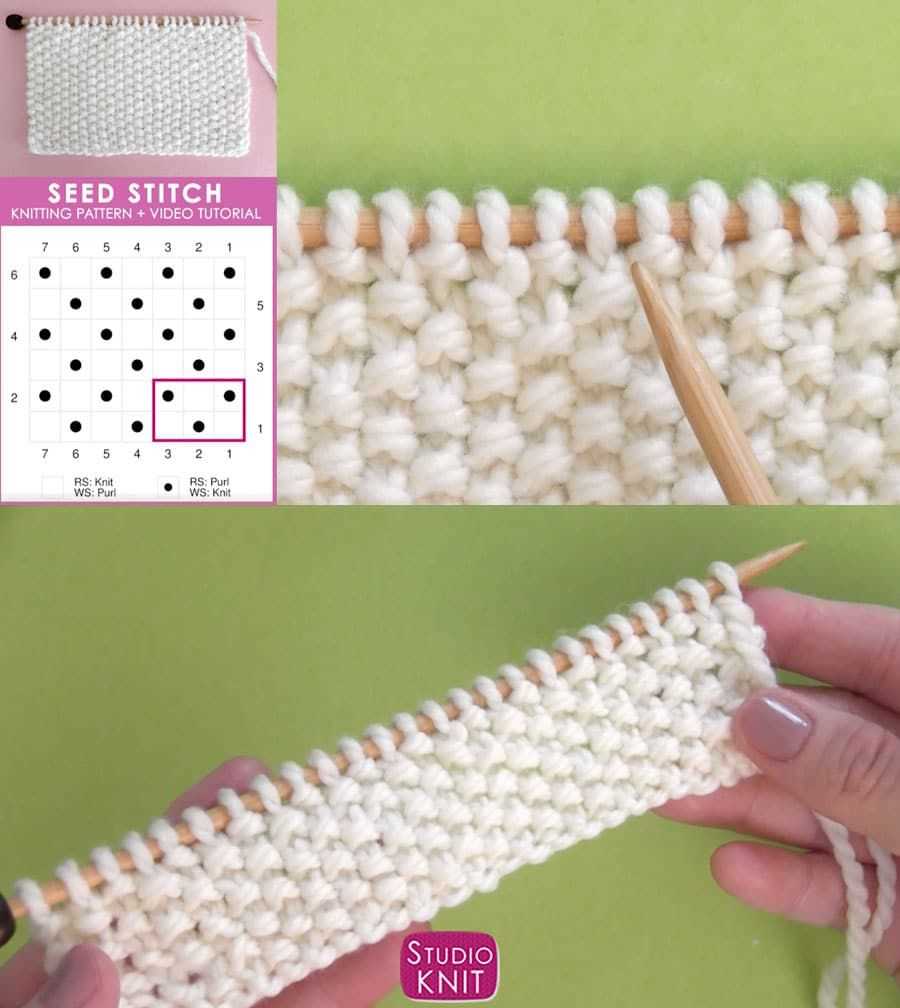
The seed stitch is a simple knitting technique that creates a textured pattern. It is made by alternating knit and purl stitches, creating a bumpy texture that resembles scattered seeds. The stitch is reversible, meaning both sides of the fabric will have the same texture. This makes it a great choice for projects like headbands, scarves, and baby blankets.
To knit the seed stitch, you will need a pair of knitting needles and yarn of your choice. Begin by casting on an even number of stitches. The pattern requires an even number of stitches because each row consists of one knit stitch followed by one purl stitch, and vice versa.
Once you have cast on your stitches, begin the first row by knitting one stitch, then purling the next stitch. Continue this pattern across the entire row. On the next row, you will purl the first stitch and then knit the next stitch. Repeat these two rows until you have reached your desired length.
The seed stitch is a great option for beginners who want to learn a new knitting pattern. It is simple to follow and creates a beautiful texture that adds interest to any project. Whether you are making a headband, scarf, or blanket, the seed stitch is sure to impress with its unique texture and versatility.
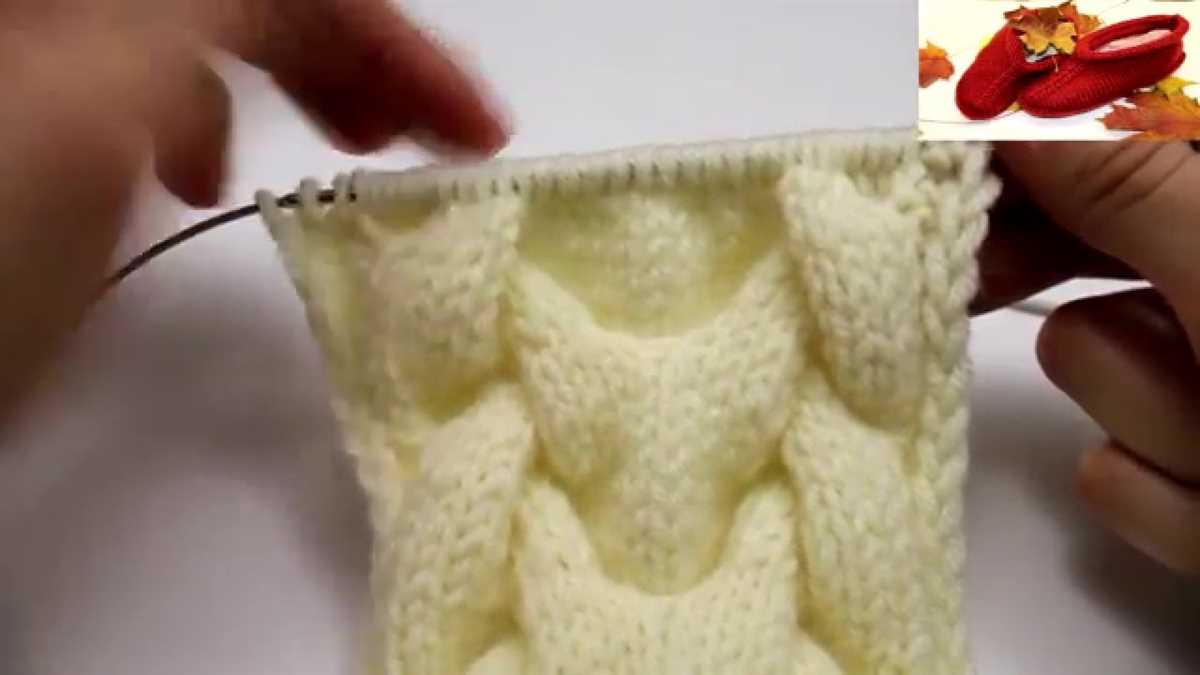
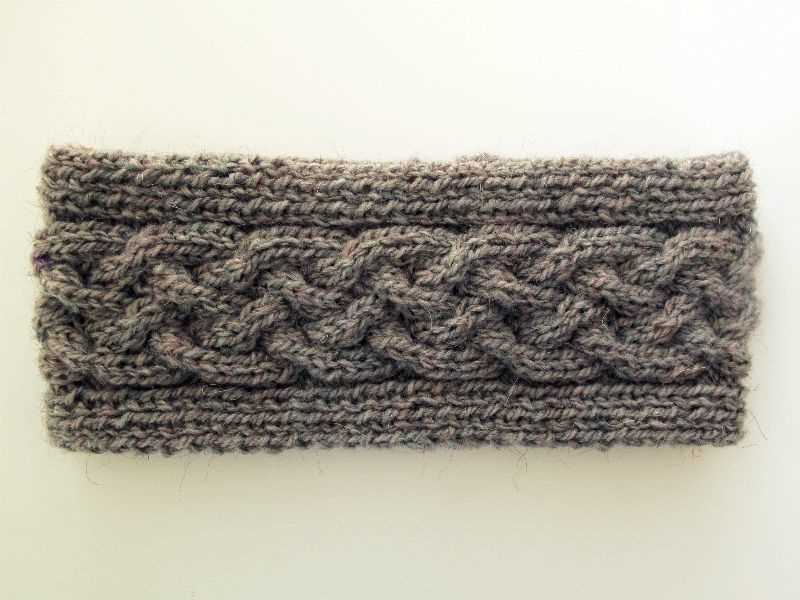
Creating the Twist

Adding a twist to your seed stitch knitted headband can add an interesting and unique element to your finished piece. The twist creates a diagonal line that adds texture and visual appeal to the headband.
To create the twist, you will need to work a few rows in a different stitch pattern before returning to the seed stitch. Start by knitting the first row as usual in seed stitch, alternating between knit and purl stitches. Then, on the second row, introduce the twist by knitting two stitches together through the back loop.
This twisted stitch creates a diagonal line that forms the twist. Continue knitting each subsequent row in seed stitch, being sure to work the twisted stitch on every second row. The twisting will gradually create a diagonal line that runs across your headband.
Once you have reached the desired length for your headband, finish off by knitting a few more rows in seed stitch to create a clean edge. Bind off your stitches and sew the ends together to complete the headband. The twist will add a unique touch to your finished headband, making it a stylish and fashionable accessory.
Shaping the Headband
Once you have cast on the required number of stitches, it’s time to shape the headband. To create a tapered shape, you will need to decrease stitches gradually. The pattern will guide you on how many stitches to decrease and when to do so.
To decrease stitches, you can use techniques such as knitting two stitches together (k2tog) or slipping stitches. These techniques will help narrow down the width of the headband while maintaining the seed stitch pattern. It’s important to follow the pattern instructions carefully to achieve the desired shape.
For example, the pattern may instruct you to decrease one stitch at the beginning and end of the row every other row. This will create a gradual taper in the width of the headband. Alternatively, the pattern may recommend decreasing stitches in a specific pattern or sequence to add visual interest to the design.
As you shape the headband, be mindful of maintaining the seed stitch pattern. This means that even when you decrease stitches, you should continue to alternate between knits and purls to create the characteristic texture of the seed stitch. Pay attention to the stitch counts and make adjustments as necessary to ensure the pattern is consistent.
By shaping the headband correctly, you will create a comfortable and stylish accessory that fits snugly around the head. Take your time and follow the pattern instructions closely to achieve the desired shape and size for your headband. Happy knitting!
Adding Buttons or Embellishments
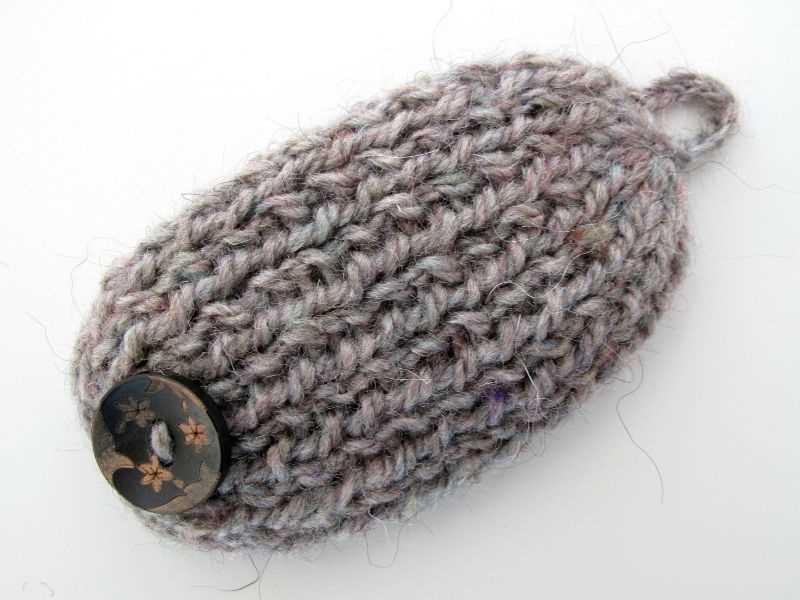
If you want to personalize your seed stitch knitted headband, you can add buttons or other embellishments to make it unique. Buttons can be sewn onto the headband in a variety of patterns or arrangements. You could create a simple row of buttons down the center, or arrange them in a cluster off to one side. The choice is up to you and your personal style.
In addition to buttons, you can also add other embellishments, such as beads or sequins. These can be sewn onto the headband individually or in patterns to create an eye-catching design. If you’re feeling adventurous, you could even add some embroidery to the headband to make it truly one-of-a-kind.
Here are a few ideas for adding buttons or embellishments to your seed stitch knitted headband:
- Sew buttons in a contrasting color onto the headband in a random pattern.
- Create a line of buttons down the center of the headband for a more structured look.
- Add beads or sequins in a pattern to create a sparkly effect.
- Sew on small fabric flowers for a feminine touch.
- Combine different embellishments to create a unique and textured design.
Remember to take into account the weight and size of the buttons or embellishments you choose, as they may affect the drape and fit of the headband. Additionally, make sure that any sewing or attaching you do is secure to prevent the buttons or embellishments from coming loose while wearing the headband.
Adding buttons or embellishments to your seed stitch knitted headband allows you to showcase your creativity and add your personal touch to the finished piece. Have fun experimenting with different ideas and creating a headband that is truly unique to you!
Finishing Off
Once you have completed knitting your seed stitch headband, it’s time to finish off and give it a polished look. Here are a few steps to help you complete the project:
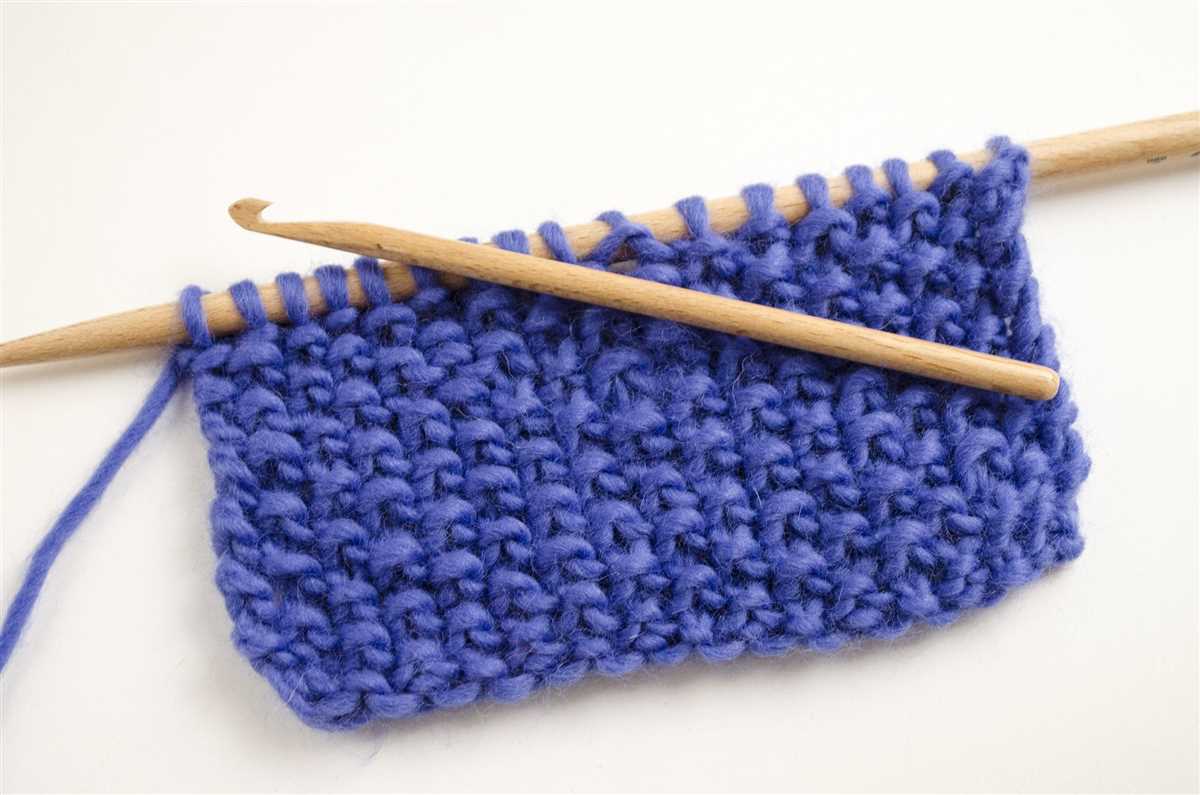
1. Bind off: To bind off, knit the first two stitches as usual. Then, insert the left needle into the first stitch on the right needle and pass it over the second stitch and off the needle. Repeat this process until all stitches have been bound off.
2. Weave in ends: Use a yarn needle to weave in the loose ends of yarn. This will help secure them and prevent unraveling. Start by threading the loose end through the needle, then insert it into the knitted fabric, following the path of the yarn. Continue weaving in the ends until they are no longer visible.
3. Block the headband (optional): Blocking is a process that helps to shape and even out the stitches in your knitting. To block your seed stitch headband, dampen it with water and gently squeeze out the excess. Then, lay it flat on a towel and use pins to shape it to the desired dimensions. Allow it to dry completely before removing the pins.
4. Try it on: Once the headband is fully finished, try it on to ensure it fits comfortably on your head. Adjustments can be made by adding or removing rows before binding off if necessary.
By following these finishing steps, you can give your seed stitch knitted headband a professional and polished look. Enjoy wearing your handmade accessory with pride!
Additional Tips and Variations
Here are some additional tips and variations to consider when knitting a seed stitch headband:
1. Adjusting the Size: You can easily adjust the size of the headband by adding or subtracting stitches or rows. If you want a wider headband, cast on more stitches. If you want a narrower headband, cast on fewer stitches. To make the headband longer or shorter, you can add or subtract rows.
2. Using Different Yarns: The seed stitch headband can be knitted with various types of yarn, so feel free to experiment! A bulkier yarn will result in a thicker and warmer headband, while a lighter yarn will create a more delicate and lightweight headband.
3. Adding Embellishments: To make your headband stand out even more, consider adding embellishments like buttons, flowers, or bows. These can be sewn onto the headband after it is finished, or you can incorporate them into the knitting process.
4. Colorwork: Instead of using a single color for the headband, you can create a more intricate design by incorporating colorwork. Experiment with different color combinations and patterns to create a unique and personalized headband.
5. Reversible Headband: If you prefer a headband that looks the same on both sides, you can knit the seed stitch headband as a double-sided piece. To do this, follow the pattern instructions for the front side, and then repeat the pattern on the wrong side instead of purling every stitch.
Summary
The seed stitch knitted headband is a versatile and stylish accessory that can be customized to suit your preferences. With its textured pattern and simple construction, it is perfect for beginners and experienced knitters alike. Whether you choose to make a solid-colored headband or experiment with different yarns and embellishments, this pattern is sure to add a touch of warmth and style to your winter wardrobe!
Q&A:
What is the seed stitch?
The seed stitch is a basic knitting stitch pattern that creates a textured fabric by alternating knit and purl stitches.
How do I make a seed stitch headband?
To make a seed stitch headband, you will need to cast on the desired number of stitches, typically around 15-20 stitches. Then, alternate between knitting and purling each row until the headband is the desired length. Finally, bind off the stitches and sew the ends together to create a loop.
What size needles should I use for a seed stitch headband?
The size needles you use for a seed stitch headband will depend on the yarn weight and your desired gauge. It is recommended to use a smaller needle size than what is recommended on the yarn label to achieve a tighter stitch pattern.
Can I make a seed stitch headband with a cable pattern?
Yes, you can incorporate a cable pattern into your seed stitch headband by adding cable crosses to specific stitches. This will add additional texture and interest to your headband.
Can I customize the width of my seed stitch headband?
Yes, you can customize the width of your seed stitch headband by adjusting the number of cast on stitches. If you want a wider headband, cast on more stitches, and if you want a narrower headband, cast on fewer stitches.
What is a seed stitch knitted headband pattern?
A seed stitch knitted headband pattern is a knitting pattern that creates a headband with a textured, seed-like pattern. The seed stitch is created by alternating knit and purl stitches within the same row and across rows to create a textured surface. This pattern is often used for headbands as it creates a stretchy and cozy fabric.