
Knitting is not just a hobby, it’s a way to create something with love and warmth. And what could be more heartwarming than a cozy knitted hat made by your grandma?
Grandma’s knitted hat patterns are more than just instructions for creating a fashionable accessory. They are a nostalgic reminder of the time spent with loved ones, listening to stories and laughter while the rhythmic sound of knitting needles filled the air.
These patterns have been passed down through generations, and are cherished not only for their practicality, but for the memories they hold. Each hat tells a story – a story of love, dedication, and the importance of handmade craftsmanship. Whether it’s a simple beanie or a fancy beret, these patterns carry a piece of our family history.
Grandma’s Knitted Hat Pattern
If you’re looking for a cozy and stylish hat to keep you warm during the colder months, look no further than Grandma’s knitted hat pattern. This tried and true pattern has been passed down through generations, and it’s guaranteed to keep your head toasty.
To get started, you’ll need a set of knitting needles, a skein of yarn, and some basic knitting skills. The pattern is simple enough for beginners, but it also allows for some customization and creativity, so you can make the hat truly your own.
Materials:
- Size 8 knitting needles
- One skein of worsted weight yarn
- Yarn needle
- Stitch marker
- Scissors
Instructions:
- Cast on 80 stitches using the long-tail cast-on method.
- Work in a rib stitch pattern (knit 2, purl 2) for 2 inches.
- Switch to stockinette stitch (knit one row, purl one row) and continue until the hat measures 6 inches from the cast-on edge.
- Begin decreasing: knit 6 stitches, knit 2 together, repeat to the end of the row.
- Purl one row.
- Knit 5 stitches, knit 2 together, repeat to the end of the row.
- Purl one row.
- Continue decreasing in this pattern until you have 8 stitches remaining.
- Cut the yarn, leaving a long tail. Thread the tail through the yarn needle, slip the remaining stitches onto the needle, and pull tight to close the top of the hat.
- Weave in any remaining ends and adjust the hat as needed.
- Knitting needles: Choose a pair of knitting needles that are appropriate for the yarn you will be using. The size and type of needles can greatly affect the outcome of your hat, so it’s important to choose the right ones.
- Yarn: Selecting the right yarn is crucial for knitting a comfortable and warm hat. Look for yarn that is soft and durable, and consider the color and texture that will best suit your style.
- Tape measure: A tape measure will help you accurately measure your knitting progress and ensure that your hat is the right size. This is especially important if you are following a specific pattern or have specific size requirements.
- Darning needle: A darning needle is used for weaving in loose ends and finishing off your knitting. This tool is essential for giving your hat that polished and professional look.
- Stitch markers: Stitch markers are helpful for keeping track of your stitches and marking specific points in your knitting. They can be especially useful when repeating a pattern or when knitting in the round.
- Knitting needles (size 7)
- Worsted weight yarn
- Tapestry needle
- Scissors
This pattern is not only a great way to create a warm and fashionable hat, but it’s also a lovely way to carry on Grandma’s legacy. Whether you make this hat for yourself or as a gift for a loved one, it’s sure to be cherished for years to come.
Why Choose Grandma’s Knitted Hat Pattern?
Grandma’s knitted hat pattern is a timeless classic that has been passed down through generations. It offers a unique and charming design that is perfect for keeping warm during the colder months.
One of the reasons why many people choose Grandma’s knitted hat pattern is its simplicity. The pattern is easy to follow and is suitable for beginners and experienced knitters alike. With clear instructions and basic stitches, anyone can create a beautiful hat that is both functional and stylish.
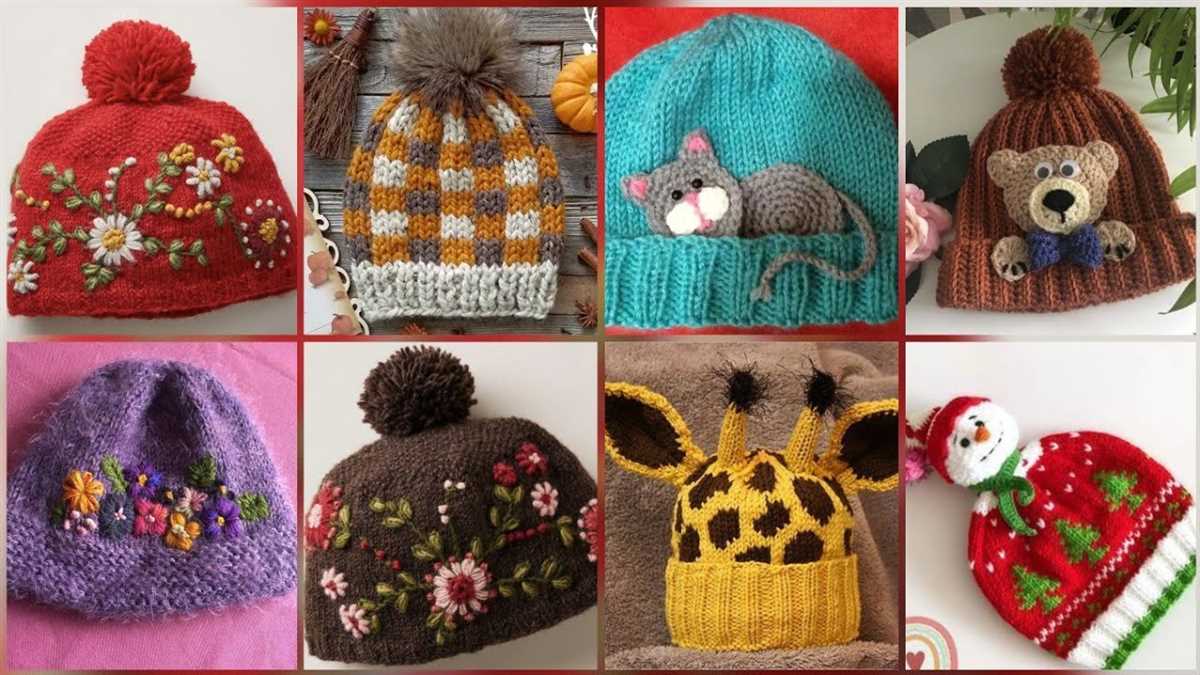
Variety of Styles
Grandma’s knitted hat pattern offers a variety of styles to suit different preferences. Whether you prefer a classic ribbed design, a cozy cable knit, or a trendy slouchy hat, there is a pattern available to cater to your personal style.
Customization Options
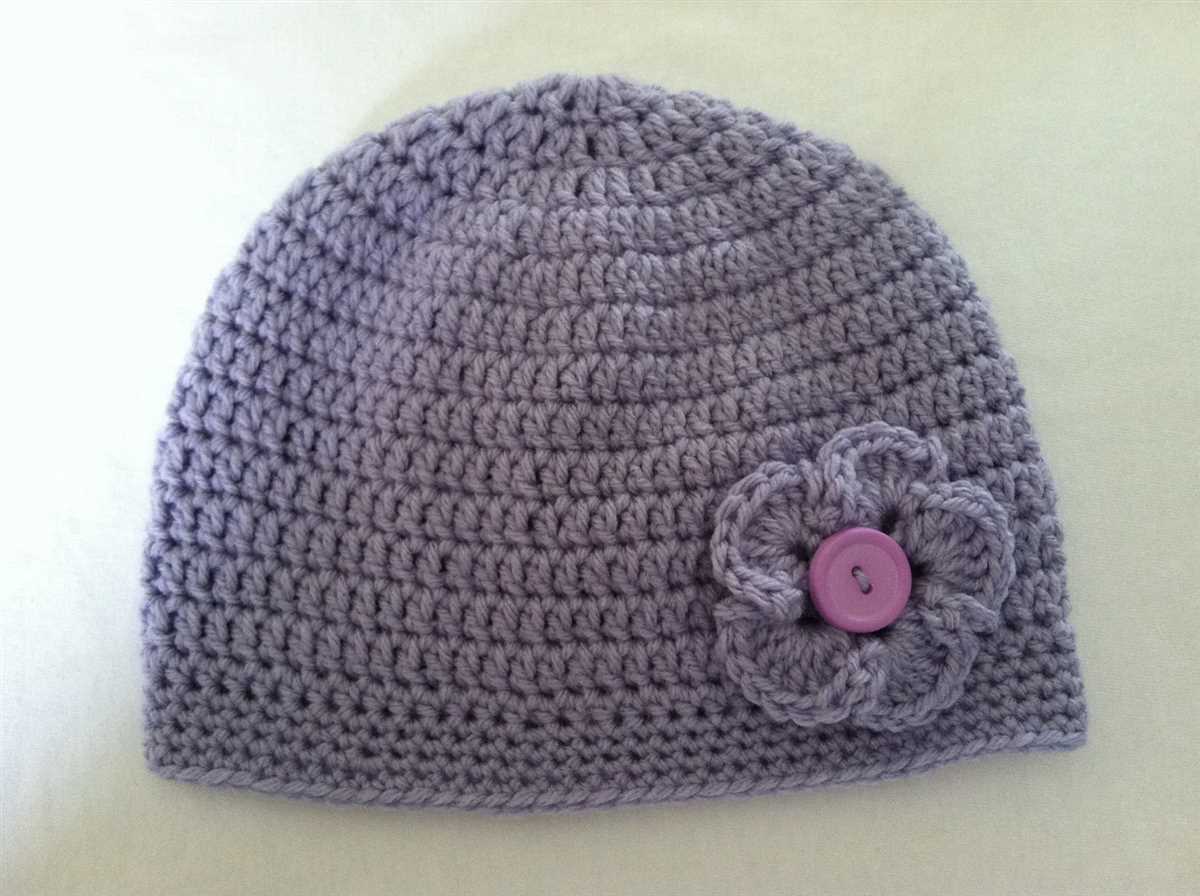
Another advantage of Grandma’s knitted hat pattern is the ability to customize it according to your needs. You can choose the color, yarn type, and size to create a hat that fits your style and personality. You can even add embellishments such as pom-poms or buttons to make your hat truly unique.
Gift Potential
Grandma’s knitted hat pattern is also an excellent choice for homemade gifts. Handmade gifts carry a special meaning and personal touch, and a knitted hat made using this pattern is sure to be cherished by the recipient. Whether it’s for a friend, family member, or even for yourself, a knitted hat made with love is always a thoughtful present.
Warmth and Comfort
Lastly, Grandma’s knitted hat pattern ensures warmth and comfort. Knitted hats are known for their insulating properties, keeping your head and ears cozy during chilly weather. The softness and warmth of the yarn used in this pattern make it a perfect choice for staying snug and stylish.
In conclusion, Grandma’s knitted hat pattern stands out for its timeless design, simplicity, versatility, customization options, gift potential, and the warmth and comfort it provides. Whether you are a beginner or an experienced knitter, this pattern is worth considering if you want to create a beautiful and functional hat that will stand the test of time.
Getting Started with Grandma’s Knitted Hat Pattern
Welcome to the world of knitting! If you’re new to knitting or just want to try your hand at making a cozy hat, you’re in the right place. This guide will walk you through the process of using Grandma’s knitted hat pattern to create a warm and stylish accessory. With a few basic stitches and some patience, you’ll have a beautiful hat in no time.
Gather your supplies. Before you start, make sure you have everything you need. You’ll need a set of knitting needles in the appropriate size for your yarn, a skein or two of yarn in your desired color, a pair of scissors, and a yarn needle. You might also find it helpful to have stitch markers, a stitch holder or scrap yarn, and a measuring tape.
Familiarize yourself with the pattern. Take a look at Grandma’s knitted hat pattern and read through it to get an understanding of the instructions. Pay attention to any special stitches or techniques that are mentioned. It can also be helpful to make note of any abbreviations used in the pattern. If you’re unsure about any part of the pattern, don’t hesitate to ask for help from more experienced knitters or refer to online resources.
Choose your yarn and needles. The type of yarn and size of needles you choose will depend on the desired outcome of your hat. If you want a chunky, cozy hat, opt for a thicker yarn and larger needles. If you prefer a more lightweight and delicate hat, choose a finer yarn and smaller needles. Consider the pattern’s gauge and recommendations for yarn weight to ensure you achieve the best results.
Start knitting! Once you have your supplies and understand the pattern, you’re ready to begin. Cast on the required number of stitches as indicated in the pattern and start working through the instructions. Take your time, and don’t worry if you make mistakes. Practice and patience are key to mastering the art of knitting. Enjoy the process and soon you’ll have a beautiful, handmade hat to show off!
Choosing the Right Yarn for Grandma’s Knitted Hat Pattern
When selecting yarn for Grandma’s knitted hat pattern, it is important to consider several factors to ensure the best results. The choice of yarn can greatly affect the final look, feel, and durability of the hat. Here are some key points to consider when choosing the right yarn for this project:
1. Weight and Gauge
The weight of the yarn refers to its thickness, which can greatly impact the size and fit of the hat. Grandma’s knitted hat pattern may specify a certain weight or gauge, so it is important to choose yarn that matches these requirements. Yarns of different weights will produce different results, so make sure to check the pattern for any specific recommendations.
2. Fiber Content

The fiber content of the yarn can also affect the final product. Different fibers have different characteristics, such as warmth, softness, and stretchiness. Consider the preferences of the person who will be wearing the hat – do they prefer a soft and warm hat or something more lightweight and breathable? Common yarn fibers include wool, acrylic, cotton, and blends of these materials.
3. Color and Texture
Another important aspect to consider when choosing yarn for the knitted hat is the color and texture. Yarn comes in a wide range of colors and finishes, which can greatly influence the overall look of the hat. Depending on the pattern and the recipient’s personal style, you may want to opt for a solid color yarn, a variegated yarn with different shades, or even a yarn with a subtle texture or sparkle.
4. Yardage and Price
Lastly, consider the yardage and price of the yarn. Grandma’s knitted hat pattern will typically specify the amount of yarn required for the project, so make sure to check this and purchase the appropriate amount. Additionally, consider the price of the yarn and your budget for the project. Yarn prices can vary greatly depending on the brand, fiber content, and quality, so find a yarn that fits within your desired price range.
By taking these factors into consideration, you can choose the right yarn for Grandma’s knitted hat pattern that will result in a beautiful, comfortable, and durable hat. Happy knitting!
Essential Tools for Knitting Grandma’s Hat
When knitting Grandma’s hat, it’s important to have the right tools to ensure a successful and enjoyable knitting experience. Here are some essential tools that you will need:
These are just a few of the essential tools that you will need when knitting Grandma’s hat. Each tool plays a unique role in the knitting process, ensuring that your hat turns out just the way you envisioned. So gather your tools, select your yarn, and get ready to create a cozy and beautiful hat that Grandma will absolutely love!
Step-by-Step Instructions for Knitting Grandma’s Hat
Knitting a hat from Grandma’s knitted hat pattern is a wonderful way to honor her craftsmanship and create a special keepsake. Follow these step-by-step instructions to knit your very own hat using Grandma’s treasured pattern.
Materials Needed:
Step 1: Cast on Stitches
Using the long tail cast on method, cast on 80 stitches onto your knitting needles. Make sure the stitches are not too tight or too loose, as this will affect the fit of the hat.
Step 2: Knit Ribbing
Knit 2 stitches, then purl 2 stitches, and repeat this pattern across the entire row. Continue knitting in this ribbing pattern for approximately 2 inches or until you reach the desired length for the hat’s brim.
Step 3: Begin Main Body of the Hat
Switch to knitting all stitches in the stockinette stitch pattern, which means knitting each stitch on the right side of the work and purling each stitch on the wrong side. Continue knitting in the stockinette stitch until the hat measures approximately 7 inches from the cast on edge.
Step 4: Decrease Stitches
On the next row, knit 2 stitches together across the entire row. This will decrease the number of stitches by half. Repeat this decrease row every other row until you have 10 stitches remaining on your needles.
Step 5: Finishing
Cut the yarn, leaving a long tail. Thread the yarn through a tapestry needle and slide it through the remaining 10 stitches, removing them from the knitting needles. Pull the tail tight to close the top of the hat. Sew the side seam of the hat using the mattress stitch or your preferred seaming method.
Congratulations! You have successfully knitted Grandma’s hat using her cherished pattern. Admire your handiwork and enjoy wearing this special reminder of your Grandma’s love and talent.
Tips and Tricks for Knitting Grandma’s Hat
If you’ve decided to take on the task of knitting Grandma’s hat, you’re in for a fun and rewarding project. To help you along the way, here are some tips and tricks to ensure your hat turns out just right.
1. Choose the Right Yarn
When knitting Grandma’s hat, it’s important to choose the right yarn. Look for a soft and warm yarn that is suitable for the hat’s intended purpose. Consider the fiber content, thickness, and color to ensure it matches Grandma’s style.
2. Follow the Pattern Carefully
Grandma’s hat pattern is a tried and true design, so it’s important to follow it carefully. Read through the instructions before you begin and make sure you understand each step. Pay close attention to any special stitches or techniques mentioned.
3. Check Your Gauge
Before diving into the pattern, take the time to check your gauge. This involves knitting a small sample swatch and measuring the number of stitches and rows per inch. Adjust your needle size if necessary to achieve the correct gauge, as this will ensure the hat fits as intended.
4. Use Stitch Markers
Stitch markers can be a valuable tool when knitting Grandma’s hat. They can help you keep track of stitch counts and pattern repeats, ensuring your hat turns out symmetrical and well-shaped. Use different colored markers to differentiate between different sections of the pattern.
5. Don’t Be Afraid to Frog
If you make a mistake, don’t be afraid to “frog” (rip out) your knitting and start again. It’s better to fix errors early on rather than continue knitting with a mistake that will bother you in the end. Keep a crochet hook or small needle handy for picking up dropped stitches.
6. Block Your Finished Hat
After completing Grandma’s hat, give it a gentle blocking to help shape and soften the fabric. Follow the blocking instructions specific to the yarn you used, whether it’s wet blocking or steam blocking. This will give your hat a professional and polished look.
By following these tips and tricks, you’ll be well on your way to knitting Grandma’s hat with success. Enjoy the process and create a beautiful and functional accessory that Grandma will cherish.
Adding Personalized Touches to Grandma’s Knitted Hat
When it comes to Grandma’s knitted hat pattern, there are many ways to add your own personal touches and make each hat truly unique. Whether you’re knitting the hat for yourself or for a loved one, adding personalized details can make it even more special. Here are some ideas to consider:
Choosing a Unique Color Palette
One of the easiest ways to personalize your knitted hat is by choosing a color palette that reflects your or the recipient’s personality or preferences. Instead of sticking to traditional colors, consider mixing and matching different shades or experimenting with bold and bright colors. This simple change can make a big difference in the overall look and feel of the hat.
Embroidering Initials or a Monogram
Another way to add a personal touch to Grandma’s knitted hat is by embroidering initials or a monogram onto the hat. This can be done using embroidery floss or thread in a contrasting color. It can be placed on the brim, the side, or even on the back of the hat. This adds a touch of elegance and makes the hat truly one-of-a-kind.
Adding Embellishments
Embellishments are a fun and creative way to add personality to a knitted hat. Consider adding buttons, beads, ribbons, or even small charms to the hat. These can be sewn on or attached using small loops of yarn. Just make sure that the embellishments are securely attached and won’t be easily pulled off.
Customizing the Fit
To ensure the hat fits perfectly, consider customizing the fit. This can be done by adding ribbing or a band to the bottom of the hat to provide a snug fit. Additionally, you can adjust the length or width of the hat to accommodate personal preferences or head sizes. Customizing the fit will not only make the hat more comfortable to wear but also ensure it looks great.
Adding a Pom-Pom
A classic and playful way to personalize a knitted hat is by adding a pom-pom on top. Pom-poms can be made from yarn in a matching or contrasting color. They instantly add a touch of whimsy and can be a fun way to showcase your personal style.
Overall, there are countless ways to add personalized touches to Grandma’s knitted hat pattern. From choosing unique colors to adding embroidery or embellishments, these small details can make a big impact and create a hat that is truly one-of-a-kind.
Alternative Knitting Techniques for Grandma’s Hat
If you’re tired of the same old knitting techniques for Grandma’s hat, you might want to try some alternative methods that will give your project a unique and stylish look. Here are a few techniques you can experiment with:
Cable Knitting
One of the most popular alternative knitting techniques is cable knitting. With cable knitting, you can create intricate designs and patterns that add texture and interest to your hat. To achieve the cable effect, you’ll need a cable needle or a double-pointed needle to hold the stitches while you cross them over each other. This technique requires some practice and patience, but the results are well worth it.
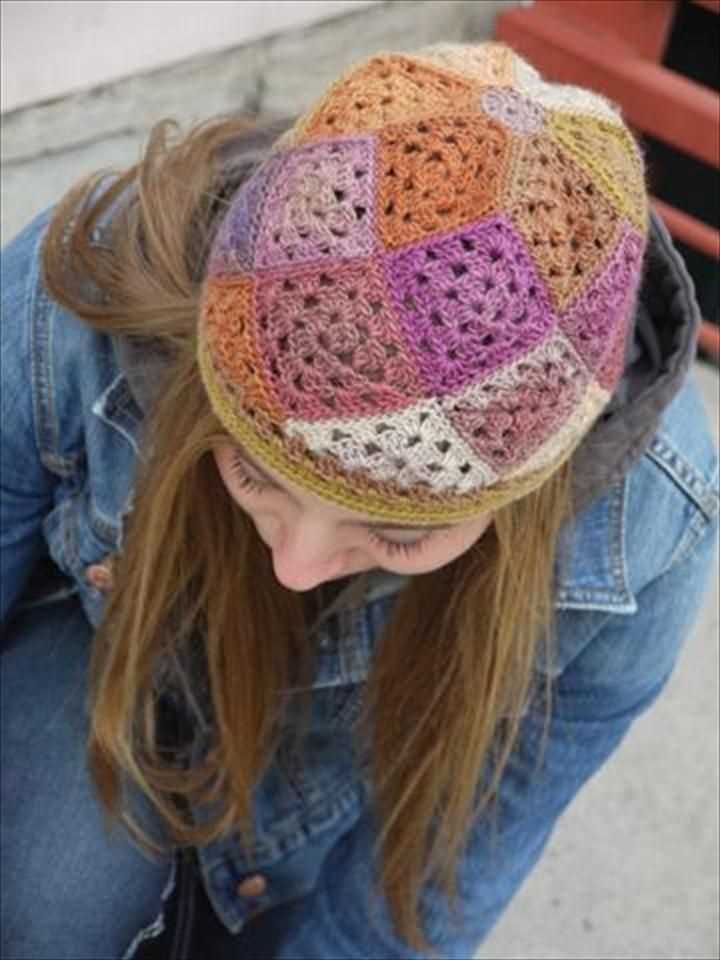
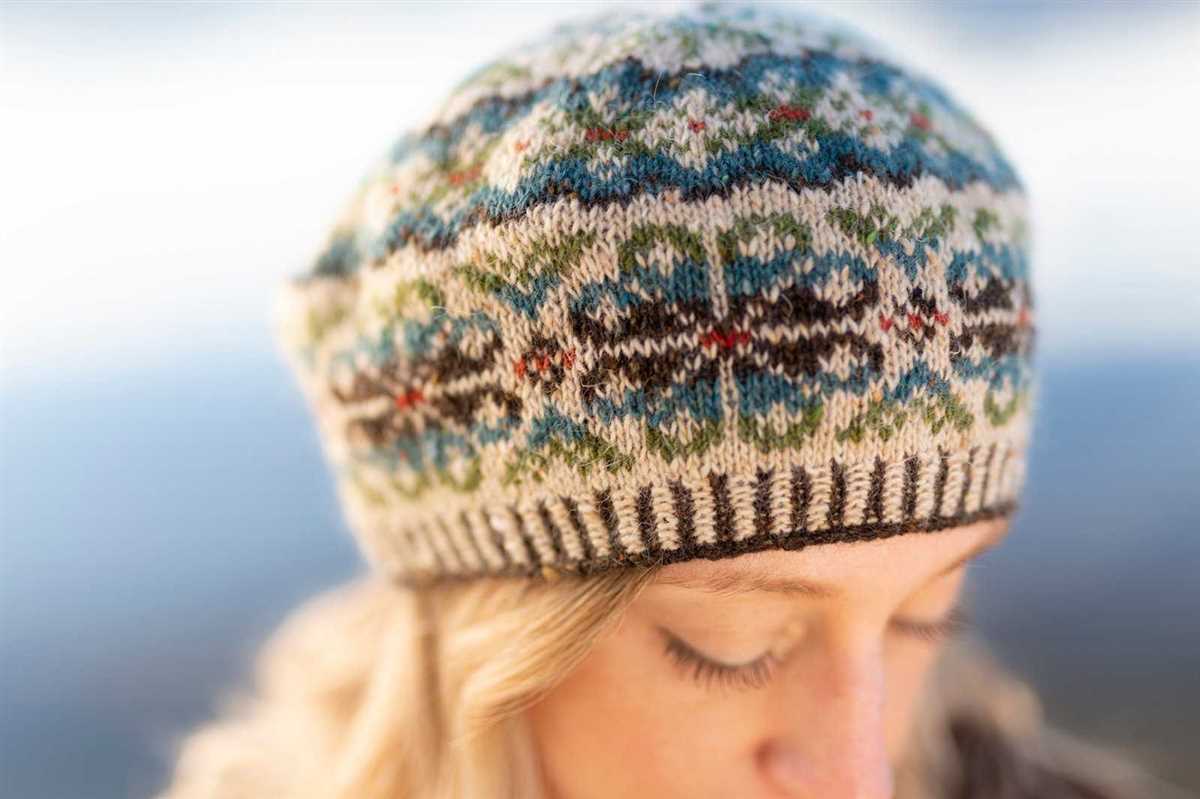
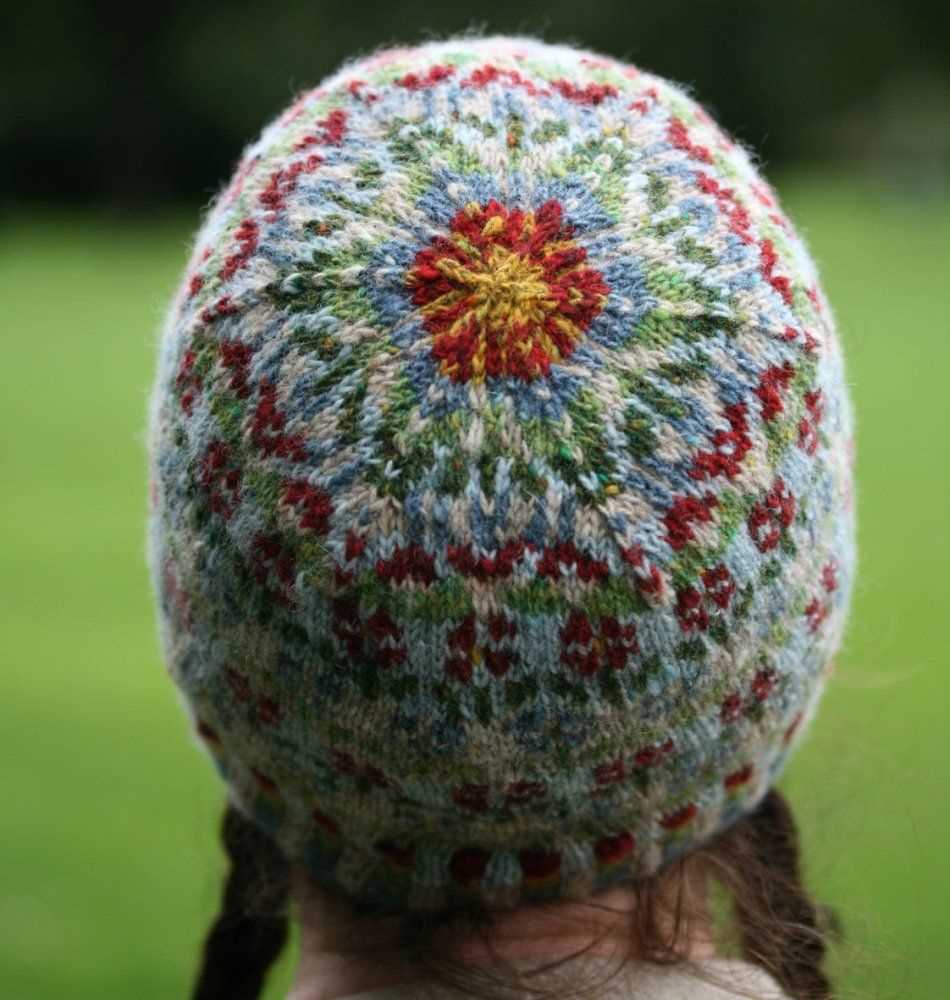
Colorwork Knitting
If you want to add a pop of color to Grandma’s hat, colorwork knitting is a great technique to try. This method involves using multiple colors of yarn to create beautiful patterns and motifs. You can choose from different colorwork techniques, such as fair isle, intarsia, or slip stitch, depending on the design you want to achieve. Colorwork knitting can be a bit more challenging than regular knitting, but the vibrant and eye-catching results are worth the effort.
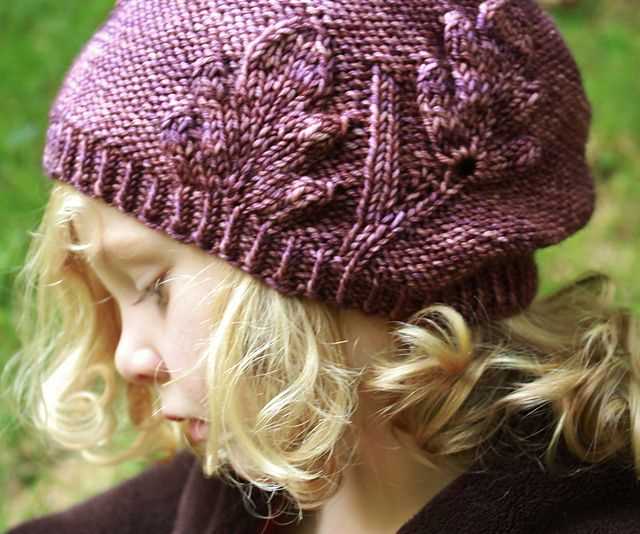
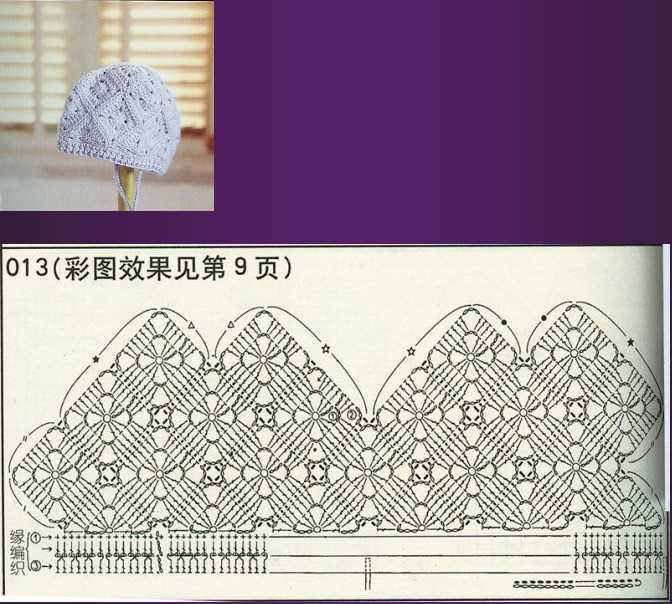
Lace Knitting
If you’re looking for a delicate and feminine touch for Grandma’s hat, lace knitting is a wonderful option. With lace knitting, you’ll be creating patterns with holes or spaces in the fabric, giving it a lacy and airy appearance. Lace knitting often involves intricate stitch patterns and requires attention to detail. However, the end result is a beautifully delicate hat that Grandma will adore.
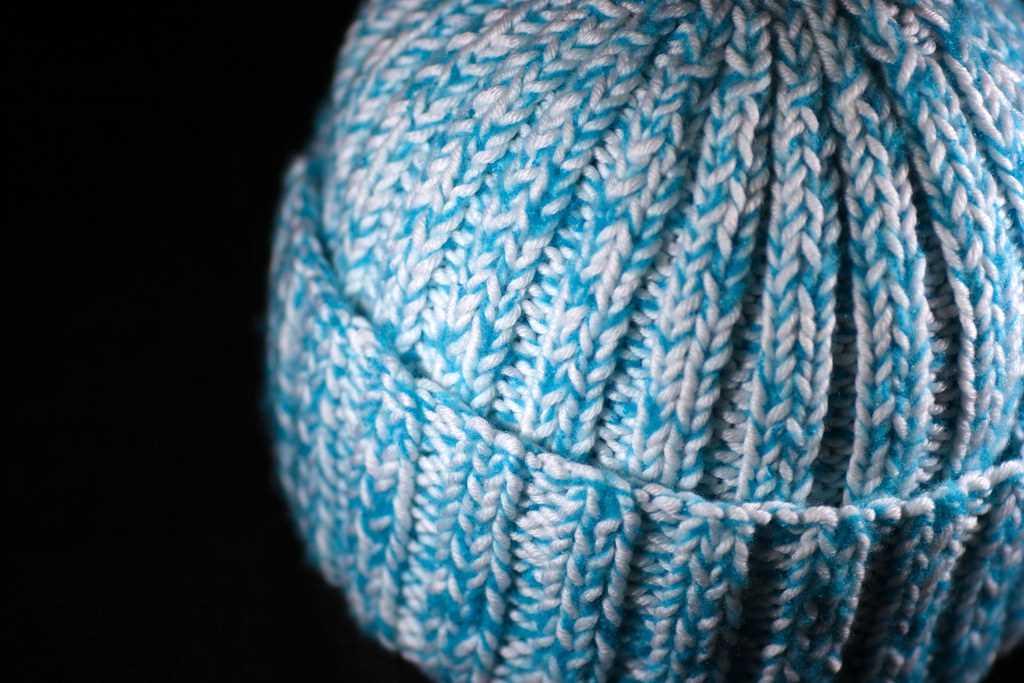
Textured Knitting
If you prefer a more rustic and textured look for Grandma’s hat, textured knitting techniques are the way to go. There are countless options for adding texture to your knitting, such as cables, bobbles, or seed stitch. These techniques create a three-dimensional feel to the fabric, making the hat more interesting and visually appealing. The texture also adds warmth and coziness to the finished project.
By trying out these alternative knitting techniques, you can give Grandma’s hat a fresh and unique spin. Whether you choose cable knitting, colorwork knitting, lace knitting, or textured knitting, you’ll be adding a special touch to your project that will make it stand out from the rest.
Caring for Your Grandma’s Knitted Hat
Your grandma’s knitted hat is not just an accessory, it is a precious keepsake that carries the love and warmth she put into making it. To ensure that it stays in good condition for many years to come, it is important to care for it properly.
1. Hand Washing: Hand washing is the best way to clean your grandma’s knitted hat. Fill a sink or basin with cool water and add a gentle detergent. Gently agitate the hat in the water for a few minutes, then rinse it thoroughly with cool water. Avoid wringing or twisting the hat, as this could damage the fibers. Instead, gently press out the excess water and lay the hat flat on a clean towel to dry.
2. Storage: When your grandma’s knitted hat is not being worn, it should be stored carefully to prevent any damage. Find a clean, dry place to keep the hat, away from direct sunlight, pets, and anything that could pull or snag the delicate fibers. It is a good idea to store the hat in a breathable bag or pillowcase to protect it from dust and moths.
3. Avoiding Harsh Cleaners and Heat: Harsh cleaners, such as bleach or strong detergents, should never be used on your grandma’s knitted hat as they can weaken the fibers and cause the colors to fade. Additionally, you should avoid exposing the hat to direct heat sources, such as radiators or hairdryers, as this can also damage the fibers. Instead, let the hat air dry naturally.
4. Regular Inspections: It is important to regularly inspect your grandma’s knitted hat for any signs of wear or damage. Look for loose threads, holes, or areas where the fibers are thinning. If you notice any issues, it is best to address them as soon as possible to prevent further damage. Small repairs can often be done by hand using a needle and matching yarn.
5. Treasuring the Memories: Lastly, don’t forget to treasure the memories that are attached to your grandma’s knitted hat. Each time you wear it, you will be reminded of the love and care that went into creating it. Share the stories and memories with others to keep the spirit of your grandma alive and to pass down the tradition of knitting to future generations.
Showcasing and Gifting Your Finished Grandma’s Knitted Hat
After putting in all the time and effort to knit a beautiful hat using Grandma’s knitted hat pattern, it’s time to show off your creation! Whether you are keeping the hat for yourself or gifting it to someone special, there are a few ways to showcase and present your finished hat.
1. Styling and Wearing the Hat
One of the best ways to showcase your hat is to wear it with pride! Style it with different outfits to show its versatility and how it can elevate any winter look. Take photos of yourself wearing the hat and share them on social media or with your friends and family.
2. Creating a Display
If you’re not planning to wear the hat regularly, consider creating a display to show it off. Place the hat on a decorative hat stand or attach it to a wall using hooks or pins. This way, the hat becomes a piece of art that can be admired by everyone who sees it.
3. Packaging for Gifting
If you are gifting the hat to someone else, take the time to package it beautifully. Wrap it in tissue paper or place it inside a special box. You can even add a handwritten note or a personalized tag to make the gift extra special.
No matter how you choose to showcase or gift your finished Grandma’s knitted hat, remember to take pride in your knitting skills and the love and care that went into creating such a special item. Your hat will surely bring warmth and joy to whoever wears it!