
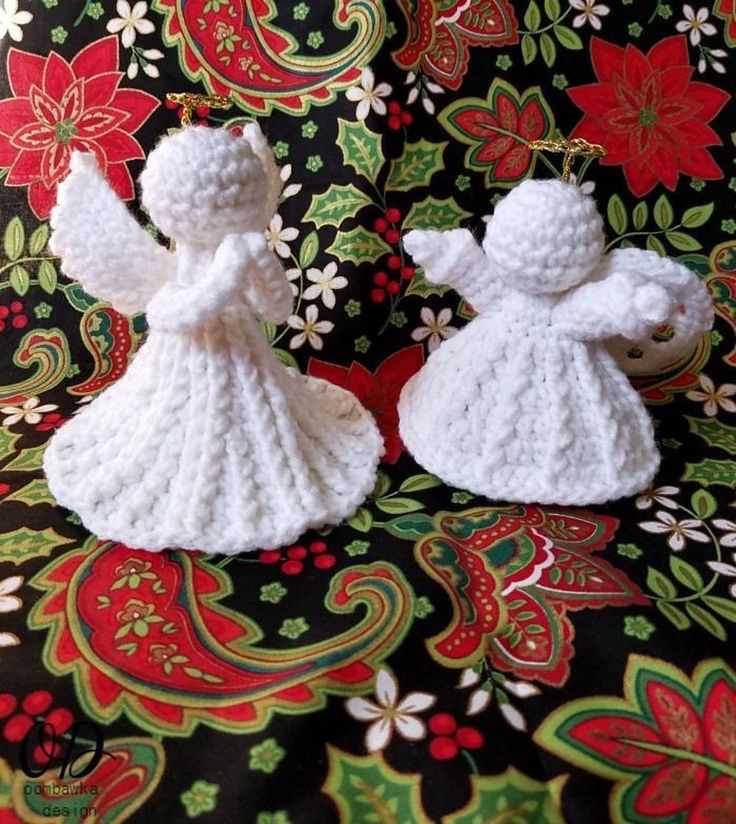
Christmas is a time of joy and celebration, and what better way to spread the holiday cheer than with handmade decorations? Knitting your own Christmas angel is a wonderful project that is not only fun and relaxing, but also allows you to add a personal touch to your festive decor. Whether you’re an experienced knitter or a beginner, this knitting pattern for a Christmas angel is perfect for all skill levels.
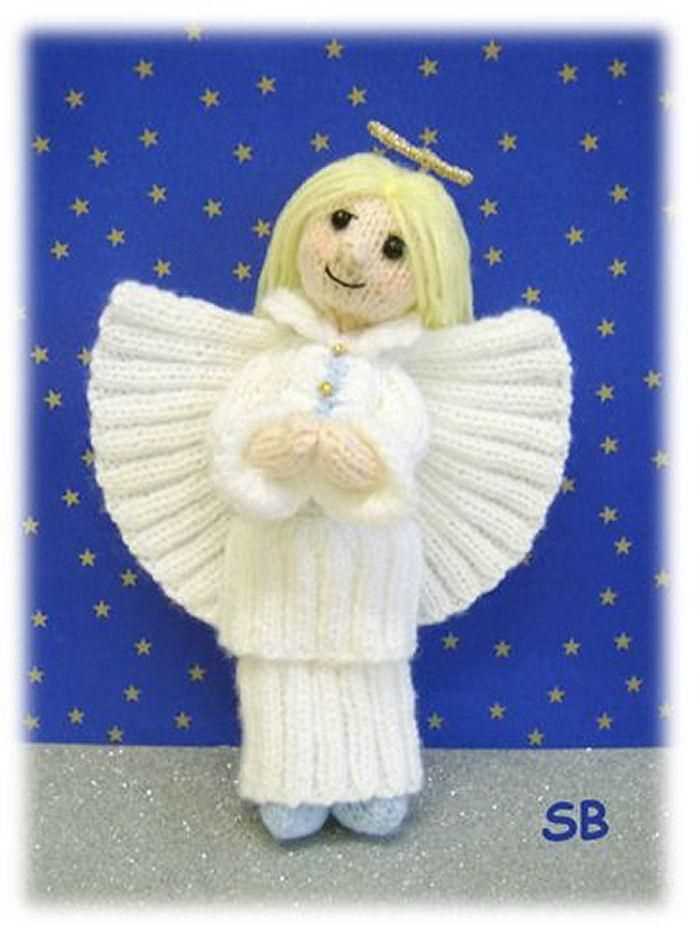
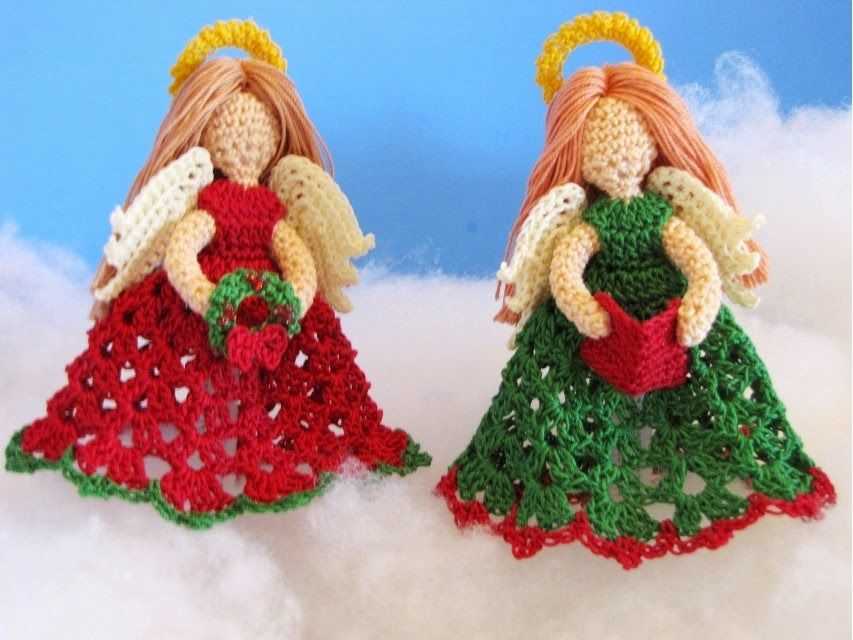
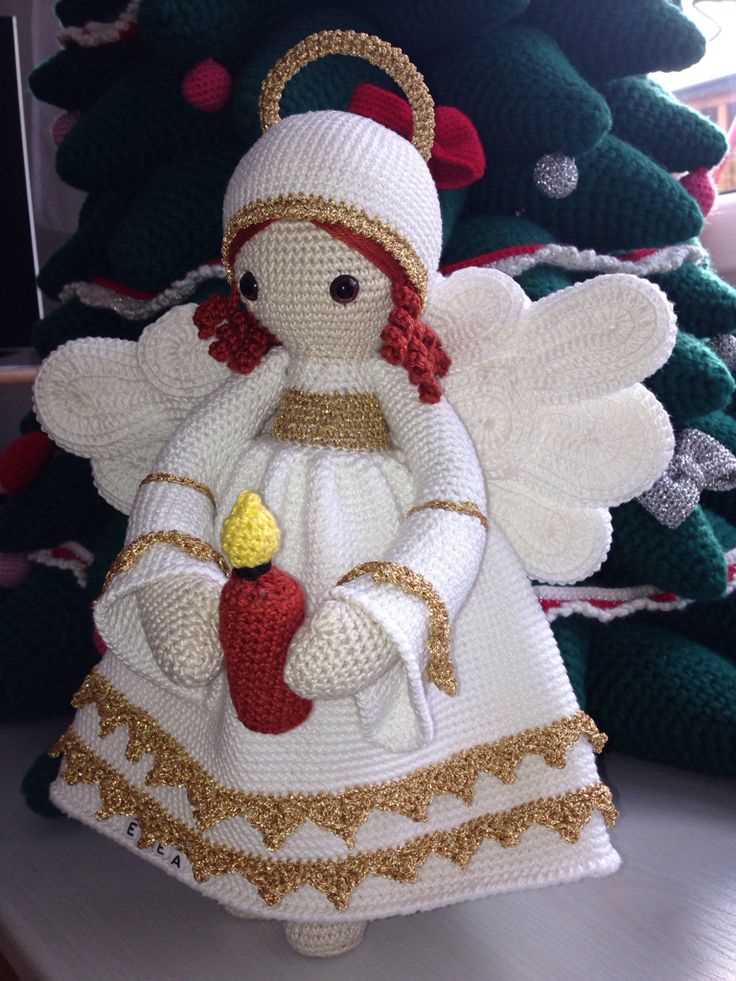
Made with soft and cozy yarn, this adorable angel will brighten up any Christmas tree or mantle. With its delicate details and charming design, this knitting pattern is sure to become a cherished part of your holiday traditions. The finished angel measures approximately 6 inches tall, making it a perfect size to adorn your Christmas tree or give as a thoughtful gift to family and friends.
This knitting pattern is straightforward and easy to follow, making it ideal for knitters of all levels. The pattern includes step-by-step instructions, detailed illustrations, and helpful tips to guide you through the process. Whether you prefer to knit with double-pointed needles or circular needles, you can easily customize the pattern to suit your preferences. So grab your knitting needles, choose your favorite yarn colors, and let’s get started on creating your own beautiful Christmas angel!
Knitting Pattern for Christmas Angel
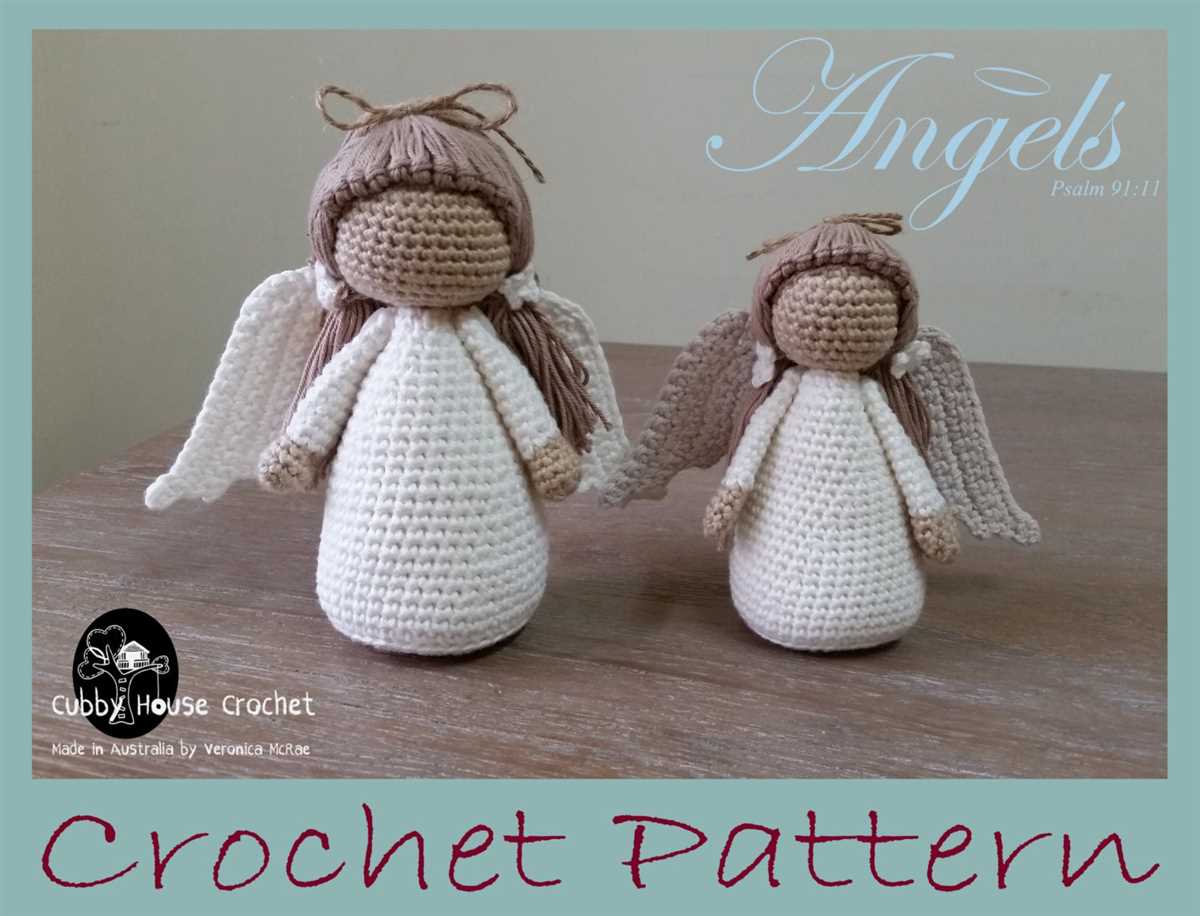
If you’re looking to add a touch of holiday magic to your home this Christmas, why not try knitting a Christmas angel? This knitting pattern will guide you through the process of creating a beautiful angel ornament that you can hang on your tree or display on a mantelpiece.
To start, gather your materials: you’ll need some white or cream-colored yarn, knitting needles in a size suitable for your chosen yarn, a darning needle, and some stuffing. You can also add extra embellishments like gold or silver thread, sequins, or beads to make your angel sparkle.
Step 1: Body
Begin by casting on a small number of stitches, such as 10 or 12, depending on the size you want your angel to be. Knit in garter stitch for a few rows to create the body. Then, decrease one stitch at the beginning and end of each row until you have just a few stitches left. Gather the remaining stitches tightly, secure the end, and stuff the body firmly.
Step 2: Wings
To create the wings, cast on a small number of stitches, such as 6 or 8. Knit in garter stitch for a few rows, then increase one stitch at the beginning and end of each row until the wings reach your desired size. Bind off the stitches and repeat to make a second wing.
Step 3: Head and Halo
For the head, cast on a small number of stitches, such as 6. Knit in garter stitch for a few rows, then decrease one stitch at the beginning and end of each row until you have just a few stitches left. Gather the remaining stitches tightly, secure the end, and stuff the head lightly. Attach the head to the top of the body with the darning needle.
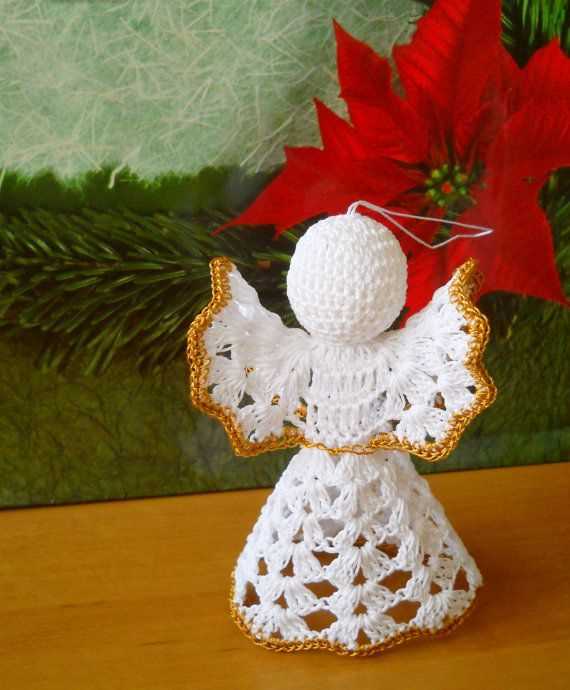
To create the halo, take a piece of gold or silver thread and shape it into a circle. Attach it to the back of the angel’s head, just above the body, using the darning needle.
Step 4: Finishing Touches
Add any additional embellishments you desire, such as sequins or beads, to make your angel truly shine. You can sew them onto the body or wings using the darning needle and matching thread.
Finally, attach a loop of yarn or thread to the back of the angel’s head to create a hanger, and your Christmas angel is ready to be displayed!
Materials Needed
Before getting started on the knitting pattern for the Christmas angel, it is important to gather all the necessary materials. Here is a list of items you will need:
- Yarn: Choose a soft, lightweight yarn in white or a color of your choice for the angel’s body. You will also need small amounts of yarn in different colors for decorative details.
- Knitting Needles: Use a pair of knitting needles in a size appropriate for your chosen yarn. Check the yarn label for recommended needle size.
- Tapestry Needle: This needle will be used for weaving in ends and sewing the finished pieces together.
- Scissors: A pair of sharp scissors will be needed for cutting yarn.
- Stuffing: To give the Christmas angel a plush look, you will need stuffing material like polyester fiberfill or cotton batting.
- Embroidery Floss: This will be used for adding facial details or any other decorative embroidery.
- Beads and Sequins: If desired, you can add some sparkle to your Christmas angel using beads and sequins.
Gather all these materials before starting the project, as they are essential for creating the beautiful Christmas angel. Once you have everything ready, you can proceed to follow the knitting pattern and bring your angel to life!
Step-by-Step Instructions

In this knitting pattern, we will guide you through the process of creating a beautiful Christmas angel. Follow these step-by-step instructions to create your own festive decoration.
Materials Needed:
- Knitting needles (size 5mm)
- White yarn
- Tinsel yarn
- Gold ribbon
- Tapestry needle
- Fiberfill stuffing
- Scissors
Step 1: Cast On
Using the white yarn and size 5mm knitting needles, cast on 20 stitches. This will be the base of your angel’s body.
Step 2: Knit Rows
Continue knitting in garter stitch for 10 rows. This will create a rectangular shape for the body of the angel.
Step 3: Decrease Stitches
On the next row, knit 2 stitches together at the beginning and end of the row. Repeat this decrease row every other row until you have 6 stitches remaining.
Step 4: Shape the Head
Next, knit 1 row without decreasing. Then, knit 2 together across the row. You should now have 3 stitches remaining.
Step 5: Finishing the Body
Knit these 3 stitches for a few rows to create the neck of the angel. Then, cut the yarn, leaving a long tail. Thread the tapestry needle with the yarn tail and slip the stitches onto the needle, pulling tight to gather the neck.
Step 6: Wings and Halo
To create the wings, knit two rectangles using tinsel yarn. Sew them onto the back of the angel’s body. For the halo, cut a piece of gold ribbon and attach it to the top of the angel’s head.
Step 7: Stuff and Finish
Stuff the angel’s body with fiberfill to give it a plump shape. Then, use the tapestry needle to sew up any open edges. Trim any excess yarn or tinsel. Your Christmas angel is now complete and ready to hang on your tree or use as a festive decoration.
Casting On
Casting on is the first step in starting your knitting project. It is the process of adding stitches to your knitting needle before you start working with the yarn. There are various methods to cast on, but one popular method for knitting a Christmas angel is the long tail cast on.
To begin, you will need a long tail of yarn, approximately three times the width of your knitting project. Make a slip knot on one end of the yarn, leaving a tail of about six inches. Slide this slip knot onto one knitting needle, and hold the needle with the slip knot in your right hand.
Step 1: Hold the other end of the yarn with your left hand, and make sure the tail is hanging down. Place your thumb and index finger of your left hand over the yarn to create tension.
Step 2: With the knitting needle in your right hand, insert it from front to back between your thumb and index finger, catching the yarn loop with the needle. Lift this loop up and over the top of the needle, creating a new loop.
Step 3: Repeat Step 2 until you have cast on the desired number of stitches. The number of stitches required will depend on your knitting pattern and the size of your angel.
Step 4: Once you have cast on all the stitches, you can simply continue with the next step of your knitting pattern. Remember to keep the tension of your cast on stitches even, as loose or tight stitches can affect the overall appearance of your Christmas angel.
By following these steps, you will be able to successfully cast on the stitches needed to start knitting your Christmas angel. It may take some practice to perfect your technique, but with patience and determination, you will be able to create a beautiful knitted decoration for the holiday season.
Body and Legs
To start making the body of the Christmas angel, you will need to cast on a certain number of stitches, depending on the size you want to achieve. The body is usually knitted in the round, using circular needles to create a seamless and continuous shape. You can choose a basic stitch pattern, such as stockinette or ribbing, or get creative with lace or cable designs for a more intricate look.
Once you have completed the desired length for the body, you can start working on the legs. To create the legs, you will need to divide the stitches into two separate sections and knit each section individually. This will create two tubes, which will later be seamed together to form the angel’s legs. You can choose a different stitch pattern for the legs, such as ribbing or a textured stitch, to add some variety to your knitting.
When knitting the legs, you can also incorporate shaping techniques, such as increasing or decreasing stitches, to create a tapered effect. For example, you can gradually decrease the number of stitches as you knit towards the ankles to create a more defined shape. This can be achieved by working decrease rounds or using techniques like short rows.
In order to add stability to the angel’s legs, you can insert a wire or pipe cleaner into each leg. This will help the angel stand upright and maintain its shape. Simply slide the wire or pipe cleaner into the tube, making sure it goes all the way to the bottom of the leg. You can bend the wire at the bottom to create a small loop that will act as a foot for the angel.
Once you have completed the body and legs of the Christmas angel, you can move on to the next step, which is making the wings. The wings can be knitted separately and sewn onto the back of the angel, or they can be knitted as part of the body in a lace or mesh pattern. The choice is up to you and your desired design.
Arms and Hands
The arms and hands are an important part of the knitting pattern for the Christmas angel. They add character and allow the angel to hold different items. To start knitting the arms, cast on the required number of stitches using the specified yarn. Knit in the specified stitch pattern until the arm reaches the desired length, then bind off the stitches.
To create the hands, begin by casting on the required number of stitches for each hand. Knit in the specified stitch pattern for a few rows before decreasing the stitches to shape the hand. Follow the pattern instructions to create any necessary thumb or finger shaping. Finally, bind off the remaining stitches to complete each hand.
The arms and hands can be attached to the body of the angel using a yarn needle and the specified yarn. Carefully sew the arms to the sides of the body, making sure they are evenly spaced. Use small stitches to ensure a secure attachment. Once the arms are in place, the angel can be posed in different positions, holding various items such as a small star or a string of pearls.
Head and Face
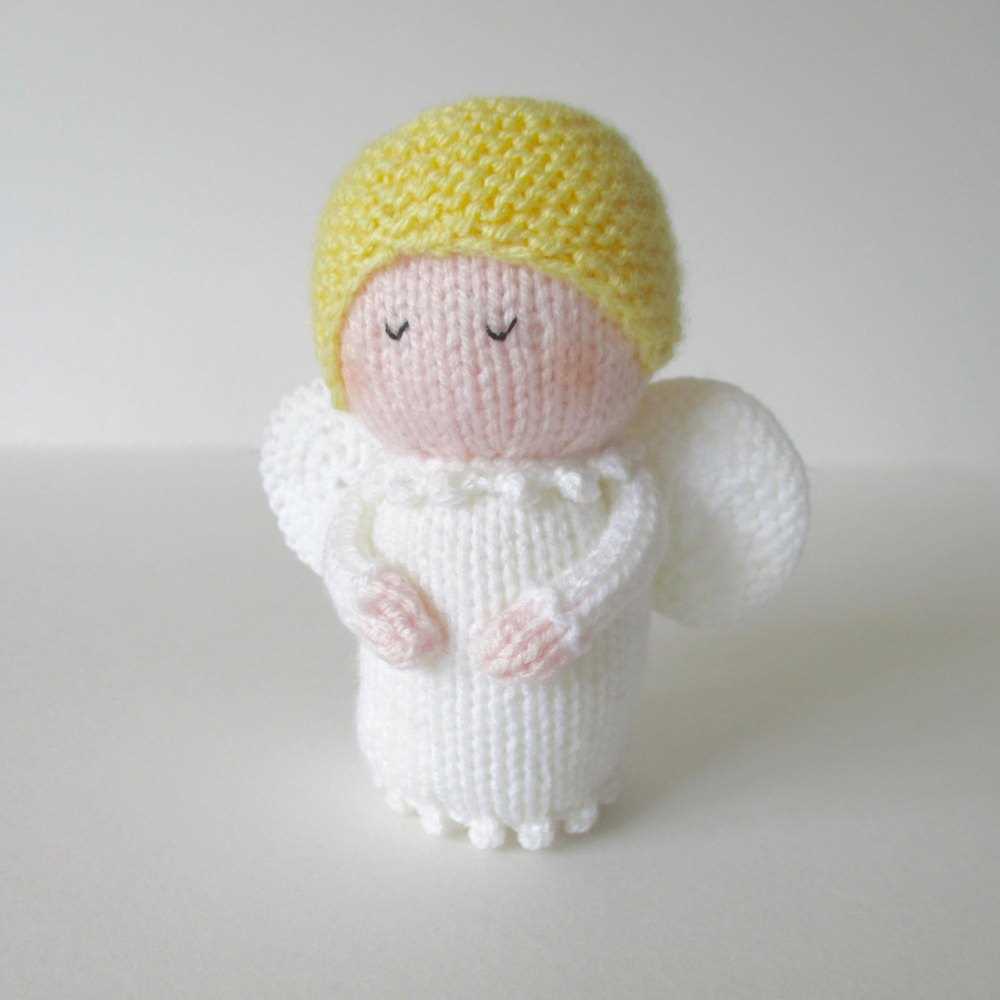
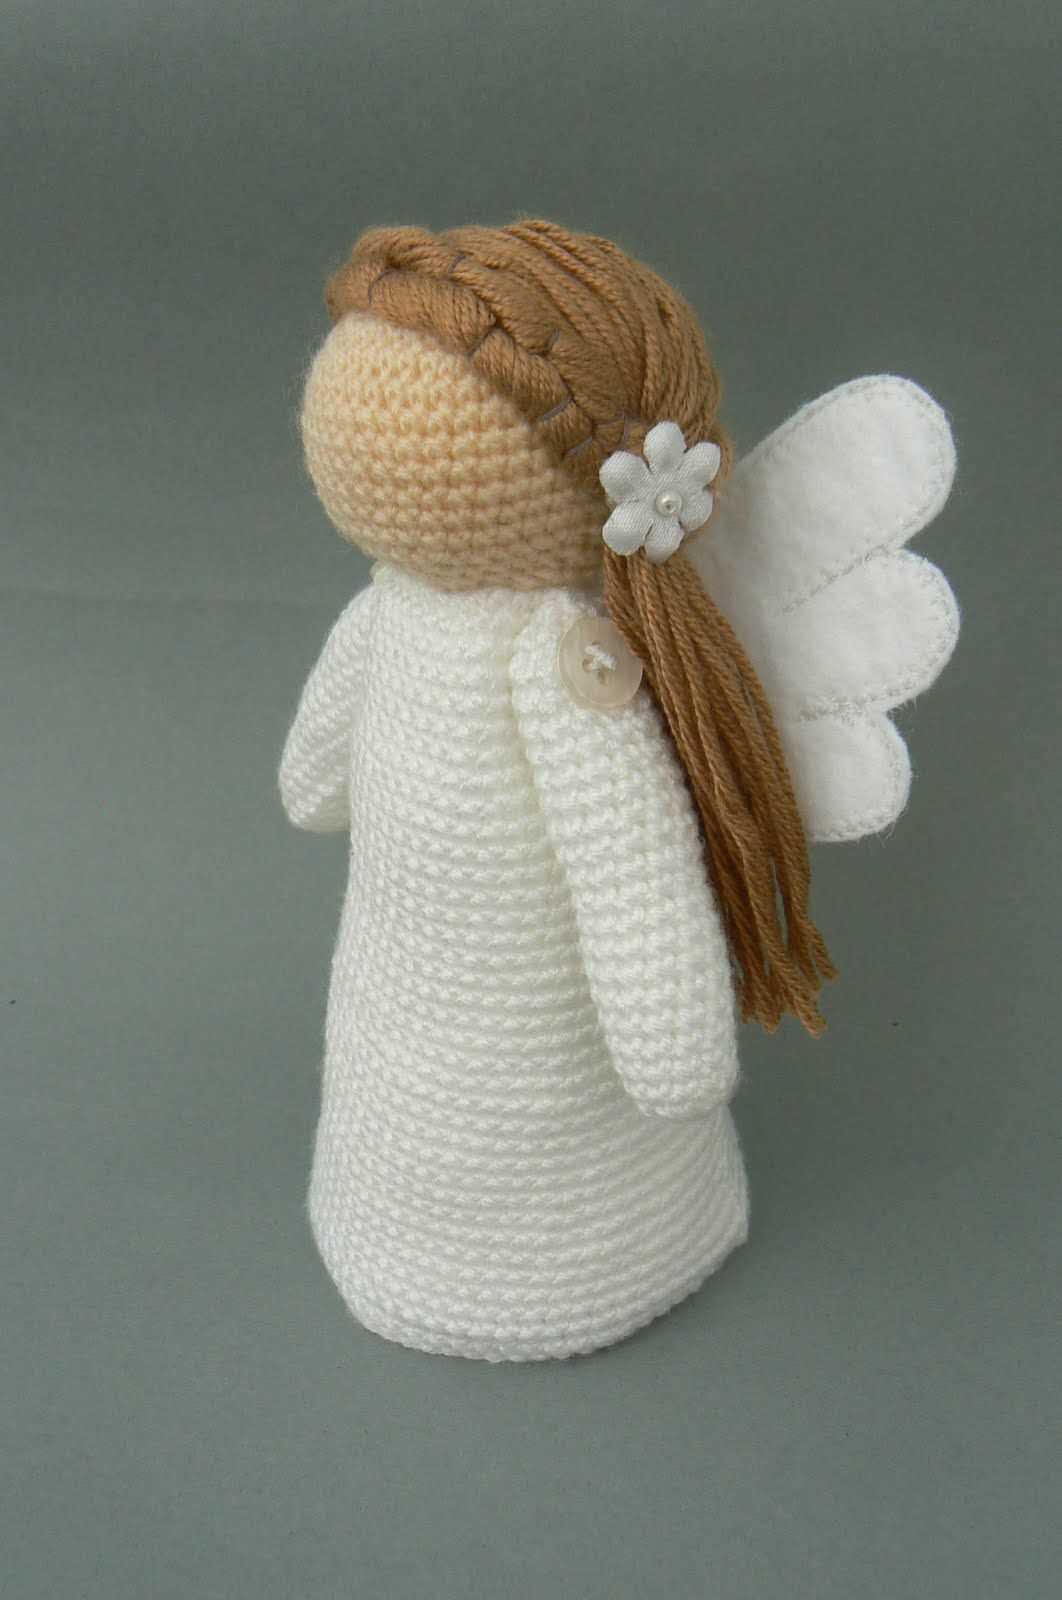
The head and face of the Christmas angel are important features that bring the entire knitted doll to life. When knitting the head, it is essential to ensure the correct size and shape to maintain the balance and proportion of the angel’s body. The head can be made using a spherical shape, starting with a magic ring and increasing stitches evenly until the desired size is achieved. Alternatively, a flat circular shape can also be used for a different effect.
The face of the Christmas angel is where the individuality and personality of the doll come to life. Embroidery techniques can be used to create facial features such as eyes, nose, and mouth. For the eyes, small black beads or buttons can be sewn onto the face, or simple embroidery stitches can be used. A small triangle shape can be embroidered or stitched on for the nose, giving the angel a cute and adorable appearance. The mouth can be created using a simple straight stitch or a curved stitch to give the angel a smiling expression.
Adding rosy cheeks to the face of the angel can be a lovely touch to enhance its charm. This can be achieved by using a small amount of blush or pink blush-colored yarn to lightly brush onto the cheeks of the doll. The pink color adds a subtle and delicate touch, giving the angel a warm and inviting look.
Overall, the head and face of the Christmas angel are key elements in creating a beautiful and enchanting knitted doll. Attention to detail and careful execution of the facial features will bring the angel to life and make it a cherished decoration for the festive season.
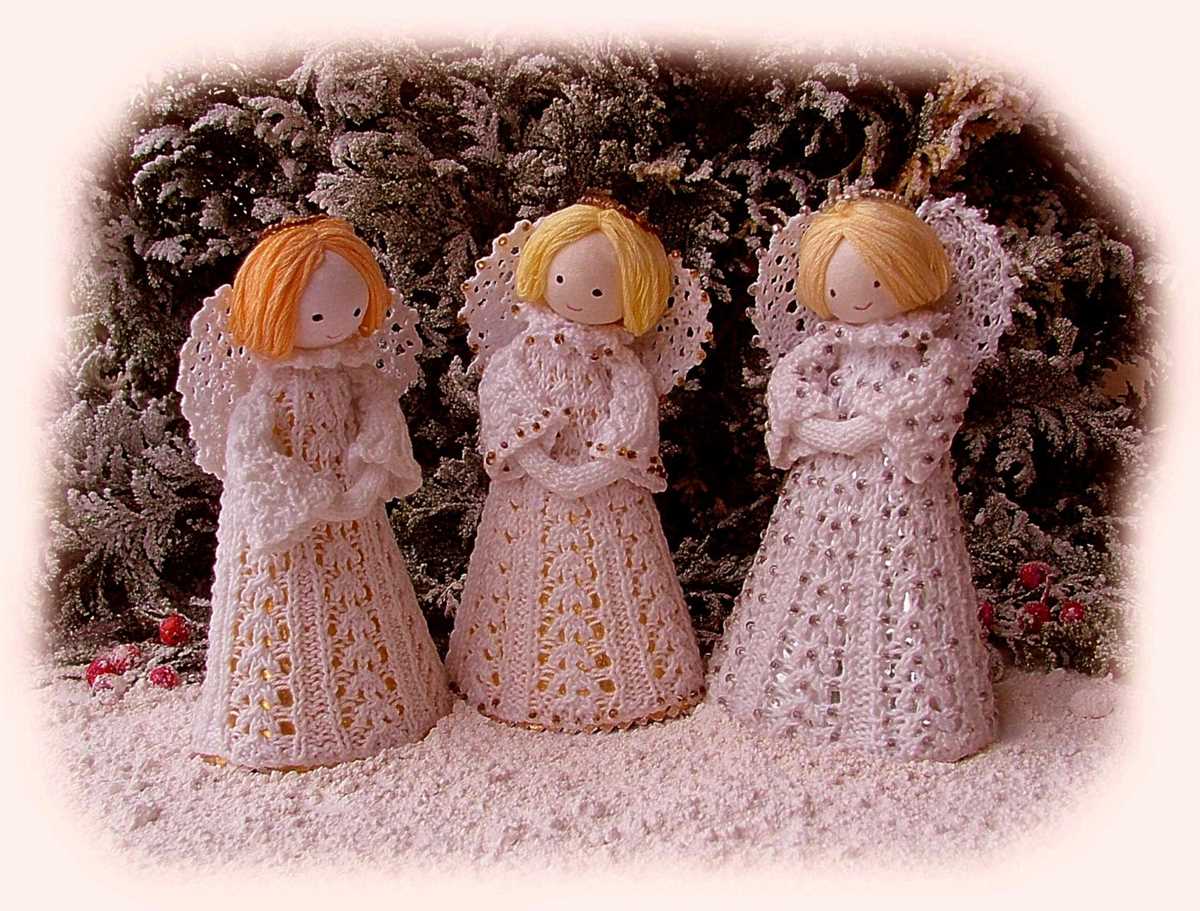
Hair and Halo
When creating a knitting pattern for a Christmas angel, one of the key elements to pay attention to is the hair and halo. These two components help to give the angel its iconic and ethereal appearance, making it a beautiful addition to any holiday decor.
Hair: The hair of the Christmas angel can be achieved in various ways, depending on the desired look. One option is to use a yarn with a soft and fluffy texture, such as mohair, to create a wispy and delicate effect. Another option is to knit or crochet individual strands of yarn and attach them to the angel’s head, creating a more defined and textured hairstyle. Alternatively, you can use yarn of a color that matches the angel’s dress and simply let it flow freely, creating a flowing and elegant look.
Halo: The halo is an essential accessory for the Christmas angel, symbolizing its heavenly nature. There are several ways to create a halo for the angel. One option is to use a thin wire or pipe cleaner and bend it into a circular shape, securing the ends. You can then cover the wire with metallic thread or yarn for a shimmering effect. Another option is to crochet or knit a circular shape using metallic thread or yarn and attach it to the angel’s head. This can be done by sewing or gluing it in place.
To enhance the angel’s overall appearance, consider incorporating beads or sequins into the hair or halo. These embellishments can add a touch of sparkle and glamour to the angel, making it even more eye-catching and festive. Additionally, you can experiment with different hairstyles and halo designs to create unique and personalized angels that reflect your creative vision.
Completing the Angel
After knitting all the individual parts of the Christmas angel, it’s time to put them all together to complete the angel. This final step brings the angel to life and gives it its characteristic shape and form.
Attaching the Wings
To start, take the two knitted wings and position them on the back of the angel’s body. Make sure they are evenly spaced and centered. Use a tapestry needle and the same yarn used for the wings to stitch them securely to the body. Take care to hide the yarn tails as you go, so they don’t show on the finished angel.
Once the wings are attached, give them a gentle tug to make sure they are secure. If necessary, add a few more stitches to reinforce the attachment. The wings should be firmly in place and not wobble or come loose.
Adding the Halo
To add the halo, thread a length of metallic gold or silver yarn through a tapestry needle. Start at the top of the angel’s head and bring the yarn down towards the front, creating a loop shape. Thread the yarn back up through the head and repeat the process, creating a halo shape. Continue until the desired halo size is achieved.
Once the halo shape is formed, secure the yarn by tying a knot at the top of the head. You can also add a dab of glue to ensure the knot doesn’t come undone. Trim any excess yarn tails, making sure to leave enough length for the halo to be visible and not too short.
Finishing Touches
Lastly, check the angel for any loose ends or uneven stitches. Use a crochet hook or tapestry needle to weave in any loose yarn tails and make sure the stitches are tidy and even. Smooth out any wrinkles or bumps in the knitting, gently shaping the angel to give it a polished look.
Once you are satisfied with the final result, your Christmas angel is complete! You can display it on your tree, hang it as a decoration, or give it as a heartfelt gift. The angel will bring joy and holiday spirit wherever it is placed, a true symbol of Christmas. Enjoy your completed knitting project!
Finishing Touches
After completing the main body of your knitted Christmas angel, it’s time to add some finishing touches to give it that special festive touch. Here are a few ideas to consider:
1. Embroidered Details:
Add delicate embroidered details to your angel’s face, such as eyes, nose, and mouth, using colored threads to create a charming expression. This will bring your angel to life and make it even more adorable.
2. Sparkling Wings:

Add a touch of glamour to your angel’s wings by incorporating some glittery yarn or sequins into your knitting. This will give the angel a lovely shimmering effect when catching the light, making it stand out even more on your Christmas tree.
3. Decorative Halo:
A lovely addition to your knitted Christmas angel is a decorative halo. You can create a simple halo by crocheting a small circle using metallic thread and attaching it to the back of the angel’s head. This will give the angel a heavenly appearance and complete its divine look.
4. Miniature Accessories:
Add some extra charm to your angel by knitting or crocheting small accessories such as a miniature harp or trumpet. These can be attached to the angel’s hands to give the impression that it is playing a festive tune. This will add a playful touch to your Christmas decorations.
By adding these finishing touches, you can take your knitted Christmas angel to the next level and create a truly magical and whimsical decoration for your holiday celebrations.
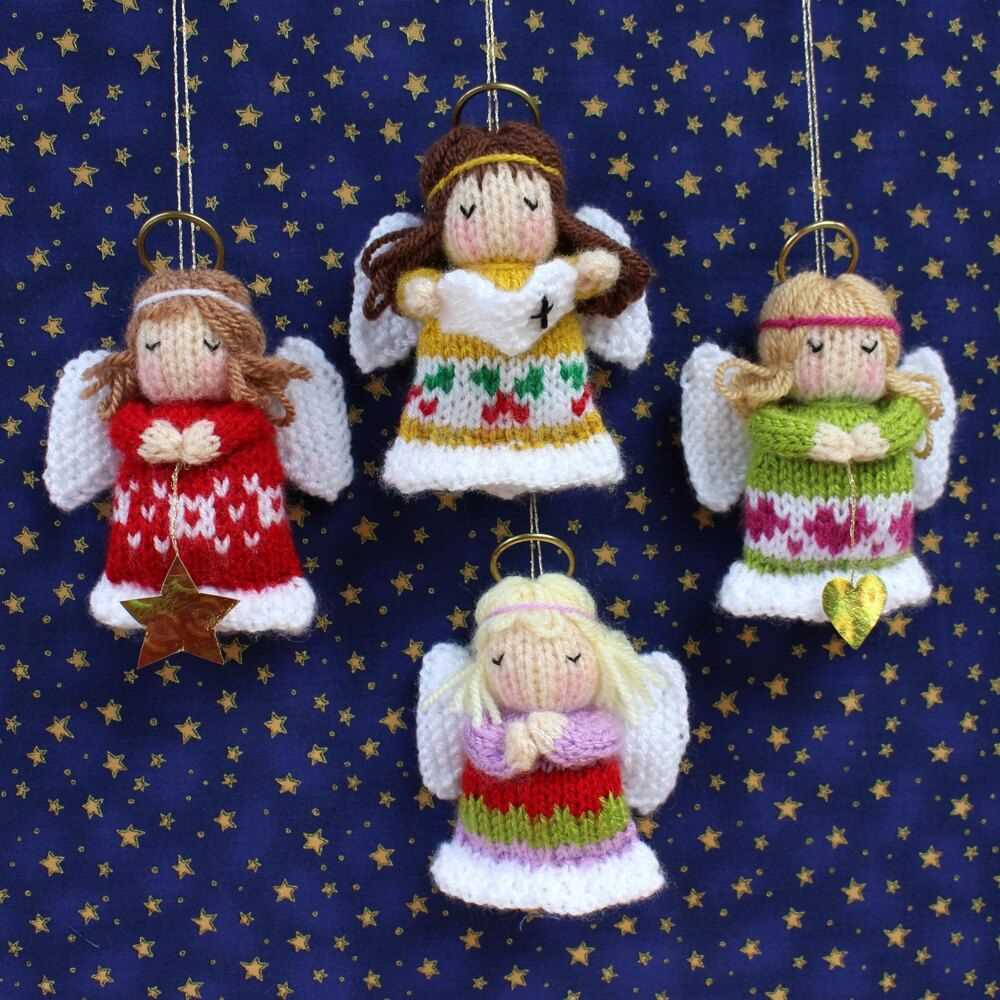
Variations
There are endless possibilities for creating variations of the Christmas angel knitting pattern. Here are a few ideas to inspire your creativity:
1. Different Yarns
Try using different types and colors of yarn to give your angel a unique look. You can use metallic yarn for a sparkly effect, or variegated yarn for a more colorful appearance. Experiment with different textures and weights of yarn to create different effects.
2. Embellishments
Add embellishments such as beads, sequins, or ribbons to your angel to make it even more festive. You can sew beads onto the wings or attach a ribbon to the halo. Get creative and personalize your angel with your favorite decorations.
3. Different Sizes
Adjust the size of the angel by using different sizes of needles and yarn. You can create smaller angels to hang on your Christmas tree or bigger ones to display as a centerpiece. Just make sure to adjust the number of stitches and rows accordingly.
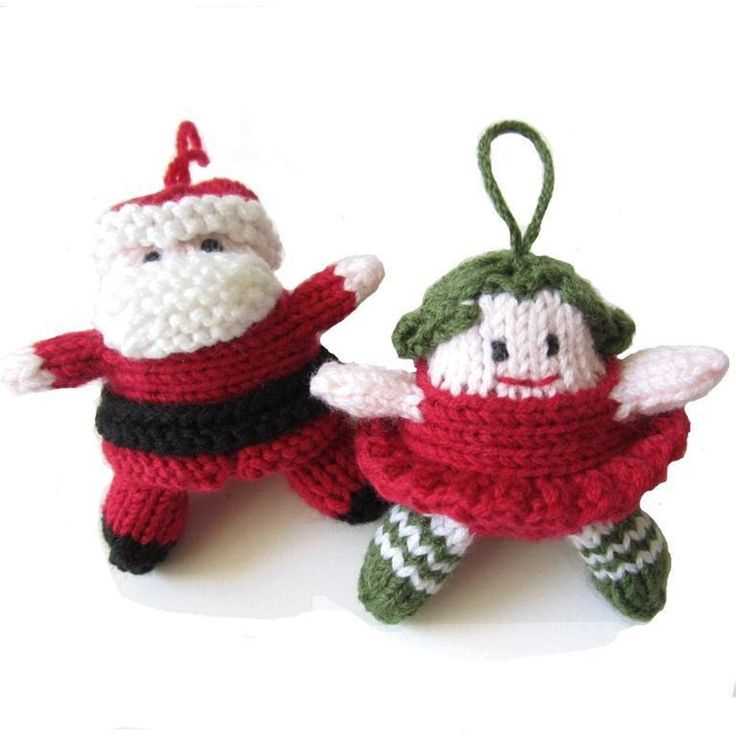
With these variations, you can create a whole family of Christmas angels that each have their own unique style. Let your imagination run wild and have fun knitting these beautiful ornaments for the holiday season!