
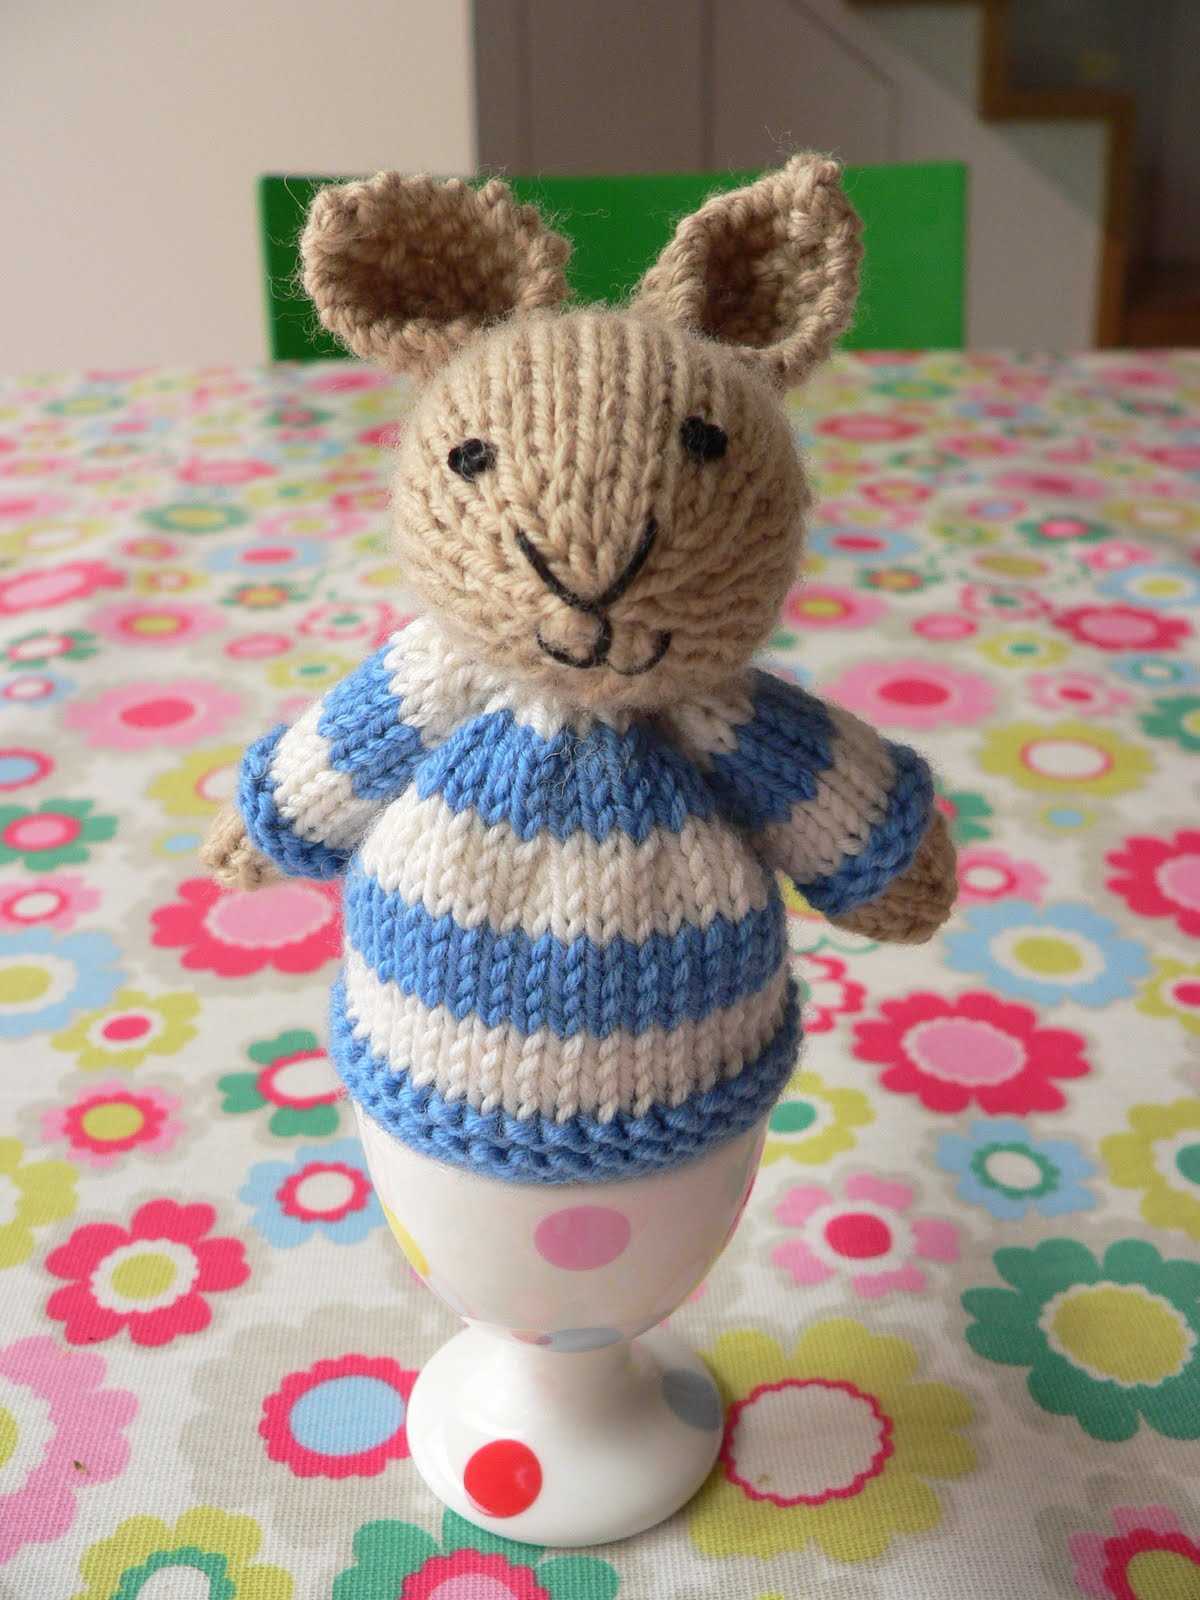
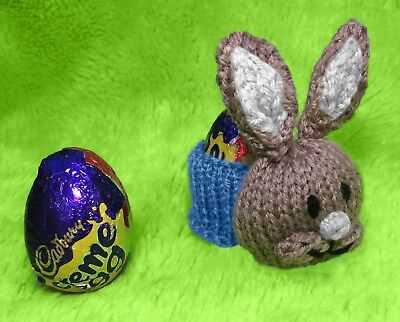
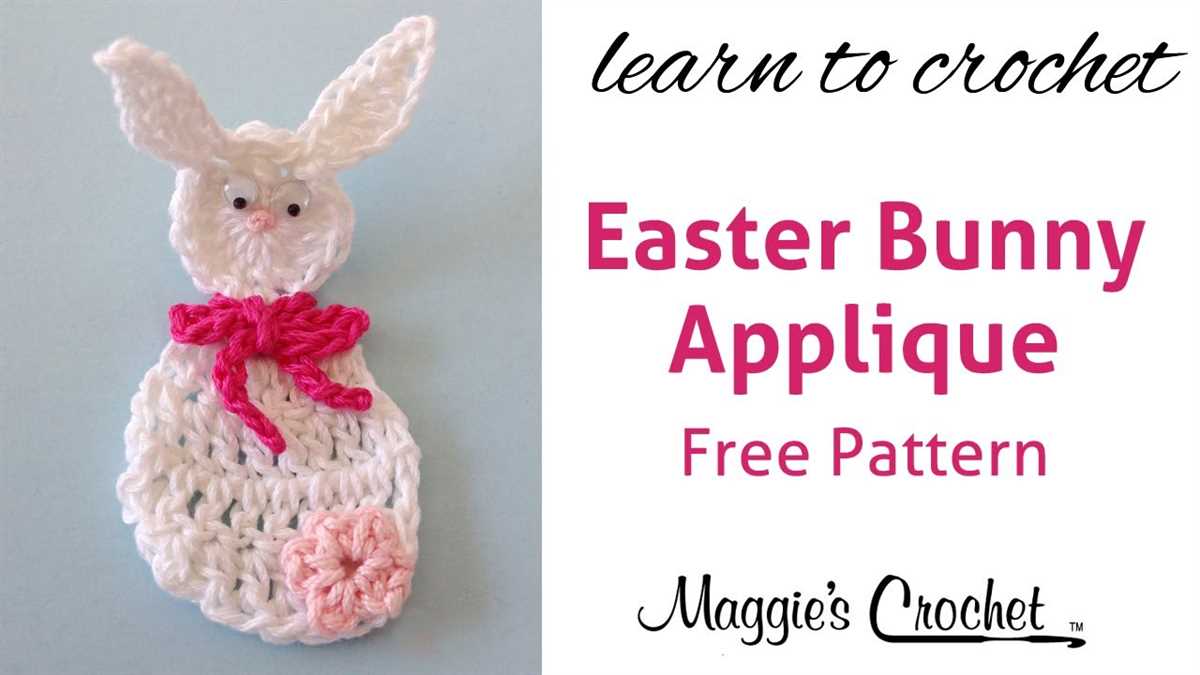
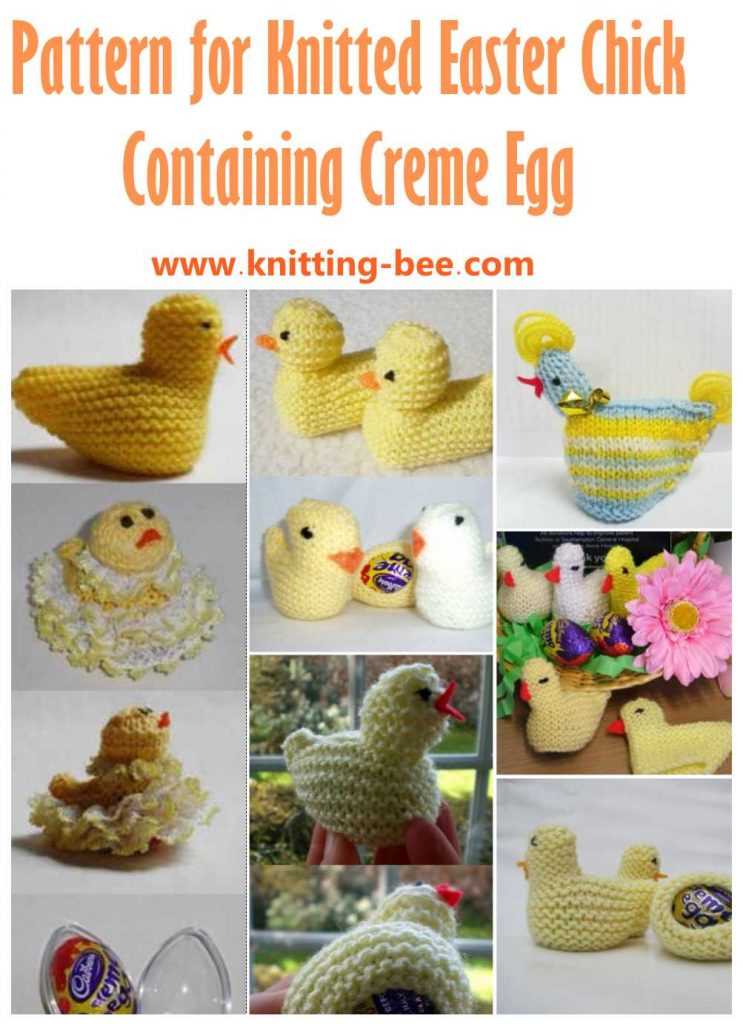
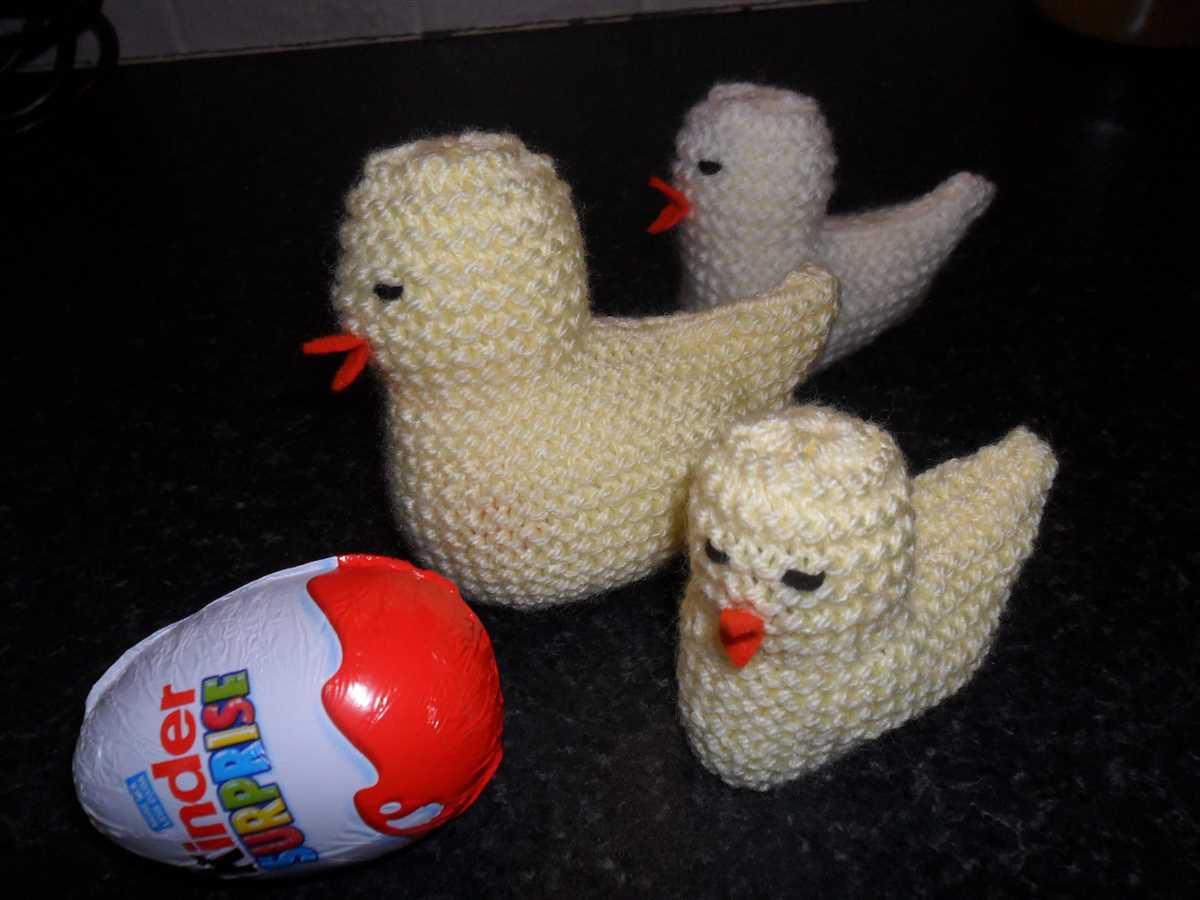
If you love knitting and Easter-themed crafts, then we have the perfect project for you – a free creme egg bunny knitting pattern! This adorable pattern allows you to create your very own cuddly bunnies to hold your favorite Easter treat, creme eggs.
Knitting these cute little bunnies is a fun and rewarding activity that both beginners and experienced knitters can enjoy. With just a few basic knitting techniques, you can create a unique and personalized bunny friend that will bring a touch of Easter joy to your home.
The free creme egg bunny knitting pattern includes step-by-step instructions and a list of materials needed. You will need some fluffy yarn, knitting needles, stuffing, and of course, creme eggs. The pattern is easy to follow and includes helpful tips and tricks to ensure your bunnies turn out picture-perfect.
Get a Free Creme Egg Bunny Knitting Pattern
If you’re a fan of Cadbury Creme Eggs and love knitting, then you’re in for a treat! Cadbury is offering a free knitting pattern to make your very own Creme Egg Bunny. With just a few simple steps, you can create an adorable bunny that’s perfect for Easter or any time of the year.
To get this free pattern, simply visit the Cadbury website and sign up for their newsletter. Once you’ve signed up, you’ll receive an email with a link to download the pattern. The pattern includes detailed instructions and a list of materials needed, so you’ll have everything you need to get started on your knitting project.
How to make the Creme Egg Bunny:
- Start by gathering the necessary materials, including yarn in your desired colors, knitting needles, stuffing, and embroidery thread.
- Follow the pattern instructions to cast on and begin knitting the body of the bunny. The pattern will guide you through each step, including increasing and decreasing stitches to shape the body.
- Once you’ve finished knitting the body, stuff it with the filling of your choice. You can use polyester fiberfill or even recycle old fabric scraps to fill the bunny.
- Continue following the pattern instructions to knit the bunny’s head, ears, and arms. These are smaller pieces that will be sewn onto the body once finished.
- Finally, use the embroidery thread to sew on the bunny’s facial features, such as the eyes, nose, and mouth. You can also add any additional decorations, such as a bow tie or a ribbon around the bunny’s neck.
The Creme Egg Bunny knitting pattern is a fun and creative way to celebrate the Easter season. Whether you’re an experienced knitter or just starting out, this project is suitable for all skill levels. So why not give it a try and create your very own adorable bunny?
What is a Creme Egg Bunny?
The Creme Egg Bunny is a popular Easter treat that is made by Cadbury, a chocolate and confectionery company. It is a spin-off of the traditional Cadbury Creme Egg, which is a chocolate egg filled with a sweet, fondant-like center. The Creme Egg Bunny takes this beloved treat and transforms it into an adorable bunny shape.
The Creme Egg Bunny is made using the same ingredients as the original Creme Egg, including milk chocolate and the signature fondant filling. However, instead of being shaped like an egg, it is molded into the shape of a cute bunny. The bunny-shaped treat features two long ears, a round body, and a small tail. It is often wrapped in colorful foil to make it extra festive for Easter.
The Creme Egg Bunny has become a popular Easter treat for both children and adults. It combines the rich, creamy taste of Cadbury chocolate with the gooey sweetness of the fondant filling. Its cute bunny shape makes it a fun and playful addition to Easter baskets and egg hunts. Many people enjoy eating the Creme Egg Bunny as is, while others use it as a decoration for baked goods or as a topping for ice cream sundaes.
Why Knit a Creme Egg Bunny?
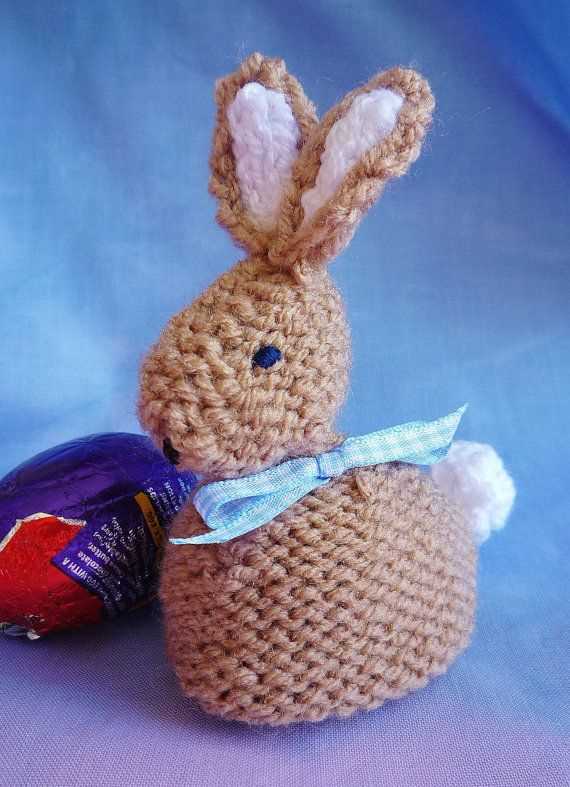
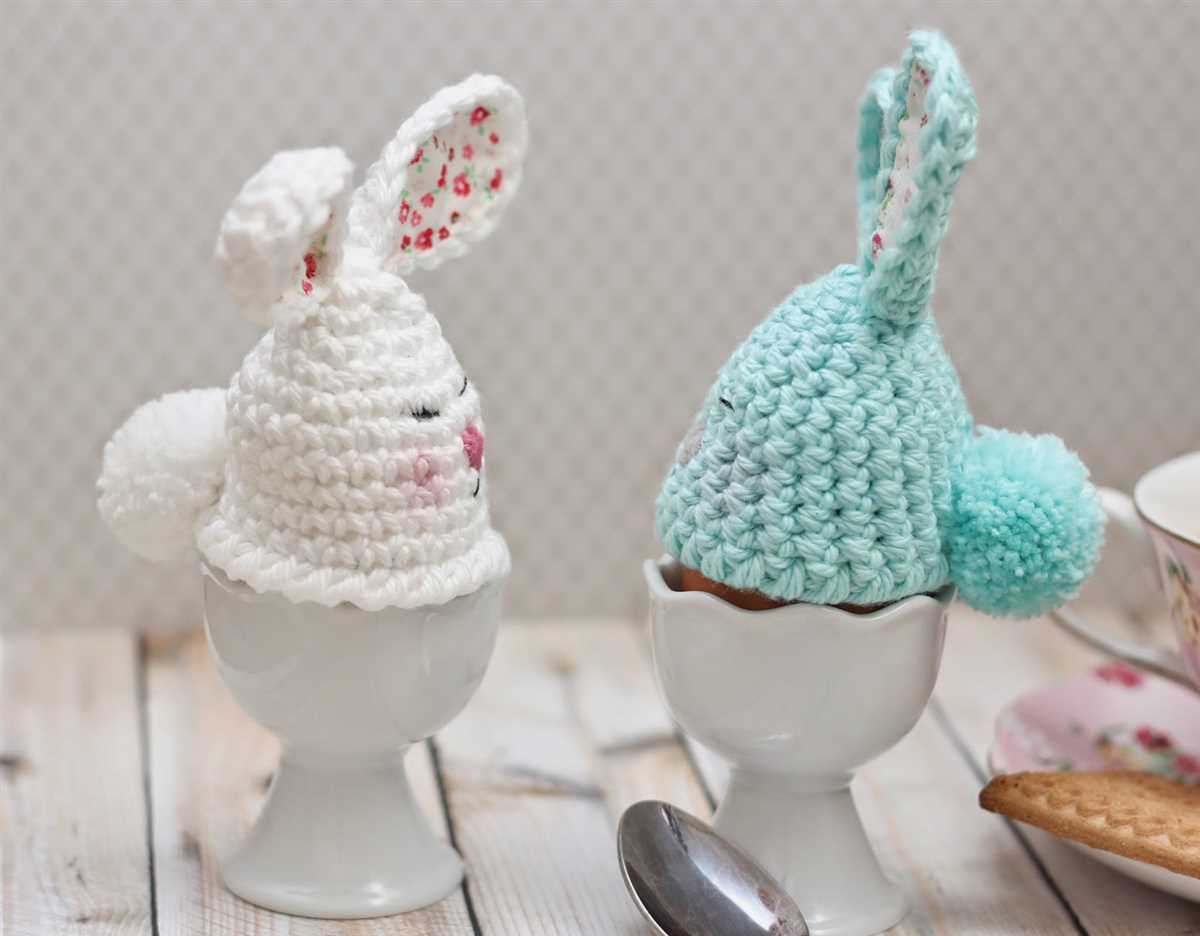
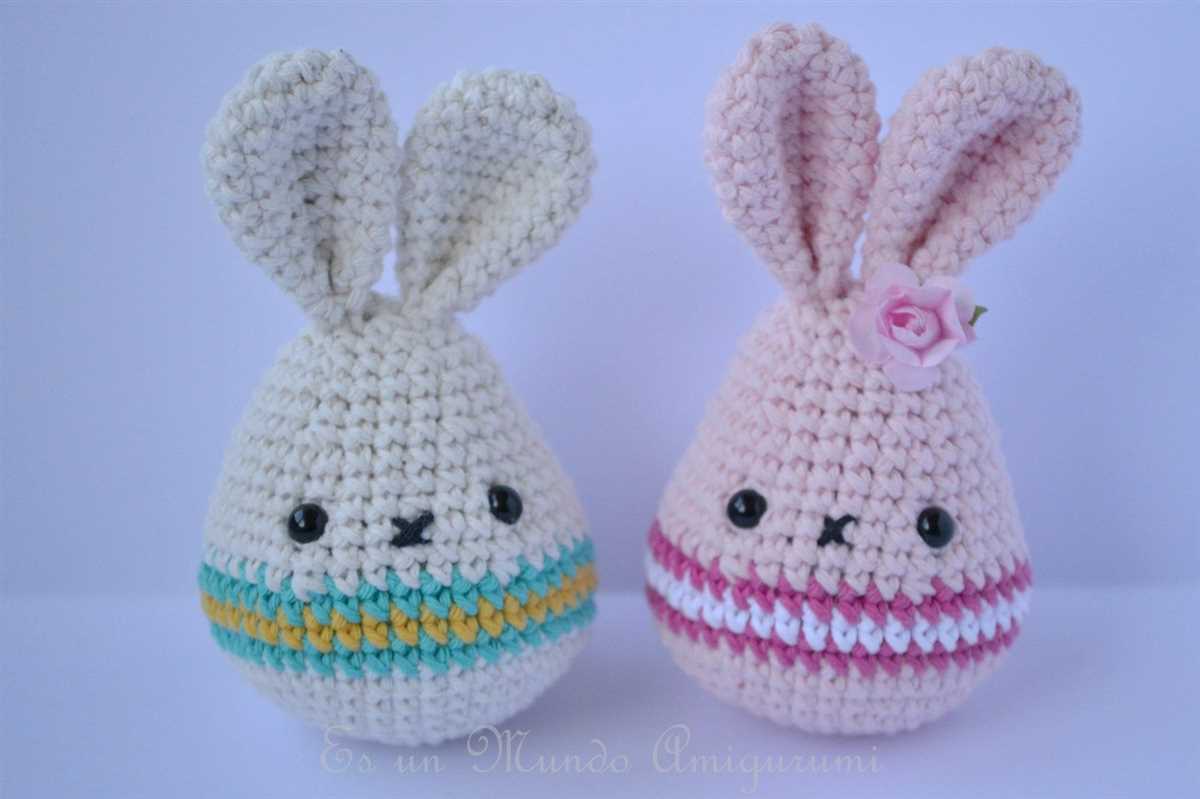
If you enjoy knitting and have a love for all things sweet and adorable, then knitting a creme egg bunny is the perfect project for you. These cute little bunnies make great Easter decorations or gifts for friends and family.
Knitting a creme egg bunny allows you to combine your crafting skills with your love for chocolate. The end result is a charming and unique creation that is sure to bring a smile to anyone’s face. Plus, it’s a great way to use up any leftover yarn you may have lying around, making it a cost-effective project.
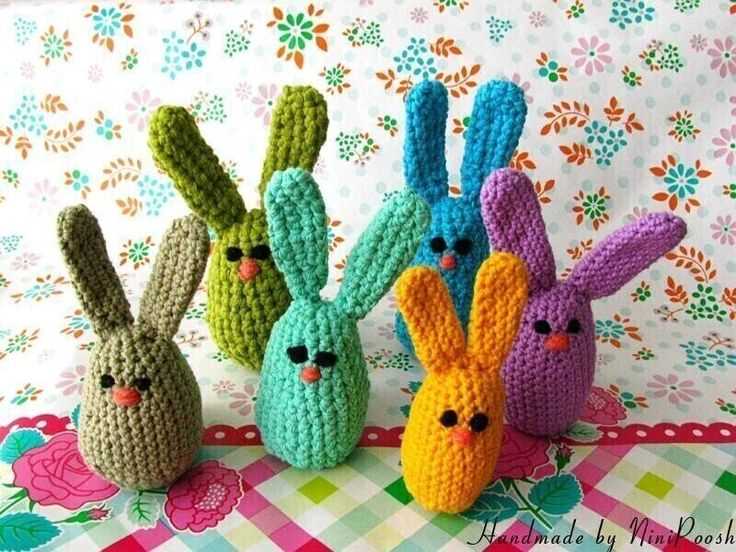
When you knit a creme egg bunny, you have the freedom to customize it to your heart’s content. You can choose the color of the yarn, add embellishments like bows or buttons, and even experiment with different knitting stitches to create unique textures. This allows you to put your own personal touch on each bunny you create.
The process of knitting a creme egg bunny can also be a relaxing and enjoyable activity. It provides a sense of accomplishment as you watch your creation come to life stitch by stitch. It can also be a great way to unwind and de-stress, as knitting has been shown to have meditative qualities and can promote mindfulness.
Whether you’re an experienced knitter or just starting out, knitting a creme egg bunny is a fun and rewarding project that allows you to combine your passion for knitting with your love for all things cute and sweet. So why not give it a try and see for yourself the joy that comes from creating your own little knitted bunny?
Materials Needed for Knitting a Creme Egg Bunny
Knitting a Creme Egg Bunny is a fun and creative project that requires a few essential materials. To successfully complete this knitting project, you will need the following:
1. Yarn:

- Main Color Yarn: Choose a soft and medium-weight yarn in a color of your choice to serve as the main color of the bunny. Pastel shades like pink, blue, or yellow work well.
- Contrasting Color Yarn: Select a small amount of a contrasting color yarn to use for the bunny’s facial features, such as the eyes and nose. Black or brown are common choices.
2. Knitting Needles:
- Size 4mm (US 6) straight knitting needles: These needles are ideal for medium-weight yarn and will help you achieve the correct tension for your bunny.
- Tapestry needle: A tapestry needle with a blunt point is used for seaming and weaving in loose ends.
3. Stitch Markers:
Stitch markers are useful for keeping track of your stitches, especially when knitting in the round or when shaping the bunny’s ears or limbs.
4. Creme Eggs:
The most important ingredient for this project is, of course, the creme eggs themselves! Make sure to have a few creme eggs on hand to insert into the bunny’s body once it’s finished. They add a delicious surprise to the final product!
5. Scissors:
A pair of sharp scissors will be needed for cutting the yarn and trimming any excess.
With these materials at your disposal, you’ll be ready to start knitting your own adorable Creme Egg Bunny. Enjoy the process and have fun creating a sweet and festive decoration or gift!
Yarn
When it comes to knitting, yarn is the essential material that brings your project to life. Yarn is a long, continuous thread made of natural or synthetic fibers, usually spun into a ball or skein. It comes in a variety of colors, textures, and thicknesses, allowing knitters to choose the perfect yarn for their projects.
Choosing the right yarn
When selecting yarn for your knitting project, there are a few factors to consider. The first is the fiber content. Some common types of yarn include wool, cotton, acrylic, and blends of these fibers. Each type of yarn has its own unique qualities, such as warmth, softness, or durability. It’s important to choose a yarn that suits your project and personal preferences.
Next, you’ll want to consider the weight or thickness of the yarn. Yarn weights range from super fine to super bulky, and different weights are suitable for different types of projects. Thinner yarns are great for delicate items like lace shawls, while thicker yarns are better for cozy blankets or chunky sweaters. The yarn label will indicate the recommended knitting needle size for that particular yarn.
Caring for your yarn
Proper care of your yarn will help ensure that it stays in good condition and lasts for many knitting projects. Yarn should be stored in a cool, dry place to prevent it from becoming damp or moldy. It’s also a good idea to keep yarn away from direct sunlight, as prolonged exposure to UV rays can cause colors to fade.
When working with yarn, it’s important to handle it gently to avoid tangling or knotting. If you need to unravel your knitting, try to do so without pulling too forcefully on the yarn, as this can cause it to break. If your yarn does become tangled, you can gently tease out the knots or use a yarn detangler to help smooth it out.
Knitting Needles
When it comes to knitting, choosing the right needles is essential for the success of your project. There are different types of knitting needles available, each with its own unique features and advantages.
Straight Needles: These are the most common type of knitting needles, consisting of two long, straight rods with a pointed end on one side and a knob or stopper on the other. They are ideal for knitting flat pieces such as scarves, blankets, or dishcloths. Straight needles provide good control and are easy to use, making them suitable for beginners.
Circular Needles: As the name suggests, circular needles have two needle tips connected by a flexible cable. They are commonly used for knitting in the round, such as making sweaters, hats, or socks. Circular needles can also be used for flat knitting, allowing you to easily accommodate a large number of stitches. The flexibility of the cable makes it easier to handle bulky or heavy projects.
Double-pointed Needles: Double-pointed needles (DPNs) are shorter needles with points on both ends. They are typically used for small, circular projects such as gloves, mittens, or socks. DPNs allow you to work in the round without using circular needles or magic loop technique. They are great for intricate designs and can hold multiple stitches securely.
- Bamboo Needles: These needles are lightweight and warm to the touch. They provide good grip and are less slippery than metal needles. Bamboo needles are ideal for beginners or those with arthritis as they are comfortable to hold.
- Metal Needles: Metal needles are durable, smooth, and have a slick surface. They are great for fast knitters or those who like their stitches to glide effortlessly. Metal needles are also easy to clean and maintain.
- Plastic Needles: Plastic needles are lightweight, affordable, and come in various colors. They are ideal for those who prefer a non-slip surface or have nickel allergies. Plastic needles are also great for knitting with delicate or slippery yarns.
Before starting a knitting project, consider the type of needles that will work best for your desired outcome and personal preferences. Experiment with different materials and needle sizes to find the perfect combination for your knitting needs.
Stuffing
When it comes to creating stuffed toys or knitted animals, choosing the right stuffing is key. The stuffing is what gives the toy its shape, texture, and overall character. It’s important to select a stuffing material that is both soft and durable, as well as hypoallergenic and washable.
Fiberfill: One of the most commonly used stuffing materials for knitted toys is fiberfill, a lightweight polyester stuffing that is soft and springy. It is available in various densities, ranging from soft and fluffy to firm and compact. Fiberfill is easy to work with and provides excellent shape retention.
Wool: Another popular option for stuffing knitted toys is wool. Wool is a natural fiber that is soft, warm, and has excellent bounce and elasticity. It gives knitted toys a cozy and plush feel. Be sure to use a wool that is washable and hypoallergenic.
Environmentally friendly options: If you prefer to use eco-friendly materials, there are stuffing options available that are made from recycled or sustainable materials. Examples include stuffing made from recycled plastic bottles or natural materials like organic cotton or bamboo fiber. These options are great for those who are conscious of their environmental impact.
Tips for stuffing: When stuffing your toy, be sure to evenly distribute the stuffing to ensure a consistent shape. Avoid overstuffing, as this can distort the toy’s appearance and make it too firm. It’s also important to leave a bit of empty space near the seams to allow for the toy to be sewn up easily. Lastly, always check your stuffed toy for any lumps or uneven areas before closing it up.
Summary:
- Choose a stuffing material that is soft, durable, hypoallergenic, and washable.
- Fiberfill is a commonly used stuffing material that provides excellent shape retention.
- Wool is a natural fiber that gives knitted toys a cozy and plush feel.
- Consider environmentally friendly options made from recycled or sustainable materials.
- Evenly distribute the stuffing and avoid overstuffing to ensure a consistent shape.
- Leave a bit of empty space near the seams for easy sewing.
- Check for lumps or uneven areas before closing up the toy.
Knitting Techniques for the Creme Egg Bunny
Knitting the Creme Egg Bunny can be a fun and rewarding project for knitting enthusiasts. With a few key techniques and some patience, you can create adorable bunnies to adorn your Easter baskets or give as gifts. Here are some techniques to help you bring your bunny to life:
1. Cast On and Knit
To begin your Creme Egg Bunny, you’ll need to cast on stitches using the long-tail cast-on method. This will create a sturdy base for your bunny’s body. Once you have cast on, you can start knitting in the round using double-pointed needles. Knit in a simple stockinette stitch, alternating between knit and purl rows, to create the body and head of the bunny.
2. Shape the Body
To give your Creme Egg Bunny its characteristic shape, you’ll need to decrease stitches. This is done by knitting two stitches together (k2tog) at regular intervals. Start decreasing stitches when the bunny’s body is about halfway done, and continue until you reach the desired size for the bunny’s bottom. This technique will create a cute, rounded body shape.
3. Add Details
Once the body and head are complete, it’s time to add some adorable details to your Creme Egg Bunny. Use a different color of yarn to embroider eyes, a nose, and a mouth on the bunny’s face. You can also use small pieces of felt or fabric to create ears, a tail, and any other desired embellishments. Sew these details onto the bunny using a tapestry needle and coordinating thread.
4. Create the Bunny’s Outfit
To finish off your Creme Egg Bunny, you can knit or crochet a tiny outfit for it. Use smaller needles and a thin yarn to create a miniature sweater, dress, or even a pair of overalls. You can customize the outfit using different stitch patterns or adding buttons or bows. Once the outfit is complete, dress your bunny and admire your handiwork.
With these knitting techniques, you can create your own adorable Creme Egg Bunnies. Get creative with colors and details to make each bunny unique. Happy knitting!
Casting On
Casting on is the first step in any knitting project, and it sets the foundation for your stitches. There are several different methods for casting on, but the most common one is the long-tail cast on. This technique creates a neat and flexible edge that is perfect for most projects. To start, make a slipknot by creating a loop with your yarn and pulling the end through. Place the slipknot on your knitting needle, leaving a long tail.
Once you have your slipknot on the needle, hold the needle in your right hand and the tail of the yarn in your left hand. With your right hand, use the needle to pass under the yarn attached to the skein and over the tail of the yarn. Bring the needle back up through the loop on your thumb. This creates a new loop on the needle. Continue this process, passing the needle under the yarn and over the tail, until you have the desired number of stitches on your needle.
The long-tail cast on is great for beginners because it is easy to learn and provides a nice, even edge. However, if you’re working with a pattern that requires a specific type of cast on, be sure to follow the instructions provided. Some patterns may call for a provisional cast on, a tubular cast on, or a cable cast on, among others. Each method creates a different type of edge and may be better suited for certain projects or techniques.
- Slipknot
- Long-tail cast on
- Beginner-friendly
- Neat and flexible edge
- Follow pattern instructions for specific cast on methods
Knitting Stitches
Knitting stitches are the basic building blocks of any knitted project. They allow you to create patterns and textures by combining different techniques and combinations of stitches. Whether you are a beginner or an experienced knitter, understanding different knitting stitches is essential for creating beautiful and unique designs.
There are countless knitting stitches to choose from, each with its own unique characteristics and uses. Some stitches are simple and straightforward, while others are more complex and intricate. Some stitches create a smooth and uniform fabric, while others create a textured and three-dimensional surface. With so many options to explore, knitters have endless possibilities for their projects.
Basic Knitting Stitches
When first starting out with knitting, it’s important to learn and master the basic knitting stitches. These stitches form the foundation for all knitting projects and will help you develop the necessary skills and techniques to tackle more advanced patterns.
- The knit stitch: This is the most basic knitting stitch and is commonly used in many patterns. It creates a smooth and flat fabric.
- The purl stitch: This stitch is the opposite of the knit stitch and is frequently combined with it to create different patterns and textures.
- The stockinette stitch: This is created by alternating rows of knit and purl stitches. It creates a smooth and flat fabric with one side showing the knit stitches and the other showing the purl stitches.
- The garter stitch: This is created by knitting every row. It creates a textured fabric with ridges running horizontally across the fabric.
These basic knitting stitches provide the foundation for more complex patterns and techniques. Once you have mastered these stitches, you can begin exploring different stitch patterns, such as cables, lace, and colorwork, to create more intricate and detailed designs.
Advanced Knitting Stitches
Advanced knitting stitches can take your knitting to the next level and allow you to create stunning and unique designs. These stitches often require more time and practice to master, but the results are well worth the effort.
- The cable stitch: This stitch creates a twisting pattern that resembles braided cables. It adds depth and texture to your knitting.
- The lace stitch: This stitch creates an open and delicate fabric with intricate patterns of holes and eyelets. It is commonly used in shawls, scarves, and delicate garments.
- The colorwork stitch: This stitch involves knitting with multiple colors to create patterns and designs. Fair Isle and intarsia are two popular types of colorwork techniques.
These advanced knitting stitches offer endless possibilities for creative and unique projects. Experimenting with different stitch patterns and techniques can bring a whole new level of excitement and satisfaction to your knitting journey.
Increasing and Decreasing
When knitting, it is common to need to increase or decrease the number of stitches in your work. This is done in order to shape the fabric or create interesting patterns. There are several different methods for increasing and decreasing, each with its own purpose and effect on the finished piece.
Increasing
Increasing refers to adding stitches to your work. There are several different ways to do this, including yarn overs, knitting into the front and back of a stitch, and making a stitch from the strand between stitches. Each method creates a different type of increase, which can be used to achieve different effects in your knitting.
One common method of increasing is the yarn over (YO). To do a yarn over, you simply bring the yarn to the front of your work, then continue knitting the next stitch as usual. This creates a hole in the fabric and adds a stitch to your work. Yarn overs are often used to create lace patterns or decorative elements in knitting.
Decreasing
Decreasing, on the other hand, involves removing stitches from your work. Like increasing, there are several different methods for decreasing, including knit two together (K2tog), slip slip knit (SSK), and purl two together (P2tog). Each method creates a different type of decrease, which can be used to shape your knitting or create interesting patterns.
One common method of decreasing is the knit two together (K2tog). To do a K2tog, you simply insert your right needle into the next two stitches on your left needle, and knit them together as if they were one stitch. This creates a decrease and reduces the number of stitches in your work. K2tog is often used to shape the top of hats or create a more fitted garment.
In conclusion, increasing and decreasing are essential techniques in knitting. By mastering these techniques and understanding how they can be used to shape your work, you can create beautifully crafted pieces that fit perfectly and showcase your skills as a knitter.
Step-by-Step Instructions for Knitting a Creme Egg Bunny
Knitting a Creme Egg Bunny is a fun and creative way to celebrate the Easter season! With this step-by-step guide, you’ll be able to create your very own adorable bunny in no time.
Materials Needed:
- 1 skein of medium weight yarn in the color of your choice
- Knitting needles in size US 7 (4.5mm)
- Stuffing
- Tapestry needle
- Embroidery floss or yarn for facial features
Step 1: Begin by casting on 24 stitches.
Step 2: Knit every row in stockinette stitch for 14 rows.
Step 3: On the next row, knit 2 stitches together, knit 20 stitches, and knit 2 stitches together. You should now have 22 stitches.
Step 4: Knit every row in stockinette stitch for 30 rows.
- Tip: Place a stitch marker at the beginning of each row to help keep track of your progress.
Step 5: On the next row, knit 2 stitches together, knit 18 stitches, and knit 2 stitches together. You should now have 20 stitches.
Step 6: Knit every row in stockinette stitch for 8 rows.
Step 7: On the next row, knit 2 stitches together, knit 16 stitches, and knit 2 stitches together. You should now have 18 stitches.
Step 8: Knit every row in stockinette stitch for 8 rows.
Step 9: Repeat steps 7 and 8 three more times, decreasing the number of stitches by 2 in each decrease row, until you have 12 stitches.
Step 10: Knit every row in stockinette stitch for 4 rows.
Step 11: On the next row, knit 2 stitches together across the row. You should now have 6 stitches.
Step 12: Cut the yarn, leaving a long tail. Thread the tail through a tapestry needle and slide the needle through the remaining 6 stitches, pulling tight to close the top of the bunny’s head. Secure the yarn on the inside of the bunny.
Step 13: Stuff the bunny with the stuffing, making sure to fill it evenly.
Step 14: Sew up the bottom of the bunny using the tapestry needle and the long tail of yarn. Weave in any remaining ends.
Step 15: Use the embroidery floss or yarn to embroider the bunny’s facial features, such as eyes, nose, and mouth. Be creative and give your bunny a unique expression!
Congratulations! You have successfully knitted your very own Creme Egg Bunny. Display it as a festive decoration or give it as a sweet Easter gift.
Body
Now that you have completed knitting the head, it’s time to move on to the body of your creme egg bunny. Start by picking up stitches around the neck opening. Use a circular needle or double-pointed needles to do this.
After picking up the stitches, knit in the round until the body measures the desired length. You can adjust the length based on your preference. Make sure to periodically try it on your creme egg to ensure a snug fit.
Tips:
- Consider adding stripes, colorwork, or other decorative elements to make your creme egg bunny unique.
- If you want to make the body more fitted, you can decrease a few stitches before reaching the waist.
- Remember to stuff the body lightly as you go to give it shape and form.
Once you’re happy with the length, it’s time to finish off the body. Cut the yarn, leaving a long tail. Thread the tail through the remaining stitches and pull tight to close the opening. Secure the yarn and weave in any loose ends.
With the completion of the body, your creme egg bunny is taking shape! The next and final step is to make the legs and sew them onto the body. Stay tuned for the last section to complete your adorable creme egg bunny!