
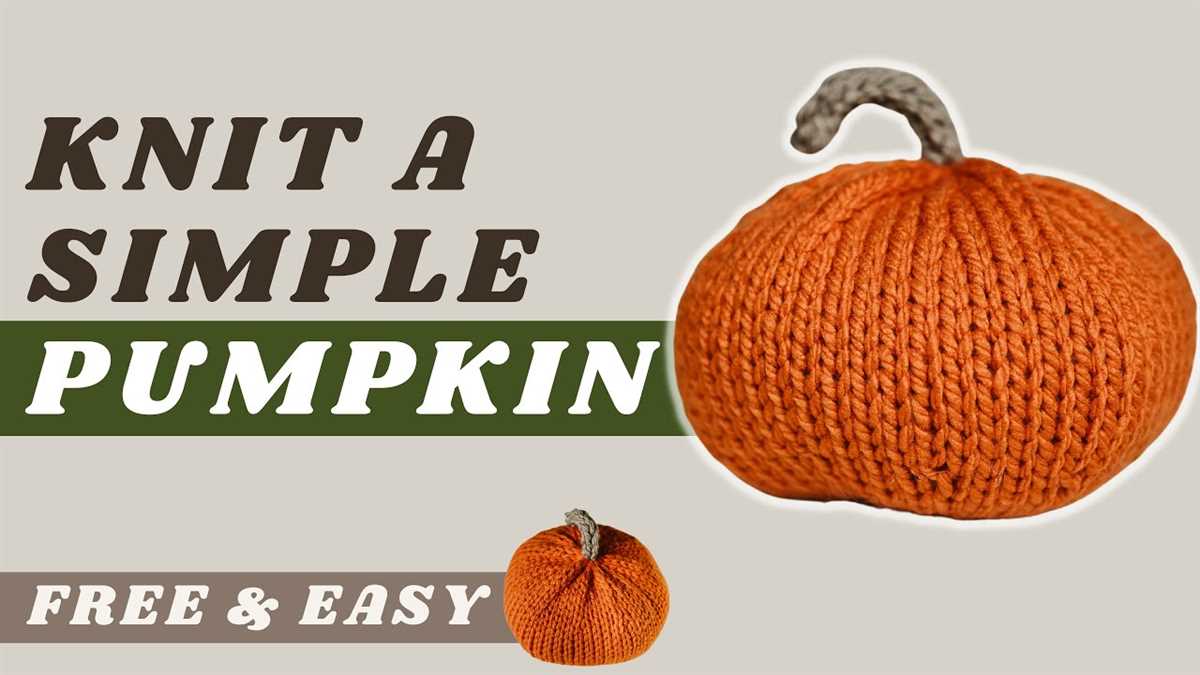
If you’re a knitter looking for a fun and festive project to work on this fall, look no further! In this article, we’ll be sharing a free knitting pattern for adorable pumpkins that you can use to decorate your home.
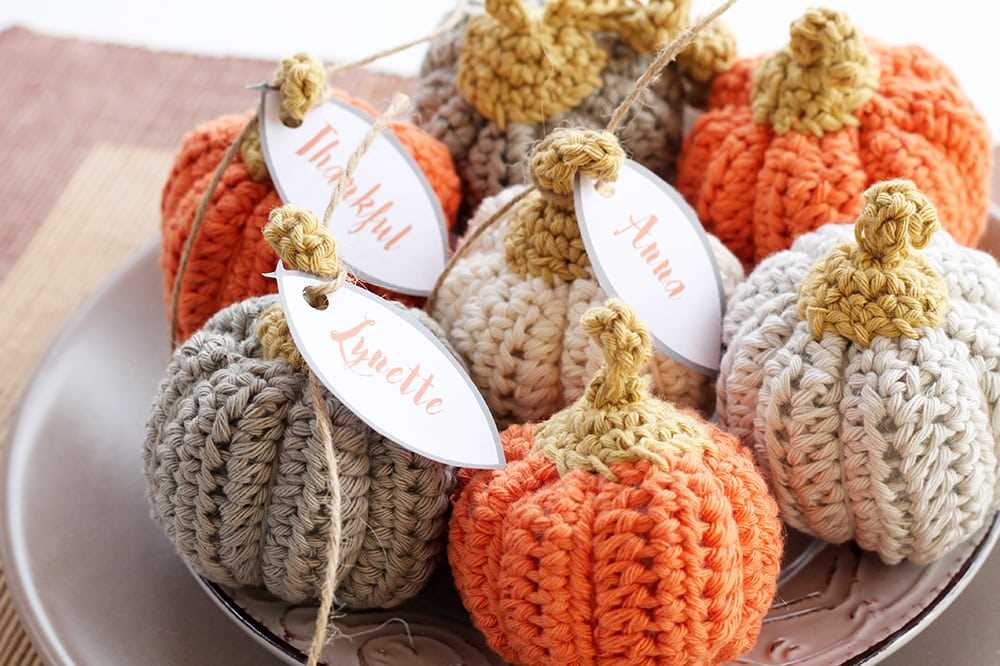
These knitted pumpkins are perfect for adding a touch of autumnal charm to your living room, dining table, or mantlepiece. They’re quick and easy to make, so you can whip up a whole collection of pumpkins in no time.
Whether you’re a beginner or an experienced knitter, this pattern is suitable for everyone. All you need is some spare yarn and a set of knitting needles. You can use any color of yarn you like – from traditional orange to funky multicolored options – to create a personalized pumpkin collection.
So grab your knitting needles and let’s get started on making some adorable pumpkins that will bring a cozy and festive atmosphere to your home!
About knitting pumpkins
Knitting pumpkins is a fun and festive way to celebrate the autumn season. These small knitted decorations can add a touch of warmth and charm to any home or event. Whether you’re an experienced knitter or just starting out, there are plenty of free knitting patterns available online to help you create your own knitted pumpkins.
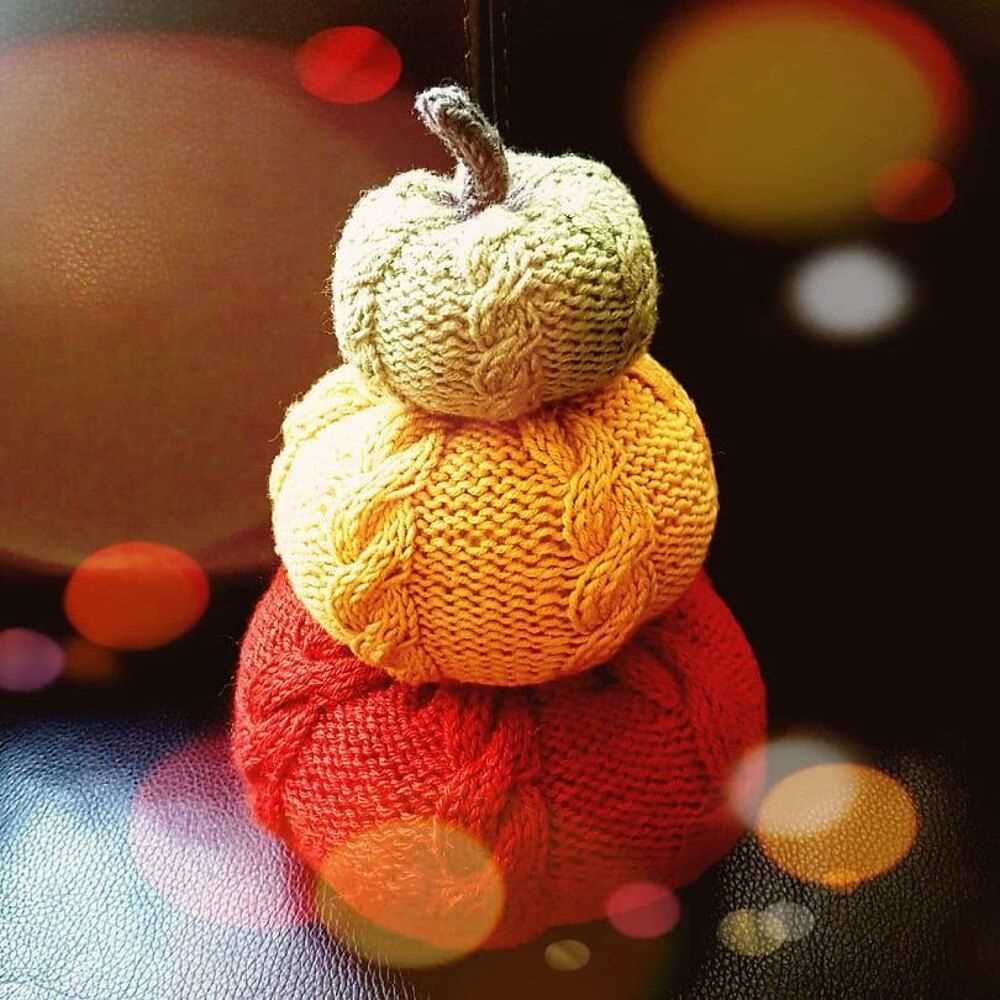
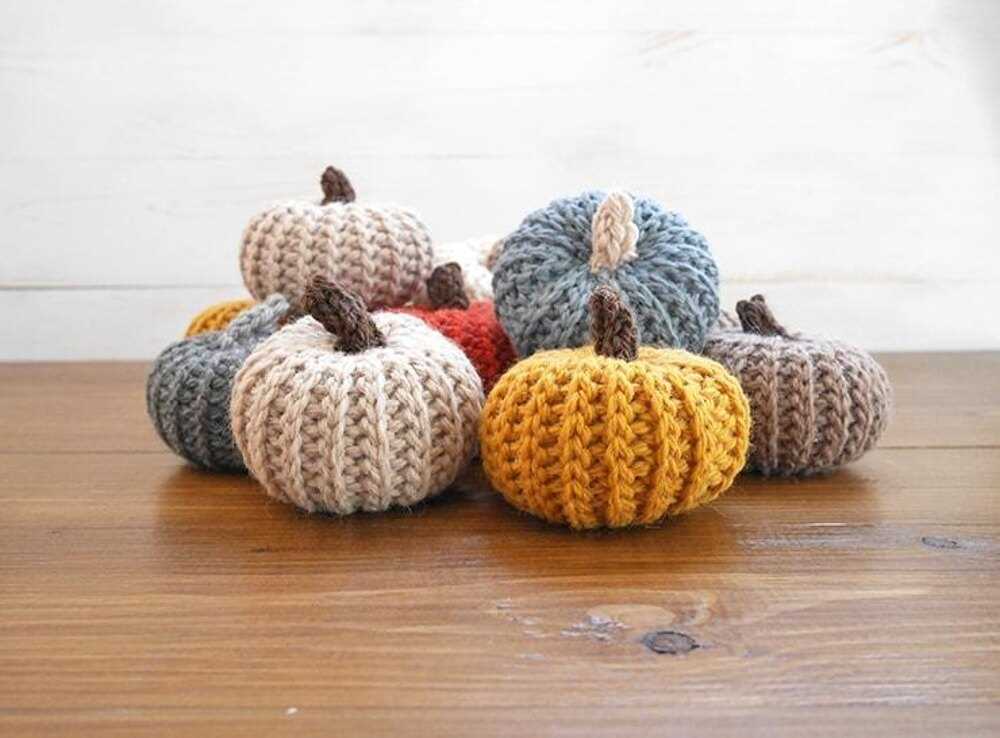
One of the great things about knitting pumpkins is that they can be customized to fit your personal style and taste. You can choose from a wide variety of knit stitch patterns, colors, and sizes to create pumpkins that are unique to you. From simple garter stitch pumpkins to more intricate cable or lace designs, the options are endless.
When knitting pumpkins, it’s important to choose the right yarn and needle size for your desired result. Bulky or worsted weight yarns work well for creating plump and round pumpkins, while thinner yarns can be used for smaller and more delicate designs. Additionally, using larger needles can help create a looser and more open fabric, giving your pumpkins a softer and more squishy feel.
To get started with knitting pumpkins, you will need to gather your materials, including the appropriate yarn and needles, as well as any additional embellishments or decorations you may want to add, such as faux leaves or a stem. Once you have everything ready, you can follow a free knitting pattern or create your own design as you go.
Knitting pumpkins can be a relaxing and enjoyable way to spend your time, and the end result is a beautiful and unique decoration that you can display year after year. So why not give it a try and add some handmade charm to your autumn decor?
Materials needed:
Yarn:
- Orange yarn (medium weight)
- Green yarn (medium weight)
Knitting needles:
- Size 7 (4.5mm) straight or circular needles
Other materials:
- Tapestry needle
- Scissors
- Stuffing
Optional materials:
- Embroidery floss in brown or black for pumpkin faces
- Raffia or jute twine for pumpkin stems
Yarn:
You will need orange yarn in a medium weight. This can be any brand or type of yarn as long as it is the right weight and color for creating pumpkins.
Knitting needles:
Size 7 (4.5mm) straight or circular needles are recommended for this project. These are a common size for medium weight yarn and will work well for creating the pumpkin shape.
Other materials:
In addition to the yarn and knitting needles, you will also need a tapestry needle for finishing and weaving in ends, scissors for cutting yarn, and stuffing to fill the pumpkins and give them shape.
Optional materials:
If you want to add faces to your pumpkins, you can use embroidery floss in brown or black to create the facial features. Additionally, you can use raffia or jute twine to create stems for the pumpkins.
Casting on
When starting a knitting project, the first step is to cast on. Casting on is the process of creating the foundation row of stitches on the knitting needle. There are several methods for casting on, but for this pumpkin pattern, we will be using the long-tail cast on method. This is a versatile and commonly used method that creates a neat and elastic edge.
Materials Needed:
- Yarn
- Knitting needles
- Tape measure
- Tapestry needle
- Scissors
Instructions:
- To begin, first measure out a piece of yarn that is approximately three times the width of the pumpkin you want to knit. This will be used for the long tail.
- Make a slip knot at the end of the yarn, leaving a tail of about six inches.
- Hold the knitting needle in your right hand and use your left thumb and index finger to hold the slip knot, with the tail of the yarn behind the needle.
- Insert the needle into the slip knot from front to back, bringing the needle up and over the yarn tail.
- Hold the needle pointing down in your left hand, with the slip knot and yarn tail in front of the needle.
- With your right hand, pull the slip knot snugly onto the needle, making sure to leave a small loop of yarn behind the slip knot.
- Repeat steps 4-6, inserting the needle into the loop behind the slip knot and pulling the working yarn through to create each additional stitch. Continue until you have cast on the desired number of stitches for your pumpkin.
- Once you have cast on all the stitches, you are ready to begin knitting the first row of your pumpkin pattern.
The long-tail cast on method provides a neat and sturdy foundation for your knitting project. By following these steps, you’ll be ready to start knitting your pumpkins in no time!
Knitting the body
Once you have gathered all the necessary materials for your knitted pumpkin, it’s time to start knitting the body. The body of the pumpkin is where your knitting skills will come into play, as you’ll need to create the shape and texture of the pumpkin.
To begin, cast on the desired number of stitches using your chosen yarn and needle size. You can customize the size of your pumpkin by adjusting the number of stitches you cast on. For a small pumpkin, cast on around 30 stitches, and for a larger pumpkin, cast on around 40 stitches.
Row 1: Knit all stitches to create a garter stitch row.
Row 2: Purl all stitches to create another garter stitch row.
Row 3: Knit all stitches to create another garter stitch row.
Row 4: Purl all stitches to create yet another garter stitch row.
Continue alternating between knitting and purling rows until your body measures the desired length. This will give the pumpkin its textured appearance. You can create a larger pumpkin by knitting more rows, or a smaller pumpkin by knitting fewer rows.
Once you have reached the desired length, it’s time to shape the top of the pumpkin. You can do this by decreasing stitches. There are several methods you can use, such as knitting two stitches together, or slipping a stitch and passing the slipped stitch over.
Continue decreasing stitches every few rows until you have just a few stitches remaining. This will create the tapered shape of the pumpkin. Once you have only a few stitches left, cut the yarn, leaving a long tail for sewing up the pumpkin.
Congratulations, you have now completed knitting the body of your pumpkin! It’s time to move on to the next step and add the finishing touches to your knitted pumpkin.
Shaping the pumpkin
If you want to knit your own pumpkin, it’s important to know how to shape it properly. The shaping techniques will help create the round and plump shape that is characteristic of a pumpkin.
To begin shaping the pumpkin, you will need to increase stitches evenly across each row. This will create the widening effect that gives the pumpkin its round shape. You can use a variety of increase techniques, such as knitting into the front and back of a stitch, or using yarn overs, depending on your preference. Make sure to follow the pattern instructions carefully to achieve the desired shape.
As you continue to knit, you may also need to decrease stitches in order to shape the top of the pumpkin. Decreasing stitches will create a tapering effect that mimics the natural curve of a pumpkin’s stem. Again, there are multiple decrease techniques you can use, such as knitting two stitches together, or slipping stitches and passing them over. These techniques will help you achieve the desired shape and create a realistic-looking pumpkin.
Remember to stuff the pumpkin as you go along, using polyester fiberfill or your preferred stuffing material. This will help give the pumpkin its plump and firm shape. Be sure to stuff evenly and firmly to achieve a realistic look.
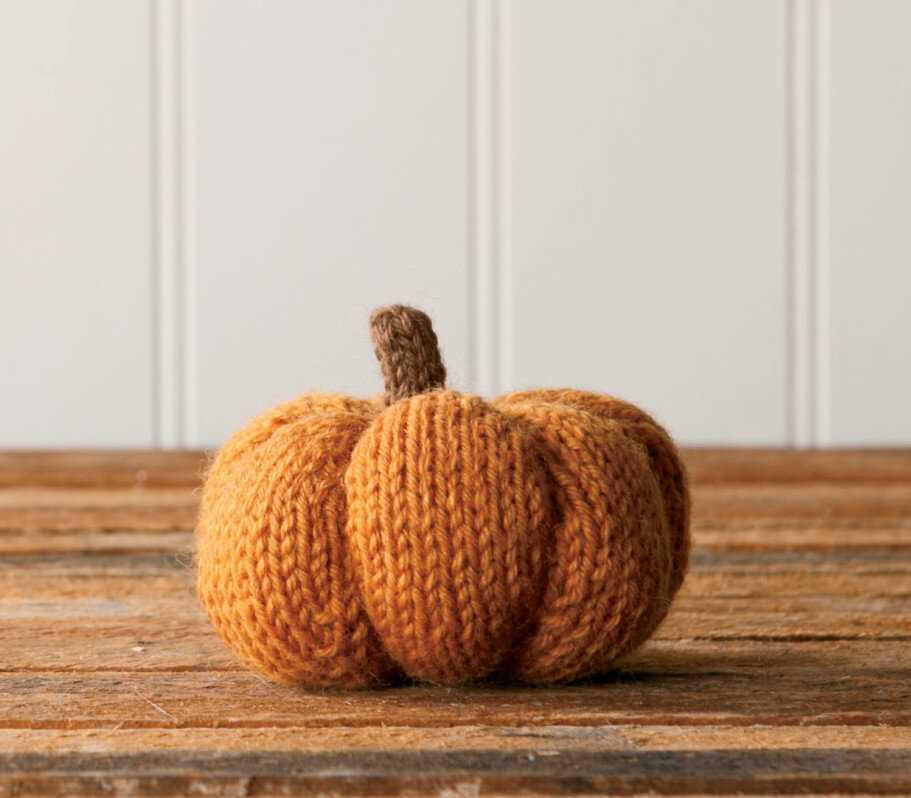
Once you have finished knitting and shaping your pumpkin, you can add some finishing touches to make it even more festive. Consider adding a crochet or embroidered face, using buttons or beads for eyes, and adding a stem and leaves made of felt or yarn. These additional details will bring your knitted pumpkin to life and add a touch of whimsy to your fall decor.
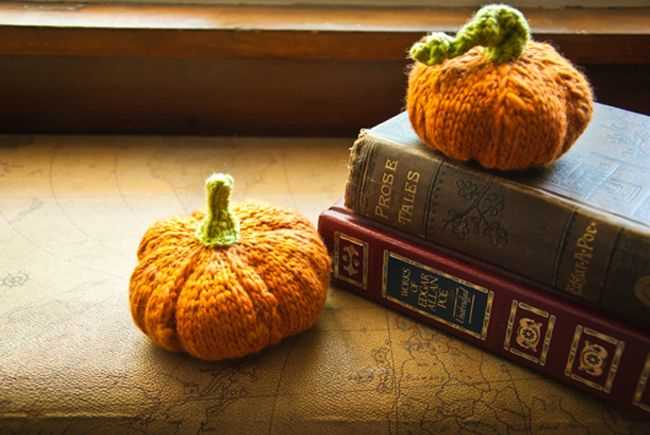
Adding the stem
Once you have completed knitting your pumpkin, it’s time to add the stem. The stem adds the final touch to your pumpkin and gives it a realistic look. There are different ways you can add the stem, depending on your preference and the materials you have available.
If you want to keep it simple, you can use a small piece of brown yarn as the stem. Cut a few strands of yarn, approximately 2-3 inches long. Fold the strands in half and use a crochet hook or a tapestry needle to insert the folded end through the center of the pumpkin. Pull the loose ends of the yarn through the loop created by the folded end, and tighten to secure the stem in place.
If you prefer a more 3-dimensional stem, you can use a small piece of felt or fabric. Cut a rectangular shape from the felt or fabric, approximately 1-2 inches wide and 2-3 inches long. Roll the rectangle tightly to create a tube shape. Use a hot glue gun or fabric glue to secure the rolled felt or fabric in place. Once the glue has dried, attach the stem to the top of the pumpkin using the same method described above.
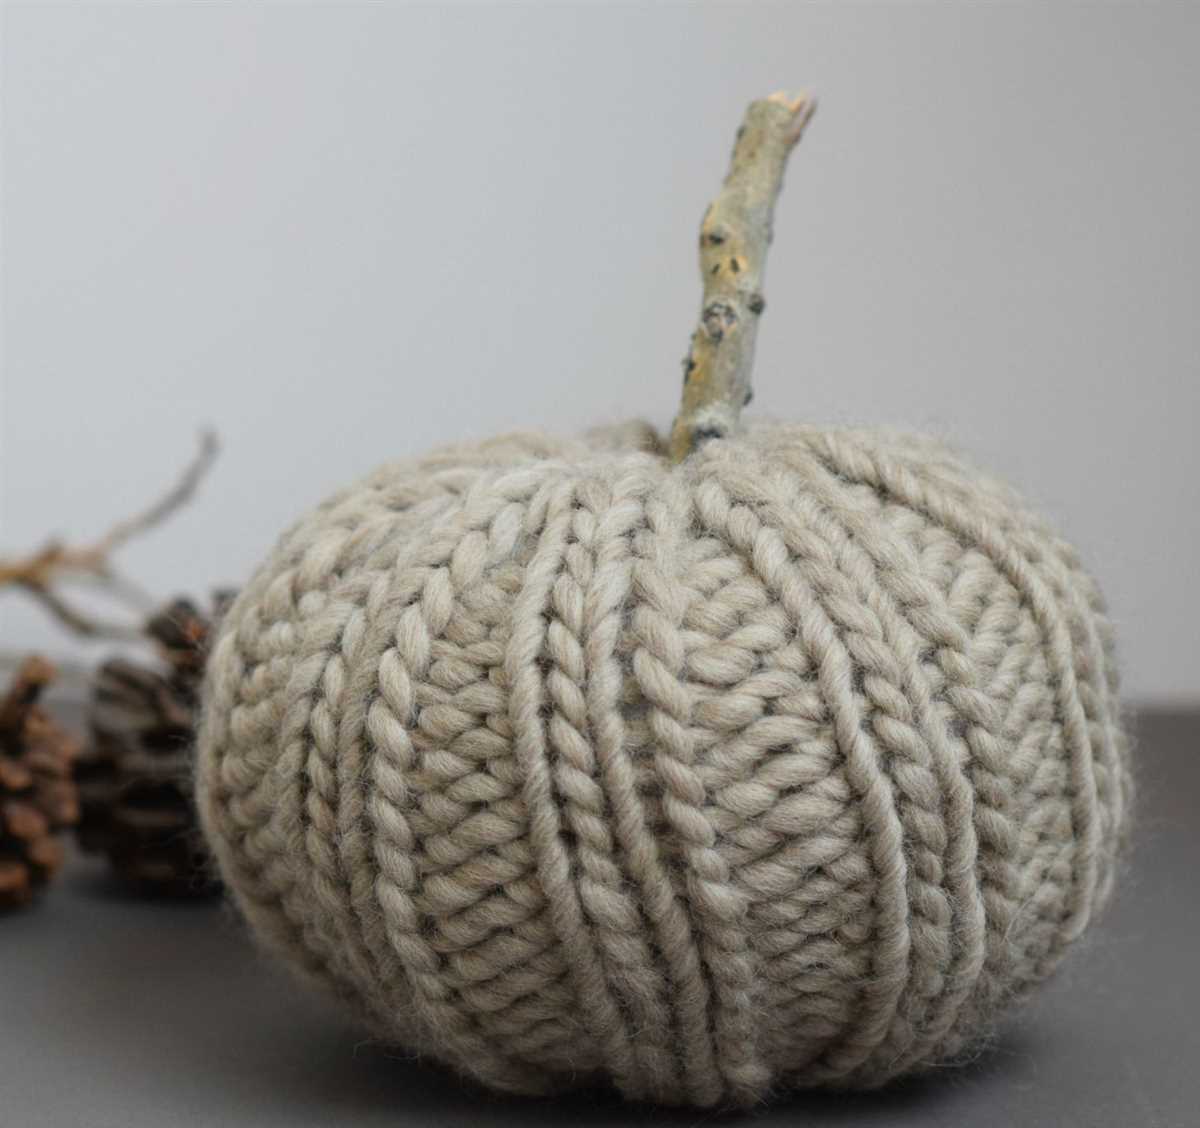
An alternative method is to use a small wooden dowel or branch as the stem. Cut the dowel or branch to the desired length, making sure it is proportional to the size of your pumpkin. Insert the dowel or branch into the center of the pumpkin, using a hot glue gun or wood glue to secure it in place. This method gives a more natural look to the pumpkin and is especially great for larger-sized pumpkins.
Finishing touches
Once you have completed knitting your pumpkin, it’s time to add some finishing touches to make it look even more festive! Here are a few ideas to consider:
1. Stem:
Add a stem to your knitted pumpkin to give it a more realistic appearance. You can use a small twig or a piece of brown yarn to create the stem. Simply attach it securely to the top of the pumpkin using a hot glue gun or by sewing it in place.
2. Leaves:
Add some knitted or felt leaves to your pumpkin to make it look like it’s just been plucked from the patch. You can find patterns for knitted leaves online, or you can cut out leaf shapes from green felt and attach them to the top of the pumpkin with glue or by sewing.
3. Embellishments:
Add some extra decorations to your pumpkin to make it unique. You can sew on buttons, beads, or small bows to give it a personalized touch. You can also use fabric paint or markers to draw on a face or other designs.
4. Display:
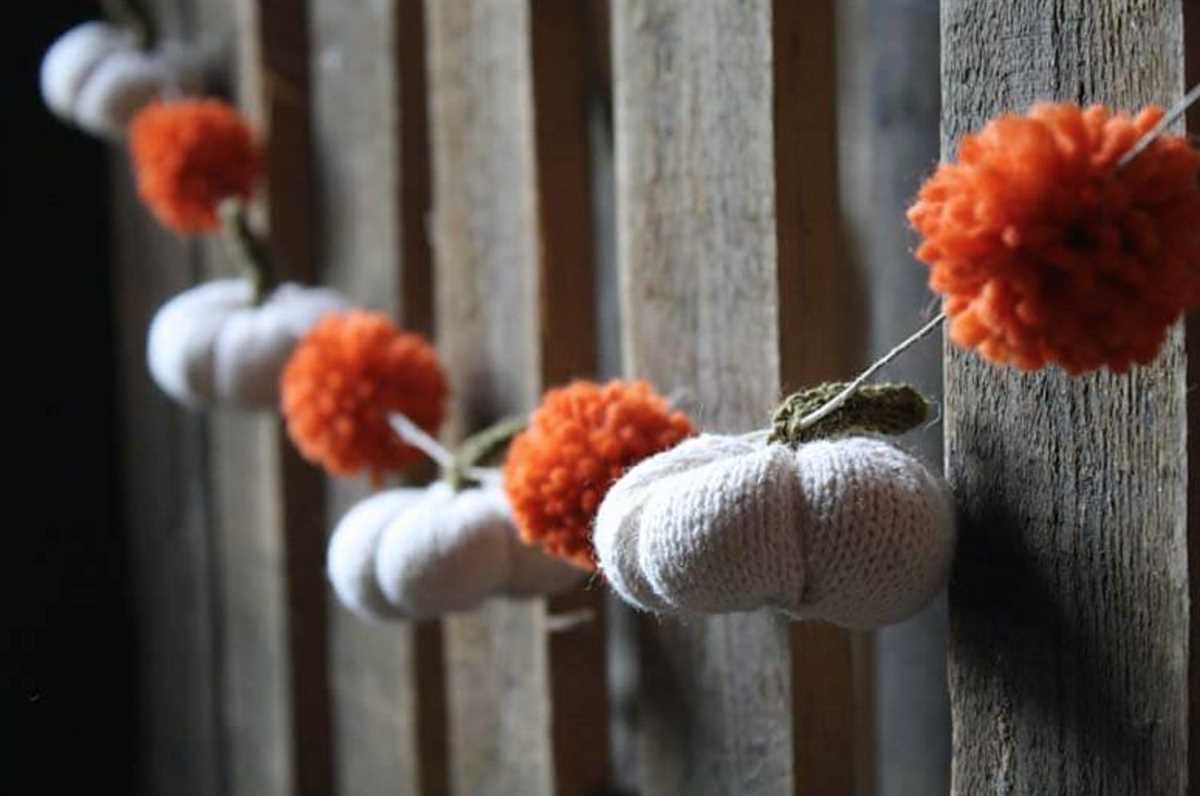
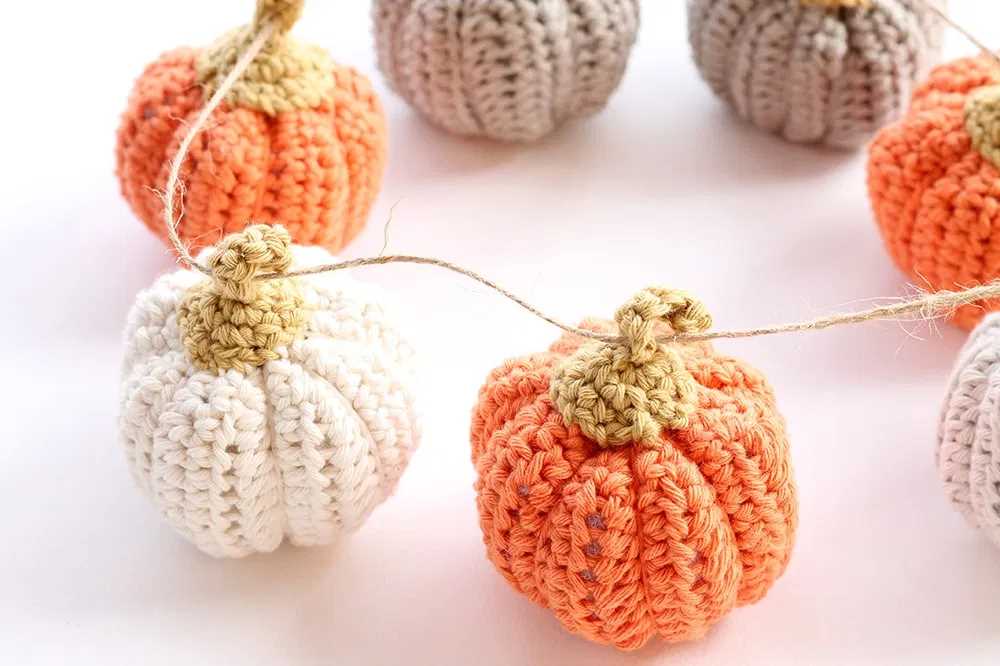
Once your pumpkin is complete, find the perfect spot to display it. You can place it on a mantel, on a table centerpiece, or even in a decorative bowl. Consider creating a whole set of knitted pumpkins in various colors and sizes to create a stunning autumnal display.
Customization options
When it comes to knitting pumpkins, there are plenty of customization options available to make your creations unique. From choosing different yarn colors to adding embellishments, you can truly personalize your knitted pumpkins to match your style and preferences.
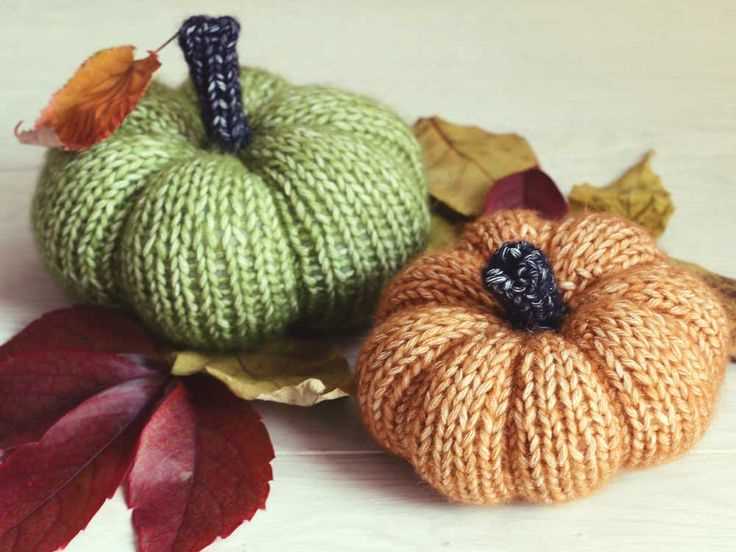
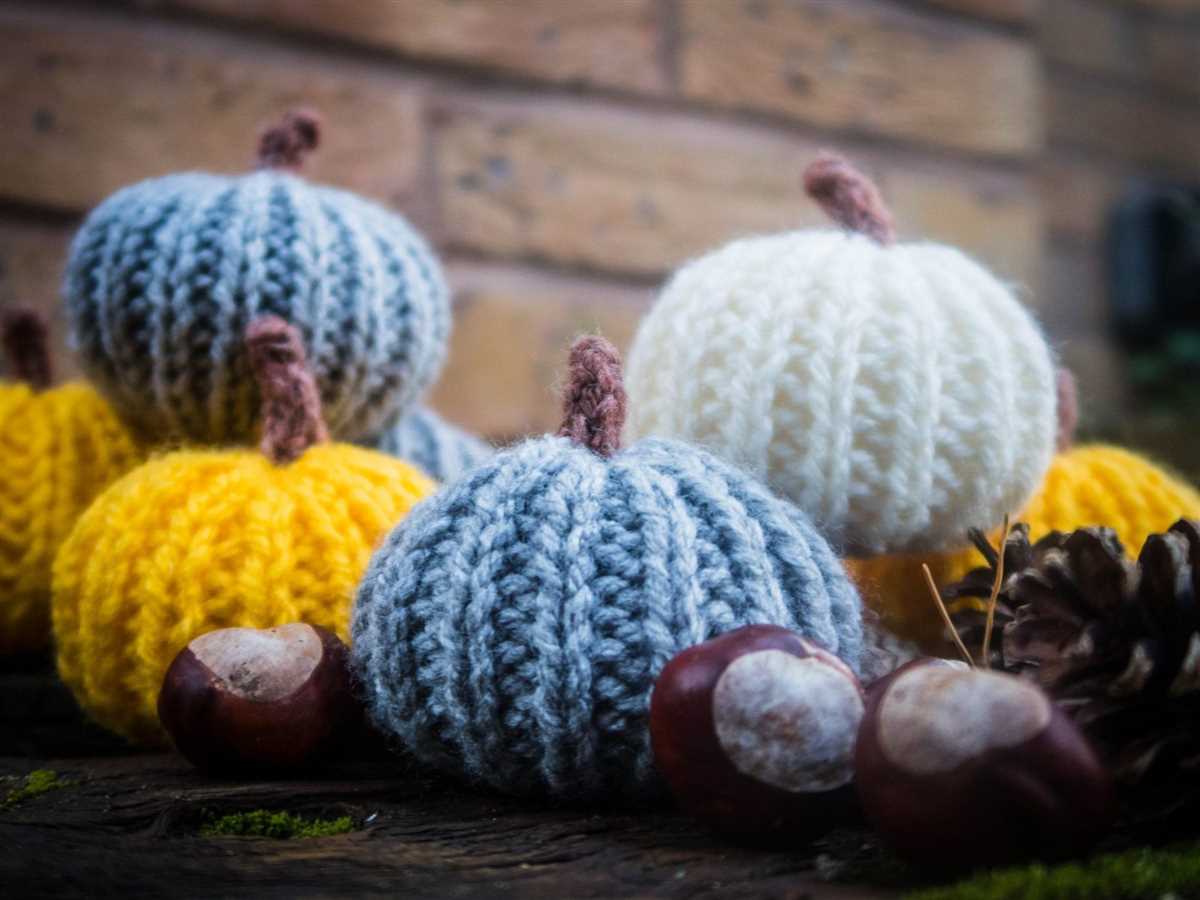
Yarn selection: One of the first customization options you have is choosing the yarn color for your pumpkins. Whether you want to stick with traditional orange or experiment with different shades like white, green, or even multicolored yarn, the choice is yours. You can even mix and match different colors to create a more vibrant and eye-catching pumpkin collection.
Embellishments: Adding embellishments to your knitted pumpkins can further enhance their appearance. You can sew on buttons in various colors and sizes to represent the pumpkin’s eyes or create a unique pattern. Additionally, you can use embroidery thread to add details like a mouth or nose. Beads, ribbons, or even lace can also be incorporated to create a more intricate design.
Size variations: Another customization option is varying the size of your knitted pumpkins. By adjusting the number of stitches and rows, you can create pumpkins of different sizes, from mini ones that fit in the palm of your hand to larger ones that can act as centerpieces. This versatility allows you to create a diverse pumpkin collection or make specific sizes for different purposes.
Addition of accessories: To make your pumpkins even more unique, you can consider adding accessories. For example, you can knit small leaves or stems separately and attach them to the top of the pumpkin. This adds a realistic touch and gives you the opportunity to play with different yarn textures and colors.
- Yarn color selection
- Embellishments
- Size variations
- Addition of accessories
These customization options allow you to create a one-of-a-kind pumpkin collection that reflects your personal style and creativity. Let your imagination run wild and have fun experimenting with different colors, textures, and embellishments to make your knitted pumpkins truly unique.
Tips and Tricks
Knitting pumpkins can be a fun and creative project for the fall season. Whether you’re a beginner or an experienced knitter, here are some tips and tricks to help you create beautiful pumpkins with ease.
Choose the right yarn
When selecting yarn for your pumpkins, consider using a medium or bulky weight yarn to give them a nice, plump shape. Acrylic, wool, or blended yarns work well for this project. You can also experiment with different colors to create a variety of pumpkins.
Use double-pointed needles
To create the round shape of the pumpkin, it’s best to use double-pointed needles. This will allow you to knit in the round and avoid any unsightly seams. If you’re new to using double-pointed needles, there are many online tutorials available to help you get started.
Add texture
To make your pumpkins more realistic, consider adding texture to the knitting. You can do this by using a combination of knit and purl stitches, or by adding small details like ribbing or cables. This will give your pumpkins a unique and interesting look.
Stuff the pumpkins
Once you’ve finished knitting your pumpkins, don’t forget to stuff them to give them their trademark plumpness. You can use polyester stuffing or even scraps of yarn. Be sure to stuff them firmly, but not too tightly, to maintain their shape.
Add a stem
To complete the look of your knitted pumpkins, don’t forget to add a stem. You can use a small piece of brown yarn or a small stick from the garden. Simply attach it to the top of the pumpkin and secure it with a few stitches.
With these tips and tricks, you’re ready to start knitting your own pumpkins. Get creative and have fun with colors, textures, and sizes to make a beautiful collection of pumpkins for your fall decor.
Final Thoughts
In conclusion, knitting pumpkins is a fun and creative project that can add a festive touch to your home decor. Whether you’re a beginner knitter or an experienced one, there are plenty of free knitting patterns available online that you can use to create your own pumpkins. From simple patterns for beginners to more intricate designs for advanced knitters, there is something for everyone.
Knitting pumpkins can also be a great way to use up leftover yarns and scraps, as they don’t require much yarn. It’s a project that can be completed relatively quickly, making it a perfect choice for those who are looking for a quick and satisfying knitting project.
Remember to experiment with different yarn weights and colors to create pumpkins in various sizes and styles. Don’t be afraid to get creative and add your own personal touches to the patterns.
With Halloween and Thanksgiving just around the corner, knitting pumpkins can be a wonderful way to celebrate the season and add a touch of coziness to your home. So grab your knitting needles, pick a pattern, and start stitching your very own knitted pumpkins today!