
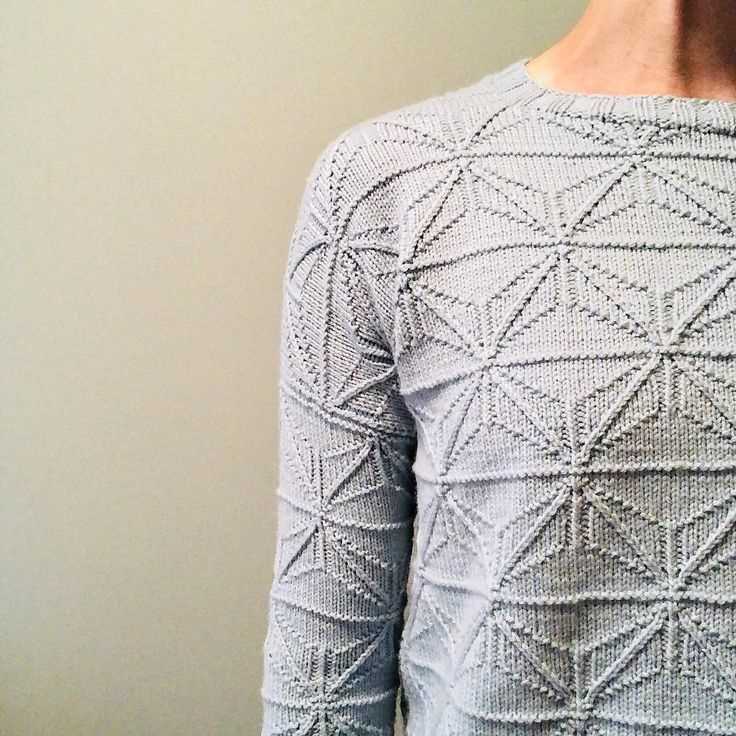
Night shift knitting pattern is an exciting and popular knitting project that allows knitters to create a stunning and unique accessory. The pattern involves working with a variety of colors and stitches to create a beautiful, modern, and eye-catching design.
The night shift knitting pattern is perfect for knitters who enjoy working with different yarn colors and exploring different stitch patterns. This pattern allows you to let your creativity run wild and experiment with color combinations and stitch variations.
One of the great things about the night shift knitting pattern is that it can be easily customized to suit your personal style and preferences. You can choose to work with a specific color scheme or create an eclectic and vibrant design by using a mix of colors. The pattern also allows you to easily adjust the size of your project, making it suitable for scarves, shawls, or even blankets.
Night Shift Knitting Pattern: An Easy Guide
Are you looking for a new knitting project to keep you busy during those late-night hours? Look no further than the Night Shift knitting pattern. This pattern is perfect for those who love colorwork and want to create something unique and eye-catching.
The Night Shift knitting pattern is a versatile and easy-to-follow guide that allows you to create a stunning geometric design using different colors and stitches. The pattern includes instructions for both a scarf and a blanket, so you can choose which project suits your needs.
Materials Needed

- Yarn in various colors
- Knitting needles
- Circular knitting needles
- Tapestry needle
- Stitch markers
Instructions
- Cast on the desired number of stitches using your main color.
- Begin the colorwork section by following the chart included in the pattern. Each square on the chart represents one stitch.
- As you work through the pattern, make sure to change colors as indicated and carry the unused yarn along the back of your work.
- Continue following the chart until you reach the desired length for your scarf or blanket.
- Once you have finished the colorwork section, switch back to your main color and knit a few rows to create a border.
- Bind off your stitches and weave in any loose ends.
The Night Shift knitting pattern is a fun and fulfilling project that allows you to unleash your creativity and create a beautiful and functional item. Whether you’re a beginner or an experienced knitter, this pattern is suitable for all skill levels. So grab your knitting needles, choose your favorite colors, and get ready to embark on a knitting journey like no other. Happy knitting!
What is the Night Shift Knitting Pattern?
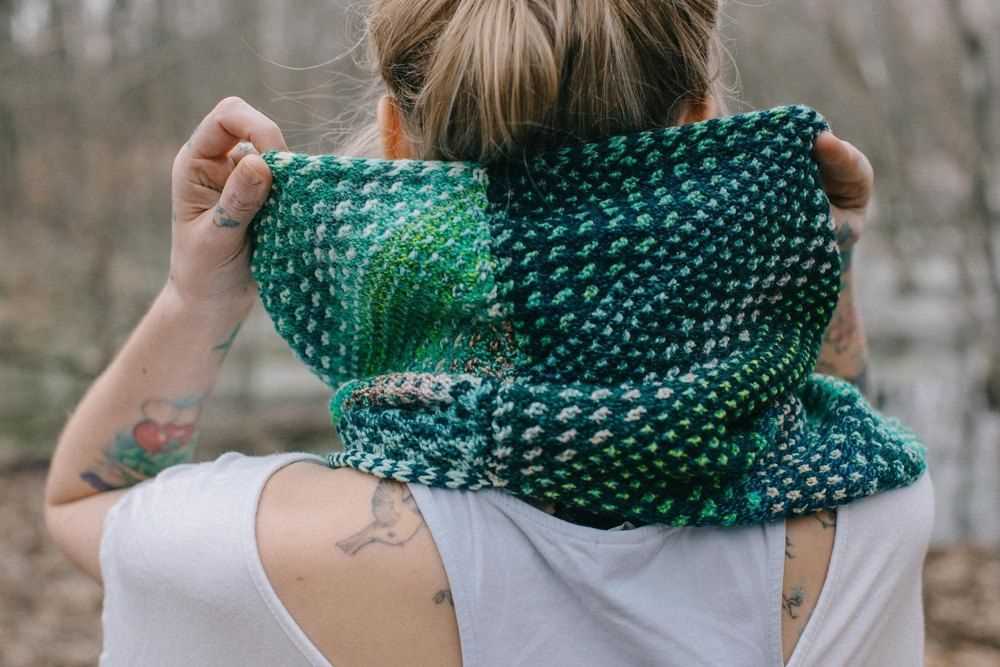
The Night Shift knitting pattern is a popular design that allows knitters to create beautiful and unique colorwork projects. It was created by Andrea Mowry, a talented knitwear designer known for her innovative patterns.
This pattern is characterized by its striking geometric design and vibrant color combinations. Knitters use multiple colors of yarn to create a shifting pattern of squares and triangles, which give the finished piece a dynamic and eye-catching look.
The Night Shift pattern is suitable for intermediate to advanced knitters who are comfortable working with color changes and reading charts. It can be knit in various yarn weights and fiber compositions, allowing for customization based on individual preferences.
Knitting the Night Shift pattern requires knowledge of basic knitting techniques such as knit, purl, and slip stitches. The pattern also includes instructions for increasing, decreasing, and picking up stitches, which adds to the complexity of the project.
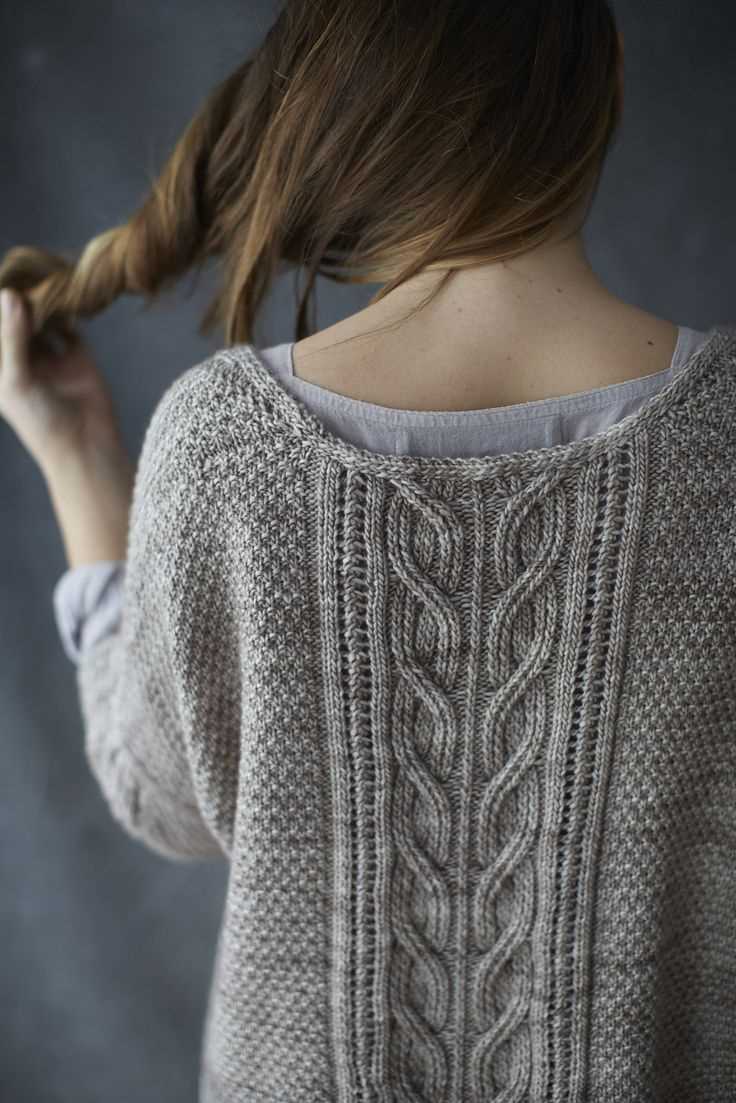
The Night Shift pattern is versatile and can be used to create a wide range of items such as scarves, shawls, blankets, and even garments. Its unique design and bold colors make it a statement piece that is sure to attract attention and praise.
Overall, the Night Shift knitting pattern offers an exciting challenge for knitters who enjoy experimenting with color and texture. It allows for endless possibilities in terms of color combinations and can be a great way to showcase different yarns in your stash. Whether you’re knitting for yourself or as a gift, the Night Shift pattern is sure to result in a stunning and visually impactful finished project.
Choosing the Right Yarn for the Night Shift Knitting Pattern
When it comes to the Night Shift knitting pattern, choosing the right yarn is crucial to achieving the desired result. This pattern is known for its beautiful colorwork and intricate design, so selecting a yarn that is both soft and durable is key.
Composition: The first thing to consider when choosing yarn for the Night Shift pattern is its composition. Opting for a blend of natural fibers, such as wool or alpaca, will provide warmth and softness to the finished project. These fibers also tend to have good stitch definition, allowing the intricate colorwork to stand out.
Weight: Another important factor to consider is the weight of the yarn. The Night Shift pattern calls for bulky weight yarn, which means it is thicker and heavier than other yarn options. Using a yarn that matches the recommended weight will ensure that the finished project has the right drape and overall feel.
Color Palette: The Night Shift pattern is all about color, so choosing a yarn with a wide range of shades is recommended. Variegated or self-striping yarns can add an interesting dimension to the colorwork, creating a stunning visual effect. It is also important to consider how the colors of the yarn will blend and complement each other in the finished project.
Care Instructions: Lastly, it is essential to consider the care instructions of the yarn. The Night Shift pattern is likely to require frequent washing due to its use as an everyday item. Opting for a yarn that is machine washable or easy to care for will prevent any unwanted surprises after the project is completed.
By taking into consideration the composition, weight, color palette, and care instructions of the yarn, knitters can ensure they choose the perfect yarn for the Night Shift knitting pattern. With the right yarn in hand, they can create a beautiful and cozy finished project that will make late-night knitting sessions all the more enjoyable.
Essential Knitting Tools for the Night Shift Pattern
When working on the Night Shift knitting pattern, it’s important to have the right tools to help you achieve the best results. Here are some essential knitting tools you’ll need to have on hand:
1. Circular Knitting Needles
A pair of circular knitting needles is a must-have for the Night Shift pattern. These needles allow you to easily knit in the round and handle the large number of stitches required for the project. Opt for needles with a smooth finish to prevent snagging the yarn.
2. Stitch Markers
Using stitch markers is essential for keeping track of stitch patterns and increases or decreases in the Night Shift pattern. Place markers on specific stitches to help you stay organized and ensure that you are following the pattern correctly.
3. Tapestry Needle

A tapestry needle is needed for weaving in loose ends and joining different sections of the Night Shift pattern. Make sure to choose a tapestry needle with a large eye to easily thread the yarn through. This tool will help give your project a polished and finished look.
4. Row Counter
To help you keep track of the pattern repeats and rows in the Night Shift pattern, a row counter is an essential tool. This handy device can be clipped onto your knitting needles or kept on a separate keychain. It will help ensure that your project remains consistent and that you don’t accidentally skip or repeat any rows.
With these essential knitting tools, you’ll be well-equipped to take on the Night Shift pattern. Remember to take breaks and stretch your hands and wrists to avoid any knitting-related strain or injuries. Happy knitting!
Getting Started: Casting On for the Night Shift Knitting Pattern
Before you can dive into knitting the beautiful Night Shift pattern, you need to cast on your stitches. This step is crucial as it sets the foundation for your entire project. With the right technique and attention to detail, you’ll be on your way to creating a stunning finished piece.
To cast on for the Night Shift knitting pattern, you will need a pair of knitting needles and your chosen yarn. Start by making a slipknot: create a loop with the yarn, insert one end through the loop, and tighten it. Place the slipknot on one of your knitting needles, leaving a tail of yarn that is approximately six inches long.
Long-tail cast on: This is the recommended cast-on method for the Night Shift pattern. Hold the working end of the yarn (the end attached to the ball of yarn) in your right hand and the tail end in your left hand. With your left hand, create a sling using your thumb and index finger, leaving a long tail of yarn. Insert the tip of your right needle into the sling from front to back, and then bring the needle over the tail. Move your right hand up and towards you, catching the yarn on the needle. This creates your first cast-on stitch. Repeat this motion, inserting the needle into the sling and catching the yarn, until you have the desired number of stitches.
Note: It is important to cast on loosely but evenly to ensure that your stitches have enough stretch. If your cast-on edge is too tight, your project might not lie flat, so take care to maintain an even tension as you cast on.
Alternate cast-on methods: If you are not comfortable with the long-tail cast on, there are other methods you can use. The knitted cast on, cable cast on, and backward loop cast on are a few options to consider. Each has its own characteristics and it’s worth exploring various techniques to find the one that works best for you and your Night Shift knitting project.
Understanding the Night Shift Knitting Pattern Chart
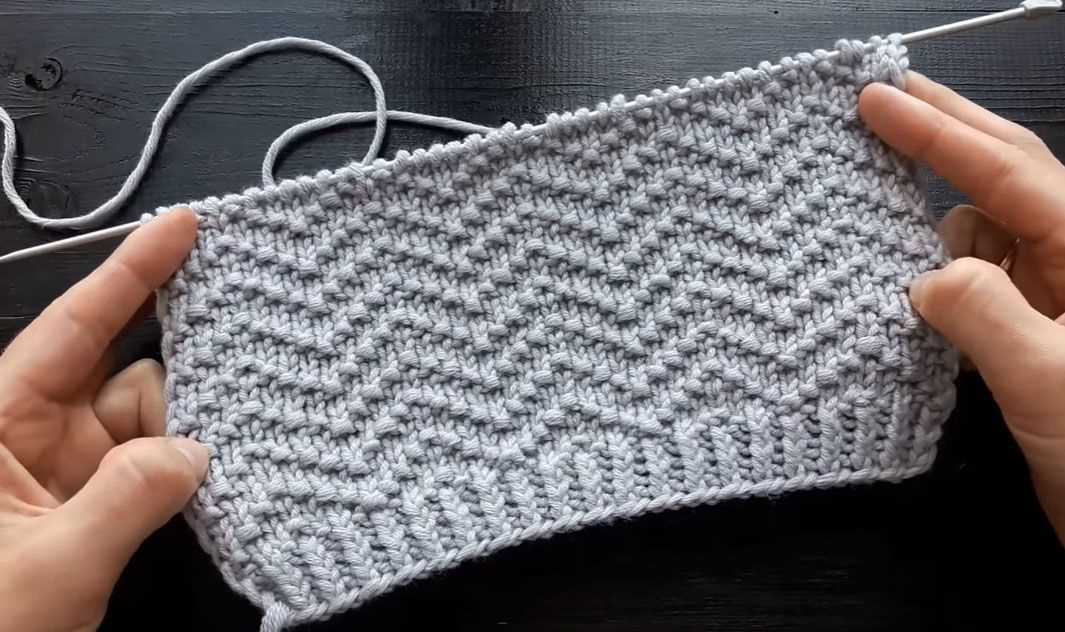
Knitting lace patterns can be a enjoyable and rewarding experience, and the Night Shift Knitting Pattern is no exception. This pattern features a stunning geometric design that creates a beautiful and intricate finished product. However, understanding and following the chart can be a bit daunting for beginners. In this guide, we will break down the Night Shift Knitting Pattern chart and explain how to read and interpret it.
Reading the Chart:
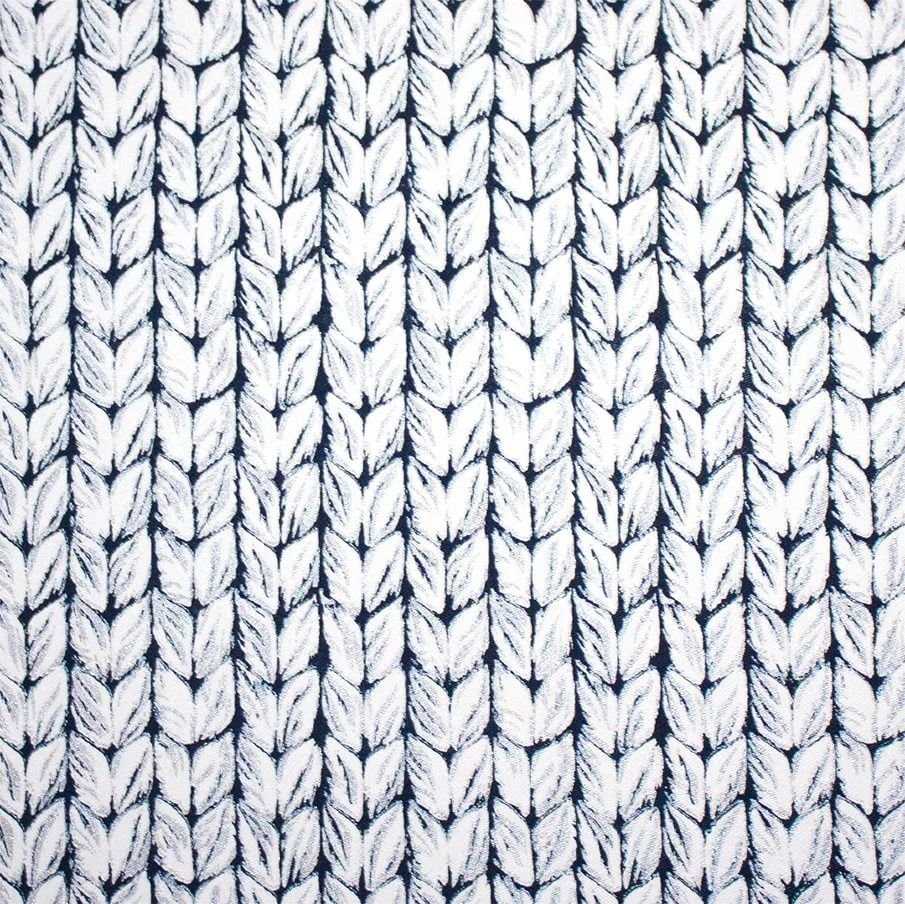
The Night Shift Knitting Pattern chart is a visual representation of the stitches and rows that need to be worked to create the desired design. Each square on the chart represents one stitch or one row. The chart will include symbols to represent different knitting techniques, such as knit stitch, purl stitch, yarn over, and others. It is important to familiarize yourself with these symbols before starting the pattern to ensure you understand what each one means.
Following the Chart:
To follow the Night Shift Knitting Pattern chart, start by finding the corner of the chart that corresponds to the first stitch or row of your project. This will be indicated in the written instructions accompanying the chart. From there, you will read the chart from right to left for the odd-numbered rows, and from left to right for the even-numbered rows.
Troubleshooting Common Issues:
When working with a knitting pattern chart, it is common to encounter some challenges. One common issue is losing track of your place on the chart. To avoid this, it can be helpful to use a row counter or highlighter tape to mark the row you are currently working on. Another issue is misinterpretation of the chart symbols. Taking your time to study and understand the symbols before beginning the pattern can help prevent mistakes.
Overall, with practice and patience, you will become comfortable with reading and following the Night Shift Knitting Pattern chart. It is a valuable skill that opens up a world of possibilities for creating stunning lace designs.
Mastering the Colorwork Technique for the Night Shift Knitting Pattern
Knitting with multiple colors can be a fun and rewarding challenge for any knitter. The Night Shift knitting pattern is a popular project that incorporates colorwork to create a stunning finished product. For those who are new to colorwork or looking to improve their skills, mastering the technique is essential in order to achieve a professional-looking result.
Understanding the Basics
Before diving into the Night Shift knitting pattern, it is important to have a good understanding of the basics of colorwork. This includes familiarizing yourself with different techniques such as stranded knitting, intarsia, and duplicate stitch. Each technique has its own unique characteristics and can be used to create different effects and patterns in your work.
Choosing the Right Yarn
When working on the Night Shift knitting pattern, selecting the right yarn is crucial for achieving the desired effect. Opt for yarns with contrasting colors that complement each other well. This will help make the colorwork stand out and create a visually striking finished product. It is also important to consider the weight and fiber content of the yarn, as this can affect the drape and overall look of the finished piece.
Practice and Patience
Like any new skill, mastering colorwork takes practice and patience. Start by practicing small swatches using the colorwork techniques of your choice. This will allow you to familiarize yourself with the tension and techniques required for successful colorwork. As you gain confidence and improve your skills, you can then start working on larger projects like the Night Shift knitting pattern.
Tips and Tricks
Here are some additional tips to help you master colorwork for the Night Shift knitting pattern:
- Use stitch markers to help keep track of your colorwork repeats and pattern changes.
- Pay close attention to your tension, as uneven tension can result in distorted or uneven colorwork.
- Practice carrying your yarn behind your work without creating long floats to minimize the risk of snagging.
- Block your finished piece to help even out and enhance the colorwork design.
By mastering the colorwork technique, you will be able to create beautiful and intricate designs, like the Night Shift knitting pattern, with confidence and ease. With practice and patience, you will soon be on your way to becoming a colorwork knitting pro!
Tips for Knitting Smooth Transitions in the Night Shift Pattern
Knitting the Night Shift pattern can be a fun and rewarding project, but achieving smooth transitions between colors can sometimes be a challenge. Here are some helpful tips to ensure that your transitions are seamless and beautiful:
- Choose yarns with similar thickness: When selecting your colors for the Night Shift pattern, it’s important to choose yarns that have a similar thickness. This will help to create even and consistent stitches throughout your project, resulting in smooth transitions between colors.
- Use a Russian join technique: To avoid abrupt color changes and visible knots, consider using a Russian join technique to connect your yarns. This method involves weaving the ends of two yarns together, creating a strong and secure join that is virtually invisible. By using this technique, you can ensure that your color transitions are seamless and smooth.
- Work color transitions at the end of rows: To create a clean transition between colors, it’s best to work the color changes at the end of rows. This allows you to neatly switch colors and carry the yarn up the side of your work without disrupting the stitch pattern. By doing this, you can maintain the integrity of the design and achieve a polished look.
- Carry your yarn loosely: When knitting with multiple colors, it’s important to carry your yarn loosely along the back of your work. This will prevent your stitches from becoming too tight and distorting the pattern. By maintaining a loose tension, you can ensure that your color transitions are smooth and the overall fabric remains even and balanced.
- Consider using a color-changing yarn: If you want to simplify the process of achieving smooth transitions, you may consider using a color-changing yarn. These yarns are designed to create gradual color shifts within a single skein, eliminating the need for frequent color changes. Using a color-changing yarn can save you time and effort while still achieving a beautiful and seamless effect.
By following these tips, you can enhance your knitting experience and create stunning projects with smooth transitions in the Night Shift pattern. Remember to practice and experiment with different techniques to find what works best for you. Happy knitting!
Finishing Off: Binding Off for the Night Shift Knitting Pattern
When it comes to completing the Night Shift knitting pattern, binding off is an essential step. This technique ensures that your stitches are secure and finishes off your project beautifully. In this guide, we will walk you through the process of binding off, providing step-by-step instructions and tips to help you achieve a professional-looking finish.
Step 1: Prepare your stitches
Before you begin the binding off process, make sure that your stitches are arranged properly on your needles. Ensure that you have enough working yarn available for the binding off process. Take a moment to inspect your work and ensure that there are no dropped stitches or mistakes that need to be corrected.
Step 2: Knit the first two stitches
To start the binding off process, knit the first two stitches on your left-hand needle. This will create two new stitches on your right-hand needle.
Step 3: Pass the first stitch over the second stitch
Next, using the tip of your left-hand needle, lift the first stitch (the stitch closest to the tip) over the second stitch (the stitch furthest from the tip) and off the right-hand needle. This will bind off one stitch.
Step 4: Repeat steps 2 and 3
Continue knitting one stitch, then passing the previous stitch over the newly knitted stitch until you only have one stitch left on your right-hand needle. This will effectively bind off your stitches and secure your work.
Step 5: Cut the yarn
Once you have bound off all of your stitches, cut the yarn, leaving a tail long enough to weave in later. Pull the cut end of the yarn through the loop of the last stitch to secure it.
Step 6: Weave in the ends
Finally, use a tapestry needle to weave in the ends of your yarn, ensuring a clean and tidy finish. Weave the ends through several stitches on the back side of your work, then trim any excess yarn.
Congratulations! You have successfully bound off your Night Shift knitting pattern. With these simple steps, you can achieve a professional finish and admire your beautiful creation. Now it’s time to enjoy your finished project or start planning your next knitting adventure!
Blocking and Finishing Touches for the Night Shift Knitting Pattern
Once you have completed knitting the Night Shift pattern, it is important to block your project to achieve the desired shape and finish. Blocking is the process of gently stretching and shaping your knitted piece to even out stitches and create a professional-looking finish. Here are some steps to follow for blocking the Night Shift knitting pattern:
1. Prepare your blocking materials
Before you begin blocking, make sure you have all the necessary materials. You will need blocking mats or towels, rust-proof pins or blocking wires, and a spray bottle filled with water. You may also want to use some blocking aids, such as T-pins or blocking combs, to help shape your project.
2. Wet blocking
To block the Night Shift pattern, wet blocking is recommended. Start by filling your spray bottle with water and mist your knitted project until it is evenly damp. Then, arrange your blocking mats or towels on a flat surface and lay your project on top. Gently stretch and shape your piece to the desired dimensions, making sure to maintain the stitch pattern.
3. Pinning and shaping
Once your project is in the desired shape, use rust-proof pins or blocking wires to secure it in place. Pin along the edges of the project, placing pins at regular intervals to ensure even tension. If your project has lace or intricate stitch patterns, use blocking wires to maintain the pattern’s shape and open up the lacework.
4. Let it dry
After you have pinned your project, let it dry completely. This usually takes 24 to 48 hours, depending on the humidity in your environment. Avoid manipulating or moving the project until it is fully dry to prevent misshaping.
5. Finishing touches
Once your Night Shift knitting pattern is dry, remove the pins or blocking wires. Check for any loose ends or stitches and weave them in using a tapestry needle. If desired, you can add additional embellishments, such as tassels or pom-poms, to personalize your finished piece.
Blocking is an essential step in achieving a professional finish for your Night Shift knitting pattern. It not only helps to even out stitches and shape your project but also enhances the overall look and drape of the final product. Don’t skip this important step and enjoy the beautiful results of your Night Shift knitting adventure!
Showcasing Your Night Shift Knitted Shawl
Congratulations on completing your Night Shift Knitted Shawl! Now it’s time to showcase your beautiful creation and let it shine. Whether you want to wear it with pride or display it as a work of art, here are a few ideas to help you showcase your Night Shift Shawl in all its glory.
1. Wear It Fashionably
The Night Shift Knitted Shawl is not only a cozy accessory but also a fashionable one. Wear it as a statement piece with a simple outfit, allowing the vibrant colors and unique pattern to take center stage. You can drape it over your shoulders or wrap it around your neck for a trendy look that will turn heads wherever you go.
2. Capture It in Photos
Take beautiful photos of your Night Shift Shawl to document your knitting journey and showcase your craftsmanship. Find a well-lit area or a scenic backdrop that complements the colors of your shawl. Experiment with different poses and angles to capture the intricate stitches and mesmerizing color transitions. Don’t forget to share your stunning photos on social media and inspire other knitters!
3. Display It as Wall Art
Turn your Night Shift Shawl into a unique piece of wall art by framing it and hanging it on a wall. Choose a frame that complements the colors of your shawl and find a prominent place to display it, such as your living room or bedroom. Not only will it add a touch of warmth and coziness to your space, but it will also be a constant reminder of your knitting achievement.
4. Gift It to a Loved One
If you’ve enjoyed the process of knitting the Night Shift Shawl, consider gifting it to someone special. It could be a close friend, family member, or even a knitting enthusiast who will appreciate the time and effort you put into creating such a beautiful accessory. Your Night Shift Shawl will not only keep them warm but also serve as a heartfelt and meaningful gift.
No matter how you choose to showcase your Night Shift Knitted Shawl, remember to be proud of your accomplishment. The shawl is not only a tangible representation of your knitting skills but also a reflection of your creativity and dedication to the craft. Enjoy wearing, displaying, or gifting your Night Shift Shawl and let it be a reminder of the joy that knitting brings into your life.