
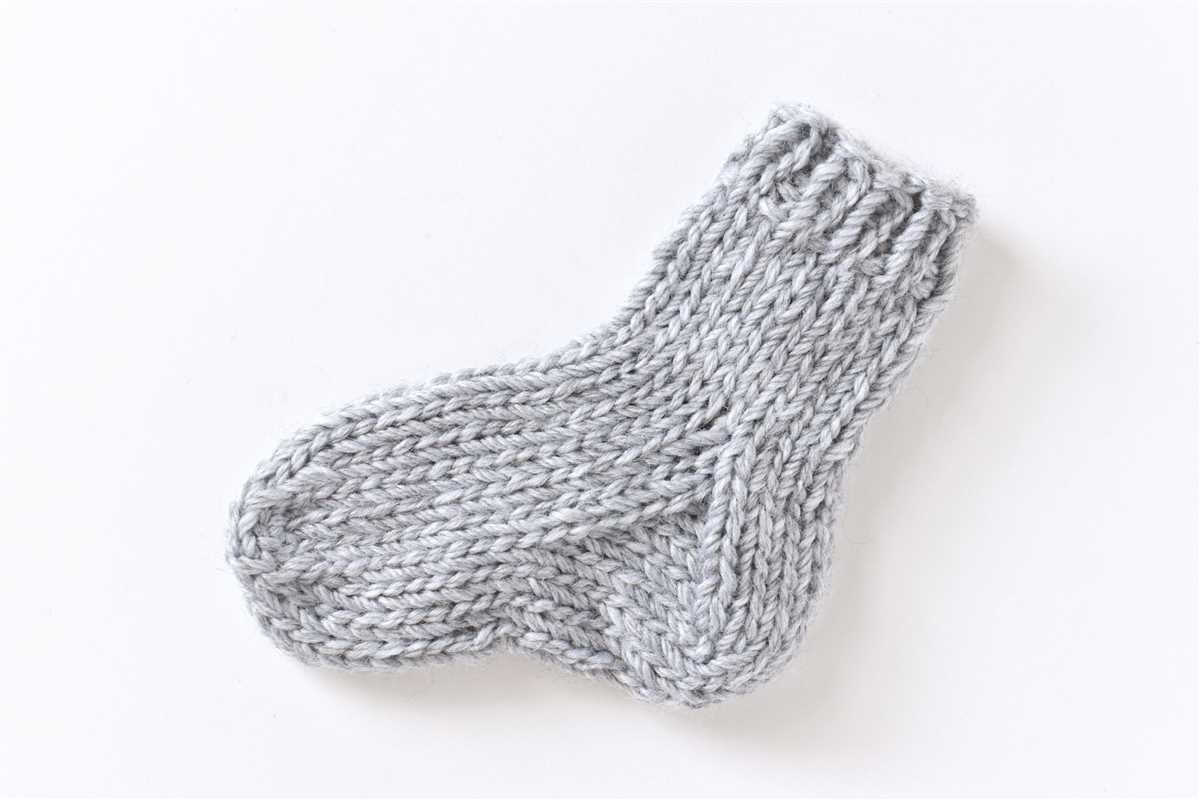
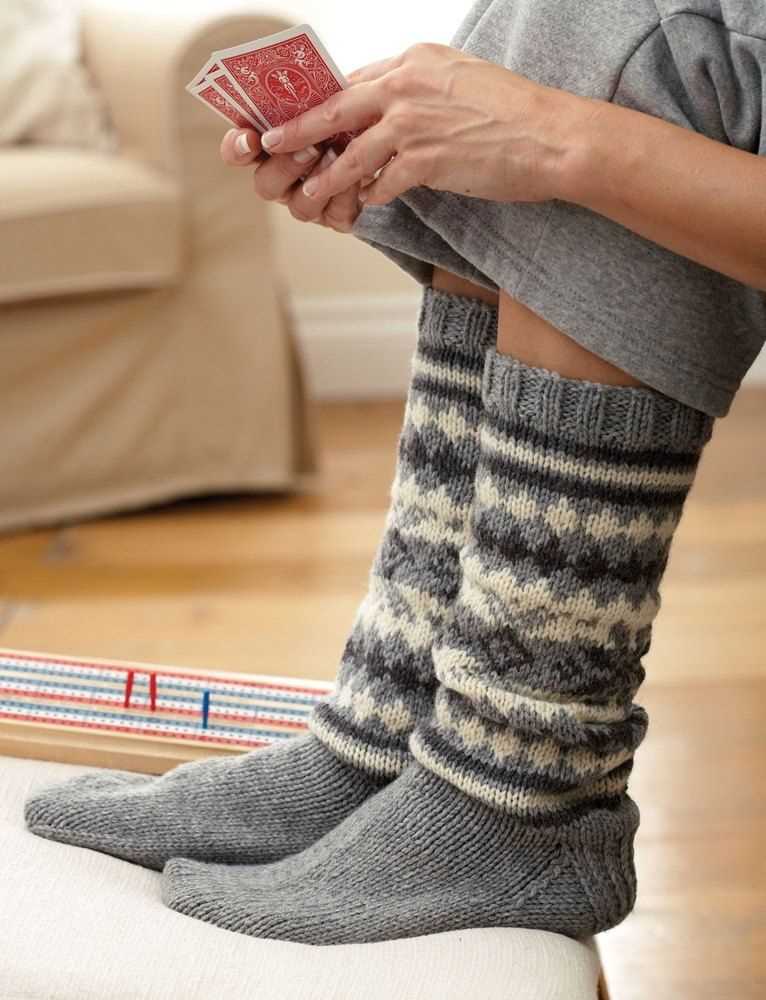
Knitting socks is not only a practical way to keep your feet warm and cozy, but it also allows for endless creativity and customization. With countless patterns and techniques to choose from, one classic option that never goes out of style is the traditional sock knitting pattern. Whether you’re a beginner knitter or an experienced crafter, this pattern is perfect for anyone looking to create a timeless and comfortable pair of socks.
One of the key features of the classic sock pattern is the use of double-pointed needles, typically in sets of four or five. This allows for easy knitting in the round, resulting in a seamless and professional-looking finished product. Additionally, the pattern often incorporates ribbing at the cuff, which provides a snug fit and prevents the socks from slipping down throughout the day.
Another important element of the classic sock knitting pattern is the heel flap and gusset. This technique creates a structured and durable heel, making the socks more comfortable and long-lasting. The pattern typically includes instructions on how to pick up stitches along the heel flap and decrease them gradually to form the gusset, resulting in a snug and well-fitting sock.
When it comes to yarn choice, the classic sock knitting pattern allows for a wide variety of options. From soft and cozy wool to breathable cotton blends, the possibilities are endless. It’s important to consider the desired level of warmth, durability, and stretchiness when selecting your yarn, as it will impact the overall comfort and fit of the socks. Additionally, choosing a yarn in a vibrant color or subtle variegation can add an extra touch of personality to your finished socks.
Whether you’re knitting socks for yourself or as a gift for a loved one, the classic sock knitting pattern is a timeless choice that never disappoints. With its seamless construction, comfortable fit, and endless customization options, you’re sure to feel proud and accomplished as you slip on your handmade socks. So grab your needles, choose your favorite yarn, and get ready to create a pair of cozy classics that will keep your feet happy for years to come.
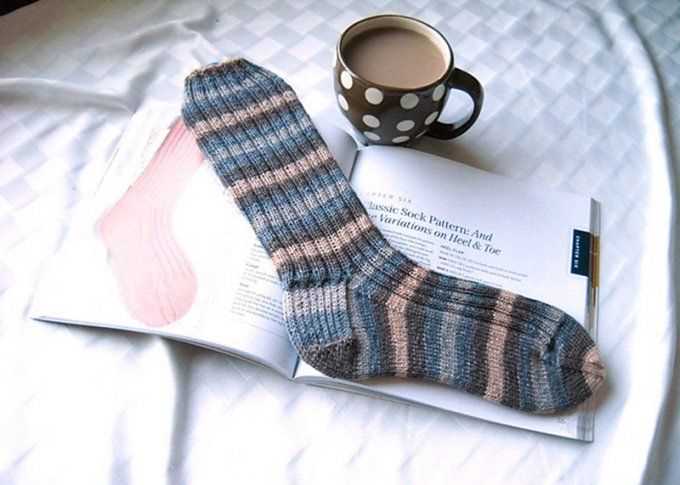
Classic Socks Knitting Pattern: A Step-by-Step Guide for Beginners
Knitting your own socks can be a rewarding and enjoyable project, especially if you are a beginner looking to expand your knitting skills. With a classic socks knitting pattern, you can create a cozy and comfortable pair of socks that are perfect for wearing or gifting.
Getting Started: Before you begin, gather all the necessary materials for your project. You will need knitting needles, yarn of your choice, a yarn needle, and a pair of scissors. Additionally, it is helpful to have a stitch marker and a tape measure on hand.
Step 1: Casting On: Start by casting on the desired number of stitches onto your knitting needles. This will depend on the size of the socks and the thickness of the yarn you are using. The most common method for casting on is the long tail cast on.
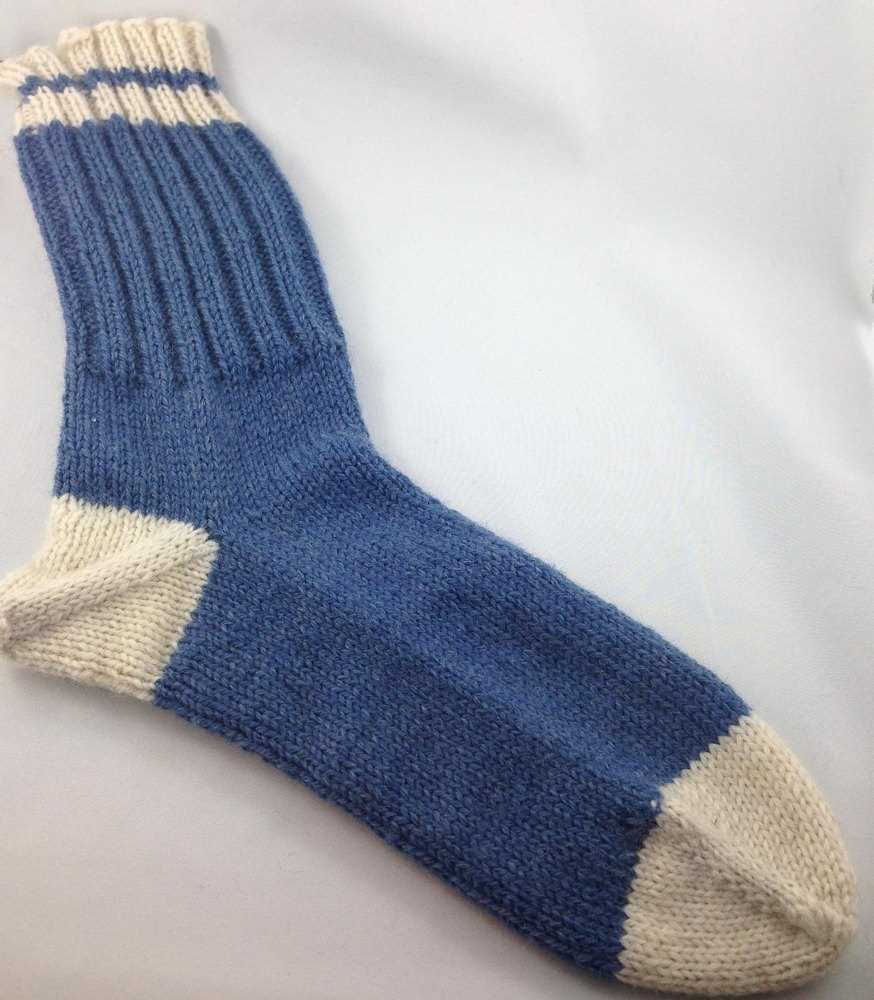
Step 2: Ribbing: The next step is to create a ribbed cuff for your socks. This is usually done by alternating knit and purl stitches in a specific pattern, such as k2, p2 or k1, p1. The ribbing adds elasticity to the cuff and helps to keep the socks in place.
Step 3: Leg and Heel Flap: After you have completed the ribbing, continue knitting in your desired stitch pattern for the leg of the socks. Once you reach the desired length, you can begin working on the heel flap. The heel flap is usually worked back and forth in rows to create a sturdy and comfortable heel.
Step 4: Turning the Heel: Turning the heel is an important step in creating a well-fitting sock. This involves short rows and decreases to shape the heel and create a curve. It may seem complicated at first, but with practice, it becomes easier to understand and execute.
Step 5: Gusset: The gusset is the section of the sock that allows for a comfortable fit around the instep and heel. It involves picking up stitches along the sides of the heel flap and decreasing them gradually to create a tapered shape.
Step 6: Foot and Toe: After completing the gusset, continue knitting the foot of the sock until it reaches the desired length. To shape the toe, you will gradually decrease stitches to create a rounded shape. You can use the Kitchener stitch or a similar method to seamlessly close the toe.
Step 7: Finishing: Once you have finished knitting the foot and toe, it’s time to bind off your stitches. Cut your yarn, leaving a tail for weaving in later. Use a yarn needle to weave in any loose ends and tidy up your sock.
In conclusion, knitting classic socks can be an enjoyable and rewarding project for beginners. With a step-by-step guide and some patience, you can create beautiful handmade socks that are both practical and stylish.
Choosing the Right Yarn for Your Classic Socks
When it comes to knitting classic socks, one of the most important decisions you’ll need to make is choosing the right yarn. The yarn you choose not only affects the overall look and feel of your socks, but it also plays a significant role in their durability and comfort. Here are some factors to consider when selecting the perfect yarn for your classic socks:
Fiber Content
The first thing to consider is the fiber content of the yarn. The most popular choice for classic socks is wool, as it is known for its warmth, breathability, and moisture-wicking properties. Wool yarns are available in various blends, such as merino wool, which is known for its softness and durability. Other common options include alpaca, cashmere, and bamboo, each with its unique characteristics.
Weight and Thickness
The weight and thickness of the yarn are crucial factors to consider when knitting classic socks. Sock yarn typically falls into the fingering weight category, which is lightweight and ideal for creating a comfortable and snug fit. However, some knitters prefer working with sport weight or DK weight yarn for a thicker and more cushioned sock. Ultimately, the choice depends on personal preference and the intended use of the socks.
Durability
Another factor to keep in mind is the durability of the yarn. Classic socks are typically subjected to regular wear and tear, so you’ll want a yarn that can withstand frequent use. Look for yarns with high twist or plied construction, as this creates a strong and durable fabric. Additionally, consider yarns with reinforced nylon or polyester content in high-wear areas, such as the heels and toes, to increase longevity.
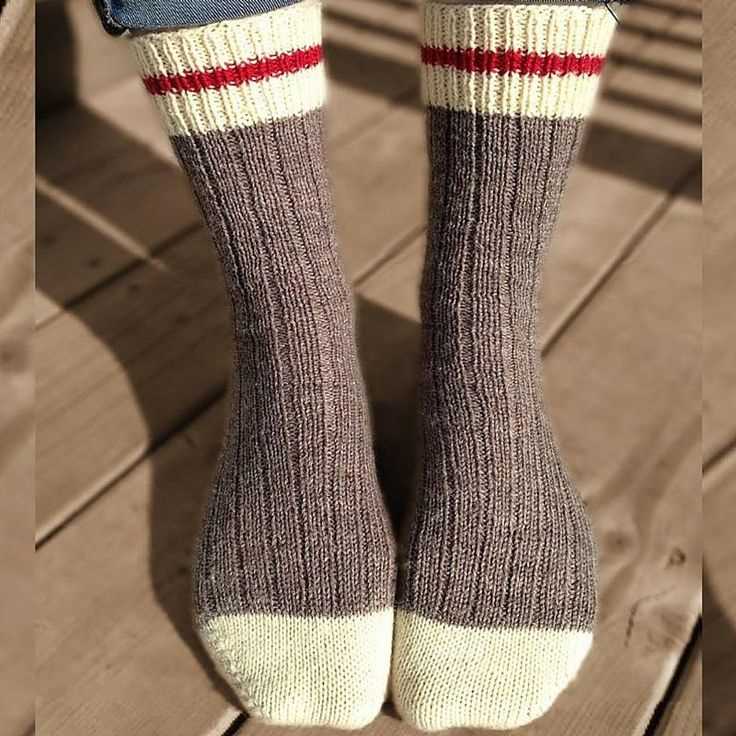
Color and Pattern
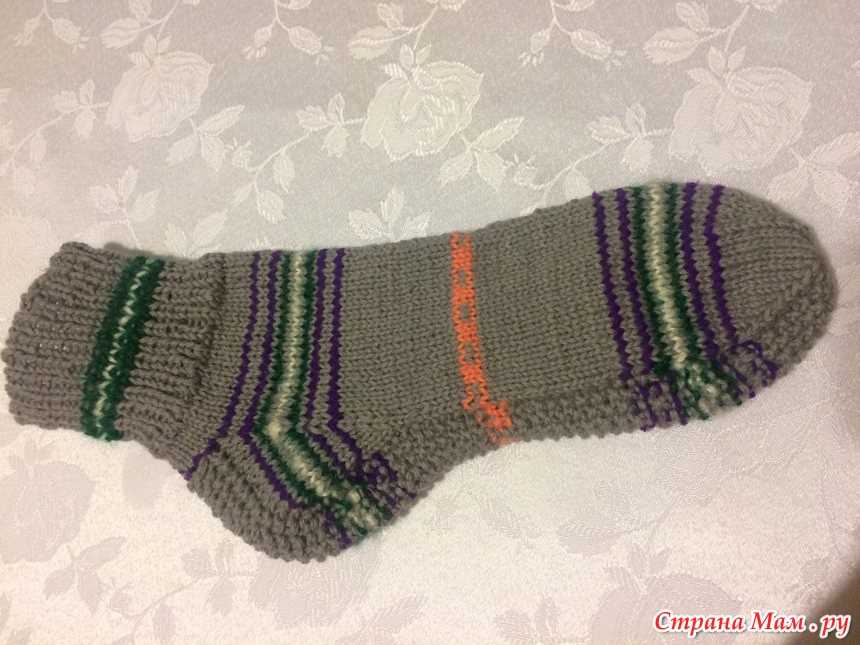
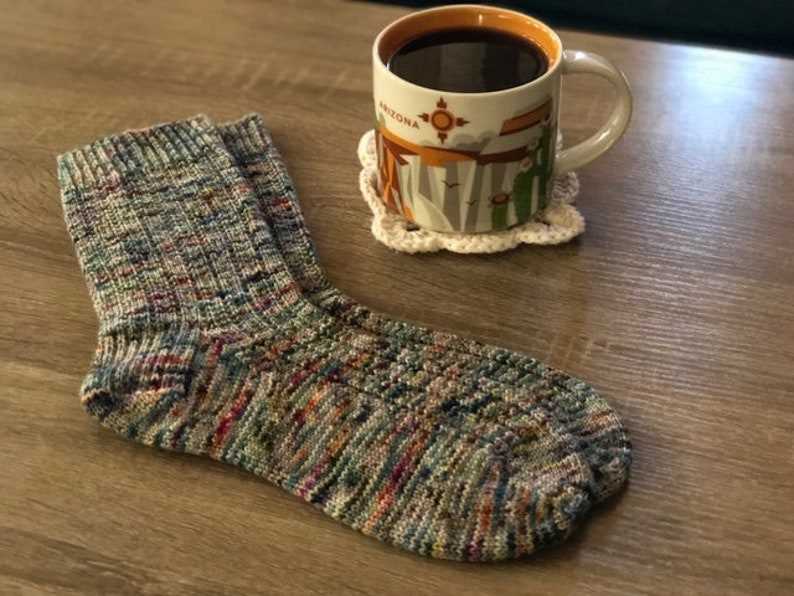
The color and pattern of the yarn are important for achieving the desired aesthetic of your classic socks. Classic socks can be knit in solid colors for a timeless and versatile look, or you can opt for variegated or self-striping yarns to add visual interest and excitement. Consider the recipient’s preferences and the overall style you want to achieve when selecting the color and pattern of your yarn.
By considering the fiber content, weight, durability, and color of the yarn, you can ensure that your classic socks turn out exactly as you envisioned. Remember to choose a yarn that not only looks beautiful but also meets the practical requirements of warmth, comfort, and durability.
Understanding Sock Knitting Needles and Tools
When it comes to knitting socks, it’s important to have the right tools to create a comfortable and well-fitting garment. Knitting needles play a crucial role in the success of your sock project. They come in various sizes and materials, each with its own unique features.
Size: Knitting needle size determines the gauge and the size of your stitches. For sock knitting, it’s common to use smaller needle sizes, such as US 1 (2.25mm) or US 2 (2.75mm), to achieve a tight and dense fabric. These smaller sizes are ideal for creating a snug and durable sock.
Material: Knitting needles can be made from a variety of materials, including metal, wood, and plastic. Metal needles are known for their durability, smoothness, and flexibility. They are great for experienced knitters who like fast-paced knitting. Wood needles, on the other hand, provide a warm and comfortable grip. They are perfect for those who prefer a slower and more relaxed knitting experience. Plastic needles are lightweight and affordable, making them a popular choice for beginners.
Circular Needles: Circular needles are widely used for sock knitting. They consist of two needle tips connected by a flexible cable. They allow you to knit in the round, eliminating the need for seams. Circular needles come in different lengths, but for socks, shorter lengths between 9-12 inches are recommended to accommodate the smaller circumference of the project.
Double-Pointed Needles: Double-pointed needles (DPNs) are another option for knitting socks. These long, thin needles have pointed ends on both sides, allowing you to work in the round without a cable. DPNs are often used in sets of four or five, with one needle holding the stitches while the others are used for knitting. They are a traditional choice for sock knitting and provide a classic look to the finished product.
Other Tools: In addition to knitting needles, there are a few other tools that can be useful for sock knitting. These include stitch markers to keep track of stitch patterns, a tape measure to ensure proper sizing, a darning needle for weaving in ends, and a stitch holder or scrap yarn for holding stitches while working on other parts of the sock.
- Overall, understanding the different types of knitting needles and tools available for sock knitting can help you choose the right ones for your project.
- Consider your personal preferences, knitting style, and the desired outcome of your socks when selecting your needles.
- Experimenting with different needle sizes and materials can also help you achieve the desired gauge and fabric for your socks.
- By investing in quality knitting needles and tools, you can enhance your sock knitting experience and create beautiful, comfortable socks that will be cherished for years to come.
Getting Familiar with Basic Knitting Stitches
When it comes to knitting, understanding and mastering basic stitches is essential. These stitches form the foundation for numerous knitting patterns and projects. Whether you are a beginner or an experienced knitter looking to refresh your skills, it’s important to start with the basics and build from there. Let’s explore some of the most common and important knitting stitches.
The Knit Stitch
The knit stitch, often abbreviated as K, is considered the most basic and fundamental stitch in knitting. It creates a smooth and flat fabric with a “V” shape on the right side. To knit, simply insert the right-hand needle through the front of the stitch on the left-hand needle, wrap the yarn around the right-hand needle counterclockwise, and pull the loop through to the right-hand needle. The knit stitch is used in a wide variety of knitting patterns and is the basis for many other stitches.
The Purl Stitch
The purl stitch, often abbreviated as P, is another essential stitch in knitting. It creates a bumpy texture on the right side of the fabric and complements the smoothness of the knit stitch. To purl, insert the right-hand needle through the front of the stitch on the left-hand needle, wrap the yarn around the right-hand needle clockwise, and pull the loop through to the right-hand needle. The purl stitch is commonly used in combination with the knit stitch to create different patterns and textures.
Garter Stitch

The garter stitch is created by alternating rows of knitting and purling. This stitch pattern creates a fabric that is reversible and has a bumpy texture on both sides. To achieve the garter stitch, simply knit every stitch on every row. It’s a great stitch for beginners to practice their knitting and purling skills, and it’s commonly used in scarves, blankets, and other simple projects.
Stockinette Stitch
The stockinette stitch is created by knitting one row and purling the next. This pattern creates a smooth and flat fabric with the knitted “V” shape on one side and the purl bumps on the other side. To achieve the stockinette stitch, knit all stitches on the right side rows and purl all stitches on the wrong side rows. This stitch is widely used in various knitting patterns and is a great way to showcase the beauty of different yarns.
These are just a few of the basic knitting stitches that every knitter should be familiar with. By practicing and mastering these stitches, you’ll have a solid foundation to tackle more complex patterns and projects in the future.
Casting on and Starting Your Sock
When it comes to knitting socks, one of the first steps is casting on. This is where you create the initial loops on your needle that will eventually become the cuff of your sock. To cast on, you can use various methods, including the long-tail cast on or the cable cast on. The most important thing is to make sure you have the correct number of stitches for your sock size.
After casting on, you can start working on the cuff of your sock. This is the part that will go around your leg and keep the sock in place. Depending on the pattern you are using, the cuff can be simple and plain or feature ribbing or lace. It’s important to follow the instructions carefully to ensure that you achieve the desired look.
For beginners, I recommend starting with a simple cuff pattern, such as a 1×1 ribbing. This involves alternating between knitting 1 stitch and purling 1 stitch across the row. This creates a stretchy and snug cuff that will fit comfortably around your leg. Once you are comfortable with this pattern, you can experiment with different cuff designs and stitch patterns to add more variety to your sock knitting.
Remember to use the appropriate yarn and needle size for your sock project. Thinner yarn and smaller needles will result in a tighter fabric, while thicker yarn and larger needles will create a looser fabric. This will affect the fit and drape of your sock, so be sure to check your gauge and make any necessary adjustments before starting your project.
Knitting the Leg of the Sock
Once you have completed the cuff of your sock, it is time to begin knitting the leg. The leg is the main body of the sock and determines its overall length. This is where you can get creative with different stitch patterns and add your own personal touch to the design.
Before starting the leg, it is important to decide on the length you want your sock to be. Measure the length from the back of your heel to the desired height of the sock. Keep in mind that socks tend to stretch with wear, so it is better to knit them slightly shorter than your desired length.
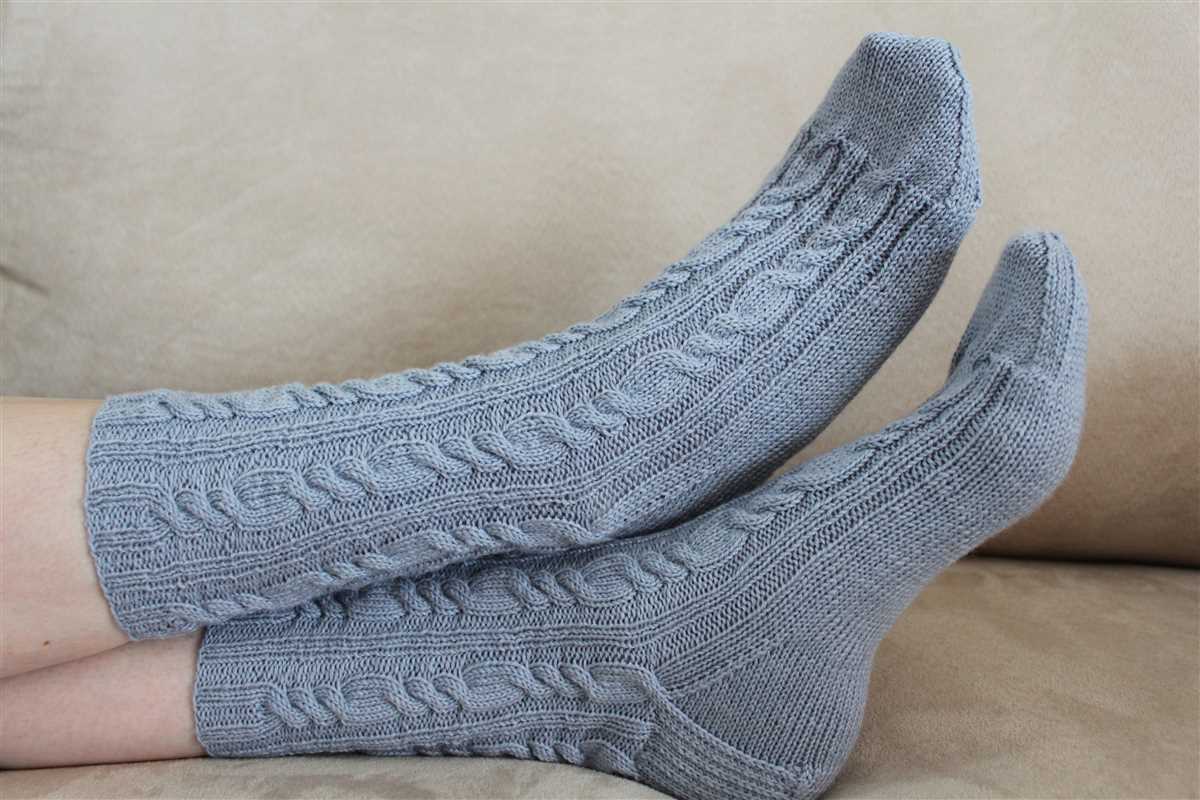
When knitting the leg, you can continue with the same stitch pattern as the cuff or switch to a different pattern for some variation. Some popular stitch patterns for sock legs include ribbing, cables, lace, and colorwork. You can also experiment with different stitch combinations or create your own unique design.
To maintain the stretchiness of the sock, it is common to use a larger needle size for the leg. This ensures that the sock will fit comfortably around your calf without feeling too tight. However, if you prefer a more snug fit, you can stick with the same needle size as the cuff.
Continue knitting in the chosen stitch pattern until the leg reaches the desired length. Remember to try on the sock regularly to check the fit and make any necessary adjustments. Once the leg is complete, it’s time to move on to the next step: knitting the heel flap and turning the heel.
Creating the Heel Flap
The heel flap is an essential part of knitting classic socks. It is the section of the sock that covers the heel area and provides extra reinforcement. To create the heel flap, you will need to follow a specific pattern that will ensure a snug and comfortable fit.
First, you will need to divide the stitches on your knitting needles. Typically, the heel flap is worked on half of the total stitches. For example, if you have 60 stitches in total, you would work the heel flap on 30 stitches. This division is necessary to create a separate section for the heel.
Once you have divided the stitches, you will begin working on the heel flap. The pattern usually calls for a specific stitch pattern, such as a slip stitch pattern, to create a sturdy and durable fabric. The slip stitch pattern involves alternating between slipping stitches and knitting them, which creates a textured pattern that is both decorative and functional.
As you work on the heel flap, you will notice that it starts to take shape and provide a thick layer of fabric at the back of the sock. This section is especially important as it experiences the most wear and tear when wearing the sock. By creating a sturdy heel flap, you are ensuring that your hand-knit socks will last longer and withstand daily use.
Once you have completed the heel flap, you can continue knitting the rest of the sock, following the pattern instructions. The heel flap is just one of the many steps involved in knitting classic socks, but it is an important one that adds structural integrity to the finished sock. With practice, you will become familiar with creating the heel flap and can experiment with different stitch patterns to customize your socks.
Turning the Heel and Shaping the Gusset
In the process of knitting socks, turning the heel and shaping the gusset are important steps to create a comfortable and well-fitting heel cup. These techniques allow the sock to curve around the heel and provide a snug fit for the wearer.
Turning the heel: Once you have reached the desired length for the leg portion of the sock, it’s time to turn the heel. This involves creating short rows to shape the heel cup. Usually, this is done using the wrap and turn method. You knit across a certain number of stitches, then wrap the next stitch with the working yarn, turn the work, and purl back. This creates extra fabric at the heel, which will later be used to shape the gusset.
Shaping the gusset: After turning the heel, the next step is to shape the gusset. This involves picking up stitches along the wrapped stitches from the heel flap and decreasing these stitches on subsequent rows. The number of stitches picked up and decreased will depend on the desired fit and size of the sock. Typically, the gusset decreases are worked on each side of the heel flap until the original number of stitches for the sock is reached. This creates a tapered and contoured shape that hugs the foot while providing enough space for the toes.
Overall, turning the heel and shaping the gusset are essential techniques in sock knitting that contribute to the overall comfort and fit of the finished product. These steps require careful attention to detail and following the pattern instructions closely. Once mastered, these techniques can be applied to various sock patterns to create customized socks for any individual.
Knitting the Foot of the Sock
Once you have completed the cuff and heel of your sock, it is time to move on to knitting the foot. This is the part of the sock that will cover your entire foot and provide warmth and comfort. The foot of the sock is typically worked in a basic stockinette stitch, but you can add decorative patterns or ribbing if desired.
Step 1: Begin Knitting in the Round
To start knitting the foot of the sock, you will need to join your sock in the round again. If you used double-pointed needles for the heel, you can continue knitting with them. If you used a circular needle, simply slide your work onto the needle and make sure the stitches are facing the correct direction. You can use a stitch marker to mark the beginning of the round if needed.
Step 2: Knit in Stockinette Stitch
Once you have joined your work in the round, you will continue knitting in a stockinette stitch pattern for the foot of the sock. This means you will knit every round for the desired length of the foot. You can measure your foot or the recipient’s foot to determine the length needed.
Step 3: Add Decorative Patterns or Ribbing
If you want to add some visual interest to your sock, you can incorporate decorative patterns or ribbing on the foot. You can find a variety of sock patterns online or in knitting books that provide instructions for different stitch patterns. Alternatively, you can create your own pattern using knit, purl, and slip stitch combinations.
Step 4: Knit the Toe
Once you have reached the desired length for the foot of your sock, it is time to knit the toe. There are several methods for knitting the toe, including a toe-up method or a top-down method. Choose the method that you are most comfortable with or try something new for a different construction. The toe can be rounded or pointed, depending on your preference.
Knitting the foot of the sock is an important step in completing your sock project. Whether you prefer a simple stockinette stitch or want to experiment with different stitch patterns, the foot of the sock is where you can showcase your creativity. Once the foot is finished, all that is left is to knit the toe and then your sock will be ready to wear or give as a cozy gift.
Working the Toe and Decreasing Stitches
As you nearing the end of your classic socks knitting pattern, it’s time to work the toe and decrease stitches. This is the final step of the sock construction and will give your socks a comfortable and snug fit.
Start by dividing the stitches on your needles. You will typically have an equal number of stitches on each needle. If your pattern calls for 64 stitches, for example, you will have 32 stitches on each needle. Make sure the stitches are divided evenly.
Decreasing Stitches:
To decrease the stitches and shape the toe, you will use a technique called the “kitchener stitch” or “grafting”. This technique creates a seamless join by weaving the stitches together.
Begin by placing half of the stitches from one needle onto a spare yarn or stitch holder. You will work with only half of the stitches at a time.
Next, start decreasing the stitches by knitting two stitches together at the beginning of the first needle. Then, knit the stitches on the first needle until you have three stitches left. Slip the first stitch, knit the next two stitches together, and pass the slipped stitch over the knit stitches. This is a decrease called “SSK” or “slip, slip, knit”.
Repeat the same decrease on the second needle. Continue knitting, decreasing, and passing stitches over until you reach the end of the needle. You should have a total of four stitches remaining on each needle.
Working the Toe:
Now it’s time to work the toe. Knit the next two stitches from the first needle together, and then knit the two stitches from the second needle together. This will leave you with two stitches on each needle.
Finally, use a tapestry needle to thread the yarn through the remaining stitches, removing them from the needles. Pull the yarn tight to close the toe and secure it in place. Weave in any loose ends, and your classic socks are complete!
Finishing and Binding Off
After you have completed knitting the sock, it is time to finish and bind off your work. This final step is crucial to ensure that your sock has a clean and professional-looking edge.
To bind off, you will need a tapestry needle and scissors. Begin by cutting the yarn, leaving a tail that is about 6 inches long. Thread the tail through the tapestry needle.
Starting at the beginning of the row, insert the needle into the first stitch as if to purl. Pull the yarn through the stitch, leaving the stitch on the needle. Repeat this step for the next stitch, inserting the needle as if to purl and pulling the yarn through.
Continue in this manner until you have one stitch remaining on the needle. Cut the yarn, leaving a tail that is about 6 inches long. Thread the tail through the last stitch and pull tight to secure.
Next, sew in any loose ends of yarn using the tapestry needle. Weave the yarn through the stitches on the wrong side of the sock, making sure to pull the yarn tightly to secure it. Trim any excess yarn.
Finally, turn the sock inside out and press it with a warm iron or steamer. This will help to smooth out any wrinkles or kinks in the fabric, giving your sock a polished finish.
With these finishing touches, your classic knit sock is complete and ready to be worn or gifted to someone special. Enjoy the satisfaction of creating a beautiful and functional piece of knitted clothing!
Customizing Your Classic Socks with Pattern Variations
In addition to the traditional knitting pattern for classic socks, there are several pattern variations that you can try to add some personal flair to your socks. These customization options allow you to showcase your creativity and make your socks truly one-of-a-kind.
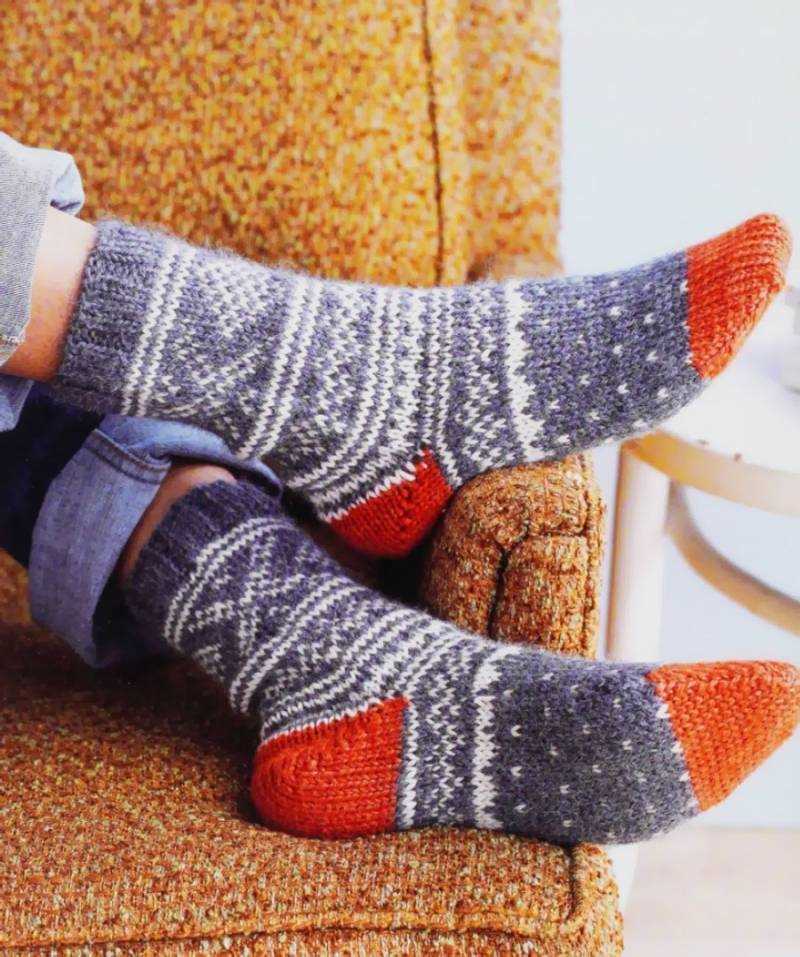
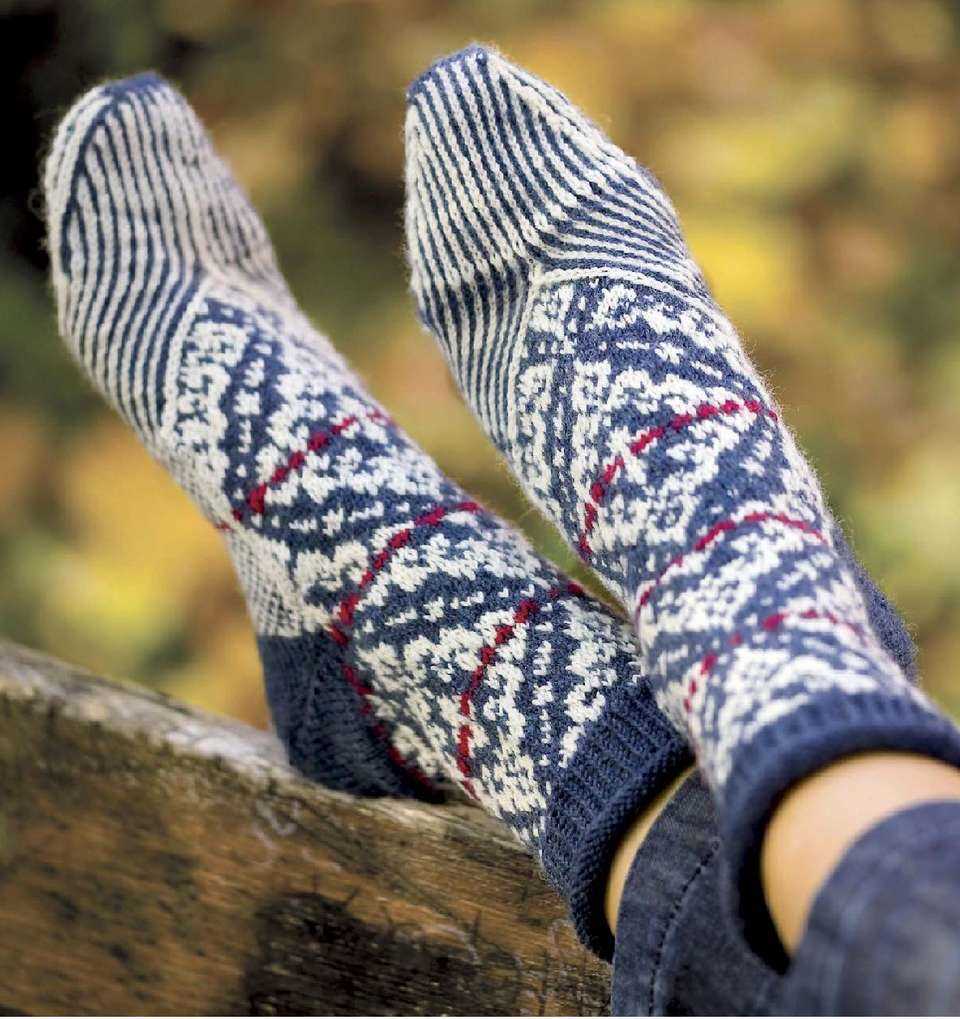
One popular pattern variation is the Fair Isle pattern, which involves using multiple colors to create intricate designs. This technique can be used to create beautiful geometric patterns or even scenic landscapes on your socks. By choosing the colors and motifs that resonate with you, you can create unique and visually stunning socks.
Another option for customizing your classic socks is to incorporate lace patterns. Lace adds elegance and femininity to your socks, making them perfect for special occasions or when you want to add a touch of sophistication to your outfit. Lace patterns can range from simple and delicate to complex and ornate, giving you endless possibilities for customization.
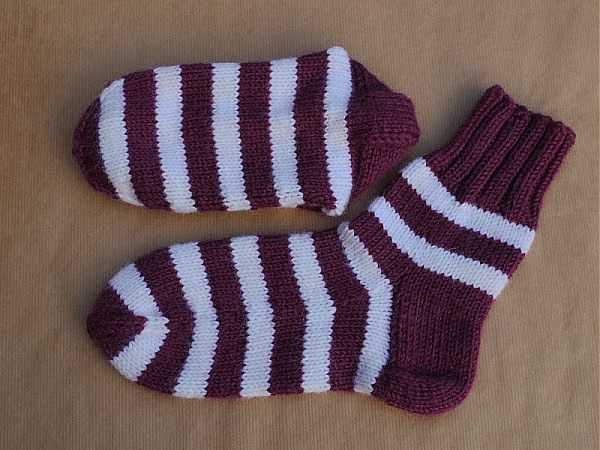
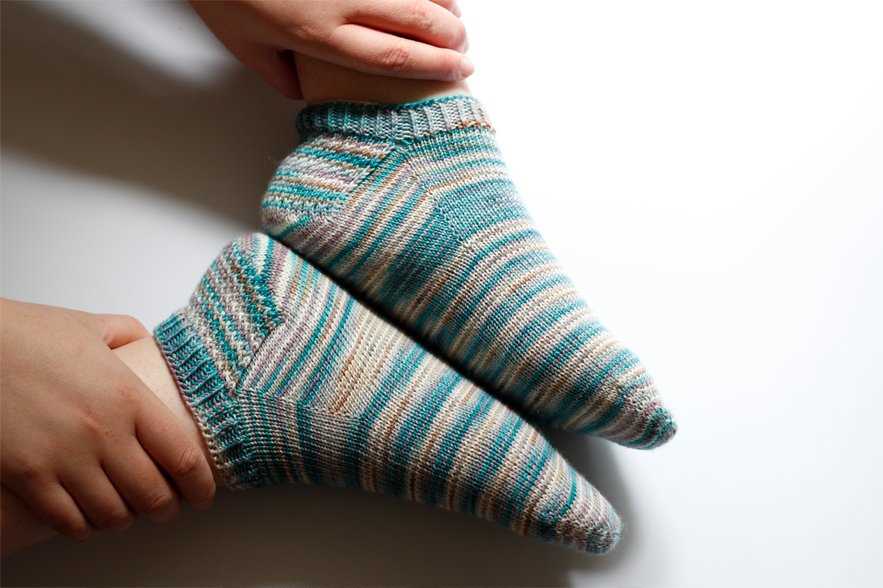
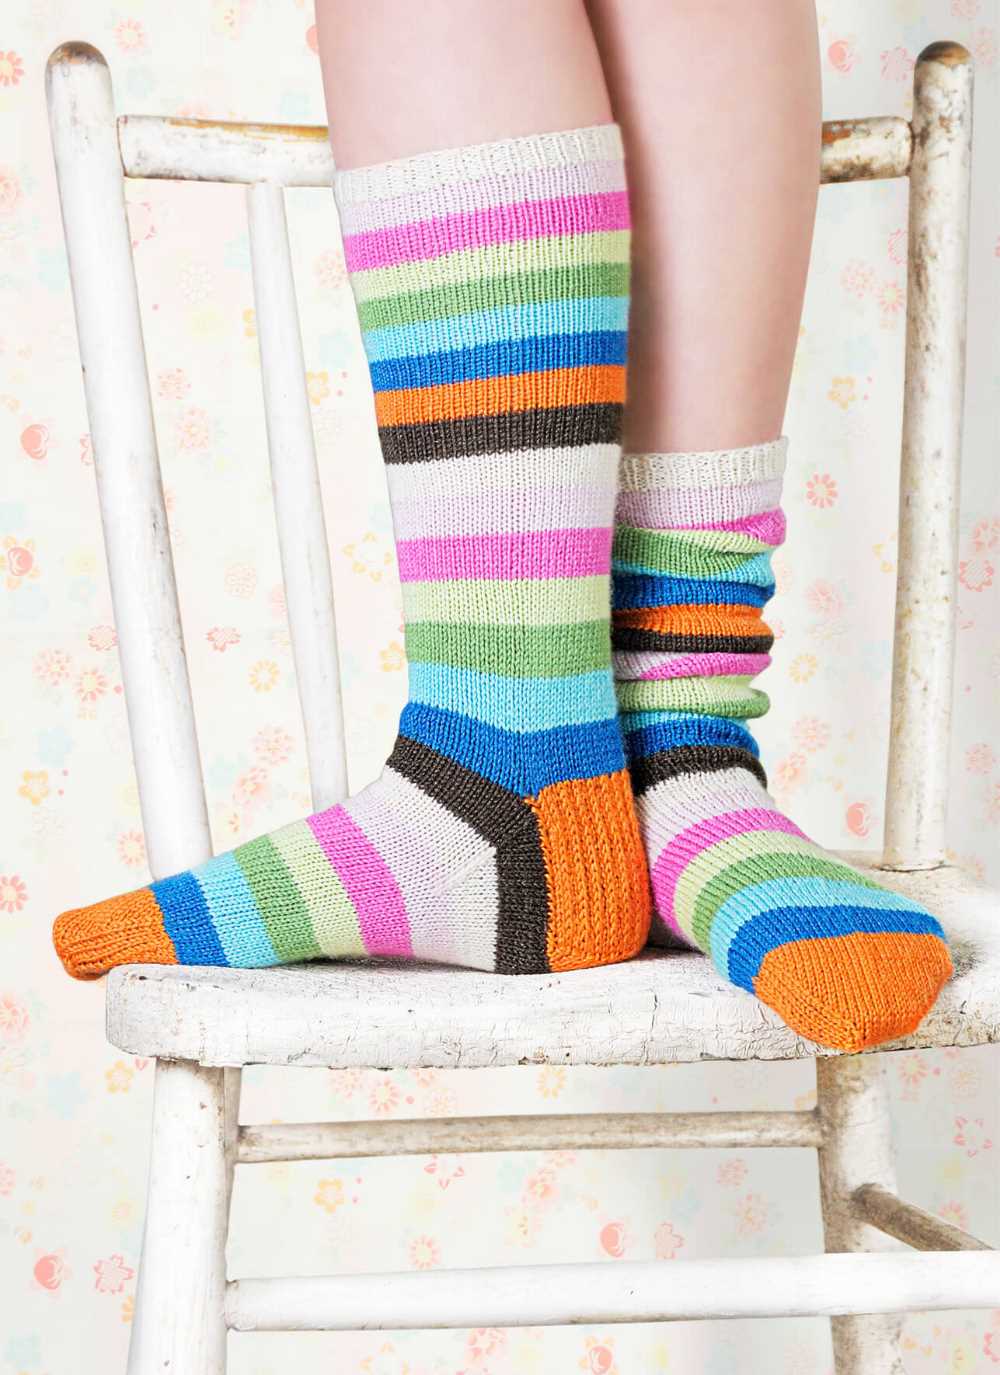
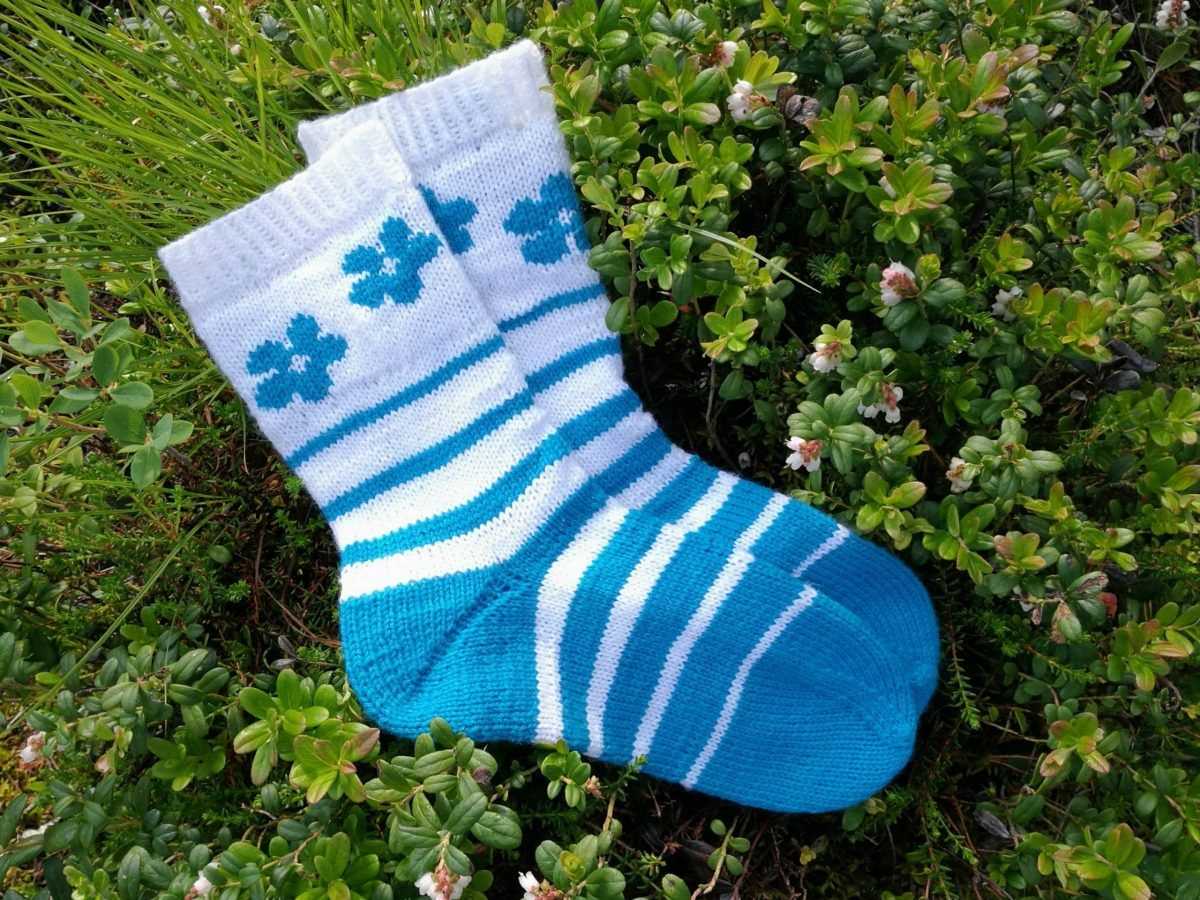
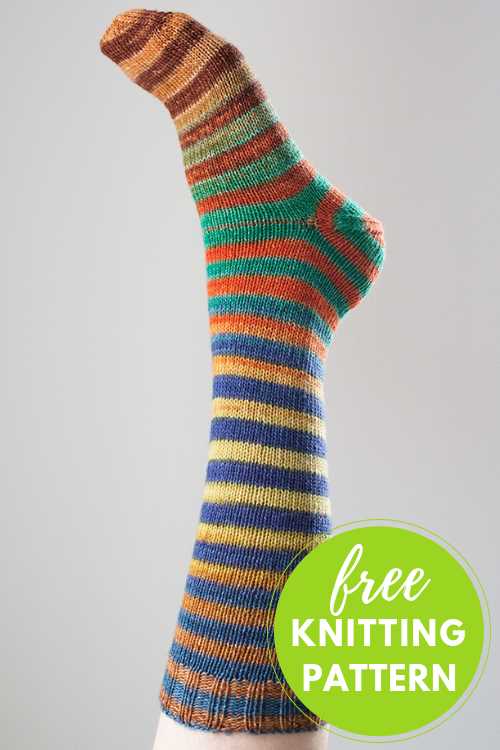
If you prefer a more playful and whimsical look, you can experiment with using variegated or self-striping yarns. These yarns create stripes or patterns as you knit, adding a fun and unpredictable element to your socks. With variegated yarns, each sock will have its own unique color and pattern combination, making them truly one-of-a-kind.
Finally, you can also customize your socks by adding embellishments such as ribbons, buttons, or beads. These small details can turn a simple pair of classic socks into a statement accessory. Whether you choose to add a small bow at the cuff or create a beaded design along the leg, these embellishments allow you to truly make your socks your own.
Summary:
- Customizing your classic socks with pattern variations allows you to showcase your creativity and make your socks unique.
- Options for customization include Fair Isle patterns, lace patterns, variegated or self-striping yarns, and embellishments.
- Fair Isle patterns add intricate designs and multiple colors to your socks, allowing you to create visually stunning designs.
- Lace patterns add elegance and femininity to your socks, making them perfect for special occasions.
- Variegated or self-striping yarns create fun and unpredictable patterns, making each sock unique.
- Embellishments such as ribbons, buttons, or beads can add a personal touch and turn your socks into a statement accessory.