
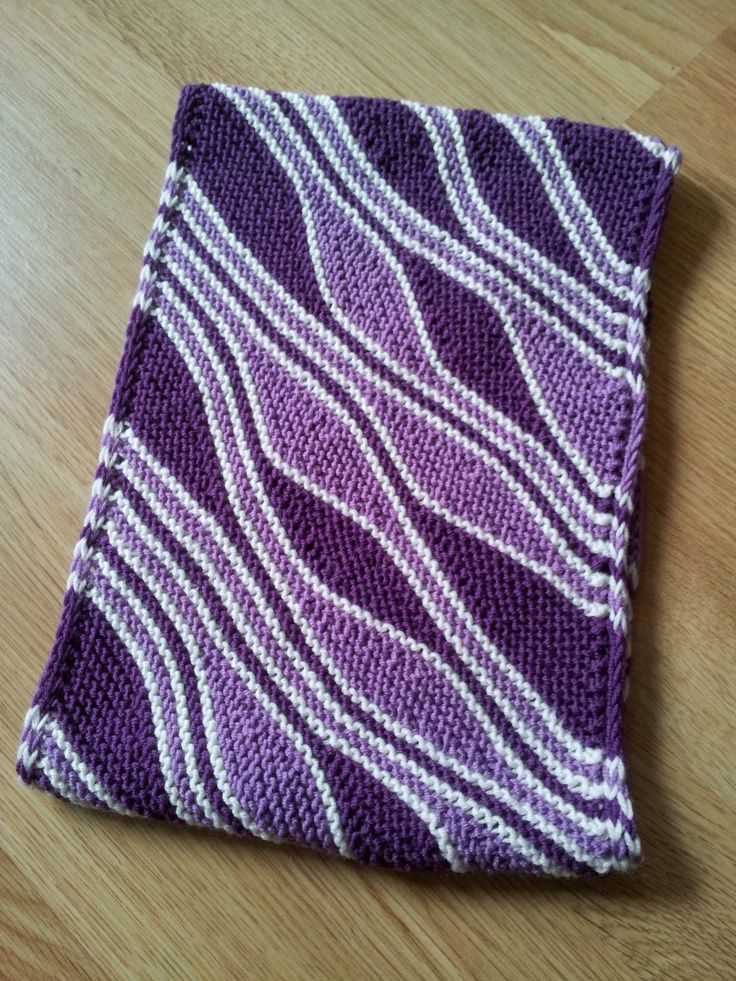
If you’re looking for a fun and unique knitting project, look no further than the wave scarf knitting pattern. By combining simple knit and purl stitches, you can create a stunning scarf that features a wave-like design. This pattern is perfect for knitters of all skill levels and is a great way to showcase your creativity.
One of the best things about this pattern is its versatility. You can use any type of yarn and needle size, depending on the look and feel you’re going for. Whether you prefer a chunky scarf for cozy winters or a lightweight scarf for breezy spring days, this pattern can be easily adapted to suit your needs.
The wave scarf begins with a simple cast on and then alternates between knit and purl stitches to create the wave effect. The pattern is repeated until the desired length is reached, and then it is finished off with a bind off. The result is a beautiful scarf that is sure to turn heads.
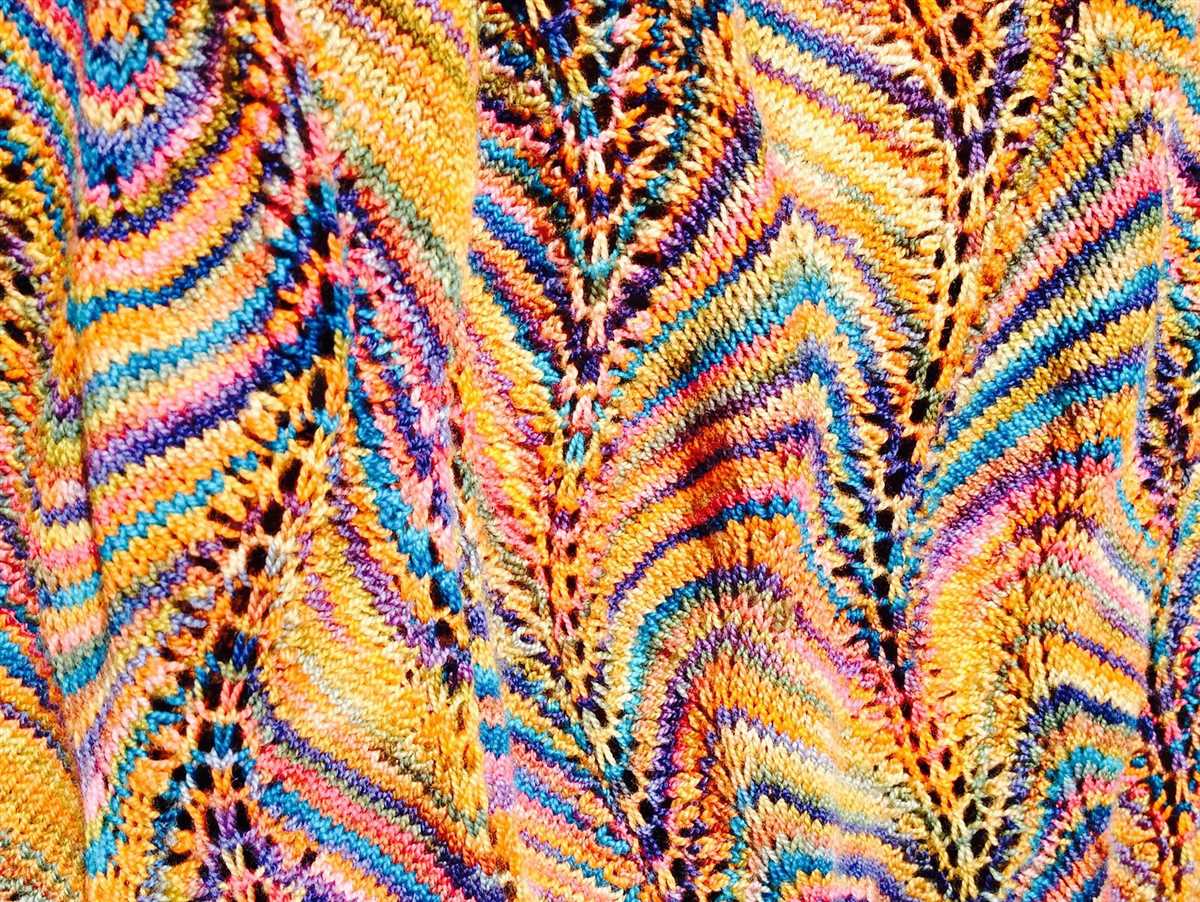
With so many possibilities for customization, the wave scarf knitting pattern is a great project to experiment with different colors and textures. You can create a subtle and elegant look by using a single color, or make a bold statement by using multiple colors or a variegated yarn. The choice is yours!
Wave Scarf Knitting Pattern
Knitting is not only a relaxing hobby, but also a great way to create unique and stylish accessories. One popular knitting pattern is the wave scarf pattern, which features an elegant wavy design. This pattern is perfect for both beginners and experienced knitters, and can be customized to match any style or color preference.
To create a wave scarf, you will need a pair of knitting needles and yarn in your desired color. The pattern typically uses a combination of knit and purl stitches to create the wavy design. You can choose to use one color throughout the scarf or experiment with multiple colors for a more vibrant look.
Start by casting on the desired number of stitches, depending on the width you want the scarf to be. Then, follow the pattern instructions to create the wave design. Typically, the pattern will involve repeating a set of stitches over several rows to create the wavy effect. You can make the scarf as long as desired by continuing to repeat the pattern until you reach your desired length.
To finish the scarf, simply bind off the stitches and weave in any loose ends. The wave scarf knitting pattern is a versatile option that can be worn in different ways. You can drape it around your neck for a traditional scarf look, or wear it as a stylish accessory by tying it around your waist or wrapping it around your head.
- Choose your favorite color or colors of yarn to create a personalized wave scarf.
- Experiment with different stitch combinations to create unique wave designs.
- Consider adding fringe or tassels to the ends of the scarf for an extra touch of style.
- Share your finished wave scarf on social media using the hashtag #WaveScarfKnittingPattern to inspire other knitters.
Materials
Before you begin knitting the wave scarf, it’s important to gather all the necessary materials. Here is a list of materials you will need:
- Knitting needles: You will need a pair of knitting needles in the size recommended in the pattern. The size may vary depending on your desired gauge and yarn choice.
- Yarn: Choose a soft, medium weight yarn in your preferred color. The quantity of yarn needed will depend on the length and width of the scarf you want to make.
- Tapestry needle: You will need a tapestry needle with a large eye to weave in the loose ends of yarn.
- Scissors: A good pair of scissors is essential for cutting the yarn.
- Stitch markers: Stitch markers can be helpful for keeping track of pattern repeats or marking specific stitches.
Once you have gathered all of these materials, you’ll be ready to start knitting your wave scarf. Make sure to choose high-quality materials that you enjoy working with to ensure the best outcome for your finished scarf.
Gauge

The gauge is an important factor to consider when knitting a wave scarf. Gauge refers to the number of stitches and rows that are created in a given measurement. It determines the size and overall look of the finished scarf. To achieve the desired gauge, it is essential to use the recommended yarn weight and needle size.
When knitting the wave scarf, it is crucial to knit a gauge swatch before starting the project. This swatch allows you to test your tension and determine if you need to adjust your needle size. Knitting a swatch also gives you an idea of how the pattern will look and helps you check for any errors before committing to the entire scarf.
How to knit a gauge swatch:
- Choose the recommended needle size for the wave scarf pattern.
- Cast on a certain number of stitches, as specified in the pattern.
- Knit in the recommended stitch pattern for a few inches.
- Measure the number of stitches and rows in a given measurement using a ruler or a gauge tool.
- If the gauge matches the pattern’s specifications, you are ready to start knitting the scarf. If not, you may need to adjust your needle size and repeat the process until the gauge is correct.
Remember that gauge can vary depending on the knitter’s tension and the type of yarn used. Taking the time to knit a gauge swatch helps ensure that your wave scarf will turn out the way you want it to, both in terms of size and appearance.
Abbreviations
When knitting a wave scarf, it is important to understand and familiarize yourself with the various abbreviations used in the pattern. These abbreviations are commonly used in knitting patterns to represent specific stitches or techniques. By knowing these abbreviations, you will be able to follow the instructions more easily and accurately.
Here is a list of common abbreviations you may encounter when knitting a wave scarf:
- K: knit stitch. This is a basic knitting stitch where the yarn is passed through a loop from front to back.
- P: purl stitch. This is another basic knitting stitch where the yarn is passed through a loop from back to front.
- YO: yarn over. This creates an extra stitch by wrapping the yarn around the needle.
- SSK: slip slip knit. This is a decrease stitch where two stitches are slipped knitwise, then knit together through the back loops.
- K2tog: knit two together. This is another decrease stitch where two stitches are knit together as one.
- Rep: repeat. This means to repeat a specific set of instructions or stitches.
These are just a few of the common abbreviations you may come across when following a wave scarf knitting pattern. It is always a good idea to refer to the specific pattern’s list of abbreviations to ensure accuracy and understanding.
Pattern
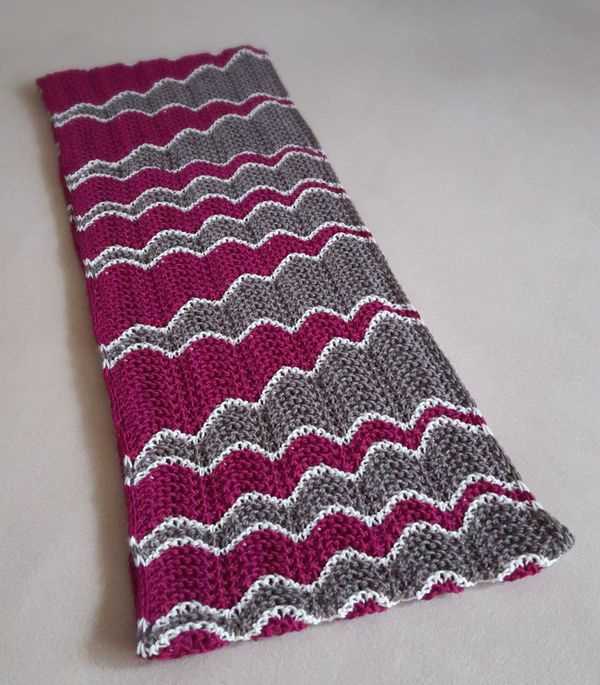
Creating a beautiful and unique wave scarf is made simple with this knitting pattern. The pattern consists of a repeating wave design, which adds a lovely texture to the scarf. The pattern is suitable for intermediate knitters and can be easily adjusted to create a longer or shorter scarf.
To start the pattern, cast on the required number of stitches. The pattern begins with a few rows of garter stitch to create a neat border. Once the border is established, the wave design is introduced. The waves are created by alternating between knit and purl stitches, following the pattern instructions.
Repeat Rows
- Row 1: Knit all stitches
- Row 2: Purl all stitches
- Row 3: Knit 3 stitches, purl 6 stitches, *knit 7 stitches, purl 6 stitches*, repeat from * to * until the end of the row
- Row 4: Purl 1 stitch, knit 6 stitches, *purl 5 stitches, knit 7 stitches*, repeat from * to * until the last 4 stitches, purl 3 stitches, knit 1 stitch
- Repeat rows 1-4 until the desired length is reached
After completing the wave pattern, finish off the scarf by knitting a few more rows of garter stitch for the border. Finally, bind off all stitches and weave in any loose ends. The result is a beautiful wave scarf that is sure to keep you warm and stylish during the colder months.
This pattern provides a great opportunity for knitters to experiment with different color combinations and yarn types. Whether you choose a bold and vibrant color or a more subtle and neutral tone, the wave design will stand out and make a statement. This pattern is also versatile and can be adapted to create other accessories, such as a wave headband or a wave cowl.
Cast On
The first step in knitting a wave scarf is to cast on. Casting on is the process of creating the first row of stitches on your knitting needles. There are several different methods of casting on, but for this particular pattern, we will be using the long-tail cast on method.
To begin, you will need to determine the number of stitches you want to cast on. This will depend on the width of your scarf and the desired finished size. Once you have determined the number of stitches, you can calculate the amount of yarn you will need for the long-tail cast on method.
- Start by making a slipknot on one of your knitting needles.
- Hold the slipknot in your right hand, with the tail end of the yarn running over your thumb and the working end of the yarn running over your index finger.
- Insert the point of your left knitting needle into the slipknot, from front to back.
- With your left hand, bring the working end of the yarn under the left knitting needle and over the thumb yarn.
- With your right hand, bring the needle over the working end of the yarn, and then under the thumb yarn.
- Bring the needle through the loop on your thumb, and slide the loop onto the left knitting needle.
- Repeat these steps until you have cast on the desired number of stitches.
- Make sure to keep the stitches loose enough to easily slide along the needle, but not so loose that they are floppy.
Once you have completed the cast on, you are ready to start knitting the first row of your wave scarf pattern. The cast on row will create the foundation for your scarf, and from here you can begin working the wave stitch pattern.
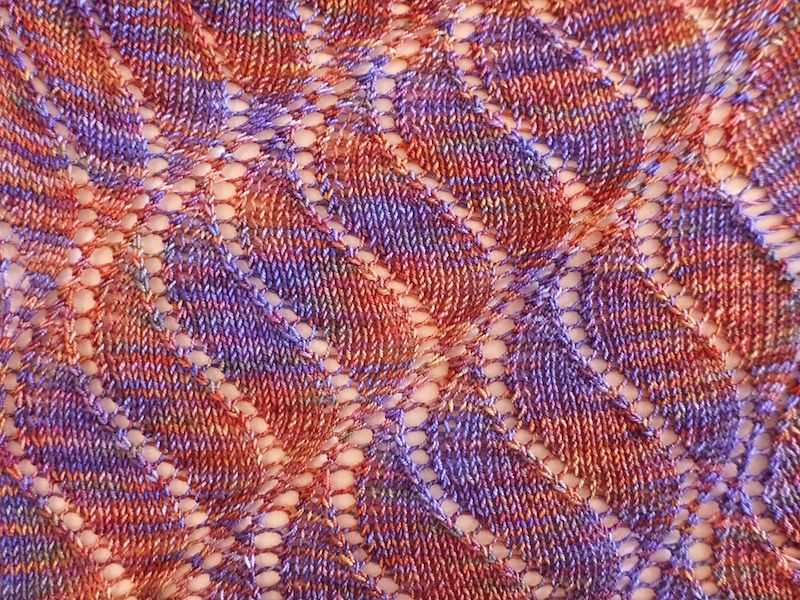
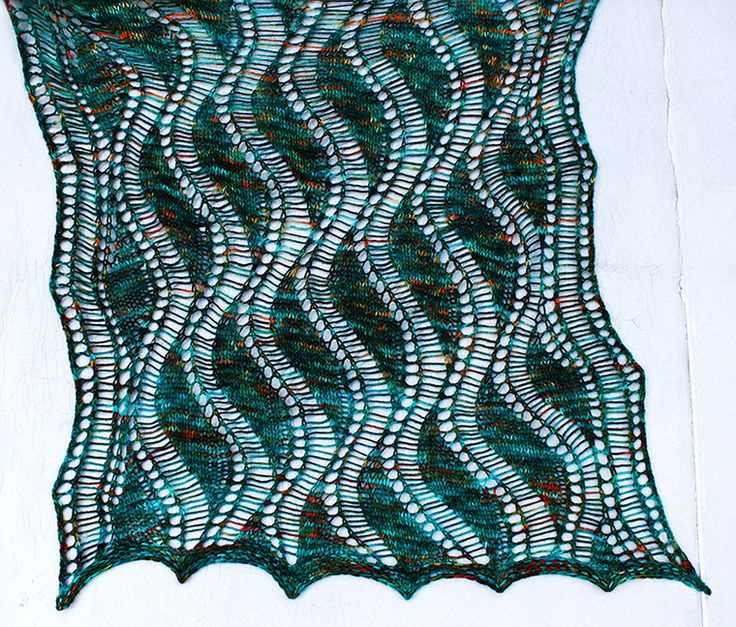
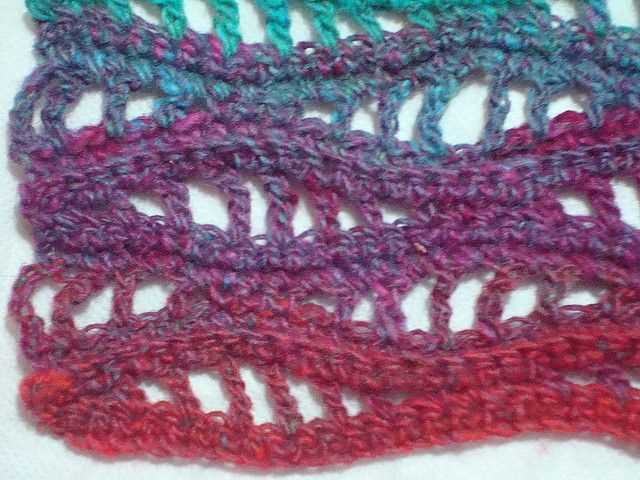
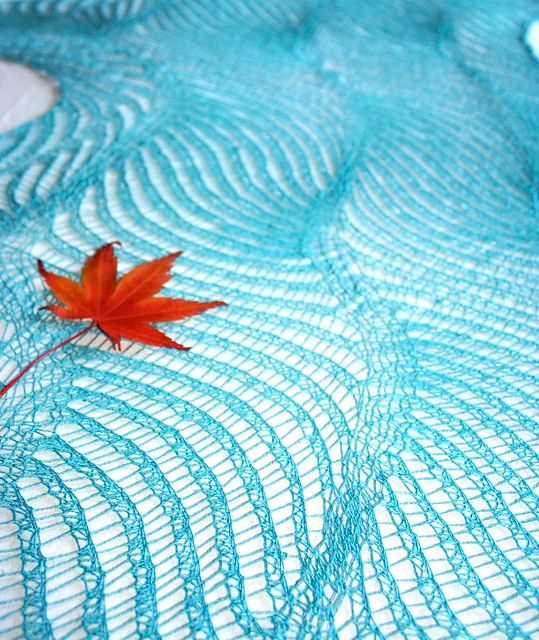
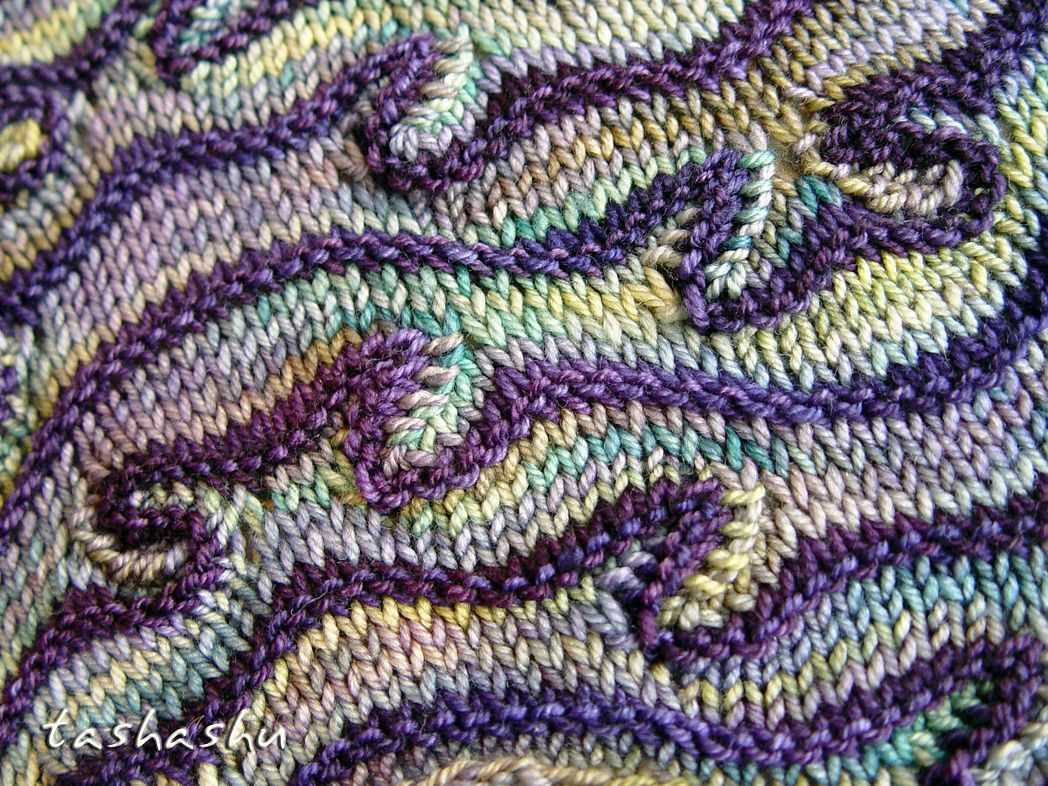
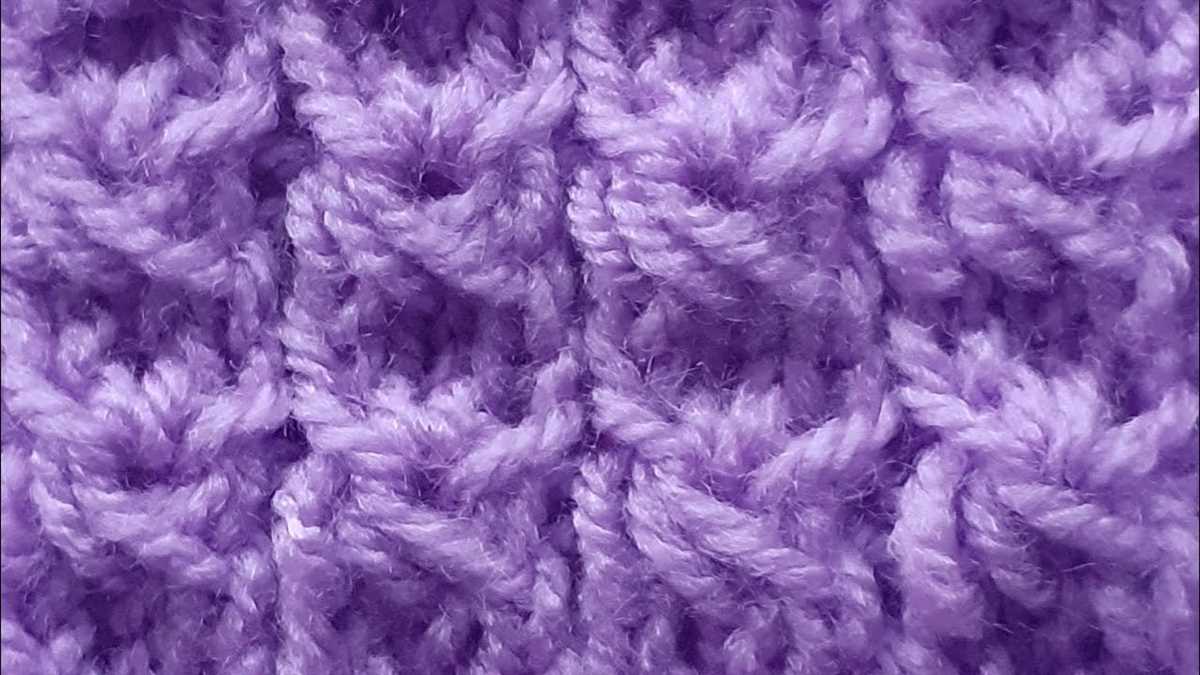
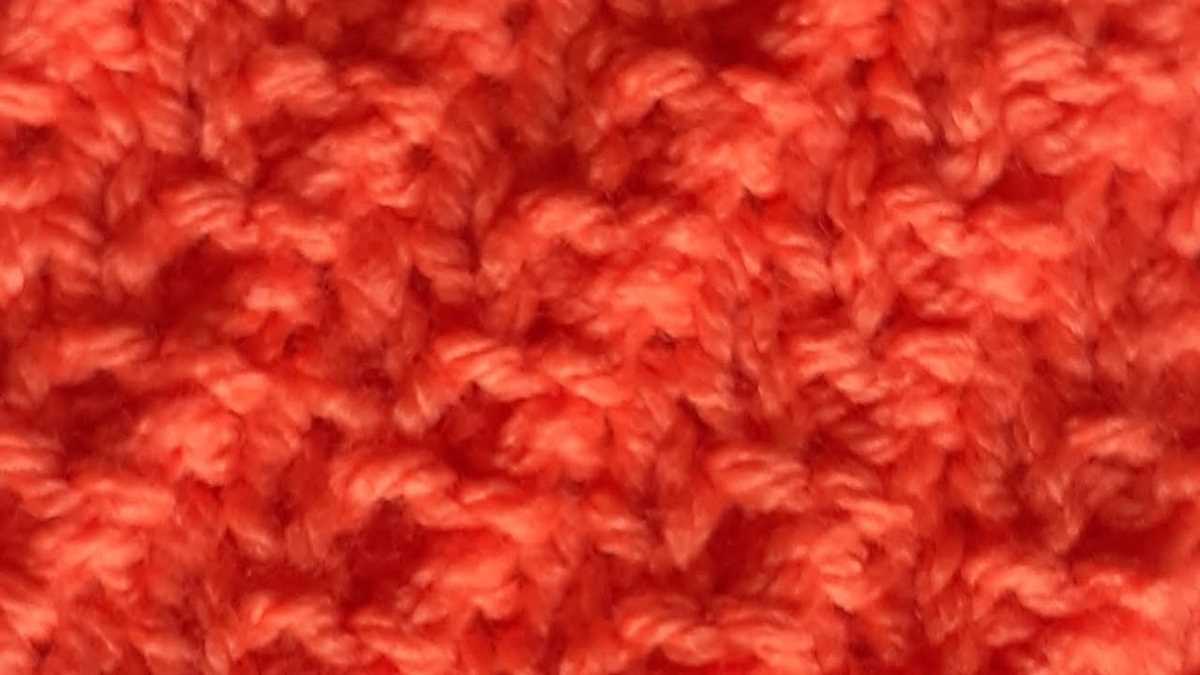
Wave Stitch
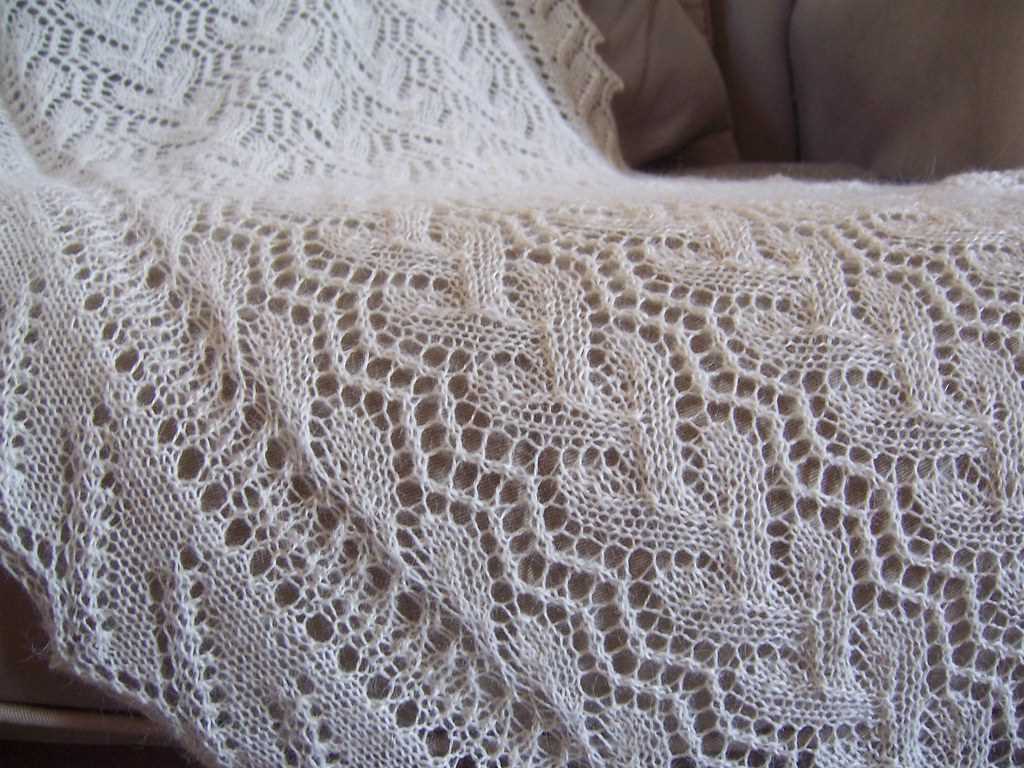
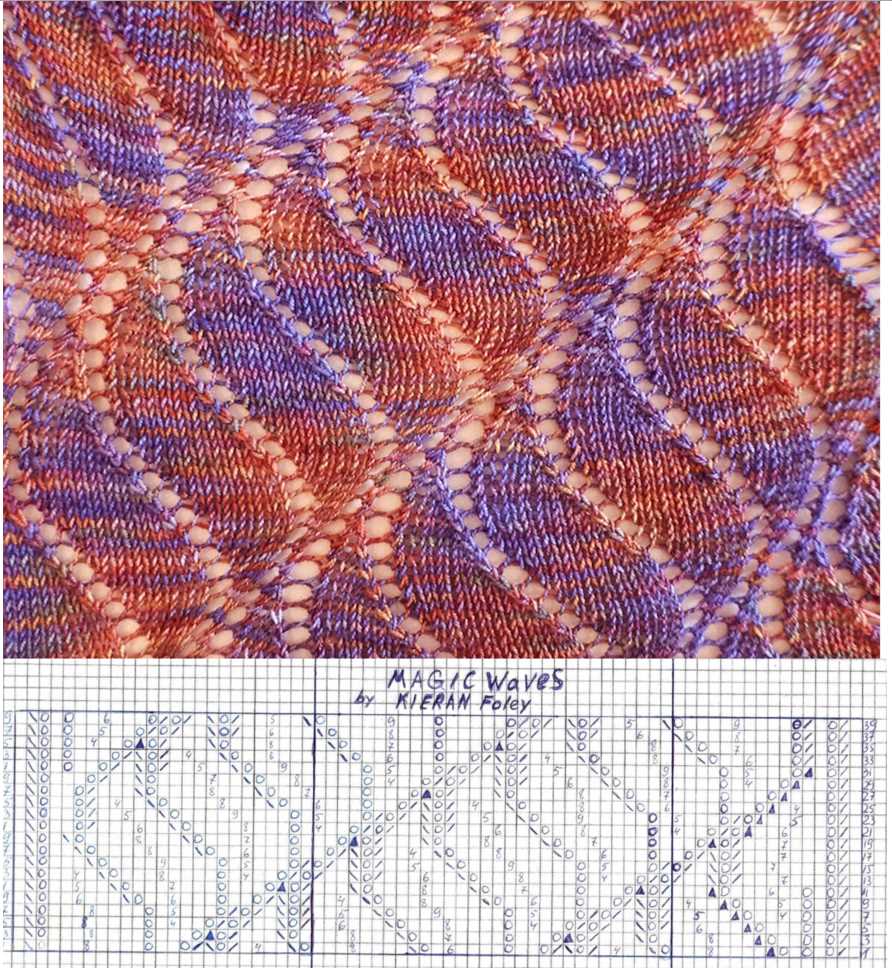
The wave stitch is a beautiful and versatile pattern that can be used to create a wide range of knitting projects, including scarves, shawls, and blankets. It features a repeating wave motif that adds depth and texture to the fabric. The stitch is created by alternating knit and purl stitches in specific combinations, resulting in a wavy pattern that resembles flowing waves.
To knit the wave stitch, you will need to have a basic understanding of knitting techniques such as knit, purl, and yarn over. The pattern typically requires an odd number of stitches, and the waves are created by strategically placing yarn overs and decreases throughout the rows. This creates a visually interesting texture that is perfect for showcasing variegated yarns or adding an extra element to solid-colored projects.
The wave stitch can be customized by adjusting the number of rows or repeats, allowing you to create a stitch pattern that fits your desired project size. Additionally, you can experiment with different types of yarn and needle sizes to achieve different effects. For example, using a larger needle size with a lightweight yarn can create a loose and drapey fabric, while using a smaller needle size with a thicker yarn can result in a more dense and cozy texture.
Whether you are a beginner or an experienced knitter, the wave stitch is a fun and engaging pattern to try. With its flowing waves and endless design possibilities, it is sure to become a favorite in your knitting repertoire.
Pattern Repeat
The pattern repeat is an essential element when knitting a wave scarf. It refers to the number of stitches and rows that make up a single segment of the wave pattern. Understanding the pattern repeat is crucial for maintaining consistency and achieving the desired design.
To create the wave pattern, the stitch sequence for each repeat is typically written out and then repeated across the row. For example, the pattern may instruct you to knit 2 stitches, purl 2 stitches, and knit 2 stitches again. This sequence would then be repeated across the row until the desired width of the scarf is reached.
In addition to the stitch sequence, the pattern repeat also includes information about the number of rows needed to complete the wave pattern. For instance, the repeat may involve knitting 4 rows before repeating the sequence again. This repetition creates the wave-like effect that gives the scarf its unique look.
To keep track of the pattern repeat, it can be helpful to use stitch markers or a row counter. These tools can help you stay organized and ensure that you maintain the correct stitch count and row count throughout your knitting project. By following the pattern repeat carefully, you can create a beautiful wave scarf that showcases the intricate design and adds a stylish touch to your winter wardrobe.
Finishing
Once you have completed knitting the wave scarf pattern, it’s time to finish off your project. Finishing refers to the steps you need to take to give your scarf a final polished look.
First, weave in any loose ends of yarn that may be hanging from your scarf. Using a yarn needle, thread the loose end through the stitches on the backside of your work to secure it in place. Make sure to weave it in along the same direction of the stitches to maintain a neat appearance.
Next, block your scarf to give it a professional finish. Blocking involves wetting your scarf and then shaping it to the desired dimensions. Lay your scarf flat on a clean towel and dampen it with water or a blocking solution. Gently stretch and shape your scarf to the desired length and width, using pins or blocking wires to hold it in place. Allow it to dry completely before removing the pins or wires.
Finally, if desired, you can add any additional embellishments or finishing touches to your scarf. This could include attaching a decorative fringe, adding a decorative edging, or even sewing on buttons or beads for added flair. Be creative and make your scarf unique to your personal style!
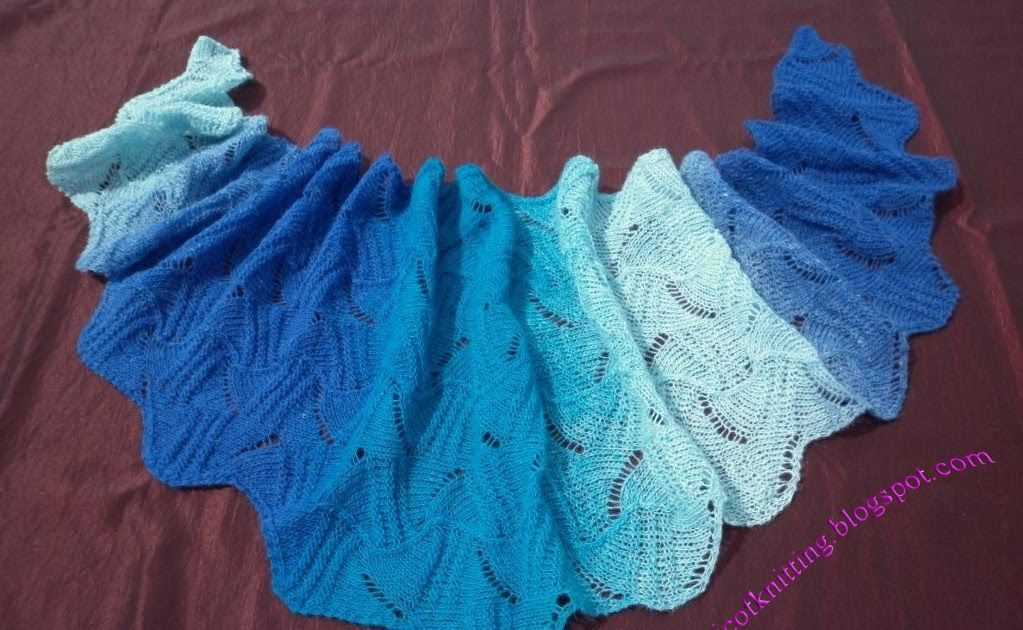
Blocking
Blocking is an essential step in the knitting process that involves shaping and setting the final dimensions of a knitted item. It is done by wetting the knitted fabric and then pinning it into the desired shape and size. This process helps to even out stitches, open up lace patterns, and improve the overall appearance of the finished piece.
When it comes to blocking a wave scarf, there are a few key steps to follow. First, you’ll need to soak the scarf in lukewarm water with a bit of gentle detergent. Make sure the entire scarf is fully saturated and let it soak for about 15 minutes. After soaking, gently squeeze out the excess water – do not wring or twist the fabric.
Next, lay the scarf flat on a clean, dry towel and roll it up to remove even more moisture. Unroll the towel and carefully place the scarf onto a blocking surface, such as a foam board or blocking mats. Using T-pins, begin shaping the scarf by pinning it along the edges. Pay close attention to the wave pattern, making sure to stretch and shape each curve.
Once the scarf is pinned into place, leave it to dry for at least 24 hours. This will give the fabric ample time to set in its blocked shape. Avoid moving or disturbing the scarf while it is drying. After the designated drying time, remove the pins and admire your beautifully blocked wave scarf. The stitches will be smooth, the waves will be well-defined, and the scarf will be ready to wear or give as a thoughtful gift.
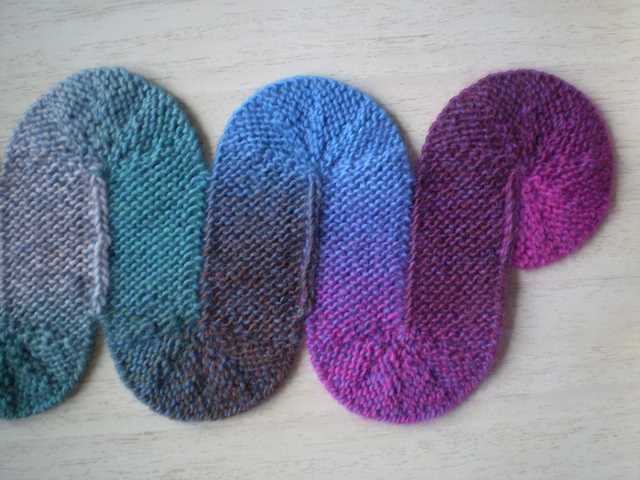
Variations

The Wave scarf knitting pattern can be easily modified to create a variety of different looks. By changing the yarn weight or needle size, you can create a thinner or thicker scarf. You can also experiment with different color combinations to create unique striped or gradient effects.
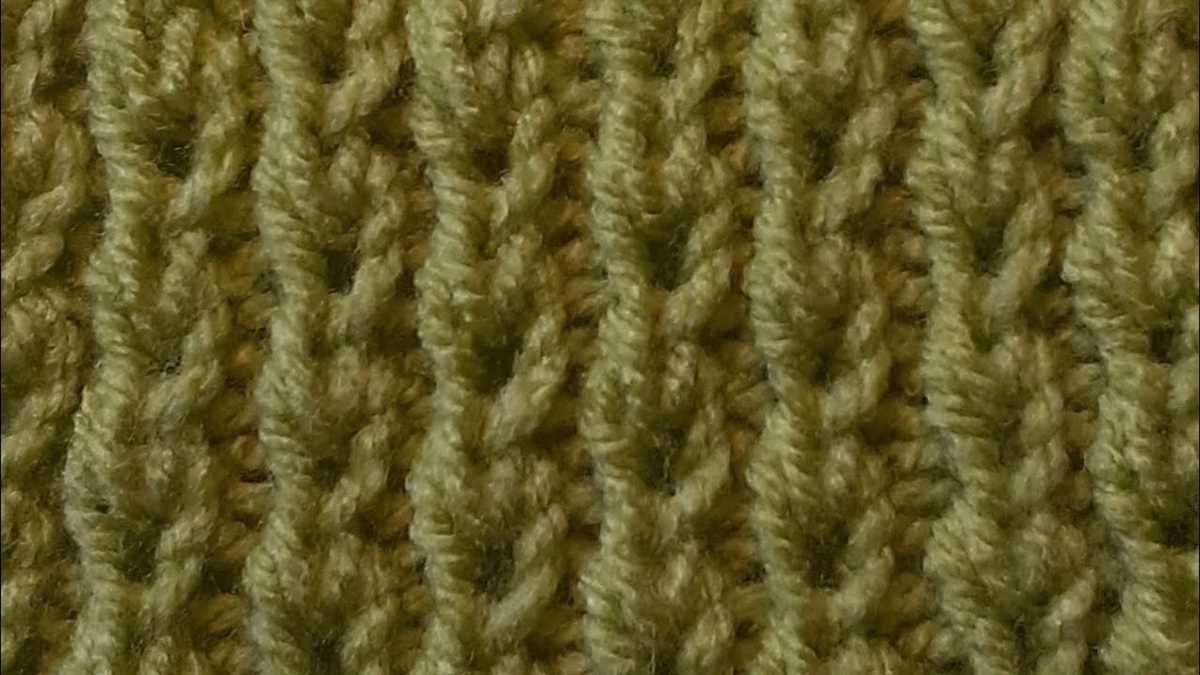
To add more texture to your scarf, you can incorporate different stitch patterns. For example, you can alternate between rows of the Wave stitch and rows of a ribbing stitch to create a ribbed Wave scarf. Alternatively, you can use a lace stitch pattern for a more delicate and airy look.
Yarn Variations:
- Use a bulky weight yarn for a chunky scarf that will keep you extra warm in colder weather.
- Try a variegated or self-striping yarn to create a scarf with unique color patterns.
- Experiment with different fiber blends, such as a wool and silk blend for a luxurious feel.
Stitch Variations:
- Add ribbing stitches in between the Wave stitch rows for a textured ribbed scarf.
- Include lace stitches for a more delicate and feminine look.
- Try a cable stitch pattern to create a scarf with more intricate detail.
With these variations, you can create a Wave scarf that is personalized to your own style and preferences. Have fun experimenting and exploring different options to create a one-of-a-kind accessory.
Tips and Troubleshooting
Here are some helpful tips and troubleshooting advice to ensure that your wave scarf knitting project goes smoothly:
1. Use lifelines:
When knitting a pattern with intricate wave stitch patterns, it’s a good idea to use lifelines. Lifelines are strands of waste yarn or dental floss that you thread through your stitches after completing a certain section. This way, if you make a mistake or need to frog (rip out) your work, you can easily pick up from the lifeline and save yourself from unraveling the entire project.
2. Take note of stitch markers:
Using stitch markers can be incredibly helpful when knitting complex patterns. Place markers at the beginning and end of each wave repeat so that you can easily keep track of your progress. This will make it easier to spot any mistakes or errors and ensure that each wave is consistent.
3. Pay attention to tension:
Tension is key when knitting the wave scarf pattern. Make sure to maintain a consistent tension throughout your project. If your stitches are too tight, the waves may not be as pronounced, and if they are too loose, the scarf may end up being too large and floppy. Take breaks and gently stretch your work to ensure that the tension is even.
4. Fixing mistakes:
If you make a mistake, it’s best to fix it as soon as possible. For minor errors, you can use a crochet hook or knitting needle to carefully drop down the stitches and correct the mistake. If you notice a mistake several rows back, you may need to rip back your work to the correct row and re-knit from there.
5. Blocking:
Blocking is an essential step in finishing your wave scarf. Once you have completed the knitting, dampen your scarf with water and then lay it flat on a blocking board or towel. Gently stretch and shape the scarf to the desired measurements, then let it dry completely. This will help even out any uneven tension and give your scarf a polished look.
Conclusion:
- Using lifelines, stitch markers, and maintaining tension are all key to successfully knitting the wave scarf pattern.
- Fixing mistakes promptly and blocking the finished scarf will ensure a professional and polished result.
- With these tips and troubleshooting advice, you’ll have no trouble creating a beautiful wave scarf to wear or gift to someone special.