
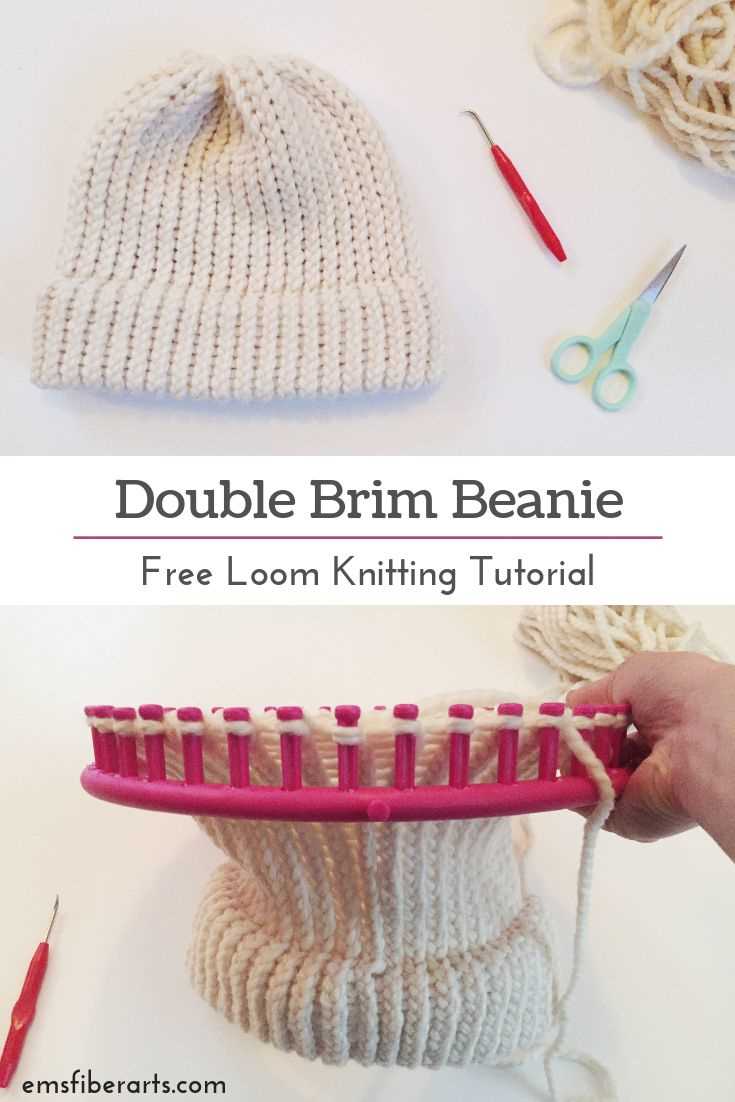
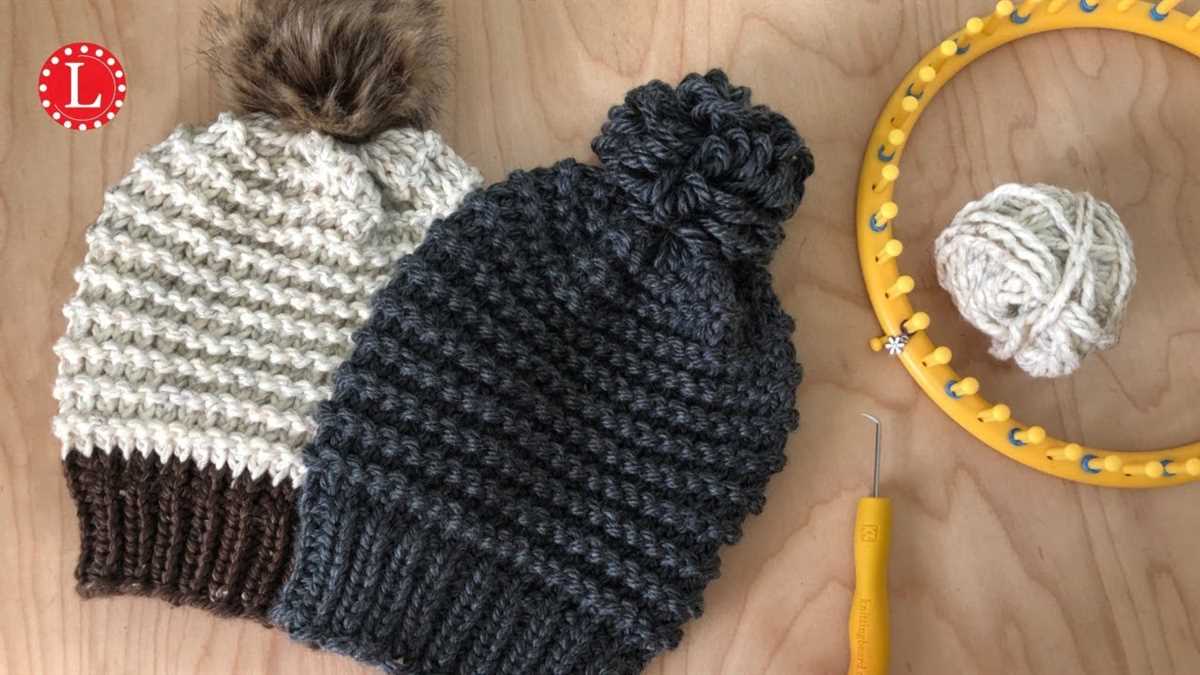
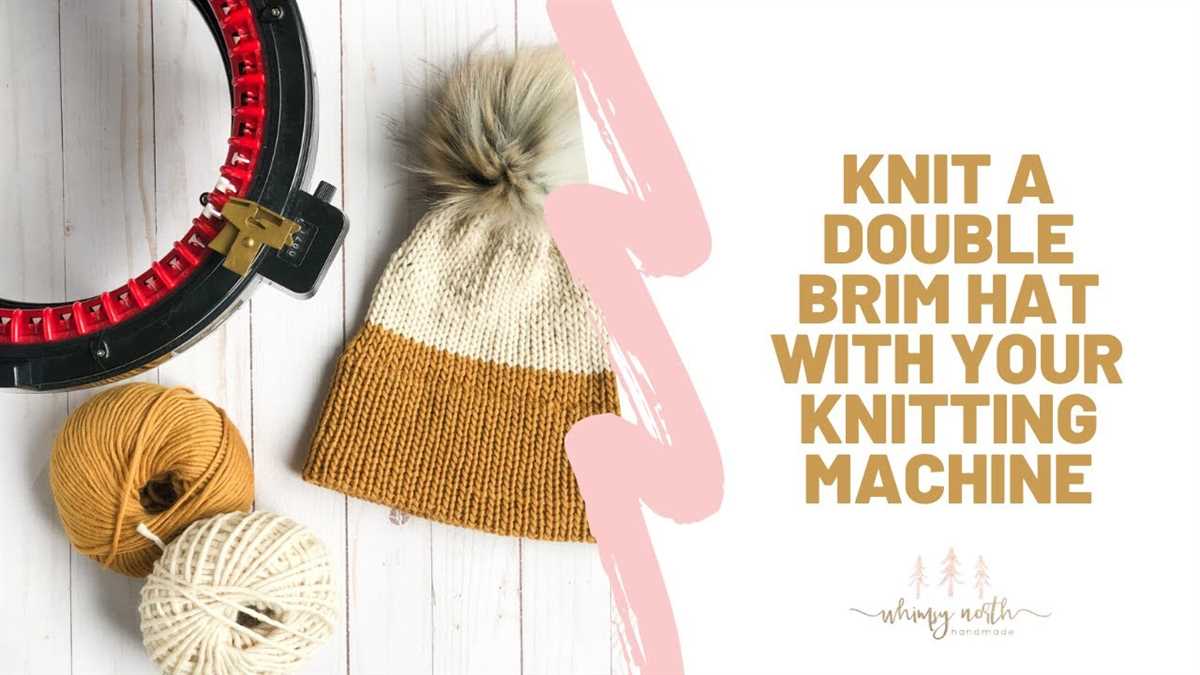
Whether you’re a seasoned knitter or just starting out, loom knitting can be a fun and easy way to create beautiful and cozy accessories. One of the most popular items to make on a loom is a beanie hat. With a loom knit beanie pattern, you can create a stylish and comfortable hat in no time.
There are many different loom knit beanie patterns available, each with its own unique design and stitch pattern. Some patterns are perfect for beginners, while others offer more advanced techniques for those looking to challenge themselves. No matter your skill level, there’s a loom knit beanie pattern out there for you.
Loom knitting is a great alternative to traditional knitting needles, especially for those who struggle with fine motor skills or find it difficult to hold traditional knitting needles. Looms come in a variety of sizes and shapes, allowing you to create hats of different sizes and styles. Plus, loom knitting is a relatively quick process, so you can whip up a beanie in just a few hours.
So, if you’re looking to try your hand at loom knitting or you’re a seasoned pro in search of a new project, give a loom knit beanie pattern a try. With its versatility and ease, loom knitting is a great way to create beautiful and cozy hats for yourself or as gifts for loved ones.
Loom Knit Beanie Pattern
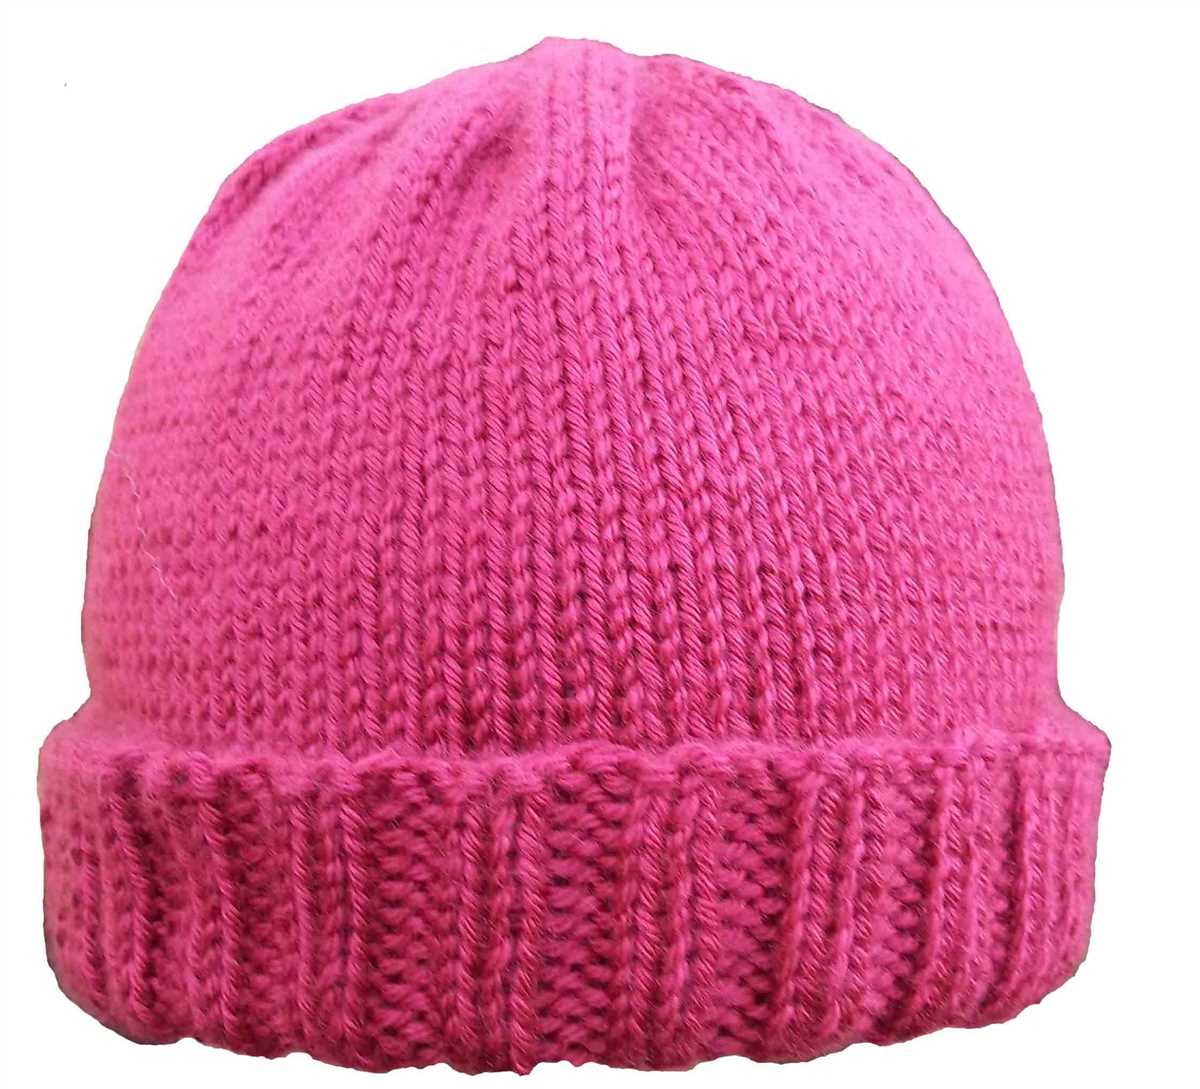
If you enjoy loom knitting and want to make a stylish and cozy beanie, then this loom knit beanie pattern is perfect for you! With just a few simple steps, you can create a beautiful beanie that is both warm and fashionable.
Materials:
- Loom knitting loom, preferably with at least 36 pegs
- Medium weight yarn in your desired color
- Loom knitting hook
- Tapestry needle
- Pom pom maker (optional)
Instructions:
- Start by casting on your yarn on the loom. You can either use a basic cast-on method or a more decorative one, such as the e-wrap cast-on.
- Next, begin knitting in the round, using the knit stitch. Simply knit each peg until you have completed one full round.
- Continue knitting in the round, using the knit stitch, until your beanie reaches the desired length. This will depend on the size of your loom and the fit you prefer for your beanie.
- To finish the beanie, cut the yarn, leaving a long tail. Thread the tapestry needle through the loop on each peg, removing the loops from the loom as you go. Once all the loops are off the loom, pull the tail of the yarn tightly to gather the top of the beanie.
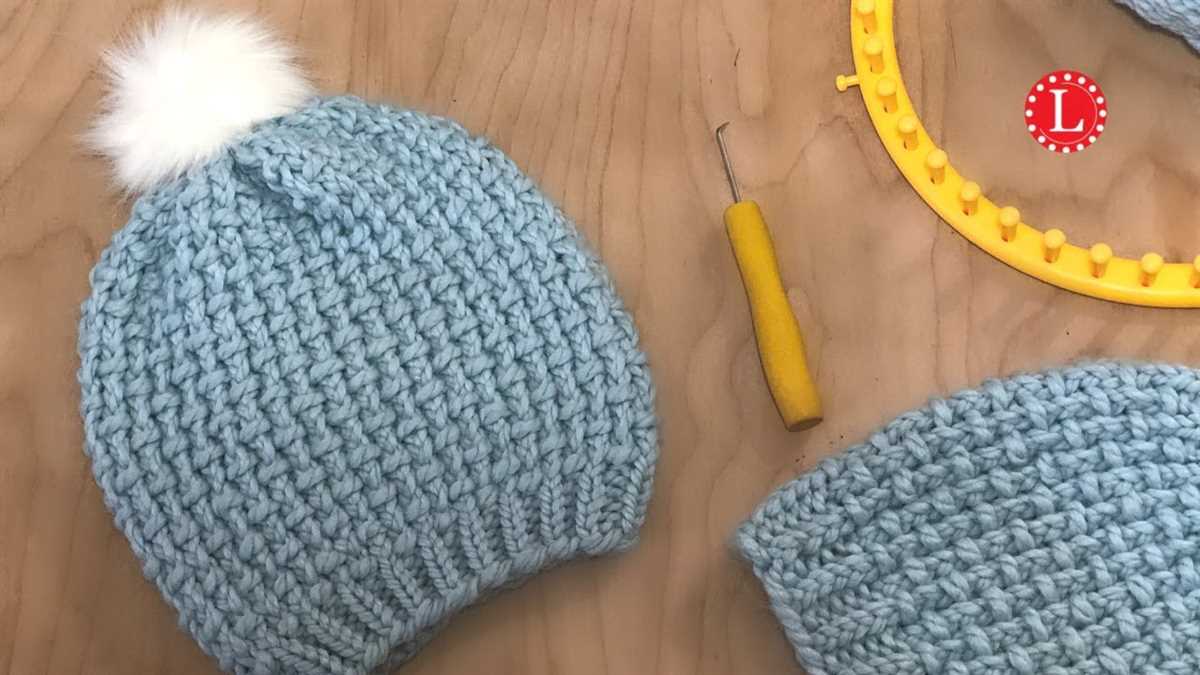
- If you would like to add a pom pom to your beanie, you can use a pom pom maker to create one. Attach the pom pom to the top of your beanie using the excess yarn.
- Finally, weave in any loose ends and trim excess yarn.
With this loom knit beanie pattern, you can easily create a cozy and trendy beanie that is perfect for colder weather. Whether you’re a beginner or an experienced loom knitter, this pattern is a great project to try. Customize it with different yarn colors or add your own unique touches to make it your own!
Materials

When it comes to loom knitting a beanie, you will need a few essential materials to get started. These materials include:
- Loom: Choose a round loom with the appropriate size for the desired fit of your beanie. Looms typically come in various sizes, so select one that matches your head circumference or the size of the beanie you want to make.
- Knitting Hook: A knitting hook is necessary for working the yarn on the loom. It should have a comfortable grip and a smooth, rounded tip to easily manipulate the stitches.
- Yarn: Pick a yarn that is suitable for the beanie you are making. The thickness and texture of the yarn will affect the overall look and feel of the finished product. Consider using a soft and warm yarn for winter beanies or a lightweight yarn for spring and summer styles.
- Measuring Tape: A measuring tape is crucial for accurately measuring your head circumference or determining the length of the beanie you wish to make. This ensures a proper fit and helps in adjusting the pattern if needed.
- Scissors: You will need a pair of scissors to cut the yarn at the end of your project or to make any necessary adjustments during the knitting process.
- Yarn Needle: A yarn needle is used for weaving in loose ends and finishing off the beanie. It should have a large eye to easily thread the yarn through.
With these materials ready, you will be all set to start loom knitting your own cozy and stylish beanie!
Choosing the Right Loom
When it comes to loom knitting, choosing the right loom for your project is essential. Whether you are knitting a beanie or any other item, the loom you use will greatly impact the outcome. There are a few key factors to consider when selecting a loom.
Size: The size of the loom determines the size of the finished product. For a beanie, you’ll want to choose a loom with a diameter that matches the desired circumference of the hat. The number of pegs on the loom will also affect the size of the stitches, so consider this as well.
Material: Looms can be made from different materials, such as plastic, wood, or metal. Each material has its pros and cons. Plastic looms are lightweight and affordable but may not be as durable. Wood looms are sturdy and have a nice feel, but they can be more expensive. Metal looms are durable and have smooth pegs, but they can be heavier and more expensive. Consider your budget and personal preferences when choosing the material.
Shape: Looms come in different shapes, such as round, rectangular, or oval. The shape of the loom affects the way the stitches are formed and how the finished item will look. Round looms are commonly used for beanies because they create a seamless, circular shape. Rectangular or oval looms can be used for different projects, such as scarves or blankets. Choose a shape that suits your project and desired outcome.
Gauge: The gauge refers to the spacing between the pegs on the loom. Different looms have different gauges, which affect the size and tension of the stitches. If you want a tighter stitch, choose a loom with a smaller gauge. If you want a looser stitch, choose a loom with a larger gauge. Consider the type of yarn you’ll be using and the desired texture of your project when selecting a loom with the right gauge.
By taking these factors into consideration, you can choose the right loom for your beanie knitting project. Remember to experiment and practice with different looms to find the one that works best for you. Happy loom knitting!
Getting Started
Welcome to the world of loom knitting! Whether you’re a beginner or an experienced knitter, making a beanie on a loom is a fun and satisfying project. Before you begin, make sure you have all the necessary materials and tools at hand.
Materials:
- Loom knitting tool
- Knitting loom (size and number of pegs will depend on the desired size of your beanie)
- Yarn suitable for the loom size (worsted weight yarn is a good choice for beginners)
- Yarn needle
- Scissors
Choosing the Right Loom:
Before you start, it’s important to choose the right loom size for your beanie. The size of your loom will determine the circumference of the finished beanie. If you’re making a beanie for an adult, a loom with 72 pegs is a good choice. For a child’s beanie, a loom with 56 pegs should work well. Keep in mind that these are just general recommendations, and you can adjust the size as desired.
Casting On:
To begin your beanie, you’ll need to cast on your stitches. There are different methods for casting on, but the e-wrap method is commonly used for loom knitting. Simply wrap the yarn around the first peg, then cross it over to the next peg, forming a loop. Repeat this process for all the pegs until you have cast on the desired number of stitches.
Knitting the Rows:
Once you have cast on your stitches, you can start knitting the rows. Use your loom knitting tool to lift the bottom loop over the top loop on each peg, moving in a clockwise direction. Continue this process until you have completed the desired number of rows for your beanie.
Casting On
Casting on is the first step in creating a loom knit beanie. It is the process of creating the initial row of loops on the loom that will be used to knit the rest of the beanie. There are several casting on methods that can be used, depending on the desired look and style of the beanie.
E-wrap method
The e-wrap method is a popular casting on technique for loom knitting. To begin, start with a slip knot and place it on the anchor peg. Then, wrap the working yarn around the first peg in a clockwise direction, creating a loop. Continue wrapping each peg in the same direction until all pegs have a loop. This creates the initial row of loops, ready to be knitted.
Chain method
The chain method is another commonly used casting on technique. To start, create a slip knot and place it on the anchor peg. Then, using a knitting tool or crochet hook, pick up the working yarn and create a loop. Pass the loop through the slip knot, creating a chain. Continue creating chains and passing them through each subsequent loop until all pegs have a loop. This creates the initial row of loops, ready to be knitted.
Regardless of the casting on method used, it is important to ensure that the loops are not too tight or too loose. Tight loops can make it difficult to knit the beanie, while loose loops can result in a loose and floppy finished product. It may take some practice to find the right tension for the casting on process, but with time and experience, it will become easier to achieve consistent and even loops.
Knitting the Body of the Beanie
Once you have completed the brim of the beanie, it’s time to start knitting the body of the beanie. This is the section of the beanie that will go on top of your head and provide warmth and comfort. To start knitting the body, continue using the same loom and yarn as before.
Begin by placing the first loop of yarn on the first peg of the loom. Then, using the knitting hook, pull the second loop of yarn through the first loop, creating a new stitch. Repeat this process for each peg on the loom, until you have gone all the way around.
Continue knitting in the round, adding one stitch to each peg on every row, until the beanie reaches your desired length. Remember to always keep the tension of the yarn consistent to ensure an even and neat finish. You can use a stitch marker to keep track of your progress and make counting stitches easier.
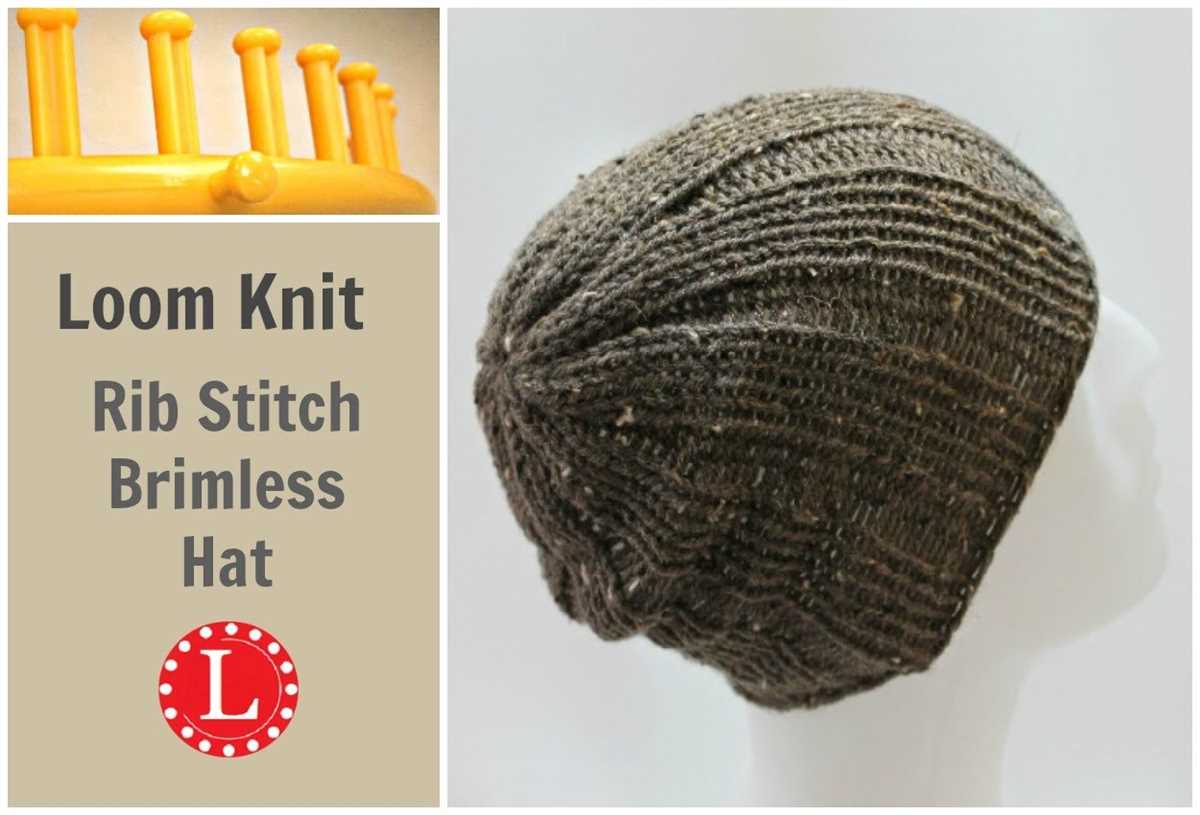
If you want to add some texture or design to the body of the beanie, you can experiment with different stitch patterns. You can try ribbing, seed stitch, or even create a simple colorwork pattern using multiple yarn colors. Knitting the body of the beanie gives you an opportunity to get creative and make the beanie truly unique.
Once the body of the beanie is the desired length, you can finish off by binding off the stitches. Simply knit the first two stitches together, then lift the first stitch over the second stitch and off the peg. Continue this process for each peg until you have reached the last stitch. Cut the yarn, leaving a long tail, and thread it through the last stitch. Pull tight to secure the yarn and weave in any loose ends.
With the body of the beanie complete, you are one step closer to finishing your loom knit beanie. Next, you will need to work on the crown of the beanie, which will determine the shape and fit of the hat. Stay tuned for the next set of instructions on how to complete the crown and finish off your beanie.
Decreasing for the Crown
In the final stages of creating a loom knit beanie, decreasing for the crown is a crucial step to achieve the desired shape and fit. Decreasing involves reducing the number of stitches on the loom in a systematic manner, gradually tapering the beanie towards the top. This process creates a snug and comfortable fit, as well as a visually appealing shape.
Before beginning the decreasing process, it is important to have a clear understanding of the pattern or design you are following. The pattern will provide specific instructions on how to decrease stitches along with guidance on the number of stitches remaining on the loom after each row.
One common method of decreasing for the crown is the “knit 2 together” technique. This involves knitting two stitches together as one, effectively reducing the stitch count by one. The “knit 2 together” stitch is often repeated throughout several rows to gradually decrease the total number of stitches on the loom.
Another popular method is the “slip, slip, knit” technique. This involves slipping two stitches from the left to the right needle, and then knitting them together. Similar to the “knit 2 together” method, this technique decreases the stitch count by one with each repetition, creating a tapered effect.
As you continue to decrease for the crown, it is important to maintain an even tension and consistent stitch size. This will ensure that the beanie retains its shape and fits properly. It may be helpful to use stitch markers to keep track of the decreasing pattern and make any necessary adjustments along the way.
Tips for Decreasing:

- Refer to your pattern for specific instructions on decreasing stitches.
- Practice the decreasing techniques on a small sample before applying them to your actual beanie.
- Count your stitches after each row to ensure accuracy.
- Use stitch markers to help keep track of your decreasing pattern.
- Maintain an even tension and consistent stitch size throughout the decreasing process.
By following the instructions provided in your pattern and using the appropriate decreasing techniques, you can successfully shape the crown of your loom knit beanie. The decreasing process is the final step in creating a well-fitting and visually pleasing beanie that is sure to keep you warm and stylish.
Finishing the Beanie
Once you have completed knitting your beanie on the loom, it’s time to finish it off and make it ready to wear. Here are some steps you can follow to complete your project:
1. Bind off: Remove the loops from the pegs, one at a time, by lifting the bottom loop over the top loop and off the peg. Continue this process all the way around the loom until you have only one loop left. Cut the yarn, leaving a long tail, and pass it through the last loop to secure.
2. Weave in ends: Use a tapestry needle to weave the loose ends of yarn into the back of the beanie. This will help to secure them and prevent them from coming unraveled.
3. Blocking (optional): If you want to give your beanie a more polished look, you can block it. To do this, wet your beanie, gently stretch it to your desired shape, and let it dry flat. This helps to even out any uneven stitches and give the beanie a smoother appearance.
4. Add embellishments (optional): If you want to personalize your beanie, you can add embellishments such as pom-poms, buttons, or patches. Sew these onto the beanie using a needle and thread, making sure they are securely attached.
5. Enjoy your finished beanie: Once your beanie is dry and any optional embellishments are added, it’s ready to wear! Put it on and enjoy the cozy warmth and style of your handmade creation.
Adding a Pom Pom
Adding a pom pom to your loom knit beanie is a fun and stylish way to finish off your project. Pom poms come in various sizes and materials, so you can choose the one that best matches the look you want to achieve. There are several methods you can use to attach the pom pom to your beanie.
1. Sewing: One method is to sew the pom pom securely onto the top of the beanie. This can be done by using a needle and thread that matches the color of your beanie. Simply thread the needle, insert it through the center of the pom pom, and then sew it onto the beanie, making sure to stitch through the layers of the beanie to ensure a secure attachment.
2. Gluing: Another method is to use a strong fabric glue to attach the pom pom to the beanie. This method is quick and easy, but it may not be as secure as sewing. Apply a small amount of fabric glue to the base of the pom pom, then press it onto the desired spot on the beanie. Hold it in place for a few seconds to allow the glue to bond.
3. Snap Buttons: If you want to be able to remove the pom pom for washing or to change the look of your beanie, you can use snap buttons. Simply sew one half of the button onto the top of the beanie and the other half onto the base of the pom pom. This way, you can easily snap the pom pom on and off whenever you want.
4. Tying: For a more rustic and playful look, you can tie the pom pom onto the beanie. Take a piece of yarn that matches the color of the beanie and thread it through the center of the pom pom. Then, tie the ends of the yarn together in a double knot, making sure it is secure. Trim any excess yarn for a neat finish.
Whichever method you choose, make sure the pom pom is securely attached to avoid it falling off during wear. Adding a pom pom is a great way to personalize and add a touch of fun to your loom knit beanie!
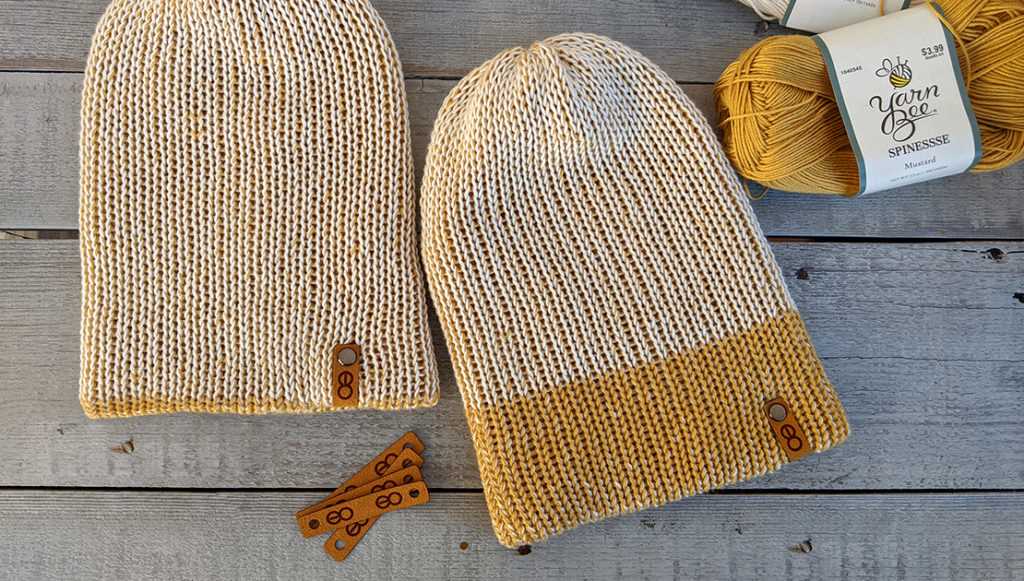
Customizing the Beanie
When it comes to loom knitting beanies, there are countless ways to customize them to fit your own style and preferences. From choosing different yarn colors to adding unique stitch patterns, you can create a one-of-a-kind beanie that reflects your personality.
1. Yarn Selection: The first step in customizing your beanie is selecting the right yarn. Consider the weight, texture, and color of the yarn. You can go for a vibrant, eye-catching color or a neutral shade that goes well with different outfits.
2. Stitch Patterns: Another way to personalize your beanie is by incorporating different stitch patterns. Try experimenting with ribbing, cables, or lace patterns to add some visual interest to your beanie. There are plenty of stitch patterns available online or in knitting books to inspire you.
3. Embellishments: Want to make your beanie even more unique? Add some embellishments! You can sew on buttons, attach pom-poms, or even crochet flowers to give your beanie a personalized touch. Just make sure the embellishments are securely attached to prevent them from falling off.
4. Size Adjustment: Loom knitting allows you to easily adjust the size of your beanie. If you want a slouchier or tighter fit, you can simply add or subtract rows from the pattern. This flexibility makes it easy to customize the beanie to fit your head perfectly.
5. Custom Label: For an extra special touch, consider creating a custom label for your beanie. You can embroider or print your name, initials, or a special message onto a small piece of fabric and attach it to the inside of the beanie. This adds a personalized touch and makes it clear that the beanie is uniquely yours.
Washing and Care Instructions
Proper care and maintenance can help prolong the life of your loom knit beanie and keep it looking its best. Here are some washing and care instructions to follow:
1. Hand Wash

For best results, it is recommended to hand wash your loom knit beanie. Fill a sink or basin with lukewarm water and a mild detergent. Gently agitate the beanie in the water, taking care not to stretch or twist it. Rinse thoroughly with cool water.
2. Machine Wash
If you prefer to machine wash your beanie, place it in a mesh laundry bag to protect it during the wash cycle. Select a delicate or wool cycle and use cold water. Avoid using bleach or fabric softeners as they can damage the fibers of the beanie.
3. Drying
After washing, gently squeeze out the excess water without wringing or twisting the beanie. Roll it up in a clean towel to absorb more moisture. Then, reshape the beanie to its original shape and lay it flat to dry on a clean, dry surface. Avoid hanging the beanie as it may stretch out of shape.
4. Storage
When not in use, it is recommended to store your loom knit beanie in a clean, dry place to prevent damage. Avoid storing it in direct sunlight or near heat sources, as this can cause fading or deformation of the fibers. It’s also a good idea to keep the beanie in a breathable bag or container to protect it from dust and pests.
By following these washing and care instructions, you can keep your loom knit beanie looking fresh and cozy for many seasons to come.
Tips and Troubleshooting
When loom knitting a beanie, it is important to keep a few tips and troubleshooting techniques in mind to ensure a successful project. Here are some helpful suggestions:
Select the Right Loom Size
Choosing the appropriate loom size for your beanie is crucial. If the loom is too large, the stitches may be too loose and the beanie may not fit tightly. On the other hand, using a loom that is too small can result in a beanie that is too tight and uncomfortable to wear. Be sure to reference your pattern or gauge to determine the correct loom size for your desired finished product.
Proper Tension
When working with a loom, maintaining consistent tension is key. If the tension is too loose, the stitches may be uneven or the beanie may end up too loose. If the tension is too tight, the stitches may be difficult to work with or the beanie may end up too tight. Practice and experimentation will help you find the right tension for your loom knitting style.
Avoid Twisted Stitches
Twisted stitches can occur when the loops on the loom become twisted or when stitches are improperly worked. To avoid twisted stitches, make sure all loops on the loom are aligned properly and that you are working your stitches in the correct direction. Double-check your work periodically to ensure that all stitches are straight and not twisted.
Fixing Mistakes
It’s common to make mistakes while loom knitting, but they can often be easily fixed. If you notice a mistake in your beanie, such as a dropped stitch or an incorrect stitch, you can use a crochet hook or a knitting needle to correct it. Carefully insert the hook or needle into the stitch, pick up the dropped or incorrect loop, and place it back on the loom. Make sure to correct the mistake before moving on with your project.
By following these tips and troubleshooting techniques, you can overcome common challenges and create beautiful loom-knit beanies with confidence.
Inspiration and Variations
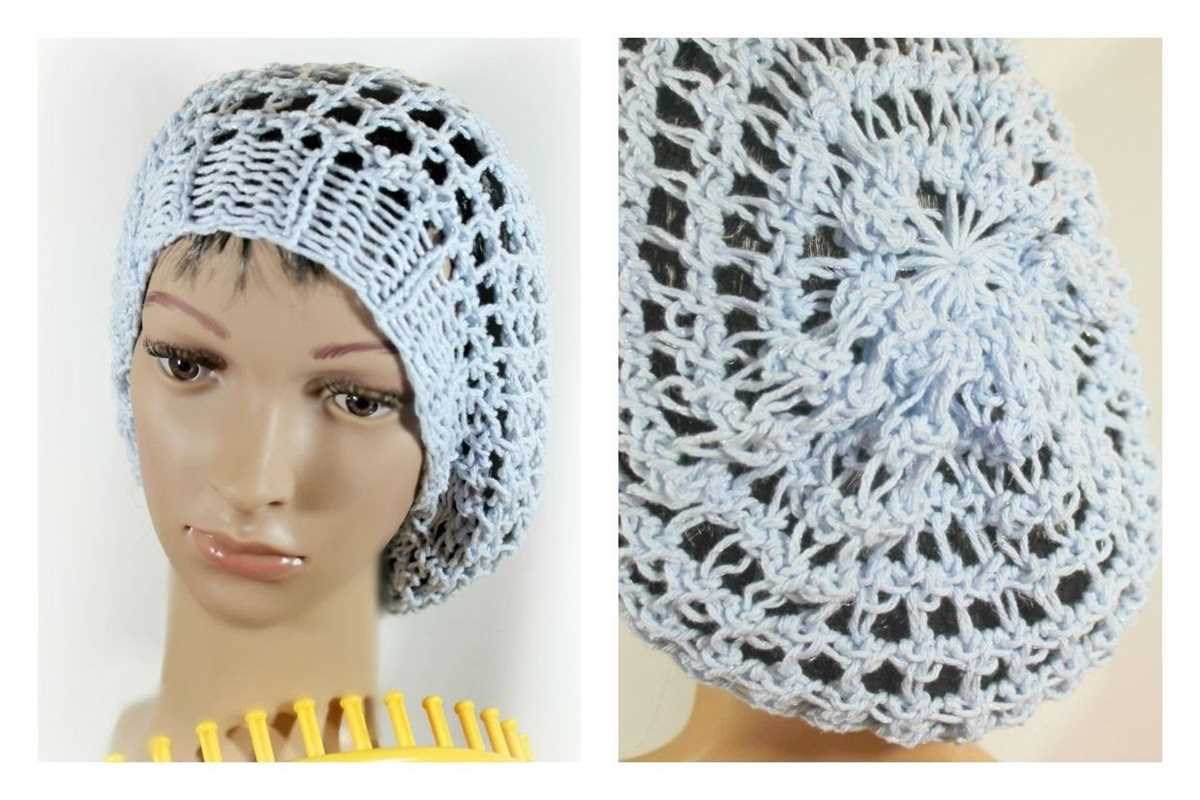
If you’ve mastered the basic loom knit beanie pattern and want to take it to the next level, you can find inspiration and try out different variations to create unique and stylish hats. Here are a few ideas to get you started:
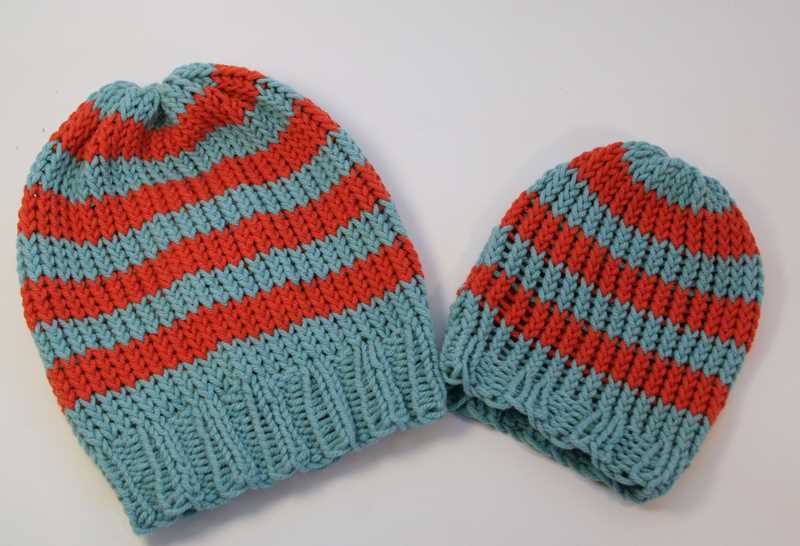
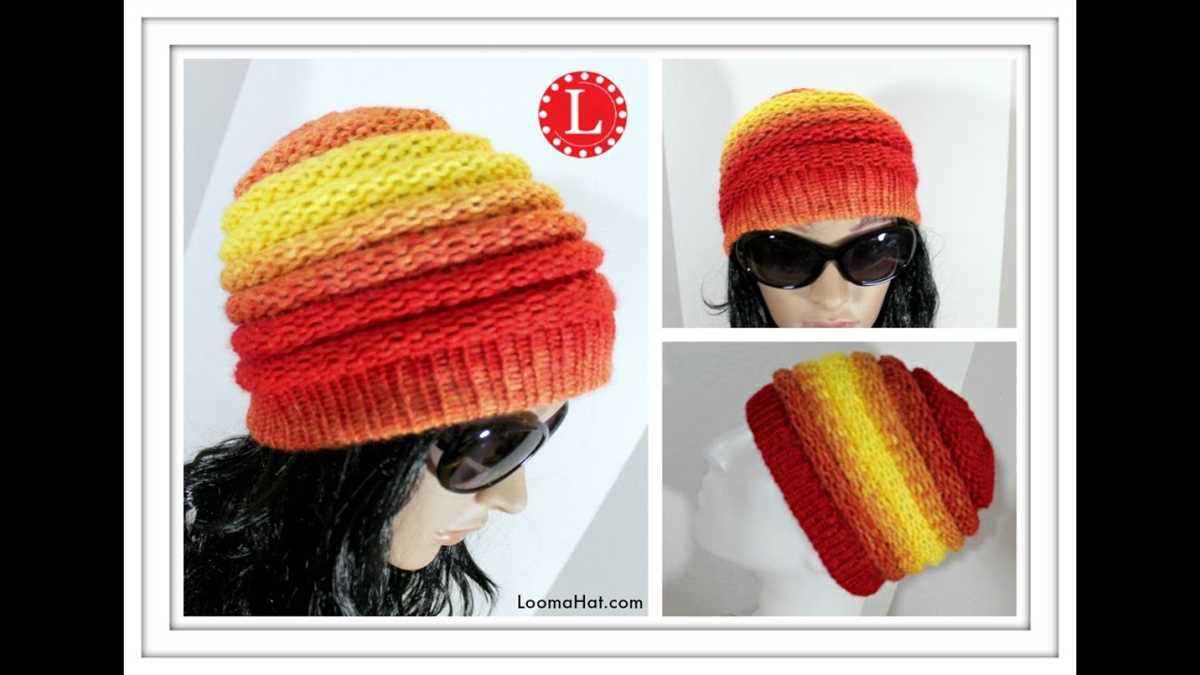
1. Colorful stripes: Experiment with different yarn colors to create striped patterns on your beanie. You can use multiple colors or stick to a gradient of shades for a more subtle effect.
2. Textured stitches: Explore different stitch patterns to add texture and visual interest to your hat. You can try seed stitch, rib stitch, or even cable stitches for a more intricate design.
3. Embellishments: Add some flair to your beanie by incorporating decorative elements. You can attach buttons, pom-poms, or even crochet flowers for a feminine touch.
4. Lace accents: If you want a more delicate and feminine look, consider adding lace accents to your beanie. You can either knit lace panels or sew on lace trimmings for a romantic touch.
5. Personalized details: Make your beanie truly unique by adding personal touches. You can monogram your initials, embroider a design or even incorporate a small patch with your favorite motif.
Remember, the possibilities are endless when it comes to loom knitting. Don’t be afraid to experiment and let your creativity shine. Whether you’re knitting for yourself or someone else, these variations will help you create a one-of-a-kind beanie that will keep you warm and stylish.