
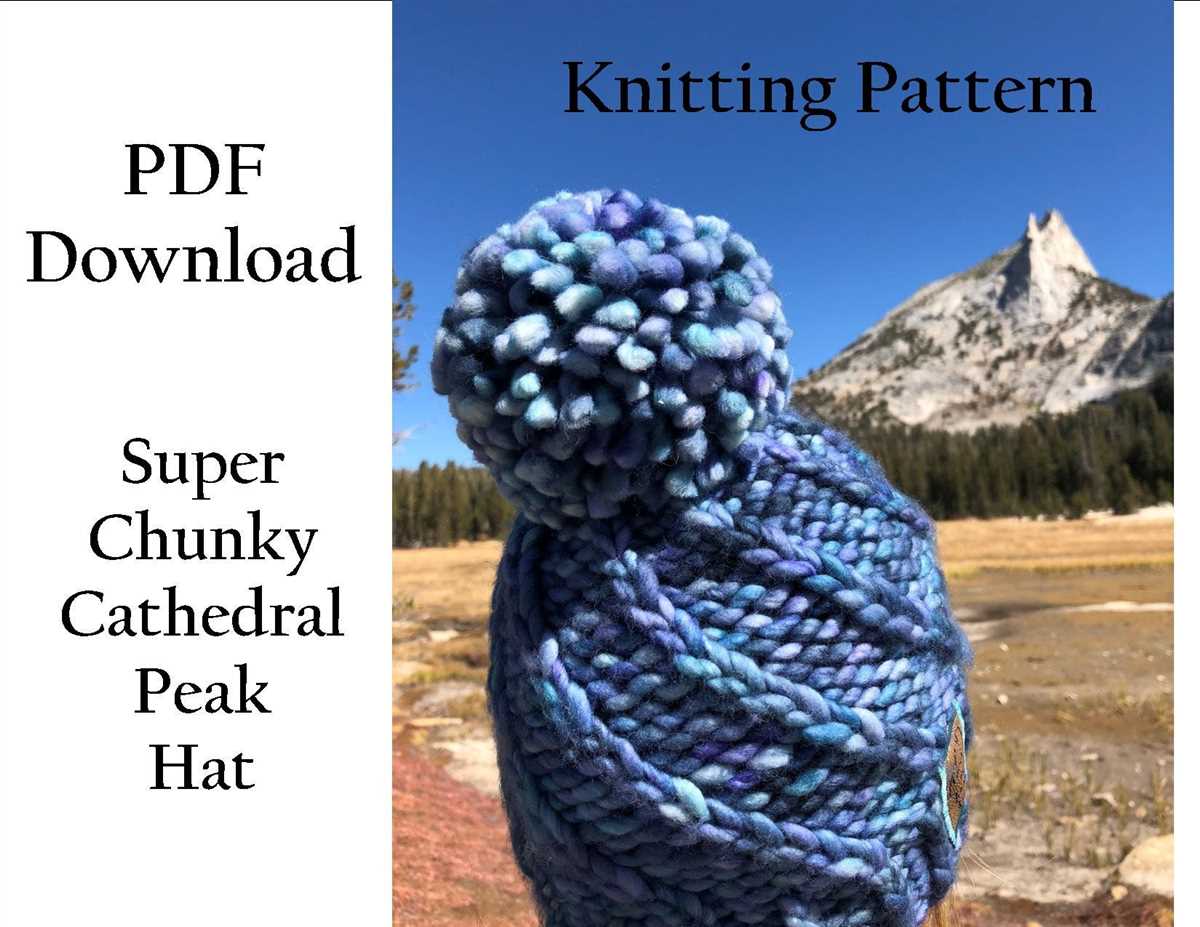
If you’re in need of a cozy and stylish hat to keep you warm during the chilly months, look no further than this super bulky knit hat pattern. With its thick yarn and larger needles, this hat knits up in no time, making it a perfect weekend project. Best of all, this pattern is free, saving you money while still providing a high-quality finished product.
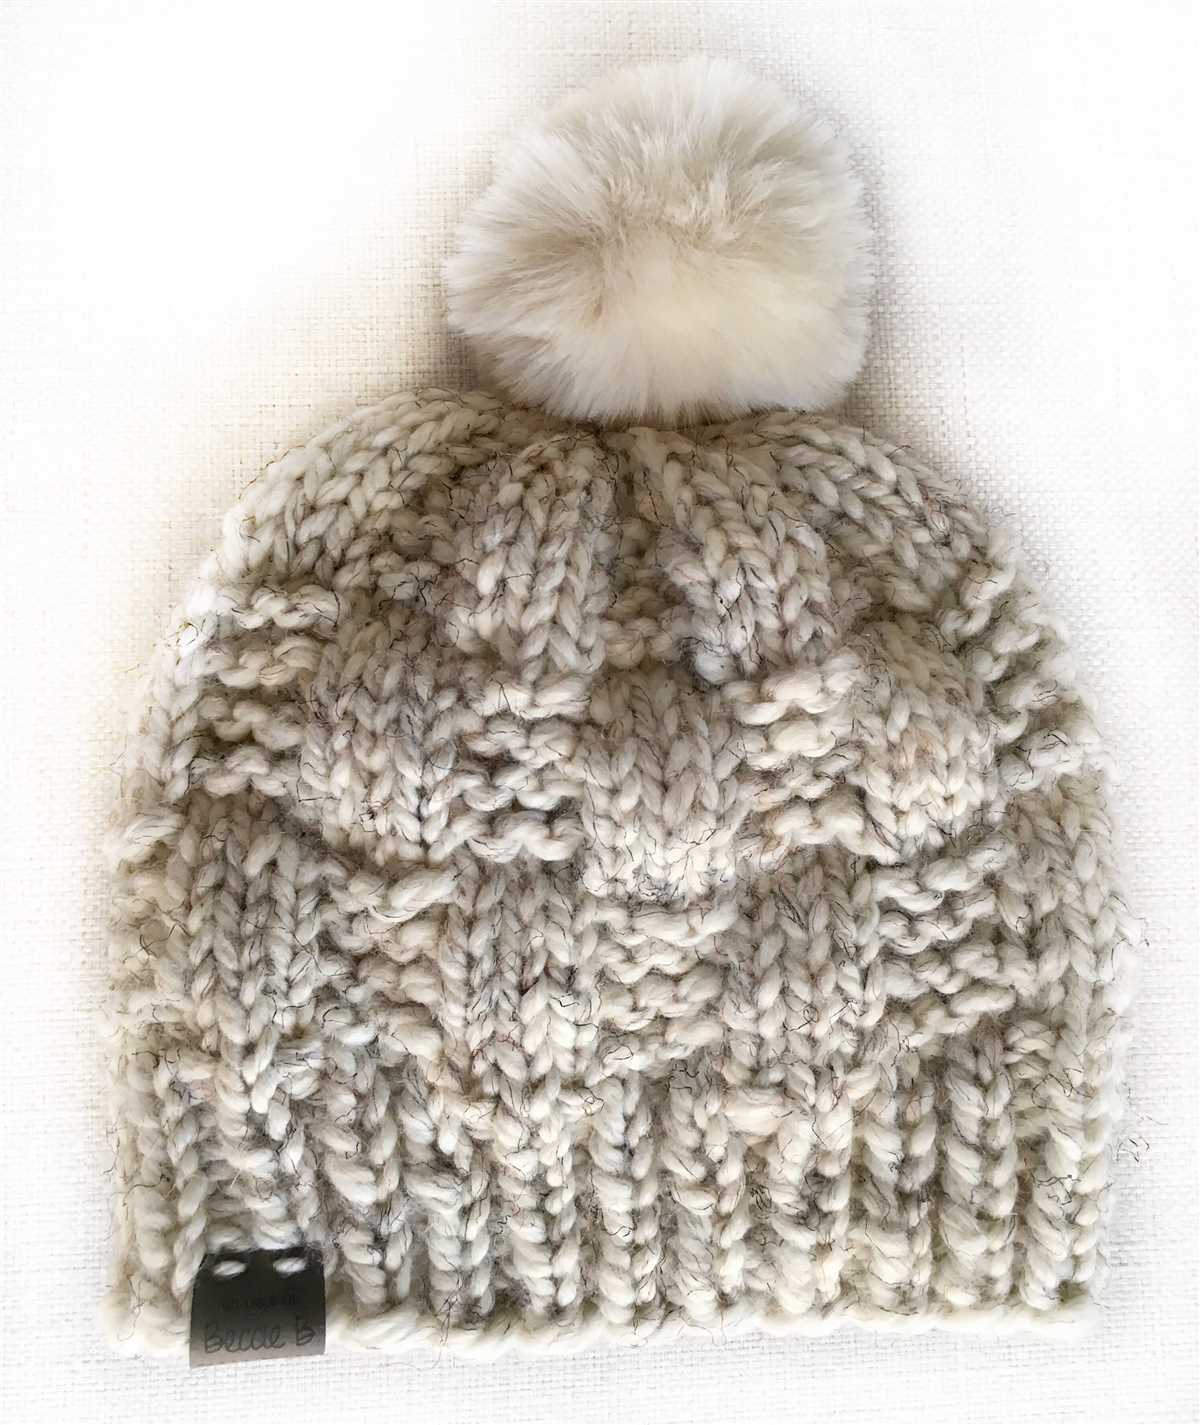
The super bulky yarn used in this pattern not only adds warmth, but it also gives the hat a trendy and modern look. You can choose from a variety of colors to match your wardrobe or create one in a neutral shade that goes with everything. The hat features a simple ribbed brim that adds stretch and comfort, while the body of the hat is worked in a basic knit stitch, making it suitable for beginners and experienced knitters alike.
This pattern includes instructions for sizes ranging from child to adult, so you can make hats for the whole family. The finished hat is incredibly warm and snug, making it perfect for those cold winter days or for gifting to loved ones. Whether you’re an experienced knitter looking for a quick project or a beginner wanting to try out a new skill, this super bulky knit hat pattern is sure to become a favorite.
Super Bulky Knit Hat Pattern Free
If you’re looking for a quick and easy knitting project, look no further than a super bulky knit hat! With its thick yarn and large needles, this type of hat knits up in no time, making it perfect for beginners or anyone who wants to whip up a cozy accessory in a hurry. And the best part? There are plenty of free patterns available online to get you started!
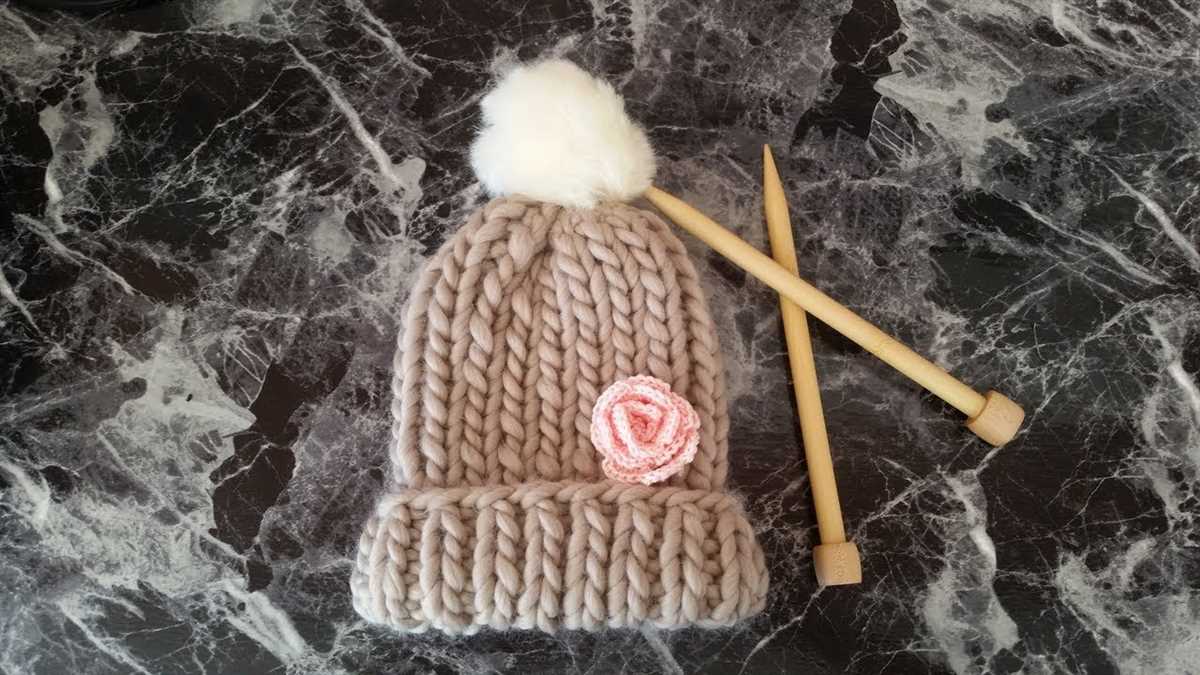
Materials: To make a super bulky knit hat, you’ll need super bulky weight yarn and large knitting needles, typically size 11 or 13. You can choose any color or texture of yarn that you like, from soft and fluffy to sleek and smooth. Just make sure the yarn you choose matches the recommended gauge for the pattern you’re using.
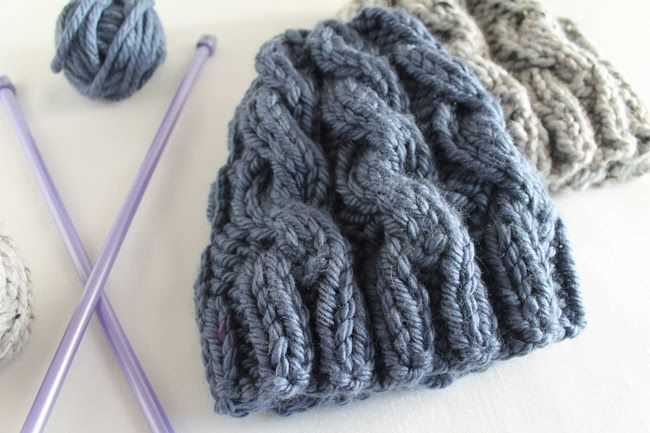
Pattern: Once you have your materials ready, it’s time to find a free pattern that suits your style. There are countless options available online, ranging from simple ribbed hats to more intricate cable designs. Take some time to browse through different patterns and find one that speaks to you. When you’ve found the perfect pattern, make sure to read through the instructions carefully before you begin.
Knitting: When it comes to actually knitting your super bulky hat, the process is relatively straightforward. Most patterns will provide you with step-by-step instructions on how to cast on, create the ribbing or brim, and shape the crown of the hat. It’s important to pay attention to your tension and make sure you’re knitting to the correct gauge, as this can affect the fit of the finished hat.
Finishing: Once you’ve completed all the knitting, it’s time to finish off your hat. This usually involves weaving in any loose ends and sewing up any seams if necessary. You may also want to add some embellishments, such as a pom-pom or a decorative button, to personalize your hat even further.
Enjoying: Now that your super bulky knit hat is finished, it’s time to put it to good use! This type of hat is perfect for keeping your head warm and cozy during the cold winter months. Whether you’re running errands, going for a walk, or just lounging around at home, your new hat will be a stylish and practical accessory.
Conclusion: Knitting a super bulky hat is a fun and satisfying project that can be completed in no time. With a free pattern, the right materials, and some basic knitting skills, you’ll have a cozy hat to keep you warm all winter long. So why not give it a try and start knitting your own super bulky hat today?
Choose the Right Yarn and Needles
When it comes to knitting a super bulky hat, choosing the right yarn and needles is crucial to achieving the desired result. The yarn weight determines the thickness and warmth of the hat, while the size of the needles affects the overall stitch definition and tension.
Yarn Weight: When selecting yarn for a super bulky hat, it’s important to opt for a yarn that is specifically labeled as super bulky. This type of yarn is thicker, giving the hat a chunky and cozy look. Super bulky yarns are usually made from a blend of natural and synthetic fibers, providing warmth and durability. Be sure to check the recommended gauge on the yarn label to ensure it matches the pattern’s gauge requirements.
Needle Size: The size of your needles will also impact the texture and fit of the hat. For a super bulky hat, it’s best to use larger needles that will allow the thick yarn to flow easily, creating a loose and soft fabric. Most patterns will specify the recommended needle size, but as a general guideline, 10-12mm (US 15-17) needles are commonly used for super bulky projects. Remember, needle size can affect gauge, so it’s important to make a gauge swatch before starting your project to ensure the fit is just right.
By carefully selecting the right yarn weight and needle size, you’ll be able to create a super bulky knit hat that is not only warm and cozy, but also visually appealing with well-defined stitches. So, take your time to find the perfect combination and enjoy the process of creating a beautiful and functional accessory to keep you stylishly warm during the colder months.
Gauge and Measurements
When knitting a super bulky hat, it is important to take into consideration the gauge and measurements of the hat. Gauge refers to the number of stitches and rows per inch of knitting, and it is crucial to achieve the correct gauge in order to ensure that the hat will fit properly. To determine the gauge, it is recommended to knit a swatch using the specified yarn and needle size. Measure the number of stitches and rows within a 4-inch square and compare it to the gauge provided in the pattern. If the gauge does not match, adjust the needle size accordingly until the correct gauge is achieved.
Measurements are also important when knitting a hat. The pattern will usually provide measurements for the circumference of the hat, which is the distance around the head. It is important to choose the appropriate size based on the intended recipient’s head circumference. To measure the head circumference, wrap a measuring tape around the widest part of the head, typically just above the eyebrows. The hat should fit snugly but not too tight, so it is important to choose the correct size based on the measurements provided in the pattern.
Cast On and Ribbing
When starting to knit a super bulky hat, one of the first steps is to cast on the required number of stitches. In this pattern, we will be using a long-tail cast on method. This is a versatile cast on technique that creates a neat and stretchy edge. To cast on, hold the working yarn in your right hand and make a slipknot. Place the slipknot onto the left needle, ensuring that the tail end is long enough to accommodate the required number of stitches. Next, bring the right needle under the yarn and over the left thumb, then pull the yarn gently through the loop. Repeat this process until you have cast on the desired number of stitches.
After casting on, we will work the ribbing section of the hat. Ribbing is a common technique used in knitting to create a stretchy and textured fabric. In this pattern, we will be using a 2×2 ribbing, which means we will alternate between knitting 2 stitches and purling 2 stitches throughout the row. To begin, insert the right needle into the first stitch on the left needle as if to knit. Wrap the working yarn around the right needle from back to front, then pull it through the stitch, sliding the stitch off the left needle. Next, insert the right needle into the next stitch on the left needle as if to purl. Wrap the working yarn around the right needle from front to back, then pull it through the stitch, sliding the stitch off the left needle. Repeat this pattern of knitting 2 stitches and purling 2 stitches until you reach the end of the row. This creates a ribbed texture that will provide a snug fit and added warmth to the hat.
Knitting the Body of the Hat
Once you have successfully cast on and completed the ribbing for your hat, it’s time to move on to knitting the body of the hat. This is where you’ll really start to see your hat take shape and get a sense of the finished product.
To begin, you will continue knitting in the round with your main color yarn. Remember to use your circular knitting needles or double-pointed needles, depending on your preference. It’s important to keep track of your stitch count to ensure that your hat turns out the correct size.
Row 1: Knit all stitches in the round. This will create the base of your hat and set the foundation for the rest of your knitting.
Rows 2-5: Continue knitting all stitches in the round. These rows will start to build the height and begin forming the body of the hat.
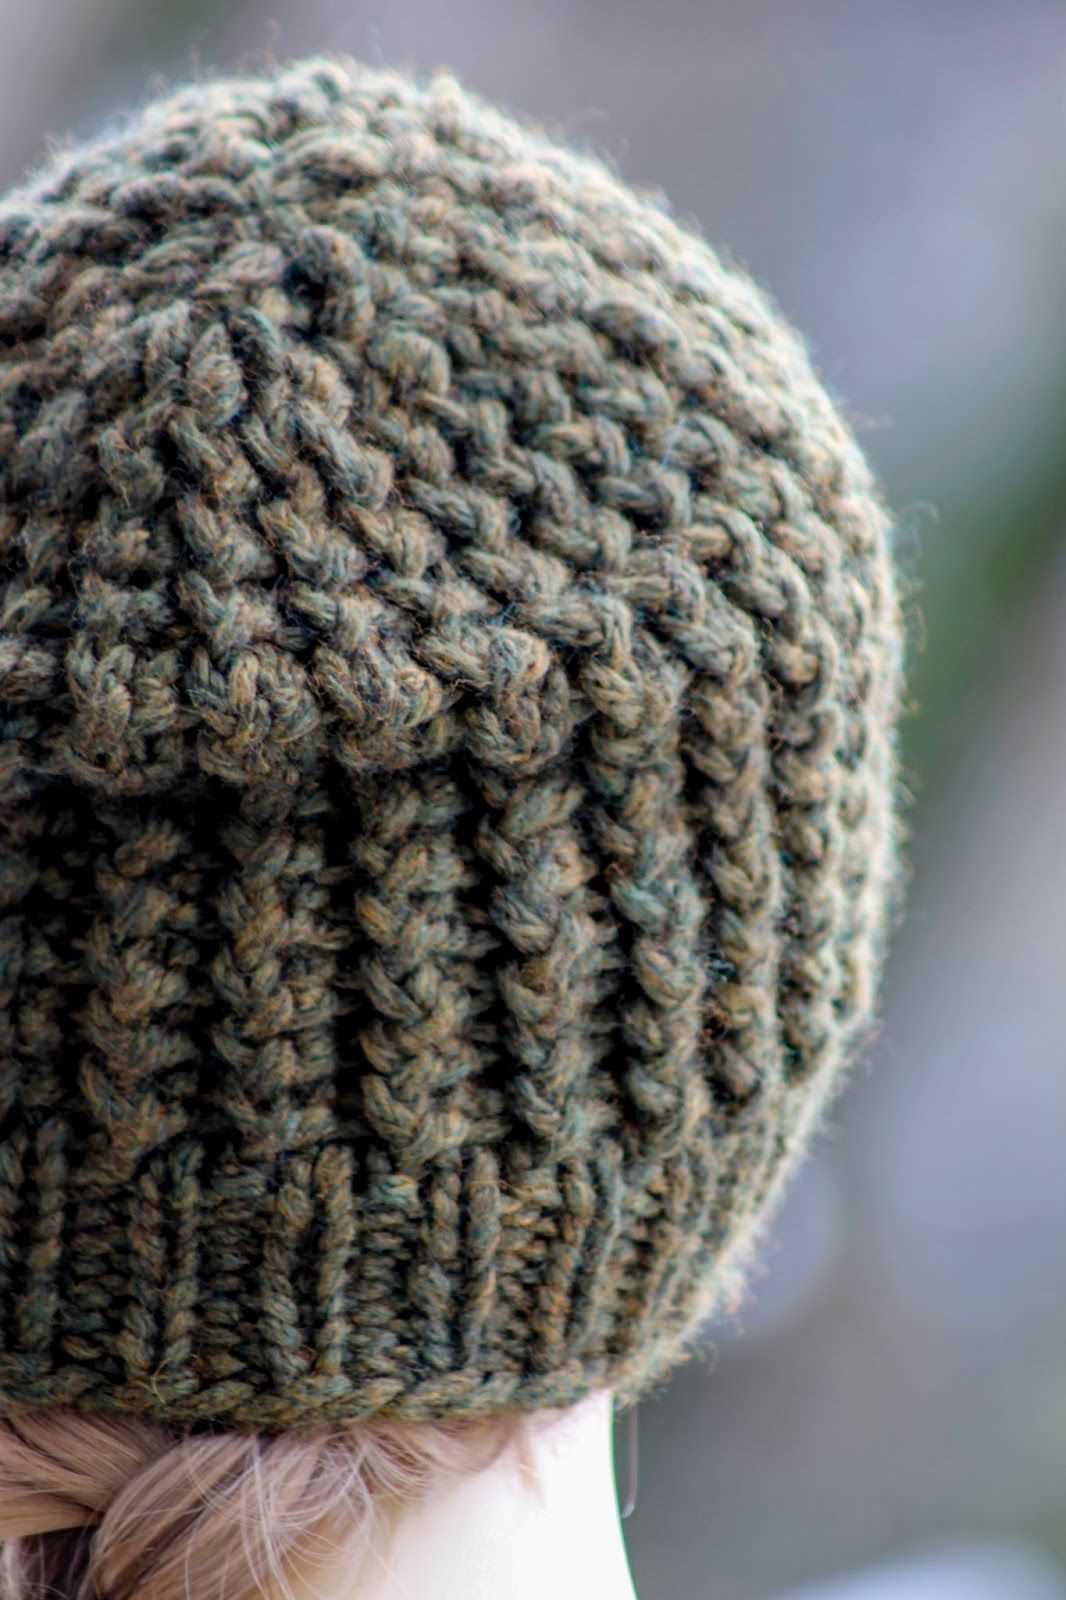
Rows 6-10: (optional) If you want to add a simple textured pattern to your hat, you can switch to a different stitch pattern for a few rows. Consider using a basic knit purl stitch pattern or a simple ribbing pattern. This will add some visual interest to your hat.
After you have completed the desired number of rows for the body of your hat, you can move on to shaping the crown, which will give your hat its final shape. Make sure to follow the pattern instructions for shaping the crown and decreasing your stitches, as this will vary depending on the specific pattern you’re using.
Decreases for Crown Shaping
When knitting a super bulky knit hat, the crown shaping is an important step to create a well-fitting and stylish finish. Decreases are used to shape the crown of the hat, making it narrower towards the top. There are several different methods for decreases, and the choice of technique can affect the look and fit of the hat.
One common decrease method for a super bulky knit hat is the Knit 2 Together (K2tog) decrease. This decrease involves knitting two stitches together as if they were one. This creates a single stitch where there were previously two, reducing the number of stitches on the needle and shaping the fabric. The K2tog decrease is often used in a spiral or concentric pattern to create a neatly tapered crown.
Another popular decrease method is the Slip, Slip, Knit (SSK) decrease. This decrease is created by slipping two stitches knitwise one at a time onto the right-hand needle, then inserting the left-hand needle into the front loops of the slipped stitches and knitting them together through the back loops. The SSK decrease creates a left-leaning decrease and can be used in combination with the K2tog decrease to create interesting crown shaping patterns.
It is important to follow the pattern instructions carefully when decreasing for crown shaping in a super bulky knit hat. The instructions will specify the number of stitches to decrease and the method to use. It may be necessary to decrease every round or every other round, depending on the desired shaping and the stitch pattern used. By carefully following the pattern and using the appropriate decrease method, you can create a beautiful and well-fitting super bulky knit hat.
Tips for Decreasing in a Super Bulky Knit Hat:
- Use a larger needle size for the decreases to ensure the fabric remains loose and stretchy.
- Keep a consistent tension throughout the decreases to avoid loose or tight stitches.
- Try different decrease methods to create unique crown shaping designs.
- Take the time to measure your gauge and adjust the number of decreases accordingly to ensure a proper fit.
- Block the finished hat to help shape the crown and even out any uneven stitches.
Switching to Double Pointed Needles
When knitting a super bulky hat using a pattern that calls for circular needles, you may eventually need to switch to double pointed needles. Double pointed needles are ideal for knitting in the round when the circumference of the project becomes too small for circular needles to comfortably accommodate. This transition is necessary to continue shaping the crown of the hat and achieve the desired fit.
To switch to double pointed needles, begin by dividing your stitches evenly onto three or four needles, depending on the pattern. Start by knitting one-third or one-fourth of the stitches onto the first needle. Then, distribute the remaining stitches equally onto the other needles. You can use stitch markers to mark the beginning of each round if needed.
When using double pointed needles, it’s essential to keep a few things in mind. First, make sure that your working yarn is positioned correctly on the first needle, as you will be knitting with the second needle. This will prevent any gaps or holes from forming between the needles. Additionally, be mindful of the tension on your stitches, as it can be easy to unintentionally tighten or loosen them while working with multiple needles. Maintaining an even tension will ensure a consistent and professional finish.
When switching to double pointed needles, it may also be helpful to use a set of needle stoppers or rubber bands to prevent your stitches from slipping off the needles while you work. These can be placed on the ends of the unused needles to keep the stitches secure and prevent any frustration or potential mistakes.
Tips for Switching to Double Pointed Needles:
- Divide the stitches evenly onto the needles
- Pay attention to the position of the working yarn
- Be mindful of your stitch tension
- Use needle stoppers or rubber bands to avoid dropped stitches
Finishing the Crown
Once you have completed the body of your super bulky knit hat, it’s time to finish off the crown. This is the top part of the hat that will create the rounded shape and cover the head. There are a few different options for finishing the crown, depending on the style and look you want to achieve.
Ideas for finishing the crown
Option 1: Decrease rounds
One common way to finish off the crown is to decrease the number of stitches in each round. This creates a tapered effect, leading to a neat and rounded finished look. To do this, follow the pattern instructions for decreasing stitches, typically by knitting or purling two stitches together at regular intervals. Continue decreasing until you have a small enough number of stitches to close the crown.
Option 2: Gather the stitches
Another option is to gather the remaining stitches at the top of the hat. To do this, cut the yarn, leaving a long tail. Thread the tail through a yarn needle and insert the needle through each stitch on the knitting needle. Once all the stitches are on the yarn needle, pull tight to gather the stitches together. This will create a pointed or gathered look at the top of the hat.
Final touches
Once you have finished the crown, it’s time to add any final touches or details to your super bulky knit hat. This could include adding a pom-pom on top, attaching a fleece lining for extra warmth, or weaving in any loose ends to make the hat look clean and polished. Take the time to carefully inspect your hat and make any necessary adjustments or finishes to ensure it looks the way you want it to.
Adding a Pom Pom (Optional)
If you want to add a playful touch to your super bulky knit hat, you can easily attach a pom pom. Pom poms are a popular embellishment choice for hats, adding extra charm and personality. Here’s a step-by-step guide on how to add a pom pom to your hat:
- Choose your pom pom: There are plenty of pom pom options available in craft stores or online. You can select pom poms in various colors, sizes, and textures to match your hat or create a fun contrast.
- Prepare your hat: Make sure your hat is complete and ready for the pom pom. If you haven’t finished knitting your hat yet, follow the pattern instructions and complete it.
- Thread the needle: Take a long piece of yarn in a matching color and thread it through a large eye needle. Make a knot at one end of the yarn to secure it.
- Choose the pom pom placement: Decide where you want to place the pom pom on your hat. It can be centered on the crown or slightly off to one side, depending on your preference.
- Attach the pom pom: Insert the needle from the inside of the hat towards the outside, right at the chosen pom pom placement. Push the needle through the center of the pom pom and pull it all the way through, making sure it’s tightly secured.
- Secure the pom pom: After attaching the pom pom, take the yarn ends on the inside of the hat and tie them together in a tight knot. This will help keep the pom pom in place.
- Trim the yarn ends: Cut off any excess yarn ends that are sticking out. Make sure to trim them close to the knot so they are not visible.
Now your super bulky knit hat is complete with a lovely pom pom! It’s a fun and fashionable addition that can make your hat stand out. Experiment with different colors and sizes of pom poms to create unique looks for your hats. Enjoy wearing your cozy and stylish creation!
Blocking and Finishing Touches
After completing your super bulky knit hat, it’s important to give it a good blocking to ensure it maintains its shape and size. Blocking helps to even out any uneven stitches and gives the hat a professional and finished look.
To block your hat, you’ll need a large blocking board or surface that you can pin the hat to. Gently reshape the hat to your desired size and shape, making sure to smooth out any bumps or lumps. Use T-pins or blocking pins to secure the hat to the blocking surface, stretching it slightly if needed.
Allow the hat to dry completely before removing the pins. This may take anywhere from a few hours to a day or so, depending on the yarn and the weather conditions. Once the hat is dry, carefully remove the pins and give it a final inspection to make sure it looks perfect.
For those who prefer a more finished look, you can add some additional touches to your super bulky knit hat. One option is to add a pom pom on top. You can use the same yarn as the hat or a contrasting color for a pop of fun. Attach the pom pom securely to the top of the hat using a needle and thread.
Another finishing touch could be adding a ribbed or folded brim to the hat. This adds a bit of extra warmth and can create a more polished look. To do this, simply pick up stitches along the bottom edge of the hat and knit a few rows in a ribbed stitch pattern. Fold the brim up and tack it in place using a needle and thread or some invisible stitches.
Once you’ve finished blocking and adding any additional touches to your super bulky knit hat, it’s ready to be worn with pride. Whether you’re keeping it for yourself or gifting it to a loved one, it’s sure to be a cozy and stylish accessory for those chilly winter days.
Customizing the Hat
One of the best things about knitting your own hat is that you have full control over the design and customization. You can add unique details and make it truly your own. Whether you want to personalize the hat with initials, add a pom-pom, or incorporate different colors, there are endless possibilities to make it special.
Embroidery: Adding embroidery to your hat can be a beautiful way to personalize it. You can stitch initials, names, or even create small motifs. Consider using contrasting colors to make the embroidery stand out. To get started, choose an embroidery floss or yarn that complements the color of your hat and gather some embroidery needles. Remember to plan your design beforehand and practice the stitches on a scrap piece of fabric before stitching on your actual hat.
Pom-Pom: A pom-pom is a fun and playful addition to any hat. It adds a festive touch and can be easily customized to match your style. You can create a pom-pom using yarn in the same color as your hat or experiment with different colors for a more vibrant look. There are various techniques to make a pom-pom, including using a pom-pom maker or simply wrapping yarn around your fingers and tying it in the middle. Attach the pom-pom securely to the top of your hat for a finished look.
Colorwork: Using multiple colors in your hat design can create a stunning effect. You can choose to knit stripes, create geometric patterns, or even incorporate a picture or symbol into your hat design. To achieve a neat colorwork, make sure to carry the yarn not in use loosely along the back of your work. You can follow a colorwork chart or come up with your own design. Experiment with different color combinations to find the perfect match.
Additional Embellishments: Besides embroidery and pom-poms, there are many other ways to customize your hat. You can add buttons, beads, or even ribbons to give your hat a unique touch. Consider using fabric patches or appliques to create a textured look. You can sew them on or use fabric glue for a no-sew option. Explore different embellishment options and let your creativity shine.
Washing and Care Tips
Proper care and maintenance of your super bulky knit hat will help ensure its longevity and keep it looking its best. Here are some tips to help you clean and care for your hat:
Hand Washing
Most super bulky knit hats are made from wool or acrylic yarn, which can be sensitive to machine washing. To clean your hat, fill a basin with lukewarm water and add a small amount of gentle detergent. Gently swirl the hat in the soapy water and let it soak for a few minutes. Rinse the hat thoroughly with cool water to remove all soap residue. Avoid wringing or twisting the hat to prevent stretching or damaging the fibers. Instead, gently squeeze out excess water.
Drying
After washing, reshape the hat to its original size and place it on a clean towel. Gently roll the towel, with the hat inside, to absorb excess water. Do not rub or wring the hat. Once most of the water is absorbed, lay the hat flat on a dry towel or a mesh drying rack, making sure it is in its original shape. Avoid exposing the hat to direct sunlight or heat sources, as this can cause the fibers to warp or fade. Allow the hat to air dry completely before wearing or storing.
Storage
When not in use, it’s important to store your super bulky knit hat properly to prevent it from getting damaged. Fold the hat neatly, making sure there are no creases or folds. Place it in a clean, breathable bag, such as a fabric or mesh bag, to protect it from dust and moths. Avoid storing it in plastic bags, as they can trap moisture and cause the hat to become musty. Store the hat in a cool, dry place, away from direct sunlight.
Following these washing and care tips will help keep your super bulky knit hat in good condition for years to come, ensuring it remains cozy and stylish throughout the winter season.
Final Thoughts
In conclusion, the super bulky knit hat pattern is a fantastic option for anyone looking to create a warm and cozy hat quickly. Whether you’re a beginner or an experienced knitter, this pattern is simple enough to follow and allows for customization with different yarns and needle sizes.
The super bulky yarn used for this pattern not only adds warmth but also gives the hat a chunky and stylish look. With just a few hours of knitting, you can have a fashionable winter accessory that will keep you warm in the coldest temperatures.
Remember to always check your gauge before starting the pattern to ensure the correct fit. Additionally, feel free to experiment with different colors and stitch patterns to make your hat unique.
If you’re new to knitting or looking for a quick and satisfying project, give the super bulky knit hat pattern a try. You’ll be amazed at how quickly you can create a stylish and functional hat that will keep you cozy all winter long.