
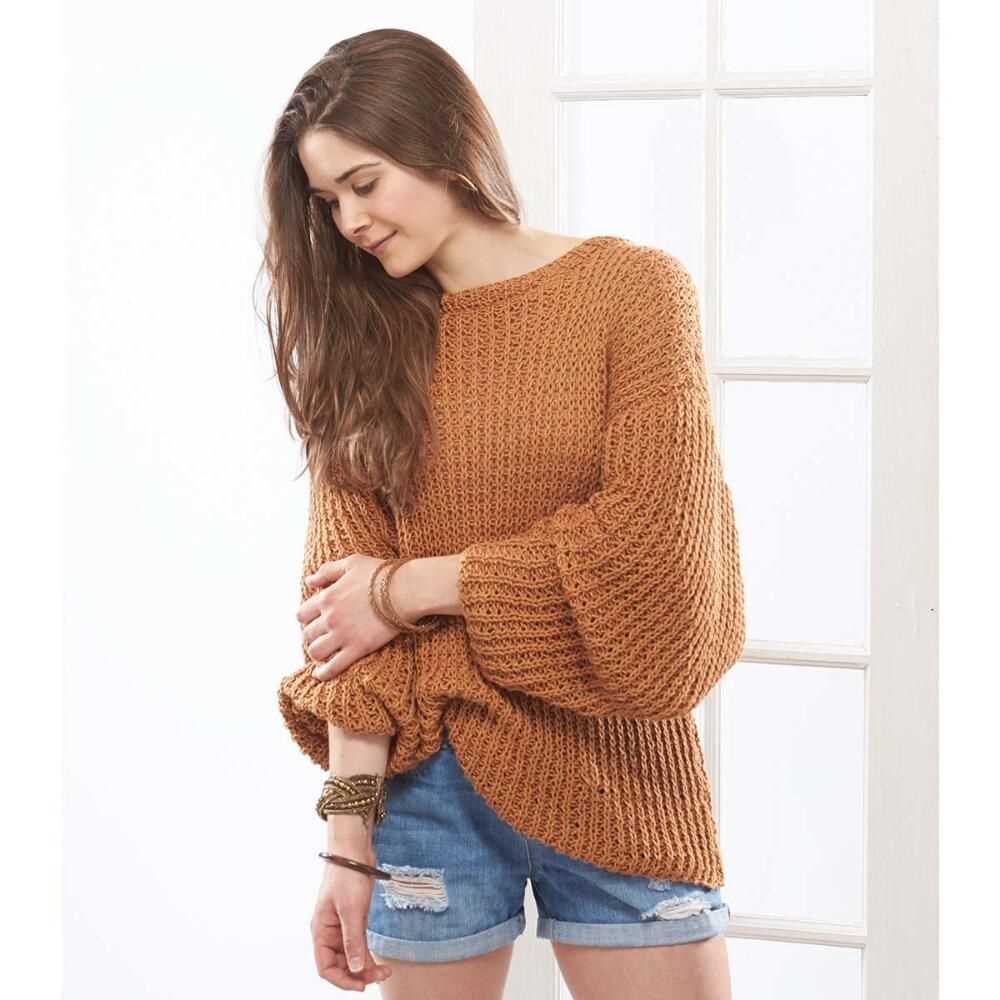
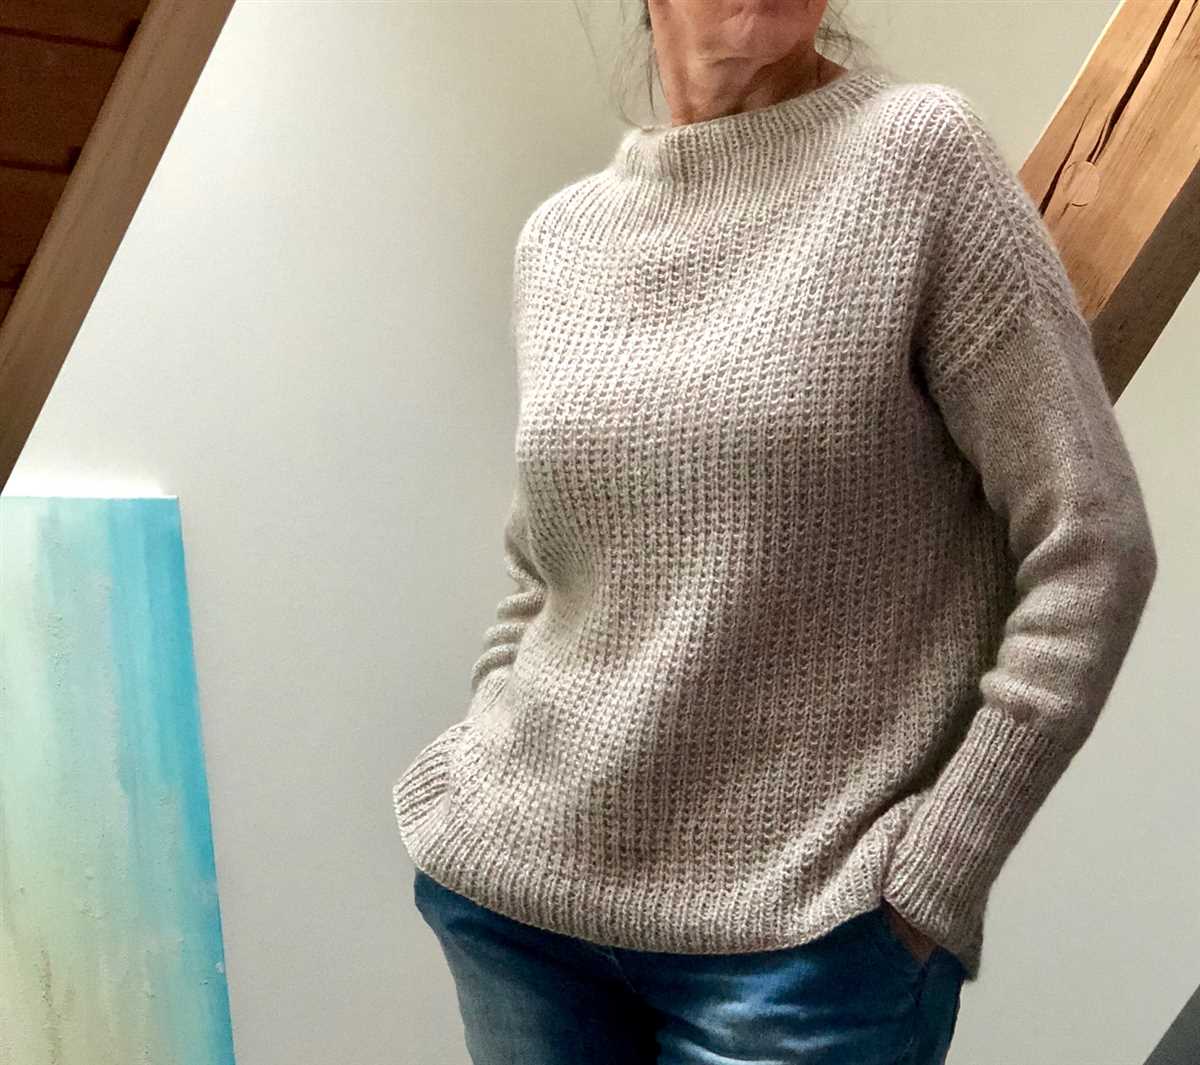
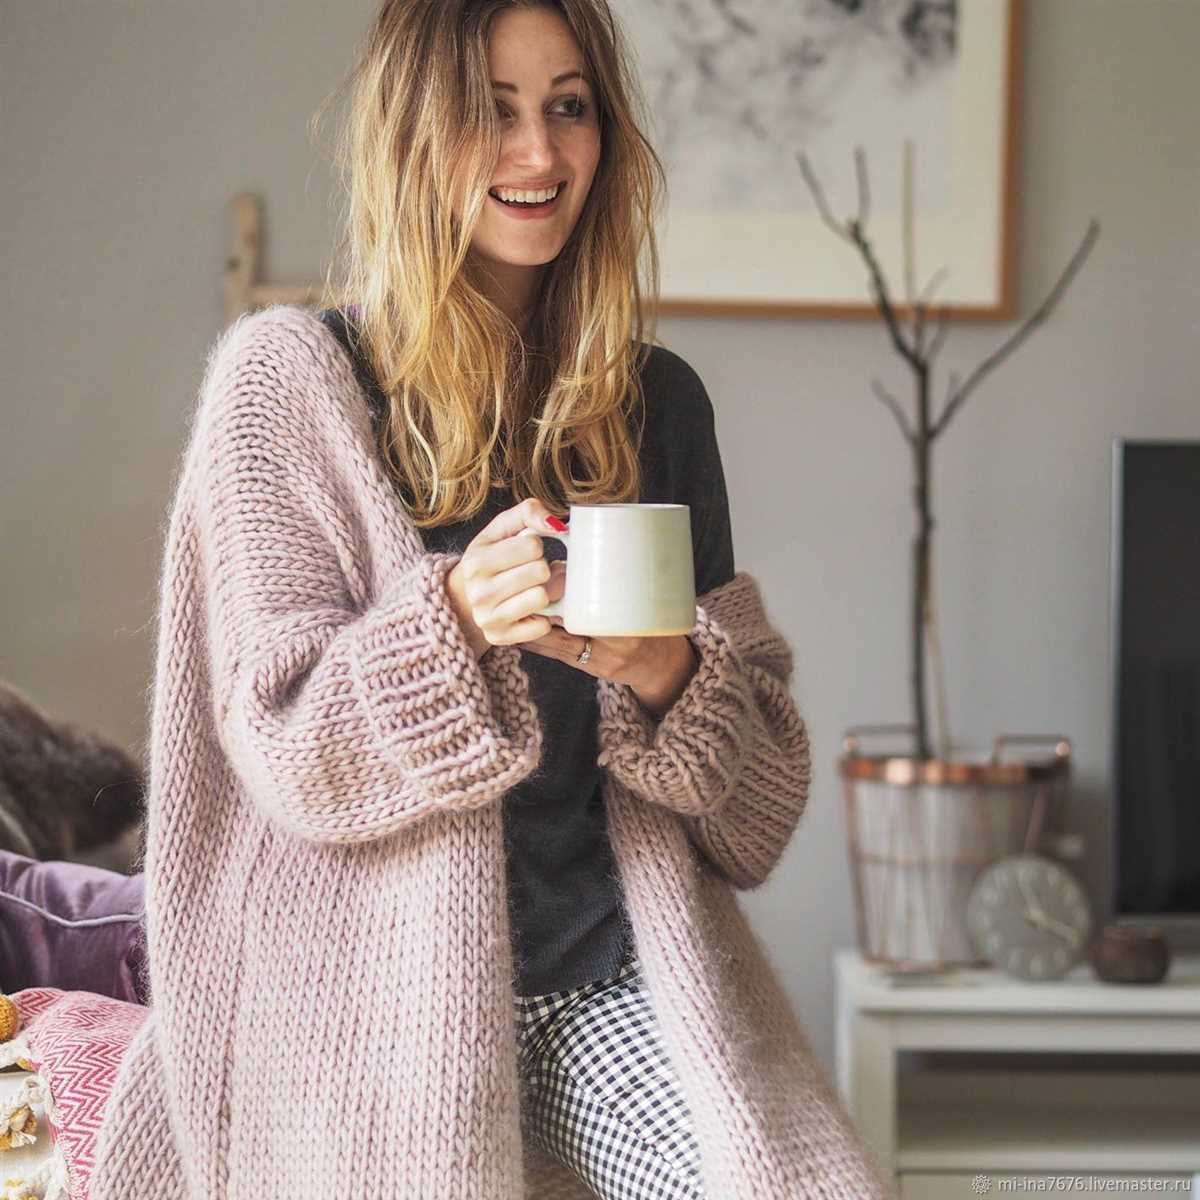
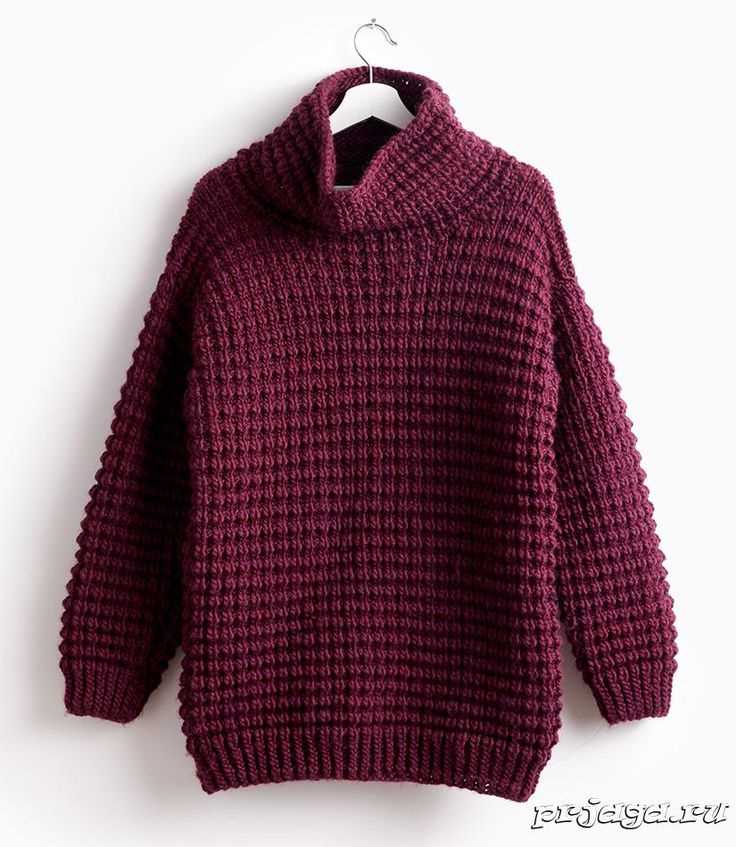
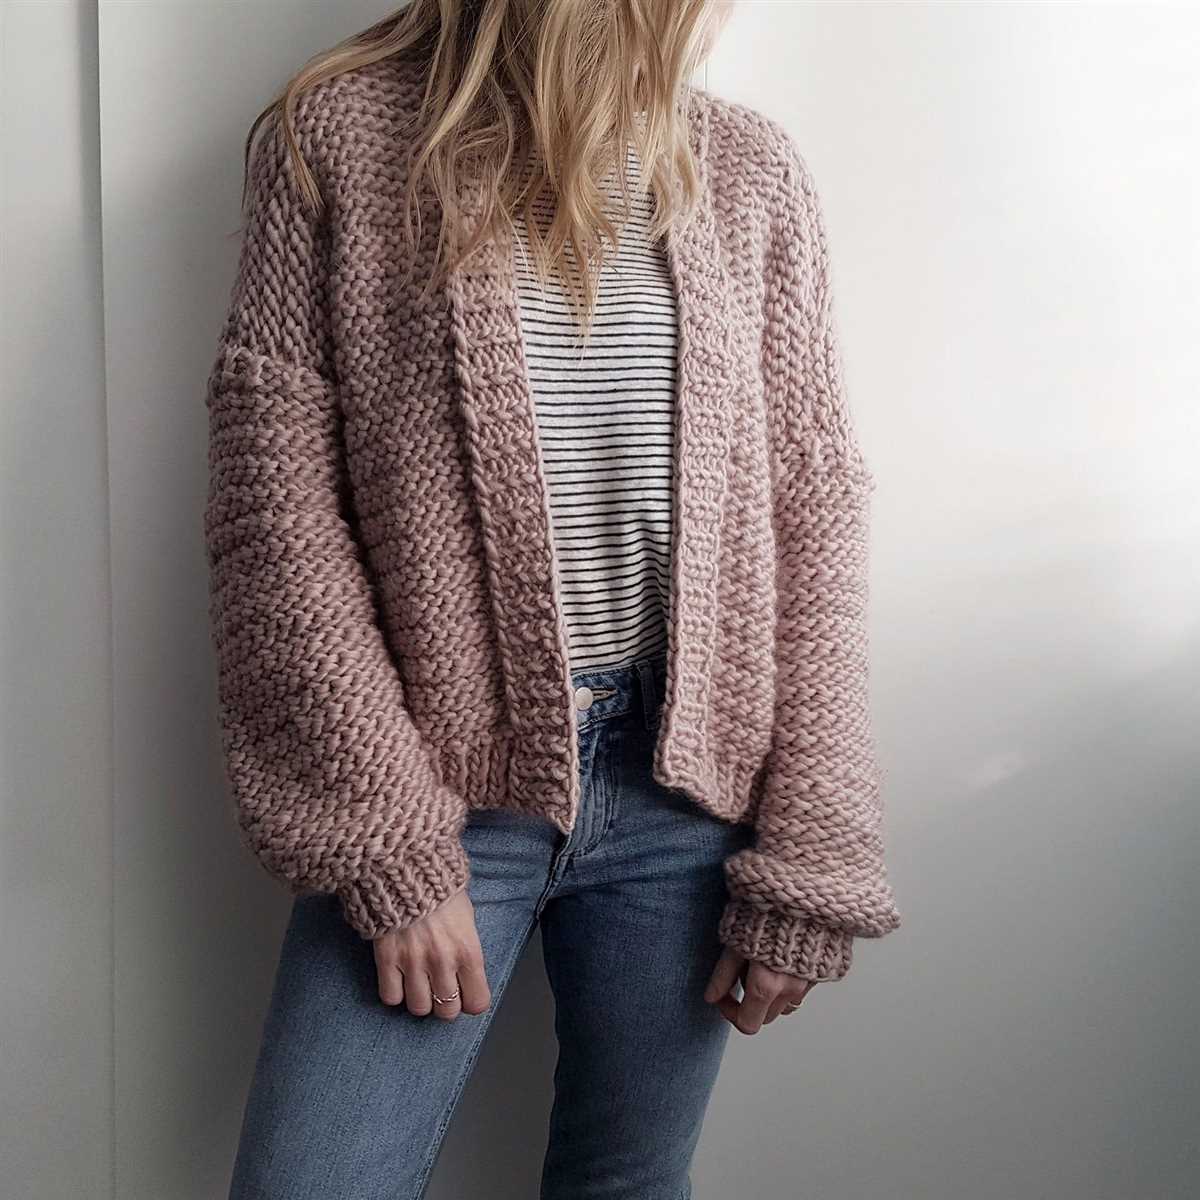
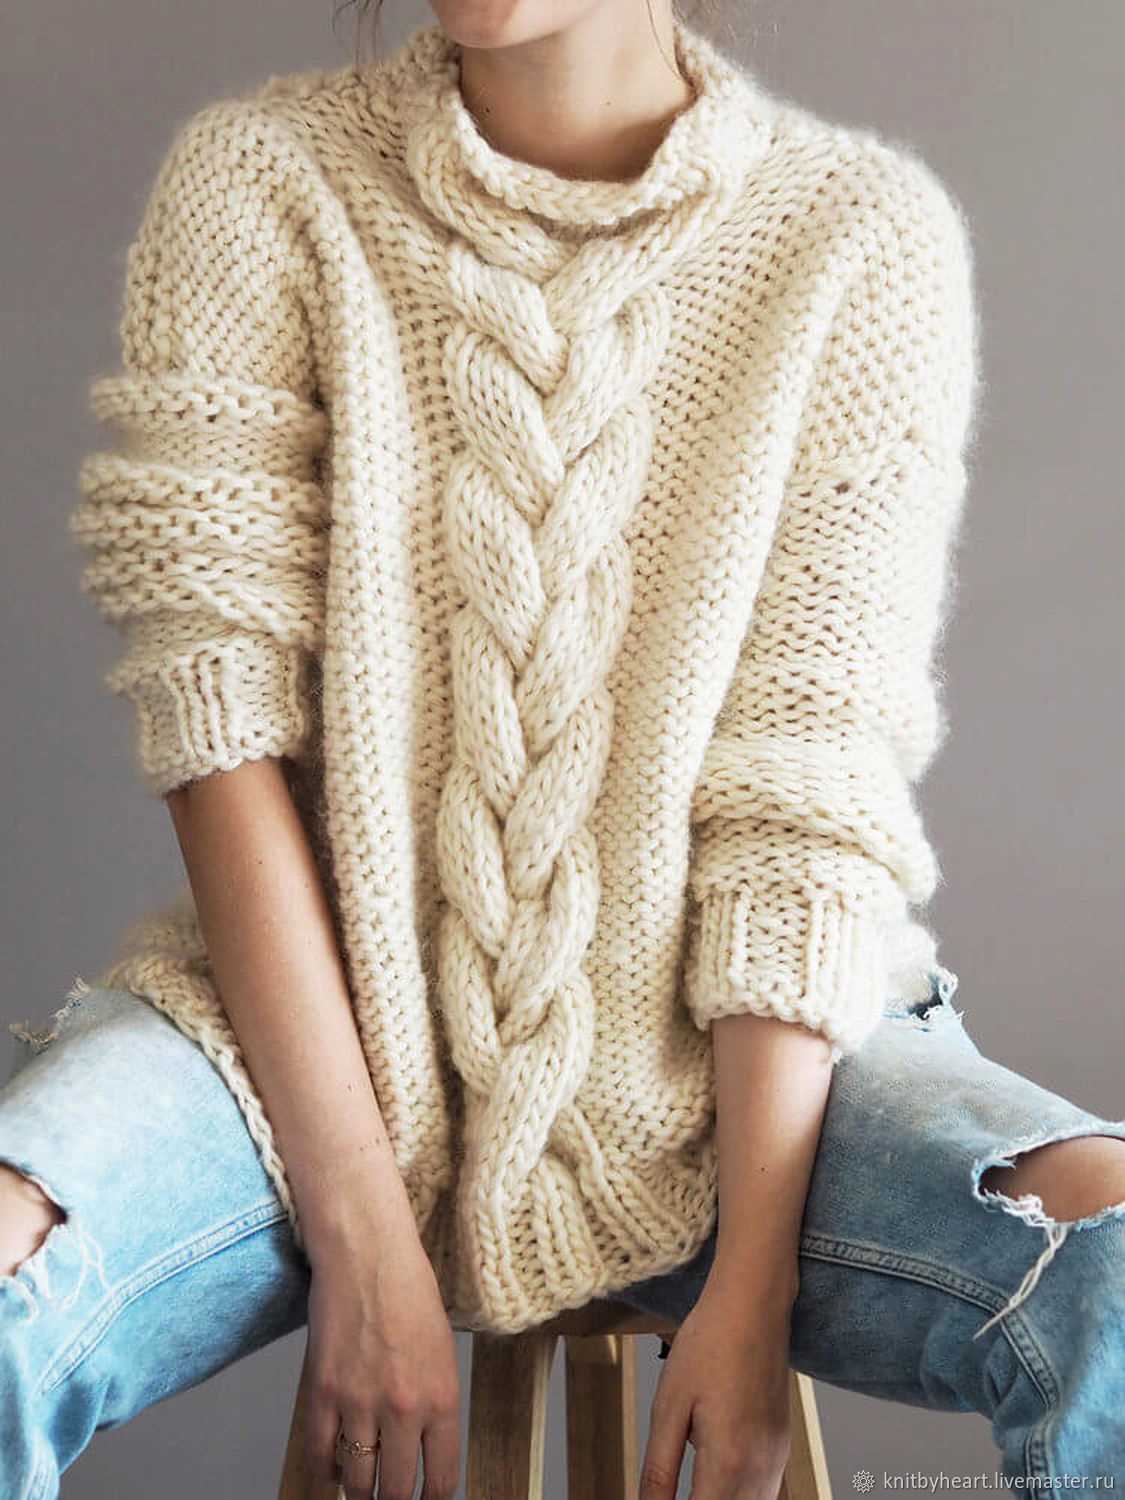
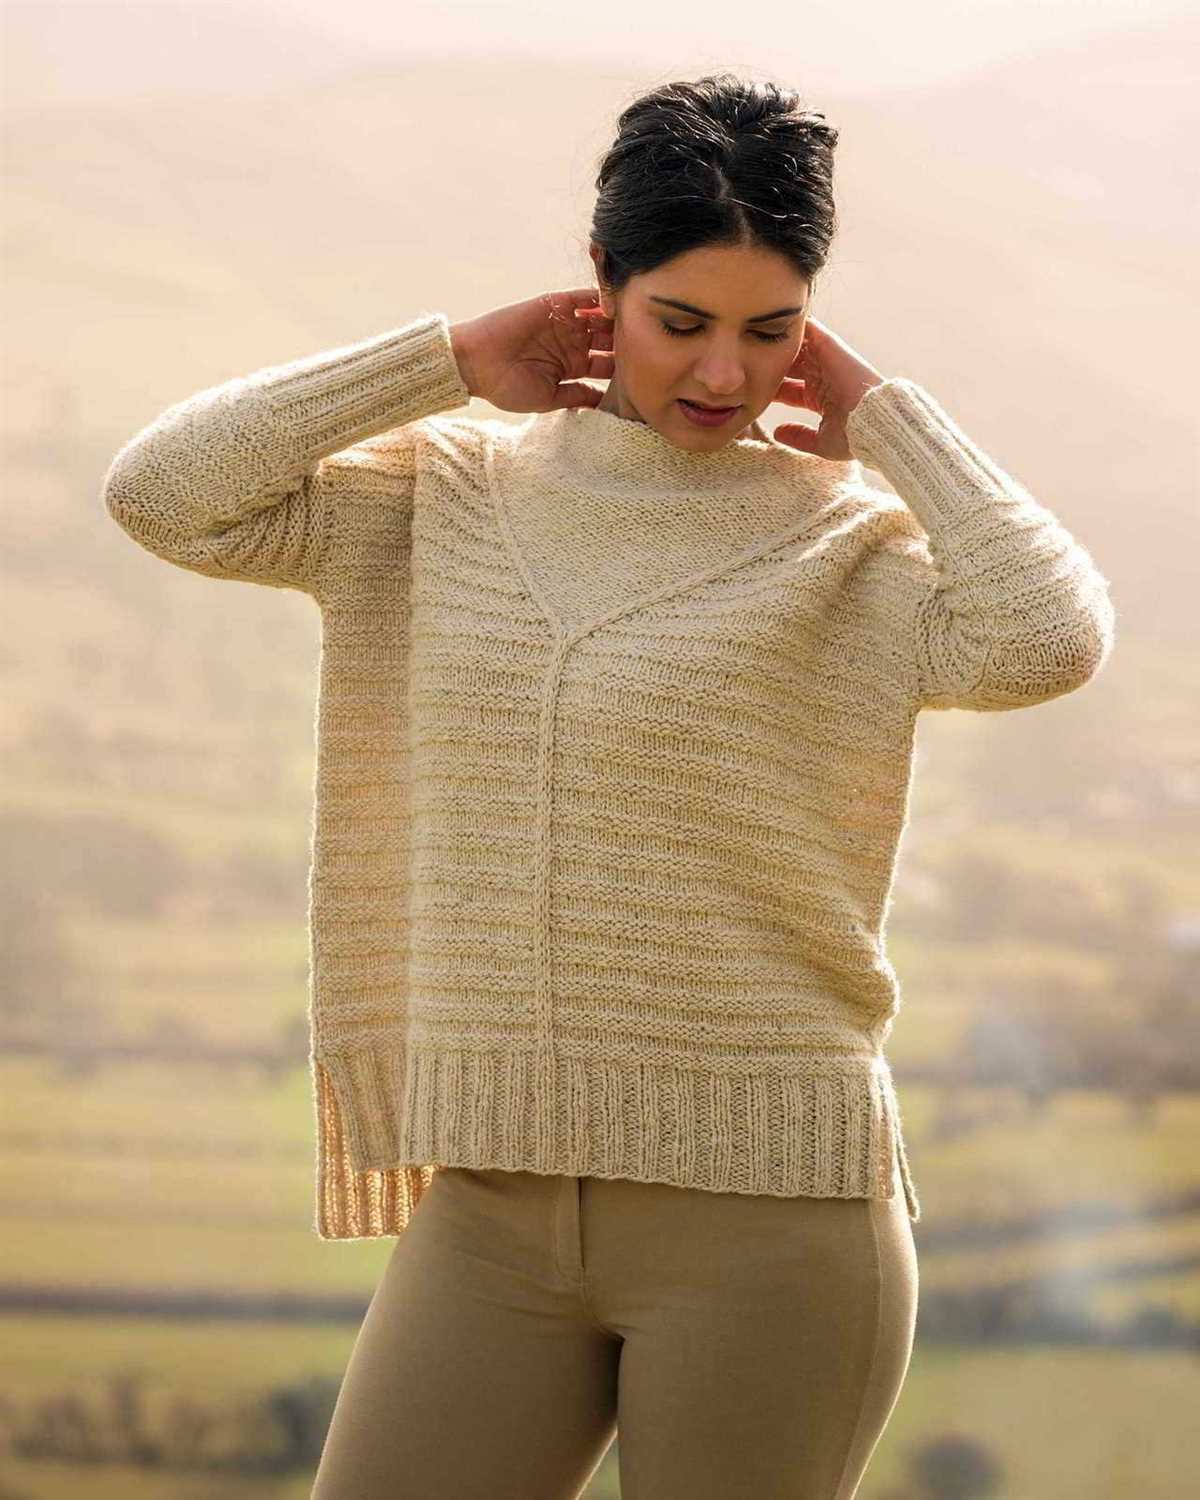
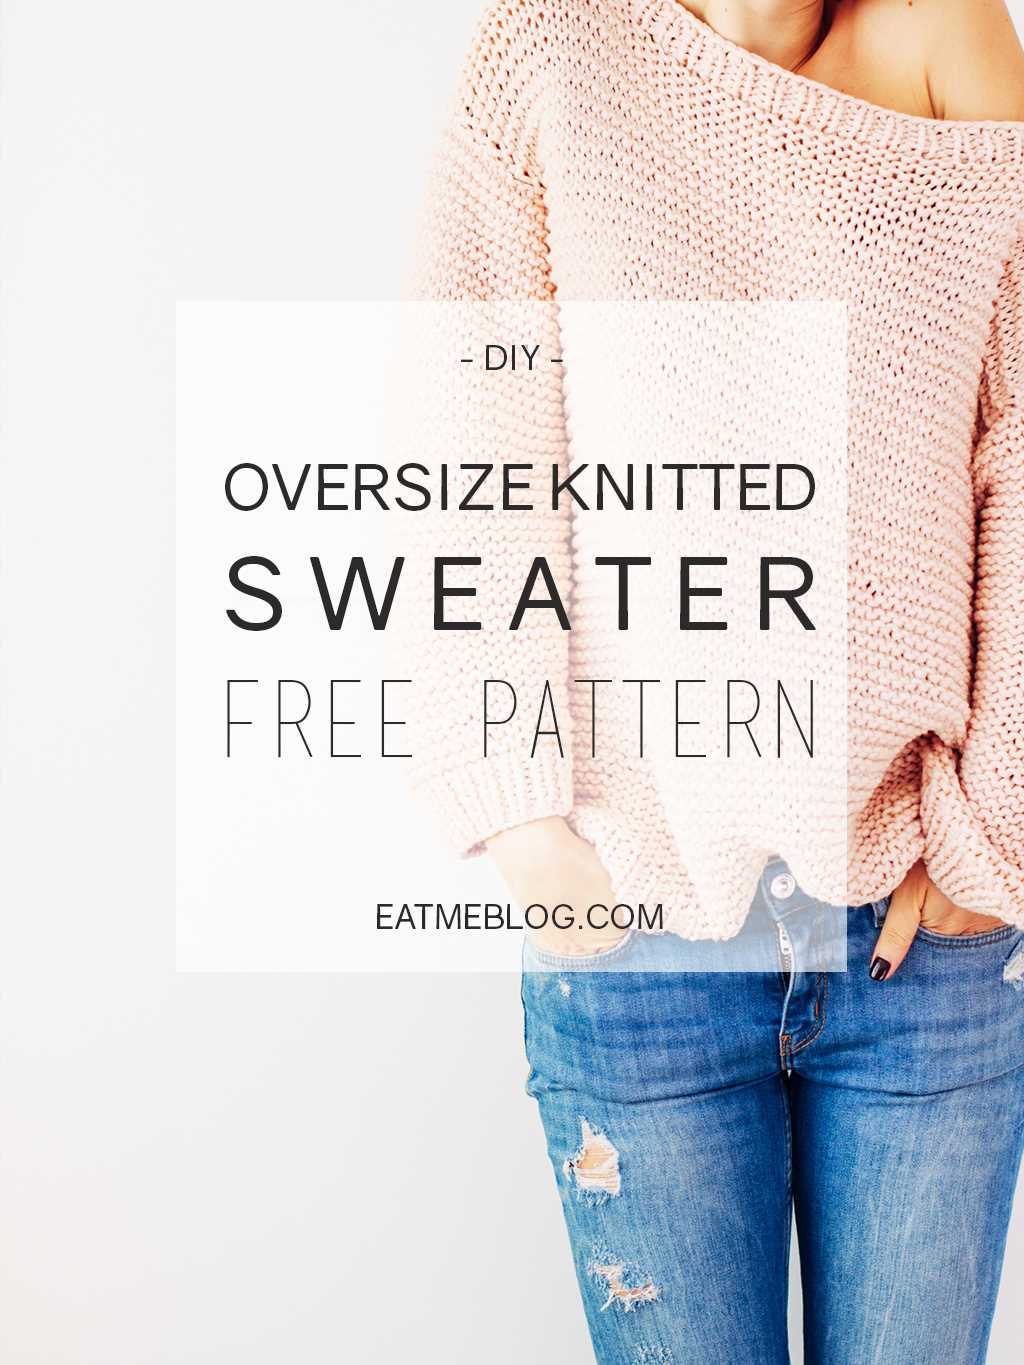
If you’re a beginner knitter looking for a cozy and stylish project, an oversized sweater is the perfect choice. Not only is it on-trend, but it’s also a great way to showcase your knitting skills. Whether you prefer chunky or lightweight yarn, this easy knitting pattern will guide you through each step of creating your very own oversized sweater.
One of the advantages of an oversized sweater is that it can be worn by everyone, regardless of body shape or size. The loose fit adds a casual and relaxed vibe to any outfit, making it a versatile garment that can be dressed up or down. Plus, the oversized design allows for more freedom of movement, making it comfortable and easy to wear.
This pattern is suitable for knitters with basic knitting skills and can be customized to fit your preferences. You can choose your favorite yarn color and needle size to create a unique look. With a few simple techniques, such as knit and purl stitches, you’ll be able to knit this oversized sweater in no time.
How to Knit an Easy Oversized Sweater: A Complete Guide
Knitting an oversized sweater can be a rewarding project for experienced knitters and beginners alike. With the right materials and a few basic knitting techniques, you can create a cozy, stylish piece to add to your wardrobe. This complete guide will walk you through the steps to knit an easy oversized sweater.
Materials:
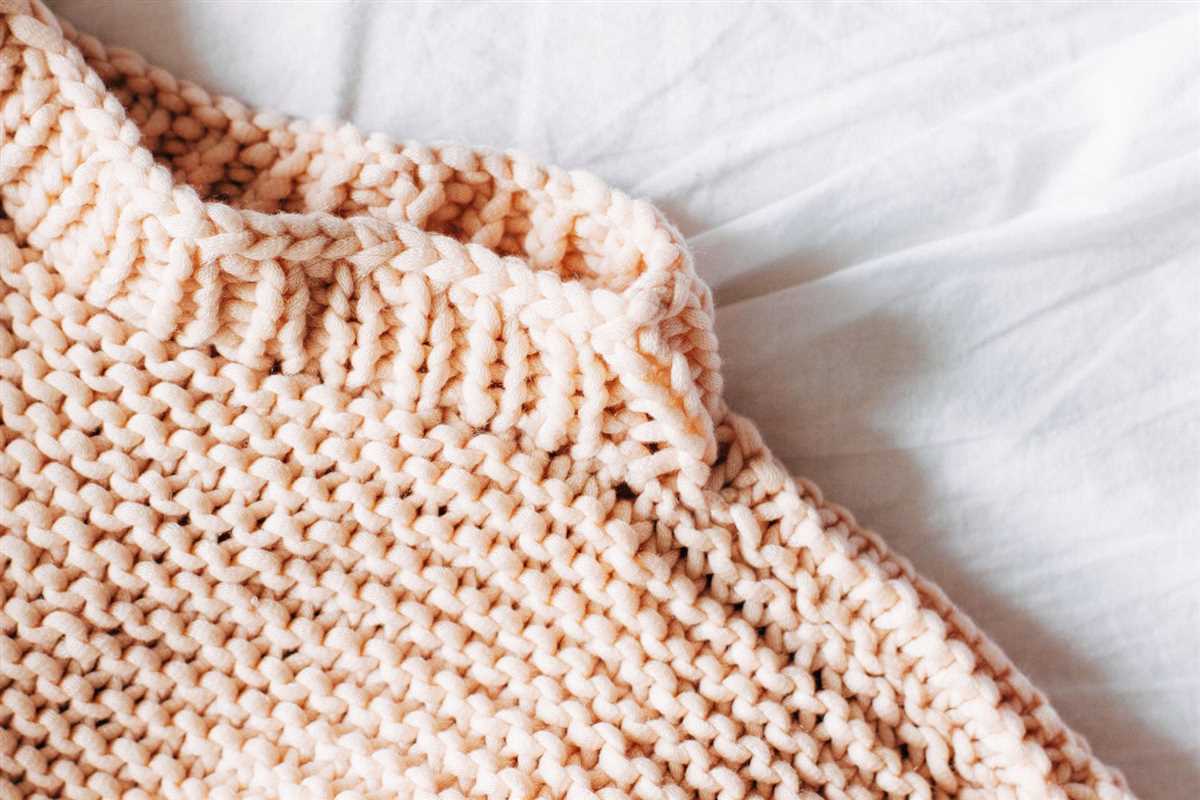
- Chunky yarn: Choose a soft, chunky yarn in the color of your choice. The weight of the yarn will determine the thickness and warmth of your sweater.
- Knitting needles: Use circular knitting needles in a size suitable for your chosen yarn. The length of the needles should be long enough to hold the stitches comfortably.
- Tape measure: This will help you keep track of your progress and ensure the correct sizing of your sweater.
- Stitch markers: These will help you keep track of important points in your pattern, such as the beginning of rounds or increases/decreases.
- Yarn needle: This will be used for weaving in loose ends and finishing the seams of your sweater.
Casting On and Knitting the Body
Begin by casting on the desired number of stitches for the body of your sweater using the long-tail cast-on method. Make sure to leave a long tail of yarn for later seaming. Once you have cast on the stitches, join in the round, being careful not to twist the stitches.
Continue knitting in the round, using a basic knit stitch, until the body of your sweater reaches the desired length. You can use a tape measure to periodically check the length as you go along. For an oversized fit, aim for a length that falls just below your hips or mid-thigh.
Shaping the Shoulders and Sleeves
To shape the shoulders, you will need to create armhole openings. Choose a point on each side of the body where the armhole should begin. Mark these points with stitch markers.
Knit a few rows after the first stitch marker, then start shaping the shoulders by binding off a certain number of stitches on each side of the armhole markers. This will create a gradual slope for the shoulders. Continue knitting the remaining stitches in the round until the body measures the desired length for the sleeves.
Starting at the armhole markers, divide the remaining stitches evenly onto two separate sets of circular needles or stitch holders. These will be the sleeves of your sweater. Knit each sleeve separately, using the same basic knit stitch, until they reach the desired length. Bind off the stitches and weave in any loose ends.
Finishing Touches

To finish your oversized sweater, you will need to seam the shoulders and sleeves together. Using a yarn needle and a length of yarn, use the mattress stitch or whip stitch to sew the seams, making sure to match the stitch pattern.
Finally, weave in any remaining loose ends and give your sweater a gentle blocking to even out the stitches and help it hold its shape. Lay it flat on a clean surface, lightly mist it with water, and let it dry completely.
Follow this complete guide, and you’ll have an easy oversized sweater that you can proudly wear and show off your knitting skills. Enjoy the process and the warmth of your finished creation!
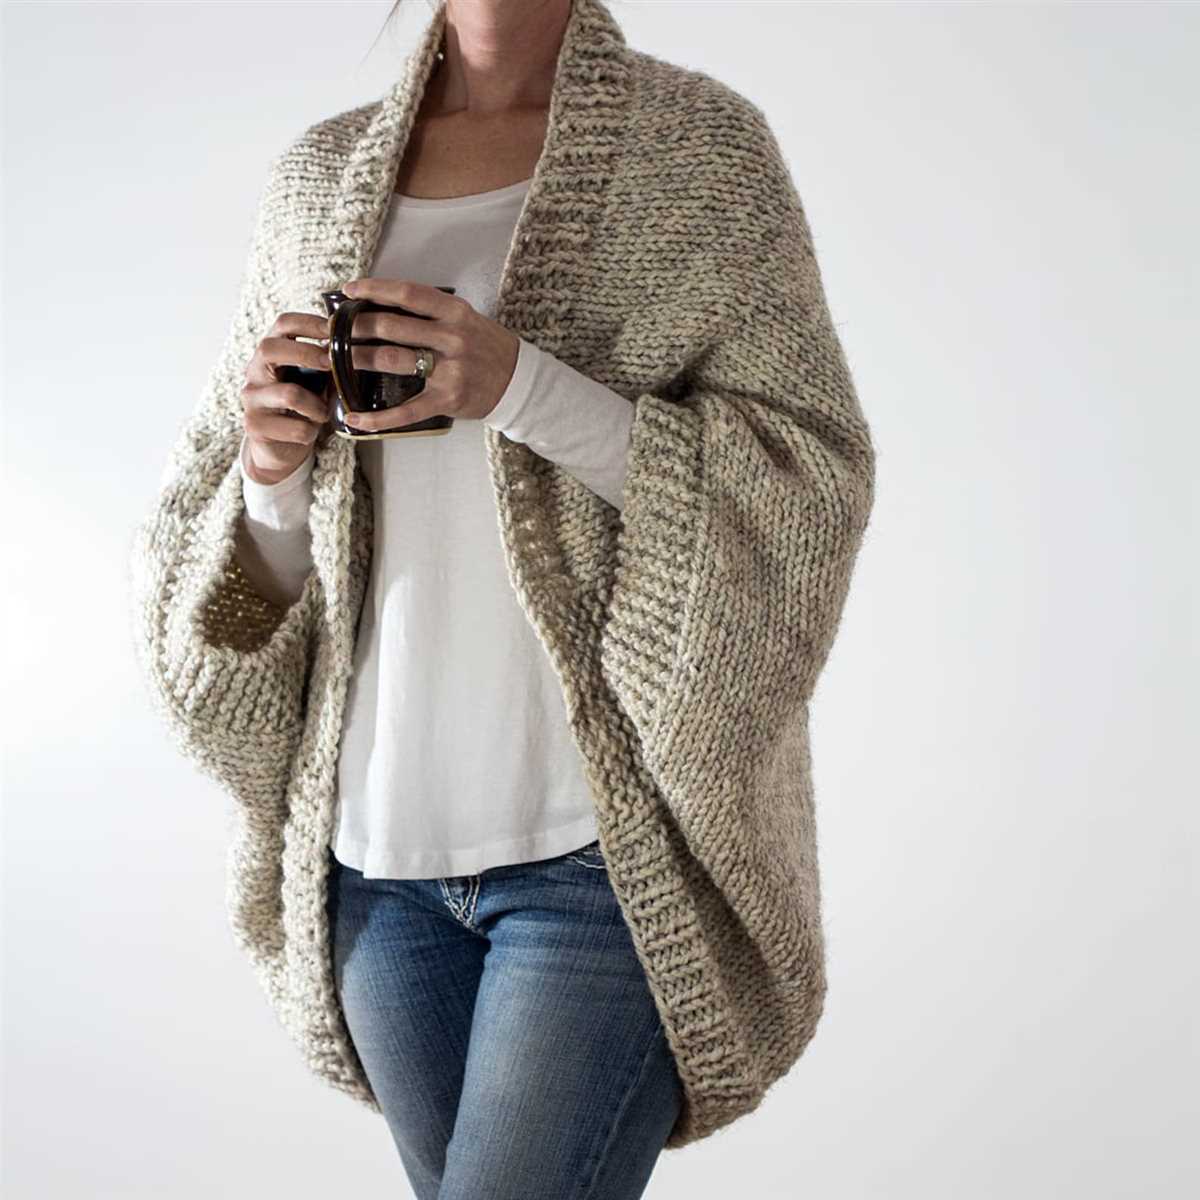
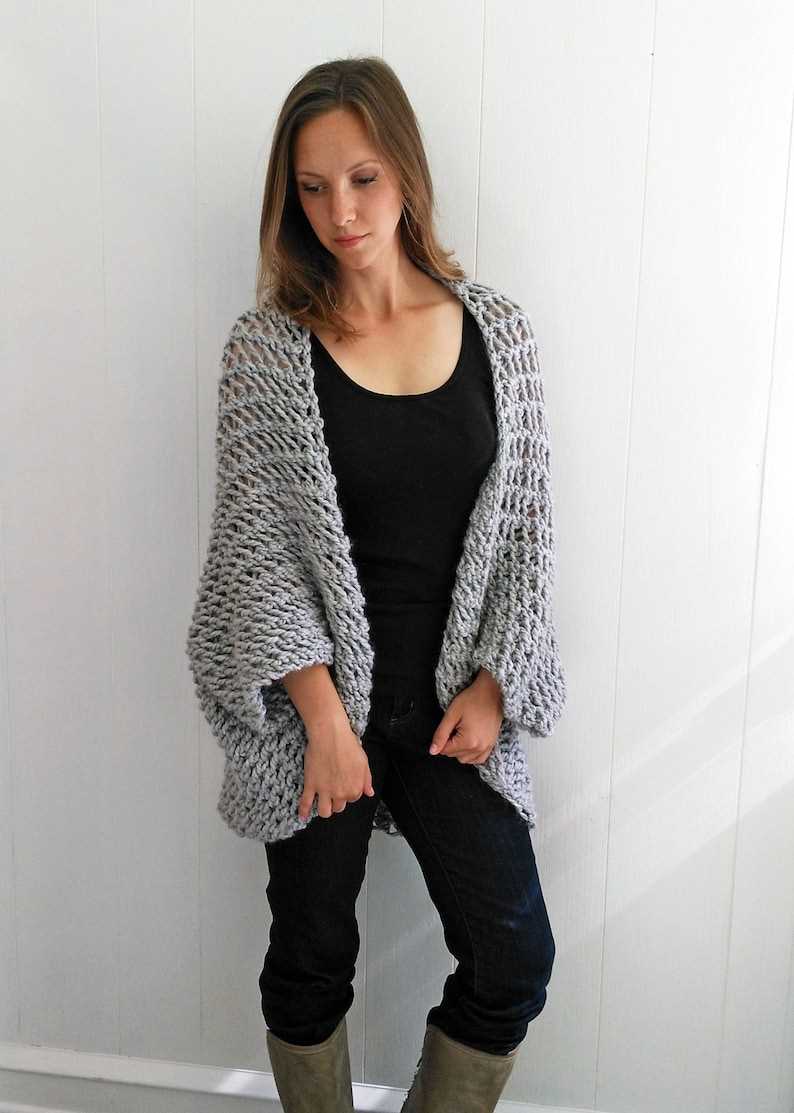
Choosing the Perfect Yarn for Your Oversized Sweater
When it comes to knitting an oversized sweater, choosing the right yarn is crucial. The yarn you select will not only determine the overall look and feel of your sweater, but also its durability and warmth. There are several factors to consider when choosing the perfect yarn for your project.
Weight: One of the first things to consider is the weight of the yarn. For an oversized sweater, you’ll want to choose a yarn that is on the heavier side. Chunky or bulky yarns are great options as they will help create that cozy and oversized look.
Fiber: Another important factor to consider is the fiber content of the yarn. Natural fibers such as wool, alpaca, and cashmere are excellent choices for oversized sweaters as they provide warmth and softness. Acrylic yarns can also be a good option, as they are often more affordable and can be easier to care for.
Texture: The texture of the yarn can also play a role in the final outcome of your oversized sweater. Smooth yarns will give a more polished and sleek look, while textured yarns can add visual interest and dimension to your sweater. Mohair and boucle yarns are great options for adding texture to your project.
Color: Lastly, consider the color of your yarn. Neutral colors such as beige, gray, and cream are timeless and versatile choices that can match any outfit. However, don’t be afraid to play with color and choose a bold or vibrant shade to make a statement with your oversized sweater.
To help you make the right decision, take the time to read yarn labels, feel the yarn in person, and even make swatches to see how the yarn will knit up. Remember, the perfect yarn for your oversized sweater is the one that makes you excited to start knitting and that will result in a cozy and stylish finished garment.
Selecting the Right Needles for Your Project

When starting a knitting project, one of the most important decisions you need to make is choosing the right needles. The type and size of needles you use can greatly impact the outcome of your project, so it’s essential to select the right ones for your needs.
Needle material: One of the first things to consider is the material of the needles. The most common options are metal, wood, and plastic. Metal needles are durable and smooth, allowing the yarn to slide easily. Wood needles provide a warmer feel and better grip for those who have a tendency to drop stitches. Plastic needles are lightweight and usually less expensive, making them a popular choice for beginners.
Needle size: The size of the needles is also crucial in achieving the desired gauge and finished dimensions. The pattern you are working on will specify the recommended needle size, which is usually determined by the weight of the yarn. It’s essential to check your tension and gauge before starting your project to ensure that the needle size is correct.
Type of needles: Another factor to consider is the type of needles you prefer. Straight needles are the traditional choice and are used for flat knitting, where you knit back and forth in rows. Circular needles are a versatile option and can be used for both flat and circular knitting. They are especially useful for larger projects as they distribute the weight of the fabric more evenly. Double-pointed needles are commonly used for knitting in the round, such as socks or hats.
In summary, selecting the right needles for your knitting project is essential for achieving the desired results. Consider the material, size, and type of needles that will work best for your needs. By choosing the appropriate needles, you can ensure a smooth and enjoyable knitting experience.
Understanding Basic Knitting Stitches
Knitting is a craft that involves creating fabric by interlocking loops of yarn with knitting needles. To master knitting, it is important to understand the basic stitches that form the foundation of all knitting projects. These stitches can be combined and manipulated in various ways to create intricate patterns and textures in knitted garments.
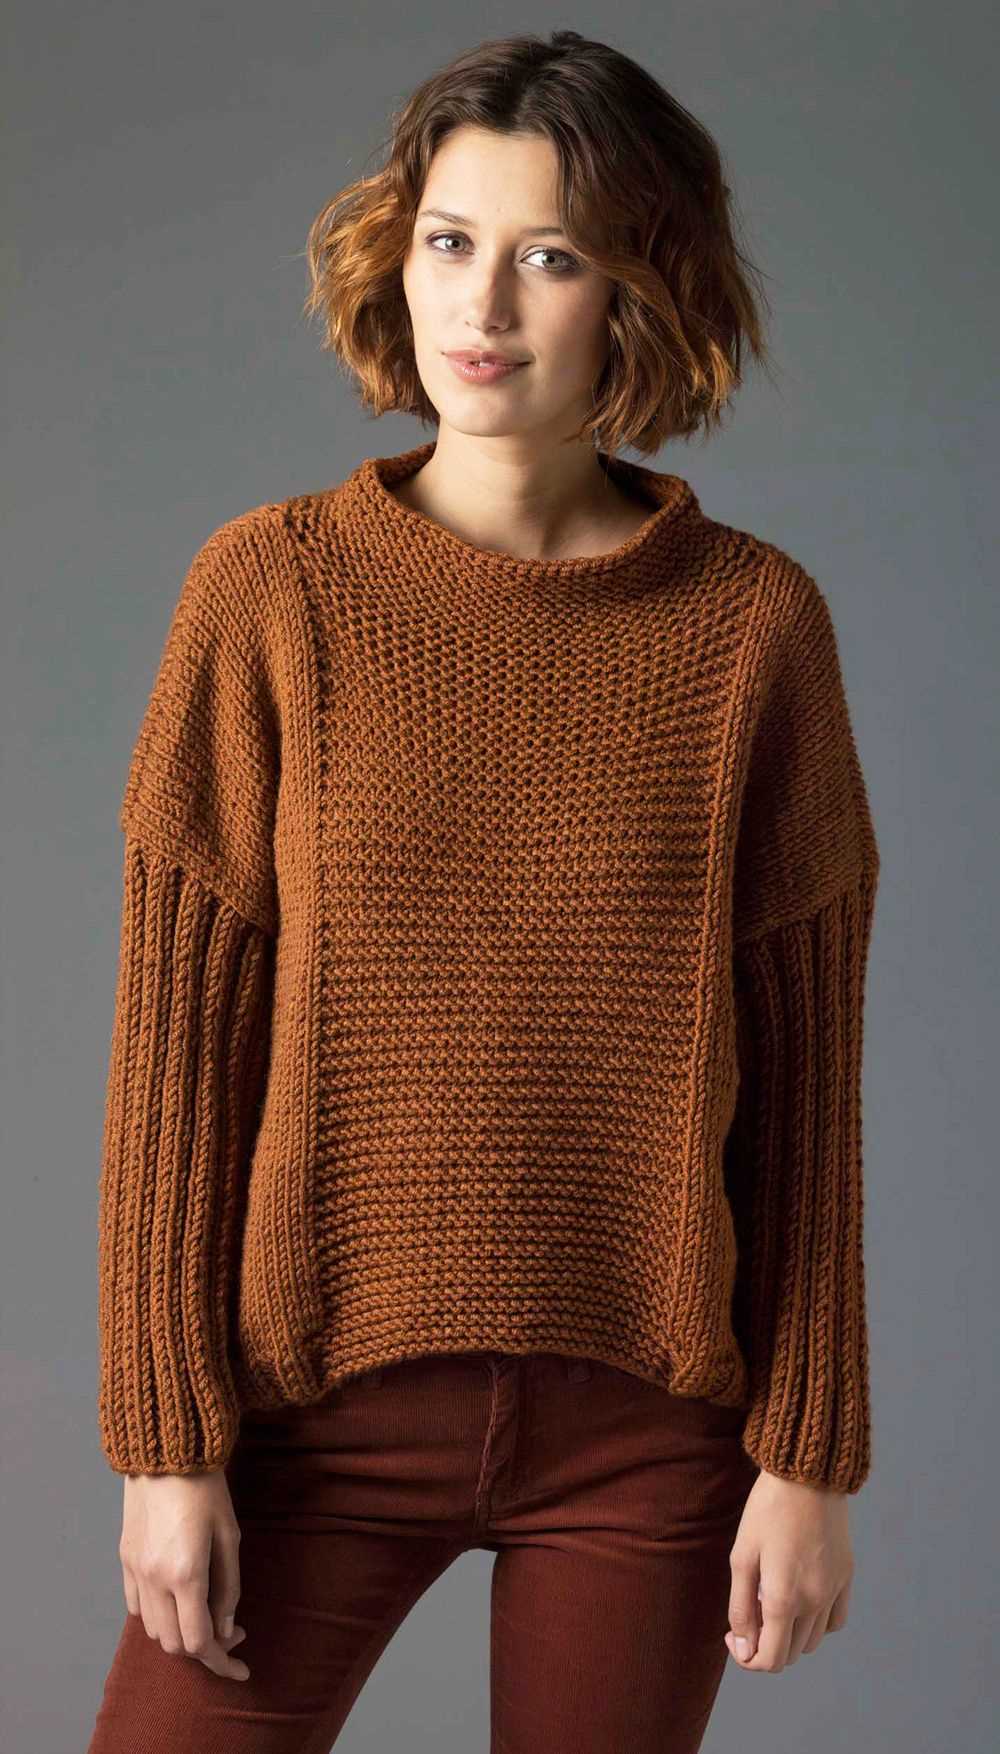
Garter Stitch: One of the simplest and most common knitting stitches is the garter stitch. It is created by knitting every stitch on every row, resulting in a fabric with ridges running horizontally. Garter stitch is reversible, making it a good choice for scarves, blankets, and simple sweaters.
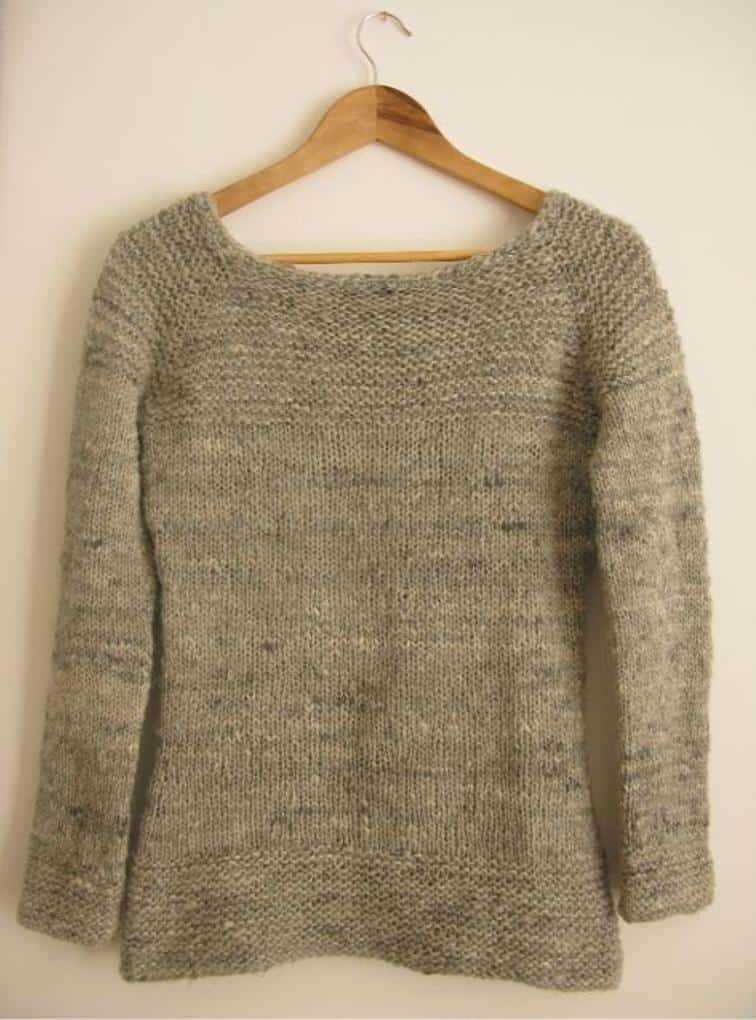
Stockinette Stitch: Another fundamental stitch is the stockinette stitch. This stitch is created by alternating rows of knit stitches and purl stitches. The right side of the fabric has a smooth and flat appearance, while the wrong side has a series of small bumps. Stockinette stitch is commonly used for sweaters, hats, and other garments.
- Knit Stitch: The knit stitch is the most basic stitch in knitting. It is created by inserting the right-hand needle from left to right through the front of the stitch on the left-hand needle, and then wrapping the yarn over the right-hand needle and pulling it through the stitch.
- Purl Stitch: The purl stitch is the opposite of the knit stitch. It is created by inserting the right-hand needle from right to left through the front of the stitch on the left-hand needle, and then wrapping the yarn under the right-hand needle and pulling it through the stitch.
- Seed Stitch: The seed stitch is a simple textured stitch created by alternating knit and purl stitches within a row. This stitch creates a fabric with a bumpy texture, resembling a field of scattered seeds.
By understanding these basic knitting stitches, you can begin to explore more complex patterns and create beautiful knitted garments. With practice and patience, you’ll become an expert knitter in no time!
Casting On: Starting Your Oversized Sweater
When it comes to knitting an oversized sweater, it’s important to start off on the right foot with a proper cast-on. The cast-on is the foundation of your sweater, and it’s essential to get it right in order to ensure a good fit and shape. There are a few different cast-on methods you can use for an oversized sweater, and the one you choose will depend on your personal preference and the type of yarn you’re using.
Long-tail cast-on: One of the most popular cast-on methods for an oversized sweater is the long-tail cast-on. This method creates a sturdy and stretchy edge, which is perfect for a loose-fitting garment. To do the long-tail cast-on, you’ll need to estimate the amount of yarn you’ll need for your cast-on stitches, and then leave a long tail of yarn before making your first stitch. This can take a bit of practice to get right, but once you’ve mastered it, it’s a great method to use for your oversized sweater.
Cable cast-on: Another option for casting on your oversized sweater is the cable cast-on. This method is a bit more time-consuming than the long-tail cast-on, but it creates a neat and sturdy edge. To do the cable cast-on, you’ll need to use a cable needle or double-pointed needle to create each new stitch. This method is particularly useful if you’re using a thicker yarn that requires a looser cast-on edge.
Once you’ve chosen your cast-on method, you’ll need to determine the number of stitches you’ll need for your oversized sweater. This will depend on your measurements and the gauge of your yarn. It’s important to take accurate measurements and make a gauge swatch before casting on to ensure a proper fit. Once you have your stitches cast on, you can start knitting your oversized sweater following your chosen pattern.
Knitting the Body of Your Sweater
Once you have finished knitting the ribbing for the hem and cuffs of your oversized sweater, it’s time to start working on the body. This is where you will create the main portion of the sweater, which will determine the length and overall fit.
1. Follow the pattern: Refer to the knitting pattern you are using for the specific instructions on the body of the sweater. The pattern will usually provide details on how many stitches to cast on, what stitch pattern to use, and how to shape the sweater as you go along.
2. Knit the main section:
Begin by knitting a row of stitches in the main stitch pattern specified in the pattern. This could be stockinette stitch, garter stitch, or any other stitch pattern that you have chosen for your sweater.
Continue knitting in this stitch pattern until you reach the desired length for your sweater. You can meas
Adding Sleeves to Your Oversized Sweater
If you’ve recently completed knitting your oversized sweater, you may be wondering how to add sleeves to it. Adding sleeves to your sweater can be a great way to elevate its style and functionality. Here are a few steps to help you successfully incorporate sleeves into your oversized sweater.
1. Measure and plan
Start by measuring the width and length of your arm. This will help you determine the size and shape of the sleeves you want to add. You can choose to knit the sleeves separately and sew them onto your sweater, or you can pick up stitches along the armhole and knit the sleeves directly onto your sweater.
2. Choose your knitting technique
Decide on the knitting technique you want to use for your sleeves. You can opt for simple stockinette stitch for a classic look, or you can experiment with cables, lace, or colorwork for added texture and visual interest. Consider the overall design and style of your oversized sweater when making this decision.
3. Follow a pattern or create your own
If you prefer to follow a pattern, there are numerous knitting patterns available online or in books that can guide you through the process of adding sleeves to your oversized sweater. Alternatively, if you’re feeling adventurous, you can create your own sleeve pattern by modifying an existing pattern or using your own measurements.
4. Knit the sleeves
Once you have your plan and pattern ready, start knitting the sleeves. Take your time and pay attention to details such as gauge, tension, and shaping to ensure a proper fit. Remember to try on the sweater regularly to check the sleeve length and adjust if necessary.
5. Seam or attach the sleeves
After completing the sleeves, you can either seam them onto your sweater using a mattress stitch or sew them together using a whip stitch or another suitable seaming technique. Take care to align the sleeve seams with the armholes of your sweater for a professional finish.
Adding sleeves to your oversized sweater can be a rewarding knitting project that allows you to customize your garment according to your preferences. With proper planning, attention to detail, and some patience, you can successfully incorporate sleeves into your oversized sweater and create a cozy and stylish piece that you’ll love to wear.
Creating the Neckline of Your Sweater
One of the most important design elements of an oversized sweater is the neckline. It not only determines the style of the sweater but also affects its wearability and comfort. There are various neckline options to choose from, each offering a different aesthetic and fit.
1. Crew Neck
One classic option for an oversized sweater is a crew neck. This neckline sits high on the collarbone and has a rounded shape. It provides a comfortable fit and is suitable for both casual and formal occasions. To create a crew neck, you will typically start by knitting the body of the sweater in the round and then use decreases to shape the neckline.
2. V-Neck
For a more feminine and flattering look, opt for a V-neck neckline. This style elongates the neck and adds a touch of elegance to the sweater. To create a V-neck, you will need to create a central decrease line in the front, gradually moving towards the desired depth of the V shape. This neckline looks great on oversized sweaters and can be paired with a collared shirt for a chic layered look.
- 3. Boat Neck
Another popular option for an oversized sweater is the boat neck. This wide neckline sits gently on the shoulder line, creating a relaxed and slightly off-the-shoulder look. The boat neck is a versatile choice that can be dressed up or down depending on the occasion. To create a boat neck, you will typically knit the body of the sweater in the round and then cast off stitches at the corners to create the desired width.
Ultimately, the neckline you choose for your oversized sweater should complement your desired style and personal preferences. Experiment with different options to find the perfect neckline that enhances the overall look and feel of your sweater.
Finishing Touches: Adding Ribbing to Your Sweater
Adding ribbing to your oversized sweater is the perfect way to give it a polished and finished look. Not only does ribbing add structure and elasticity to the garment, it also adds a touch of sophistication to your final product. Whether you’re a beginner or an experienced knitter, adding ribbing is a simple and enjoyable process that can elevate your sweater to the next level.
Before you begin adding ribbing, make sure you have the appropriate needles and yarn. Generally, a smaller needle size will be used for ribbing compared to the body of the sweater. This ensures that the ribbing hugs the body and creates a snug fit. You can either use the same yarn as the rest of your sweater or choose a contrasting color for added visual interest.
Step 1: Cast on Stitches
Start by casting on the desired number of stitches for your ribbing. The most common ribbing pattern is the 2×2 rib, which alternates between knitting 2 stitches and purling 2 stitches. However, you can experiment with different ribbing patterns depending on your preferences. Make sure to join the round if you’re working in the round or create a flat panel if you’re working back and forth.
Step 2: Work the Ribbing
Continue working the ribbing pattern for the desired length. Ribbing is typically shorter than the body of the sweater, so a length of 1-2 inches is usually sufficient. Remember to maintain the pattern as you knit or purl each stitch. Pay attention to your tension and ensure the ribbing is not too tight or too loose.
Step 3: Bind off
Once you’ve reached the desired length of ribbing, it’s time to bind off. Use a stretchy bind-off method such as the tubular bind-off or the suspended bind-off to maintain the elasticity of the ribbing. This will prevent the edge from becoming too tight and uncomfortable.
Step 4: Finishing
After binding off, you can weave in any loose ends and block your sweater to even out the stitches and give it a professional finish. Blocking also helps the ribbing relax and lay nicely against the body. Finally, try on your oversized sweater and admire the finishing touches that the ribbing adds to your cozy creation.
Blocking and Seaming Your Oversized Sweater
Blocking and seaming are two important steps in the process of completing your oversized sweater knitting project. These steps help to give your sweater its final shape and structure, ensuring that it fits well and looks polished.
Before you start blocking, it’s important to make sure your sweater is clean and free of any loose threads or yarn bits. You can gently hand wash the sweater using lukewarm water and a mild detergent, taking care not to agitate or wring the fabric. After washing, carefully squeeze out excess water and lay the sweater flat on a clean towel to dry.
Blocking
Blocking is the process of shaping and sizing your knitted garment to its intended dimensions. This step is particularly important for oversized sweaters, as it helps to even out stitches and ensure that the sweater hangs correctly on your body.
To block your sweater, you will need blocking mats or towels, rust-proof blocking pins, and a measuring tape or ruler. Lay your sweater flat on the blocking mats and gently stretch the fabric to the desired dimensions, making sure the edges are straight and the stitches are even. Use the blocking pins to secure the sweater in place, taking care not to stretch or distort the fabric. Leave the sweater to dry completely before removing the pins.
Seaming
Once your sweater is blocked and dry, it’s time to seam the pieces together. For an oversized sweater, you may have several panels to seam, such as the front and back, sleeves, and collar. You will need a tapestry needle and yarn in the same color as your sweater.
Start by placing the panels wrong side together and using a whip stitch or mattress stitch to sew them together. Take care to match the stitches on each panel to create an invisible seam. For the sleeves, sew them onto the body of the sweater, again using the whip stitch or mattress stitch.
After seaming all the pieces together, weave in any loose ends and give your sweater a final steam or light ironing to smooth out any wrinkles or creases. Your oversized sweater is now ready to wear or gift to someone special!
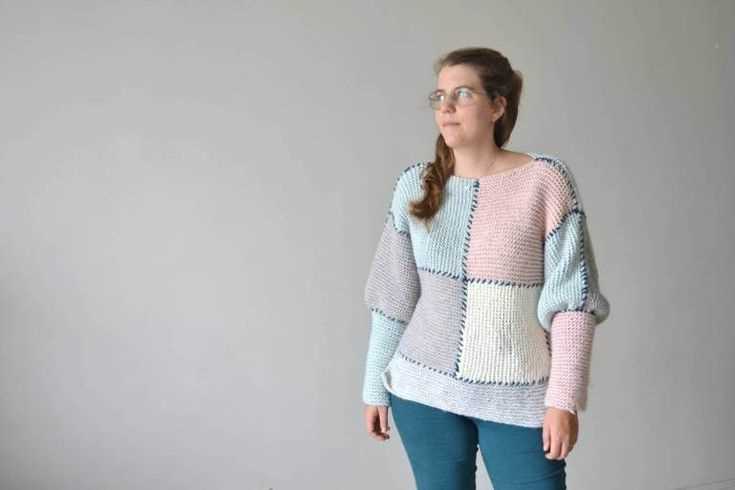
Adding Personalization: Embellishments and Designs
When knitting an easy oversized sweater, there are many ways to add a personal touch and make it truly unique. One way to do this is by incorporating embellishments and designs into your project. Whether you’re an experienced knitter or just starting out, you can easily add these elements to enhance the overall look and style of your sweater.
Embellishments: One of the simplest ways to personalize your oversized sweater is by adding embellishments such as buttons, beads, or even embroidery. This allows you to add pops of color and texture to your garment. You can choose to add a row of decorative buttons down the front or on the sleeves, or sew on some beads to create intricate patterns. Embroidery can be used to add floral motifs, geometric shapes, or personalized monograms. The possibilities are endless when it comes to embellishments, so feel free to get creative and experiment with different options.
Designs: Another way to personalize your oversized sweater is by incorporating different designs and patterns into the knitting itself. You can choose to knit simple stripes or geometric shapes by alternating different colors of yarn. If you’re feeling more adventurous, you can try your hand at Fair Isle or intarsia knitting, which involve knitting with multiple colors to create intricate patterns and designs. These techniques can be a bit more challenging, but they can result in beautiful and eye-catching sweaters. You can also experiment with different stitch patterns, such as cables or lace, to add depth and visual interest to your garment. Just remember to choose designs and patterns that complement the style and shape of your oversized sweater.
- Experiment with different types of embellishments such as buttons, beads, or embroidery.
- Incorporate designs and patterns into your knitting, such as stripes, Fair Isle, or lace.
- Personalize your sweater with unique touches that reflect your personal style.
- Don’t be afraid to get creative and try new techniques.
- Take your time and enjoy the process of making your oversized sweater truly one-of-a-kind.
Tips and Tricks: Troubleshooting and Customization Options
Once you’ve started knitting your oversized sweater, you may encounter some challenges or want to customize the pattern to make it your own. Here are some tips and tricks to help you troubleshoot any issues that may arise and explore different customization options:
Troubleshooting:
1. Fixing Mistakes: If you make a mistake in your knitting, such as a dropped stitch or an accidental increase or decrease, don’t panic! You can usually fix it by carefully unraveling the stitches back to the mistake and then re-knitting them correctly. If the mistake is more complicated, there are resources available online that can guide you through specific stitch fixes.
2. Blocking: Blocking is an important step in knitting that can help even out the stitches and make your finished sweater look more polished. To block your oversized sweater, follow the instructions for the specific yarn you’re using. Typically, this involves wetting the sweater, gently stretching it to the desired measurements, and laying it flat to dry. Blocking can also help with shaping and sizing issues.
Customization Options:
1. Length: If you prefer a longer or shorter length for your oversized sweater, you can easily customize it by knitting more or fewer rows for the body. Keep in mind that adjusting the length may affect the amount of yarn you need, so make sure to have enough yarn on hand.
2. Neckline: You can also play around with the neckline of your sweater. If you want a wider or narrower neckline, you can adjust the number of stitches you cast on for the neckband. You can also experiment with different neckband designs, such as a ribbed or cabled pattern, to add a unique touch to your sweater.
3. Sleeve Length: If you prefer shorter or longer sleeves, you can customize the length by knitting more or fewer rows for the sleeves. Additionally, you can experiment with different cuff designs, such as ribbing or lace, to add some additional flair to your sweater.
4. Color and Texture: One of the great things about knitting is the ability to choose from a wide range of yarn colors and textures. Consider experimenting with different yarns to create a unique look for your oversized sweater. You can also incorporate different stitch patterns, such as cables or lace, to add more visual interest to your design.
With these troubleshooting tips and customization options, you’ll be able to overcome any challenges you may encounter while knitting your oversized sweater and make it truly your own. Enjoy the process of creating a cozy and stylish garment that you’ll love wearing!