
Are you tired of your laundry always being scattered around your bedroom? Do you want a stylish and functional solution to keep your clothes organized?
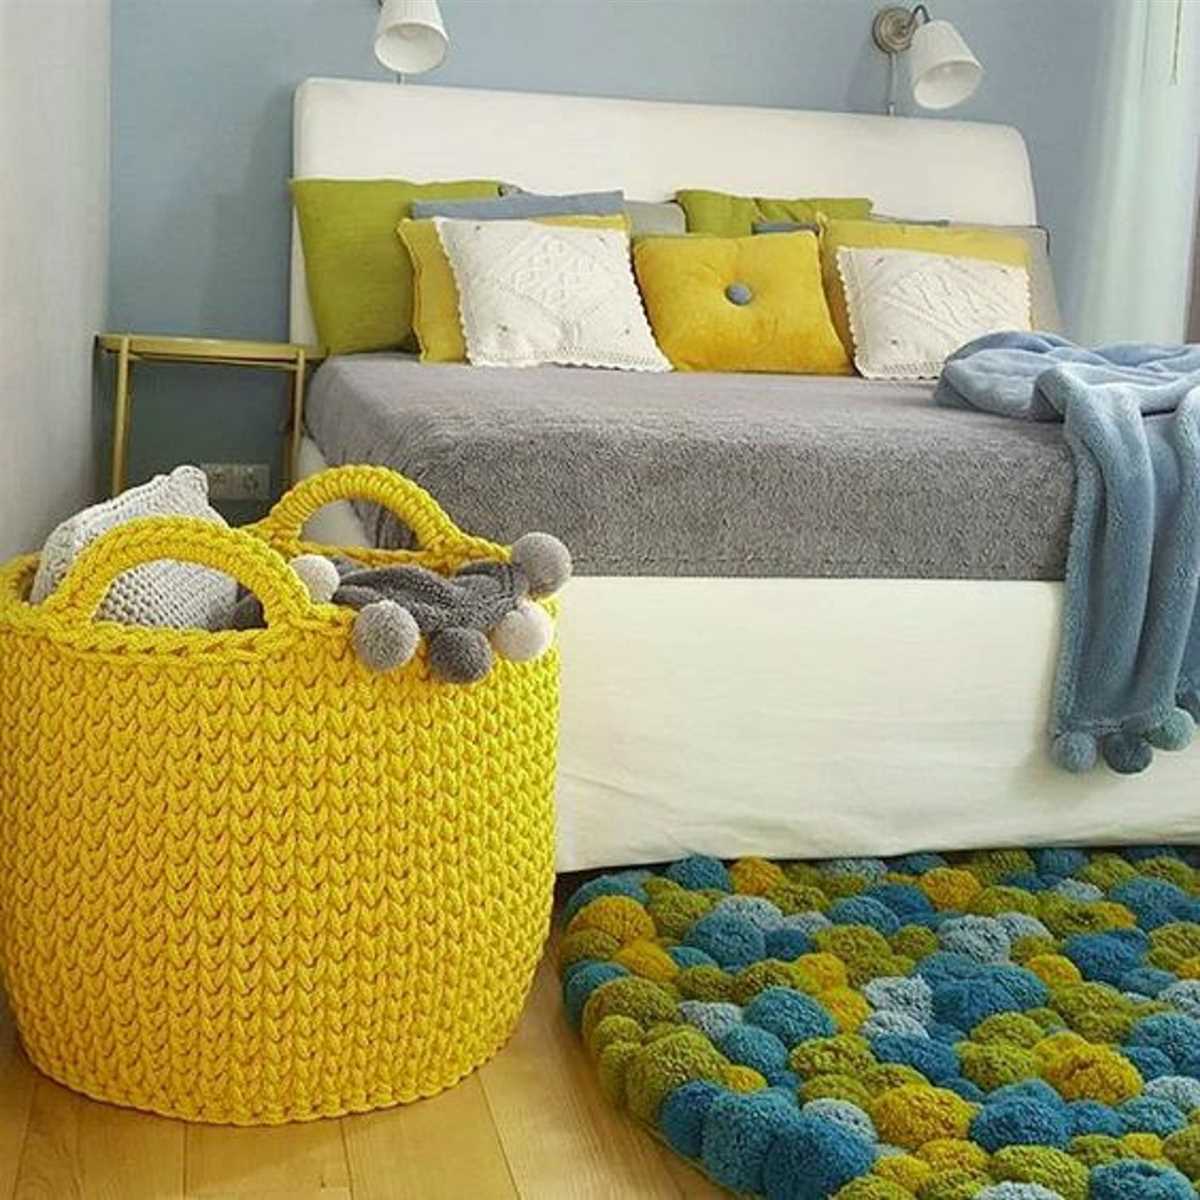
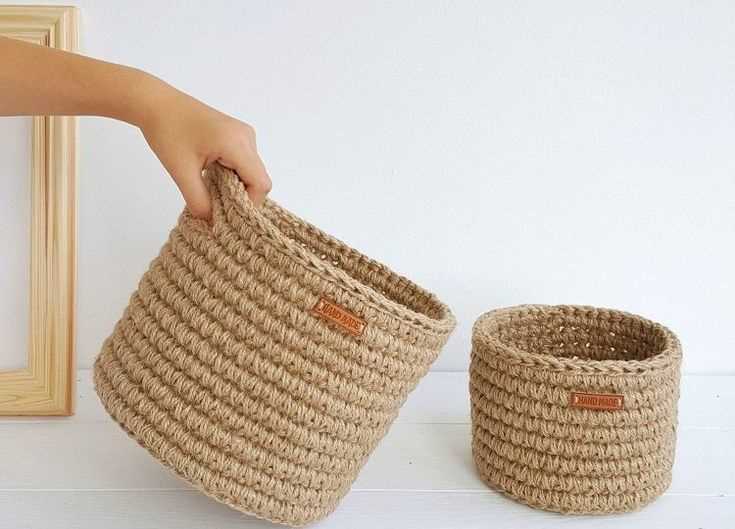
If so, then a knit laundry basket is the perfect project for you. Not only will it add a touch of elegance to your space, but it will also provide a practical storage solution for your dirty clothes.
Knitting your own laundry basket allows you to customize the size, color, and design to fit your personal style and needs. Plus, it’s a great way to put your knitting skills to use and create something that is both beautiful and useful.
In this article, we will provide you with a step-by-step guide on how to knit a laundry basket, including the materials you’ll need and the basic knitting techniques required. Whether you’re a beginner or an experienced knitter, you’ll find the instructions easy to follow and the end result rewarding.
Knit Laundry Basket Pattern
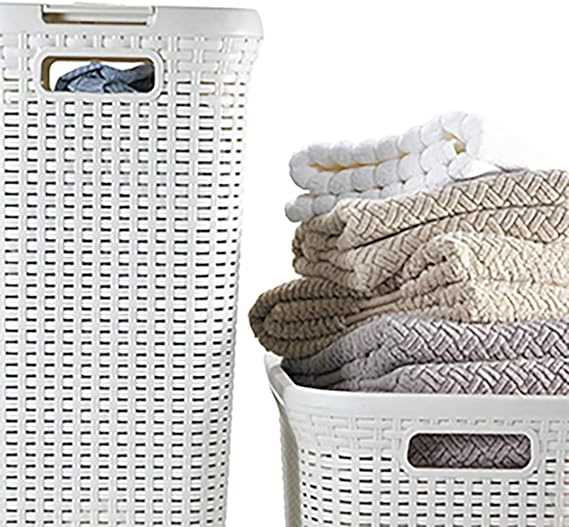
A knit laundry basket pattern is a practical and stylish way to organize your dirty laundry. Whether you’re looking to add a touch of handmade charm to your laundry room or need a functional storage solution, knitting your own laundry basket can be a fun and rewarding project.
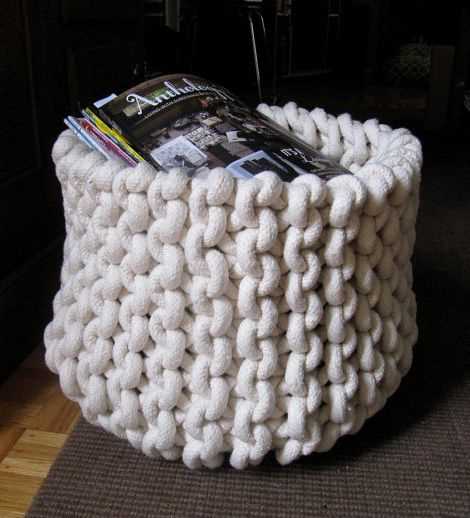
To get started, you’ll need some basic knitting skills and materials. You’ll need a set of knitting needles and a durable yarn that can withstand the weight of the laundry. Natural fibers like cotton or linen are ideal choices for this project.
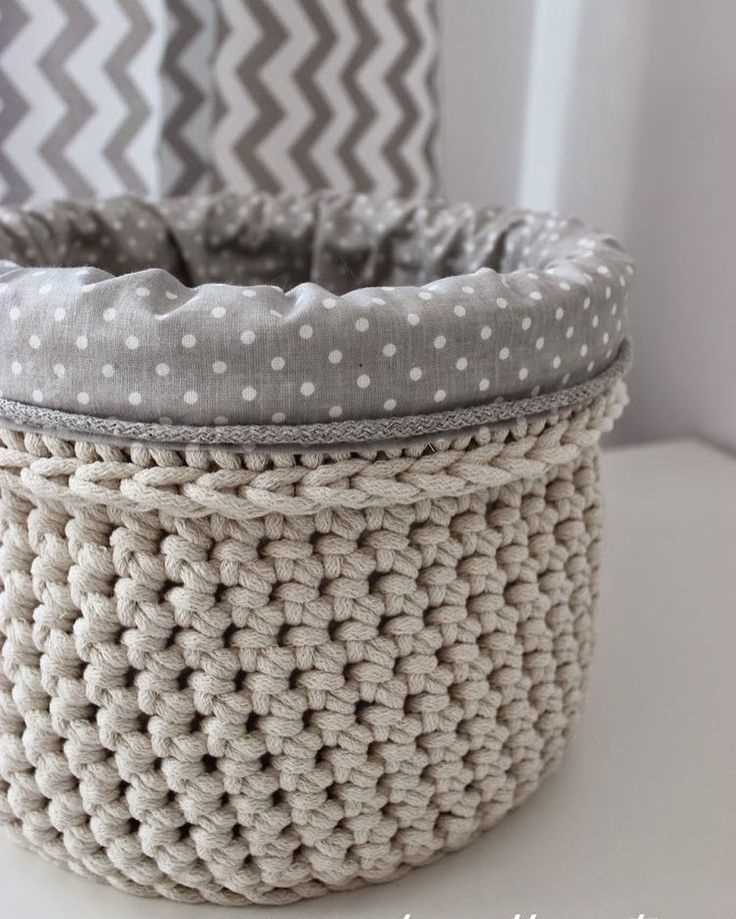
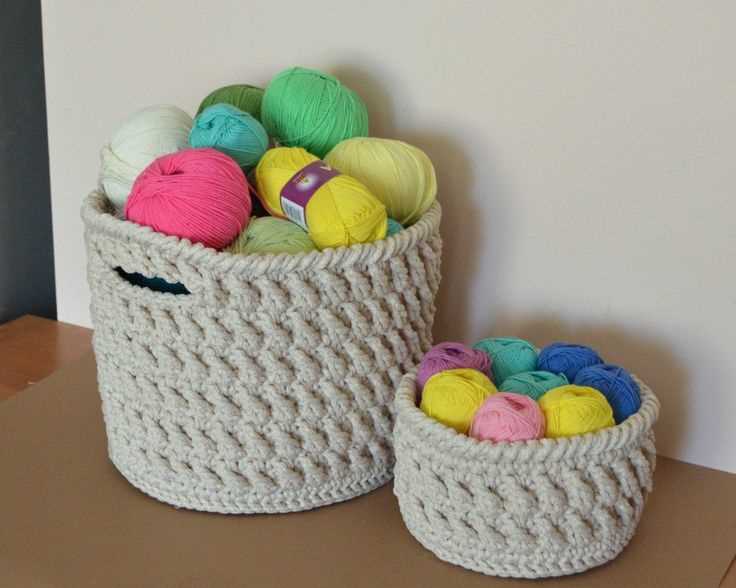
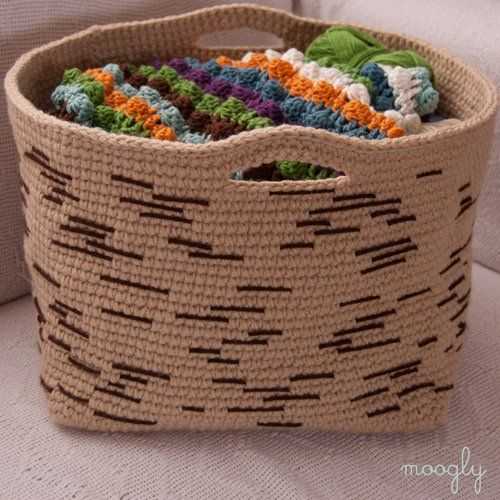
One popular pattern for a knit laundry basket is a basket weave stitch. This stitch creates a textured and sturdy fabric that is perfect for holding laundry. To create the basket weave pattern, you’ll alternate knitting and purling rows in a specific sequence. You can find detailed instructions for this stitch pattern in many knitting books or online resources.
When knitting your laundry basket, it’s important to choose the right size and shape for your needs. Consider how much laundry you typically have and how much space you have available in your laundry room. You can adjust the size of the basket by changing the number of stitches and rows you knit.
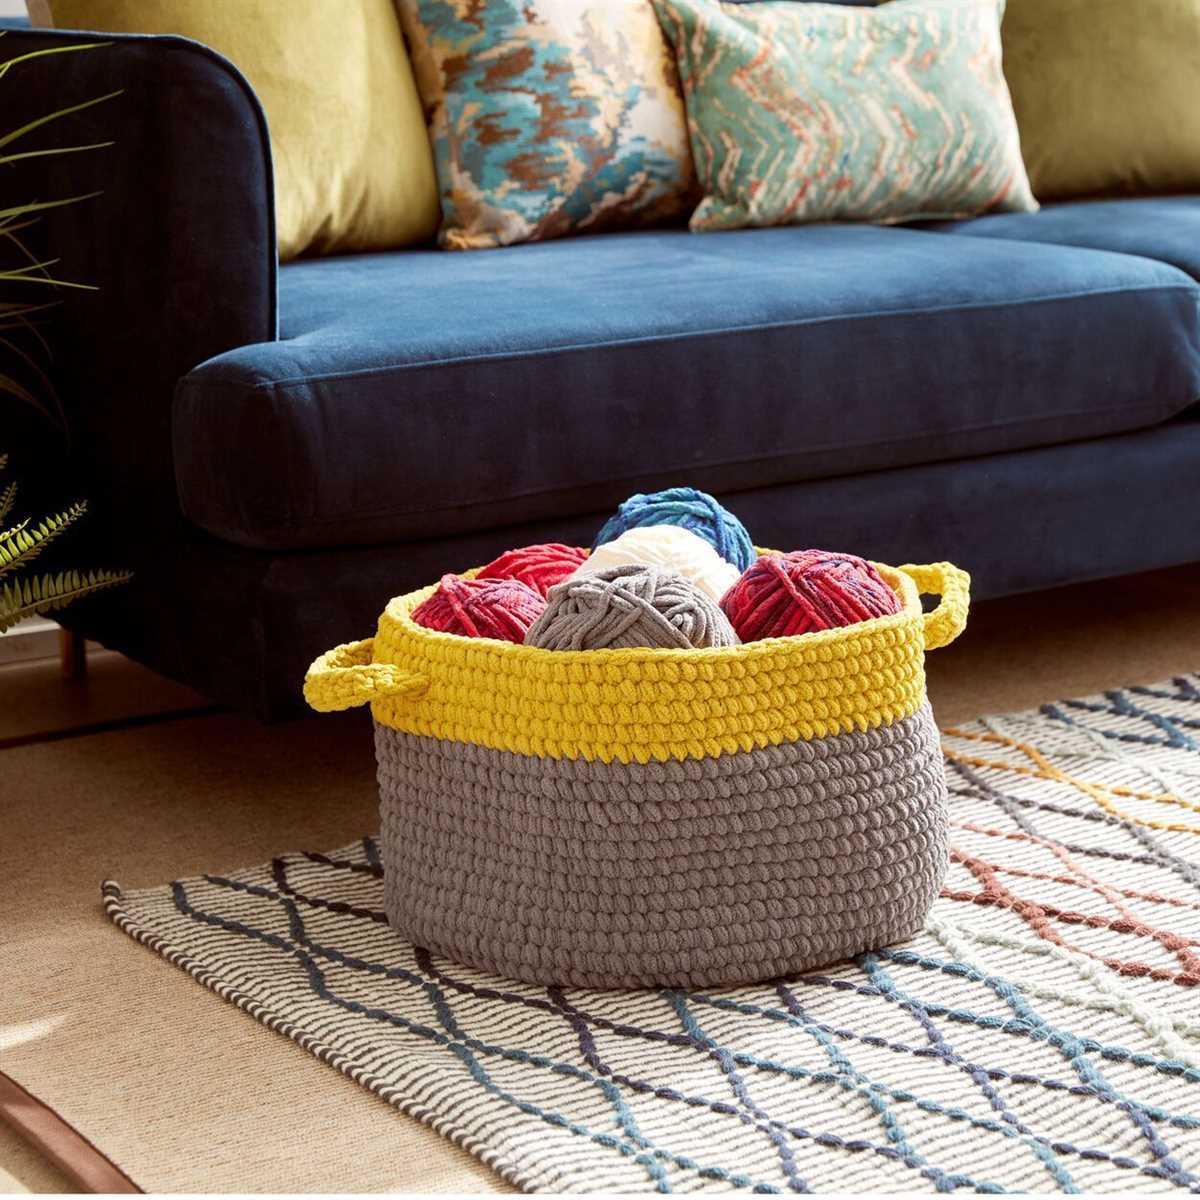
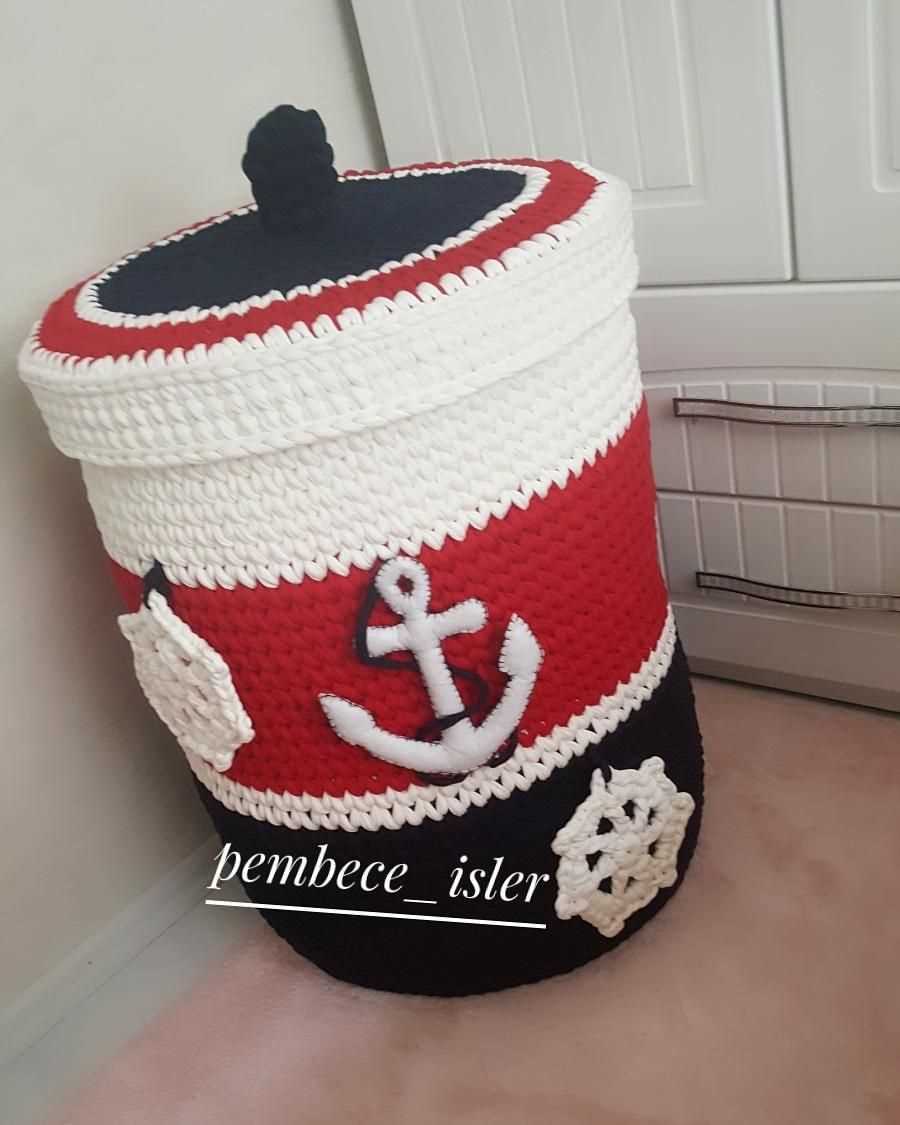
Once you’ve finished knitting the body of the basket, you can add handles or decorative details to customize your design. Handles can be knitted separately and then sewn onto the sides of the basket, or you can knit them directly as part of the basket. The choice is up to you!
A knit laundry basket not only serves a practical purpose but also adds a touch of handmade beauty to your home. Whether you choose to make one for yourself or as a gift, this project is sure to impress. Happy knitting!
Choosing the Right Yarn for Your Laundry Basket
When it comes to knitting a laundry basket, choosing the right yarn is crucial. You want a yarn that is durable, sturdy, and capable of holding the weight of clothes and other items. Here are some factors to consider when selecting the perfect yarn for your laundry basket.
1. Weight and Thickness
It’s important to choose a yarn that is heavyweight or bulky to ensure the basket will be able to handle the weight of laundry. A lighter-weight yarn may not have the necessary strength to hold up over time. Look for yarns that are specifically labeled as suitable for baskets or home decor items.
2. Fiber Composition
Consider the fiber composition of the yarn you choose. Natural fibers like cotton or linen are popular choices for laundry baskets as they are strong and durable. These fibers also have the added benefit of being breathable, which can help prevent odors from lingering in the basket. Synthetic fibers like acrylic can also be a good option, as they are often more affordable and may offer additional strength and durability.
3. Texture and Stitch Definition
The texture of the yarn will not only affect the appearance of your laundry basket but also its functionality. A yarn with too much texture may not allow for stitches to be clearly defined, making it difficult to create a sturdy and structured basket. Look for a yarn with a smooth and even texture that will showcase your stitches and provide the necessary stability.
4. Color and Washing Instructions
Consider the color of the yarn and how it will fit into your laundry room or space. Opting for a neutral or natural shade can help the basket blend in seamlessly with its surroundings. Additionally, make sure to check the washing instructions for the yarn you choose. A laundry basket is likely to get dirty, so selecting a yarn that can be easily washed and cared for will ensure the longevity of your creation.
Remember, knitting a laundry basket can be a fun and rewarding project. By carefully choosing the right yarn, you can create a basket that is not only functional but also adds a touch of style to your laundry routine.
Selecting the Appropriate Knitting Needles
When it comes to knitting, selecting the right knitting needles is of utmost importance. The needles you choose can significantly impact the outcome of your knitting project. There are several factors to consider when deciding on the appropriate knitting needles, including the type of yarn, the pattern, and your personal knitting style.
1. Needle Size: One of the first things to consider is the size of the knitting needles. The size of the needles will determine the gauge and the overall size of your finished project. Needle sizes are typically denoted by a number, ranging from very small (size 000) to very large (size 50). The pattern you are working on will usually specify the recommended needle size to achieve the desired gauge. It’s important to choose needles that match the suggested size to ensure accurate results.
2. Needle Material: Knitting needles come in a variety of materials, each with its own unique properties. Common materials include bamboo, wood, metal, and plastic. The material you choose can affect the feel, weight, and flexibility of the needles. Bamboo and wood needles are known for their lightweight and warm feel, while metal needles are often preferred for their durability and smoothness. Plastic needles can be a good option for beginners, as they are generally less expensive and easier to handle.
3. Needle Type:
There are two main types of knitting needles: straight needles and circular needles. Straight needles are used for flat knitting projects such as scarves and blankets, while circular needles are used for knitting in the round, like hats and sweaters. Circular needles can also be used for flat knitting by simply knitting back and forth on the cord. The type of project you are working on will dictate the type of needle you need.
4. Needle Length: When choosing knitting needles, it’s important to consider the length of the needles. Straight needles are available in various lengths, ranging from 9 inches (23 cm) to 14 inches (36 cm). The length of the needles should be determined based on the width of your knitting project. If the stitches are crowded on the needles, it may be difficult to work with and can result in uneven tension. On the other hand, if the needles are too long, they may be uncomfortable to handle. Consider the width of the project and choose needles that are slightly longer than the width of your work.
By taking these factors into consideration, you can select the appropriate knitting needles for your project. It’s important to experiment with different needle sizes and materials to find what works best for you and your knitting style. With the right needles in hand, you can create beautiful and successful knitting projects.
Understanding the Basic Knitting Stitches
The knit stitch is the most basic stitch in knitting. It is created by inserting the right-hand needle from left to right into the first stitch on the left-hand needle, wrapping the yarn counterclockwise around the right-hand needle, and pulling the loop through to form a new stitch. This stitch creates a smooth surface on the right side of the fabric and is often used as the foundation for many knitting patterns.
The purl stitch is the second basic stitch in knitting. It is created by inserting the right-hand needle from right to left into the first stitch on the left-hand needle, wrapping the yarn clockwise around the right-hand needle, and pulling the loop through to form a new stitch. This stitch creates a bumpy surface on the right side of the fabric and is often used as a contrast or to create different textures in knitting patterns.
By combining the knit and purl stitches in different sequences and patterns, you can create a wide variety of textures and designs in your knitting projects. Some common knitting stitch patterns include ribbing, garter stitch, stockinette stitch, and seed stitch. Each stitch pattern has its own unique look and feel, and can be used to create anything from blankets and scarves to sweaters and hats.
Whether you are just starting out or have been knitting for years, it is important to practice and become familiar with the basic knitting stitches. By mastering these stitches, you will have the foundation needed to tackle more advanced knitting patterns and techniques. So grab your needles and yarn, and start exploring the world of knitting!
Casting On for Your Laundry Basket
When it comes to knitting a laundry basket, the first step is to cast on your stitches. This sets the foundation for your project and determines the size and shape of your basket. There are different methods you can use to cast on, but for this pattern, we will be using the long tail cast-on method.
To start, you will need your knitting needles and your chosen yarn. Make a slipknot at the end of your yarn, leaving a long tail. Hold your knitting needle in your right hand and insert it through the slipknot from front to back. With your left hand, bring the yarn over the top of the needle and under it, creating a loop. Pull the loop tight onto the needle, making sure to leave a long enough tail for your desired number of stitches.
Once you have cast on your first stitch, continue to cast on the desired number of stitches for your laundry basket pattern. This pattern typically requires a multiple of 4 stitches, so make sure to cast on a number that is divisible by 4. Repeat the process of inserting the needle through the loop and creating a loop with your yarn for each stitch until you have reached your desired number of stitches.
Now that you have successfully cast on, you can begin knitting your laundry basket. Refer to the pattern instructions for the specific stitch pattern and shaping details. Remember to use the appropriate needle size and tension to achieve the desired gauge for your basket. Happy knitting!
Creating the Base of the Basket
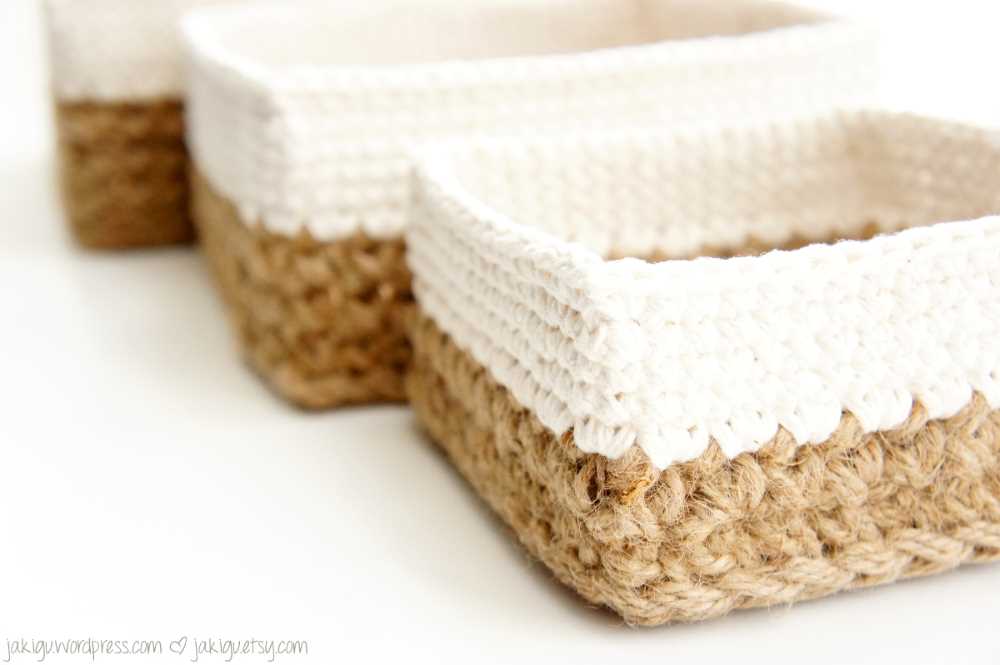
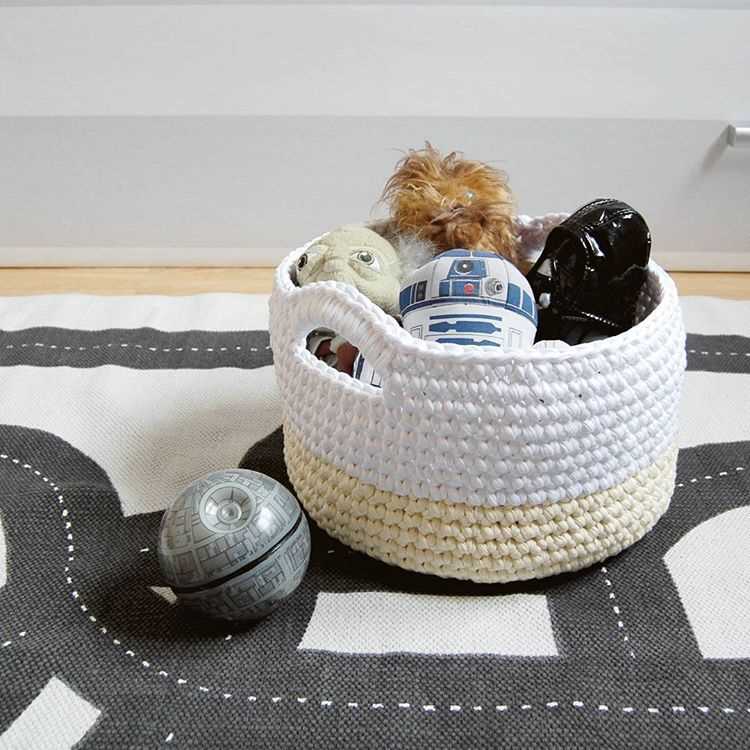
When knitting a laundry basket, it’s important to start with a sturdy and stable base. This is the foundation of the basket and will determine its strength and durability. To create the base, you will need a thick and durable yarn, such as cotton or jute. These materials will provide the necessary support for holding heavy laundry items.
Begin by casting on the desired number of stitches for the base of the basket. This will depend on the size of the basket you wish to create. You can use a circular or straight needle, depending on your preference. Knit the first row using the knit stitch, ensuring that the tension is firm and even. This will help to create a solid and stable base for the basket.
Creating a Garter Stitch Base
A garter stitch is a simple and sturdy stitch pattern that is perfect for creating the base of a knitted laundry basket. To create a garter stitch, simply knit every row without alternating between knit and purl stitches. This will create a fabric that is dense and stable, perfect for holding the weight of laundry items.
Continue knitting in the garter stitch pattern until the base of the basket reaches the desired size. You can measure the size of the base by placing the knitting on a flat surface and measuring the width. Keep in mind that the base should be slightly larger than the desired size of the basket, as the sides will be added later.
- Cast on desired number of stitches for the base of the basket.
- Knit the first row using the knit stitch.
- Continue knitting in the garter stitch pattern until the base reaches the desired size.
By following these steps and using a durable yarn, you can create a strong and stable base for your knitted laundry basket. This will ensure that the basket can hold a large amount of laundry without losing its shape or strength. Once the base is complete, you can move on to knitting the sides of the basket.
Knitting the Sides of the Laundry Basket
When knitting your own laundry basket, it is important to pay attention to the sides of the basket. The sides provide structure and stability to the basket, ensuring that it can hold the weight of laundry without sagging or collapsing.
To knit the sides of the laundry basket, you will need to continue working in the pattern stitch that you have chosen for your basket. This could be a simple stockinette stitch or a more intricate pattern. It is important to maintain consistency in your stitch pattern throughout the sides of the basket to create a cohesive and polished look.
When working on the sides, it is helpful to use stitch markers to keep track of your progress and to mark any increases or decreases that are necessary for shaping the basket. These markers can be moved up as you work each row to ensure that you are staying on track.
As you knit the sides, make sure to periodically check your gauge to ensure that the basket is the correct size. You can do this by measuring your knitting against the measurements specified in the pattern, or by measuring against the base of the basket to ensure a consistent fit.
If you want to add any additional design elements to the sides of your laundry basket, such as a textured pattern or colorwork, now is the time to do so. Keep in mind that these design elements may require additional attention and concentration as you work, so be prepared to slow down and take your time to ensure accuracy.
Once you have completed the sides of the laundry basket, you can move on to knitting the top edge and handles. These finishing touches will complete the basket and provide functionality for carrying and storing your laundry. Stay tuned for instructions on completing these final steps!
Adding Handles to the Laundry Basket
Adding handles to a knit laundry basket can make it easier to transport and carry. There are several ways to add handles to your basket, depending on your preferred method and the design of your basket:
- Knit-in handles: If you want handles that are integrated into the design of your basket, you can knit them directly into the sides. This can be done by creating a longer strip of fabric that is folded and sewn onto the sides of the basket.
- Sewn-on handles: Another option is to sew on handles after you have finished knitting the basket. You can use fabric or leather handles that are sewn securely onto the sides of the basket. This method allows for more customization in terms of handle design and material.
- Crocheted handles: If you know how to crochet, you can add handles to your knit laundry basket using crochet techniques. Crocheted handles can be attached by sewing or by looping them through the stitches of the basket.
When adding handles to your knit laundry basket, it’s important to consider the weight and size of the basket. Make sure that the handles are securely attached and can support the weight of a full basket of laundry. Reinforcing the attachment points with extra stitches or using a sturdy material for the handles can help ensure that they stay in place and don’t break under pressure.
Finishing Touches: Binding Off and Weaving in Ends
When you have finished knitting your laundry basket, it’s important to give it a polished and professional look by properly binding off and weaving in the ends of your yarn. These finishing touches will ensure that your basket is sturdy and secure, ready to hold all of your laundry.
To bind off, start by knitting two stitches. Then, using your left needle, pass the first stitch over the second stitch and off the needle. Knit one stitch and repeat the process of passing the previous stitch over until you have one stitch left. Cut the yarn, leaving a long tail, and pull it through the last stitch to secure it.
Once you have bound off, you will need to weave in the loose ends. Take the long tail of yarn left from binding off and thread it onto a tapestry needle. Starting on the inside of the basket, weave the needle through the stitches, going back and forth across a few rows to secure the end. Trim any excess yarn.
If you have more than one end to weave in, like when changing colors, repeat the process for each end. You can also tie knots at the ends of the yarn to ensure they stay in place.
By properly binding off and weaving in the ends of your yarn, you will create a neat and finished look for your knit laundry basket. Take your time and pay attention to detail to make sure your basket is the perfect addition to your laundry room.
Blocking Your Knitted Laundry Basket
Blocking is an essential step in finishing your knitted laundry basket. It helps to flatten and shape the fabric, giving it a more polished and professional appearance. To block your knitted laundry basket, you will need a few basic supplies: a large basin or sink, cool water, and a flat surface like a blocking board or towels.
Start by filling your basin or sink with cool water. Place your knitted laundry basket into the water, making sure it is completely submerged. Gently press on the basket to ensure that all parts are wet. Let it soak for about 15 minutes to fully absorb the water.
After soaking, carefully remove the knitted laundry basket from the water, taking care not to squeeze or wring the fabric. Lay the basket flat on a towel or blocking board, making sure it is in the desired shape and size. Smooth out any wrinkles or uneven areas with your hands.
Next, you can use pins to secure the shape of the basket while it dries. Begin by pinning the corners and edges, making sure they are straight and even. Then, pin the rest of the basket, spacing the pins evenly around the edges. This will help maintain the shape and prevent the fabric from shrinking or stretching as it dries.
Allow the knitted laundry basket to air dry in a well-ventilated area. Avoid placing it in direct sunlight or using heat sources, as this can cause the fabric to warp or shrink. Depending on the humidity and air circulation, it may take a day or two for the basket to fully dry.
Once the basket is dry, carefully remove the pins and admire your finished product. Blocking not only improves the appearance of your knitted laundry basket but also helps to ensure that it retains its shape over time. With proper blocking, your laundry basket will be ready to be used and displayed in your home.
Optional Embellishments and Customizations
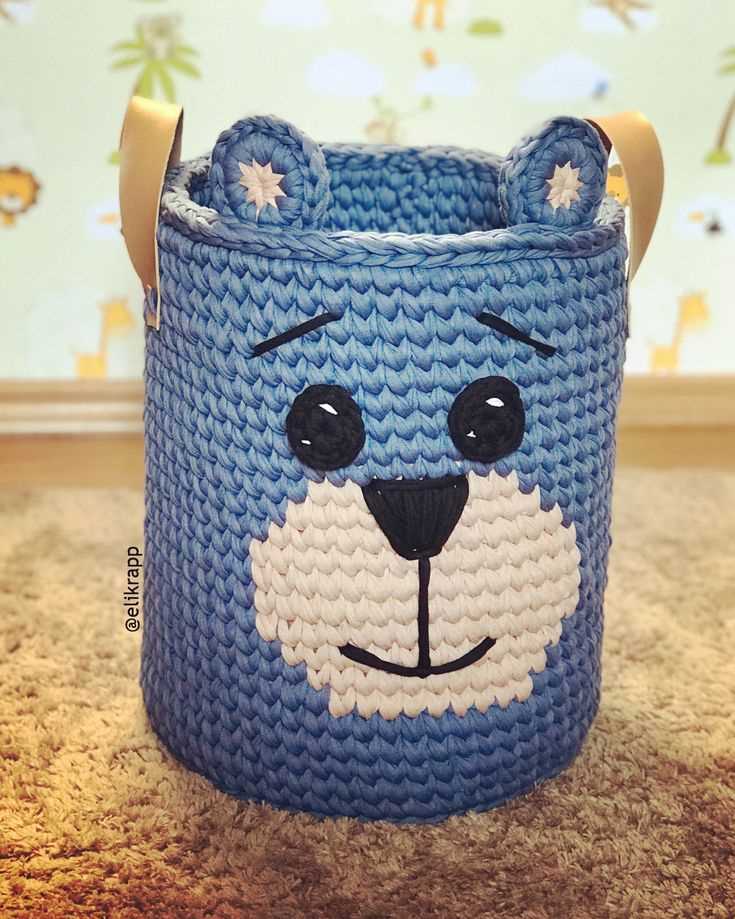
Once you have completed knitting your laundry basket, you may want to consider adding some optional embellishments to personalize your creation. These embellishments can add a special touch and make your laundry basket truly unique.
Embroidery: One option to consider is adding embroidery to your laundry basket. You could embroider your initials, a monogram, or a decorative pattern onto the side of the basket. This can be done using embroidery floss and a needle, and there are many stitch patterns to choose from.
Pom-poms: Another fun option is to add pom-poms to the edges of your laundry basket. You can make pom-poms using yarn and a pom-pom maker. Attach the pom-poms to the top edge of the basket using a needle and thread. This can give your basket a playful and whimsical look.
Buttons: If you are a fan of buttons, you can sew them onto your laundry basket for added decoration. Choose buttons in different sizes, colors, and shapes to create an interesting pattern. Sew them onto the sides or top of the basket using a needle and thread.
Customize the size: If you prefer a smaller or larger laundry basket, you can easily customize the pattern to fit your needs. Simply adjust the number of stitches and rows you knit to create a smaller or larger basket. Keep in mind that you may need to adjust the amount of yarn needed accordingly.
Change the stitch pattern: Instead of using the suggested stitch pattern for your laundry basket, you can experiment with different stitch patterns to create a unique texture. Consider using a cable stitch, a lace stitch, or a basketweave stitch to give your basket a different look and feel.
Overall, adding these optional embellishments and customizations can help make your knitted laundry basket reflect your personal style and taste. Don’t be afraid to get creative and have fun with your design!
Care and Maintenance of Your Knitted Laundry Basket

Proper care and maintenance of your knitted laundry basket can help prolong its lifespan and keep it looking its best. Here are a few tips to keep in mind:
Clean Regularly: It’s important to keep your knitted laundry basket clean to prevent dirt and odor buildup. You can spot clean it with a damp cloth or gently hand wash it using mild detergent and cold water. Avoid using bleach or harsh chemicals as they can damage the fibers.
Avoid Overloading: While knitted laundry baskets are durable, overloading them with heavy laundry can cause the stitches to stretch and weaken. Try to distribute the weight evenly to ensure the basket maintains its shape and structure.
Store Properly: When not in use, store your knitted laundry basket in a dry and well-ventilated area. Avoid placing heavy objects on top of it, as this can deform the shape and integrity of the basket.
Repair Promptly: If you notice any loose stitches or damage to your knitted laundry basket, it’s important to repair them promptly. Ignoring small issues can lead to further damage and compromise the basket’s functionality.
Avoid Excessive Sun Exposure: Prolonged exposure to direct sunlight can fade the colors of your knitted laundry basket. To maintain the vibrancy of the colors, it’s best to keep the basket away from windows or use curtains or blinds to block out the sunlight.
Rotate Contents: To prevent any areas of the basket from becoming stretched or worn out, it’s a good idea to rotate the contents periodically. This will help distribute the weight and ensure that all parts of the basket are getting equal use.
By following these care and maintenance tips, you can enjoy your knitted laundry basket for years to come. Remember to treat it gently and handle it with care, and it will continue to be a useful and stylish addition to your laundry routine.