
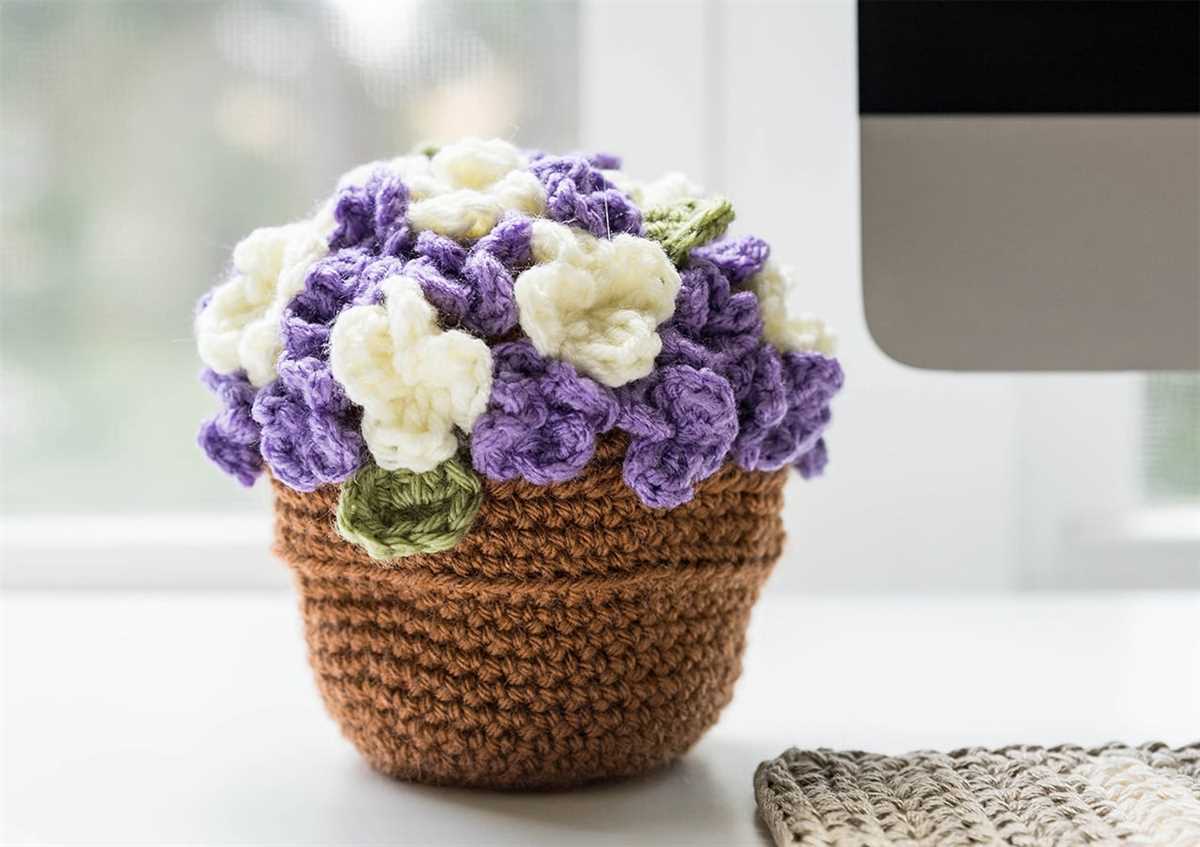
If you’re an avid knitter who loves to add a touch of handmade charm to your home decor, then this flower pot knitting pattern is perfect for you! Knitting your own flower pot cover is a fun and creative way to display your plants and brighten up any room. Whether you’re a beginner or an experienced knitter, this pattern is suitable for all skill levels.
This flower pot knitting pattern uses simple stitches and techniques, making it an ideal project for beginners looking to expand their knitting skills. The pattern provides step-by-step instructions, including detailed explanations and helpful tips to guide you through the process. Once you’ve finished knitting your flower pot cover, you can easily customize it by choosing your favorite colors and adding embellishments.
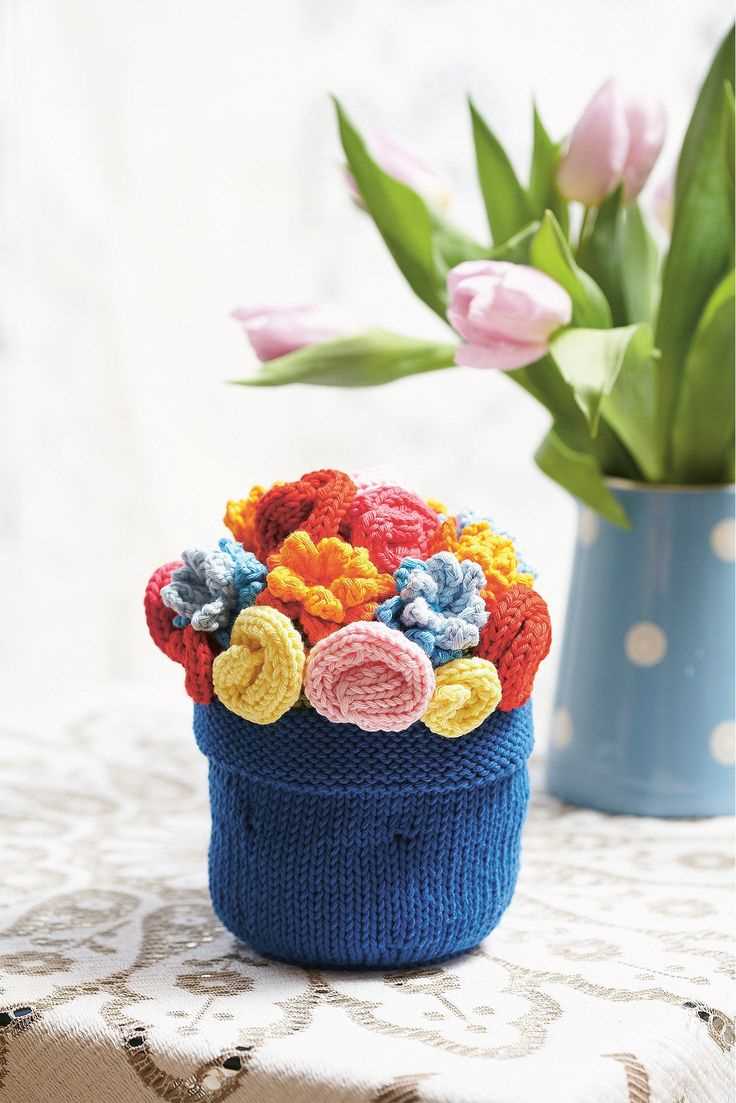
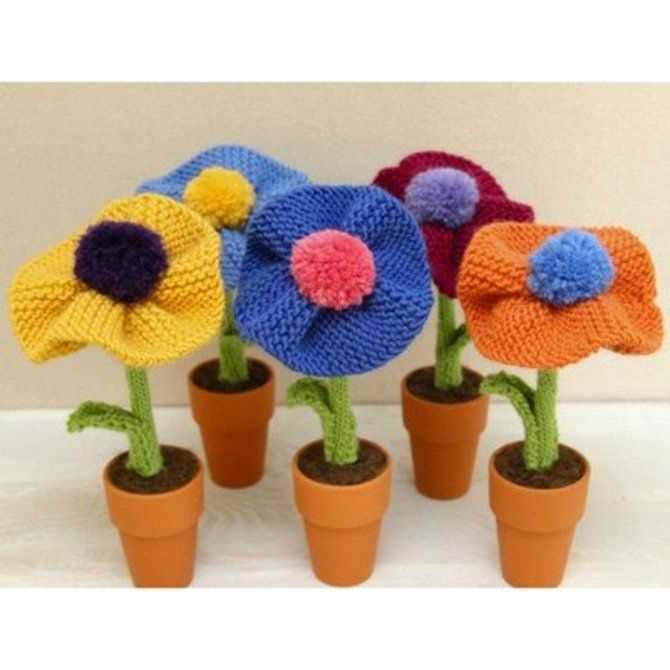
Not only is knitting your own flower pot cover a rewarding and enjoyable project, but it also allows you to create a unique and personalized home decor item. You can experiment with different yarn textures and colors to match your existing interior style or create a statement piece that stands out. Hand-knitted flower pot covers also make wonderful gifts for friends and family, showcasing your talent and thoughtfulness.
Flower Pot Knitting Pattern
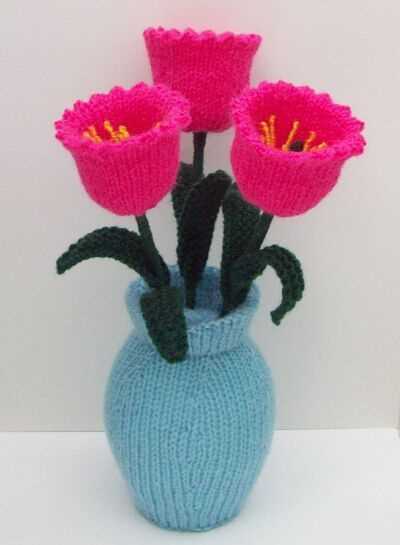
Knitting is not just for scarves and sweaters. With a flower pot knitting pattern, you can create beautiful and unique covers for your potted plants. These knitted covers add a cozy and decorative touch to any room or outdoor space.
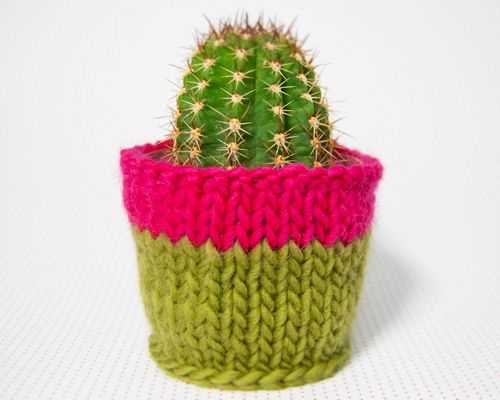
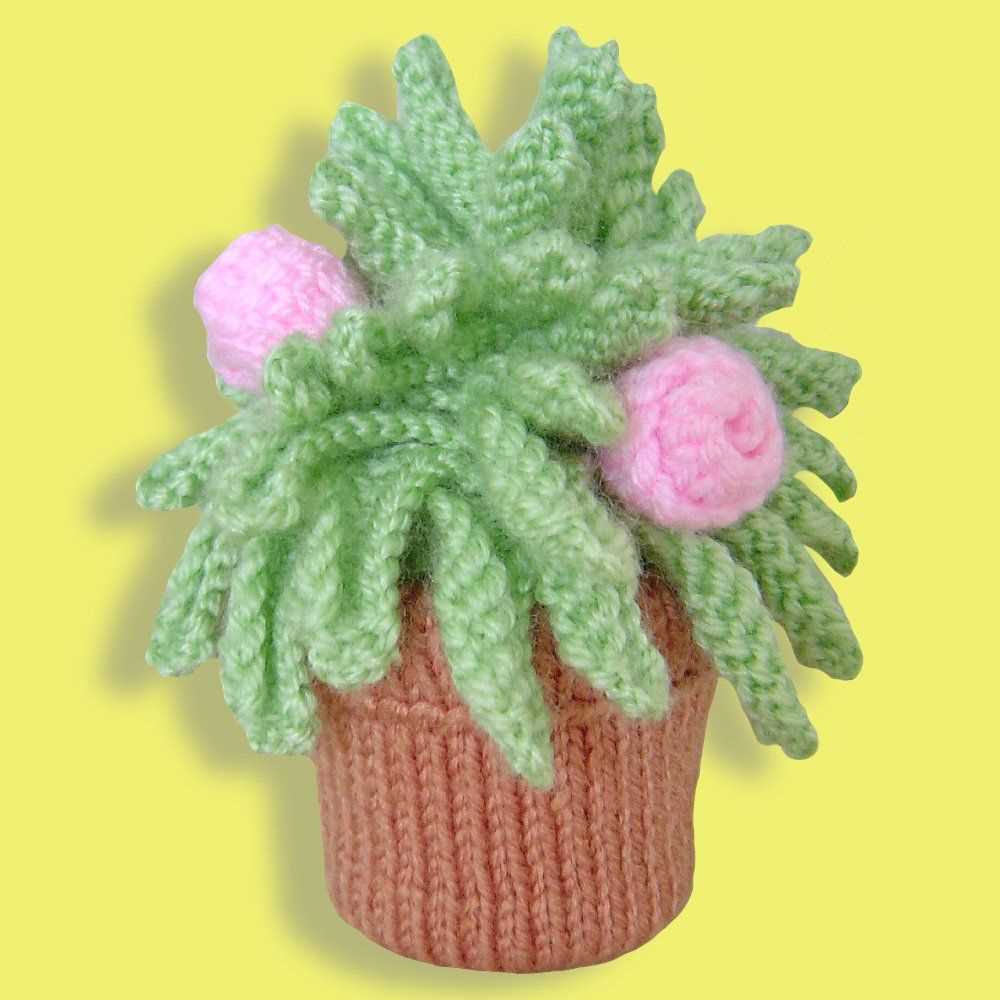
One popular flower pot knitting pattern is the seed stitch pattern. This pattern creates a textured and chunky cover that is perfect for adding warmth and style to your plants. To knit this pattern, you will need thick yarn and large knitting needles. Start by casting on the desired number of stitches, then alternate between knitting and purling stitches to create the seed stitch pattern. Continue this pattern until the cover is long enough to fit around your flower pot, then bind off and sew the ends together.
If you prefer a more delicate and lacy look, you can try the lace pattern. This pattern creates a beautiful and intricate design that is perfect for showcasing your favorite flowers. To knit this pattern, you will need thin yarn and small knitting needles. Start by casting on the desired number of stitches, then follow the lace pattern chart or instructions to create the desired design. Once the cover is long enough, bind off and sew the ends together to create a snug fit for your flower pot.
Another option for a flower pot knitting pattern is the cable pattern. This pattern creates a thick and cozy cover that is perfect for keeping your plants warm during the colder months. To knit this pattern, you will need medium weight yarn and medium knitting needles. Start by casting on the desired number of stitches, then follow the cable pattern chart or instructions to create the desired design. Once the cover is long enough, bind off and sew the ends together to create a snug fit for your flower pot.
No matter which flower pot knitting pattern you choose, the result will be a beautiful and personalized cover for your potted plants. With a little time and effort, you can create a unique and stylish addition to your home or garden. So grab your knitting needles and get started on your next knitting project!
Materials
Knitting your own flower pot cover is a fun and creative way to add a personal touch to your home decor. To get started, you will need a few materials:
Yarn:
- Choose a soft and durable yarn that is suitable for knitting.
- Consider using a natural fiber yarn, such as cotton or wool, as it will provide a nice texture and breathability for your plant.
- Select yarn in the colors and thickness that you prefer for your project.
Knitting Needles:
- You will need a pair of knitting needles in the appropriate size for your chosen yarn.
- Choose either straight or circular needles, depending on your knitting preference.
Tape Measure:
- Having a tape measure on hand will help you ensure that your flower pot cover is the right size for your plant.
- Measure the diameter and height of your flower pot to determine the dimensions for your knitting project.
Stitch Markers:
- Stitch markers are helpful tools for keeping track of your progress and marking specific sections of your knitting.
- You can use commercial stitch markers or make your own with safety pins or short pieces of contrasting yarn.
With these materials, you will be well-equipped to start knitting your own flower pot cover. Gather them together and let your creativity bloom!
Gauge
When knitting a flower pot, achieving the correct gauge is important to ensure that the final product fits properly. Gauge refers to the number of stitches and rows per inch in a knitted fabric, which can vary depending on factors such as the yarn weight, needle size, and individual tension.
Before starting the project, it is recommended to make a gauge swatch to determine if adjustments are needed. To make a swatch, cast on a few stitches and knit a small square using the same yarn and needles that will be used for the flower pot. Measure the swatch and compare it to the gauge specified in the pattern.
- If the gauge is too loose and the swatch has fewer stitches and rows per inch than the pattern requires, try knitting with smaller needles to achieve a tighter gauge.
- If the gauge is too tight and the swatch has more stitches and rows per inch than the pattern requires, switch to larger needles to loosen the gauge.
Keep in mind that even a slight difference in gauge can significantly affect the size and fit of the flower pot. It is worth taking the time to ensure that the gauge matches the pattern’s specifications, as this will result in a more accurate and well-fitting finished product.
Once the gauge has been determined and any necessary adjustments have been made, you can confidently proceed with knitting the flower pot, knowing that it will turn out just as intended.
Size
The size of your flower pot depends on several factors, including the type of plant you want to grow, the space available, and your personal preference. It’s important to choose the right size to ensure that your plant has enough room to grow and thrive.
When selecting a flower pot, consider the height and width of the plant at maturity. You want to choose a pot that is large enough to accommodate the plant’s root system and allow for proper growth. If the pot is too small, the roots may become crowded and the plant may not be able to grow to its full potential.
In addition to the plant’s size, you should also consider the available space in your home or garden. If you have limited space, you may need to choose a smaller pot or consider using hanging baskets or vertical planters to maximize space. On the other hand, if you have a large space to fill, you may want to choose a larger pot or consider grouping several pots together for a more dramatic effect.
When it comes to personal preference, the size of your flower pot can also be a matter of style. Some people prefer smaller pots for a more minimalist look, while others may prefer larger pots for a more statement-making display. Ultimately, the size of your flower pot should reflect your personal style and the overall aesthetic you want to achieve.
Remember, regardless of the size you choose, it’s important to ensure that your flower pot has drainage holes to prevent water from pooling and causing root rot. Proper drainage is essential for the health and well-being of your plants.
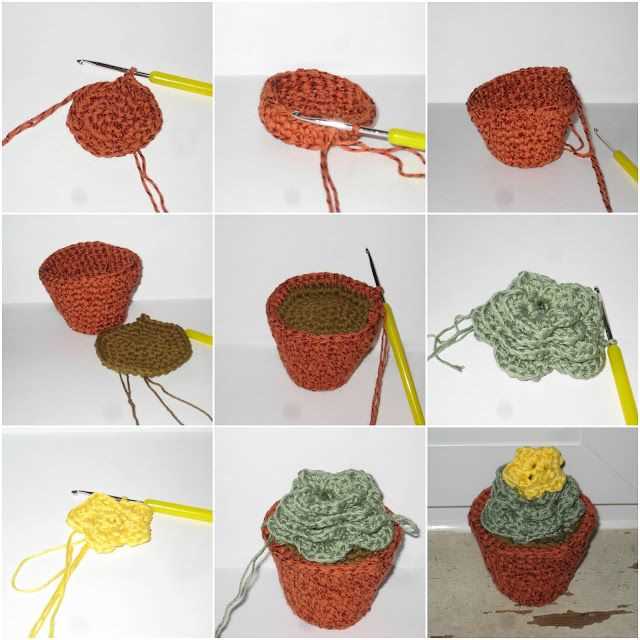
Instructions
Before starting your flower pot knitting project, make sure you have all the necessary materials. You will need knitting needles, yarn in your desired colors, and a tapestry needle. Additionally, you may want to have stitch markers and a row counter to help you keep track of your progress.
To begin, cast on the desired number of stitches for the base of your flower pot. You can choose to knit in the round or flat and seam the edges together later. If knitting in the round, place a stitch marker to mark the beginning of the round.
Row 1-4: Knit all stitches
Row 5-8: Purl all stitches
Row 9-12: Knit all stitches
Row 13-16: Purl all stitches
Continue knitting in this pattern until your flower pot reaches the desired height. Remember to periodically measure your work to ensure it is the correct size. If necessary, you can add or subtract rows to achieve the desired dimensions.
Once your flower pot is the desired height, it is time to shape the top. You can choose to decrease stitches evenly across a row or follow a specific pattern to create a decorative edge. Experiment with different decreases to find the look you prefer. After shaping the top, bind off all stitches and weave in any loose ends.
Now, your flower pot is ready to use. Fill it with soil and your favorite plants or flowers, and enjoy your hand-knit creation!
Base
The base of the flower pot is an essential part of the knitting pattern. It provides stability and strength to the pot, ensuring that it can hold the weight of the soil and plant. To create the base, you will start by casting on a certain number of stitches, depending on the size of the pot.
Materials: To make the base, you will need knitting needles, yarn, and a tape measure. Choose a yarn that is sturdy and durable, as it will need to support the weight of the pot. The knitting needles should be the appropriate size for the yarn you have chosen.
Instructions: Begin by casting on the required number of stitches for the size of the pot you are making. This can be determined by measuring the circumference of the pot and dividing it by the gauge of your yarn. Once you have cast on, knit the first row, then purl the second row. Repeat these two rows until the base is the desired length.
Note: It is important to keep the tension consistent throughout the knitting process, as this will ensure that the base is even and flat. You can use a stitch marker to mark the beginning of each row, which will help you keep track of your progress.
Body
The body of the flower pot knitting pattern consists of several key elements that come together to create a beautiful and functional piece. The main body is typically worked in a simple knit stitch, allowing for a smooth and clean look. This creates the foundation for the pot and provides structure and stability.
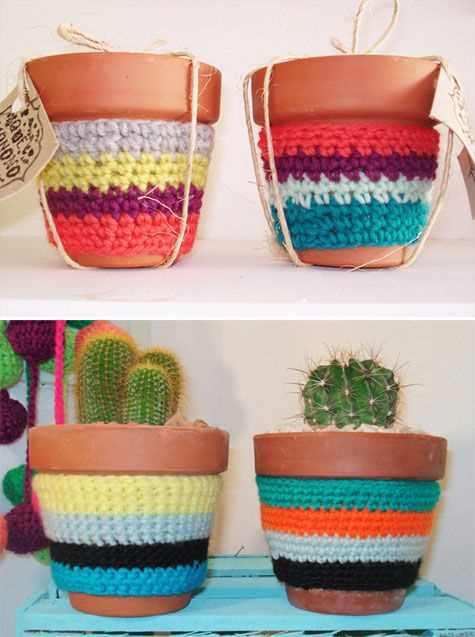
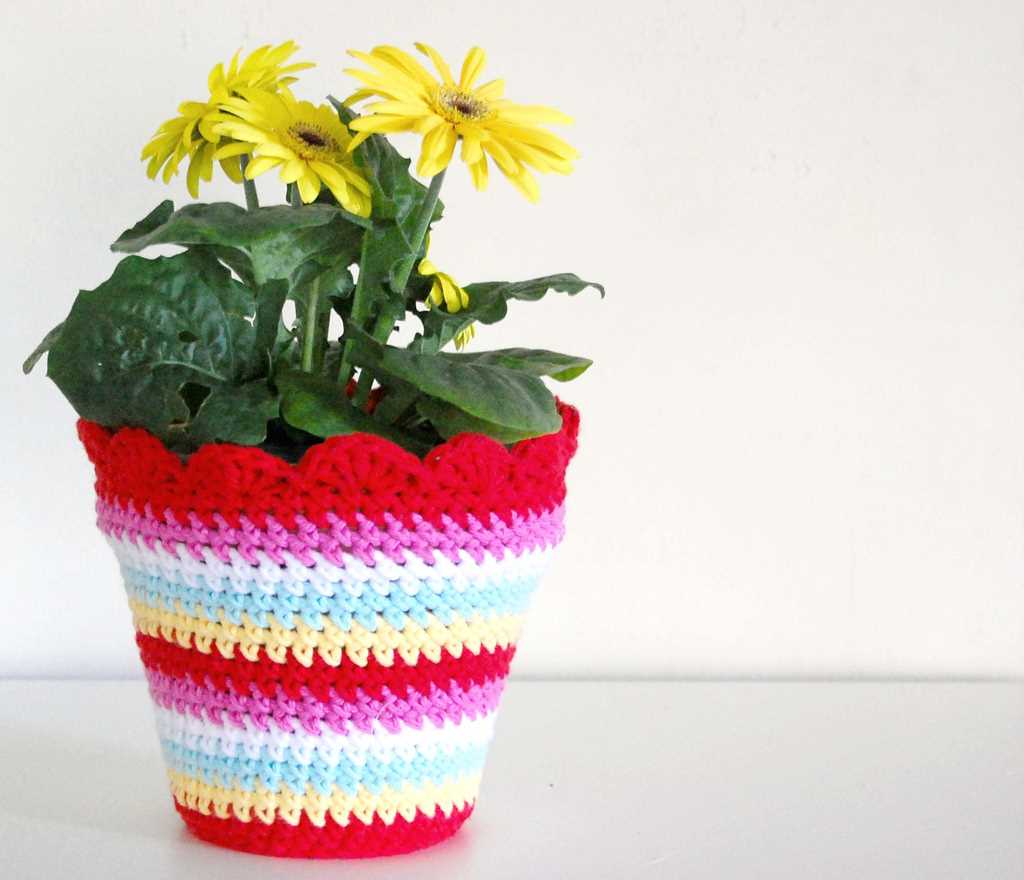
Within the body, you may find decorative elements such as stripes, lace patterns, or colorwork. These additions add texture and visual interest to the pot, making it a unique and personalized piece. Knitters can choose from a variety of patterns to customize the design and create a pot that matches their style and home decor.
Another important aspect of the body is the shaping. Depending on the desired size and shape of the pot, knitters may need to incorporate increases or decreases to achieve the desired dimensions. This can be done by adding or subtracting stitches at specific intervals, resulting in a pot that is wider or narrower at the top or bottom.
The body of the flower pot is where the knitting truly comes to life. It is where the pattern unfolds and the knitter’s creativity can shine. With careful attention to detail and a love for the craft, the body of the pot can be transformed into a functional piece of art that brings joy and beauty to any space.
Rim
The rim of a flower pot plays an important role in both its aesthetic appeal and functionality. It is the uppermost edge or border of the pot that holds the soil and plants in place. The rim can vary in width and design, depending on the style of the pot. A wider rim provides more stability and also allows for easier handling and transportation of the pot. On the other hand, a narrower rim creates a sleek and modern look.
One key consideration when knitting a flower pot is the rim design. You can choose to knit a simple straight rim or incorporate a decorative pattern. A straight rim provides a clean and minimalist look, while a patterned rim adds more visual interest. Some popular patterns for flower pot rims include ribbing, cables, lace, and colorwork. These patterns can be easily achieved using basic knitting techniques.
When knitting the rim of a flower pot, it is important to ensure a snug fit to prevent the soil from leaking out. You can achieve this by using a smaller needle size or adding a few extra stitches to create a tighter tension. Additionally, reinforcing the rim with a crochet border can further enhance its stability and durability.
Overall, the rim of a knitted flower pot is not only a practical component but also an opportunity to add a personal touch to your creation. With careful consideration of the design and construction, you can create a beautiful and functional flower pot that will bring joy to any space.
Handles
The handles are an important feature of a flower pot knitting pattern, as they allow for easy transportation of the pot. There are several variations of handles that can be incorporated into the design, depending on the desired aesthetic and functionality.
One option for handles is to create simple loops on either side of the pot. These loops can be knitted separately and then sewn onto the sides, or they can be incorporated into the pattern itself. The loops should be sturdy enough to support the weight of the pot and provide a comfortable grip for carrying.
Another option is to create braided handles. This can be done by knitting several long strips and then braiding them together. The braided handles can then be attached to the sides of the pot, creating a visually appealing and functional feature.
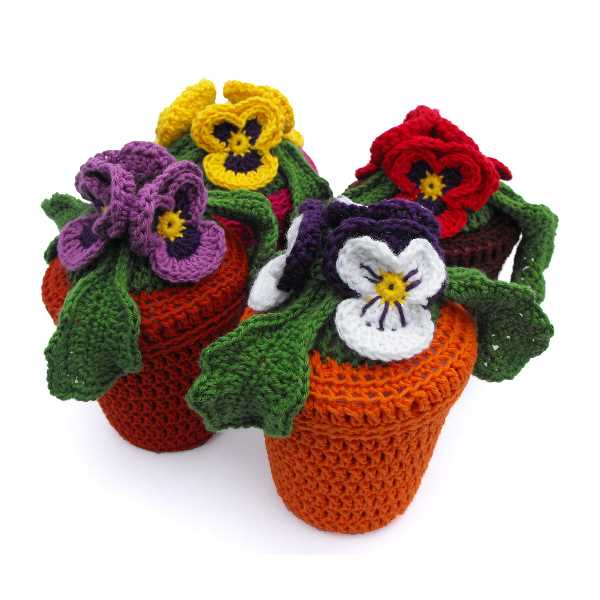
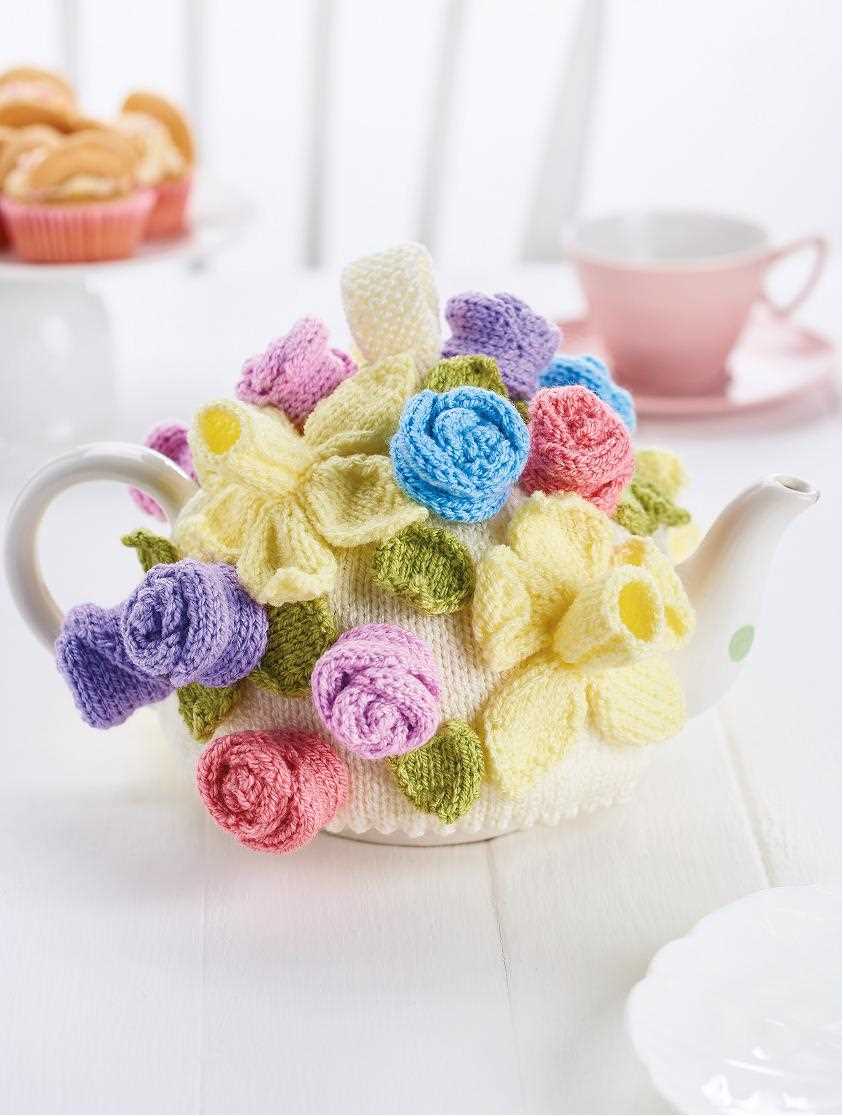
For those looking for a more decorative touch, knitted flowers can be used as handles. These can be knitted separately and then attached to the pot using a sewing needle and thread. This adds a whimsical and unique element to the flower pot, making it stand out from traditional designs.
In conclusion, handles are an important aspect of a flower pot knitting pattern. They not only provide functionality by allowing for easy transportation, but they also add decorative elements to the design. Whether you choose to incorporate simple loops, braided handles, or knitted flowers, the handles can greatly enhance the overall look and feel of the flower pot.
Finishing
Once you have completed knitting your flower pot cover, it’s time to add the finishing touches. Follow these steps to finish your project:
- Weaving in the ends: Take a yarn needle and weave in any loose ends of yarn on the inside of the pot cover. This will help secure the yarn and give your project a polished look.
- Blocking: If desired, you can block your flower pot cover to help it retain its shape and improve the overall appearance. Gently wet the cover and arrange it on a flat surface, shaping it to the desired size. Leave it to dry completely before removing it.
- Trimming: To add a decorative touch, you can sew on any embellishments or trim to personalize your flower pot cover. This could include buttons, ribbon, or appliques. Get creative and make it unique!
With these finishing steps complete, your flower pot cover is ready to be used or gifted. Enjoy the beauty of your hand-knitted creation!