
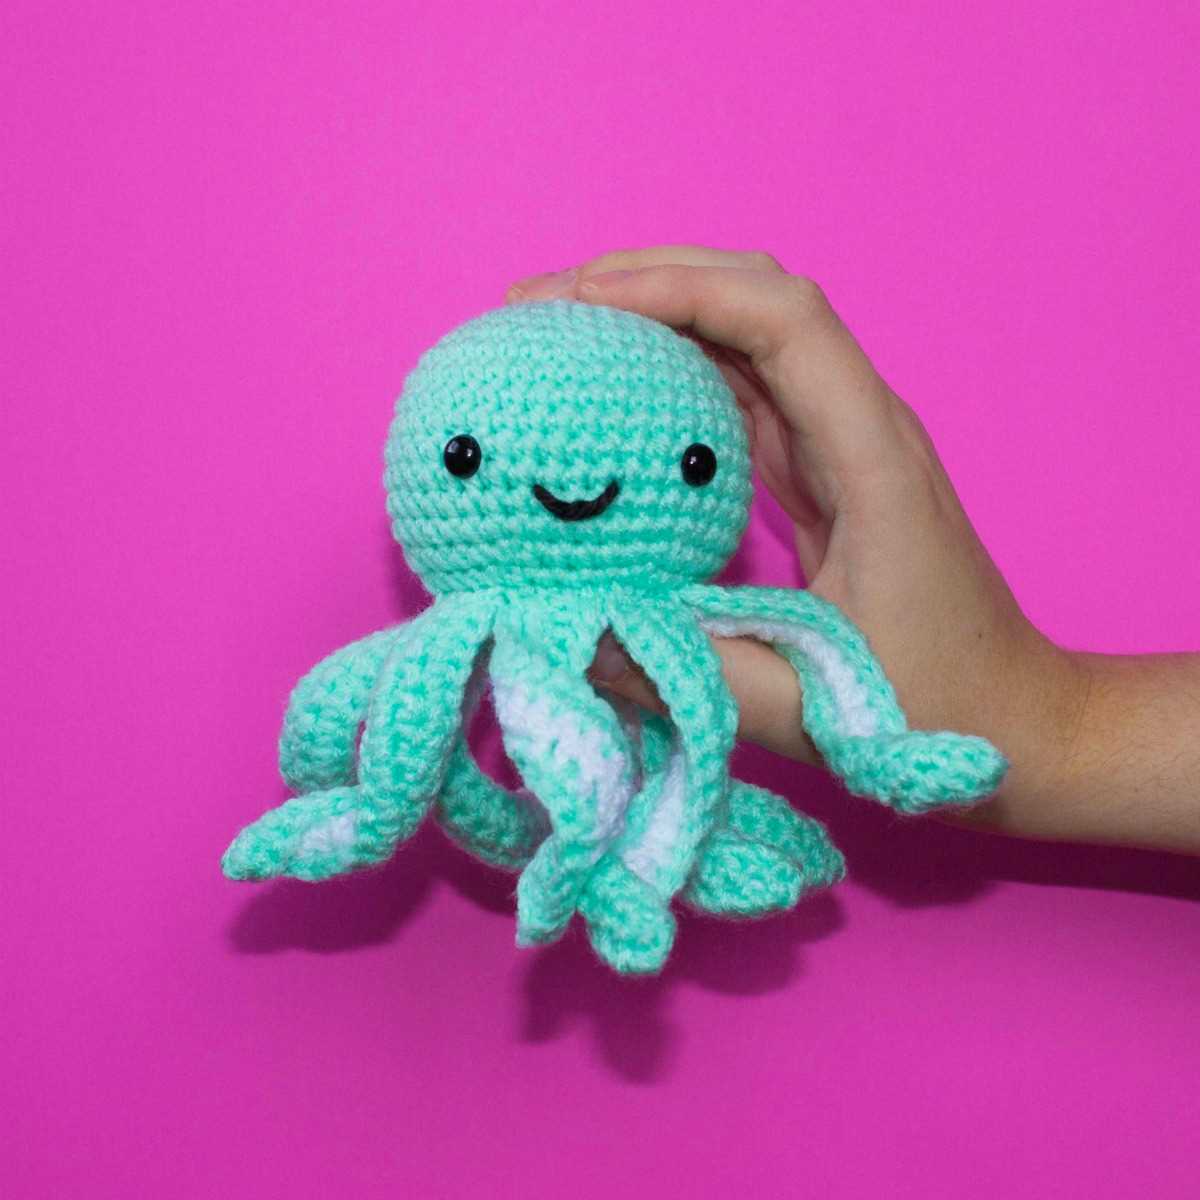
Knitting is a wonderful craft that can bring joy and relaxation to anyone who tries it. One popular item to knit is an adorable octopus toy. Not only is it cute, but it also serves a purpose – the tentacles can be used as a teether for babies. Knitting a octopus is the perfect project for both beginners and experienced knitters alike. In this article, we will provide you with a simple knitting pattern for an octopus that you can easily follow and create your own unique toy.
So why choose a knitting pattern for an octopus? Well, octopuses are intriguing creatures with their eight arms and curious nature. By knitting your own octopus toy, you can bring a little piece of the ocean into your home. Plus, knitting is a great way to destress and relax, and what better way to do that than by creating something cute and cuddly?
Whether you are a beginner or an expert, this knitting pattern for an octopus is a great project to try. With just a few basic knitting techniques, you can create a unique and personalized octopus toy. So grab your knitting needles and let’s get started on this fun and rewarding knitting project!
What you’ll need to get started
In order to get started on knitting your own octopus, you will need a few basic supplies. Here is a list of what you’ll need:
- Yarn: Choose a soft and durable yarn in a color of your choice. Acrylic or cotton yarns work best for this project.
- Knitting needles: Select a pair of needles that are appropriate for the weight of your yarn. Circular or double-pointed needles are recommended for knitting in the round.
- Stuffing material: You will need a soft stuffing material to fill the octopus. Polyester fiberfill or yarn scraps are commonly used for this purpose.
- Tapestry needle: A large-eyed needle is essential for seaming and weaving in ends.
- Stitch markers: These small rings or clips will help you keep track of your stitches and rounds.
- Scissors: A pair of sharp scissors will be needed for cutting yarn and trimming ends.
Once you have gathered all of these supplies, you will be ready to start knitting your octopus. Take some time to familiarize yourself with the knitting pattern and make sure you understand the instructions before you begin. It’s also a good idea to practice basic knitting stitches if you’re new to knitting, to ensure that your project turns out well.
Step-by-step instructions
If you want to make your own knitted octopus, follow these step-by-step instructions!
Materials needed:
- Yarn (choose any color you like)
- Knitting needles (size 4.5mm)
- Tapestry needle
- Polyester stuffing material
- Black embroidery thread
- Scissors
Step 1:
Start by casting on 36 stitches using the knitting needles.
Step 2:
Knit every row until your piece measures approximately 10 inches.
Step 3:
Bind off all stitches, leaving a long tail for sewing.
Step 4:
Fold the knitted piece in half, with the right sides facing each other, and sew up the sides using the tapestry needle and the long tail of yarn.
Step 5:
Turn the octopus right side out.
Step 6:
Stuff the octopus with the polyester filling until desired fullness is achieved. Make sure to stuff the tentacles firmly.
Step 7:
Sew the opening closed using the tapestry needle and the long tail of yarn.
Step 8:
Using the black embroidery thread, sew on eyes and a mouth on the head of the octopus.
Congratulations! You have completed your knitted octopus!
Tips for a Successful Octopus Knitting
If you’re looking to create a cute and cuddly octopus toy through knitting, here are some tips to help you achieve success:
1. Choose the Right Yarn
When knitting an octopus, it’s important to select a yarn that is soft and safe for children. Opt for a yarn that is machine washable, as this will make it easier to clean the toy after it has been played with. Additionally, using a yarn with a bit of stretch can help ensure that the octopus retains its shape over time.
2. Follow a Reliable Pattern

Using a well-written knitting pattern specifically designed for octopuses can make a huge difference in the outcome of your project. Look for a pattern that includes clear instructions, helpful diagrams, and any special techniques that may be required. Following a reliable pattern will help ensure that your octopus turns out just as you imagined.
3. Pay Attention to Tension
Tension is crucial when knitting any project, and the octopus is no exception. Make sure to knit with consistent tension throughout the project to achieve an even and neat finish. If your tension tends to vary, consider using a smaller or larger set of needles to help maintain a consistent gauge.
4. Embellish with Safety Eyes
To give your octopus a lively and realistic appearance, consider using safety eyes instead of traditional embroidered eyes. Safety eyes can be easily attached to the knitted fabric and provide a secure and child-friendly option. Just make sure to choose safety eyes that are appropriate for the size of your octopus and follow the manufacturer’s guidelines for installation.
5. Don’t Forget to Stuff Properly
The stuffing you use is essential for creating a plush and huggable octopus. Consider using a soft filling that is washable and hypoallergenic. Ensure that you stuff the octopus firmly but not overly tight, as this can affect the shape and texture. Take care to stuff each tentacle separately to create a well-defined structure.
By following these tips, you’ll be well on your way to creating a beautifully knitted octopus toy that will be cherished for years to come.
Choosing the right yarn and needles
When knitting an octopus, it is important to choose the right yarn and needles to ensure the best results. The yarn you select will determine the softness, durability, and overall appearance of the finished octopus. Additionally, the size and type of needles will impact the tension and stitch definition in your knitting.
One key factor to consider when choosing yarn for your octopus is its fiber content. Natural fibers, such as cotton or bamboo, can provide a soft and breathable texture, while synthetic fibers like acrylic or polyester offer durability and ease of care. A blend of different fibers can also be a good option, combining the best qualities of each.
Another important aspect of yarn selection is its weight or thickness. Thicker yarns, such as bulky or chunky weights, will result in a larger and more substantial octopus, while thinner yarns like fingering or sport weights will create a smaller and more delicate toy. Consider the intended purpose of your octopus and the desired size when choosing the yarn weight.
Equally important is selecting the right needles for your knitting project. The size of the needles will determine the gauge or tension of your stitches. Thicker needles will result in more loose and open stitches, while smaller needles will create tighter and denser fabric. Refer to the recommended needle size indicated in the knitting pattern to achieve the desired gauge.
In addition to size, the material of the needles can also affect your knitting experience. Metal or wooden needles provide different levels of friction and grip on the yarn. If you find that your stitches are slipping off the needles too easily, you might prefer wooden needles for more control. On the other hand, if you feel that your stitches are not sliding smoothly, metal needles can offer a slicker surface.
Ultimately, choosing the right yarn and needles for your octopus project is a personal preference. Consider factors such as fiber content, weight, needle size, and material to find the combination that works best for you. Experiment with different options to achieve the desired look and feel of your finished octopus.
Creating the octopus body
Once you have gathered all the necessary materials for knitting your octopus, it is time to start creating the body. The body of the octopus is typically made in a cylindrical shape. Start by casting on the required number of stitches onto your knitting needles. The number of stitches will depend on the size and thickness you want for your octopus.
Next, you will need to choose a stitch pattern for the body. There are many different stitch patterns that can be used to create texture and add interest to the octopus body. You can choose a simple stockinette stitch for a smooth finish, or experiment with ribbing, seed stitch, or even cables for a more intricate design.
Once you have decided on the stitch pattern, begin knitting rows in the selected pattern. Remember to keep track of your rows to ensure that your octopus body is symmetrical. Knit until you have reached the desired length for your octopus body.
When you have finished knitting the body, bind off your stitches and cut the yarn, leaving a long tail. This tail will be used later to attach the body to the rest of the octopus. You can also choose to stuff the body with fiberfill or a small amount of stuffing to give it a three-dimensional shape. To do this, leave a small opening at one end of the body and gently stuff it with the desired material.
Now that your octopus body is complete, you can move on to knitting the remaining parts, such as the tentacles and the head. Stay tuned for the next steps in creating your own adorable knitted octopus!
Adding the tentacles
Now that you have completed knitting the body of the octopus, it’s time to add the tentacles. The tentacles are what give the octopus its unique shape and charm. Follow these steps to attach the tentacles to your knitted octopus:
Materials:
- Yarn in the color of your choice
- Knitting needles in the appropriate size
- Darning needle
Step 1:
Take a length of yarn and thread it through the darning needle. Insert the needle into the body of the octopus where you want the first tentacle to be attached. Pull the yarn through, leaving a tail for weaving in later.
Step 2:

With the same length of yarn, make a slipknot and place it onto one of the knitting needles. Knit the stitches from the body of the octopus onto the needle, creating the first tentacle. Continue knitting until the tentacle is the desired length.
Step 3:
Once the first tentacle is complete, cut the yarn, leaving a tail for weaving in later. Repeat steps 1-3 for the remaining tentacles, spacing them evenly around the body of the octopus.
Once all the tentacles are attached, weave in the yarn tails using the darning needle to secure them and prevent unraveling. Your knitted octopus is now complete with its charming tentacles!
Shaping the head and facial features
When creating a knitted octopus, the head is an important part of the design. To shape the head, begin by casting on the desired number of stitches and knitting in the round. This will create a seamless and smooth surface for the head.
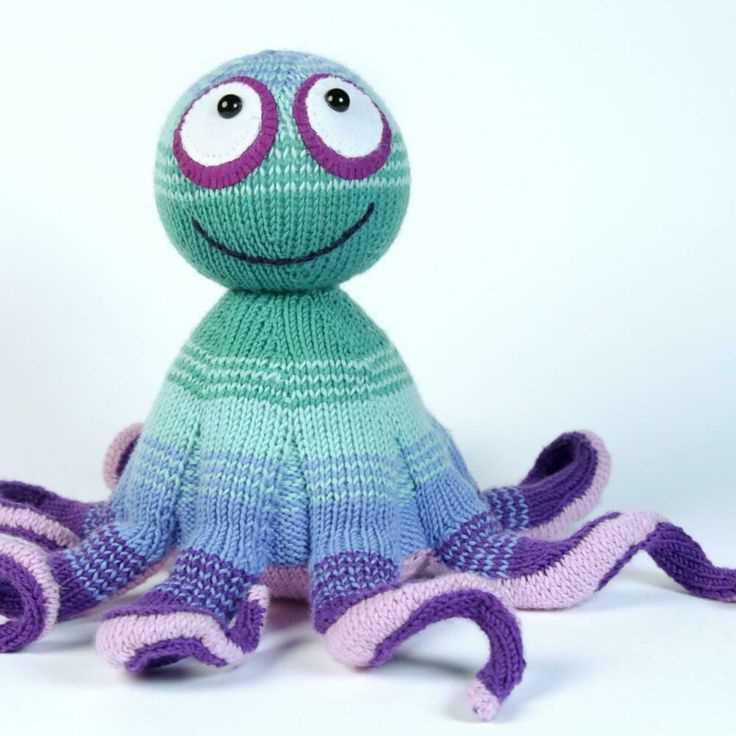
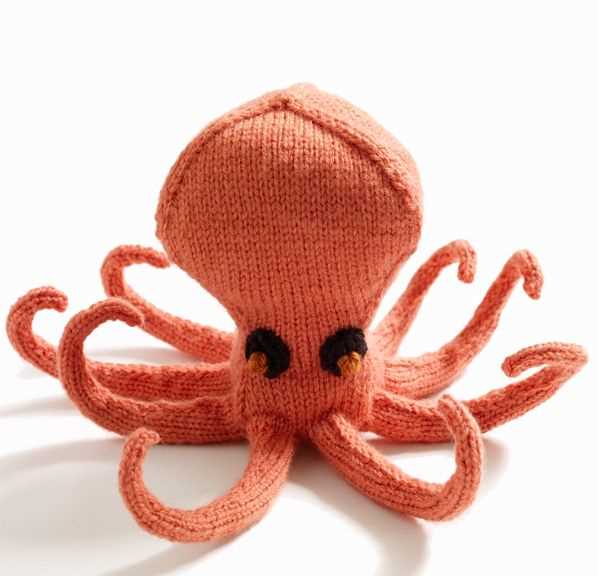
Once the basic head shape is established, it’s time to add the facial features. Using different stitch techniques, such as increases and decreases, you can create the eyes, mouth, and other defining characteristics of the octopus. For the eyes, you can either sew on buttons or create knitted circles using a contrasting color of yarn. To give the octopus its friendly expression, forming a small smile using a simple embroidery stitch can do the trick.
Here are the steps to shape the head and facial features of the knitted octopus:
- Cast on the desired number of stitches and join in the round.
- Knit several rounds, gradually decreasing or increasing stitches to shape the head.
- For the eyes, either sew on buttons or create knitted circles using a contrasting color of yarn.
- Create a smile by using a simple embroidery stitch.
- Continue following the pattern to complete the rest of the octopus’s body.
When shaping the head and adding the facial features, it’s important to refer to the knitting pattern for specific instructions and stitch counts. Pay attention to gauge and tension to ensure the final result matches the intended size and proportions. With careful attention to detail, the knitted octopus will come to life with a charming and whimsical appearance.
Finishing touches and final assembly
Once you have completed all the knitting sections for your octopus, it’s time to add the finishing touches and assemble the parts together. This final step will bring your octopus to life and make it ready for cuddling or gifting!
First, make sure all the loose ends of yarn from each section are securely woven in and hidden. You can use a yarn needle to weave the ends along the edges of the sections or into the stitches themselves, ensuring they won’t unravel or be visible from the outside. This step will give your octopus a neat and professional finish.
Next, it’s time to attach the different sections of your octopus together. Starting with the head, line up the edges of the head and body sections, making sure they match up evenly. Use the same yarn color you used for the sections and a yarn needle to sew the edges together, using a whip stitch or mattress stitch. Take your time to ensure the stitches are secure and tidy for a seamless assembly.
Once the head and body are securely stitched together, attach the tentacles to the body. Arrange the tentacles evenly around the bottom edge of the body section and sew them in place using the same yarn and stitching technique. Again, make sure the stitches are tight and well-hidden to create a polished final result.
After attaching the tentacles, you can add any additional details or embellishments you desire, such as safety eyes or embroidered features on the face. These details will give your octopus a personalized touch and bring out its unique personality.
Finally, give your octopus a gentle stuffing to bring it to life. Use polyester fiberfill or any other stuffing material you prefer, making sure to evenly distribute the stuffing for a plush and cuddly octopus. Once the stuffing is complete, close up the opening at the bottom of the body section using a whip stitch or mattress stitch, and your knitting pattern for octopus is complete!
Alternative color and design options
When it comes to knitting patterns for octopuses, there are limitless options for colors and designs. By experimenting with different color combinations and stitch patterns, you can create unique and personalized octopuses that reflect your creativity and style.
Color options:
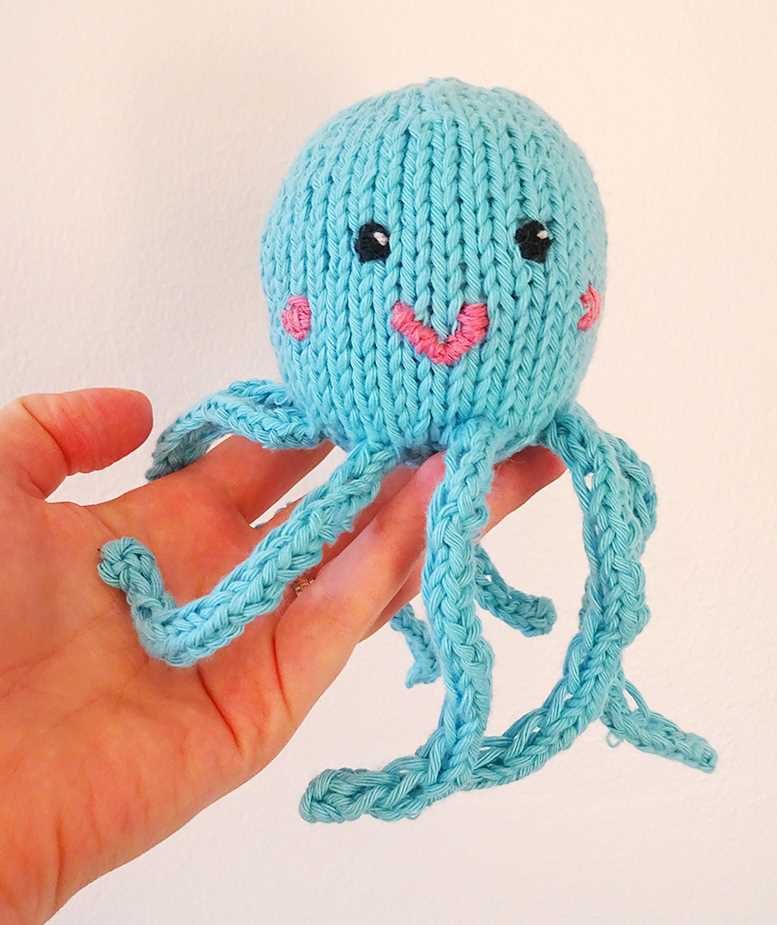
- Classic Blue: If you prefer a traditional look, opt for a blue color palette. Shades like navy, baby blue, and teal can make your octopus look charming and timeless.
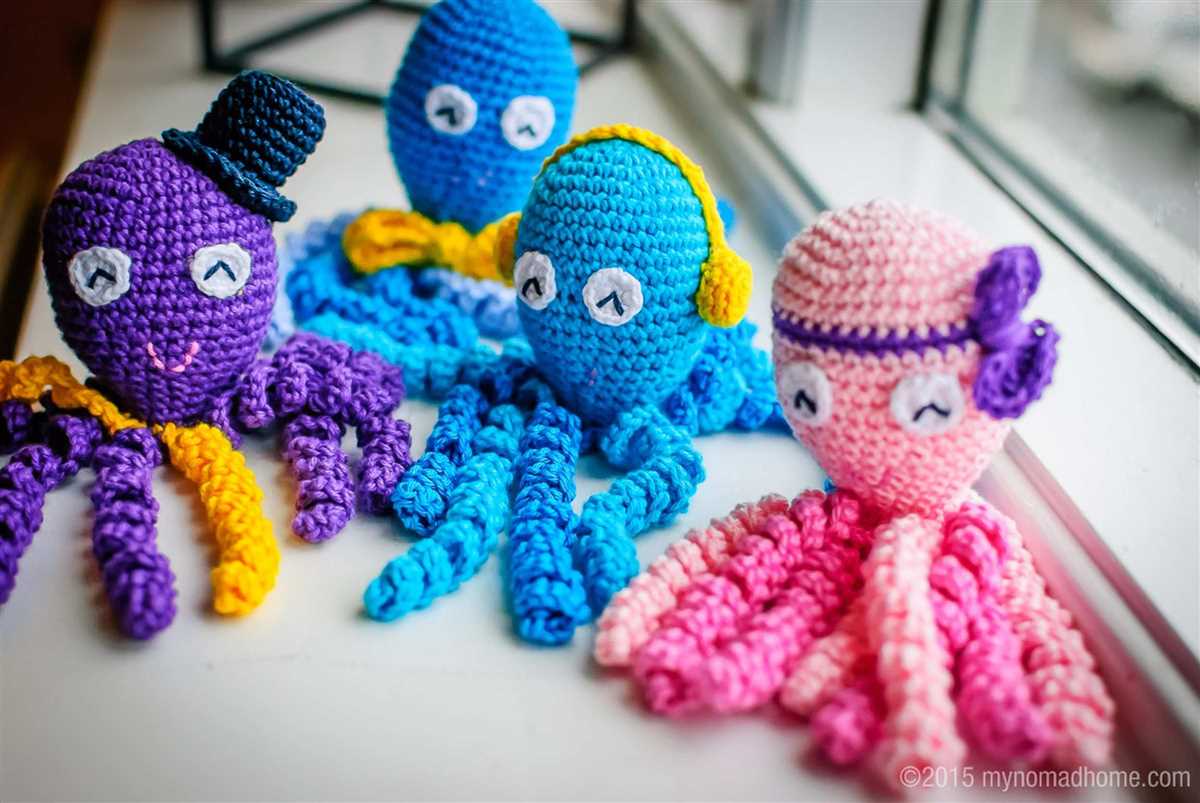
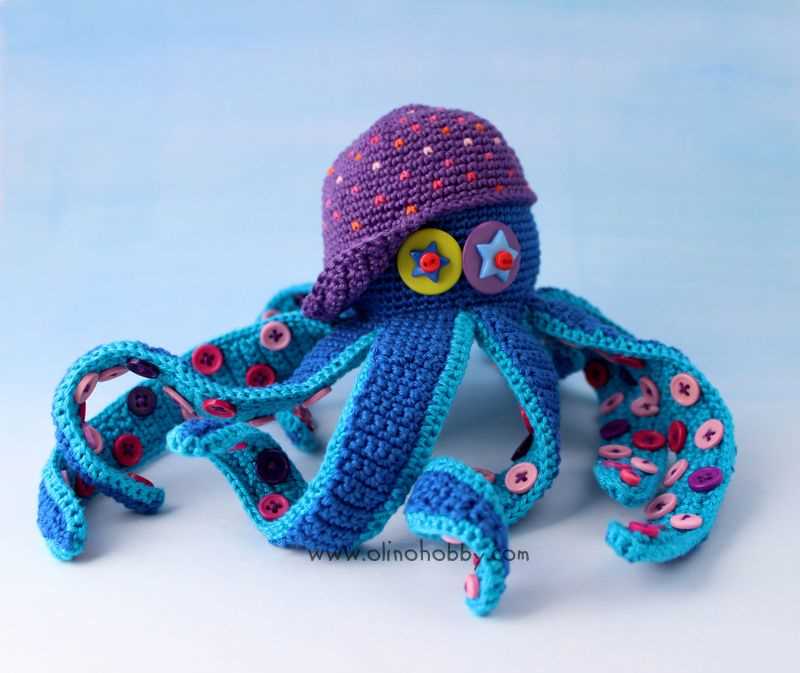
- Bright and Bold: For a more fun and playful octopus, choose vibrant colors like pink, purple, or yellow. These eye-catching hues will surely make your creation stand out.
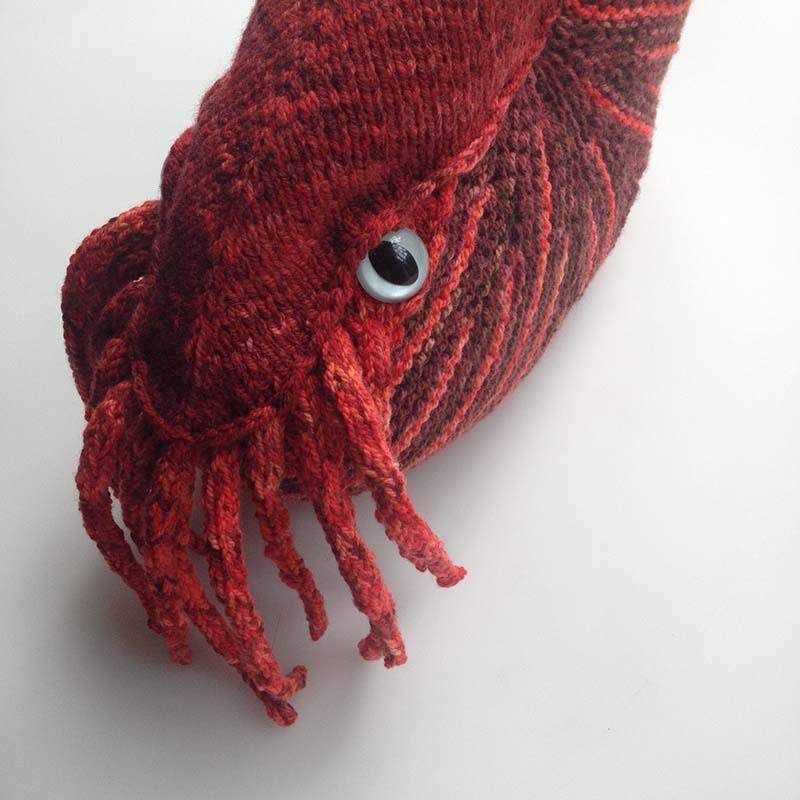
- Earth Tones: If you’re going for a natural and rustic vibe, earthy colors like brown, beige, and green can be a great choice. These colors can make your octopus blend seamlessly with a nature-themed decor.
Design options:
- Stripes: Incorporating stripes into your octopus design can add visual interest and dimension. You can create stripes using different colors or by varying the thickness of your stitches.
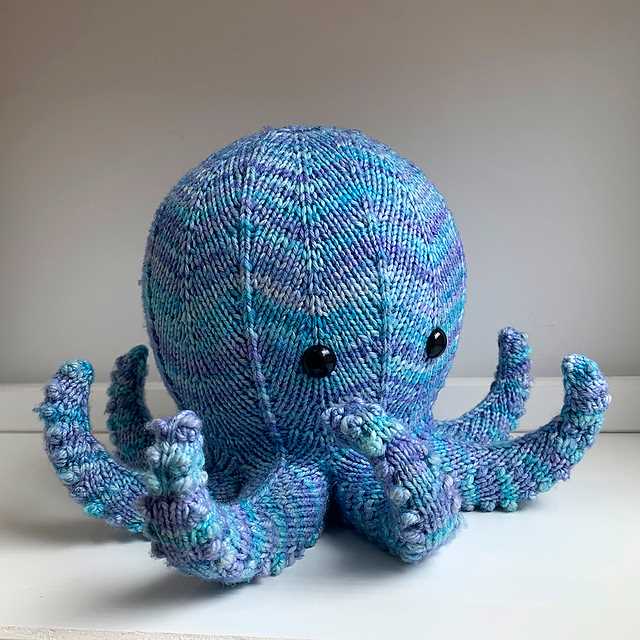
- Gradient: If you want to achieve a smooth transition of colors, consider using a gradient design. Start with one color and gradually transition to another, creating an ombre effect.
- Fair Isle: Fair Isle knitting technique allows you to create intricate and colorful patterns. You can experiment with different motifs and color combinations to add a touch of complexity to your octopus.
Remember, knitting patterns are meant to inspire your creativity, so don’t be afraid to think outside the box and try new combinations. Whether you prefer a traditional or modern look, the color and design options for your octopus are endless!
Final Thoughts and Additional Resources
In conclusion, knitting a toy octopus can be a fun and rewarding project. Not only does it provide a creative outlet, but it also offers an opportunity to make a meaningful impact on premature babies and their families. The smooth tentacles of the octopus can provide comfort by reminding babies of the umbilical cord, helping to calm and soothe them during their time in the hospital.
If you’re new to knitting or looking for inspiration, there are many resources available online. Websites like Ravelry, Knitting Pattern Central, and LoveCrafts offer a wide range of free and paid knitting patterns for octopuses and other toys. These patterns often include detailed instructions and helpful tips to ensure that your project turns out beautifully.
If you prefer visual learning, YouTube is a great platform to explore. Many talented knitters and designers share step-by-step video tutorials that can guide you through the process of knitting an octopus. Watching these tutorials can be a valuable learning experience, especially for beginner knitters.
Remember, the most important thing is to have fun and enjoy the process of creating something unique. Whether you’re knitting octopuses for premature babies or simply for personal enjoyment, your efforts are sure to bring joy and comfort to those who receive them.
Additional Resources:
- Ravelry – A community-based website for knitters and crocheters, offering an extensive collection of patterns and forums to connect with other crafters.
- Knitting Pattern Central – A website that provides links to various knitting patterns, including octopuses and other toys.
- LoveCrafts – An online platform that sells knitting patterns and supplies, offering a wide range of octopus patterns.
- YouTube – A video-sharing platform where you can find numerous knitting tutorials for creating octopuses and other toys.
Happy knitting!