
Knitting socks is a popular pastime for many people, and for good reason. Not only is it a relaxing and enjoyable activity, but it also results in warm and cozy socks to wear during the colder months. One popular choice of yarn for knitting socks is wool. Wool provides excellent insulation and warmth, making it the perfect choice for keeping your feet toasty on even the coldest of days.
If you’re looking for a new knitting project, why not try your hand at knitting a pair of woolen socks? In this article, we will provide you with a simple and easy-to-follow knitting pattern for woolen socks. Whether you’re a beginner or an experienced knitter, this pattern is suitable for anyone looking to create their own pair of comfortable and stylish socks.
To start, you will need a set of double-pointed needles and a skein of wool yarn. You can choose any color or pattern that you like, as long as it is a wool yarn suitable for knitting socks. The pattern itself is a basic sock pattern, with a ribbed cuff, a stockinette stitch leg, a heel flap, and a toe that is grafted closed. The pattern is customizable to fit any size foot, making it a versatile option for knitters of all skill levels.
Once you have gathered your materials, you can begin casting on and following the pattern instructions. The beauty of knitting socks is that you can easily customize them to fit your unique preferences. You can choose to add stripes, cables, or other decorative elements to make your socks truly one-of-a-kind. Knitting socks also allows you to experiment with different stitch patterns and techniques, making it a great way to improve your knitting skills.
How to Knit Woolen Socks: Step-by-Step Tutorial
Knitting your own woolen socks can be a rewarding and cozy project, perfect for keeping your feet warm during the cold winter months. With this step-by-step tutorial, you’ll learn how to create a pair of socks that are not only comfortable, but also stylish and unique.
Materials Needed:
- Wool yarn in your desired color
- Knitting needles in the appropriate size (usually size 5 or 6)
- Tapestry needle
- Measuring tape
- Scissors
Step 1: Cast on
Start by casting on the required number of stitches onto your knitting needles. This will depend on the size of your feet and the thickness of the yarn you’re using. A common cast on for adult socks is around 60 stitches, but you may need more or less depending on your specific measurements.
Step 2: Knit the cuff
Next, you’ll knit the cuff of the sock. This is typically done using a rib stitch, such as a 2×2 rib. To create a 2×2 rib, you’ll alternate between knitting 2 stitches and purling 2 stitches. Repeat this pattern for a desired length, usually around 2-3 inches.
Step 3: Knit the leg
Once the cuff is complete, you’ll move on to knitting the leg of the sock. This is where you can get creative with stitch patterns and designs. Simple stockinette stitch or a textured pattern can be used to add interest and style to your sock. Continue knitting until the leg reaches your desired length.
Step 4: Knit the heel flap
The heel flap is a reinforced section of the sock that provides durability and comfort. To knit the heel flap, you’ll work back and forth on a portion of the stitches, usually around half of the total stitches. This can be done using either stockinette stitch or a slip stitch pattern.
Step 5: Turn the heel
Turning the heel is where the sock begins to take shape. This is done by shaping the stitches to create a curve that fits the natural shape of your heel. This can be achieved through a series of short rows and decreases.
Step 6: Knit the foot
After turning the heel, you’ll continue knitting the foot of the sock. This is typically done in stockinette stitch or a pattern that complements the leg of the sock. To get the perfect fit, it’s important to try on the sock as you go and make any necessary adjustments.
Step 7: Shape the toe
The final step is shaping the toe of the sock. This is done by decreasing the number of stitches in a symmetrical manner, usually using a method such as the toe-up method or the top-down method. Follow the instructions of your chosen knitting pattern to shape the toe and finish off the sock.
With these simple steps, you can create a cozy pair of woolen socks that are perfect for keeping your feet warm and toasty. Enjoy the process of knitting and take pride in the finished product, knowing that you’ve created something both functional and beautiful.
Gather Your Materials
Before starting your woolen socks knitting project, make sure you have all the necessary materials on hand. The key items you will need include:
- Yarn: Choose a soft and warm wool yarn in your desired color. Make sure to buy enough to complete both socks.
- Knitting Needles: Depending on your stitch and yarn thickness, select the appropriate size of knitting needles. It’s recommended to use double-pointed needles.
- Tape Measure: This will help you measure your foot length and determine the correct size for your socks.
- Stitch Markers: These will help you keep track of your stitches and distinguish different sections of the sock.
- Yarn Needle: You will need this needle for sewing in loose ends and finishing your sock.
- Scissors: A sharp pair of scissors will be needed for cutting yarn and trimming any excess.
- Pattern: Choose a woolen socks knitting pattern that suits your skill level and preferences. You can find a variety of patterns online or in knitting books.
Once you have gathered all of these materials, you are ready to begin your woolen socks knitting project. Make sure to create a comfortable and organized workspace, and keep all your materials nearby for easy access throughout the knitting process.
Choosing the Right Yarn
When it comes to knitting woolen socks, choosing the right yarn is crucial. The yarn you select will not only determine the overall look and feel of the finished socks but also affect their warmth, durability, and comfort.
Fiber Type: The first thing to consider is the fiber type of the yarn. Common options for woolen socks include wool, alpaca, cashmere, and merino. Wool is a popular choice due to its natural insulating properties and ability to wick away moisture. Alpaca and cashmere are known for their softness and warmth. Merino wool is prized for its finer, softer fibers and is often a top choice for socks worn against the skin.
Weight: The weight of the yarn refers to its thickness. For socks, it is best to choose a yarn that is categorized as fingering or sock weight. These yarns are lightweight and provide the right balance of warmth and breathability. Be mindful of the yarn’s yardage as well, as you’ll need enough to complete both socks.
Texture: Consider the desired texture for your socks. Smooth yarns will create a polished and uniform look, while those with more texture will give a cozy and rustic appearance. If you’re incorporating patterns or cables into your socks, a smooth yarn will showcase the design more clearly.
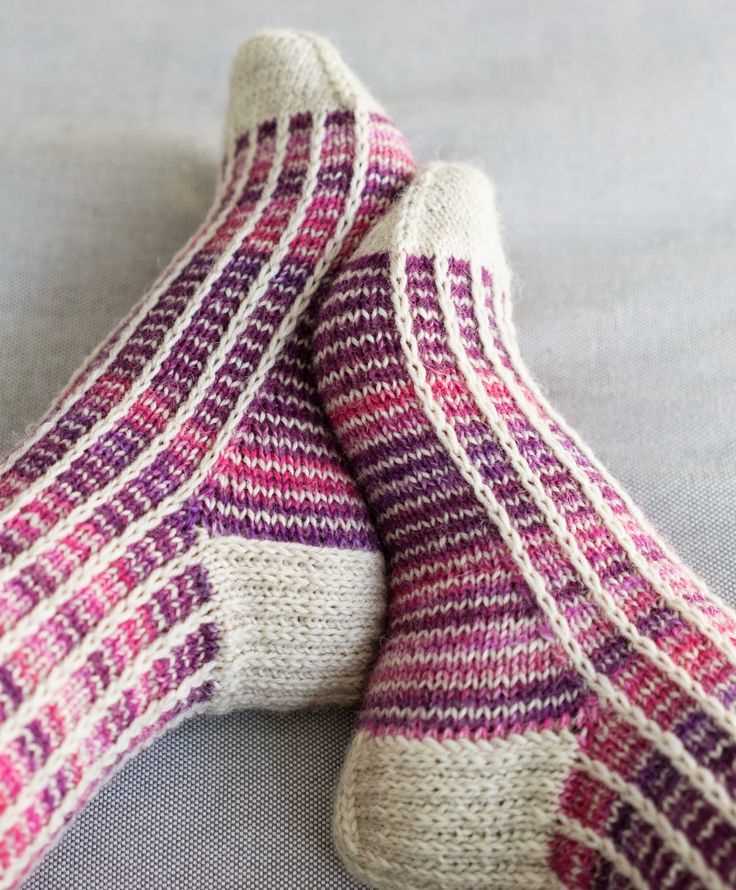
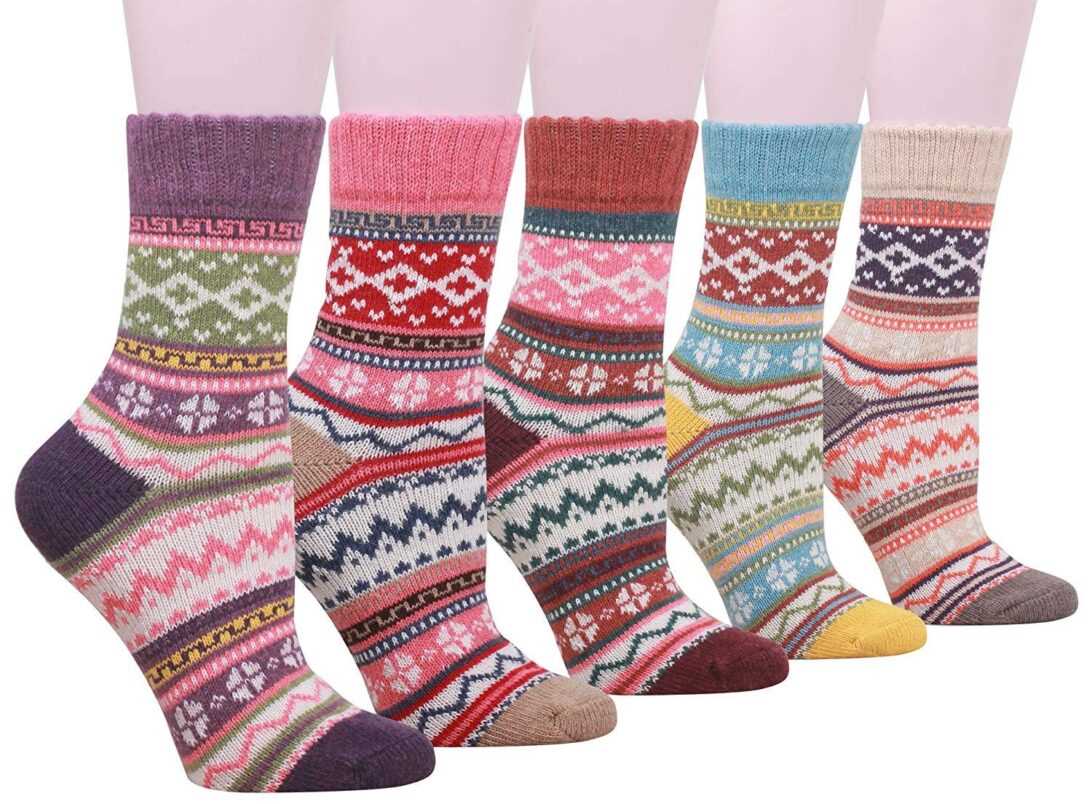
Color: The color of the yarn is a personal preference, but it can also affect the final product. Dark or solid colors are better at hiding dirt and wear, while lighter colors can show stains more easily. Variegated or self-striping yarns can add visual interest to plain sock patterns.
Price: Lastly, consider your budget when choosing yarn. Higher-quality yarns tend to be more expensive, but they also offer better durability and long-term satisfaction. However, there are affordable yarn options available that can still create beautiful and functional socks.
Understanding the Basic Sock Anatomy
When it comes to knitting woolen socks, understanding the basic sock anatomy is essential. A sock consists of several key components that work together to provide comfort, warmth, and durability.
Cuff
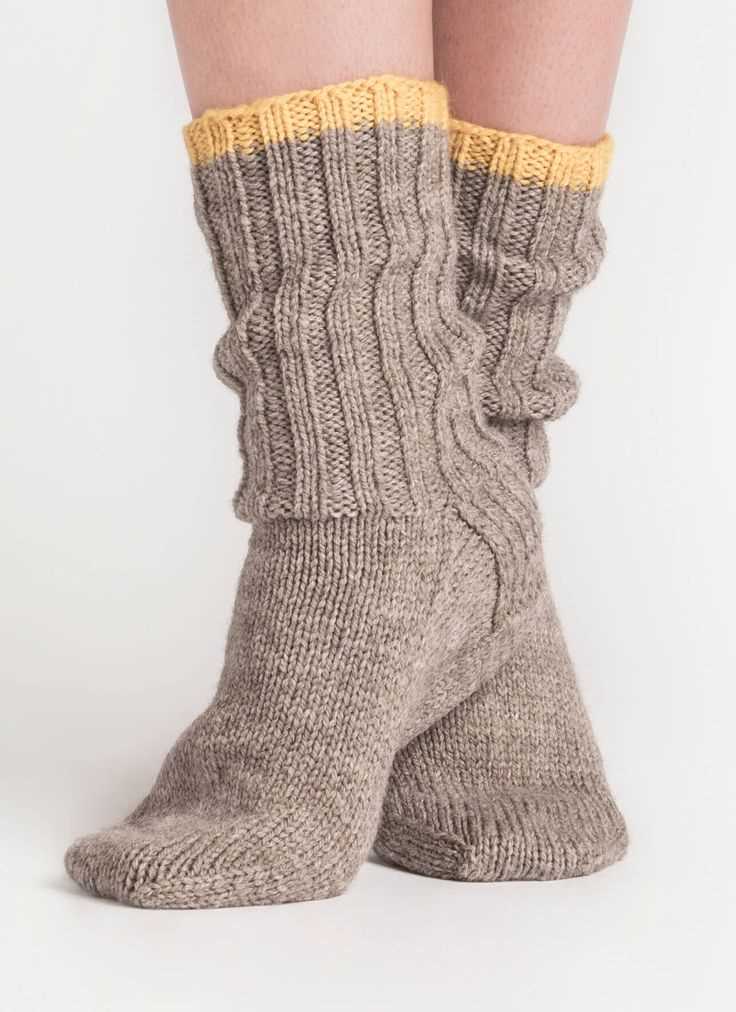
The cuff is the top part of the sock that sits at the ankle. It is usually ribbed and serves as a snug opening that prevents the sock from slipping down the leg. The cuff is typically the first part of the sock to be knit.
Leg
The leg is the section of the sock that extends from the cuff to the heel. This part of the sock can be as long or as short as desired and can be decorated with various stitch patterns.
Heel
The heel is arguably the most important part of the sock, as it provides structure and durability. There are different types of heel constructions, including the classic heel flap and gusset, short-row heels, and afterthought heels. The choice of heel construction can affect the fit and comfort of the sock.
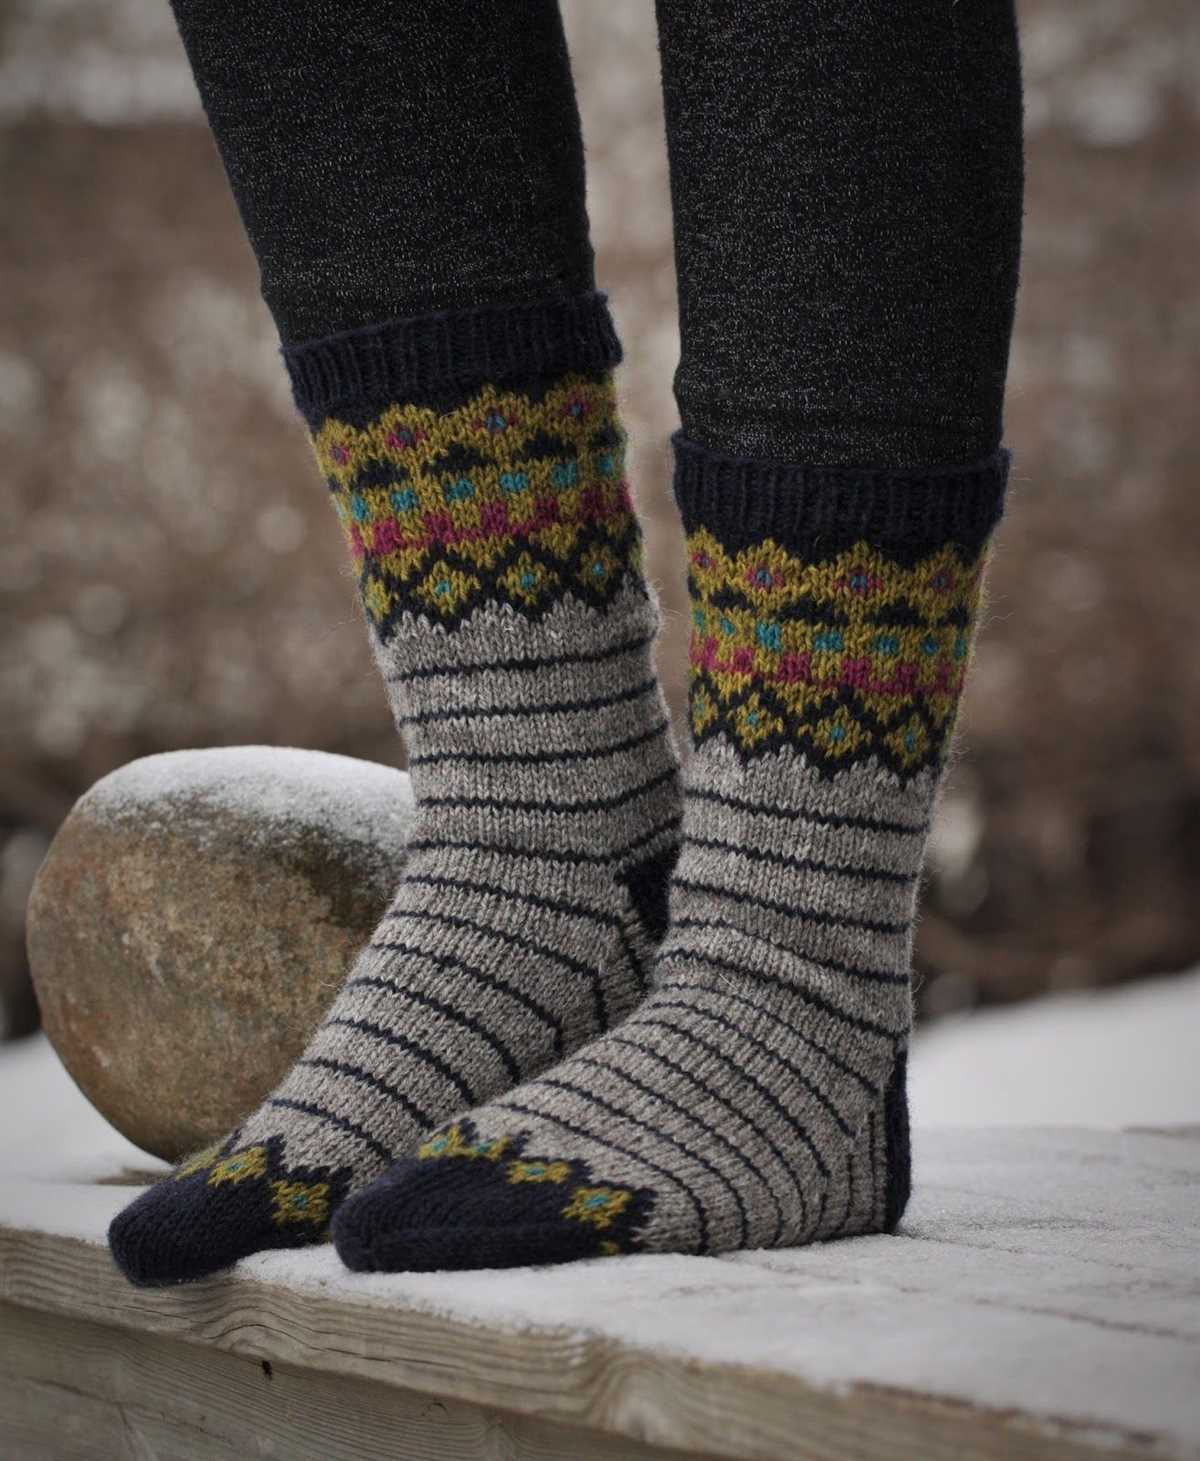
Foot
The foot is the section of the sock that covers the sole and toes. It is usually knit in a plain stitch pattern, making it comfortable and flexible. The length of the foot can vary depending on the size and preferences of the wearer.
Toes
The toes are the final part of the sock and can be knit in different ways. The most common method is to decrease the number of stitches gradually to form a rounded shape. Another option is to use a toe-up construction, which starts from the toe and works towards the cuff.
Understanding the basic sock anatomy allows knitters to customize patterns to fit their needs and preferences. By mastering each component, knitters can create comfortable and stylish woolen socks that are perfect for any occasion.
Casting On
Before you can start knitting your woolen socks, you’ll need to cast on your stitches. Casting on is the process of creating the foundation row of stitches on your knitting needles. There are several methods you can use to cast on, but one common technique is the long-tail cast on.
To begin the long-tail cast on, start by leaving a tail of yarn that is about three times the width of the finished sock. Hold the tail of the yarn in your right hand and the working yarn in your left hand. Create a slipknot by making a loop with the yarn and pulling the tail through the loop. Place the slipknot on the left-hand needle and tighten it by pulling on the tail and the working yarn. This slipknot will count as your first stitch.
Next, insert the right-hand needle into the slipknot from left to right, going under the left-hand needle. Use your right thumb and index finger to hold the working yarn under the right-hand needle. Bring the yarn over the right-hand needle and pull it through the slipknot, creating a new stitch. This new stitch will be placed on the left-hand needle.
Continue to repeat this process – insert the right-hand needle into the stitch from left to right, bring the yarn over and pull it through – until you have cast on the desired number of stitches for your sock pattern. Counting the slipknot as one stitch, the number of stitches on your needle should match the number required by your pattern.
Knitting the Leg
Once you have completed the cuff of your woolen socks, it’s time to move on to knitting the leg. This is where the fun begins, as you get to see your socks start to take shape and grow longer with each row.
To knit the leg, you will continue using the circular needles and the main color yarn. You can choose to knit the leg in plain stockinette stitch, or you can add some stitch patterns or cables for extra texture and design. Make sure to follow the instructions in your chosen pattern for any stitch pattern changes or shaping.
If you’re knitting the leg in stockinette stitch, simply continue knitting every round until you reach the desired length. You can use a stitch marker to keep track of your rounds, especially if you’re working with a pattern that requires shaping or stitch changes.
If you’re adding stitch patterns or cables, be sure to follow the chart or written instructions carefully. Pay attention to any repeats or changes in stitch count, as this can affect the overall fit of the socks. Take your time and enjoy the process of watching your design take shape as you knit each row.
Once you’ve reached the desired length for the leg, you can move on to the next step in the sock knitting process, whether it’s knitting the heel or continuing with a different stitch pattern for the foot. Stay tuned for the next installment of our woolen socks knitting pattern series!
Creating the Heel Flap
One of the key components of knitting a pair of woolen socks is creating the heel flap. This is the section of the sock that covers the heel of the foot and provides extra padding and durability. To create the heel flap, you will need to follow a specific pattern that is designed to ensure a snug and comfortable fit.
To begin, you will need to knit the desired number of stitches for the heel flap. This is typically around half of the total number of stitches on the needle. For example, if you have 60 stitches on your needle, you will knit 30 stitches for the heel flap. It’s important to remember that the exact number of stitches will depend on the size of the sock and the size of the foot.
Once you have your stitches ready, you will start knitting back and forth in rows. For the heel flap, you will be using a specific stitch pattern called the “slip stitch pattern”. This pattern involves slipping stitches onto the right-hand needle without knitting them, which creates a textured and stretchy fabric.
To create the slip stitch pattern, you will knit the first stitch of each row and then slip the next stitch purlwise onto the right-hand needle. You will repeat this pattern until you have reached the desired length for the heel flap. This can vary depending on personal preference, but a common length is about 2 inches.
As you knit the heel flap, it’s important to keep an even tension and avoid any gaps or holes in the fabric. You can achieve this by being mindful of your tension and ensuring that you are knitting each stitch consistently. Once the heel flap is complete, you will be ready to move on to the next step in knitting your woolen socks.
Turning the Heel
Turning the heel is an important step in knitting woolen socks. It involves shaping the heel of the sock to provide a comfortable fit and ensure that the sock stays in place on the foot. The process involves several steps and requires some basic knitting skills.
In order to turn the heel, you will need to follow a specific pattern or instructions. This pattern will guide you through the steps necessary to shape the heel. You will typically start by knitting a certain number of stitches, then turn the work and begin working short rows to create the heel cup.
Knitting the Gusset
When knitting a pair of woolen socks, one important and often challenging step in the process is knitting the gusset. The gusset is a triangular-shaped piece of fabric that is inserted into the sides of the sock where the heel and foot meet. Its purpose is to add extra room and comfort to the sock by expanding the width of the foot.
To start knitting the gusset, you will first need to pick up stitches along the sides of the heel flap. To do this, insert your needle into the side edge of the heel flap, wrap the yarn around the needle, and pull it through to create a new stitch. Continue picking up stitches along the entire side of the heel flap, making sure to maintain an even number of stitches.
Once you have picked up all the stitches, you will begin knitting the gusset. This is done by knitting across the instep stitches until you reach the start of the gusset stitches. Then, you will work a set number of decrease rounds to shape the gusset. These decrease rounds are usually worked on both sides of the sock, towards the bottom of the foot, and involve knitting two stitches together or slipping stitches knitwise. The number of decrease rounds and the specific decrease stitches used may vary depending on the pattern.
Following the decrease rounds, you will continue knitting the foot of the sock until it reaches the desired length. The gusset adds width to the foot, allowing for a more comfortable fit. Once the foot is complete, you can continue with knitting the toe of the sock and finish it off with a basic bind-off or a stretchy bind-off, depending on your preference.
In summary, knitting the gusset is an essential step in creating well-fitting woolen socks. By picking up stitches along the sides of the heel flap and working decrease rounds, you can shape the gusset and add extra room and comfort to the foot of the sock. With the gusset in place, you can continue knitting the rest of the sock, including the foot and toe, to complete your cozy pair of DIY woolen socks.
Shaping the Toe

The toe of a woolen sock is an important part of the overall design and fit. The shaping of the toe is what helps the sock conform to the shape of the foot and prevent any discomfort or bunching. There are several methods for shaping the toe, including the traditional round toe and the more modern wedge toe.
The round toe is the most common method for shaping the toe of a sock. It involves decreasing stitches evenly across the toe section until the desired width is achieved. This creates a rounded shape that follows the natural contours of the foot. The round toe is typically used for socks with a more relaxed fit or for those made with thicker yarns.
The round toe shaping process:
- Start by knitting the foot of the sock according to the pattern.
- When you reach the desired length for the toe, begin the decreasing process.
- Decrease stitches evenly across the toe section, typically every other row, until the desired width is achieved.
- Finish off the toe by closing the remaining stitches using the Kitchener stitch or another preferred method.
The wedge toe is a more tapered and streamlined shaping method. It involves decreasing stitches in a triangle shape, creating a more pointed toe. The wedge toe is typically used for socks that require a closer fit or for those made with finer yarns. This shaping method can also be combined with short row techniques to create a more custom fit.
The wedge toe shaping process:
- Start by knitting the foot of the sock according to the pattern.
- When you reach the desired length for the toe, begin the decreasing process.
- Decrease stitches along the sides of the toe section, creating a triangle shape.
- Continue to decrease stitches until the desired width is achieved at the tip of the toe.
- Finish off the toe by closing the remaining stitches using the Kitchener stitch or another preferred method.
Overall, the shaping of the toe is an important step in creating a comfortable and well-fitting woolen sock. Whether you choose the traditional round toe or the more modern wedge toe, following the shaping process outlined in the pattern will ensure a successful end result.
Finishing Off
After completing the last row of your woolen socks, you will need to finish off the project to ensure that the socks are secure and ready to wear. There are a few steps you can follow to properly finish off your woolen socks:
1. Cut the yarn: When you have finished knitting the final row of your socks, cut the yarn, leaving a tail that is around 6 inches long. This tail will be used to weave in the loose ends and secure the stitches.
2. Weave in the loose ends: Take the cut tail of yarn and, using a yarn needle, weave it through the stitches on the wrong side of the socks. Make sure to weave it in securely, going back and forth through a few stitches to ensure that it won’t unravel.
Next, you can use a technique called kitchener stitch to close the toe of the socks. This method creates a seamless finish that is comfortable to wear.
3. Kitchener stitch: To complete the kitchener stitch, you will need a spare needle of the same size as your knitting needles and a tapestry needle. Follow these steps:
- Thread the tapestry needle with the yarn tail.
- Hold the socks with the wrong sides together, with the spare needle inserted into the stitches on the front needle.
- Insert the tapestry needle purlwise into the first stitch on the front needle and pull the yarn through, leaving the stitch on the needle.
- Insert the tapestry needle knitwise into the first stitch on the back needle and pull the yarn through, removing the stitch from the needle.
- Repeat steps 3 and 4, alternating between the front and back needles, until all stitches have been grafted.
- Once all the stitches are grafted, weave in the loose end of the yarn.
Once you have completed the kitchener stitch and woven in all the loose ends, your woolen socks are ready to wear or gift to someone special. Enjoy the cozy warmth and comfort of your handmade socks!
Tips and Tricks for Perfect Woolen Socks
Knitting your own woolen socks can be a rewarding and enjoyable project. With the right techniques and materials, you can create a pair of socks that are not only beautiful but also cozy and durable. Here are some tips and tricks to help you achieve perfect woolen socks.
1. Choose the Right Yarn
When knitting woolen socks, it’s important to choose a yarn that is soft, warm, and strong. Look for yarns that are specifically designed for socks, as they often contain nylon or other reinforcement fibers that add strength and durability. Consider the composition of the yarn as well – wool blends or yarns with a bit of synthetic fiber can provide stretch and help the socks retain their shape over time.
2. Use the Right Needles
The right needles can make a big difference in the outcome of your woolen socks. For most sock projects, it’s best to use double-pointed needles or circular needles with a small circumference. These needles offer better control and prevent laddering or loose stitches. Make sure to choose the appropriate size needle for your yarn and desired gauge.
3. Take Accurate Measurements
Poorly fitting socks can be uncomfortable and easily wear out. Take accurate measurements of your feet and legs before starting your project. Consider factors such as foot length, heel width, and calf circumference. Use these measurements to customize your sock pattern and ensure a perfect fit.
4. Pay Attention to Gauge
Gauge is crucial when knitting socks. Even a slight difference in gauge can lead to ill-fitting socks. Take the time to swatch and measure your gauge before starting your project. If necessary, adjust your needle size to achieve the correct gauge. Paying attention to gauge will help ensure a comfortable and well-fitting pair of socks.
5. Reinforce High-Wear Areas
To increase the longevity of your woolen socks, consider reinforcing high-wear areas such as the heels and toes. You can do this by using a stronger yarn or adding reinforcing stitches. For example, reinforcing the heel with a slip stitch pattern can make it more durable and less prone to holes or wear.
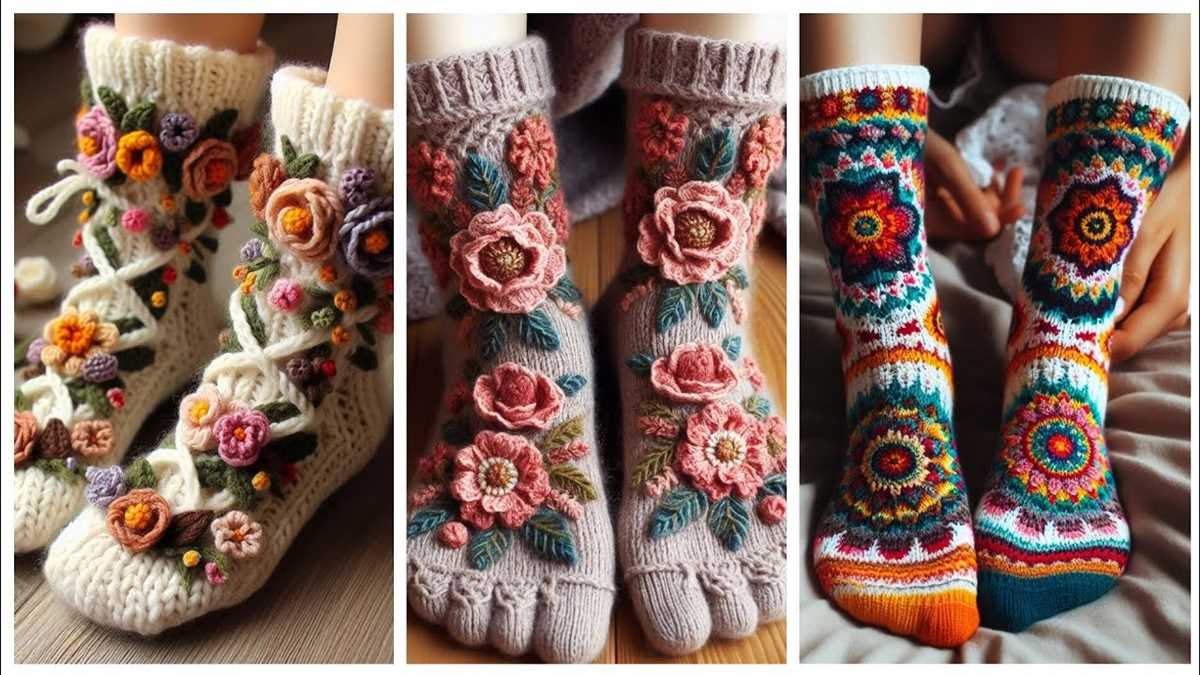
6. Experiment with Stitch Patterns
Woolen socks offer endless possibilities for experimenting with stitch patterns. From simple ribbing to intricate lace designs, you can add interest and texture to your socks. Consider trying out different stitch patterns to create unique and beautiful socks that showcase your knitting skills.
In conclusion, knitting perfect woolen socks requires careful yarn and needle selection, accurate measurements, attention to gauge, reinforcement of high-wear areas, and a touch of creativity. By following these tips and tricks, you can create cozy and durable socks that will keep your feet warm and stylish.