
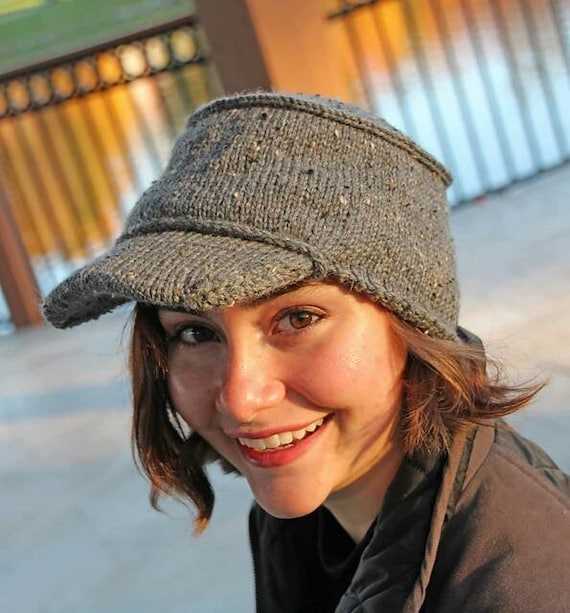
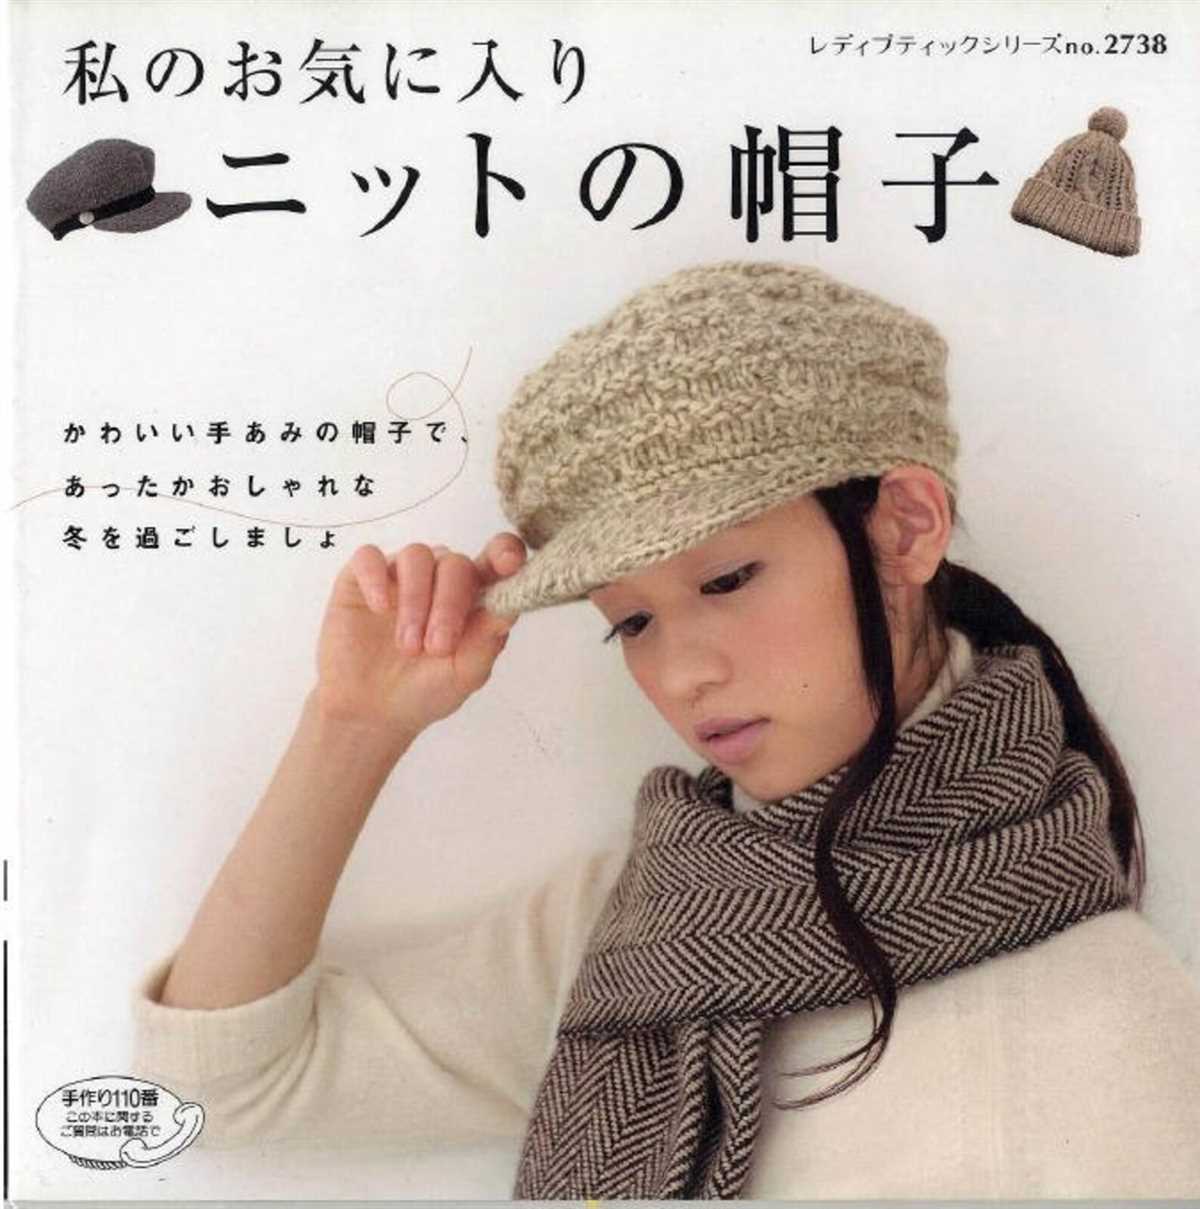
Looking for a new knitting project to keep you warm and stylish this winter? Why not try your hand at knitting a Voyageur cap? This classic design is perfect for keeping your head cozy on chilly days, and it’s a great way to showcase your knitting skills.
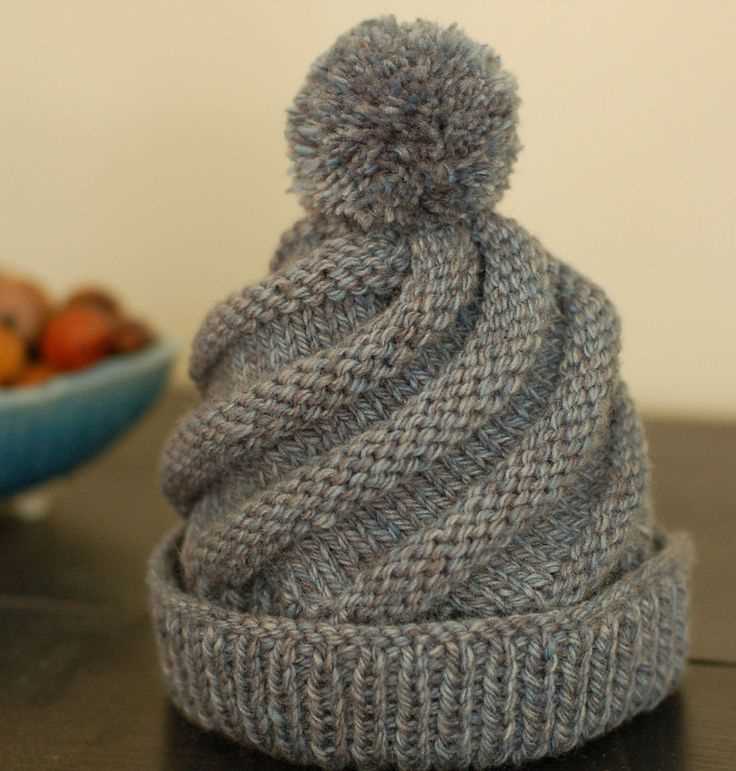
The Voyageur cap is a traditional style that was originally worn by French-Canadian fur traders and explorers. Its distinctive design features a fold-up brim and a pompom at the top, making it both functional and fashionable. Whether you’re heading out on a winter hike or simply strolling through town, this cap is sure to turn heads and keep you warm.
If you’re new to knitting or looking for a quick and easy project, the Voyageur cap is a great choice. The pattern is relatively simple and can be customized to fit your personal style. Choose your favorite color of yarn and get creative with different stitch patterns to make your cap truly unique. And with the added bonus of having a pompom at the top, you can’t go wrong with this stylish accessory.
Voyageur Cap Knitting Pattern

Stay warm and stylish this winter with the Voyageur Cap knitting pattern. This classic pattern is perfect for adventurous souls who love to explore the great outdoors. Whether you’re embarking on a hiking trip or simply strolling through the city, this cap will keep you cozy and fashionable.
The Voyageur Cap knitting pattern features a unique textured stitch pattern that creates a beautiful ribbed effect. It has a snug fit and is designed to cover your ears for extra warmth. The pattern includes instructions for both a folded brim and a ribbed brim, allowing you to customize the look to your preference.
To knit the Voyageur Cap, you will need worsted weight yarn and size 8 (5mm) circular knitting needles. The pattern is suitable for intermediate knitters and includes detailed instructions and stitch diagrams to guide you through each step. It also provides suggestions for yarn substitutions and tips for achieving the perfect fit.
With its timeless design and cozy texture, the Voyageur Cap is a must-have accessory for any winter wardrobe. Whether you’re knitting it for yourself or as a gift for a loved one, this pattern is sure to be a hit. So grab your needles and get ready to create a cap that will keep you warm and stylish all season long.
Materials

When knitting the Voyageur cap, there are a few materials that you will need to gather beforehand. These materials include:
- Yarn: You will need approximately 200-250 yards of medium weight yarn. Choose a yarn that is soft and warm, such as merino wool or alpaca.
- Needles: Use a pair of US size 7 (4.5mm) circular needles with a 16-inch (40cm) cable. This length is ideal for knitting in the round.
- Darning needle: This needle will be used for weaving in the loose ends of yarn and finishing the cap.
- Stitch markers: These are helpful for marking important sections of your knitting, such as the beginning of a round or pattern repeats.
- Scissors: You will need a pair of sharp scissors for cutting the yarn.
It is important to choose high-quality materials for your knitting projects to ensure a finished product that is durable and comfortable to wear. When selecting yarn, consider the color and texture that you desire for your cap. The recommended yarn weight and needle size will provide a guide for achieving the correct gauge, or tension, in your knitting. Gathering all of these materials before you begin your project will make the knitting process smoother and more enjoyable.
Gauge
Gauge is a crucial aspect of any knitting project, as it determines the size and fit of the final product. It refers to the number of stitches and rows per inch that you achieve when knitting with a specific yarn and needle size. The gauge is usually expressed as a measurement, such as “4 stitches per inch” or “20 stitches and 24 rows in a 4-inch square.”
To ensure that your finished project turns out the right size, it is important to match the gauge specified in the knitting pattern. This means that you need to knit a swatch using the same yarn and needles, following the stitch pattern given in the pattern, and measure the number of stitches and rows in a defined area. If your gauge differs from the pattern’s gauge, you may need to adjust your needle size or yarn thickness to achieve the correct gauge.
Measuring gauge accurately is essential to ensure that your knitted project turns out the way you intended. If your gauge is too loose (fewer stitches or rows per inch than specified), your project will be larger than expected. Conversely, if your gauge is too tight (more stitches or rows per inch), your project will be smaller. This can lead to the garment not fitting properly or not having the desired drape and shape.
The recommended gauge will vary depending on the type of project and the desired finished look. For example, a tighter gauge may be necessary for a warm winter hat, while a looser gauge may be preferred for a lightweight summer top.
- When knitting a complex pattern, it is especially important to swatch and measure gauge to ensure that the intricate stitches and pattern elements are correctly proportioned.
- It is worth noting that even small variations in gauge can have a significant impact on the final size of the project. Therefore, taking the time to swatch and measure gauge before starting a project is well worth the effort to ensure a successful outcome.
Abbreviations
When knitting the Voyageur cap, it is important to be familiar with the various abbreviations that are used in the pattern. These abbreviations are commonly used in knitting patterns and help to make the pattern instructions more concise and easier to follow. It is recommended to review and understand these abbreviations before starting the project.
Here are some of the most common abbreviations used in the Voyageur cap knitting pattern:
- K: Knit. This abbreviation indicates that you should insert your right-hand needle into the front of the stitch on the left-hand needle and knit it.
- P: Purl. This abbreviation indicates that you should insert your right-hand needle into the front of the stitch on the left-hand needle and purl it.
- K2tog: Knit two stitches together. This abbreviation indicates that you should knit two stitches together as if they were one stitch.
- P2tog: Purl two stitches together. This abbreviation indicates that you should purl two stitches together as if they were one stitch.
- YO: Yarn over. This abbreviation indicates that you should wrap the yarn over the right-hand needle to create an extra stitch.
- Sl 1: Slip one stitch. This abbreviation indicates that you should transfer one stitch from the left-hand needle to the right-hand needle without knitting or purling it.
These abbreviations are just a few examples of the ones used in the Voyageur cap knitting pattern. It is important to consult the pattern instructions for any additional abbreviations that may be specific to the pattern. Understanding and being familiar with these abbreviations will make knitting the Voyageur cap a more enjoyable and successful experience.
Pattern
In order to create a Voyageur cap, you will need to follow a knitting pattern. The pattern provides detailed instructions on how to knit each component of the cap, including the body, brim, and any additional embellishments.
To begin, you will need to gather the necessary materials, which typically include knitting needles, yarn, and any optional accessories such as buttons or pom-poms. The pattern will specify the recommended yarn weight and needle size to achieve the desired gauge and fit for the cap.
The pattern will then guide you through the process of casting on the required number of stitches for each component. This may include different stitch patterns or techniques, such as ribbing or cables, to create the desired texture and structure of the cap. The pattern will also specify the number of rows or rounds to knit for each section, providing clear instructions on any shaping or increases that need to be made along the way.
As you work through the pattern, it is important to pay attention to any abbreviations or special instructions provided. These may include common knitting terms and techniques, such as knitting two stitches together or yarn overs, which are essential for achieving the correct shape and design. By carefully following the pattern, you can ensure that each component of the cap is knitted correctly and that the final result matches the intended design.
In the world of knitting, casting on is the first step in starting a new project. It is the process of creating the very first row of stitches on the knitting needle, providing the foundation for the entire project. There are different methods of casting on, and the choice depends on the desired edge and elasticity of the fabric.
Long Tail Cast On
One popular method of casting on is the long tail cast on. This method creates a neat and elastic edge that works well for a variety of knitting projects. To perform the long tail cast on, you need a long tail of yarn, about four times the width of the project. The tail is held over your thumb, and the end of the yarn is held over your index finger. The stitches are created by the use of both hands: the thumb picks up the yarn between stitches, and the needle picks up the new stitches.
Cable Cast On
Another commonly used casting on technique is the cable cast on. This method creates a firmer and less elastic edge, making it ideal for projects that require a sturdier edge, such as hats or socks. To perform the cable cast on, start with a slipknot on the needle. Then, the new stitches are created by inserting the needle between the first two stitches from the front and knitting a new stitch. This process is repeated until the desired number of stitches is achieved.
These are just two examples of casting on techniques, and there are many more to explore. Whether you choose the long tail cast on, the cable cast on, or any other method, casting on is an essential skill for every knitter, setting the stage for a successful and enjoyable knitting journey.
Ribbing
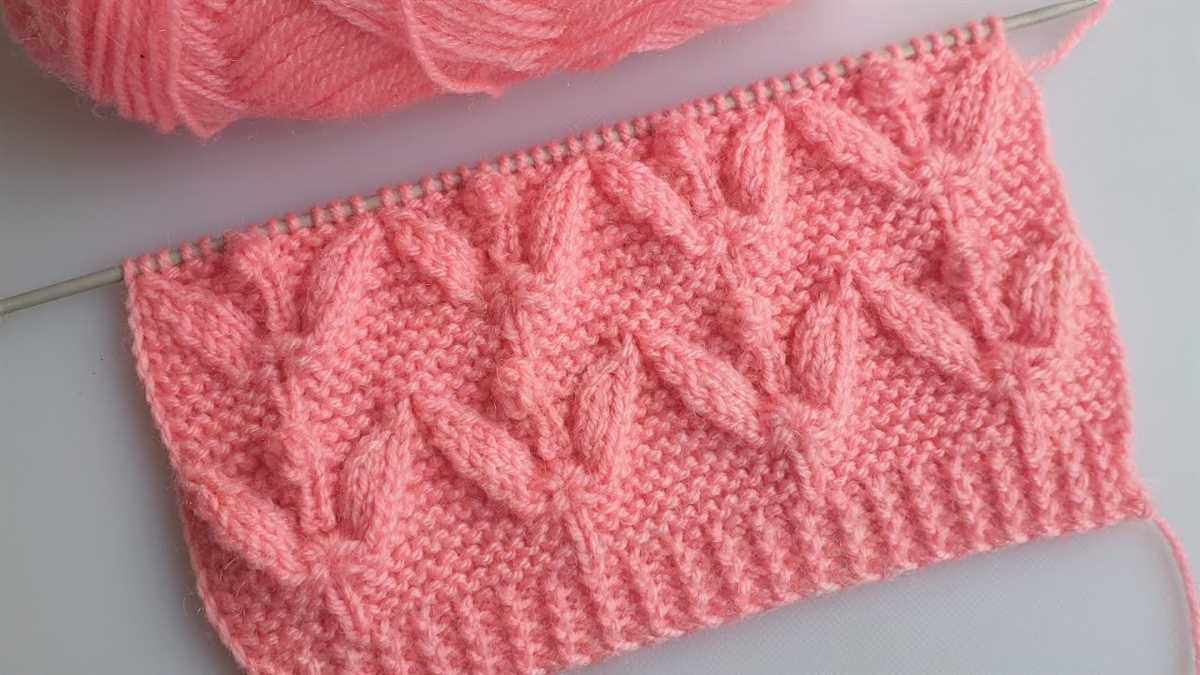
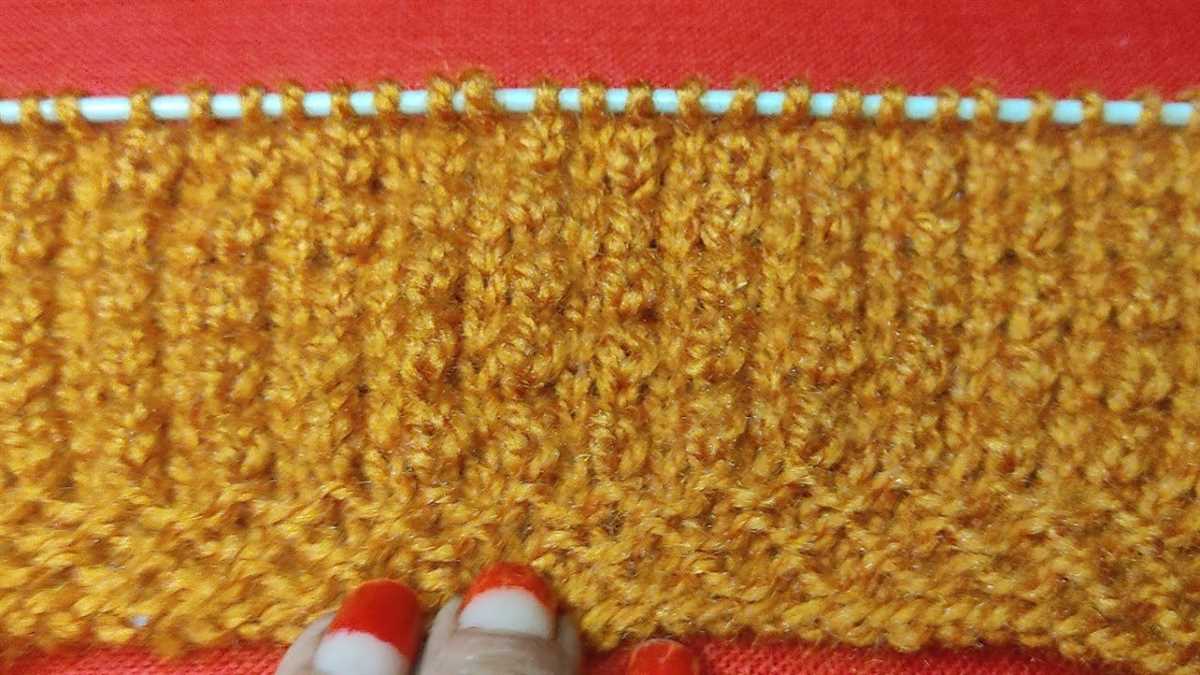
When knitting a voyageur cap, one of the most important techniques to master is ribbing. Ribbing is a pattern formed by alternating knit and purl stitches, creating a stretchy fabric that is perfect for cuffs, collars, and hat brims. The ribbing pattern adds elasticity to the cap, allowing it to fit snugly on the wearer’s head.
To create ribbing, you will need to work in multiples of two stitches. The most common ribbing pattern is the 1×1 rib, which alternates one knit stitch followed by one purl stitch. This pattern is often used for cuffs and hat brims. Another common ribbing pattern is the 2×2 rib, which alternates two knit stitches followed by two purl stitches. This pattern creates a wider rib and is commonly used for sweaters and scarves.
When working ribbing, it is important to maintain an even tension, as any loose or tight stitches can affect the elasticity of the fabric. To achieve a consistent tension, it can be helpful to use a smaller needle size than what is typically recommended for your yarn. This will help create a firmer fabric that retains its stretch without becoming too loose over time.
Ribbing can also be used to create decorative patterns within a knitting project. For example, a twisted rib pattern is created by twisting the knit stitches to the right or left. This creates a visually interesting texture that adds depth to the finished piece. Another variation is the fisherman’s rib, which is created by working a combination of knit and purl stitches in a specific sequence. This pattern creates a thick and lofty fabric that is perfect for warm and cozy winter accessories.
Body
The body of the Voyageur cap is where the bulk of the knitting takes place. This section begins after the ribbed brim and continues until the crown shaping. It is knit in rounds, using the chosen stitch pattern, and increases may be worked to create a slouchy fit.
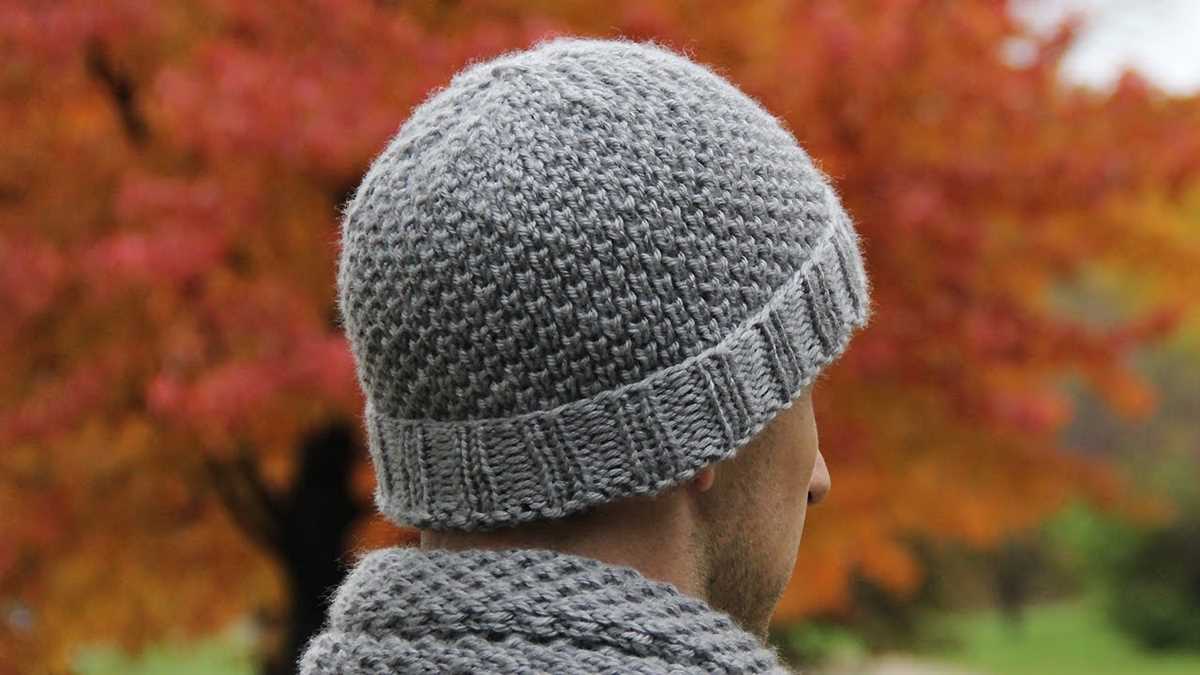
One popular stitch pattern for the body of the Voyageur cap is the seed stitch. This stitch creates a textured fabric with alternating knits and purls, giving the cap a classic and versatile look. Another option is the rib stitch, which involves knitting and purling in a specific pattern to create vertical columns of knits and purls. The rib stitch creates a stretchy and structured fabric that is great for snug-fitting caps.
When working the body of the cap, it is important to maintain an even tension and check gauge to ensure the correct fit. Depending on the stitch pattern chosen, the fabric may have more or less stretch, so it is important to regularly try on the cap to ensure the desired fit is being achieved.
Once the desired length of the body is reached, it is time to begin the crown shaping. This is typically done by decreasing stitches evenly across the rounds, following a specific pattern to create a smooth and seamless crown. This shaping helps to give the cap its final shape and ensures a comfortable fit.
Decrease Rounds
Once you have completed the ribbing section of the Voyageur cap, it’s time to start the decrease rounds. These rounds help to shape the crown of the cap and create a snug fit on the head. Follow the instructions below to complete the decrease rounds:
Round 1:
Knit 4 stitches, then knit 2 stitches together. Repeat this sequence until the end of the round. This will decrease the total number of stitches by one-third.
Round 2:
Purl all stitches.
Round 3:
Knit 3 stitches, then knit 2 stitches together. Repeat this sequence until the end of the round.
Round 4:
Purl all stitches.
Continue alternating between knit and purl rounds, decreasing by one stitch every other round, until you have a small number of stitches left on your needles. At this point, switch to double-pointed needles or a circular needle with a short cable to accommodate the decreasing number of stitches. Once you have only a few stitches remaining, cut the yarn and thread it through the remaining stitches, pulling tight to close the top of the cap.
Crown Shaping
Once you have completed the brim of your Voyageur cap, it’s time to move on to the crown shaping. This is where you will start decreasing the number of stitches to create the rounded shape of the crown.
To begin the crown shaping, you will need to divide the total number of stitches on your needles into equal sections. This will depend on the stitch pattern you are using and the desired shape of your cap. For example, if you have 80 stitches on your needles and want to divide them into 8 sections, you would have 10 stitches per section.
- Step 1: Knit the first section of stitches until you reach the desired number of stitches for the crown shaping.
- Step 2: Decrease the number of stitches in each section by knitting two stitches together. This will decrease the total number of stitches by one in each section.
- Step 3: Repeat steps 1 and 2 until you have decreased the desired number of stitches and achieved the desired shape of the crown.
Keep in mind that crown shaping can be customized to create different effects, such as a pointed crown or a flat crown. Experiment with different decrease methods and stitch patterns to achieve the look you want for your Voyageur cap.
Finishing
Once you have completed knitting the voyageur cap, there are a few finishing touches you can add to make it look polished and professional.
First, weave in all loose ends of yarn using a tapestry needle. This will ensure that your cap looks neat and there are no loose ends sticking out. You can either weave in the ends as you go or save them for the end, whichever method you prefer.
Next, you can block your cap to give it a nice shape. Blocking involves soaking your knitted project in water and then shaping it to the desired dimensions. You can use pins or blocking wires to hold the shape in place while it dries. Be sure to check the yarn label for any specific blocking instructions, as different types of yarn may have different requirements.
Optional:
If you want to add a pom-pom to your voyageur cap, you can easily do so. You can either make a pom-pom yourself using a pom-pom maker or buy a pre-made pom-pom and attach it to the top of the cap. This will add a playful touch to your cap and make it even more stylish.
Strongly Recommended:
Finally, give your cap a gentle steam to help relax the fibers and even out any irregularities. Use a steam iron or a garment steamer, and be sure to keep the iron or steamer a safe distance from your cap to prevent any accidental damage. This step will give your cap a professional finish and make it ready to wear or gift.
That’s it! Your voyageur cap is now finished and ready to keep you warm and stylish during your outdoor adventures. Whether you’re hiking, camping, or simply enjoying a brisk walk, this cap will be a reliable companion. Happy knitting!